You must be logged in to rate content!
4 minute read

BOXTER 2005-12 Shift Boot INSTALLATION INSTRUCTIONS
CENTER CONSOLE AND SHIFT BOOT
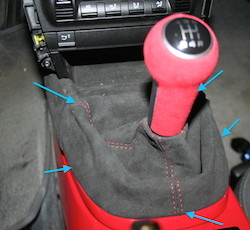
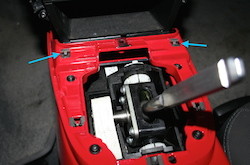
1. Remove the shift boot by wedging the trim removal tool underneath it and unclipping the 5 clips below.
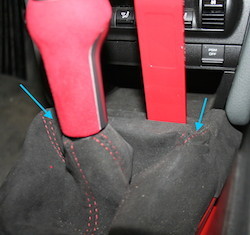
2. Pull the boot up, revealing a locking ring underneath the shifter. Turn the locking ring clockwise to unlock it.
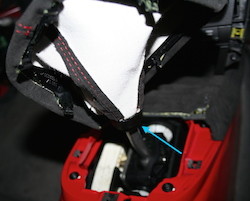
2. Pull the boot up, revealing a locking ring underneath the shifter. Turn the locking ring clockwise to unlock it.
4. Apply glue to the lower ring and bottom of the boot (roll up the bottom of the boot).
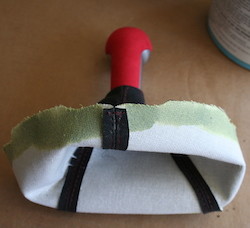
5. To determine how far up the boot to go, first align the boot to the ring, wrap around the bottom and not where the glue would have to be to cover the ring.
6. Attach the boot to the ring and wrap it around the bottom. Use the blunt end of the trim removal tool to rub the material if necessary.
7. IF YOU ARE NOT INSTALLING THE CENTER CONSOLE COVER, SKIP TO STEP 13.
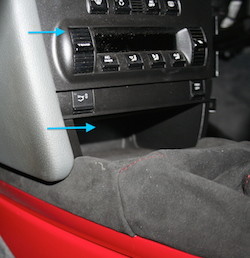
Remove the center console vertical side covers by pulling then directly toward you. They are clipped on to the center console by 3 clips.
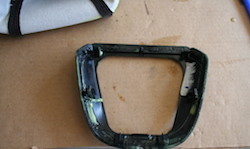
8. Wedge the trim tool between the shift gate cover and lower frame. It is help on by 2 clips on the front (Photo 5 shows clips). Be careful not to damage the lower frame.

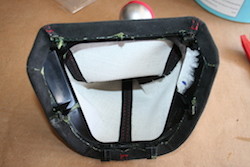
9. Align the material to the shift gate cover and note how it folds around, etc.

10. Apply glue (following the manufacturer's instructions) to the shift gate cover and the material. Attach the material to the shift gate cover, aligning the seams. Then, wrap it around the sides, trimming (if needed).

11. Once dry, slide the shift gate cover on to the lower frame, snapping it down onto the 2 clips.
12. Reattach the vertical console side covers by pressing back on the 3 clips.

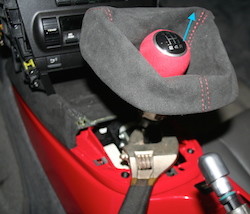
13. Slide the boot and knob over the shifter until it fully seats. Turn the locking ring counter clockwise to lock the knob into place.
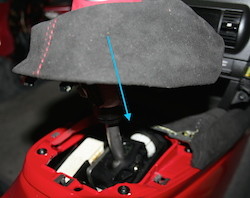
14. Snap the boot ring onto the 5 clips.