You must be logged in to rate content!
7 minute read
Front LED DRL Light Installation Walk Through Help
Compliments of frontside720 @ https://www.6speedonline.com
4-5-2012
O.K. I haven't done a DIY walkthrough before but this should help people with a very general help on how this mod can be completed.
I didn't start taking pictures until I was a few step's into the install but use the owners manual for assistance on taking out the oem lights. I used the credit card that was in the folder and a very fine small screwdriver to assist in the removal. The left light popped right out with the credit card only. Note** I did have to apply a lot of force to get them out.
When you pull the stock lights out, you can either disconnect the wire clips or take the entire housing and bulb out of the existing light. Either way works. I did both (different on each light).
The Orange Tuning lights I had, had one main connector and my thought of simple plug in and go was too hook that connector up and I would be good to go. Not true, I turned my key and noticed the (!) and warning on my dash.
There are 3 OEM wiring clips that came off of the stock lights. So, after I had the main (easy) one plugged in, I had to find a home for the other two. That was the tricky part. The other two plugs were tucked in the new light for shipping and simply needed to be pulled out of the holes in the new lights.
*** IMPORTANT TIP***
When connecting the clips together make sure you hear or feel a 'click' and/or try to pull them apart (not by the wires) to make sure the are connected firmly. If they are not properly connected they can cause error messages and your lights might not work right.
This is the picture of what I first found coming out from the new lights. The larger clip is easily found on the stockOEM wiring harness but I was clueless to what the smaller plug was for.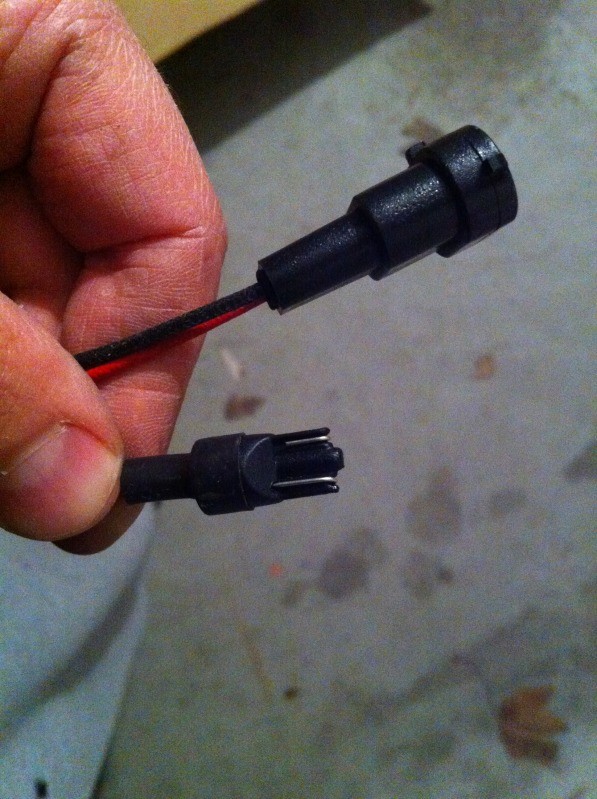
The smaller plug is replacing this light...
(small blue one on the upper right)
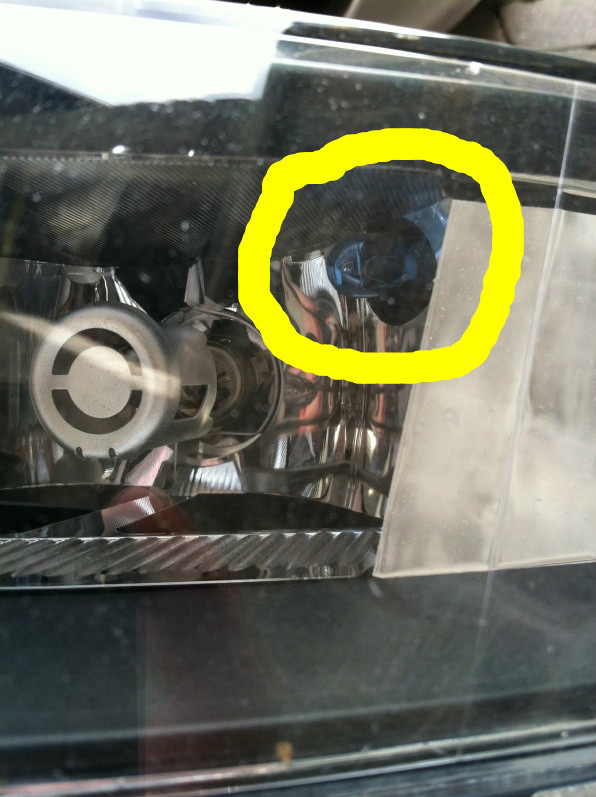
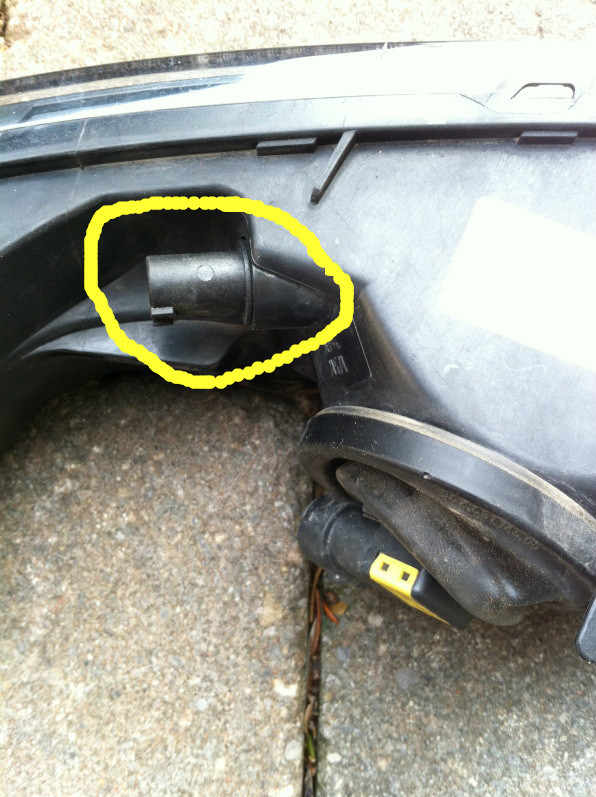
This is a picture of the clip that that needs to be removed from the oem lights. Thanks to paddyh I realized that I the one main connector doesn't control all lights and these new clips need to be connected to get full functionality.
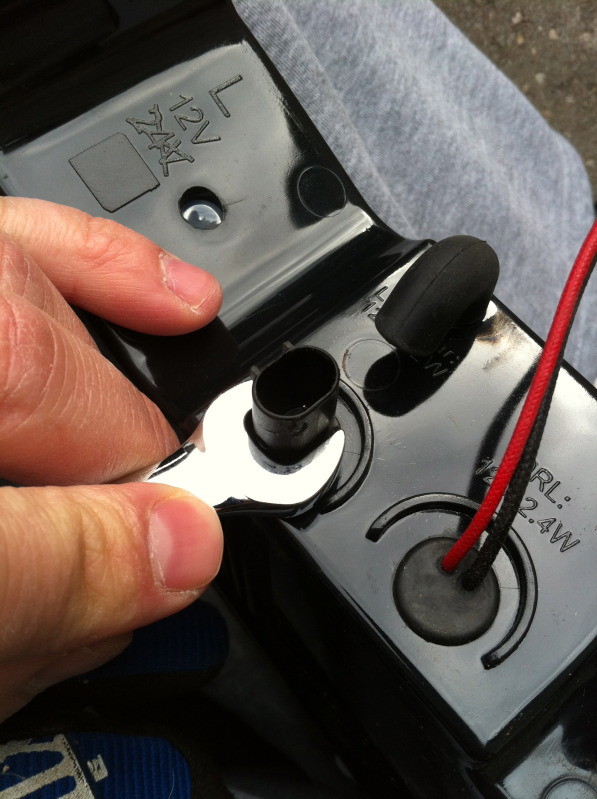
Although this is a picture of the new light it's the same for both. I used a 11mm open ended wrench and turned the plug a half turn. I had an issue on the first light and used the assistance of a small screw driver but I think i didn't have the guides lined up properly. The second one was easy.
This is what the plug looks like.
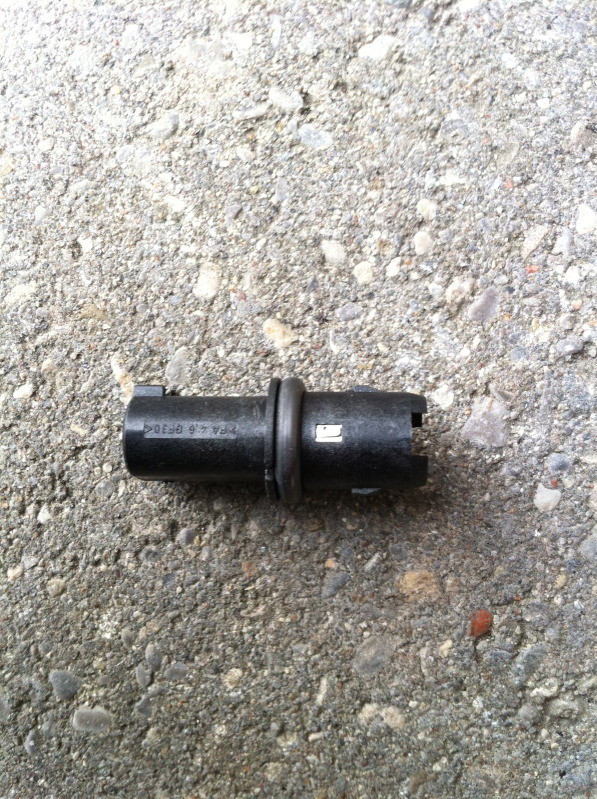
The male plug of the new lights and the male plug off the oem lights.
Connected...
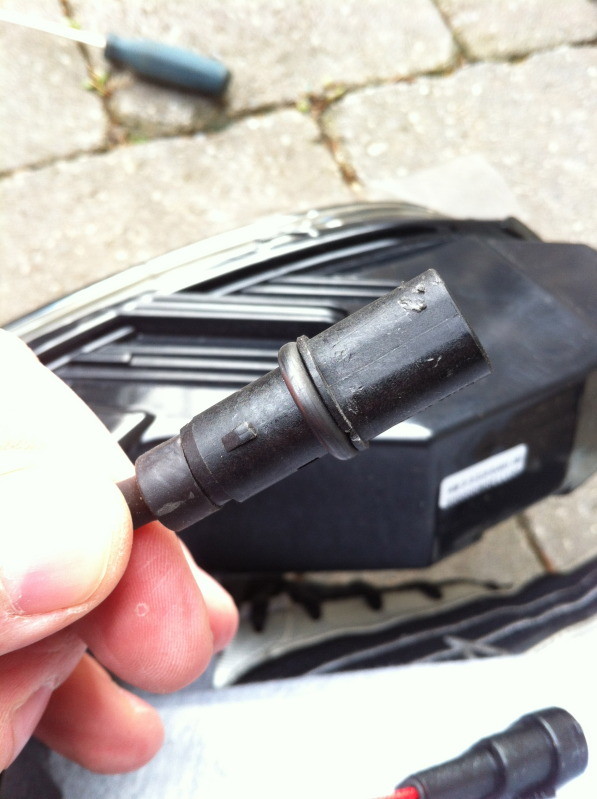
Line the plug up with the guides and insert it into the new lights. Make sure you give it a half turn to so it stays secure.
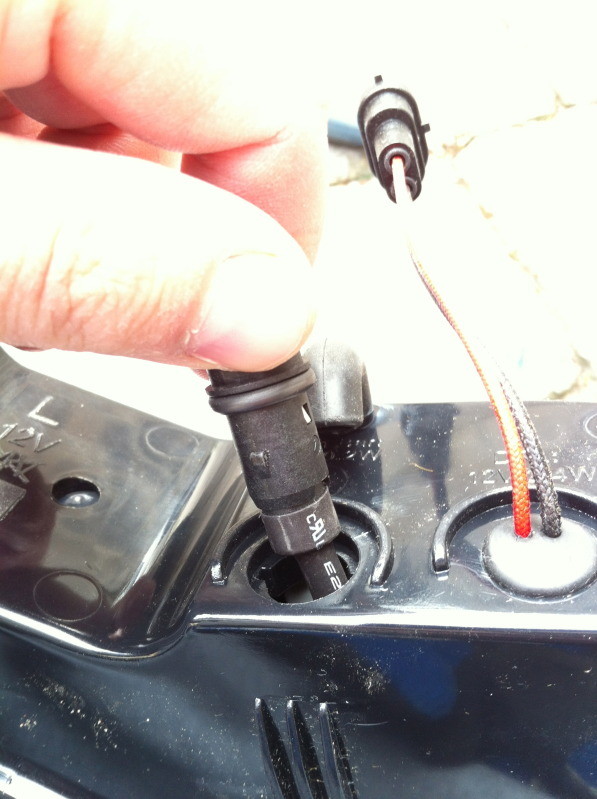
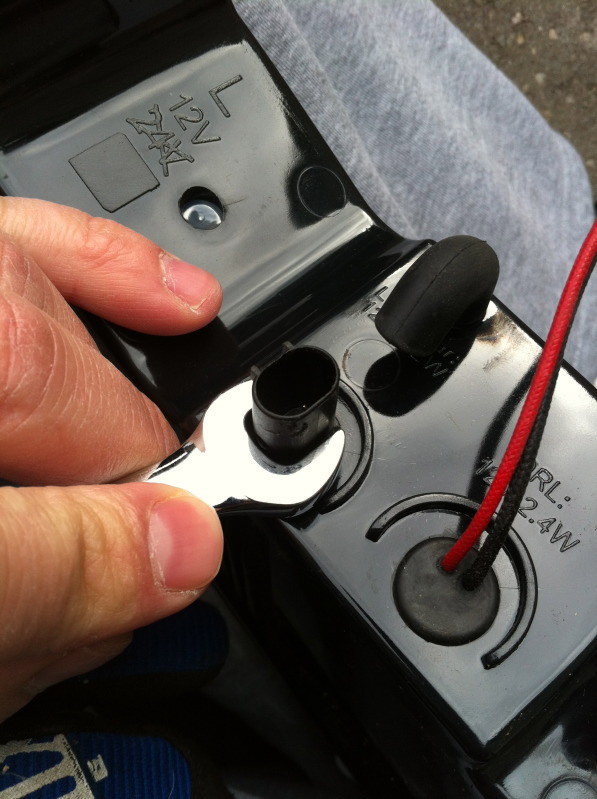
With this plug in place, you will know have a location to connect one of the remaining two connectors on the wiring harness from the car
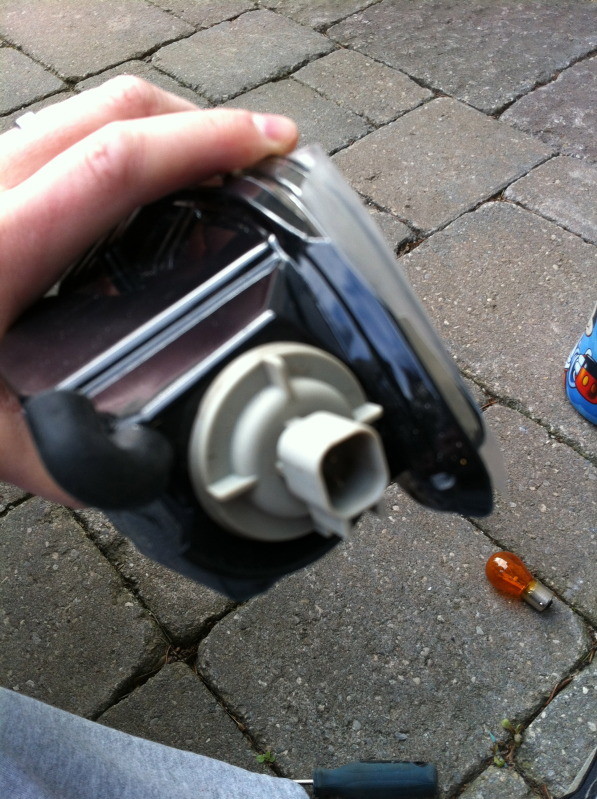
You need to remove this clip/light socket from the stock lights. Simply turn counter clockwise and the light should come out quite simply.
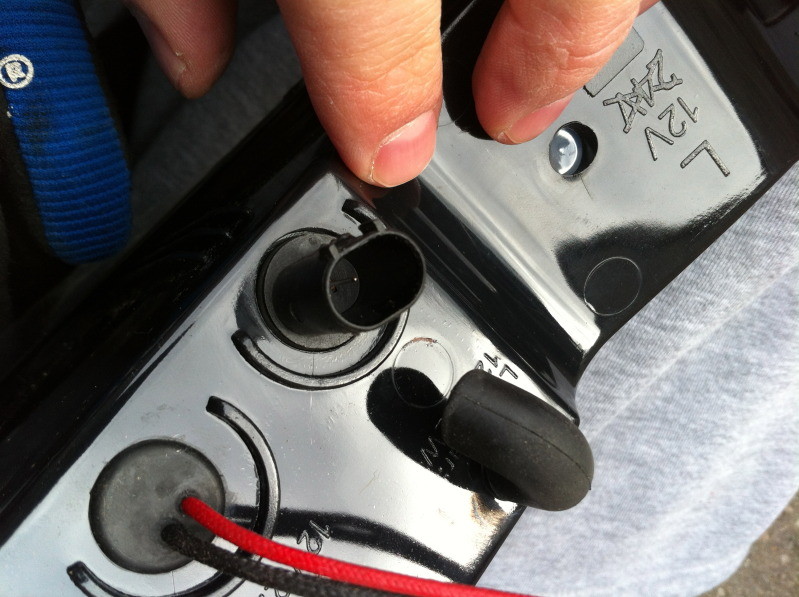
On the new lights, you will find what appears to be a light bulb end, hardwired to the light (in the same location as the picture above). You need to pull this connector out of the hole (if yours is barried) and connect it to the original socket.
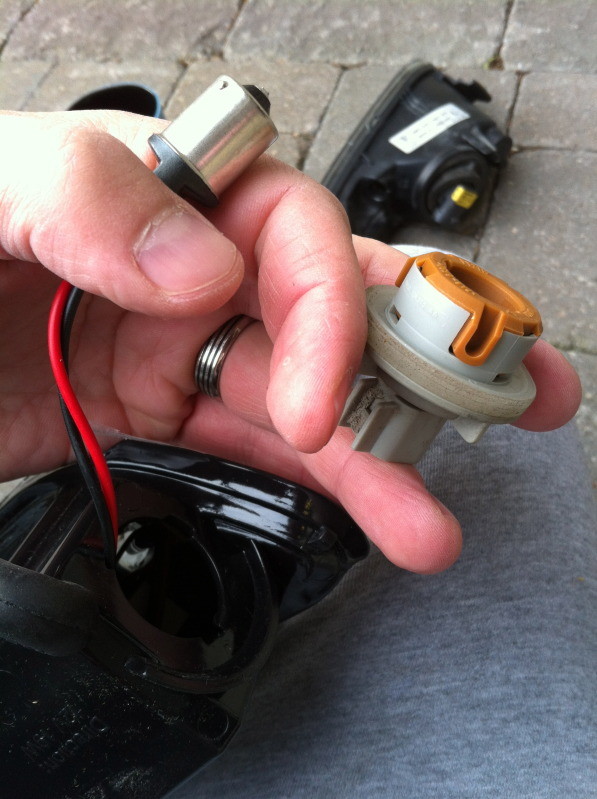
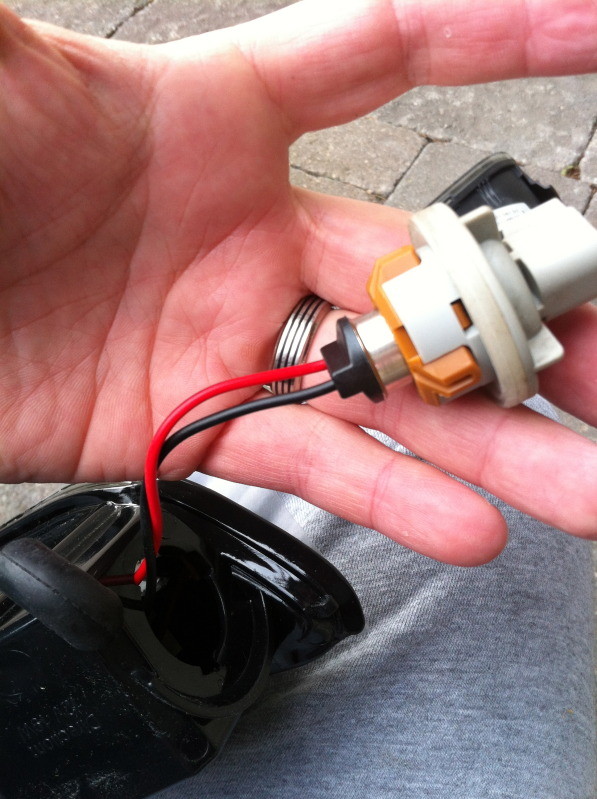
Once the two are connected, put the socket into the new light.
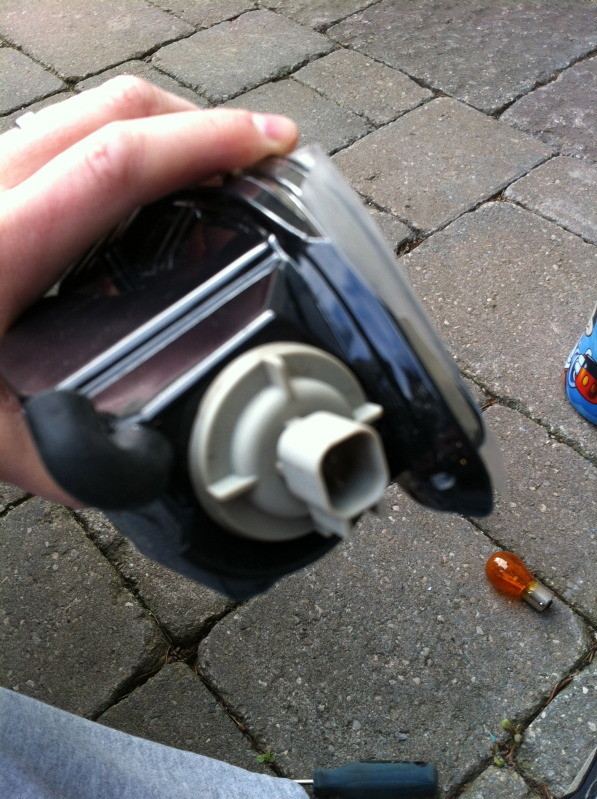
If haven't already done so, you can now connect all the clips from the cars wiring harness to the new lights.
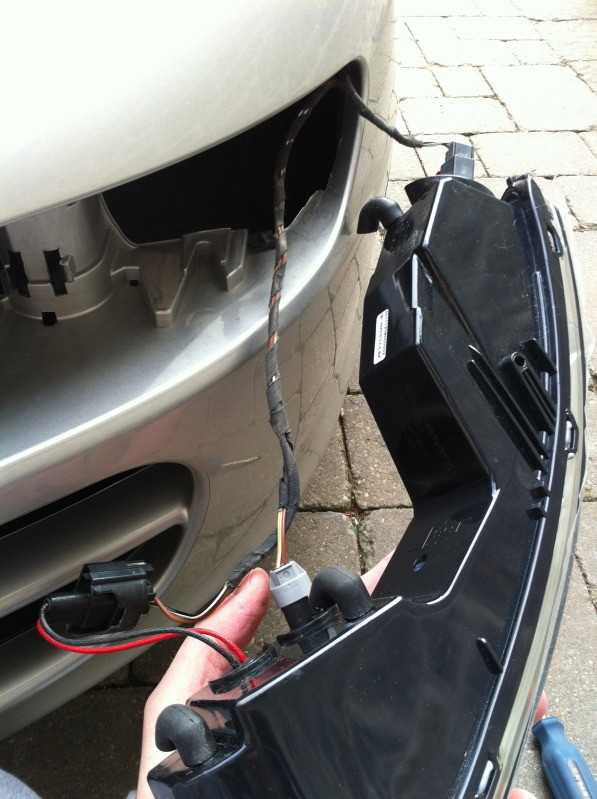
Follow the instructions in the manual for reinstalling the lights into the car. You need to put the end closes to the tire in first and then (with good pressure) push the left side (closest to plate) until is snaps in securely. It may take 2 clicks to get in fully. I would use the credit care or covered screw driver to try and pull the light back out to make sure it's not going anywhere.
Repeat the above steps for the other side and you are good to go.
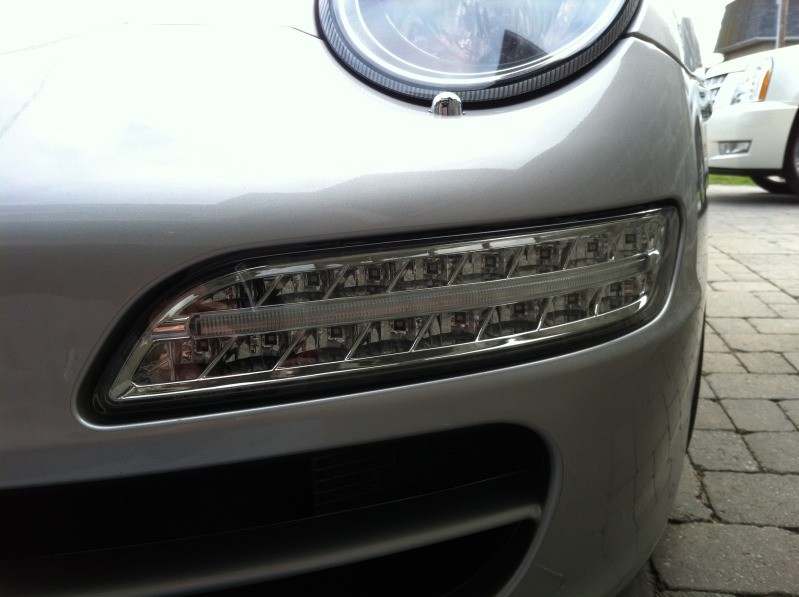
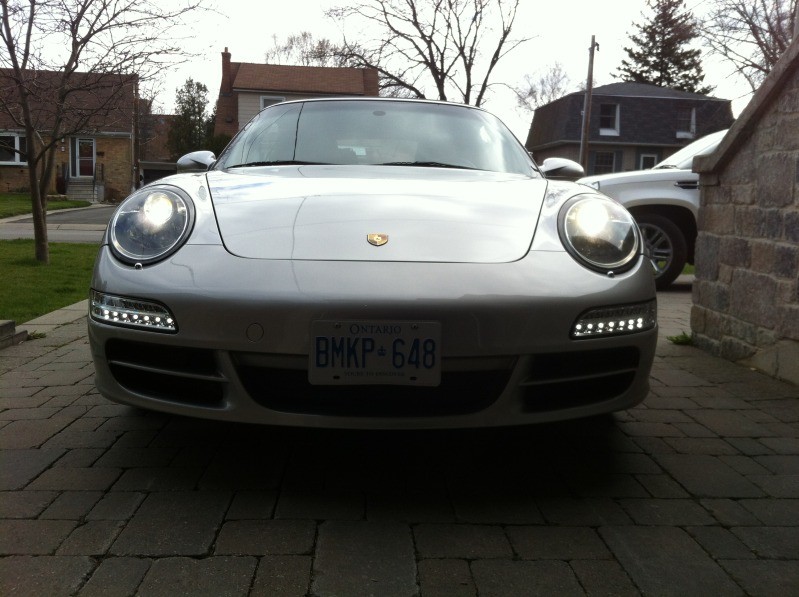
I know this post is loaded with misnamed parts (socket/housing/harness etc.) but I tried to keep my mistakes consistent and hopefully the pictures will help.
This is a really easy install and should be done in 20-30min max. For most people all this stuff was common sense but on my first attempt, I left that tool in the tool box.
If you have any questions, please don't hesitate to send me a pm.
Hope this helps, goodluck!

