You must be logged in to rate content!
7 minute(s) of a 145 minute read
7-27-2015
4 Months- Jeez, I'm just not lurking the site like I used to...
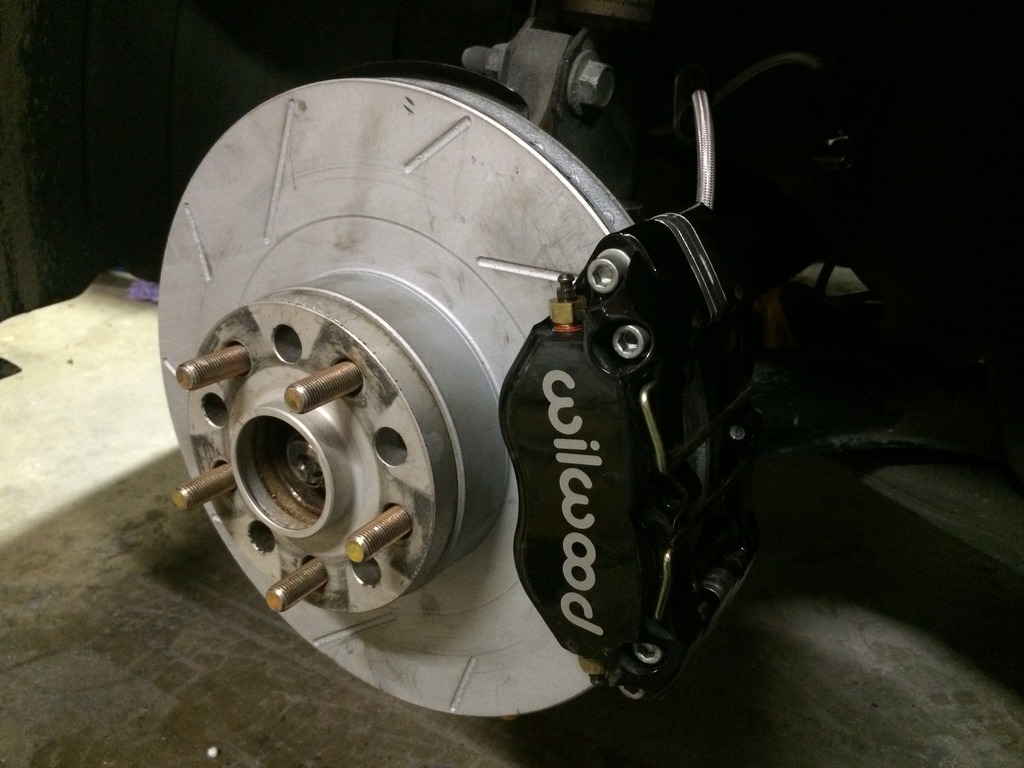
Work is continuing on the car, and in fact ramping up now that I have a work car to drive (2WD Escape, soon moving to a Focus ). First off, I swapped all the lug nuts to 15mm extended and put in H&R spacers. I took advantage of the work to upgrade the fronts from Wilwood Dynalites to Dynapros. The Dynalites were long in the tooth and looked like hell. Also put in new brake lines. Wheels are fitting much better to the arches, I'll post pics later, here is the new 'sans wheel' setup:
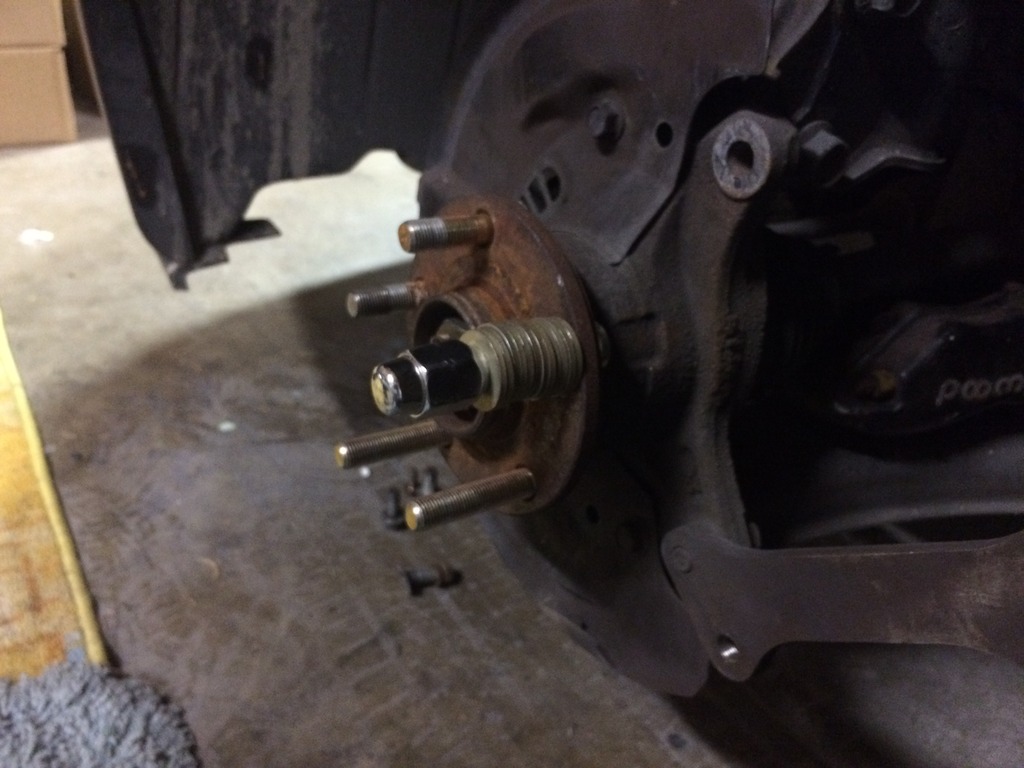
For the rear lugs, you need to grind down the bolt flares, and I suggest my technique of putting the bolt into a drill and grinding it against a file. You may need a couple of files to go through all 10 Lugs.
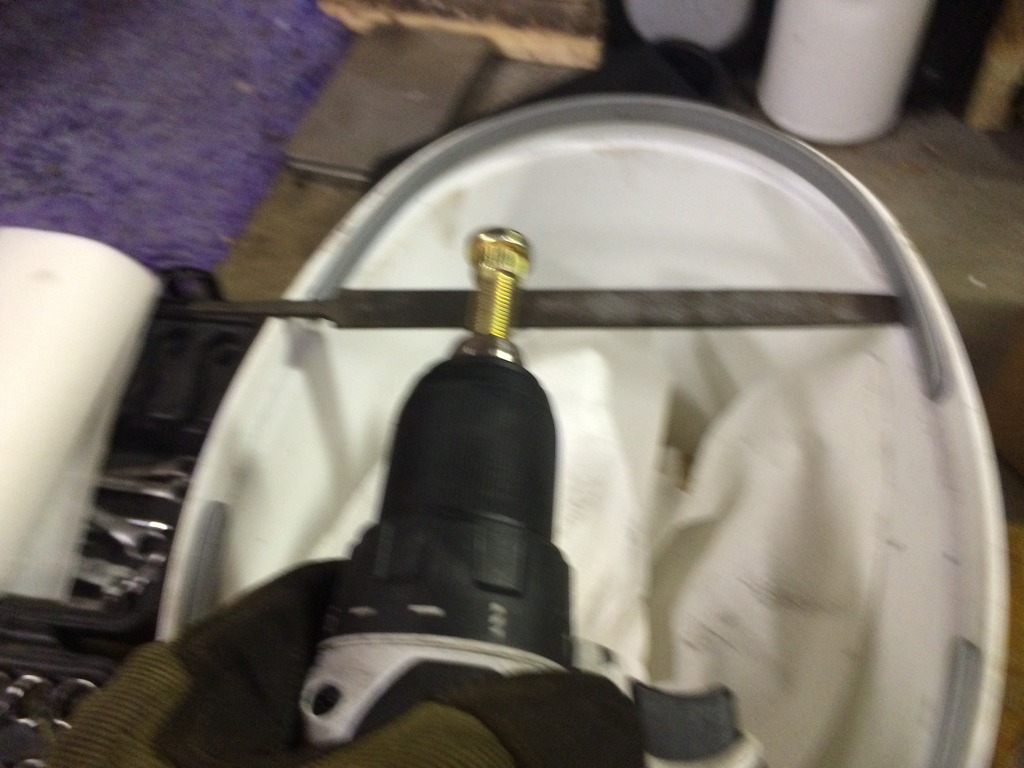
Securing the lugs with an impact gun was probably just like anyone else:
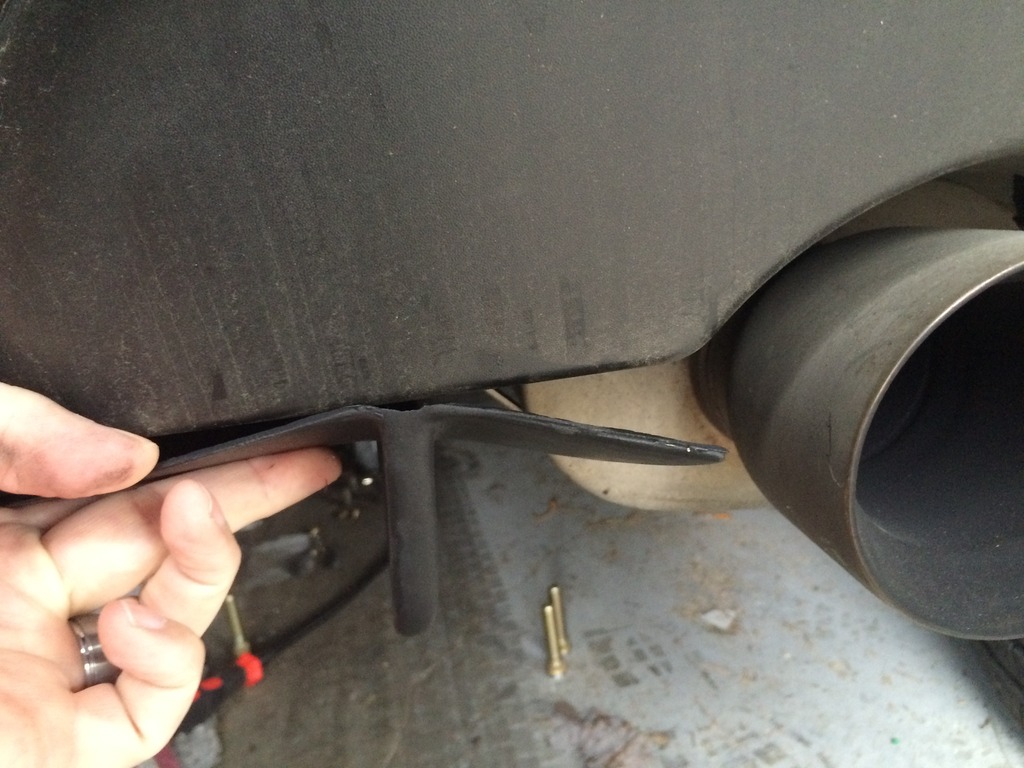
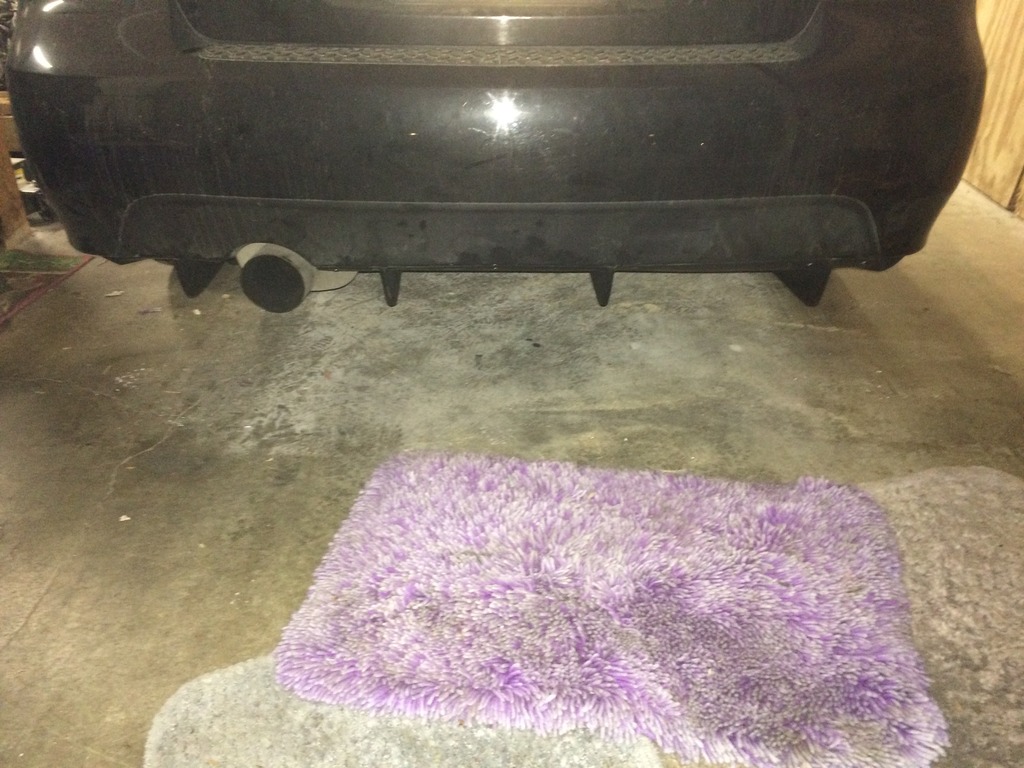
I did sell off my Vortex diffuser. It just didn't work. Even with the wider stance, it clearly looks like it's made for a widebody car. I ordered a GT500 Diffuser from eBay. I love the thick hollow fin design, but someone didn't let the fiberglass cure and so I'm stuck with this and waiting on an exchange:
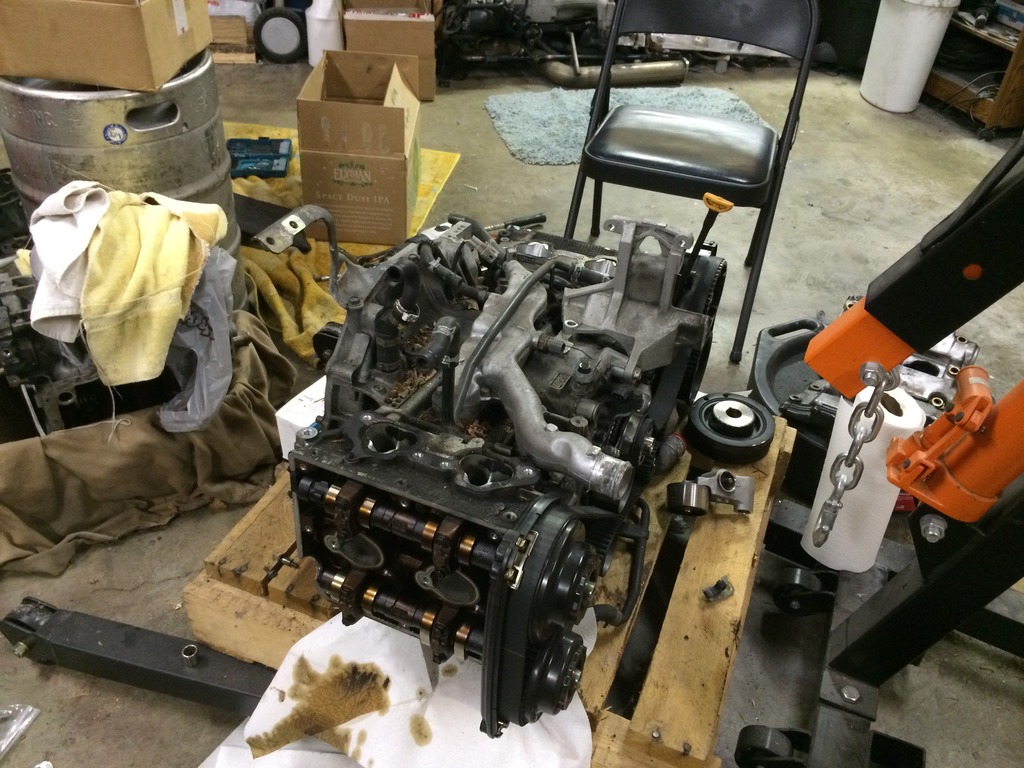
Now here's where the work accelerating part come in- Hopefully I'll be in Spokane the last weekend in August working with Craig Woolman (Maxwell Power's old builder) on assembling a Hybrid Longblock capable of 500WHP. Pulled the Valve covers and intake manifold from my 'spare' engine in about 20 mins apiece, then hit my head against the wall trying to get 3 of the cam bolts off. Got advice from a couple of engine builders and the Amazon orders are on their way, these will be going to Equilibrium Tuning in California to get the heads combustion chamber matched.
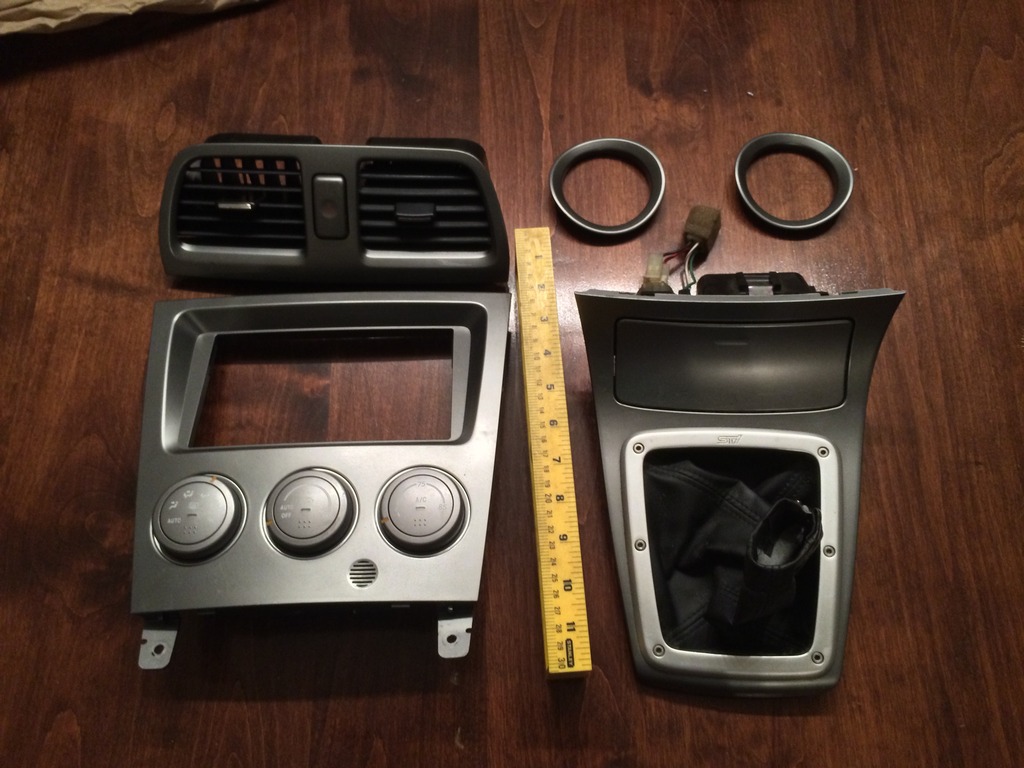
Of course, I'm never just satisfied with just function. I purchased my spare console pieces and will be working on a wood grain interior. It's a Saabaru, so damn the critics.
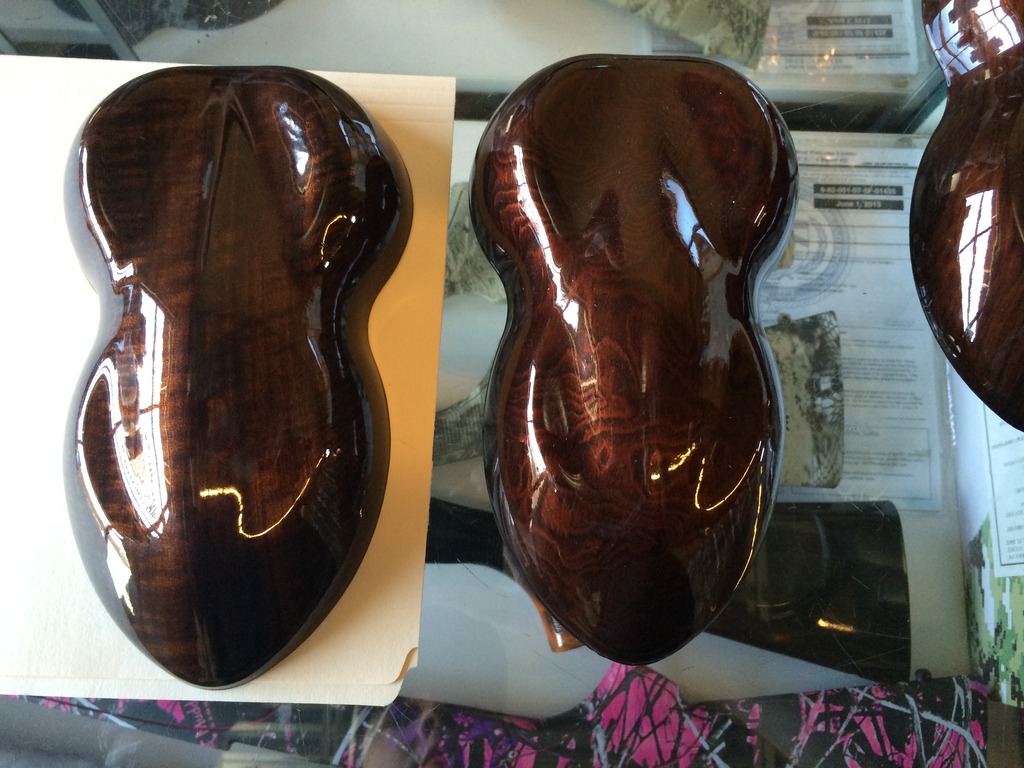
I visited the Hydro-Dip.com facility in Meridian, Id and got hands on with their samples. Beautiful work, true factory quality:
Here is the current planned workload:
Pull Heads, send to EQ Tuning
Replace rear diffuser
send interior to Hydro-Dip.com
Build long block
Get EWG uppipe solution from Nameless Performance (they're working on a solution that fits now)
Install longblock, new clutch and STI Type-RA transmission
Block off hood scoop
Redo headlight LEDs (halos are failing again, considering new pattern)
7-30-2015
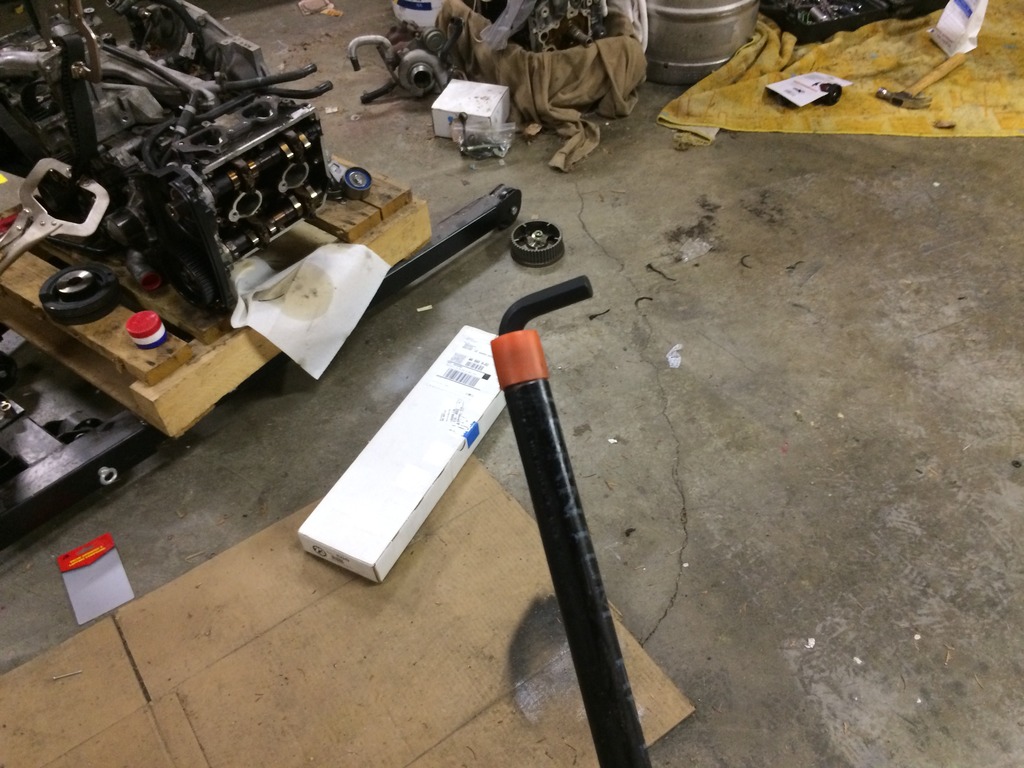
Worked on the Cam bolts with a traditional breaker bar, impact gun and hex bits plus valve lash. Got 2 of them out, had to drill out the other two. this took HOURS, even with the carbide tipped bits running at low speed.
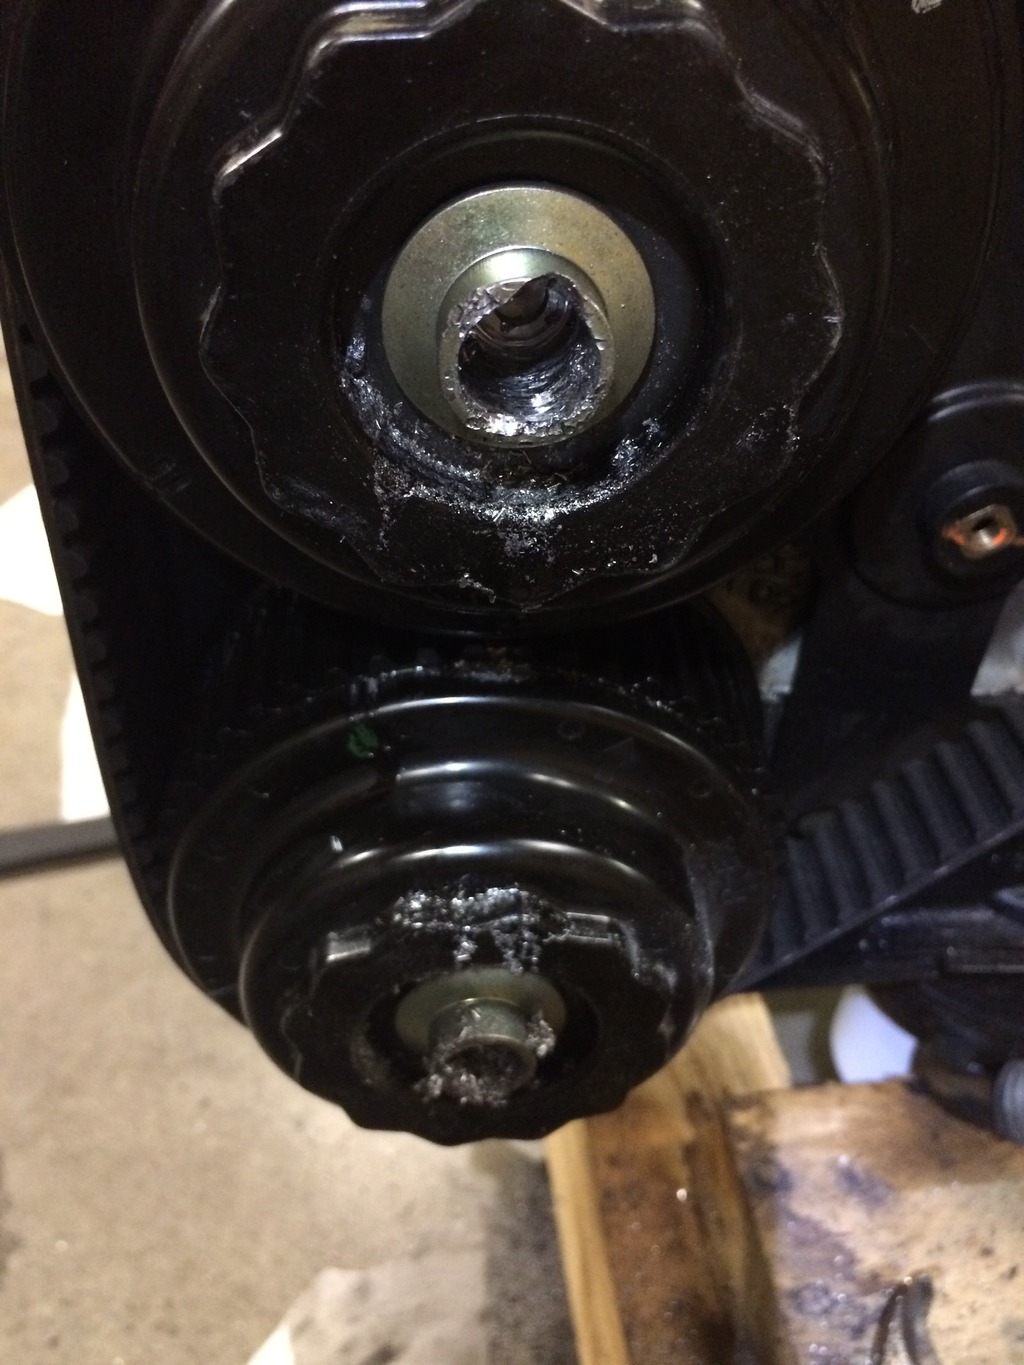
I suggest to anyone trying this, get a 4 foot pipe at home depot and a regular Allen Key in the end of it. Wish I'd started with this, much cheaper anyway:
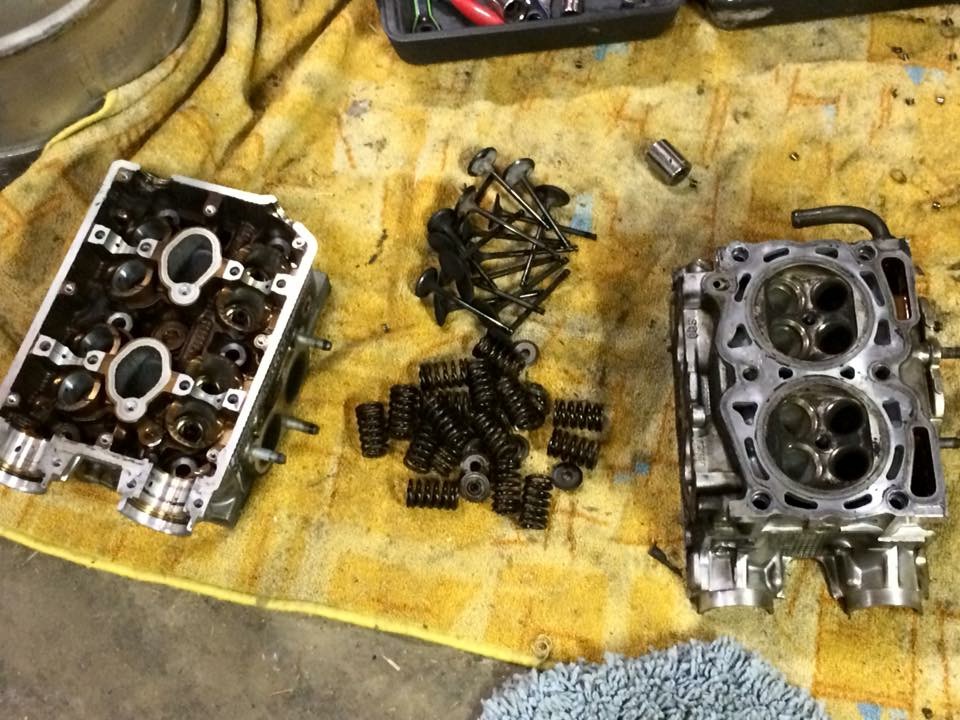
Rest of the heads and their bolts came off without issue. just needed to hammer a socket on the back of the valve springs to get them to pop out, shipped them off to equilibrium tuning this morning:
8-23-2015
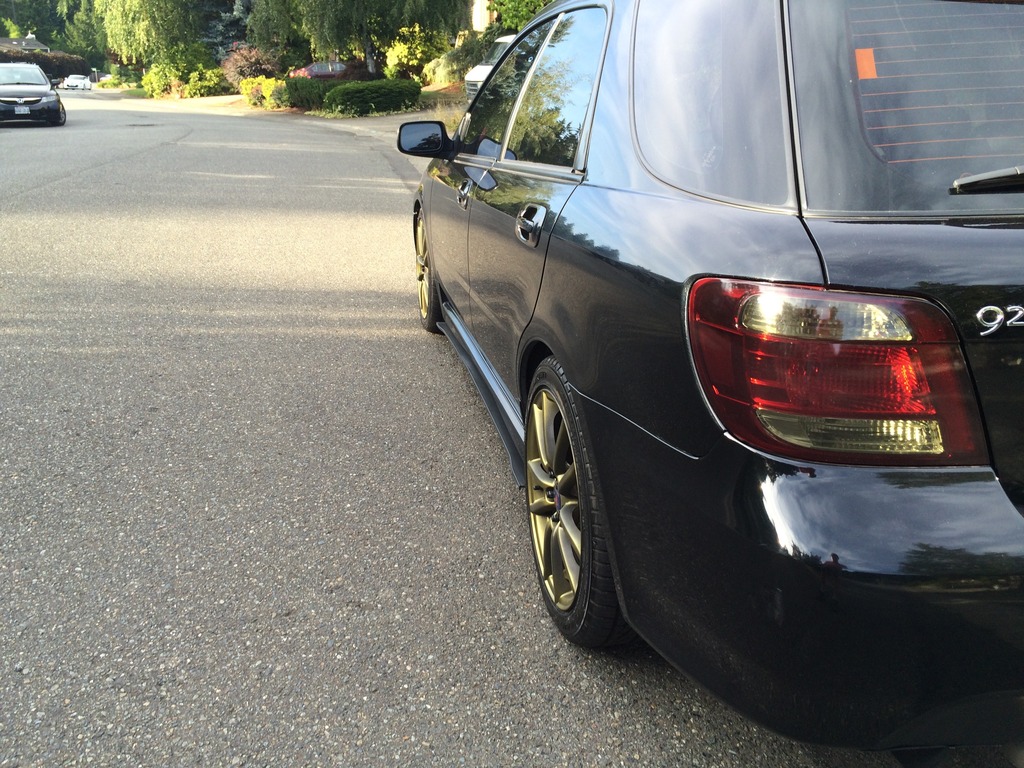
Progress- first, the form and function exterior stuff:
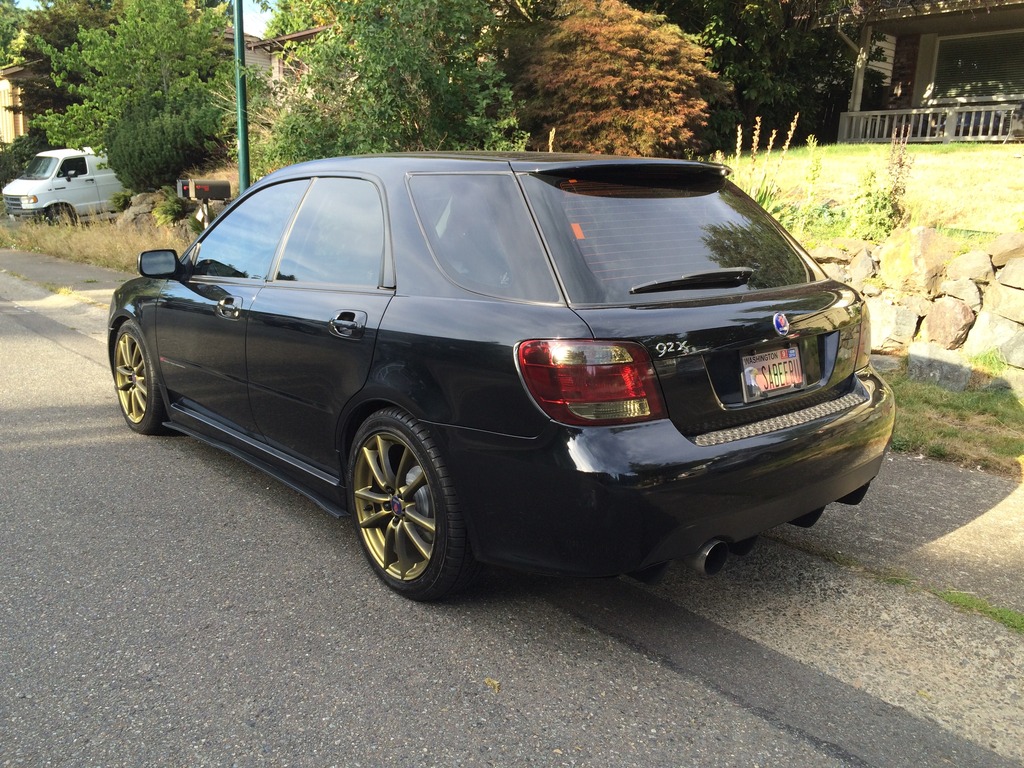
Here's how the wheel gap and fenders lined up with the new lugs and spacers. Highly improved, the way it 'should' have been new:
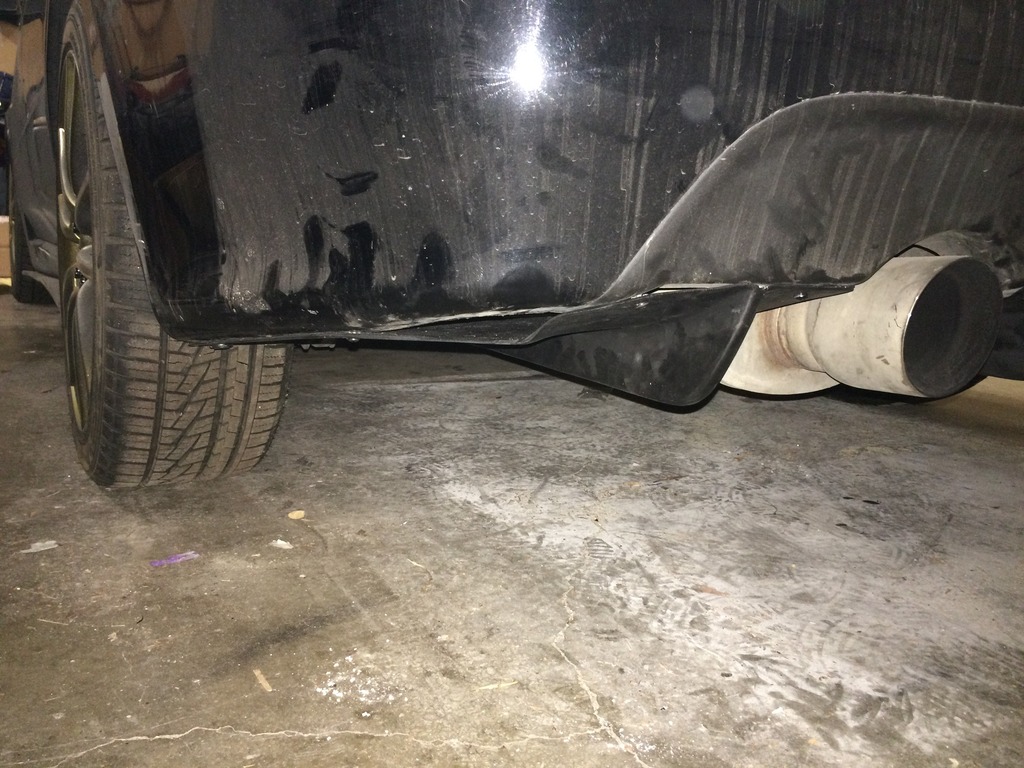
Next, I worked with my diffuser vendor and the manufacturer of the GT500 diffusers told them I should just heat gun it first. It did work ok after all, and aside from a 'bump' on the RH side where I worked it over the charcoal canister and a gap on each corner, it came out with a fairly factory appearance:
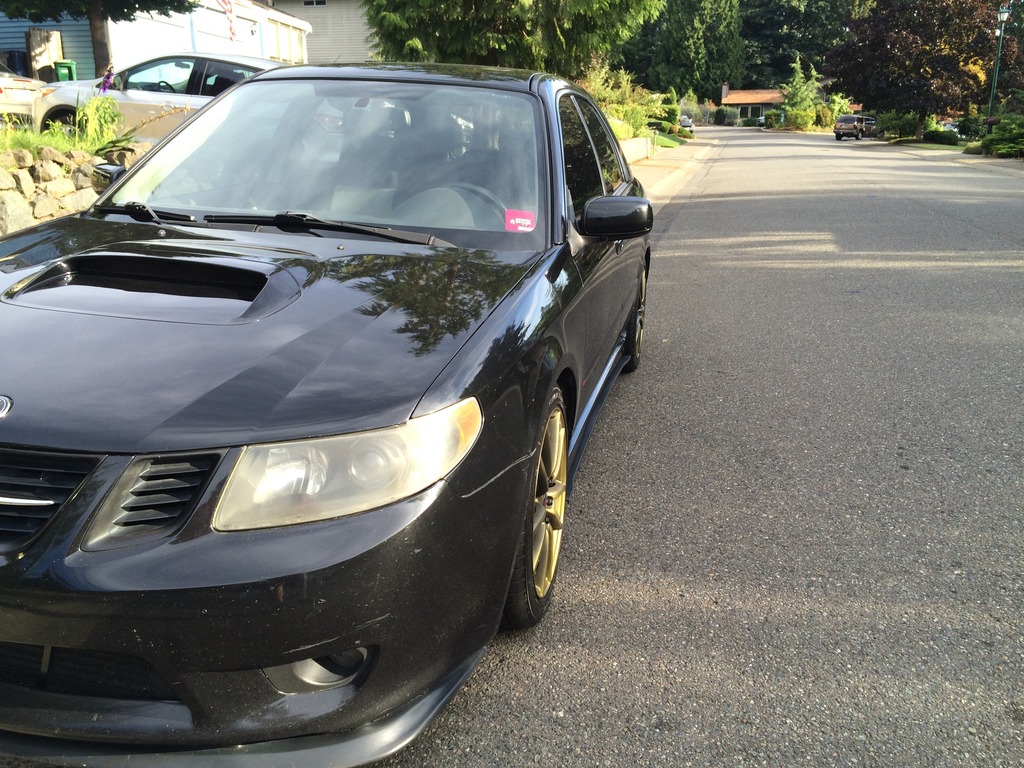
After a year of staring at a scrap plastic piece and gutter guard on my workbench, I finally pulled out my spare (and better painted) hood scoop and got to work on blocking it off. I started by doing some rough trims around the edges and pushed the pieces into the scoop until I figured out where to make the cuts to go around the tabs. I kept it a very tight fit, so while not windproof, it stayed in place even with the scoop upside down.
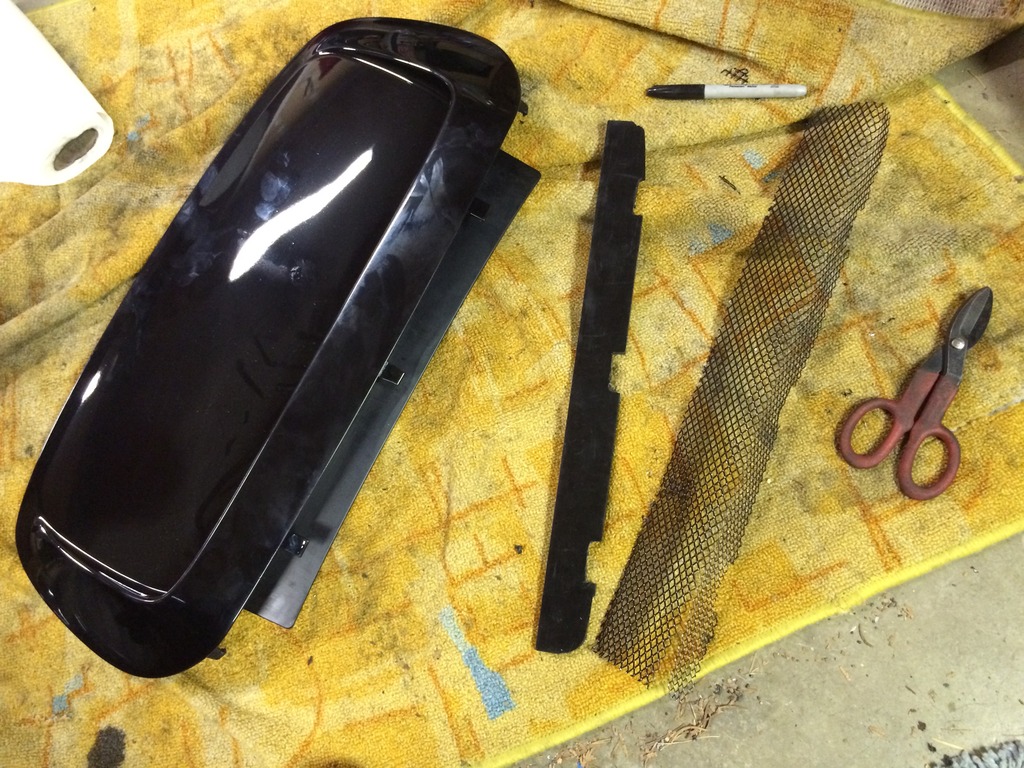
Once they fit, I put 3 screws through the bottom and used plastic bumpers on the sides to press the plastic and mesh into place:
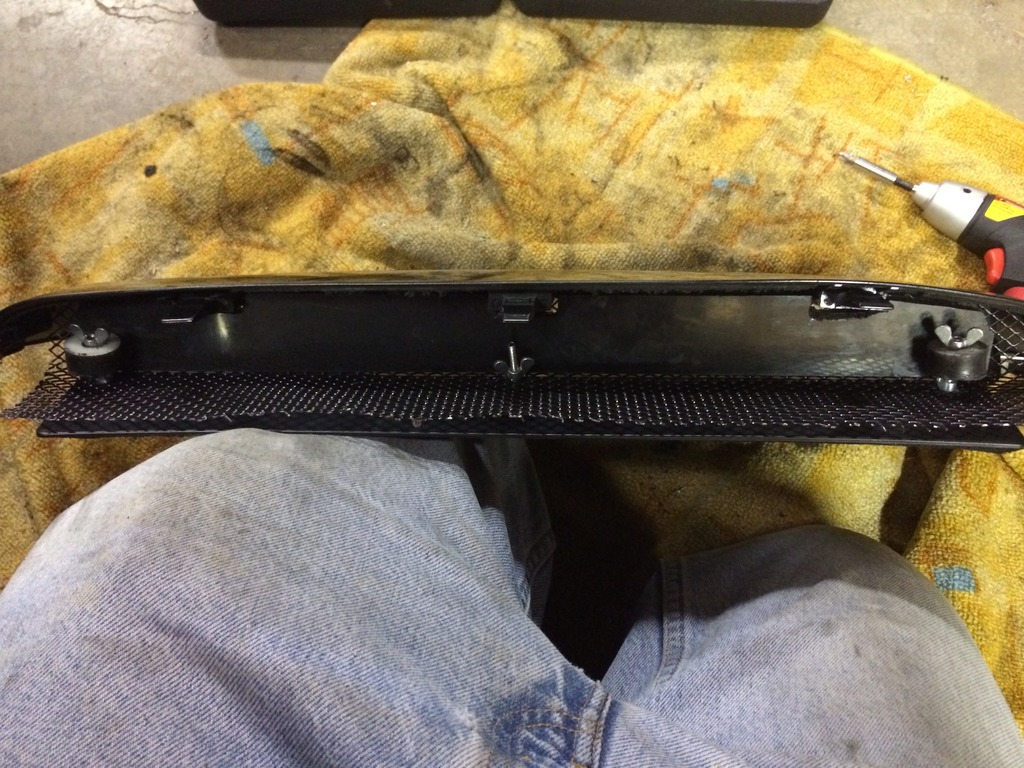
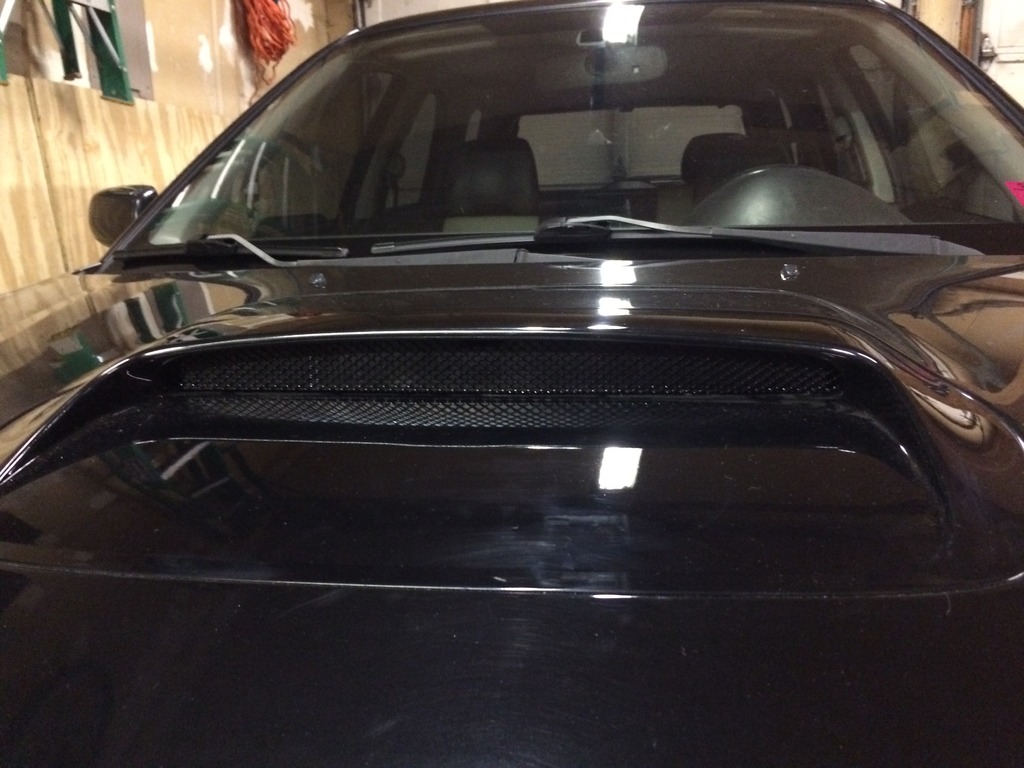
From the front it pretty much looks like a fake factory scoop and is completely immovable. It should block off about 95% of the airflow going in and hopefully help with fan efficiency.
To prep for the new interior panels, I pulled the HVAC dials. I was able to remove the amber light and started the all black controls:

Car looks great! Nice shifter.
Posted by Diggymart on 1/31/19 @ 4:23:34 PM