You must be logged in to rate content!
4 minute read

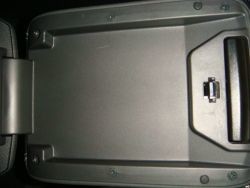
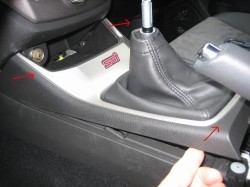
1. Remove the 2 bolts (circled in red) that are in the arm rest that are bolting down the arm rest to the chassis.
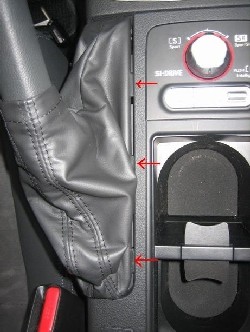
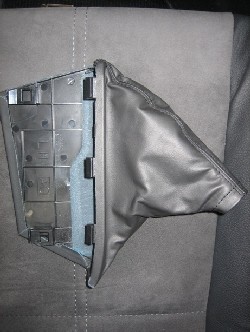
2. Push the Ebrake boot up towards the roof of the car. There are three tabs (see red arrows) that you need to release. If you push straight up they will release. You can also push the boot slightly towards the driver’s seat to help this.
3. Once the tabs have released, just slide the entire boot over the handle. You will now need to remove the old boot from the plastic frame. The leather is bonded to the plastic frame with adhesive and you can use a hair dryer to soften the adhesive and gently peel off the old boot. Super glue works well to attach the new boot.
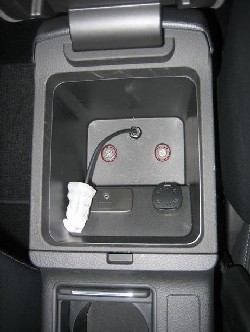
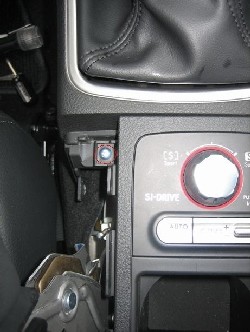
4. Under the Ebrake bolt is a bolt that needs to be removed (circled in red)
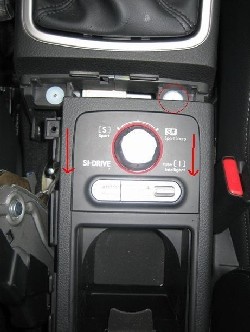
5. Slide the entire center console towards the rear of the car. DO NOT LIFT TOWARDS THE ROOF OF THE CAR AS YOU WILL BREAK THIS LITTLE WHITE CLIP (circled in red). When you reassemble the center console later, it helps to separate this clip into two pieces and place the upper part in the center console.
6. Remove the shift knob by turning it counter-clockwise
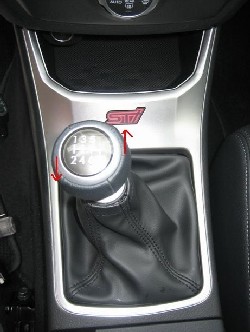
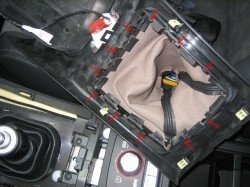
7. Then grab the tray and the shift boot portion and pull it straight back as well. However BE VERY CAREFUL, as there are small fingers that hold the whole assembly to the lower part of the dash.
8. Flip that piece over (be careful not to disconnect the wires) and remove the shift boot and frame by pushing on the tabs (see red arrows)
9. The shift boot and frame will then lift out.
10. Once out, you will see how to remove the shift boot by simply removing the leather from the tabs on the surround frame. Obviously, you will replace the old shift boot with the new one and attach to the tabs using holes you need to create with a punch/knife.
11. Reassemble everything and enjoy your new boots!
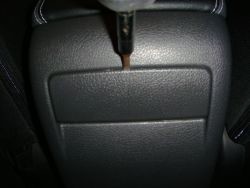
12. To remove the armrest pry off the cover on the rear of the center console.
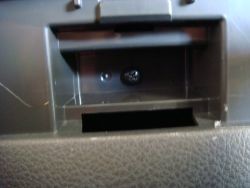
13. Remove the screw revealed by the removal of the cover.
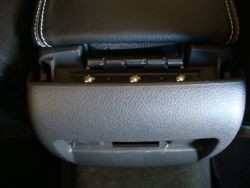
14. Pull the entire back wall of the center console off and remove the three screws mounting the armrest hinge to the console.
15. Remove the screws visible on the underside of the armrest to separate the top and bottom halves. Install the armrest cover over the top part, using glue if necessary, then put everything back together in the reverse order of removal.