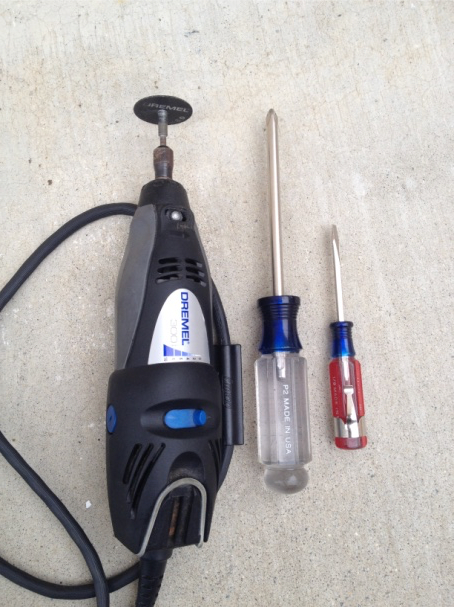
- Screwdriver (+) Phillips #2
- Screwdriver (-) Flathead Small 1/8 tip
- (Jewelers type work well if you got them)
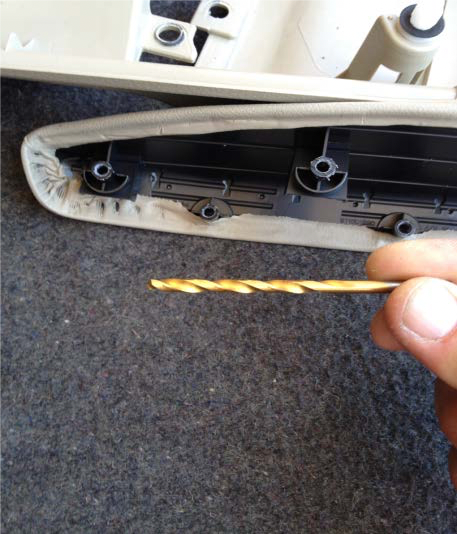
- 5/32 Drill Bit
- Dremel with Cutting Wheel
- Tarp, Paper, Protective Cover for Working Area
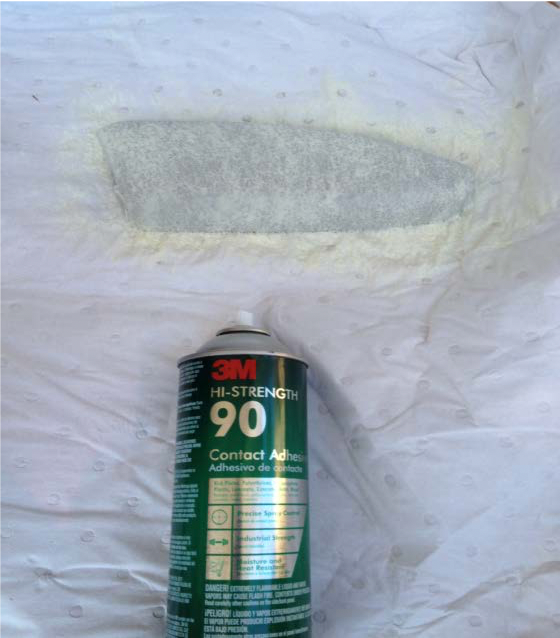
- Spray Adhesive, 3M 90 Hi-Strength Contact Adhesive
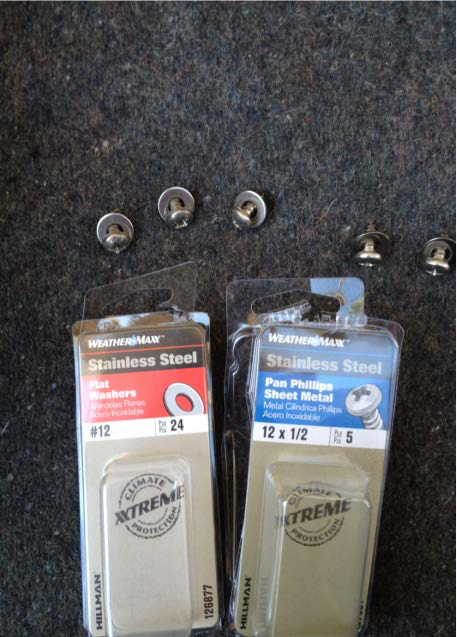
- Screw(s), Pan Head Sheet Metal - 12 x 1⁄2 (have at least 5 per door)
- Washer(s), Flat Washer - #12 (have at least 5 per door)
- Micro Fiber Rag
You must be logged in to rate content!
6 minute read


!!! IMPORTANT !!!
* Note: Not necessary to remove factory vinyl upholstery from armrest, this install is utilizing wrapping over the whole already covered armrest. To remove factory vinyl upholstery and padding use hot gun or hair dryer to aid in the peel off process. Peel slowly as to not break the plastic mounting that will need to be used and follow same procedures found in this reference guide.

Lets Begin
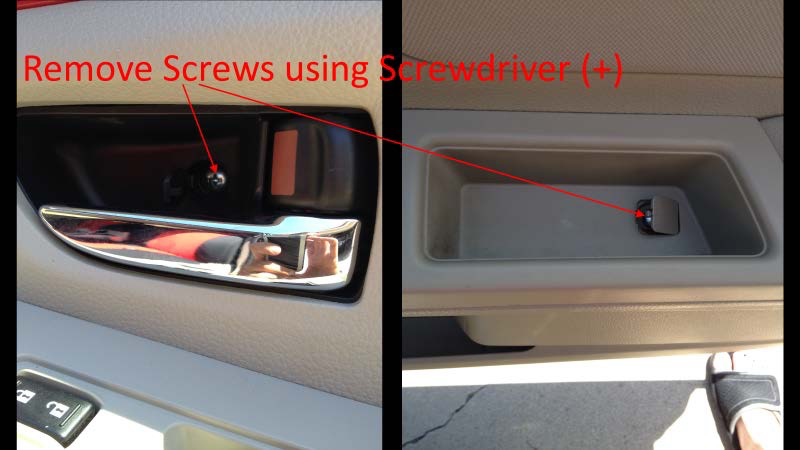
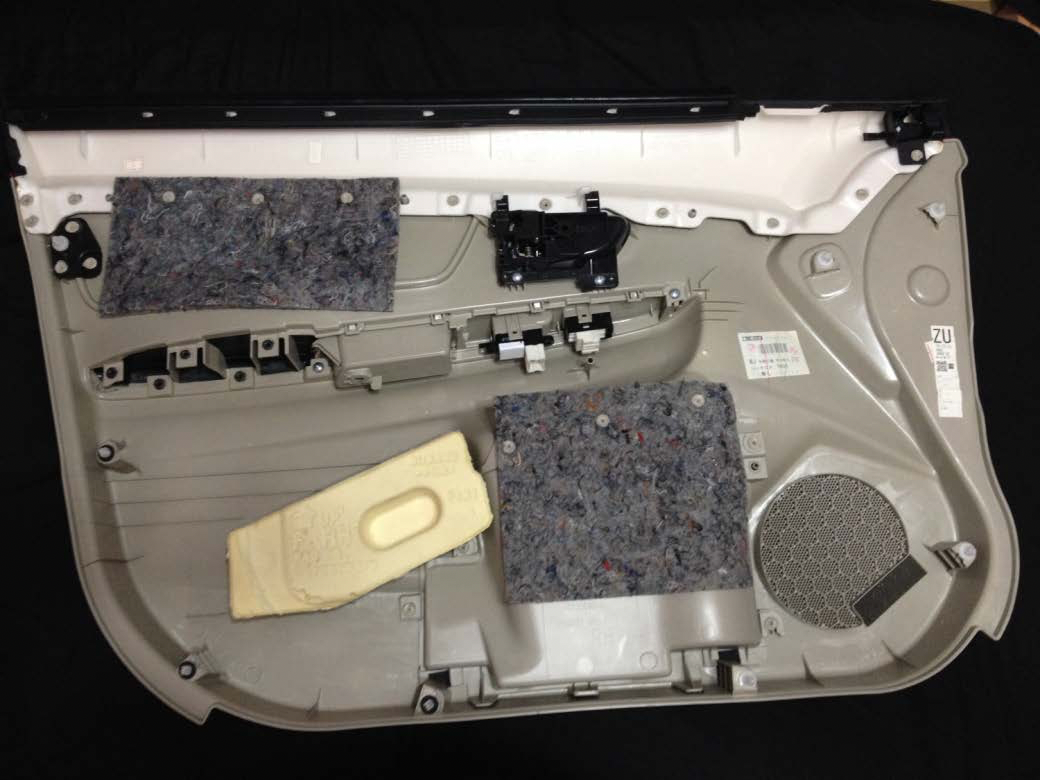
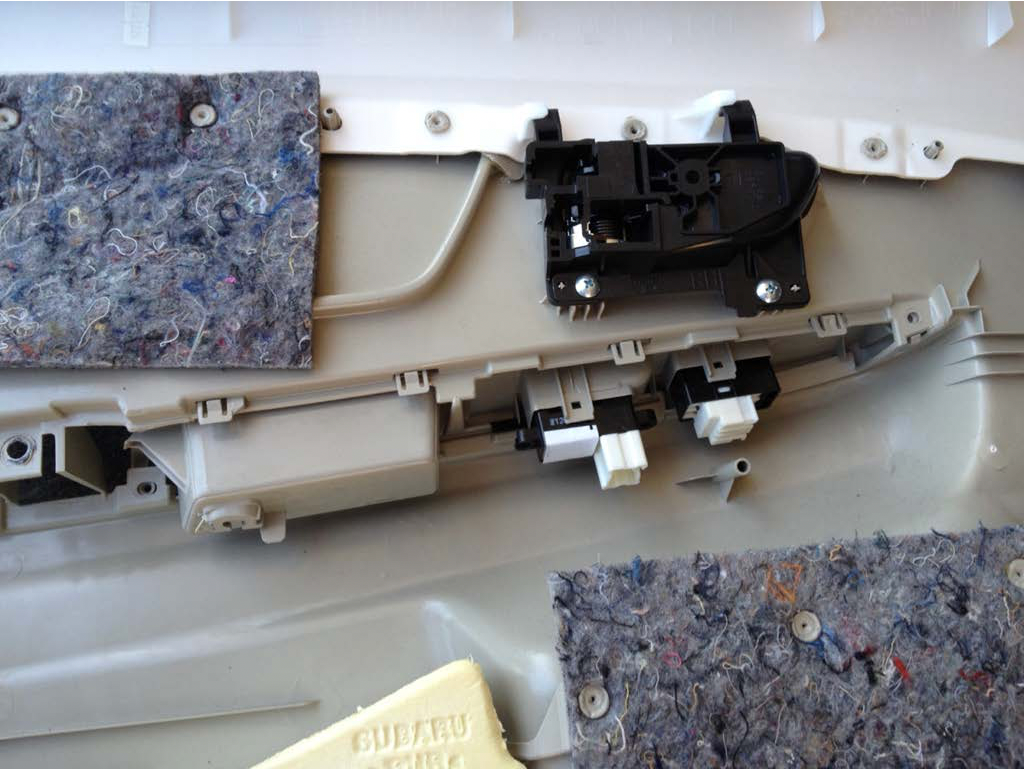
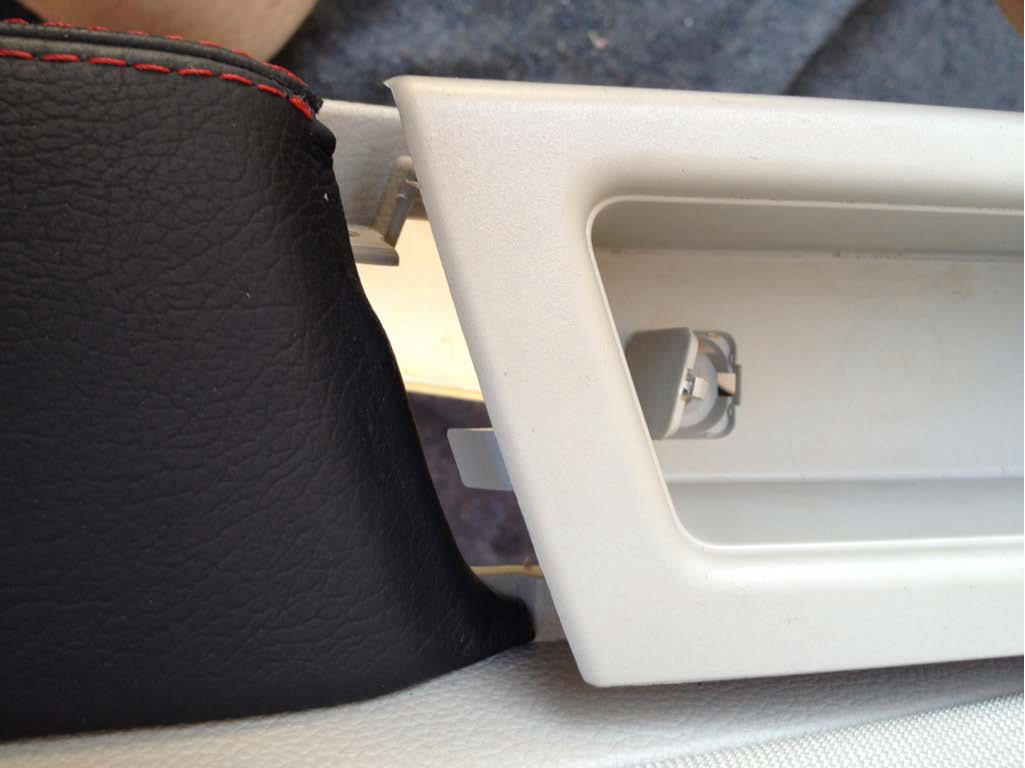
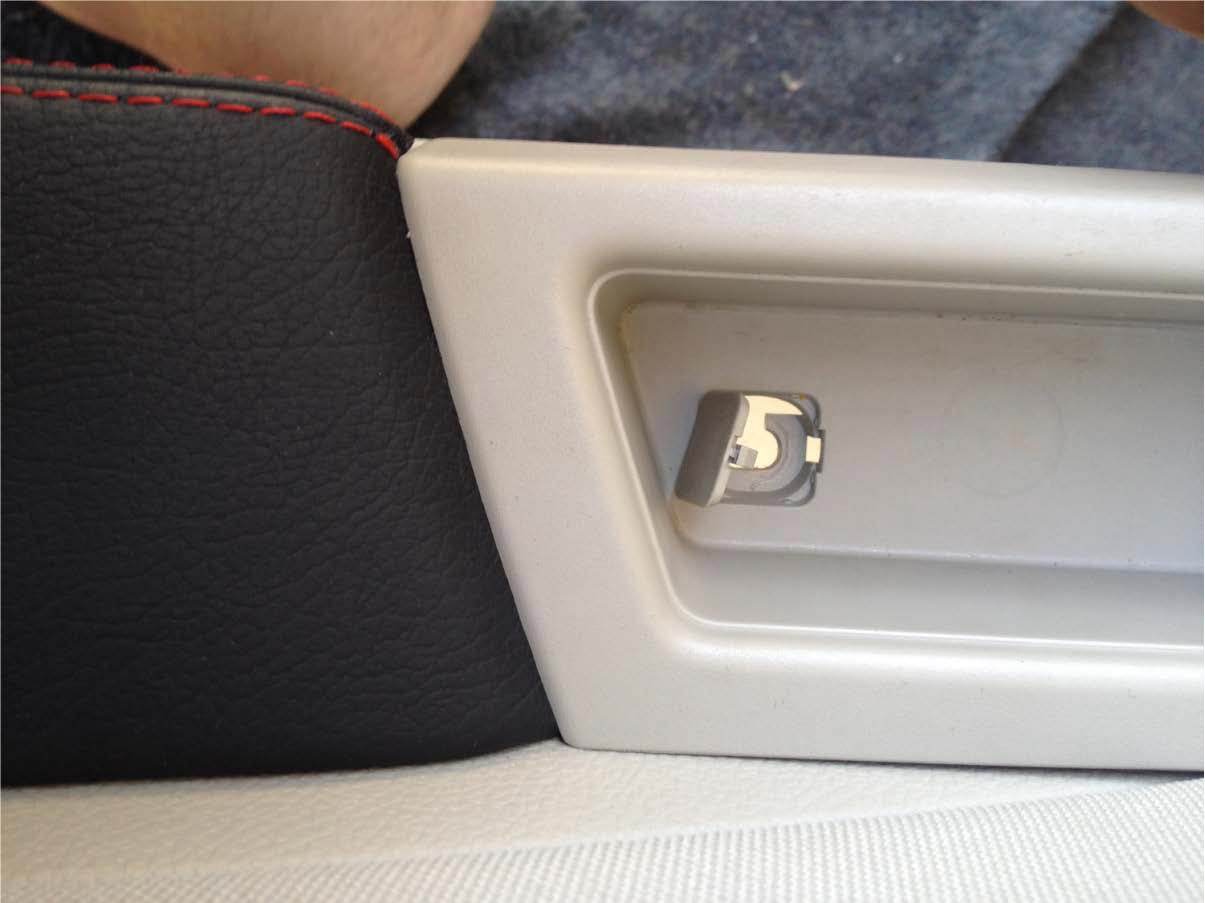
Locate Screw Access Points
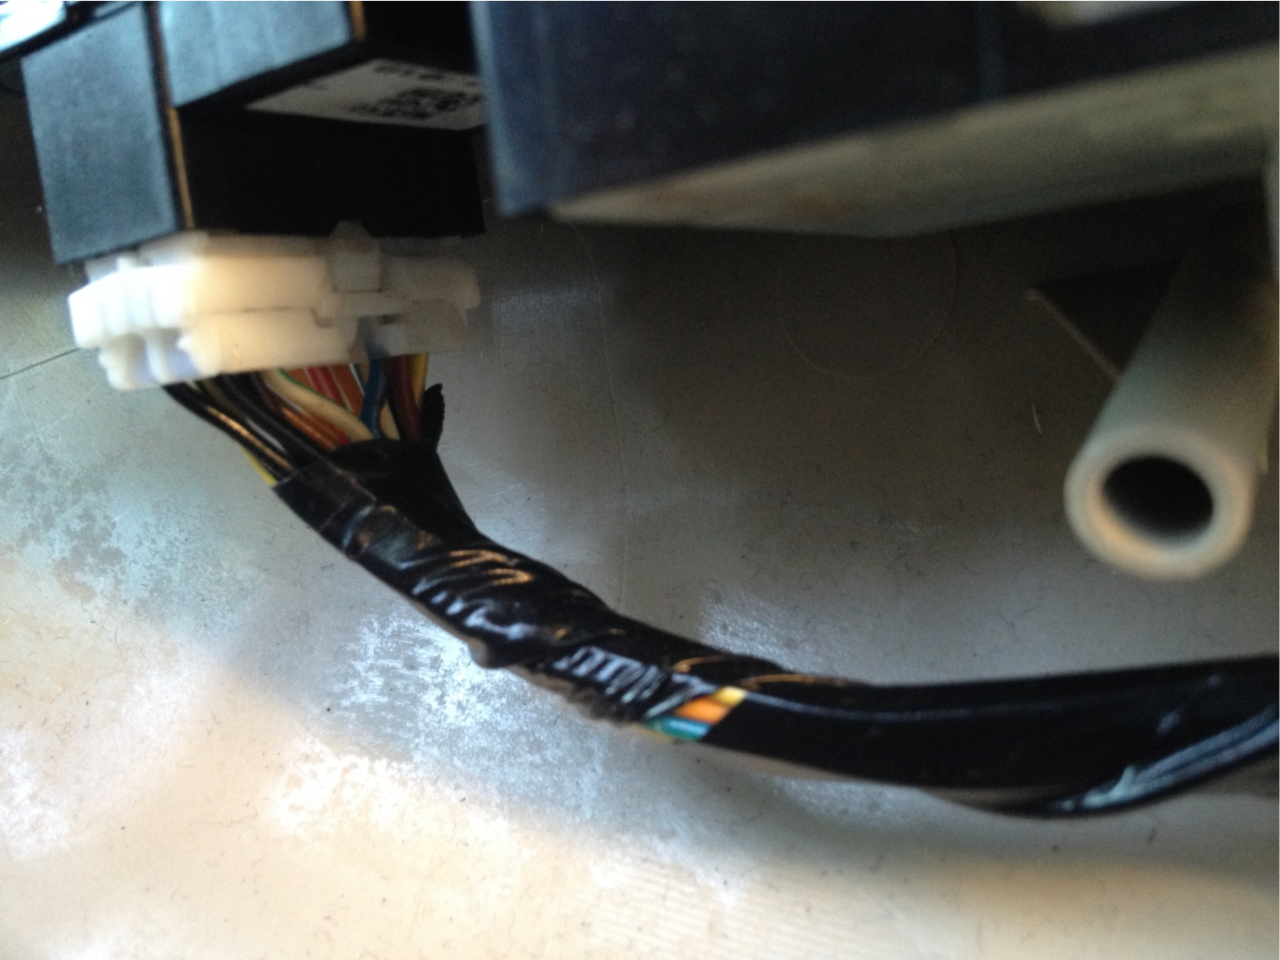
Pop Panel from Door Slowly Disconnect Door Cables Disconnect Electrical Connections
To remove Electrical Connectors
Press connector release TABS and Pull them Out
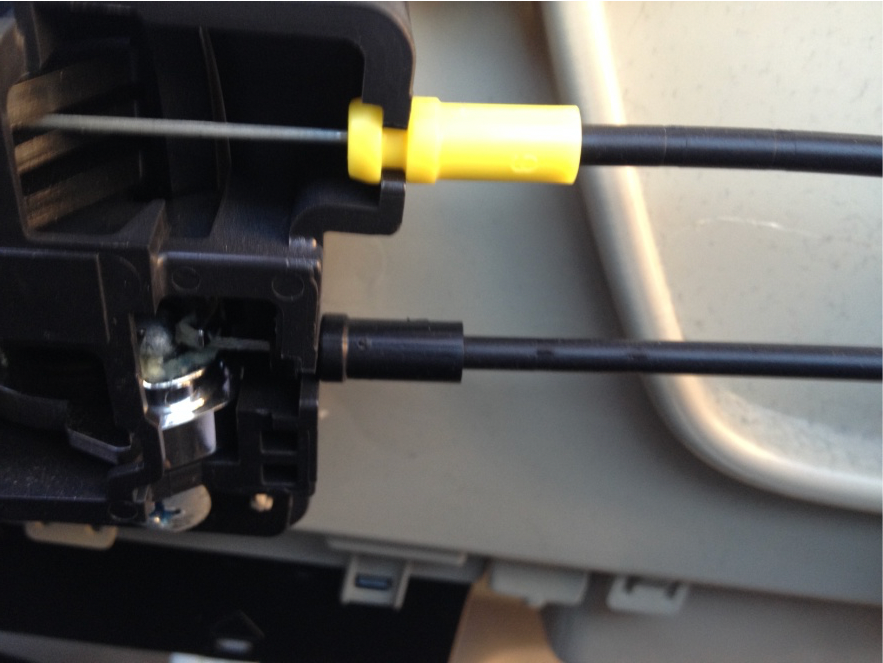
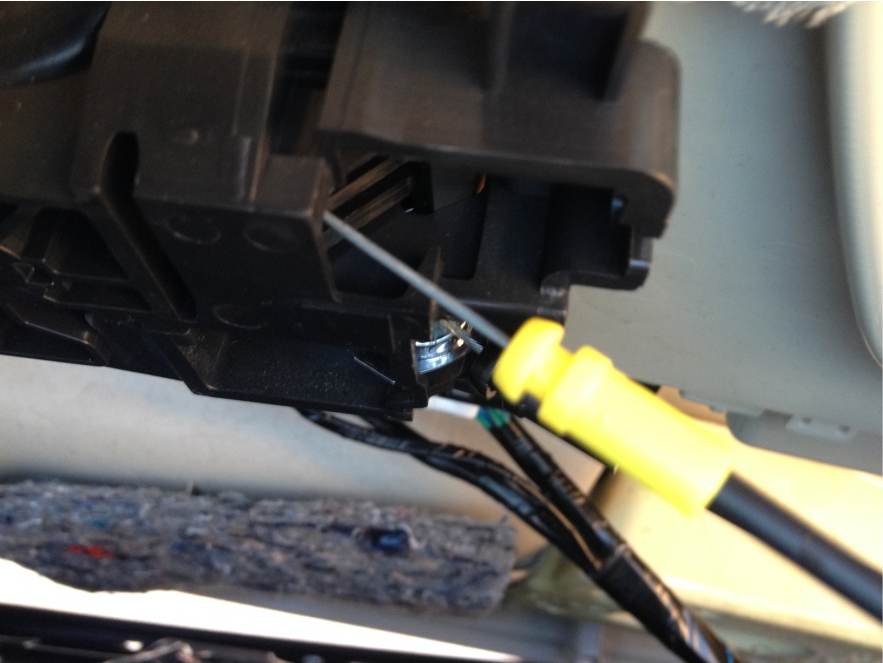
To remove Door Cables Pop Out and Wiggle them Off and Out
*** To make Armrest Section Easier to Remove
You Can Remove The Window Control Switch Section Before Starting the Grinding Process ***
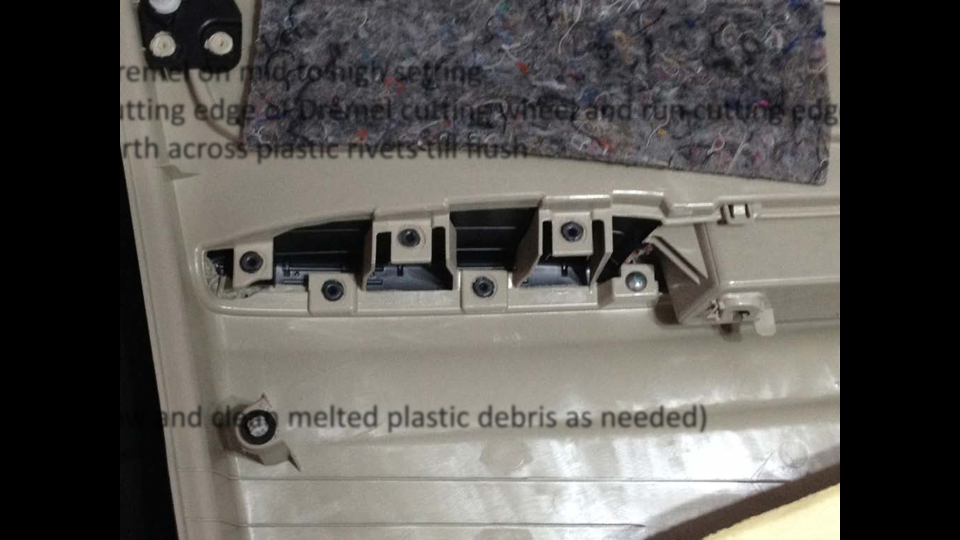
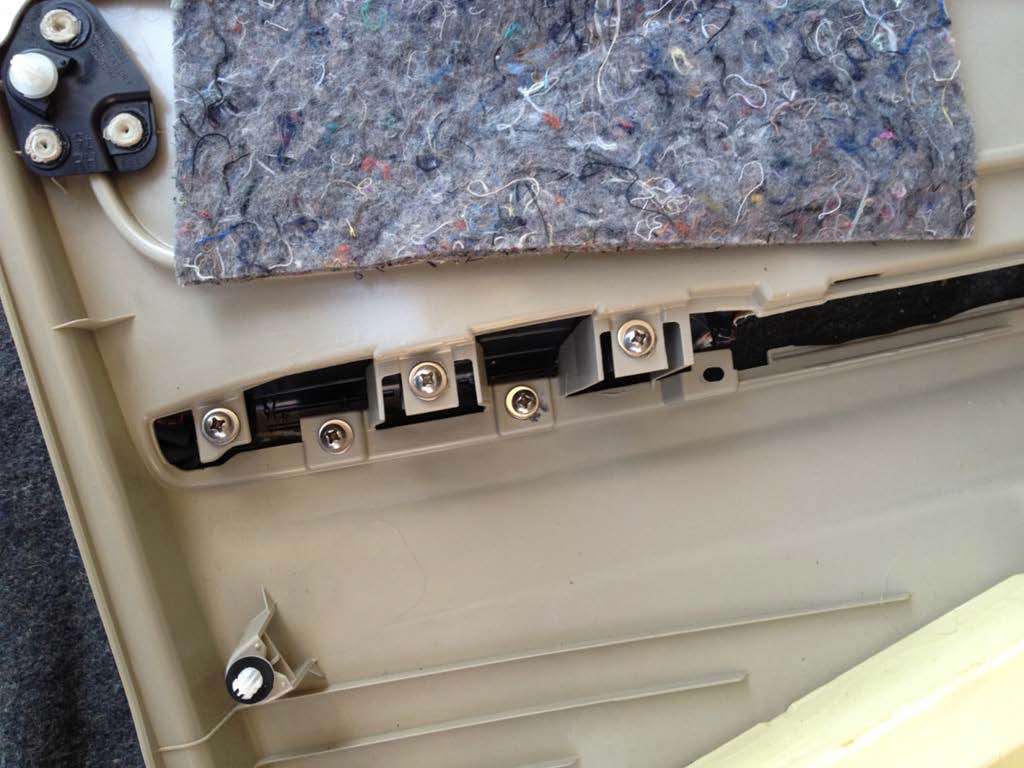
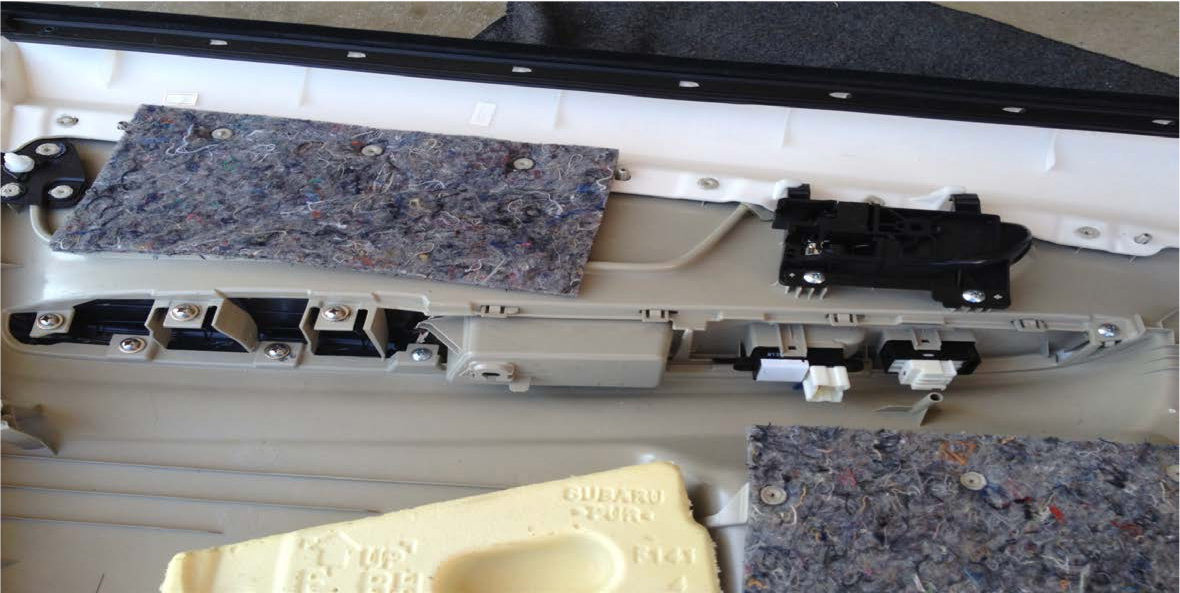
Use Dremel on mid to high setting
Use cutting edge of Dremel cutting wheel and run cutting edge back and forth across plastic rivets till flush
!!! IMPORTANT !!! ENSURE TABS REMAIN INTACT
(go slow and clean melted plastic debris as needed)
*** To make Armrest Section Easier to Remove
You Can Remove The Window Control Switch Section Before Starting the Grinding Process ***

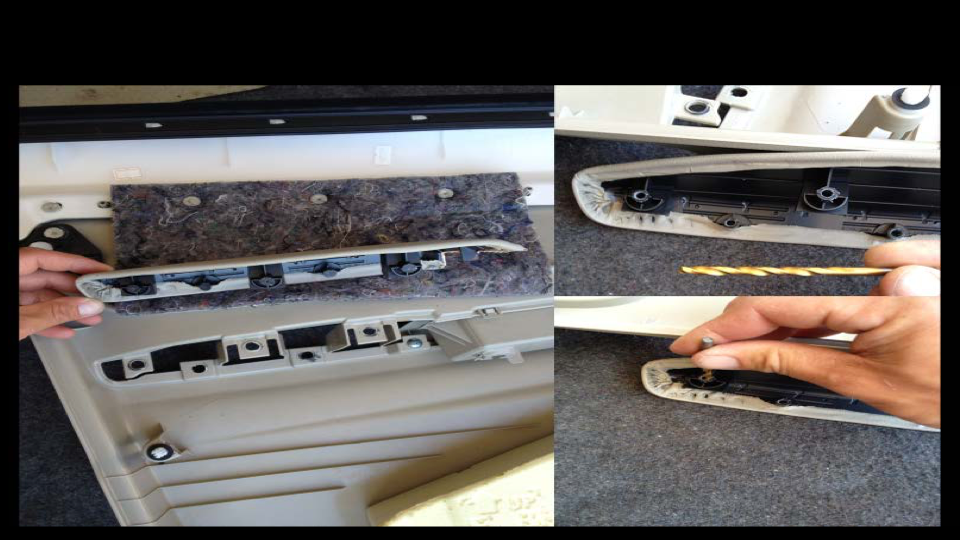

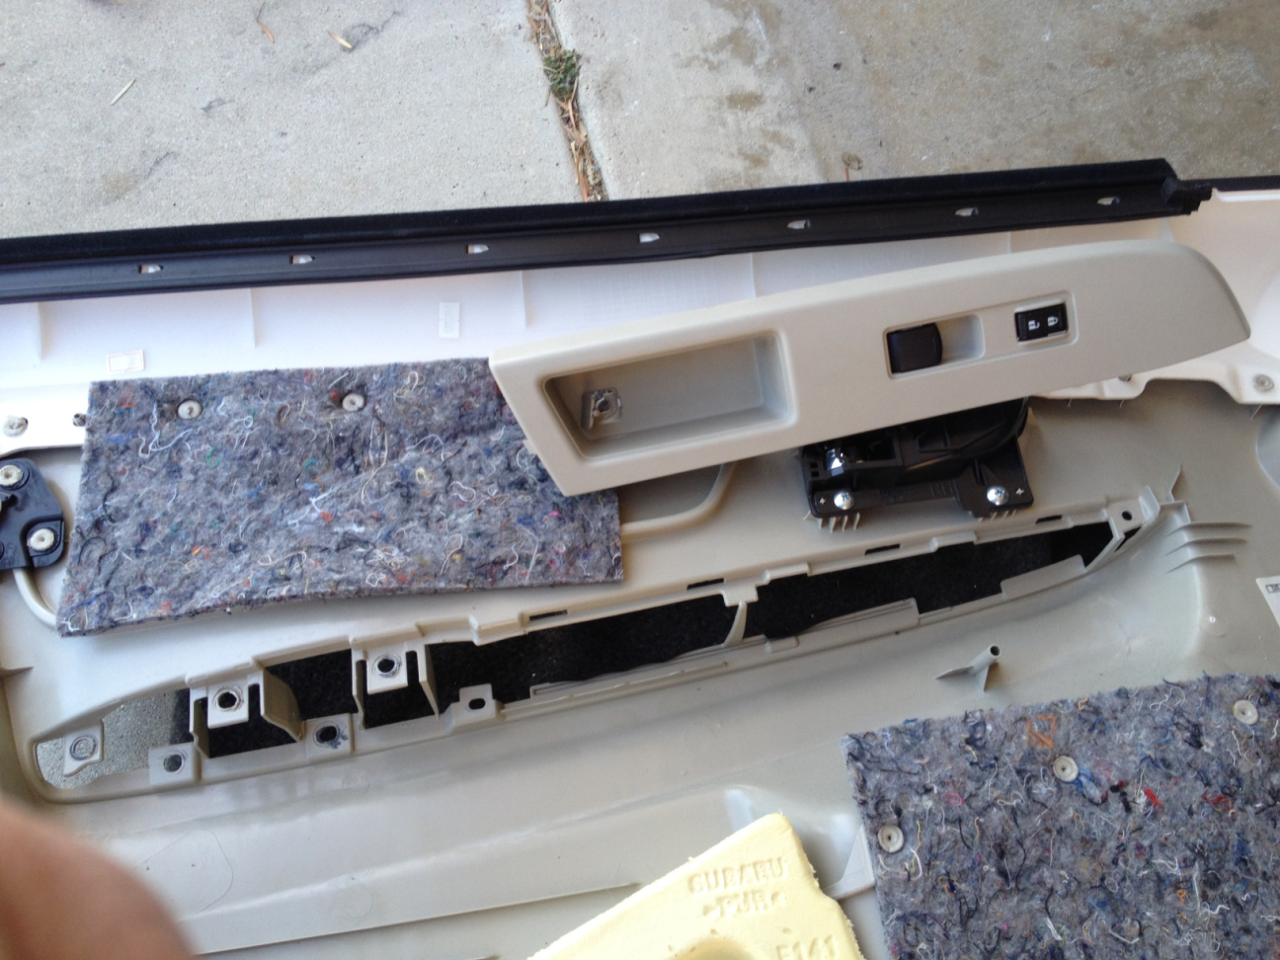
Once ground flush and access plastic debris removed, detach armrest cover (should detach easily).
Use 5/32 drill bit to bore out holes (exercise caution, drill bits are sharp; material fairly soft should
not need a drill) Note: use screwdriver (+) or a punch to mark and start hole if existing hole ended filling with too much debris.

!!! IMPORTANT !!!
ENSURE TABS ARE STILL INTACT Can Use Slight Pressure to Separate tab from Door Armrest Cover
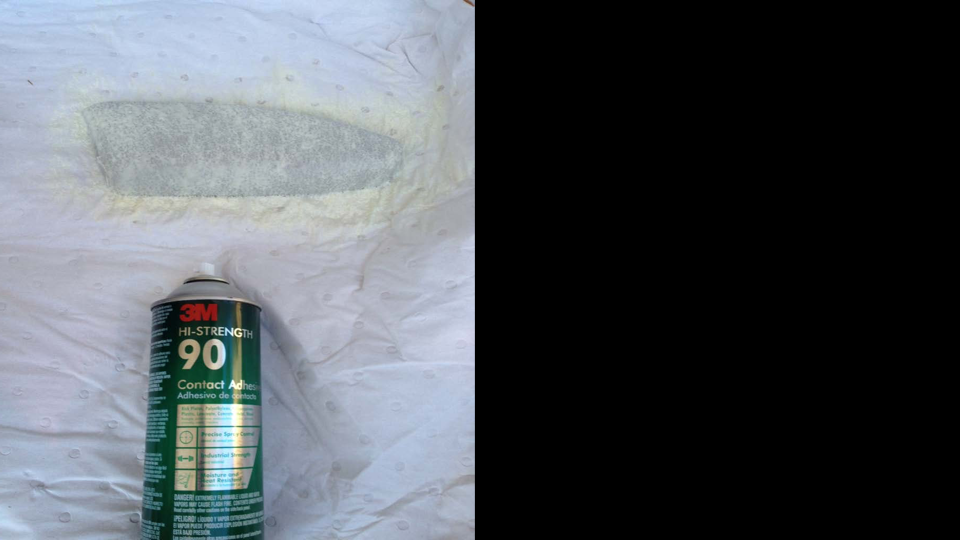
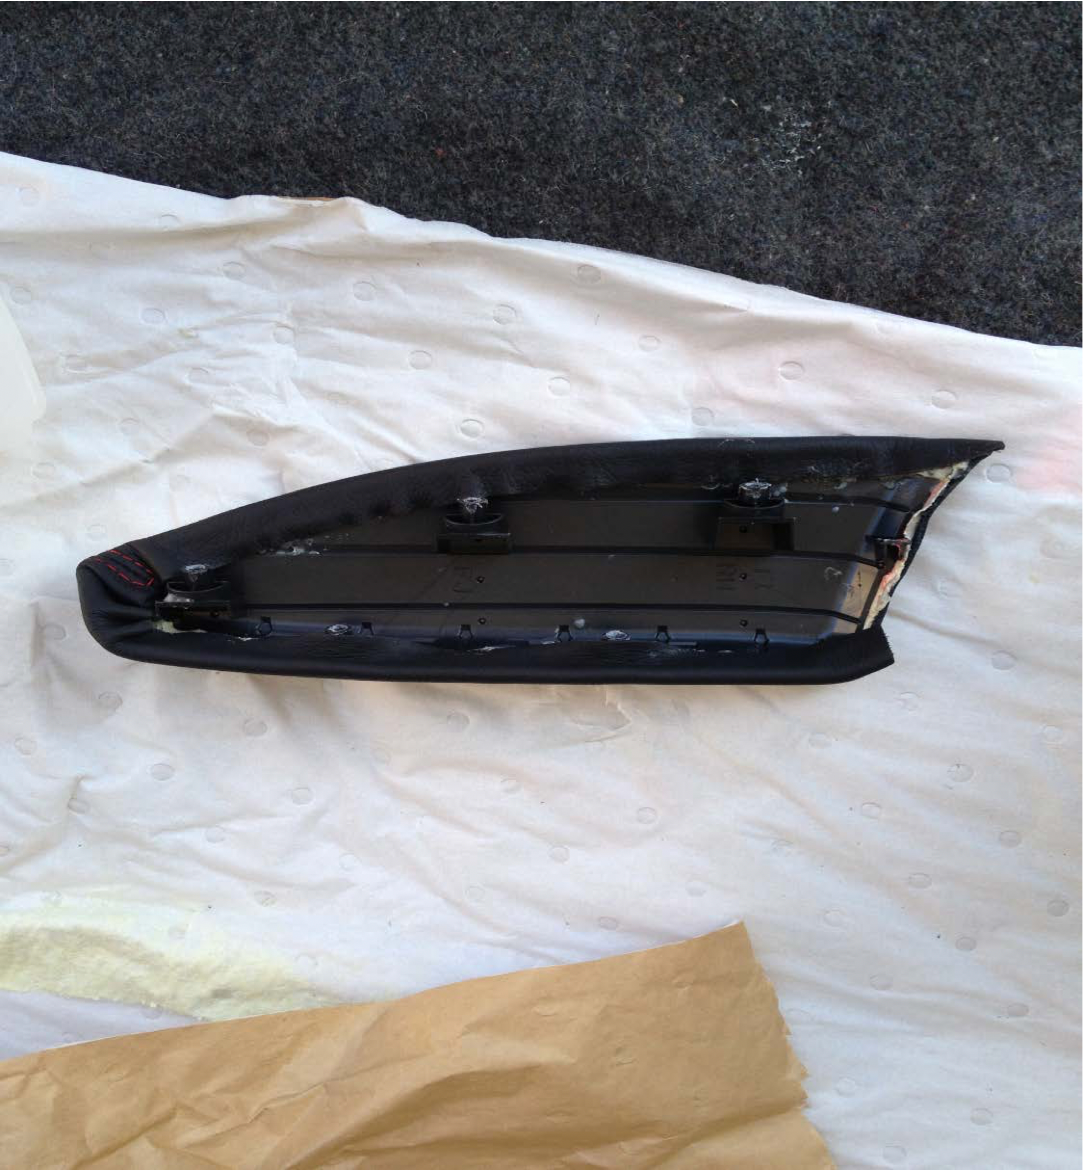
Once Door Armrest is off, place on protective layer, tarp, etc.
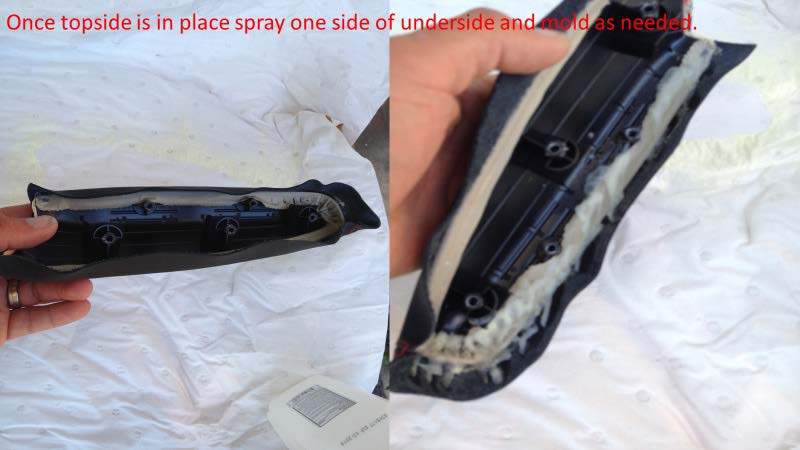
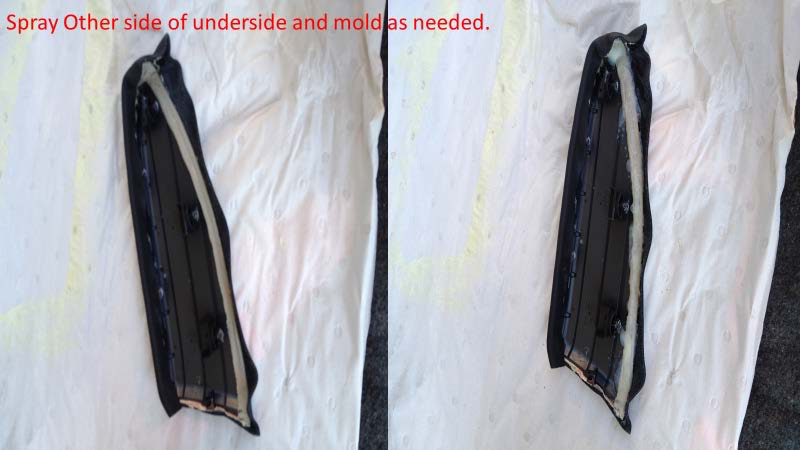
Shake Can And Spray entire Top Portion of Door Armrest. (Follow Directions on Spray Can) Place New Door Armrest onto Old and mold as needed to desired fitment.
(there is more than enough time to get product in place before product cures)
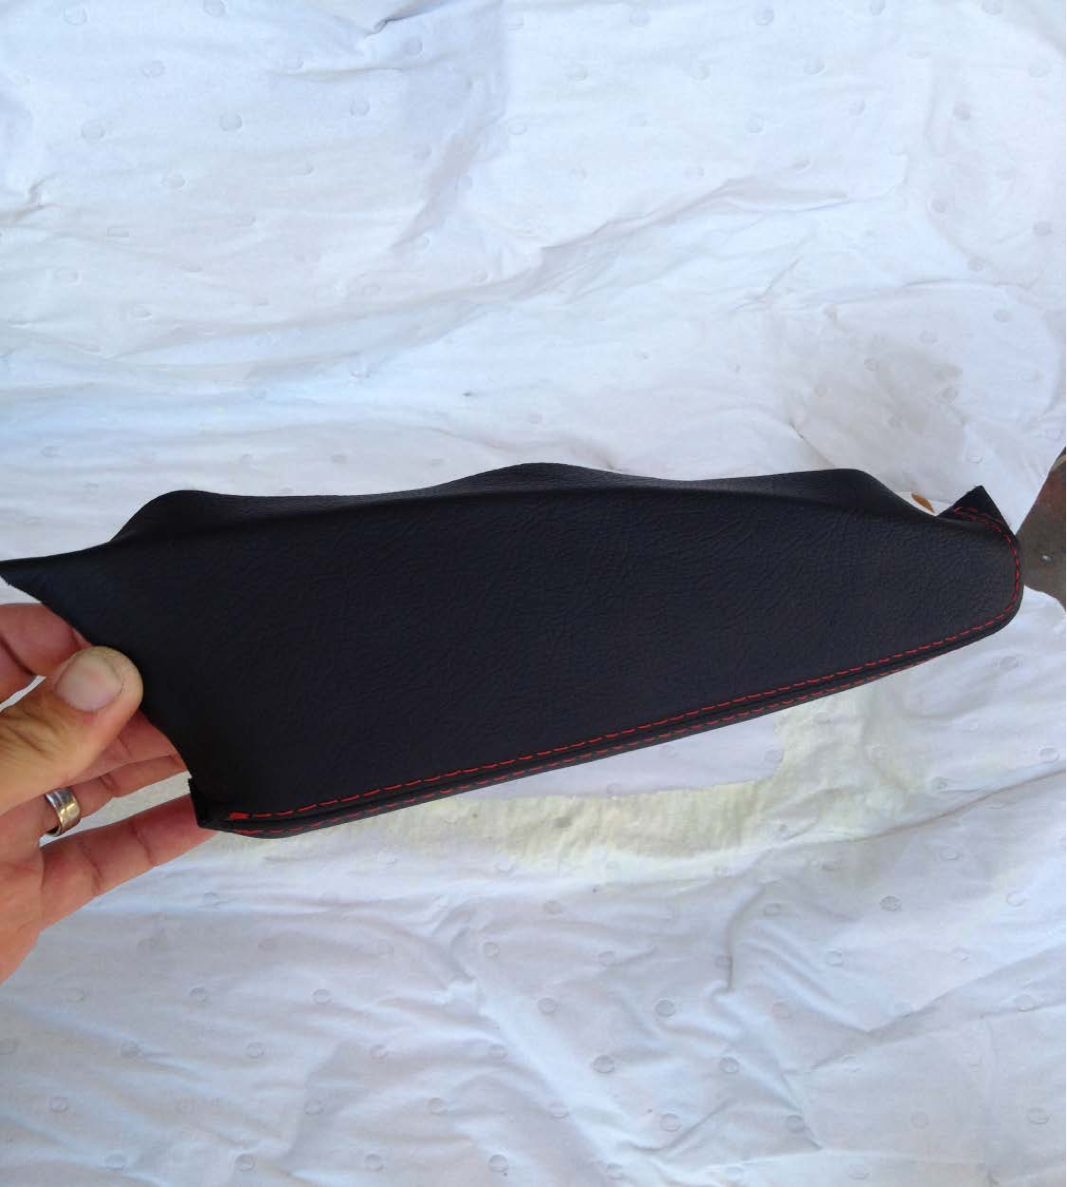
Clean any adhesive that may seep through the seam with the Micro Fiber Cloth (Even after Adhesive Cures, any seepage through the seem can be cleaned off relatively easily)
Using the Screwdriver (+)
Remove the window control switch section.
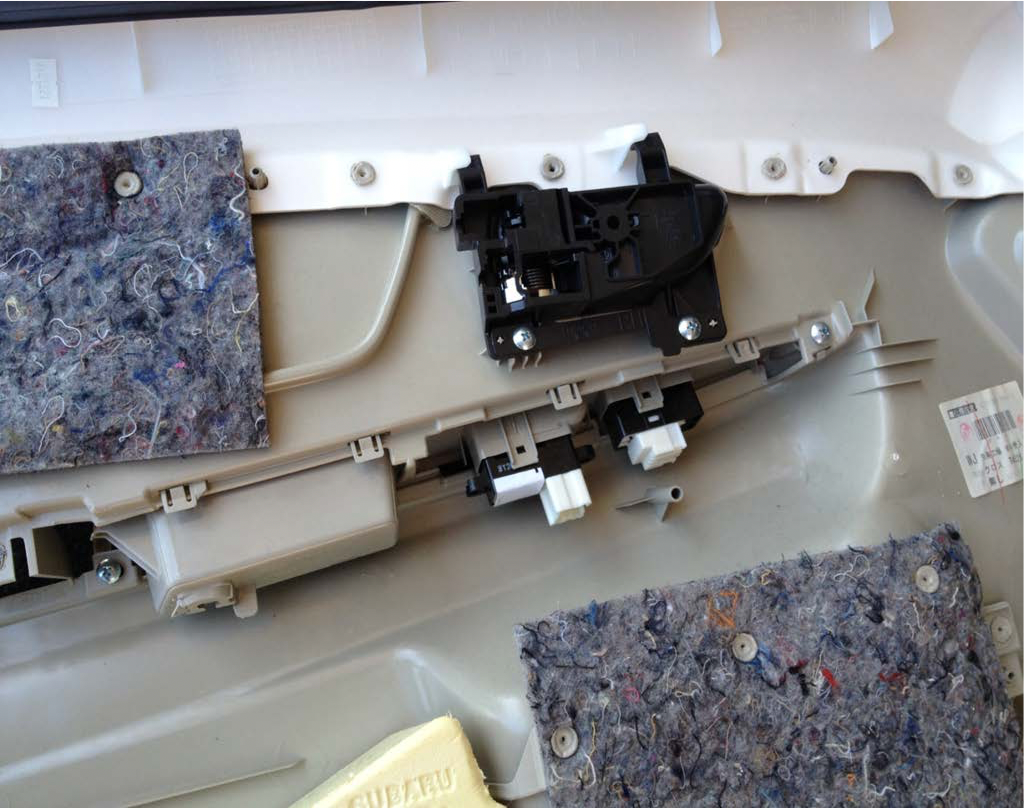


Press in on tabs and remove window control switch section.
Start on Forward Most Tab
(side of panel that is closest to front of vehicle when on door)
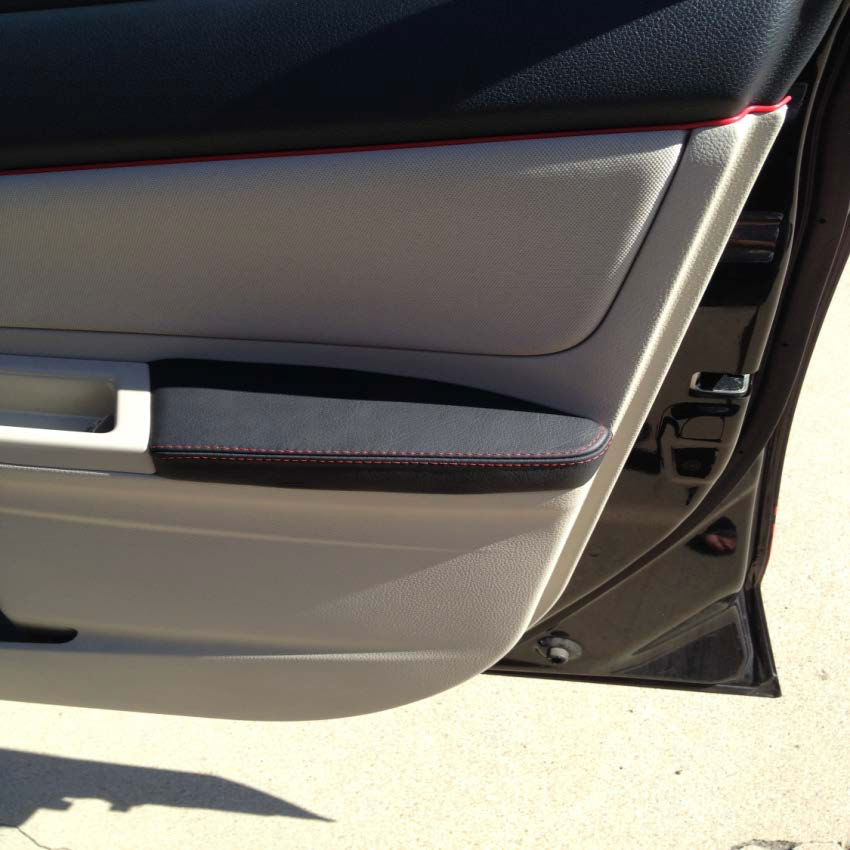
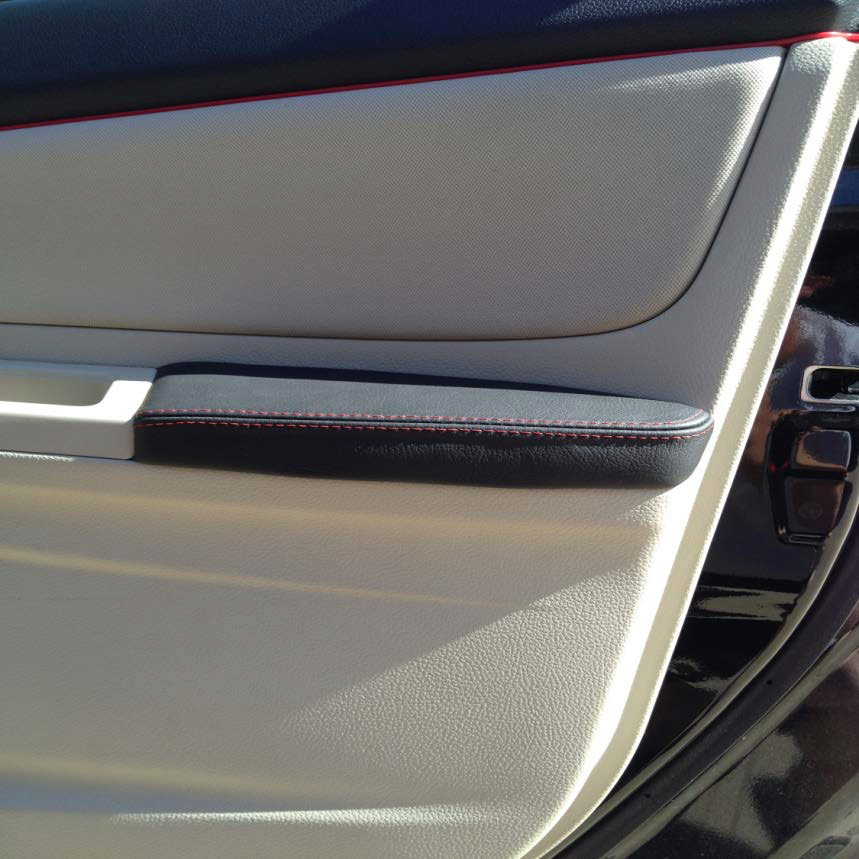
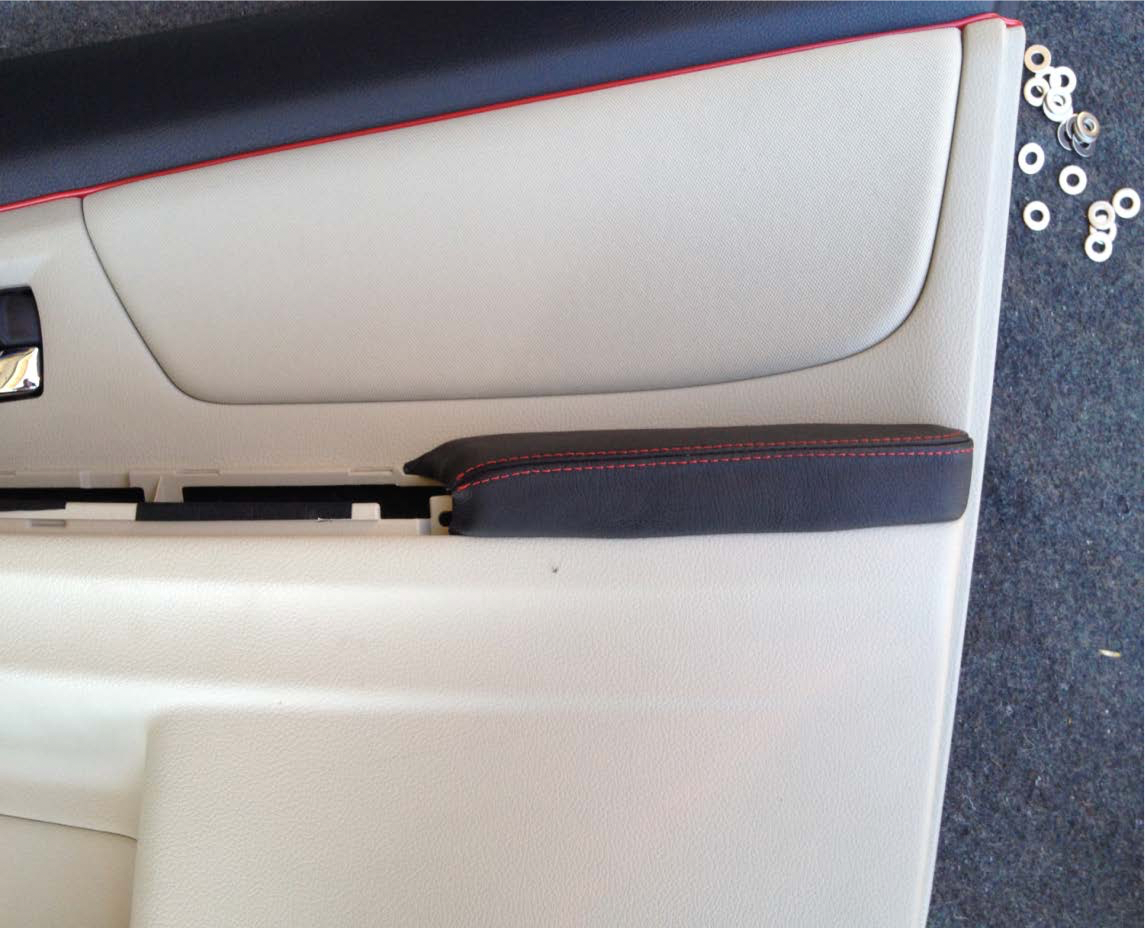
Position Newly Covered Armrest
Use The #12 Washers and 12 x 1⁄2 Screws Reattach using the Screwdriver (+)

Reinstall Window Control Switch.
Start by fitting against armrest cover there is usually
a plastic tab to assist in holding the armrest and cover in place. Reinstall Screws

Reinstall Door Panel, Do not forget to re-attach the cables and electrical connectors.
Enjoy Your New Door Armrests!