You must be logged in to rate content!
5 minute(s) of a 237 minute read
7-26-2013
Update: Shoopster's got a brand new glass

7-29-2013
![]()
I entered my stats on Fuelly today, average 23 MPG.
Not great but better than I expected ![]()
Didn't distinguish between city & highway because I live 500 yards from the on-ramp; city driving represents maybe 5-10%.
8-7-2013
This happened today! ![]()
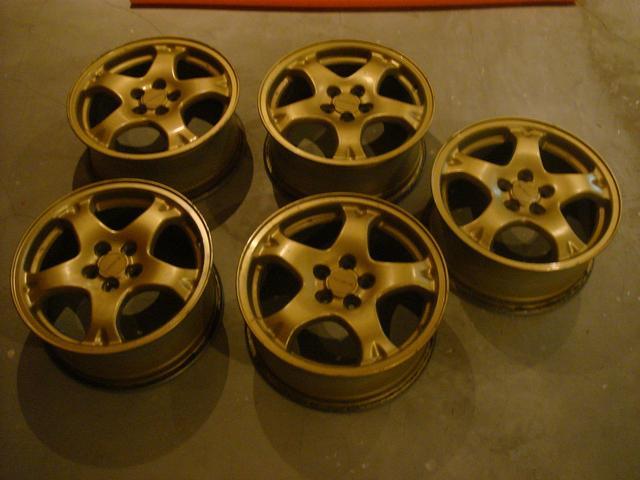
STi V5 for the winter
8-10-2013
Ok have I got an UPDATE!!1! ![]()
The Shoopster was having boost issues since I bought it in April. For the longest time it was no boost (just vacuum), and since the up-pipe and timing belt (etc.) jobs it had never topped 8 psi. Until today! ![]()
I'd like to start by thanking Simon for his work on this today, the guy who sold me the wheels ![]()
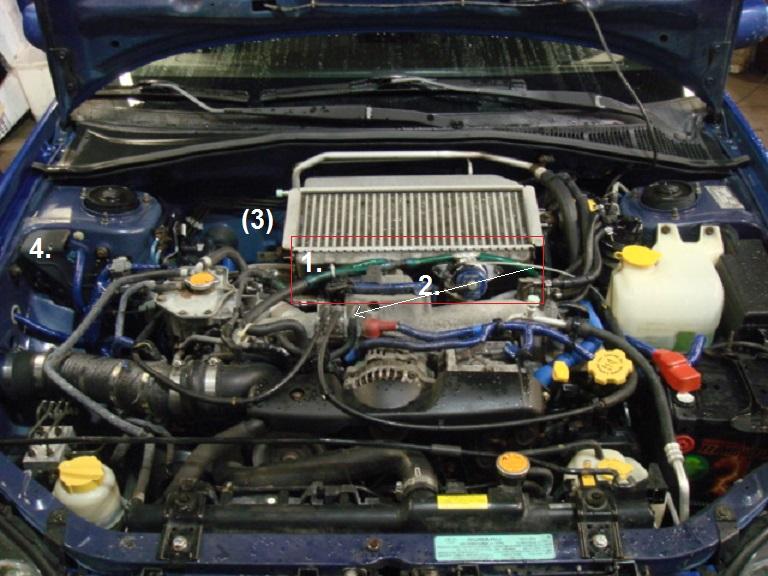
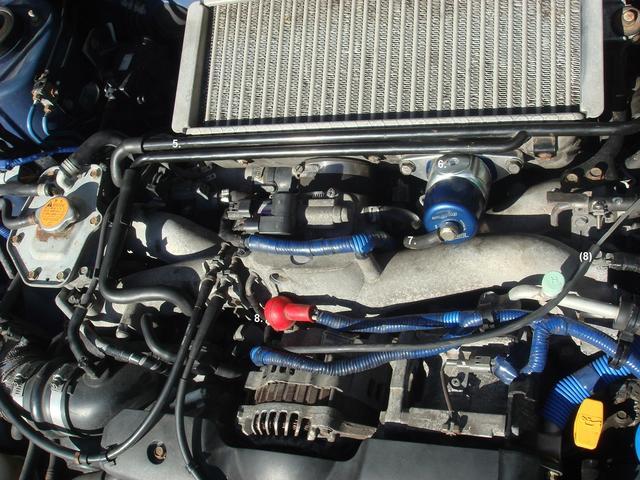
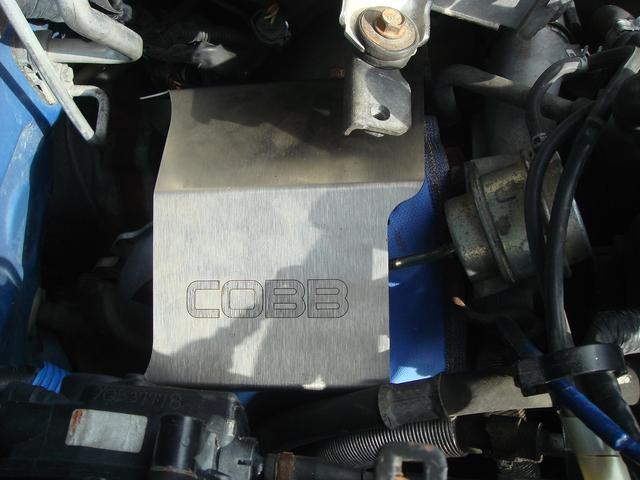
Referring to pictures below: There was this garden-hose kludge across the bottom-front of the intercooler (1) because the blow-off valve's 'trumpet' couldn't be installed over it, apparently. We learned this, in fact, while re-installing the metal pipe that goes there (5) (2nd pic).
The BOV is a Turbosmart Dualport, came with the car; it can be 50/50 (atmosphere/recirculating) or 100% recirc with a blank (delete) installed. The plan was to try the blank first (6) and if that didn't do the job, to install an OEM bypass valve that I bought from zax (thanks zax!).
Next, the boost gauge was connected to a "T" just before the BOV (2). This had to be rerouted (arrow) and connected elsewhere (7) (8).
My stock heatshield (3) looks a lil' something like rusted swiss cheese (click). The wastegate actuator was heavily rusted, and missing the c-clip. Respectively, replaced and installed.
(BEFORE)
(AFTER) (open in new tab for larger image)
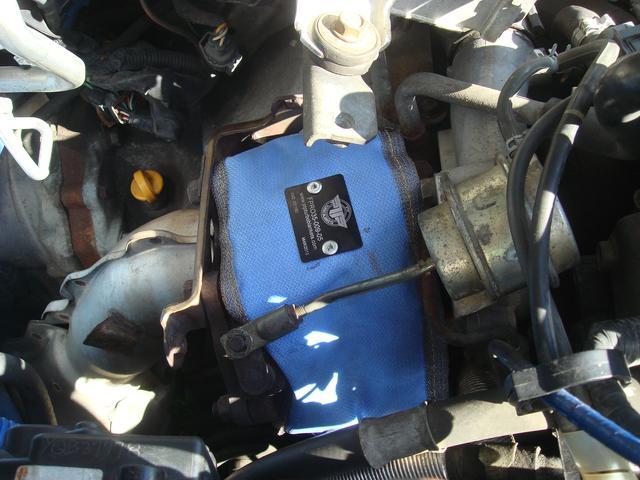
Also installed the PTP Turbo blanket I bought back in May (2 weeks into owning the shoop) and -FINALLY!!- the Cobb heatshield michaelwfox GAVE me! ![]()
And wouldja just look at that nice clean actuator ![]()
We went for a ride around the block (country-side block, a couple miles) and much to our suprise... nothing.
Poop!
Well, almost nothing. The turbo blanket was smoking, that was a little disconcerting. (I left Mattypants a panicked voicemail lol)
So, Simon's currently rebuilding a 2004 WRX/STi swap. The body is a barenaked skeleton, sitting freshly painted on freshly painted wheels, its innards are strewn across his garage. He made a call to ask his friend's advice, then he fished a boost control solenoid (4) from his mountain of parts and switched mine out. (In fact, EJ257 told me how to test the BCS just last week, but I didn't quite understand what I was listening for ![]() )
)
Off we went around the block again and like magic, BOOST! 
The change was immediate and evident.
The gauge needle used to hover below zero (in vacuum) unless I really pushed the throttle, up to, say, 100mph. Even then it used to struggle to get to 7-8 psi, the needle would shudder like it was suffering.
Now it's out of vacuum (needle at zero) as soon as I press the gas. Hard acceleration, pushing a solid 10-11, easily. Peak is an unbelievable 14.5 psi at WOT.
Next plans: a road trip and a WTF tune. ![]()