You must be logged in to rate content!
3 minute(s) of a 237 minute read
5-16-2013
5-16-2013
there's always something.
can't install the drain plug til next oil change
can't install the plate delete without removing the bumper.
gotta get backing clips for the screws, and
if i'm going to remove the bumper,
need the (correct) clips to put it back on again,
and might as well do something about the peeling paint on my horn(s)
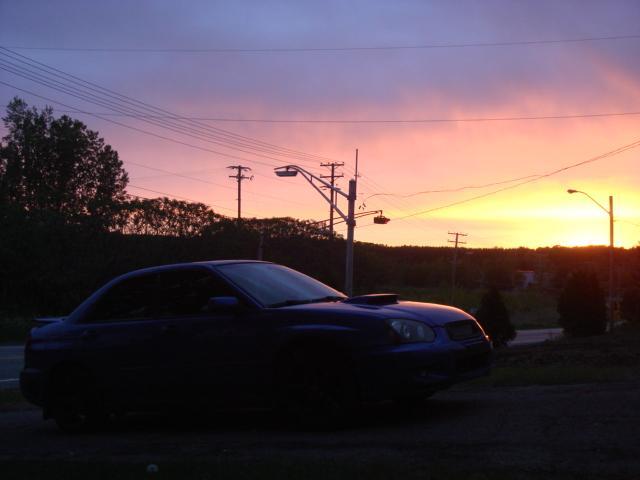
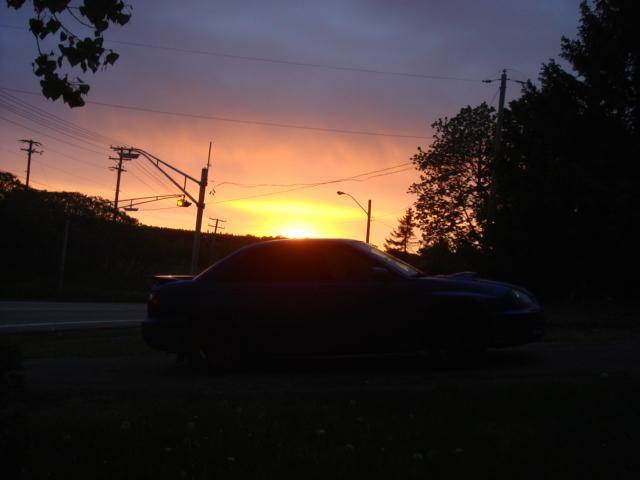
5-24-2013
red sky at night...
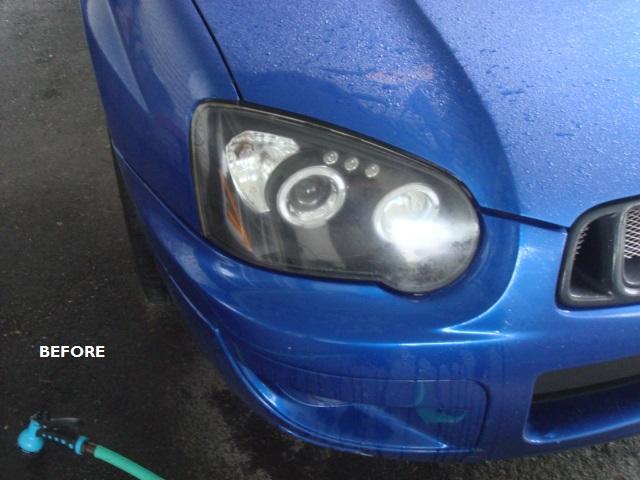
5-25-2013
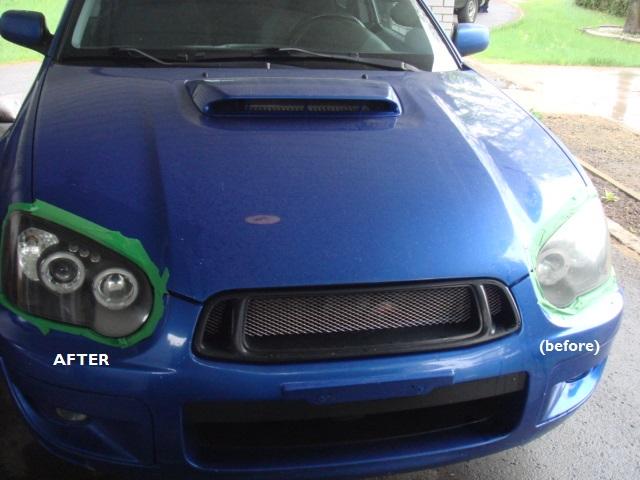
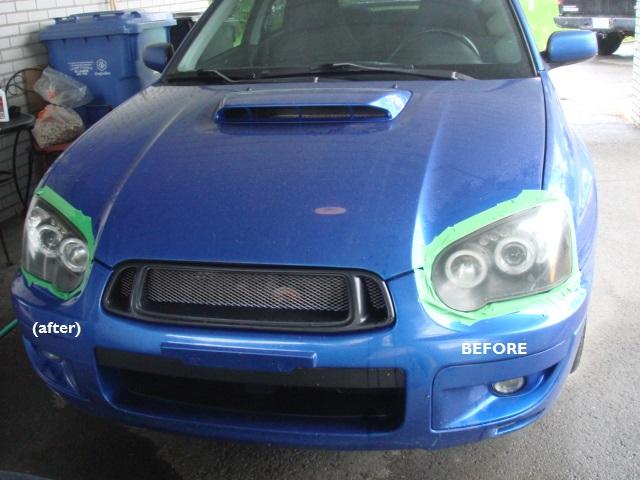
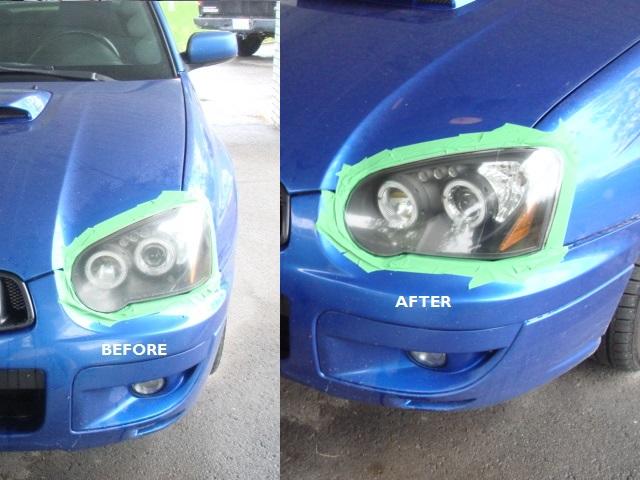
Cold, rainy day. I tackled the headlights under the carport after watching a couple videos.
I used Meguiar's PlastX on a dry shammy, and a terry cloth to buff/wipe it away.
My old headlights aren't in great shape, a little peely in places, there's only so much I can do for them
(new ones are around $250++ ![]() so, not on the priority-shortlist for now).
so, not on the priority-shortlist for now).
Still, I'm pleased with how they turned out, better than I expected (because I expected to scr*w up somehow)
Took about 15 minutes, the taping prep took longer than the job itself.
Then I rinsed this morning's layer of pollen dust off the Shoop and did bf's beat-up Echo's lights too because why not.
Only so much I could do for those too. I didn't have to tape it though because he doesn't give a crop about it anyway.
Toothpaste works too (on the Echo anyway lol I sure didn't try it on the Shoop)
but it didn't come out as shiny and I re-did it with the PlastX anyway.