You must be logged in to rate content!
12 minute(s) of a 297 minute read
7-28-2013
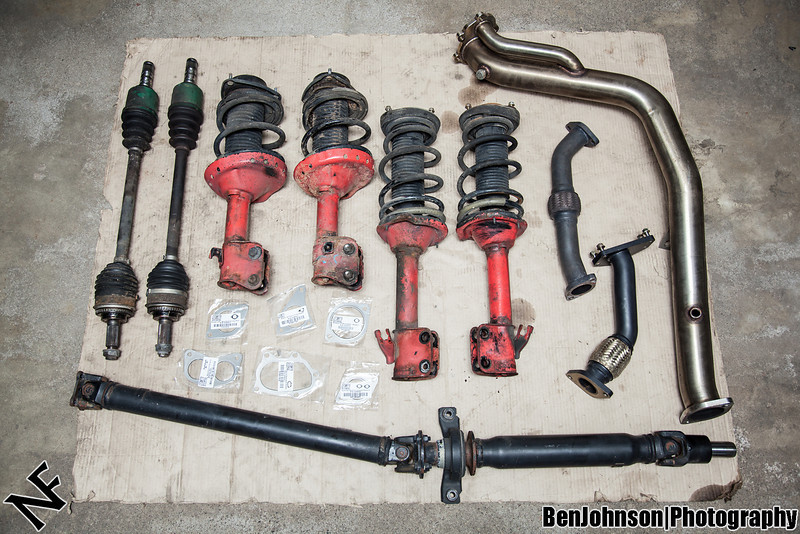
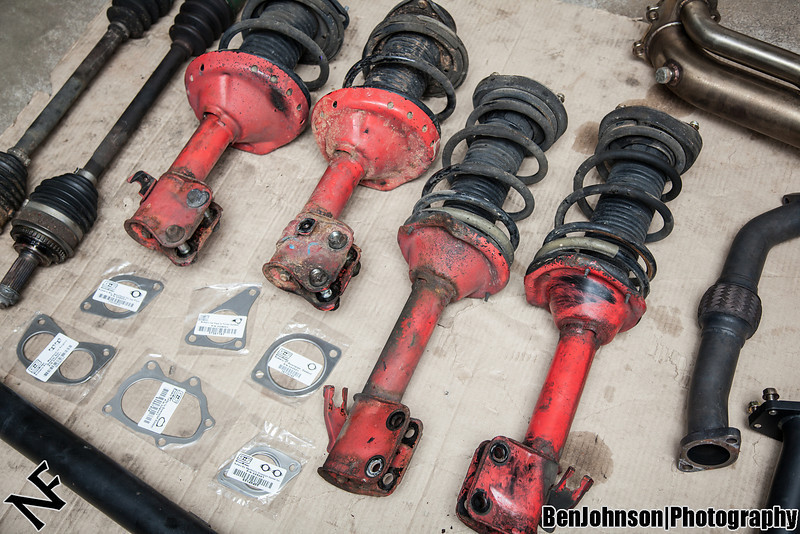
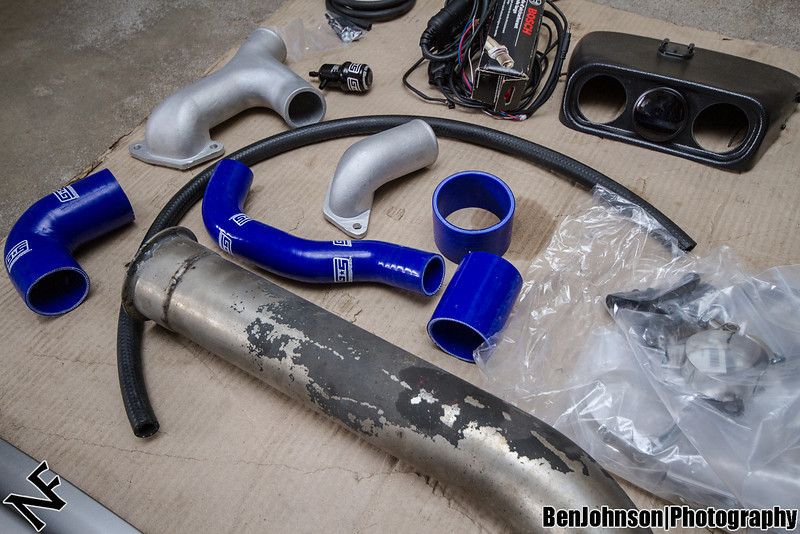
More parts going on:

7-30-2013
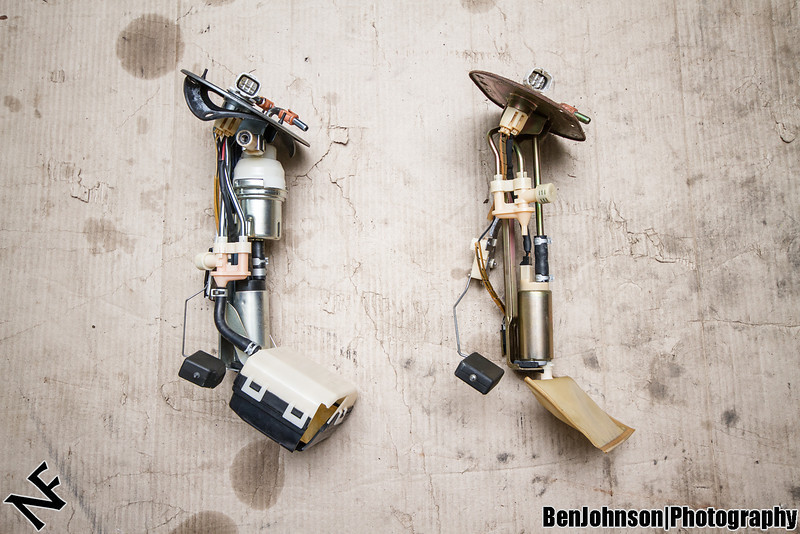
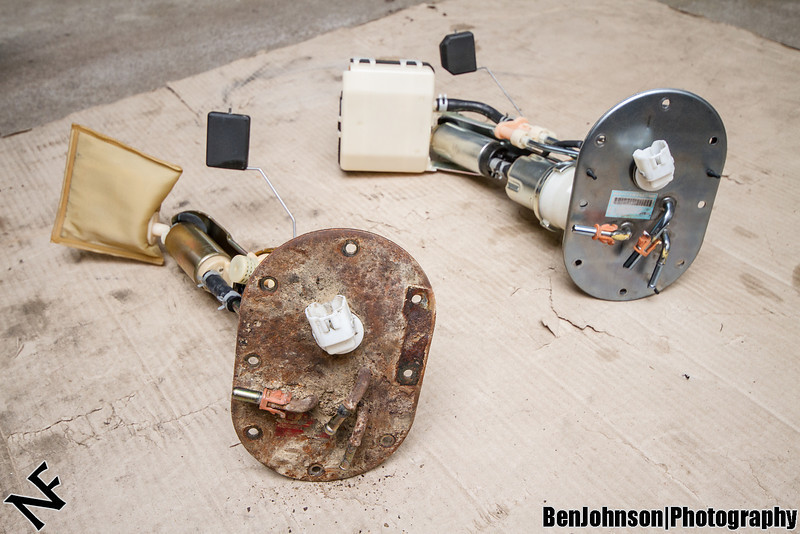
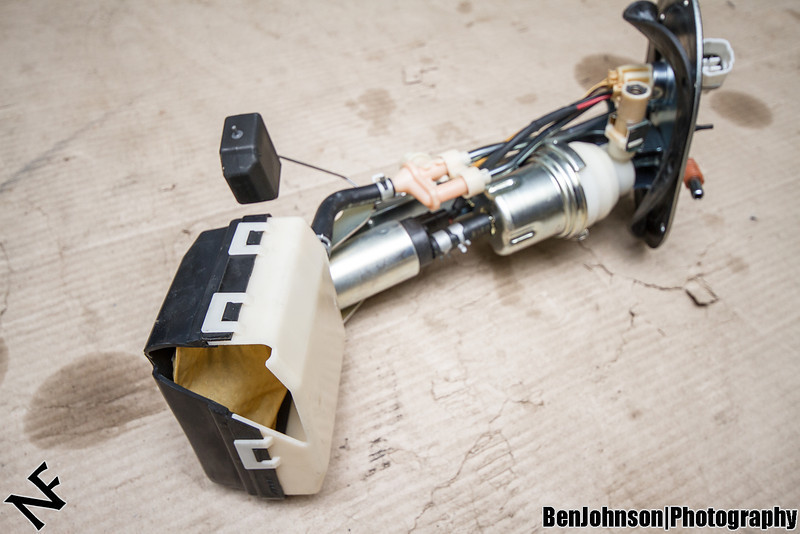
STI fuel pump hanger and Walbro 255 pump:
Round 1 of Mods (Bolt On's) - Part 1:
Last week I started getting my first round of parts in. I believe I started work on the 19th or 20th. The plan was to swap the springs/struts (they were making noises) with some STI take off's that I bought, remove the front subframe (very rusted, want to save weight), and the install uppipe/downpipe for a basic "Stage 2" setup. I hadn't found a turbo, fuel pump or fuel injectorsfor cheap so I figured a TD04 pump gas setup would be fine for now. My brother was installed a DCCD controller into his 6 speed swapped Bugeye so we both worked at the same time, and he helped me out when needed. His finished up after a few nights, but he still stopped over most other nights to give me a hand finishing up my stuff.
I started by removing the stock TMIC and Y-Pipe. Then I removed the stock downpipe. It came off quite easily except for one stud that unthreaded from the turbo (instead of the nut coming off). I didn't see any major damage to the threads so I think it might still be OK once I put a new stud in. This car never had any performance mods, but it did have the timing belt and heads replaced last spring so the motor has been out recently (which should help with bolts being broken loose). I also removed the stock exhaust. The muffler was already cut off, and when I took the cat back off it broke in half because it was so rusted. The downpipe to catback bolts were frozen together and so rusted that a wrench wouldn't even grab them. I ended up having to just cut them in order to separate those two parts.
I got the car up in the air and the thing I was going to do was the front subframe. Unfortunately it was so rusted that I could only get about half the bolts loose. I broke one and rounded one. Several just wouldn't budge. I decided to move onto the struts. I only got 2 of 8 strut bolts loose. The impact gun wouldn't even move them. That's about all the further I got the first day. I then bought a bigger breaker bar and some short, 6-side, impact strength 1/2" drive sockets to go with it. Using the bar and sometimes even a longer bar for more leverage I managed to get all of the strut bolts broken loose. I also got all the brake line mounting bolts and clips loose as well. I replaced one of the struts at this time, but then went back to working on other things.
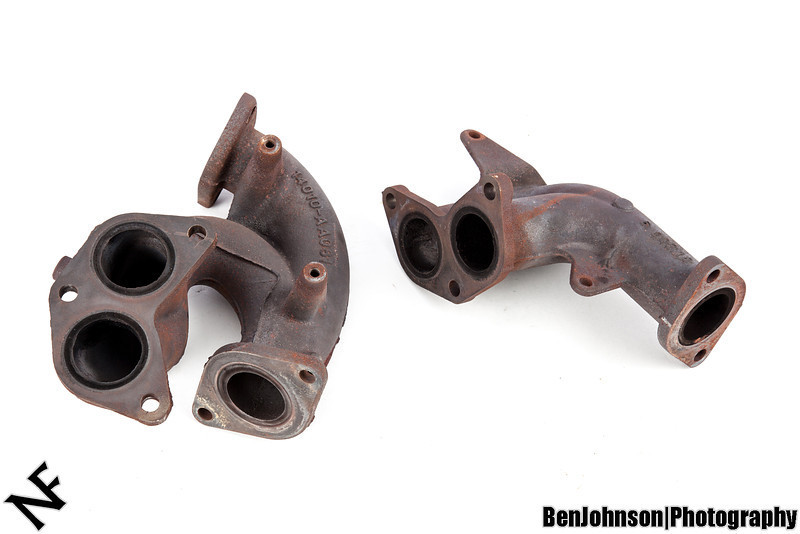
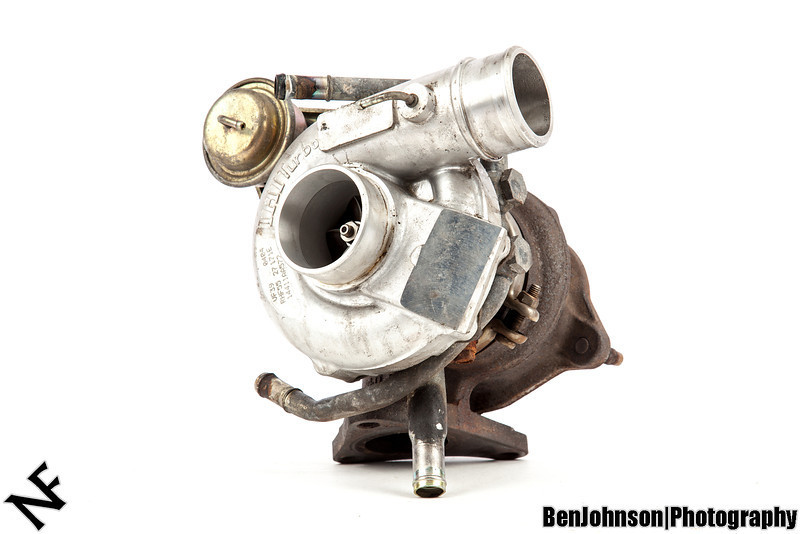
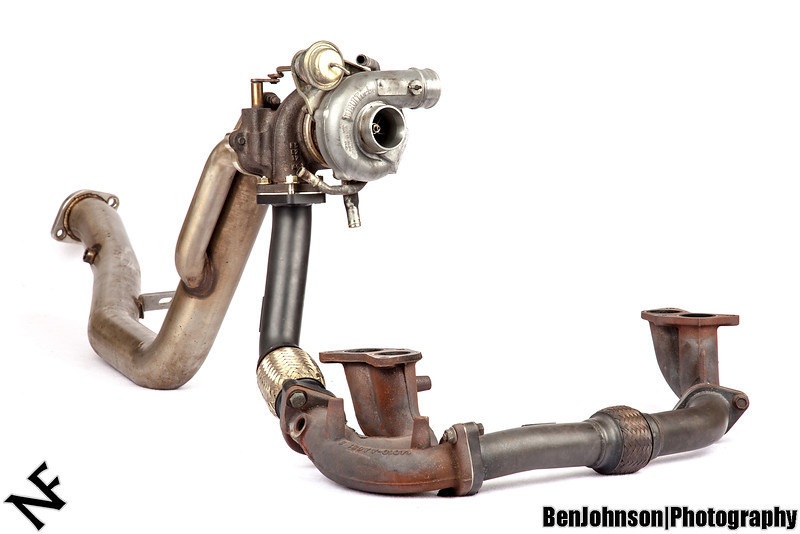
At this point I removed the stock headers and uppipe. This all went fairly smoothly. Sometime around this time I was able to pick up a VF39 locally so I pulled the TD04 off and put the VF39 on. No real issues with this. The inlet actually went of surprisingly well. That one one of the hardest parts of the stock location turbo swap I did on my 2011 WRX. Now that the turbo was in place I put the GrimmSpeed uppipe on and loosely bolted it up. Then I put the exhaust manifold assembly on. I loosely installed all bolts. Then as I was tightening one of the nuts onto the stud on the driver's side head the stud spun and stripped out the head!
It appears the stud was only threaded in a few threads and I didn't notice. It looked like there was probably enough threads deeper in so I put the stud back in and tightened the nut down. Then I went to the passenger's side and one of the studs did the same thing! This one pulled out nearly all the threads so there was no way to use it in that condition. So I pulled off the headers and uppipe. Then I bought an M10-1.25 Helicoil kit the next day. To give myself more space I finished removing the front subframe. I got a few more of the bolts out but I ended up breaking the welded nuts off inside the frame. I had to cut one and then I just bent the subframe until it broke off the remaining ones. I drilled out both of the holes in the head with the proper 13/32" drill bit and then tapped the holes as deep as I could. Due to the taper on the end of the tap they bottom out before there are threads all the way into the hole. Because of this I had to cut a couple coils off the threaded insert for it to be able to sit slightly below the surface.
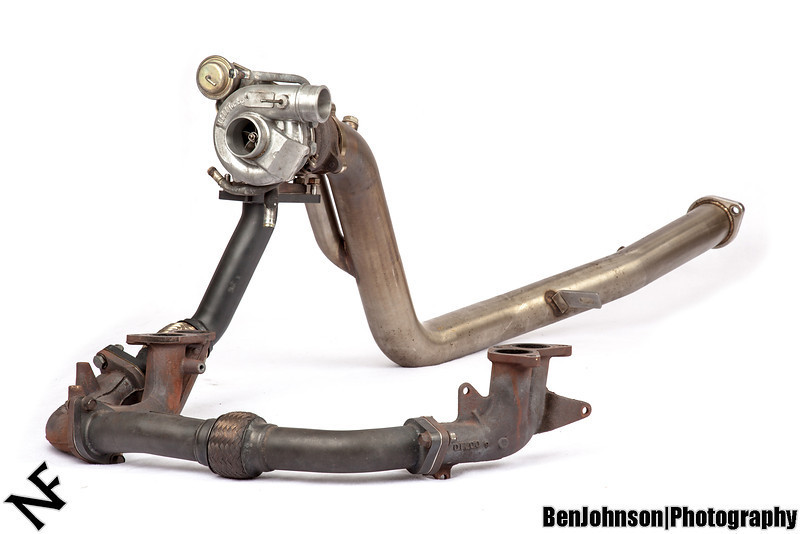
Doing this repair under the car was difficult and not ideal. My studs did not end up perfectly straight but they were good enough that the stock headers slipped on without any issue! I put the uppipe back on again, and then the headers. All nuts torqued to spec and didn't spin! I actually used a torque wrench this time, and came to the realization that I probably waaay over torque a lot of bolts. Probably 2x what they need to be... Then I finally put the GrimmSpeed downpipe on. I also put on the midpipe section of the Perrin exhaust. It is missing the v-band clamp so the muffler portion couldn't be installed. The clamp is on order. This basically how far the car was as of Friday night (approx 1 week after I started). It was probably a good 2-4 hours most nights last week. The little hiccups really added to the time. Thanks to my brother for the help swapping parts. Here are some photos and then onto Part 2!

Round 1 of Mods (Bolt On's) - Part 2:
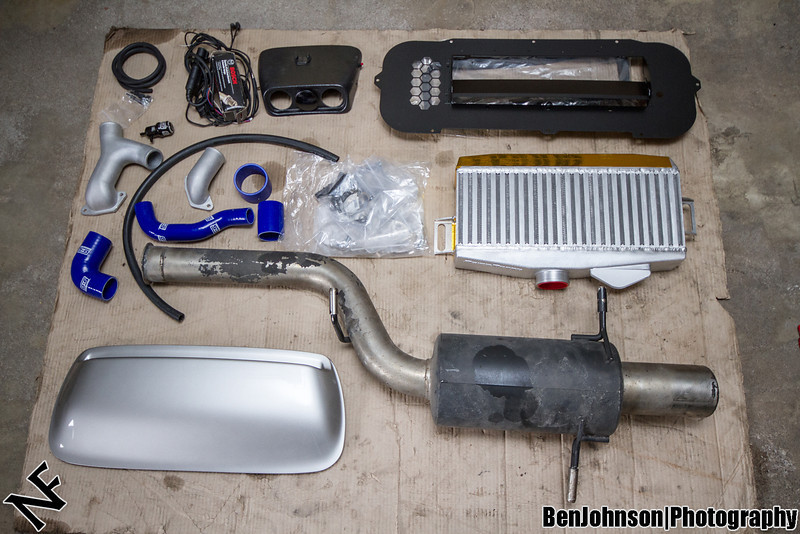
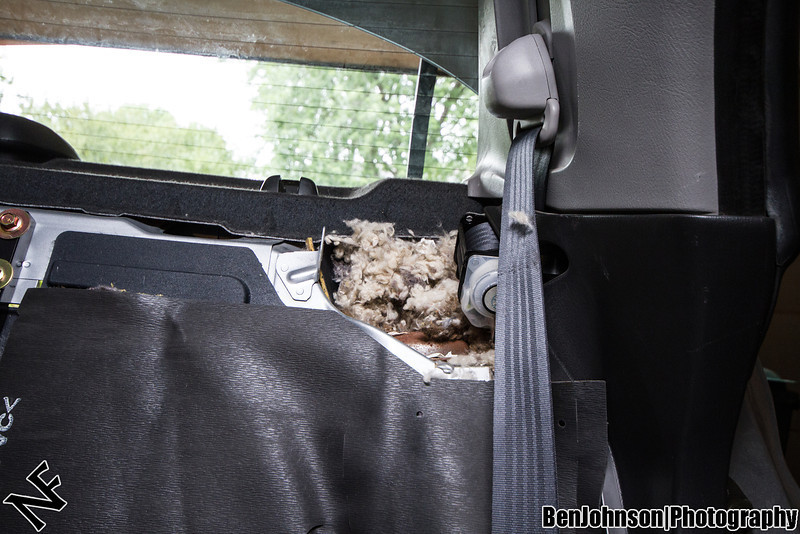
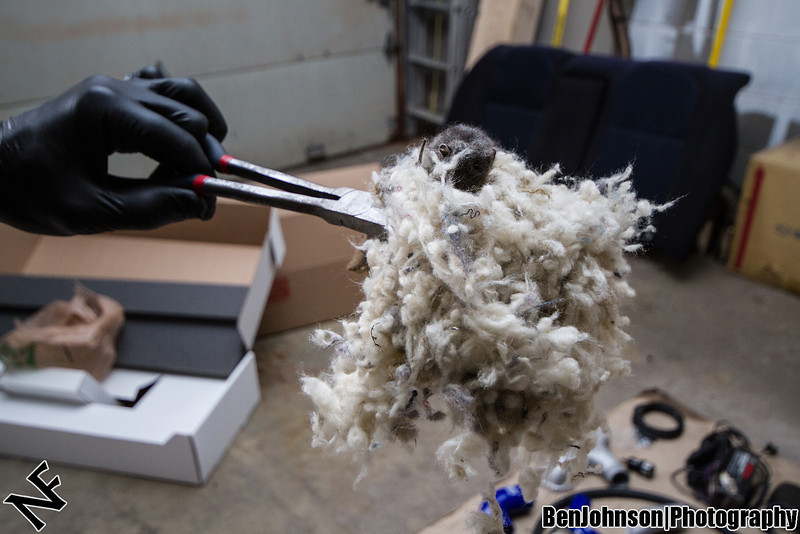
Throughout that week of work I managed to accumulate some more parts so these had to go on as well. I also had found my stock 2011 WRX injectors so I stopped over at NF and Nuke modded them for me. It only took him a few minutes. Brian from NF took them to get cleaned and flow tested. On Saturday Brian from NF came over with the injectors and to lend a hand with the rest of the install, and my brother stopped over again too. The first thing that had to get done was finishing the suspension swap. Brian worked on this. First he had to pull the backseat. When he did this he found a mouse nest on top of the strut mounts! And when he was pulling it out he found a mouse! Gross. Glad that's gone.
While Brian was doing that my brother was assembling the Y-pipe and TMIC parts. I was working on getting the green bracketsoff to install the injectors. Since all the bolts were broken loose on the struts it didn't take Brian long to get them all swapped over. Then he finished up the injector install. All of the injectors flowed right around 1000cc. There was a little variation but not enough that it should matter. These should be plenty for the VF39 on E85, and even something like a 20G if I decide to go that route. After re-seating the injectors a couple times they were all installed and sealing properly. I installed the GrimmSpeed MBC while the TMIC was still off. It is a simple install and I mounted it to an existing bracket (I had to drill out the hole slightly).
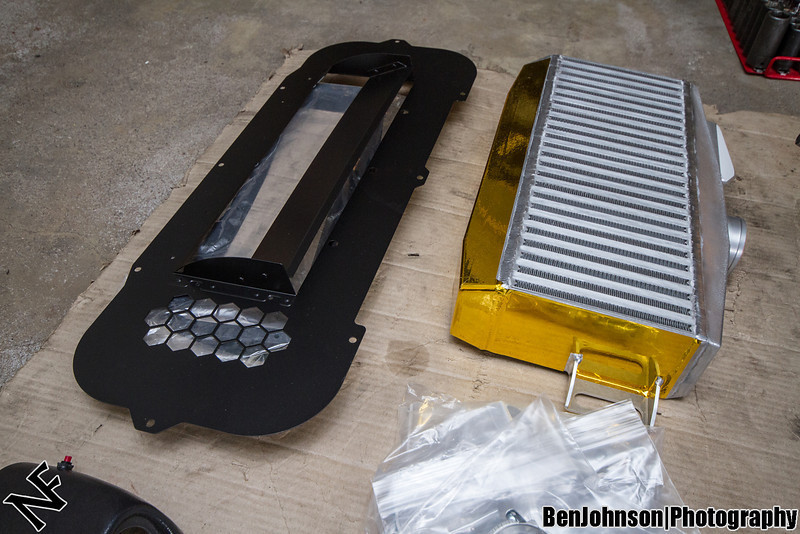
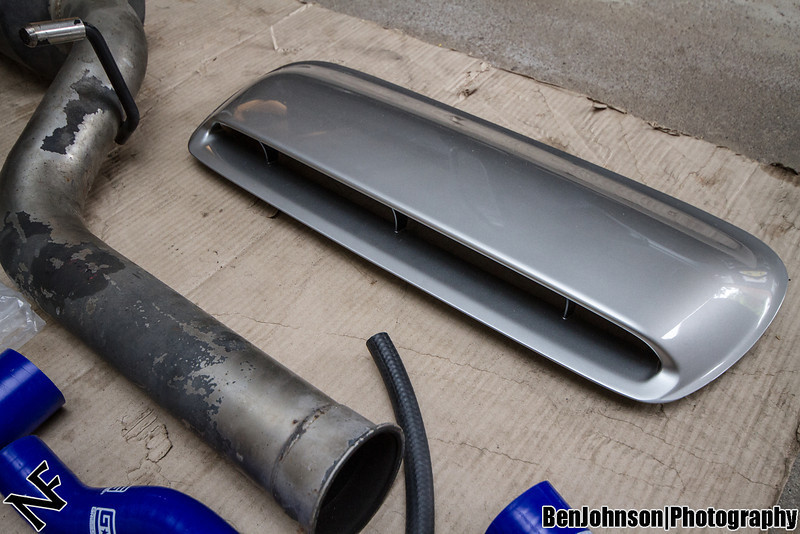
Then we moved onto the TMIC. With the GrimmSpeed pipe kit you do have to cut quite a bit off of the 90 deg silicone coupler, but once we did that it was a good fit. The BPV return hose was very difficult to get on because of the tight space to work with when installing a larger TMIC. We also installed the GrimmSpeed splitter and the OEM Forester XT scoop from zbailey129 (Thanks!!!!). The scoop doesn't quite match my paint, but it's close enough for me. The OEM scoop required nuts (instead of the bolts the eBay one used), so I had to go get those the next day. I also removed the wing (holes are just covered with tape right now).
Sunday I got the bolts I needed to finish putting on the scoop. I bolted that up. Then I also went at removing the fuel pump. Unfortunately I had already put the back seat in, so I had to pull that back out because there just wasn't enough room without doing that. The housing was really rusty and dirty and a snapped one stud while removing the nuts, but the rest were fine. On Monday the new fuel pump hanger with Walbro 255 arrived. It is a newer model hanger that includes the small "surge basket" around the pump inlet. This should help slightly on long turns or hard acceleration with low fuel. The hanger itself was in much better shape then my stock one. I dropped it in and bolted it down. Everything seemed fine. I couldn't start the car due to the new injectors.
Later on last night I picked up Nuke so he could flash the car. He did that but then it wouldn't start! The battery was very low. The interior lights worked, but it just wouldn't even try starting. We jump started it with the Forester, but then once I went to drive off it died again and wouldn't start. So I swapped in the battery from the Forester. Then the Bugeye fired right up. We drove to the shop and then had to burp the coolant (from swapping the turbo) and fix a couple small boost leaks. Nuke did a quick pump gas tune and we got up to around 18psi. It is a lot more lively than it was before! The VF39 spools a bit later than on the 2.5L but the top end feels good and holds on to 7k pretty well. I will enjoy it at this power for a few days and then switch over to E85 once my tank is empty.
Thanks to Brian from NF and my brother for help with the install! Thanks to Nuke for the tune!


Current Mod List:
Engine:
- Stock 2.0L with 185k Miles
Intake/Exhaust/Fuel:
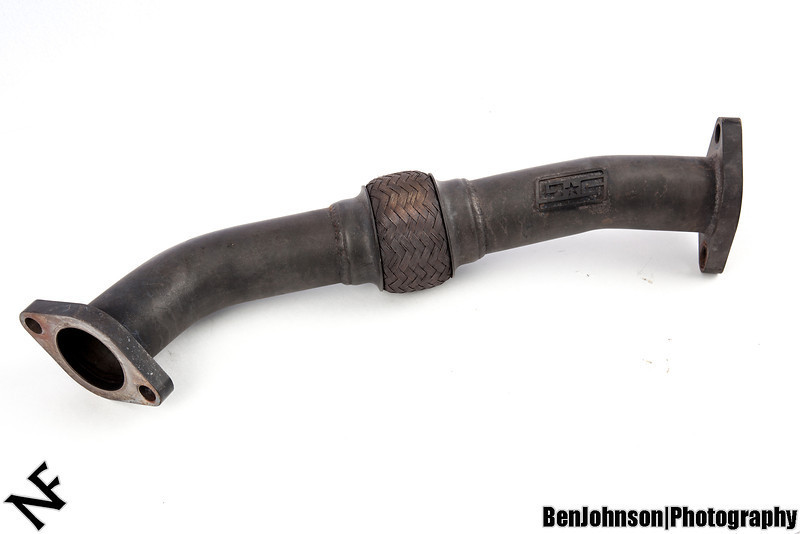
- GrimmSpeed CrossPipe
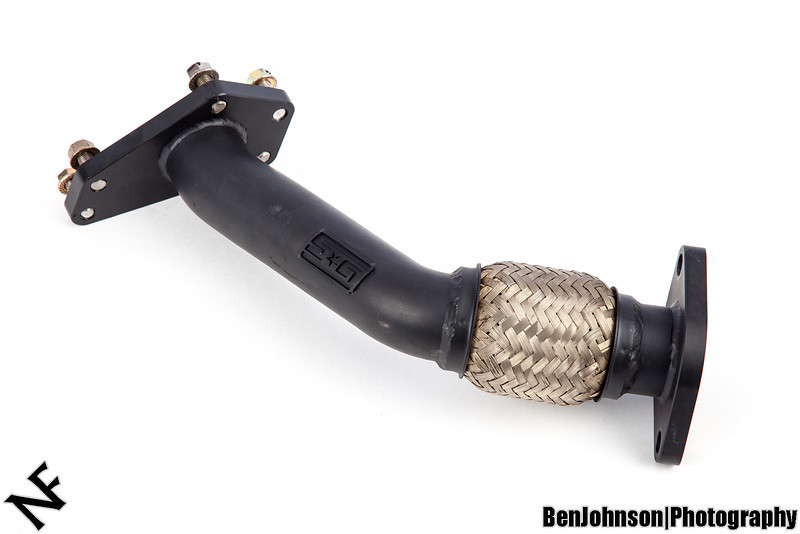
- GrimmSpeed Uppipe
- GrimmSpeed Downpipe
- Perrin CatBack Exhaust
- IHI VF39 (STI) Turbo
- GrimmSpeed Gaskets
- GrimmSpeed TMIC w/Gold Tape
- GrimmSpeed TMIC Splitter
- GrimmSpeed Y-Pipe Kit
- GrimmSpeed MBC
- 04 STI Fuel Pump Hanger
- Walbro 255 Fuel Pump
- Modded 2011 WRX Injectors (1000cc)
Drivetrain/Transmission
- Stock
Suspension/Wheels:
- 04 STI Struts
- 04 STI Springs
Interior/Electronics:
- Alpine Single DIN HU
Exterior:
- Removed Rear Wing