You must be logged in to rate content!
8 minute read
DIY Front Lip - Version II
Compliments of Mobutusan @ nasioc.com
5-30-2008
Version II Garage Door Lip Hahaha!
(Work in progress, still tweaking and updating...)
*FYI, all pictures were taken after driving ~500 miles over the last week. The lip scrapes coming into and out of my driveway, as well as many other places, and is holding up very well so far. Cleans up easy with Simple Green and a cloth.
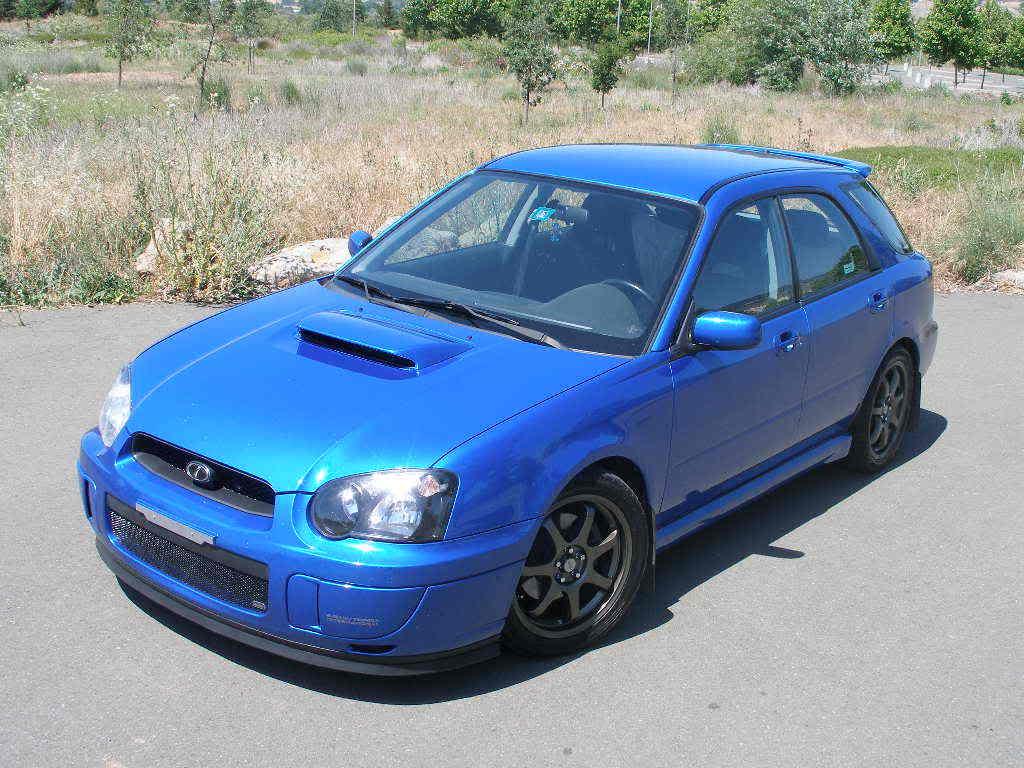
I just got done doing this to my '04 WRX Wagon, and I thought I'd share. It's a different enough take on the DIY lip that others have done, that I thought it could use its own thread. I love how it came out.
This design covers most of the unsightly scrapes on the bottom of the bumper, and evens out the bottom of front bumper.
*This is for a stock '04 bumper without side splitters. I'm sure the method will be similar for other models, years, but I don't know for sure.
Materials:
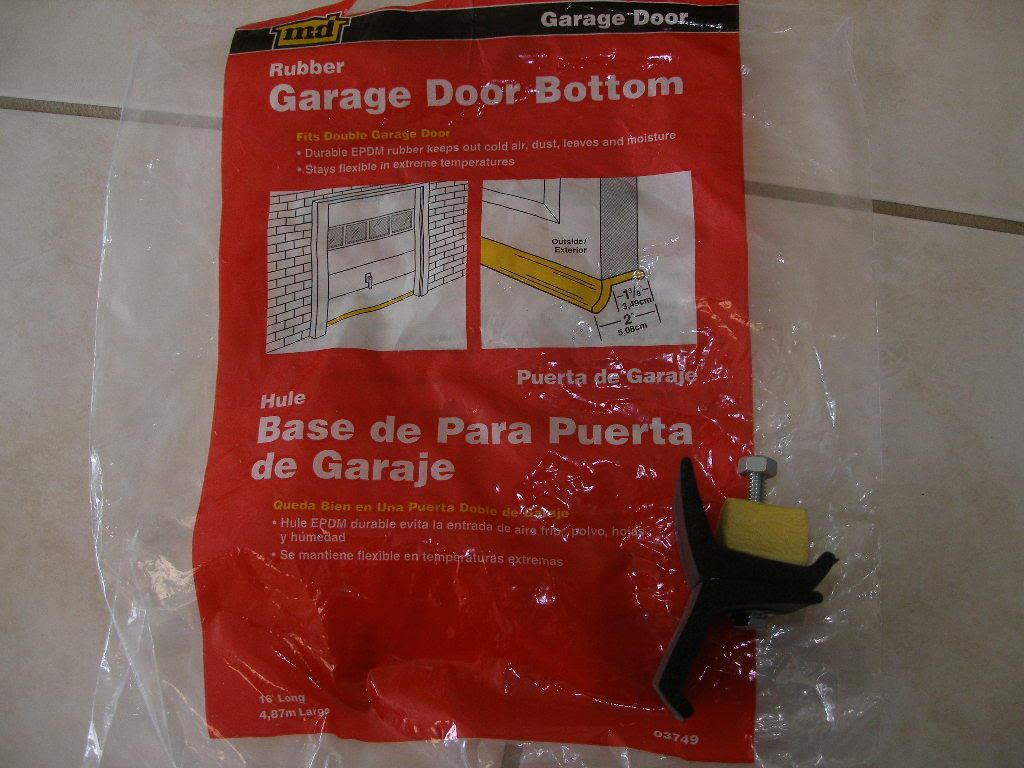
EPDM foam rubber garage door sealer (same as in other threads. got mine from Lowe's for $16)
Double sided sticky tape (normal scotch tape style, not foam tape)
Small foam blocks or something similar. (should be stiff/hard material that can be cut with a sharp knife to specific shape. I had some foam blocks left by Stanley Steemer that are used to put under furniture after carpet cleaning.)
Self tapping screws ~3/4" (15-20pcs.) ~1.5" (5-10 pcs.)
Washers ~1/2"-1" wide (20-30pcs.)
Step 1: Cut the garage door sealer in half, into two sections that should be more than 90" long.
Step 2: Lay out both sections flat, and run strip or two of double sided tape along the top of one section. Carefully stick second section to first section so the cross section looks like the picture.
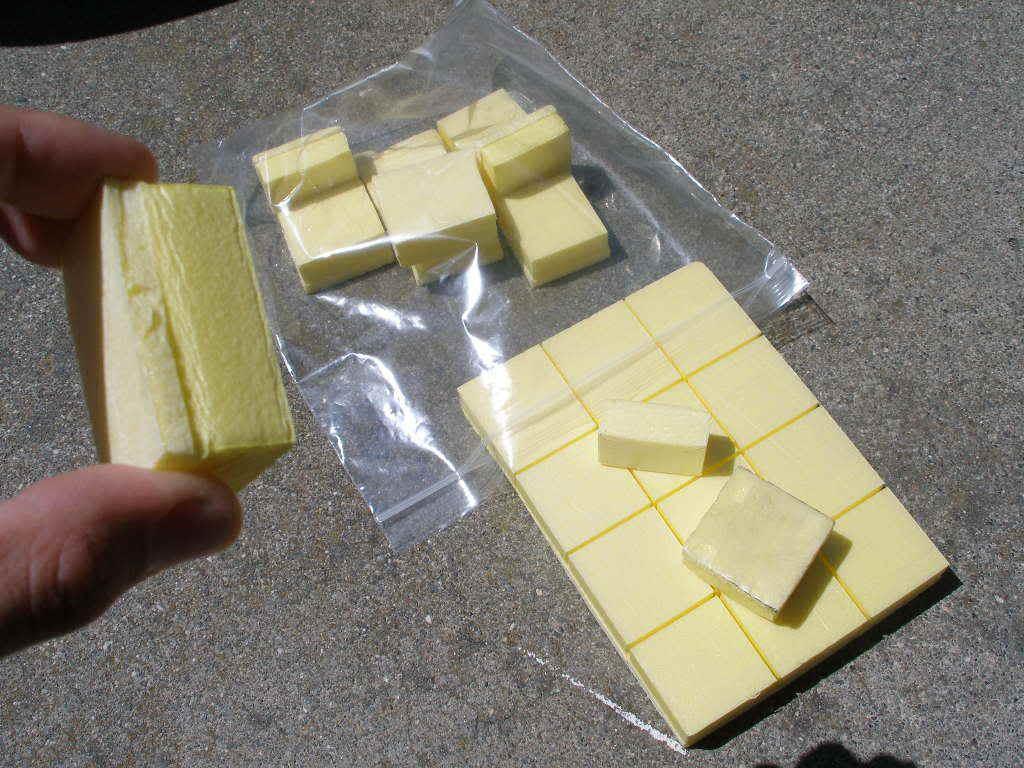
Step 3: Cut some foam blocks into sections with a trapezoidal cross sections about 25mm wide, 17mm tall on one side, and 20mm tall on opposite side. These pieces go between lip and bumper to even out the raised center section when mounting the lip.
Step 4: Fit lip around bottom of bumper, secure with screws and washers.
Step 5: (More details to come...)
Garage Door Material
Lip Cross Section
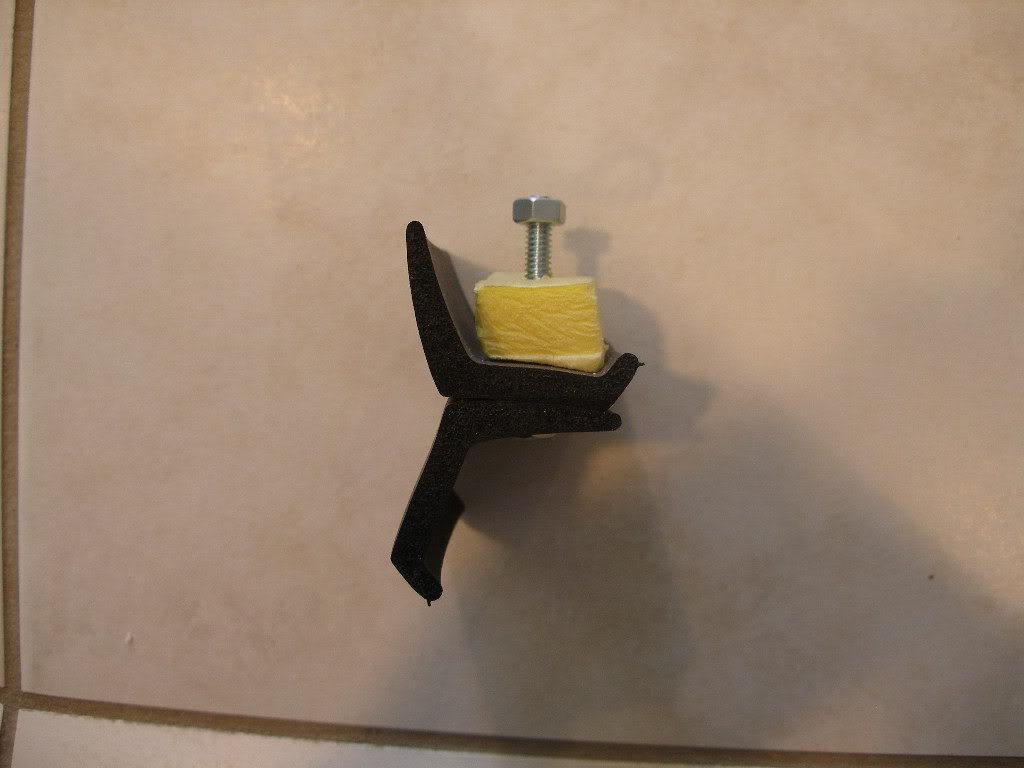
Prepped Lip
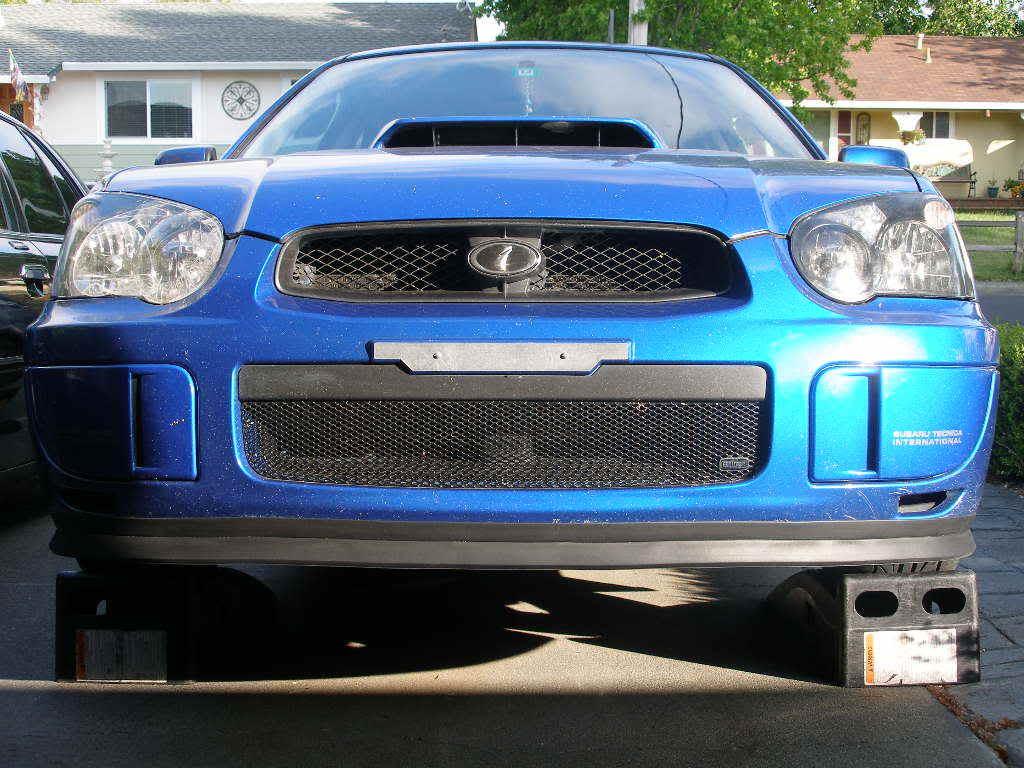
Before (Lots of ugly scrapes)
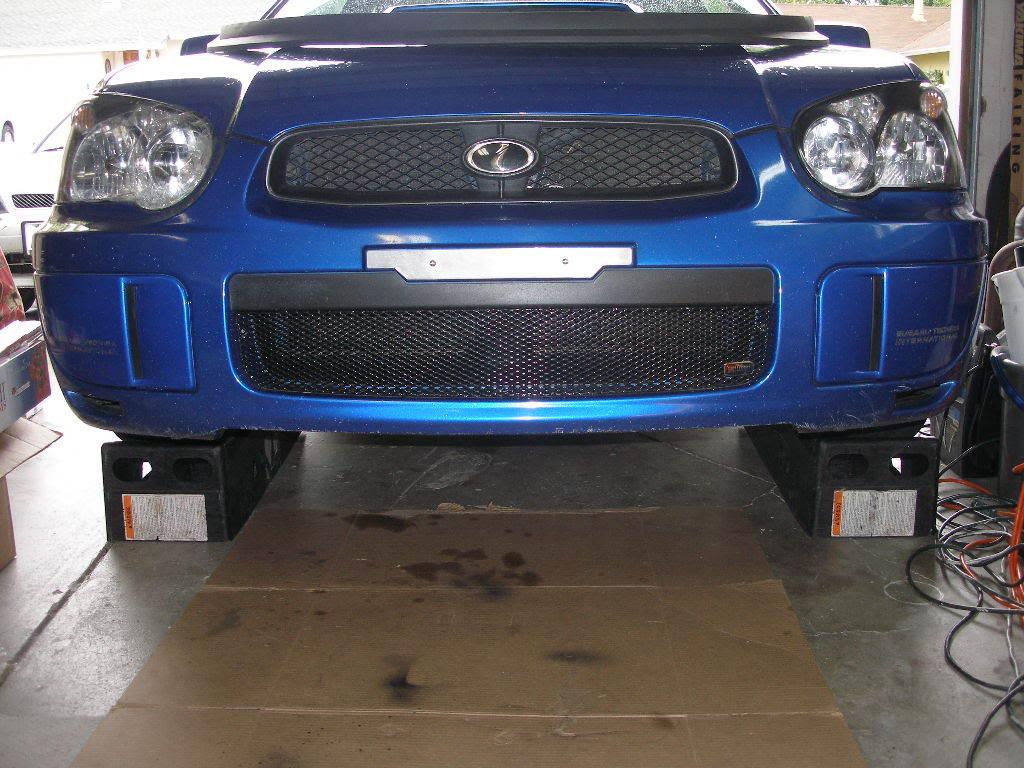
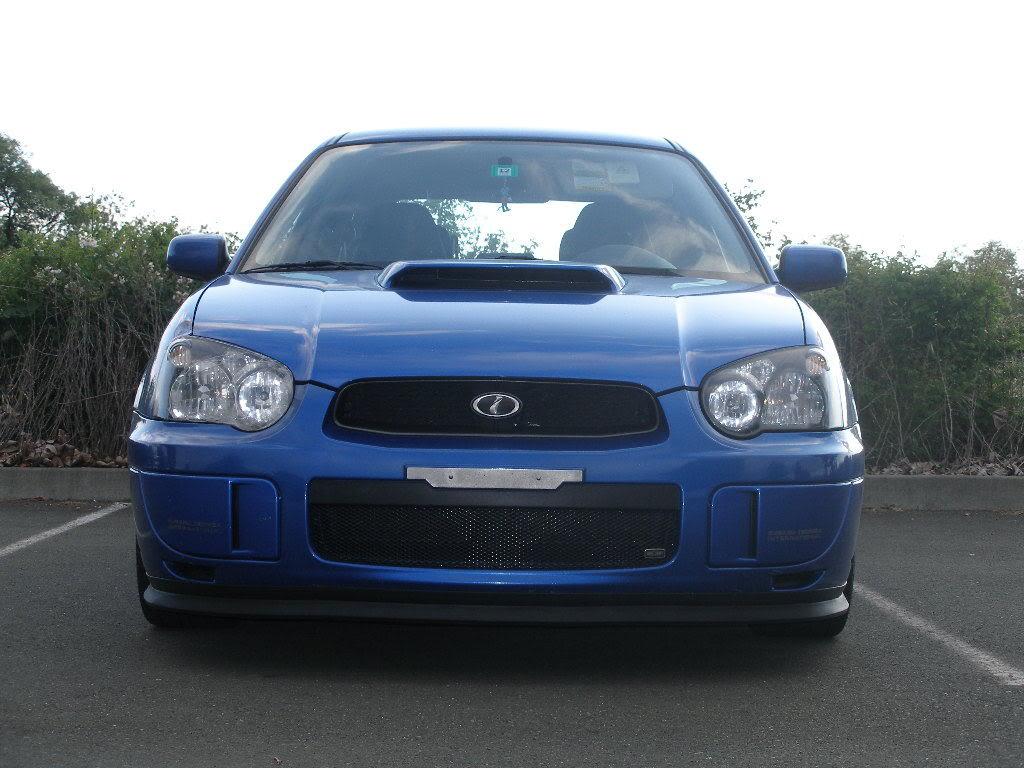
After
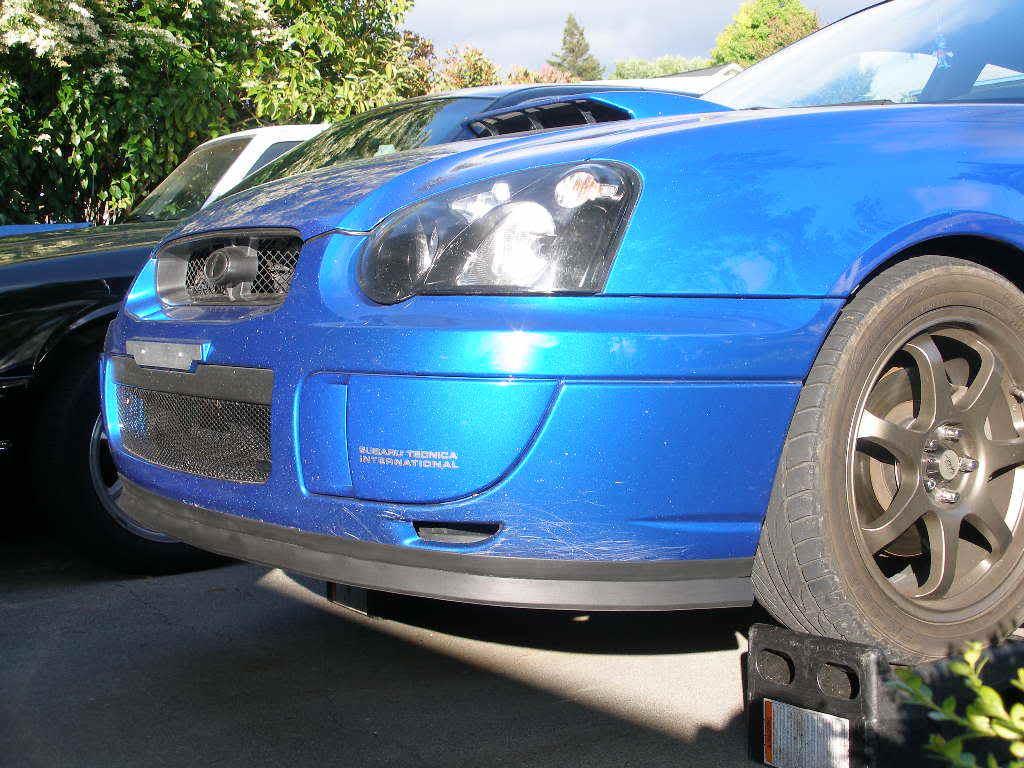
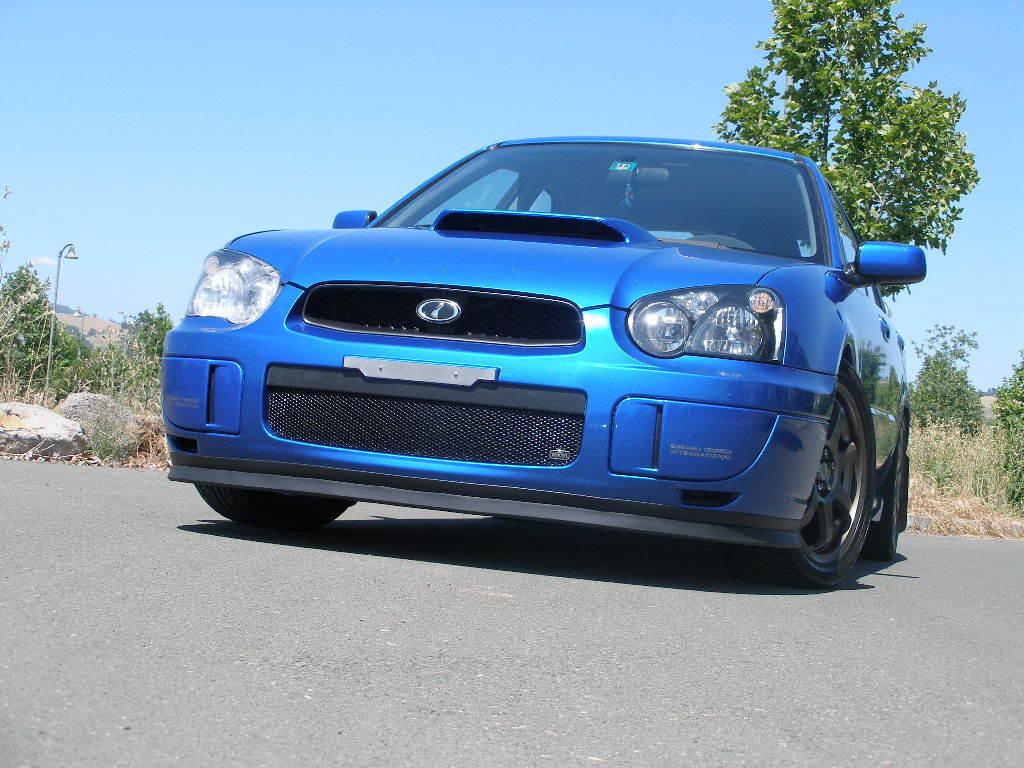
Close-Up
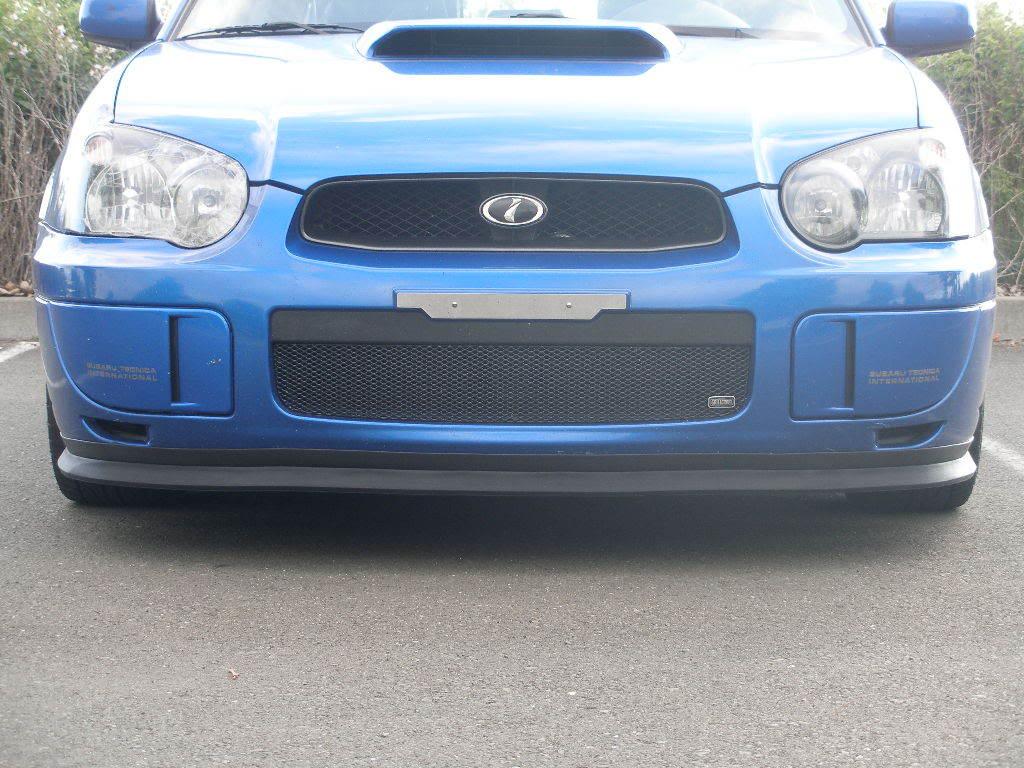
Finished Product
For more reference, check these threads:
http://www.clubwrx.net/forums/exteri...p-wrx-8-a.html
http://forums.nasioc.com/forums/show...hreadid=395394
http://forums.nasioc.com/forums/showthread.php?t=583184
http://forums.nasioc.com/forums/show....php?t=1275327
http://forums.nasioc.com/forums/show....php?t=1389639
http://dirtyimpreza.com/forums/showthread.php?t=3032
6-1-2008
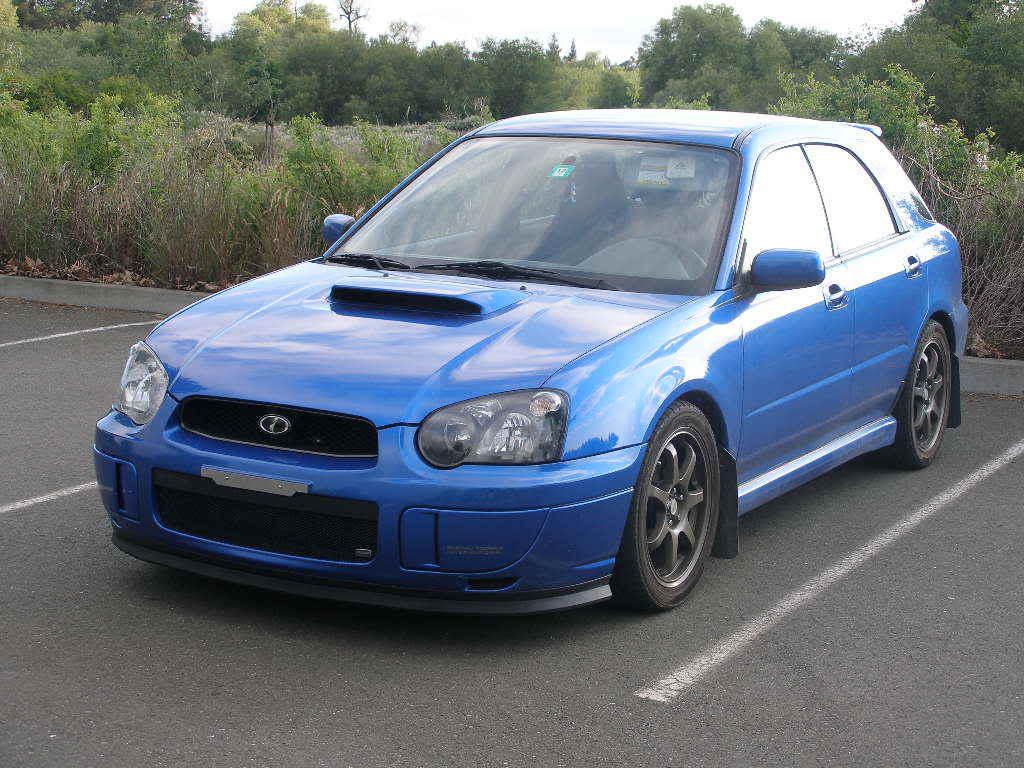
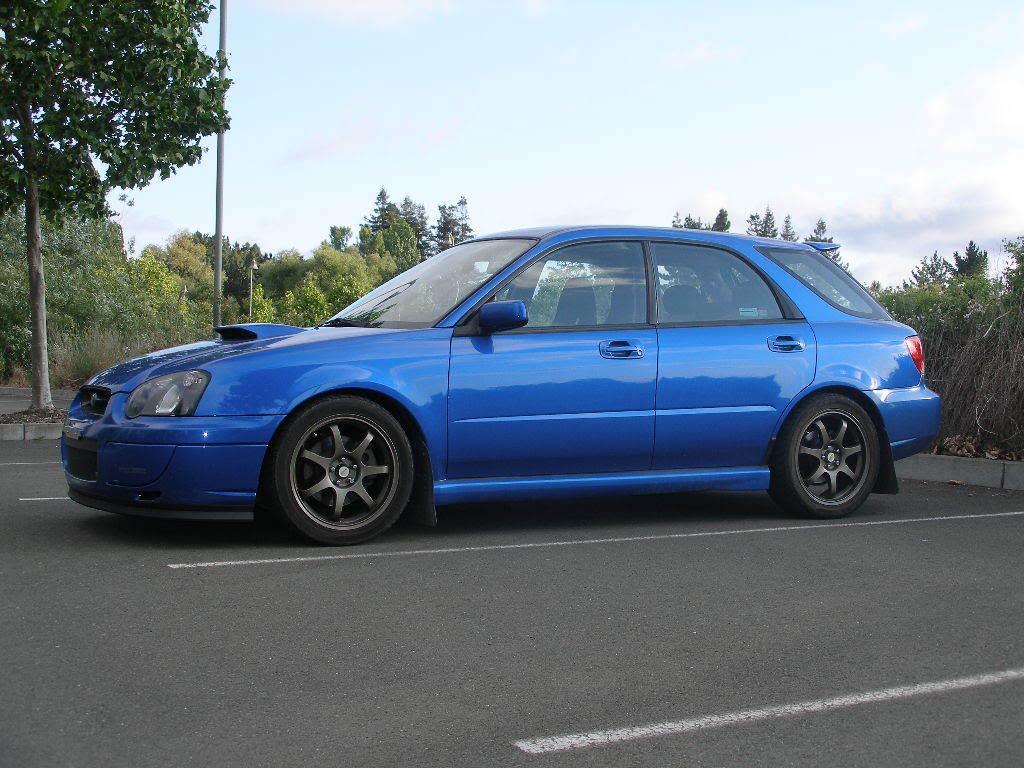
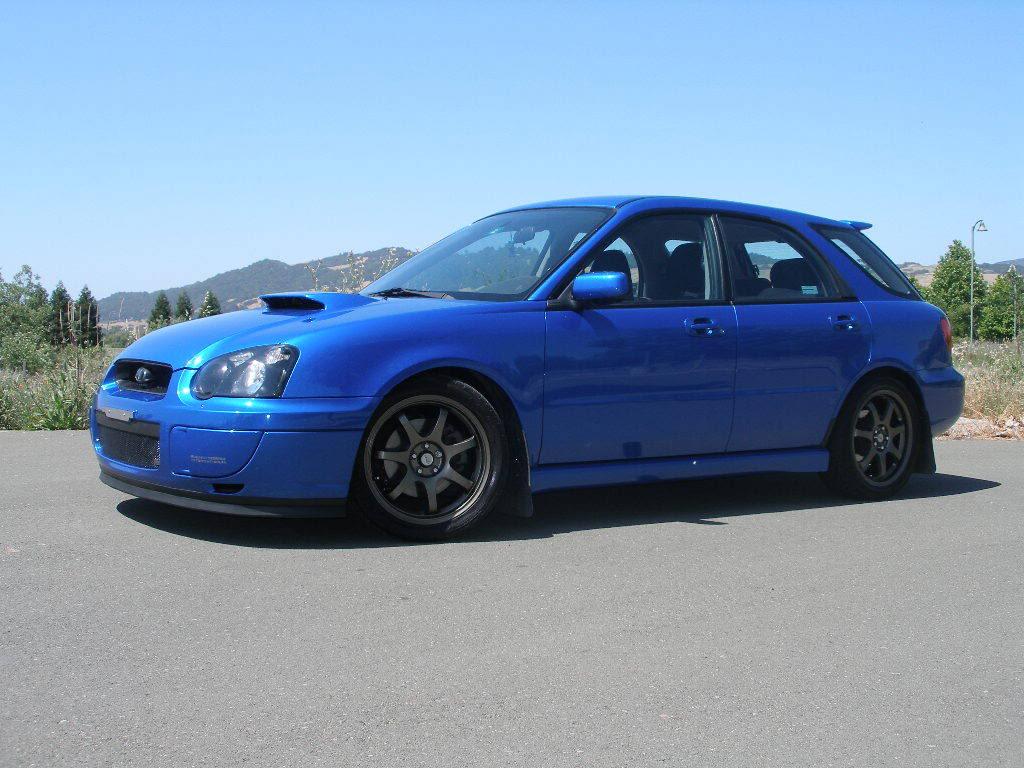
Here are some pics with a clean car and better lighting.
I'm still working out the evenness of the lip, but unless your looking up close, straight on, from down low, it's not noticable. I have some ideas on how to make the next one better. This one's just for testing. ![]()

6-2-2008
The blocks I used were fairly hard, but still compressable, and were easily cut, and shaped with a sharp knife. I saved these from when our carpets were cleaned, and they used these to keep the furniture off the carpet as it dried. (See pics below)
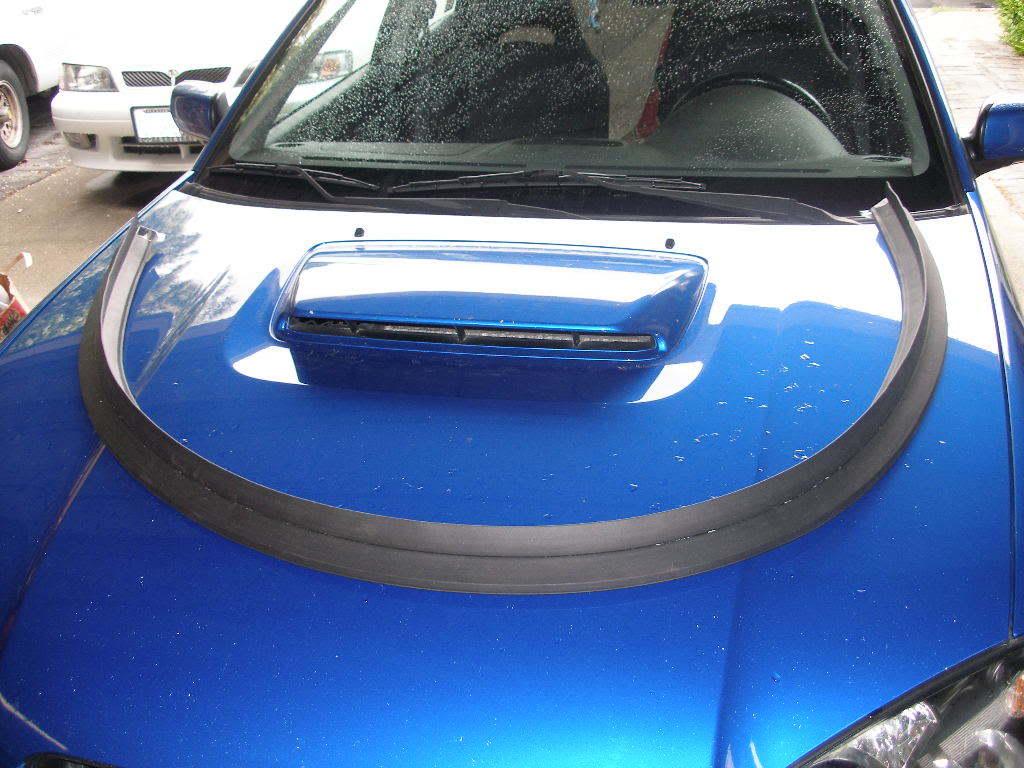
Flexibility

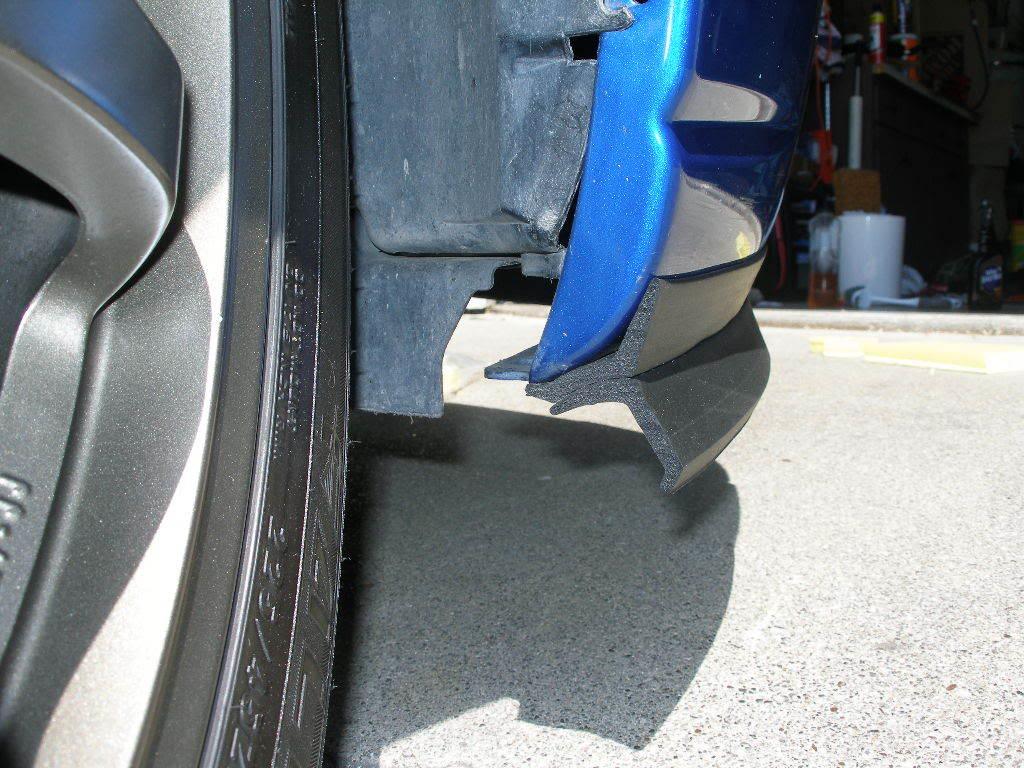
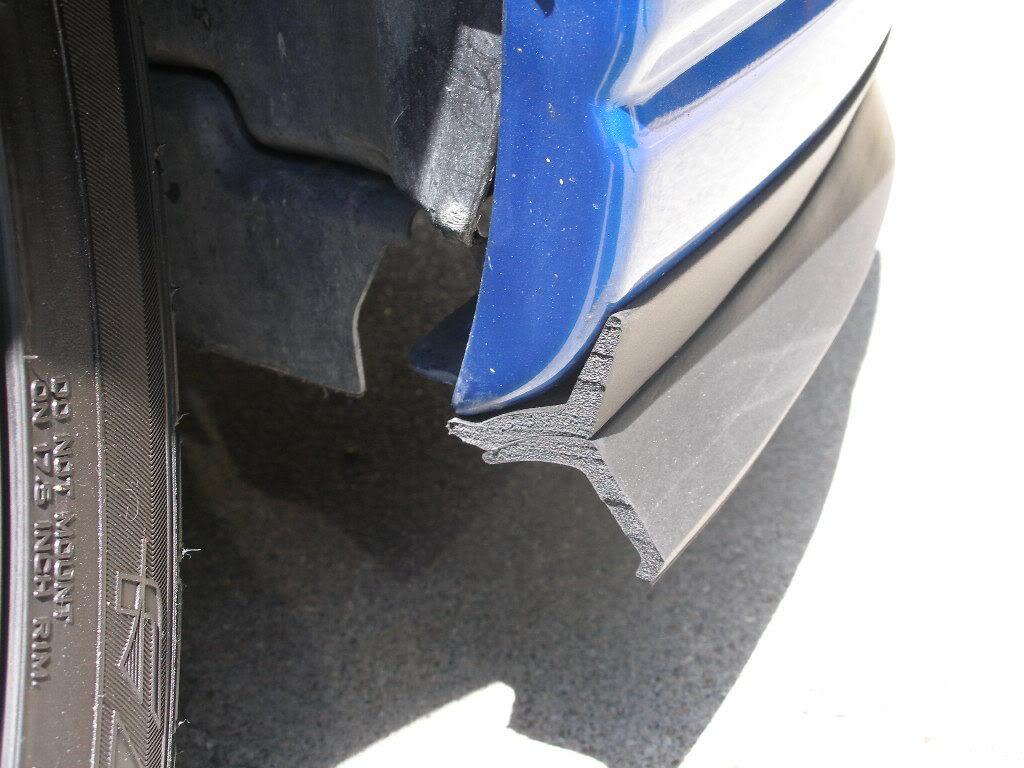
Edge/Wheel well view
Mounting/Installation
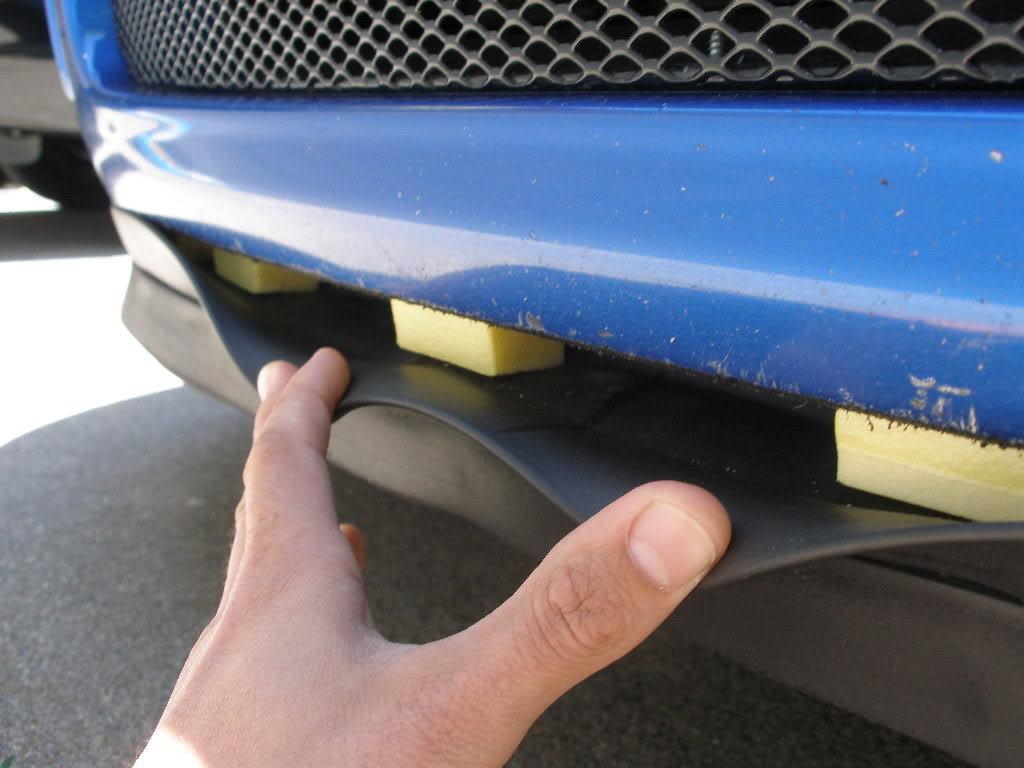

Foam Blocks Detail

8-24-2008
Well, for us rally folks that bought this car for rallying, I can guarantee that this lip option is the best one out there, for both cost and durability. I've done some pretty gnarly off-roading in the past month or two, and it's still holding together, although it's not as pretty. ![]() But $15 later, and it will be new again.
But $15 later, and it will be new again. ![]()
If I had a perfect, street only, show car that I didn't have to drive up driveways with, then I wouldn't mind spending the money to get an actual lip and splitters, but realistically, I just know that the $150+ I spend on a lip is going to be wasted after about a month of pulling into my driveway alone, when it's all scraped to hell. Not to mention the first dip on a fire road when it gets ripped off completely. This mod isn't for everyone, for what it costs, what it accomplishes, and how it looks, it can't be beat.
3-24-2009
What I did first is use the foam blocks (or stacks of about 3 pieces of scrap rubber), to use as "mounting spacers" in the middle recessed area on the bottom of the bumper. That way, the lip comes out level across the whole bumper.
As far as fitting, the devil ![]() is in the details. I purposely made the lip about 3-4 inches longer than I needed, and then I test fitted it using the foam blocks in the center recess, clothes pins, and whatever clips I could find to lightly hold it in place without distorting its shape. Once I had the clipped on mock-up done, and it looked the way I wanted, I just started at one end and put screws in, replacing the clips as I went, following along my already "mounted" lip. Just don't stretch the lip too much or overtighten the screws, or else it might come out looking warped. Then I used some large, sharp scissors to snip the excess at either edge of the bumper. It takes a little while to get it right, but it's totally worth it in the end.
is in the details. I purposely made the lip about 3-4 inches longer than I needed, and then I test fitted it using the foam blocks in the center recess, clothes pins, and whatever clips I could find to lightly hold it in place without distorting its shape. Once I had the clipped on mock-up done, and it looked the way I wanted, I just started at one end and put screws in, replacing the clips as I went, following along my already "mounted" lip. Just don't stretch the lip too much or overtighten the screws, or else it might come out looking warped. Then I used some large, sharp scissors to snip the excess at either edge of the bumper. It takes a little while to get it right, but it's totally worth it in the end.