You must be logged in to rate content!
19 minute(s) of a 338 minute read
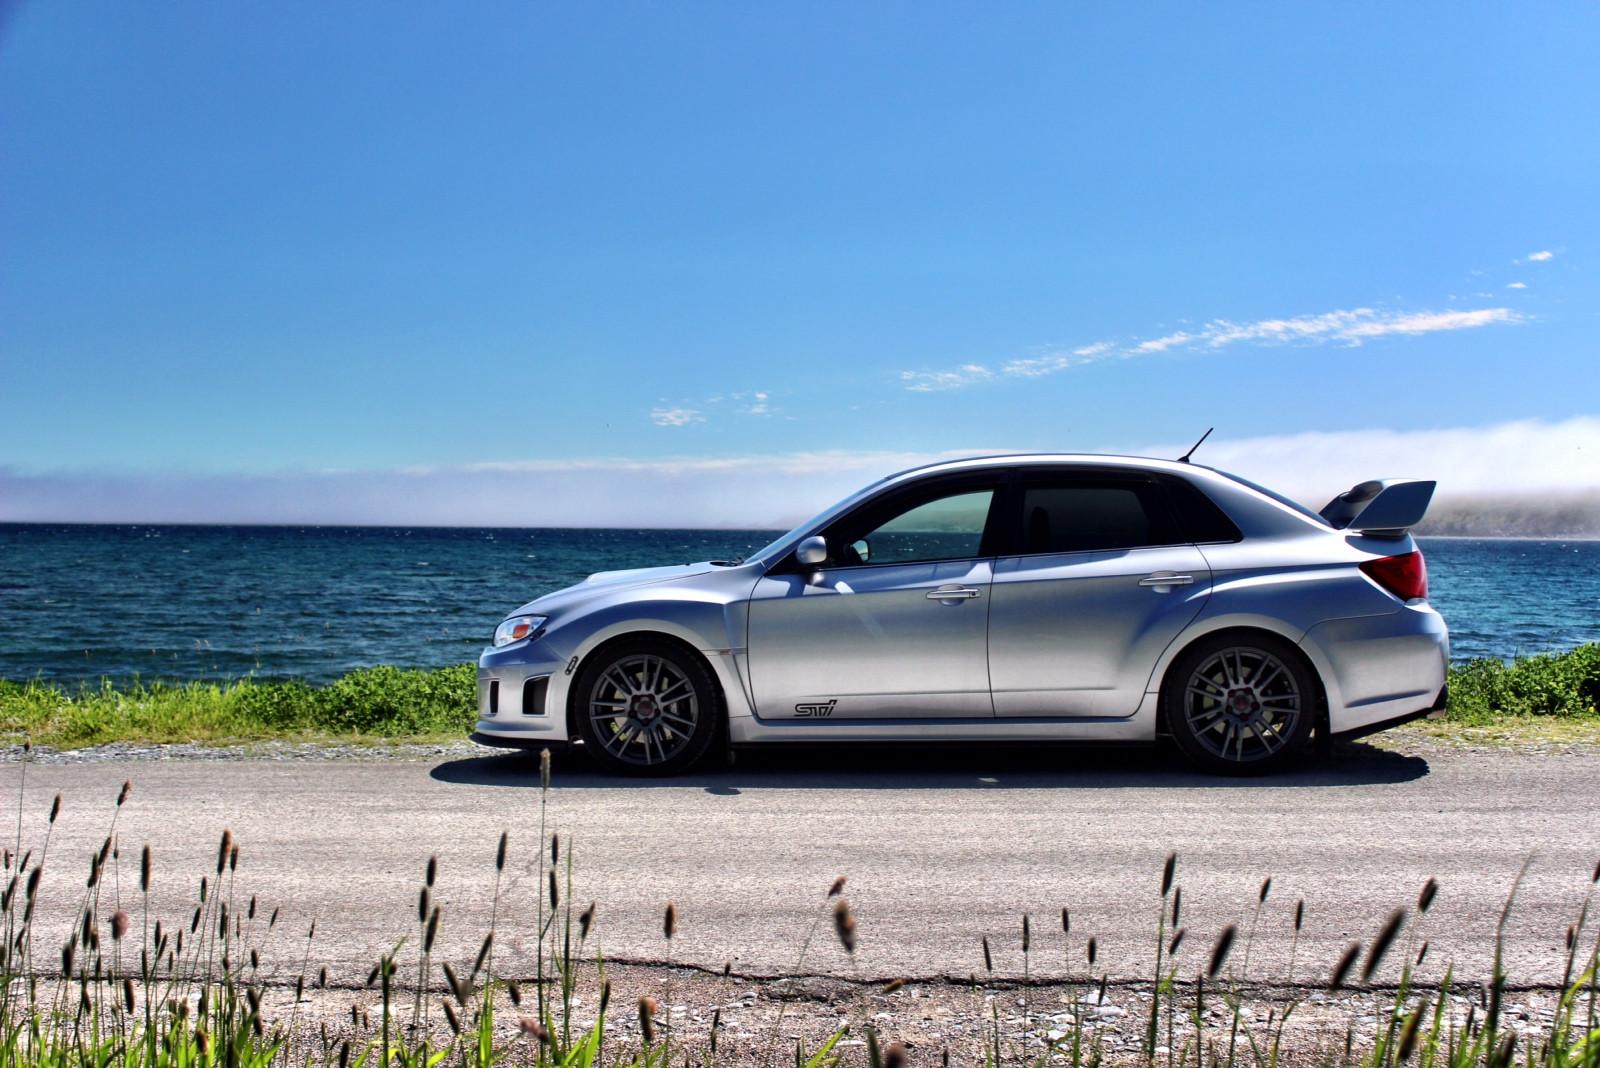
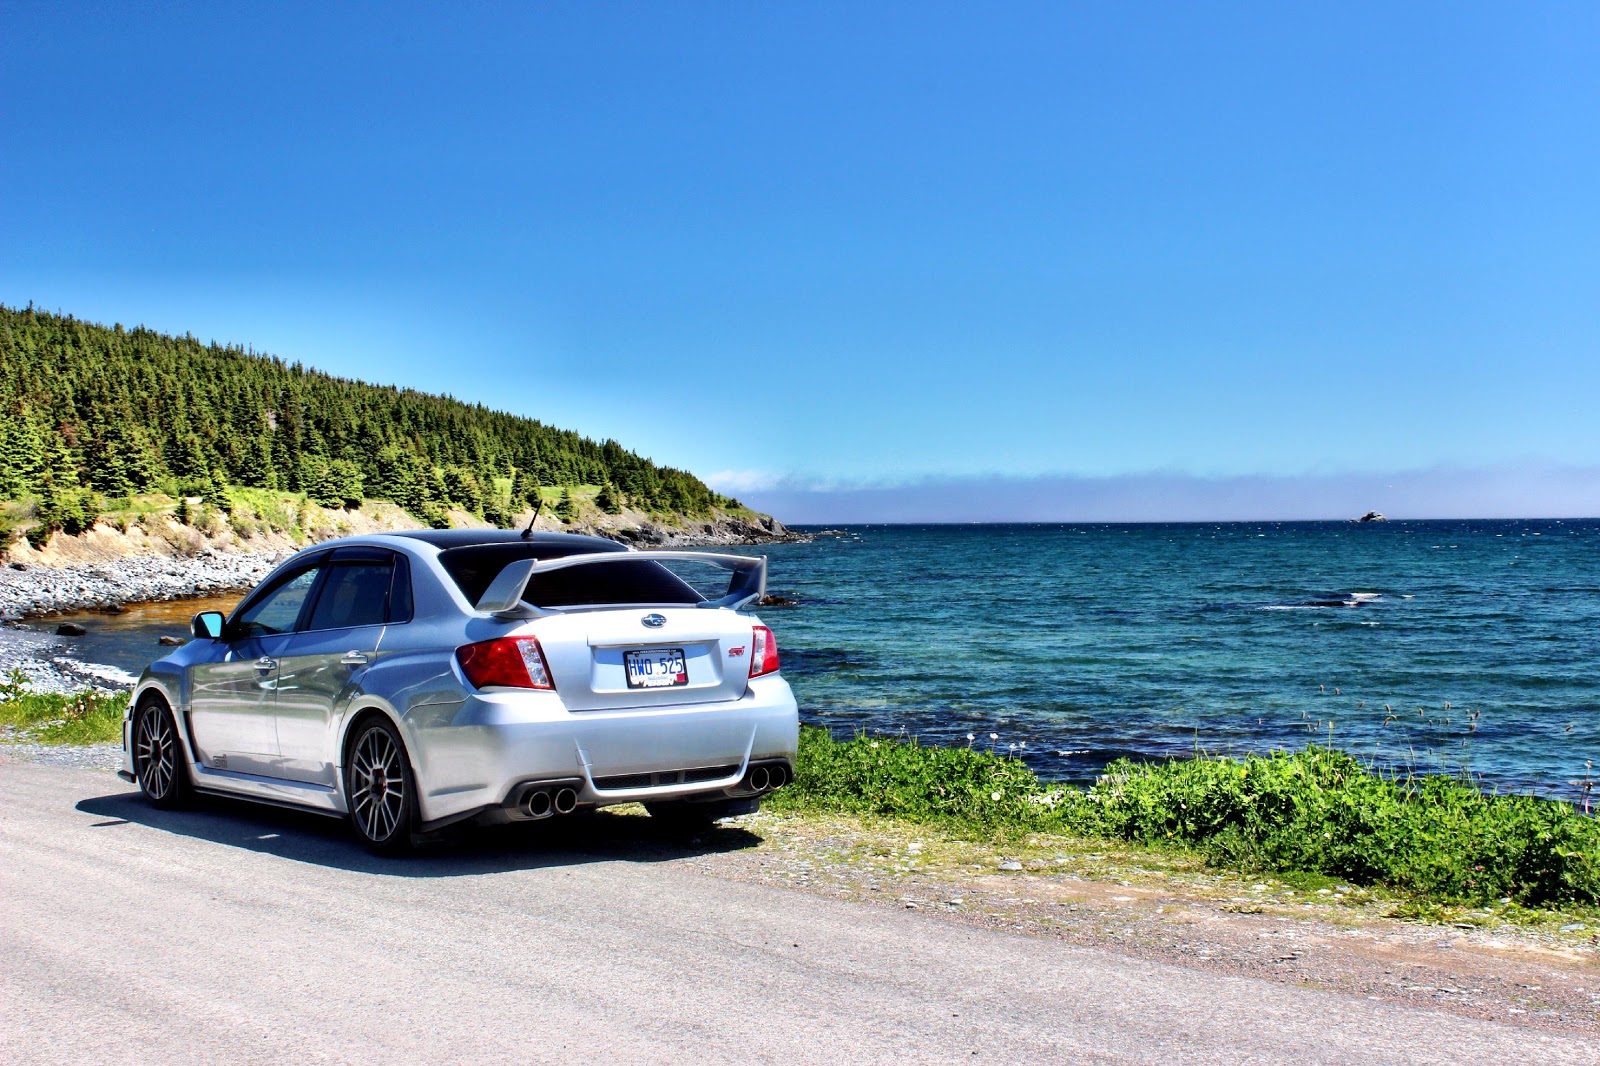
6-21-2014
6-21-2014
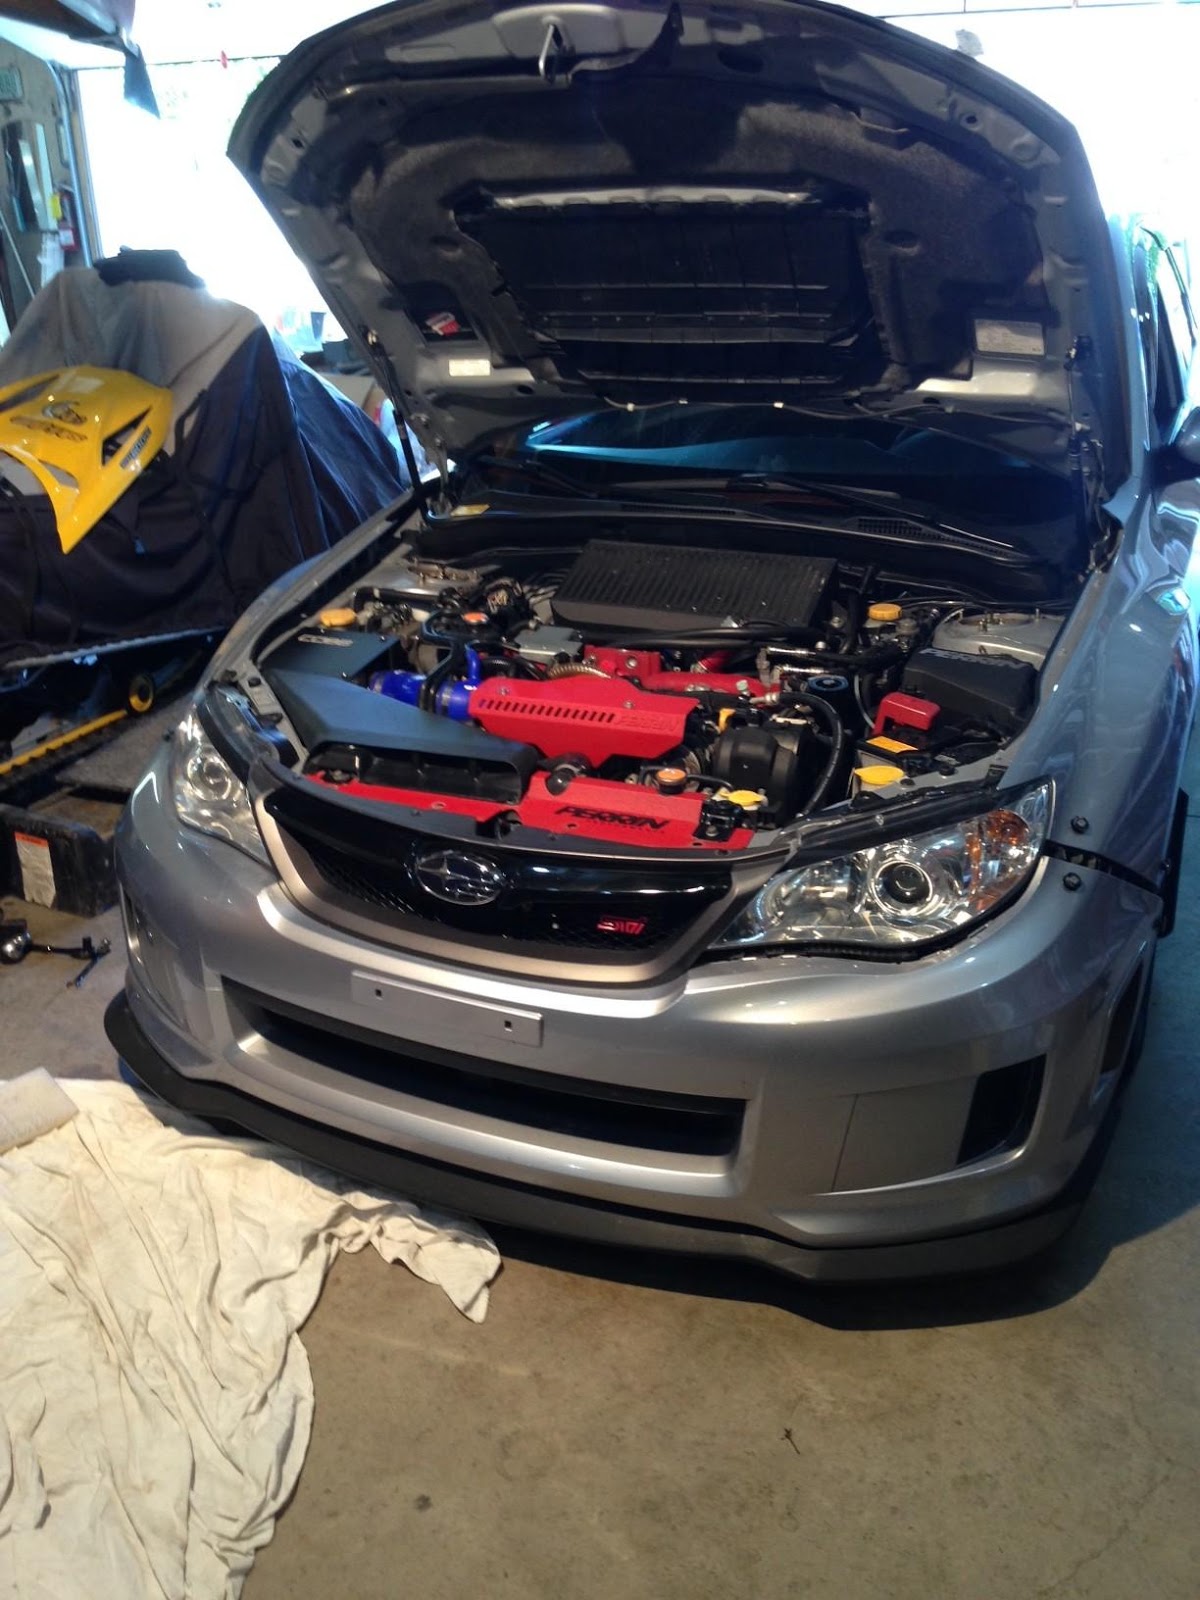
Got a video of my car shooting some flames yesterday!
12-28-2014
Its been a while been away from this site for a while but here is lots updates that ive done.
First we will start with a video I got of my car shooting flames.
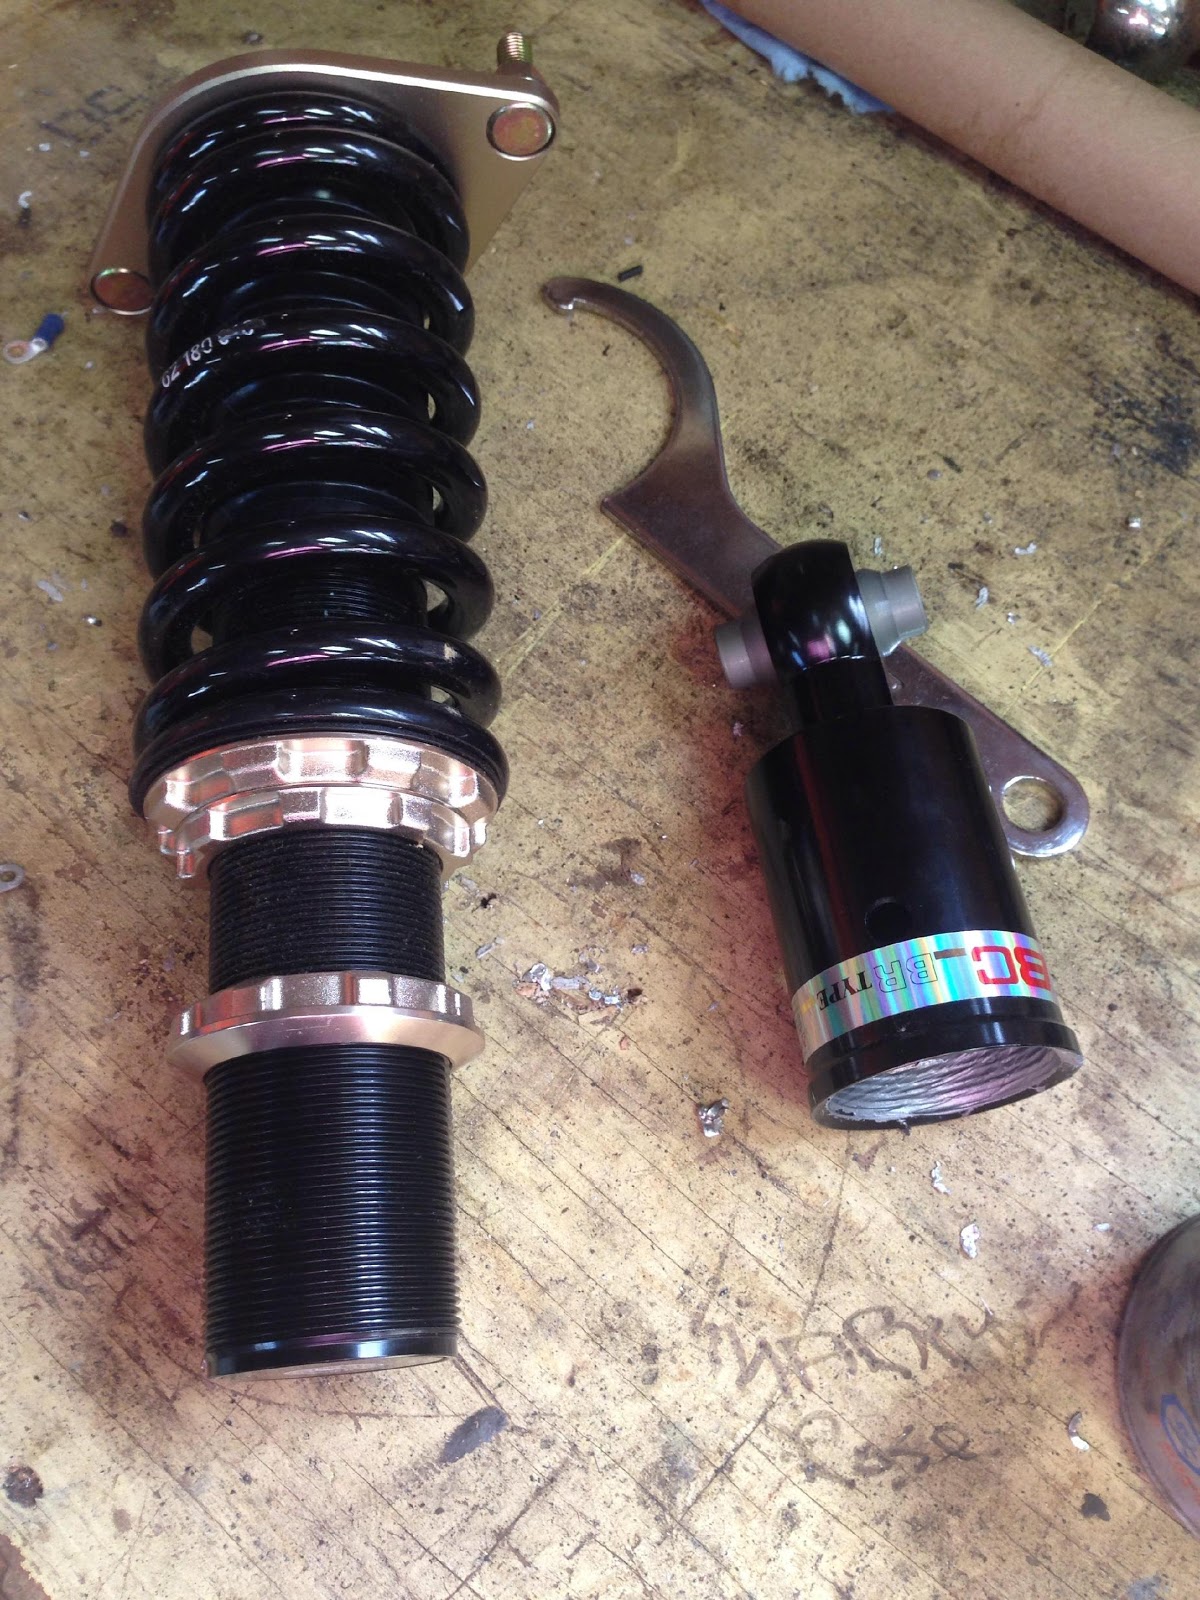
Next I installed my BC Racing Coilovers. (Apologise in advance for the cell pics)
So here is my installation.
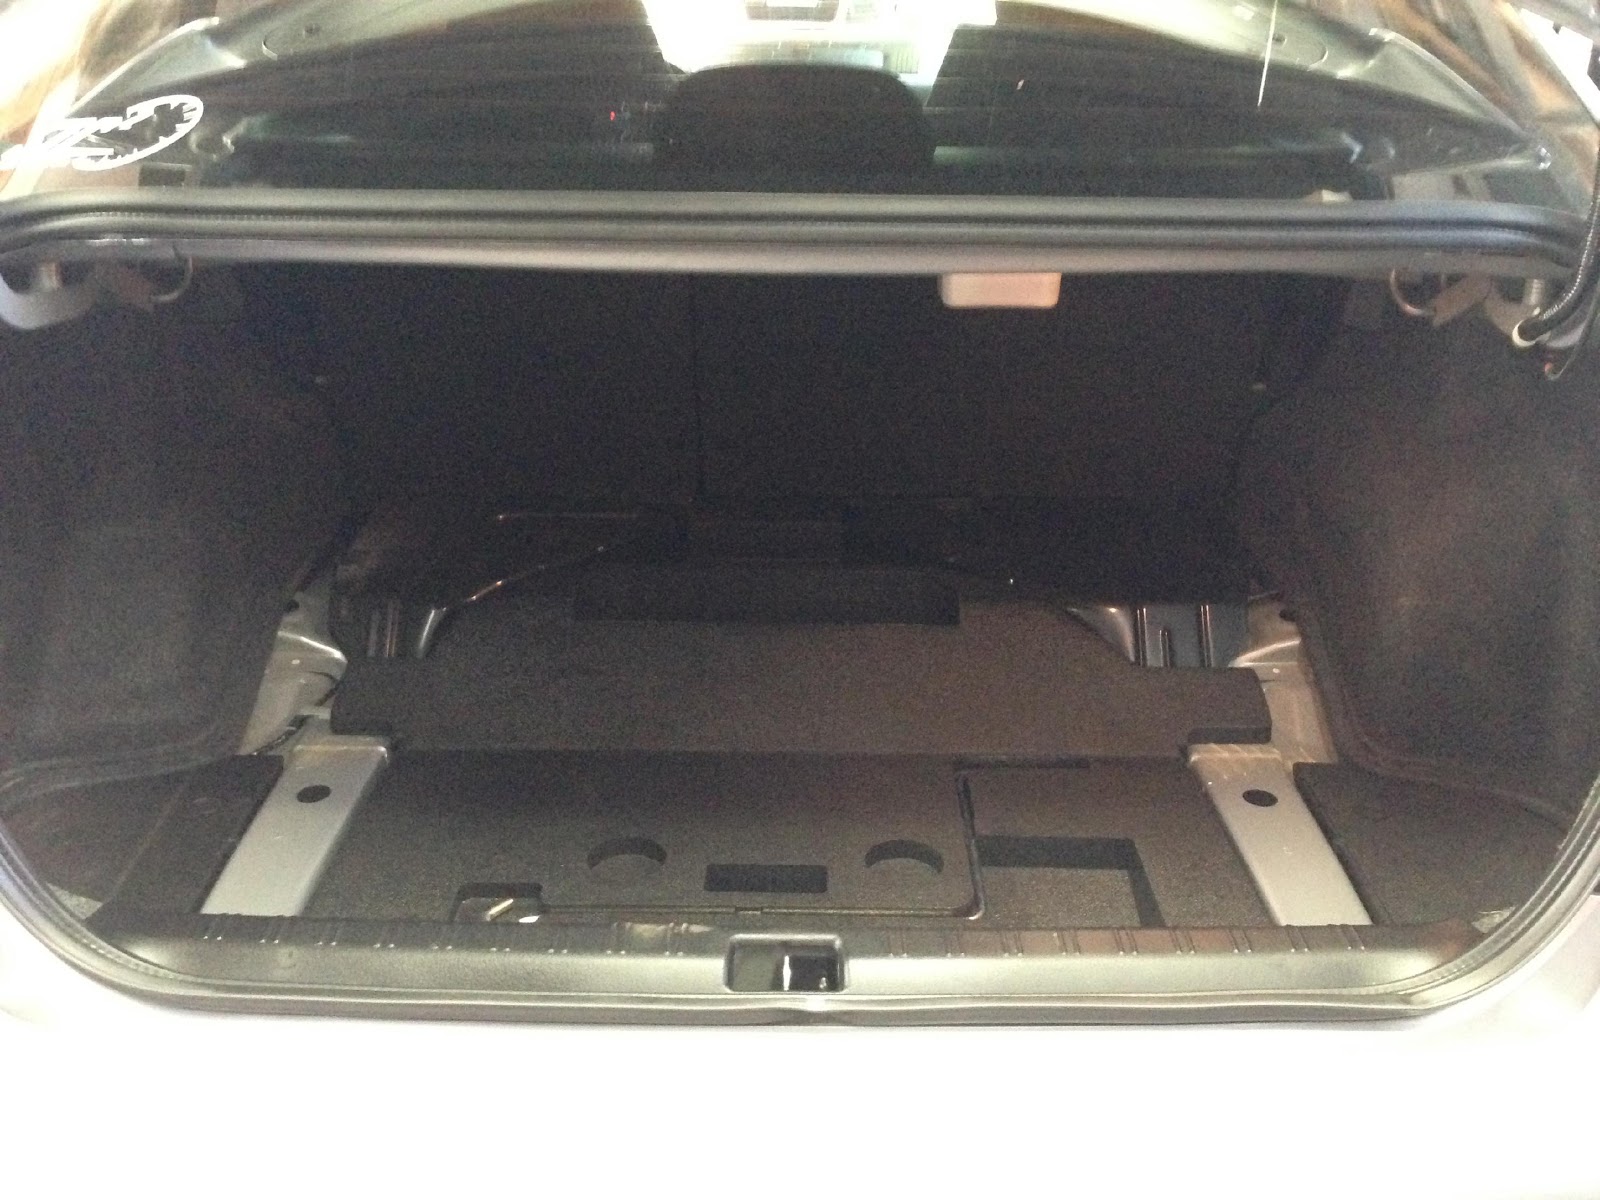
First thing I did was get it in to my buddy's garage and jack it up. I did the rear first. I took all the carpet out of my trunk.
Then I sat down and took my wheels off.
First thing you want to do if your car is a bit older or driven in the winter is spray some PB Blaster on the nuts and bolts.
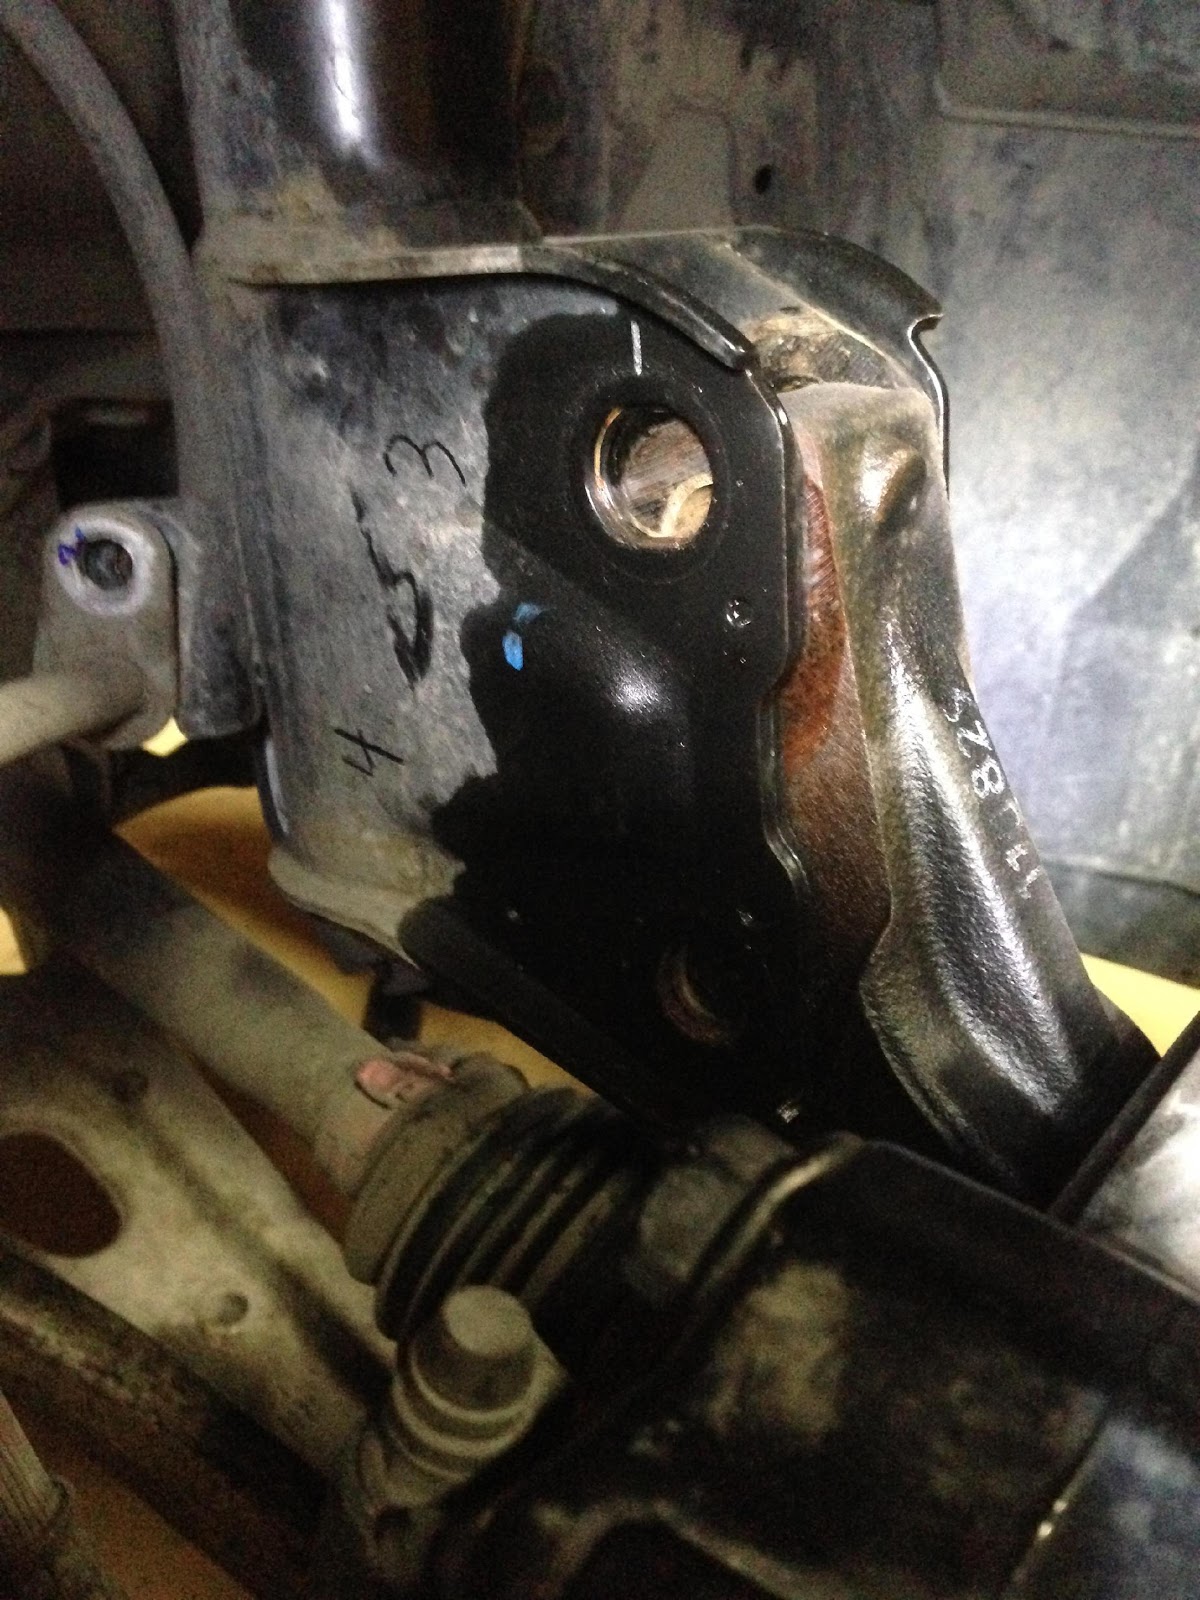
Once that settles for a little bit you want to remove the 2 bolts on the lateral links. One bolt is a 14mm bolt that connects the end link to the lateral link (indicated by the 1) and remove the 17mm bolt that connects the shock to the lateral link. (indicated by 2)
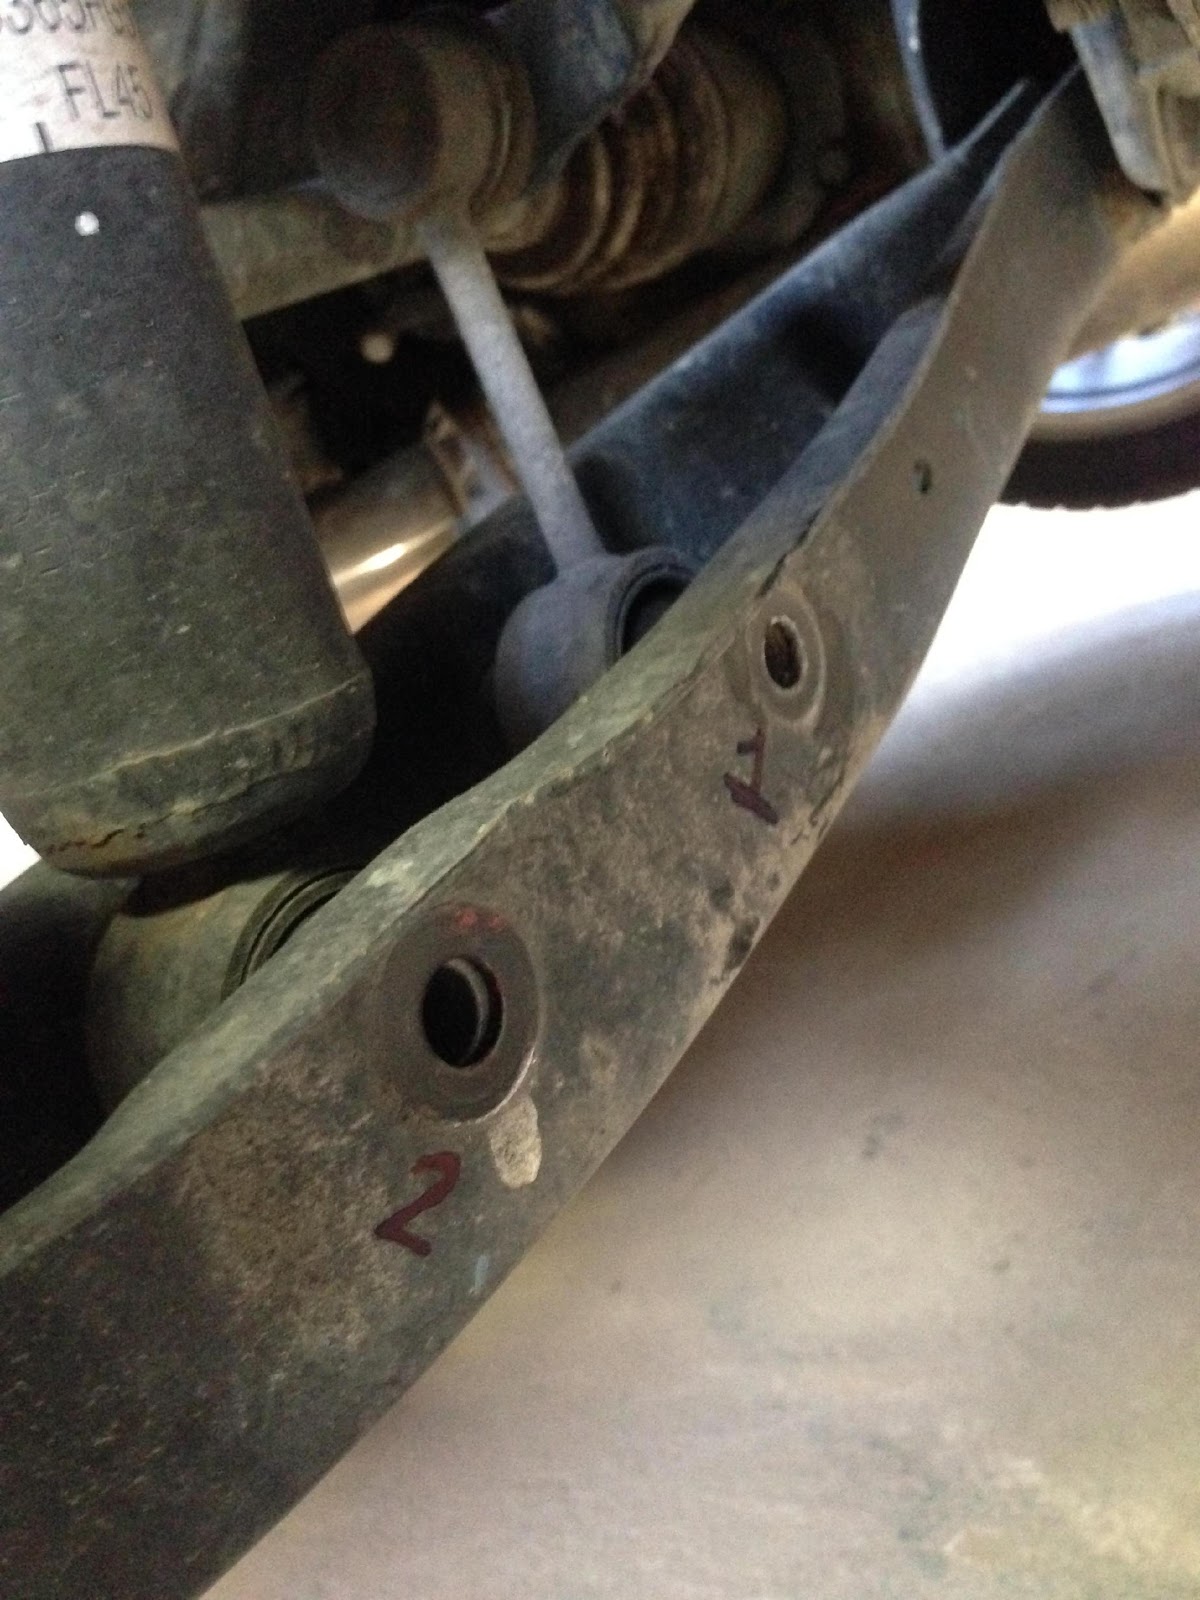
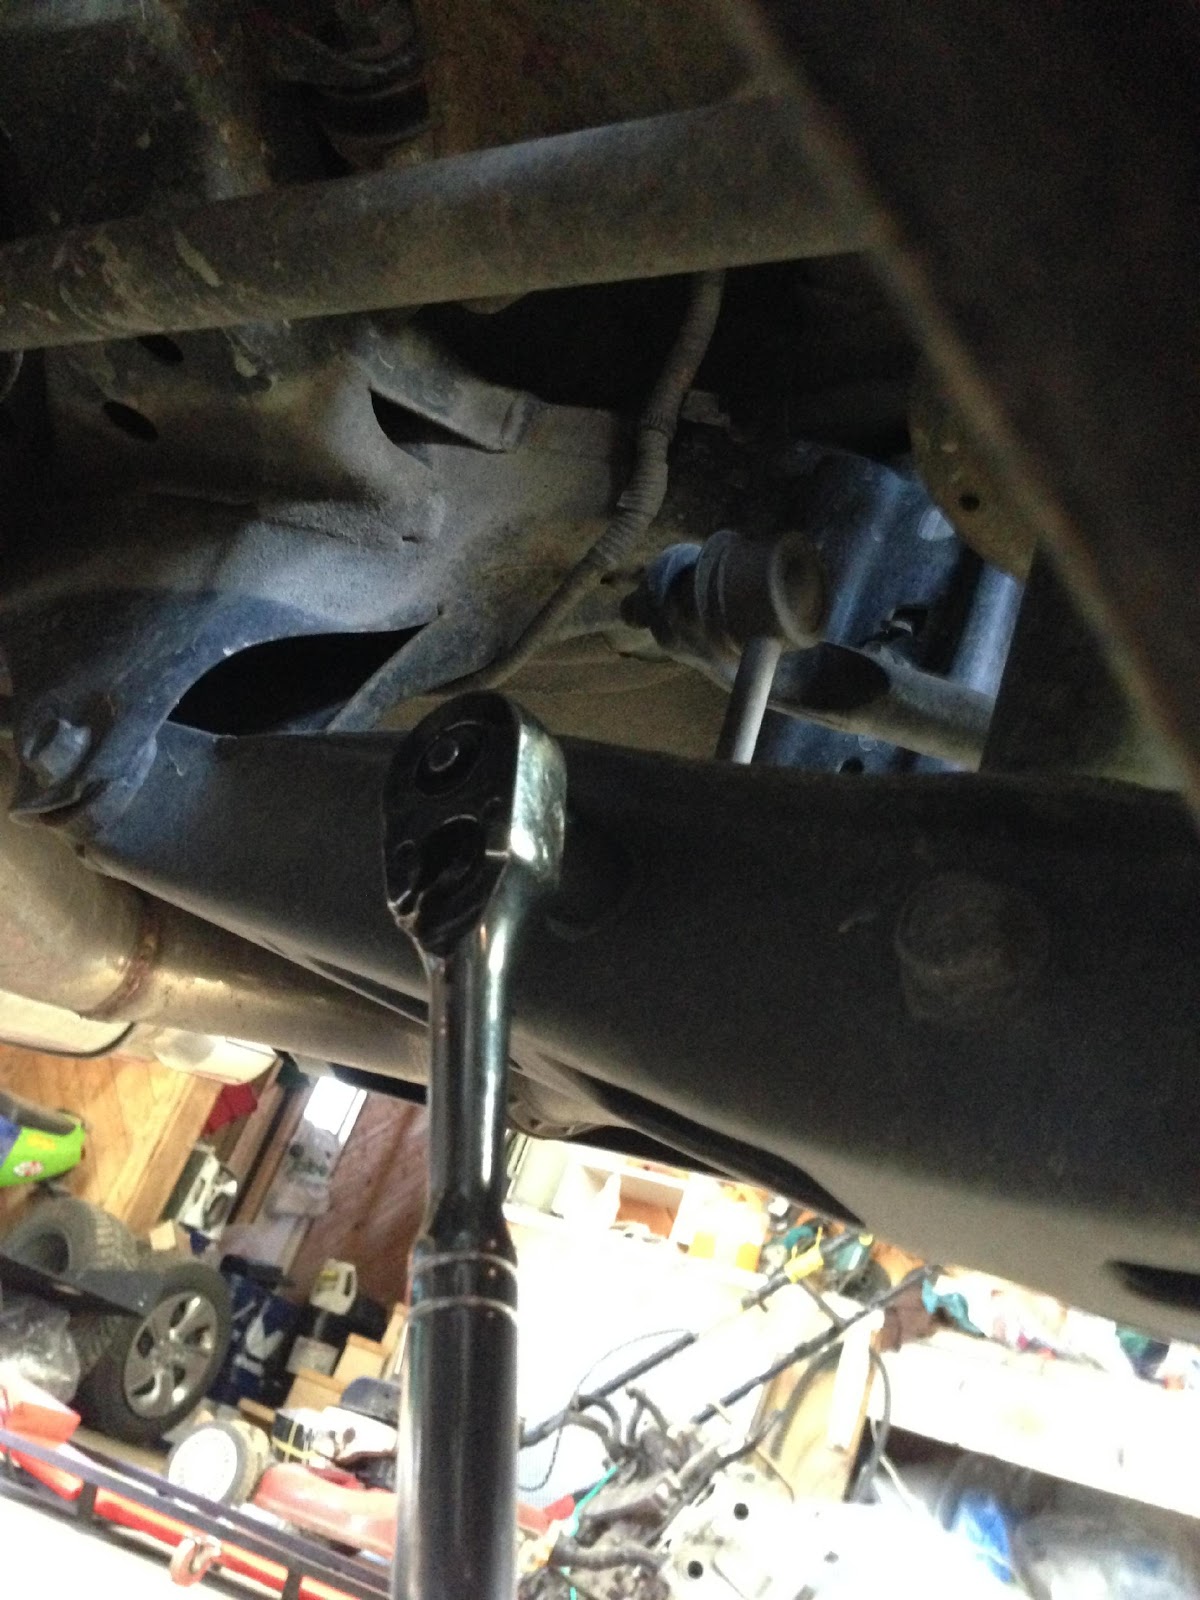
I marked the bolts 1 and 2 even tho its hard to get them mixed up.
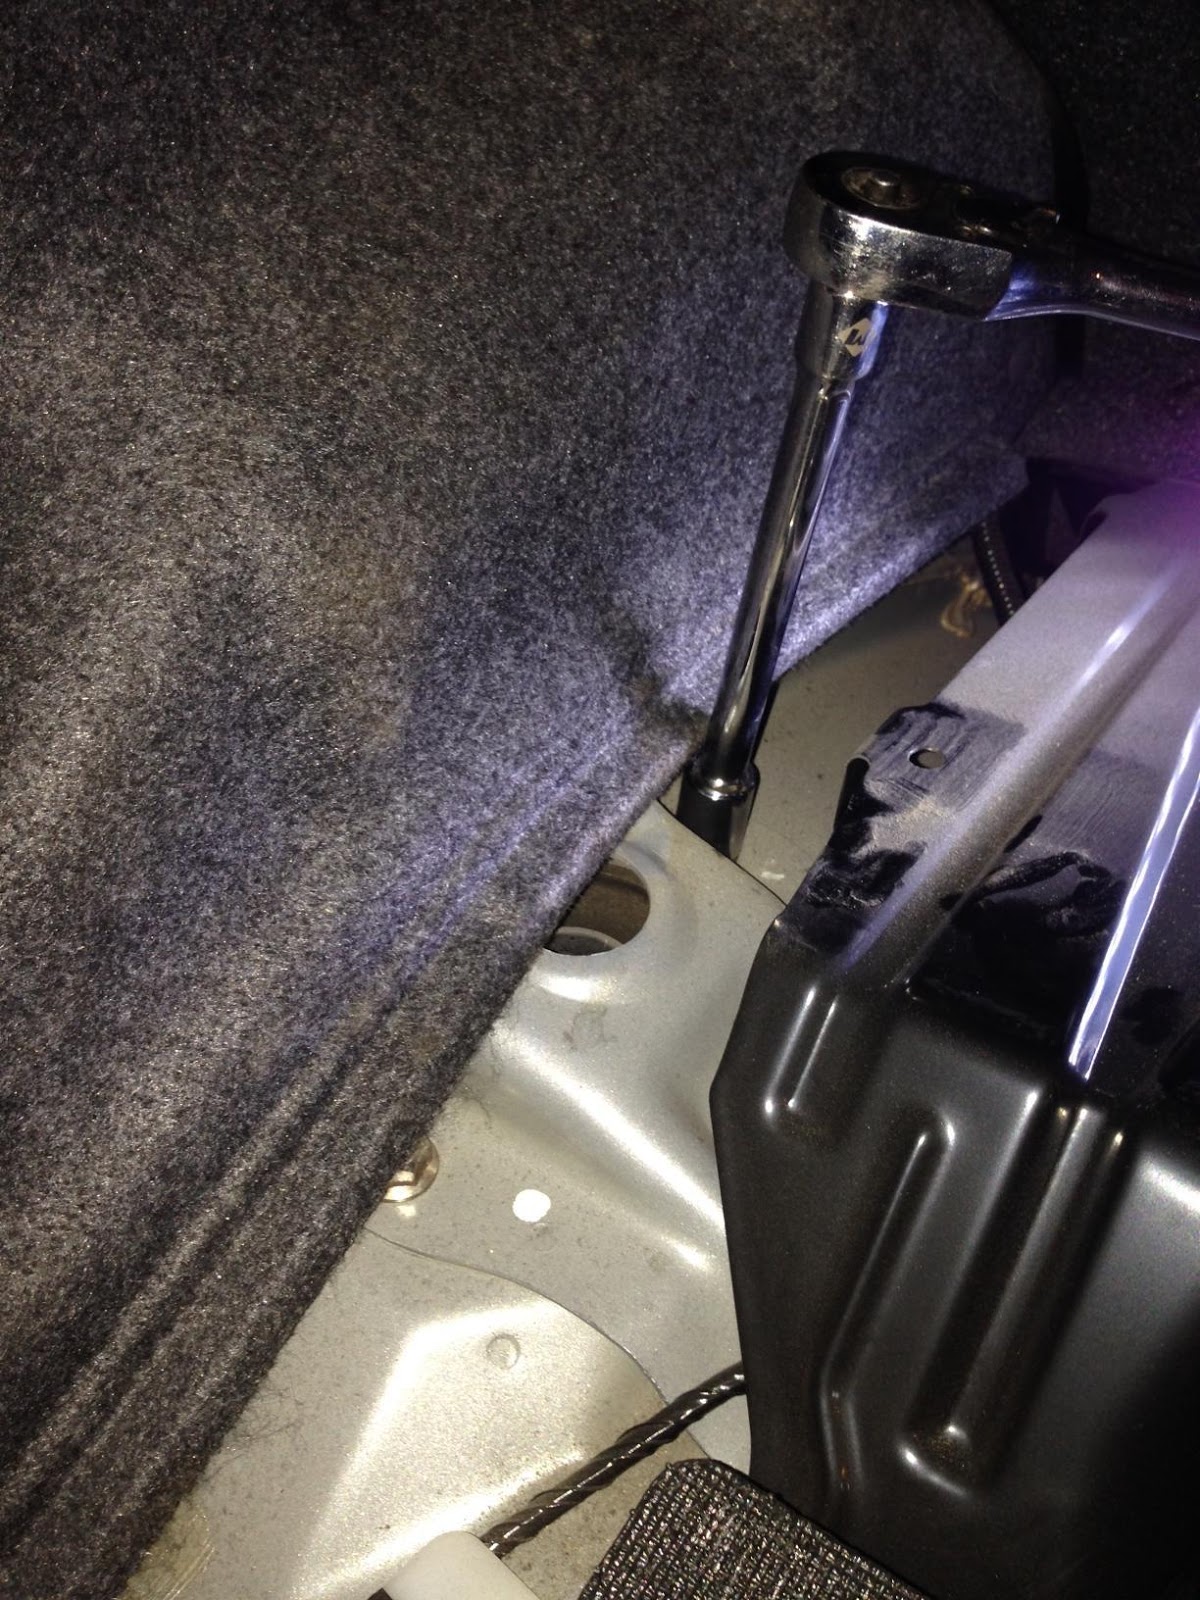
After those 2 bolts are out youll have to unscrew 2 12mm bolts up on top of the strut mount.
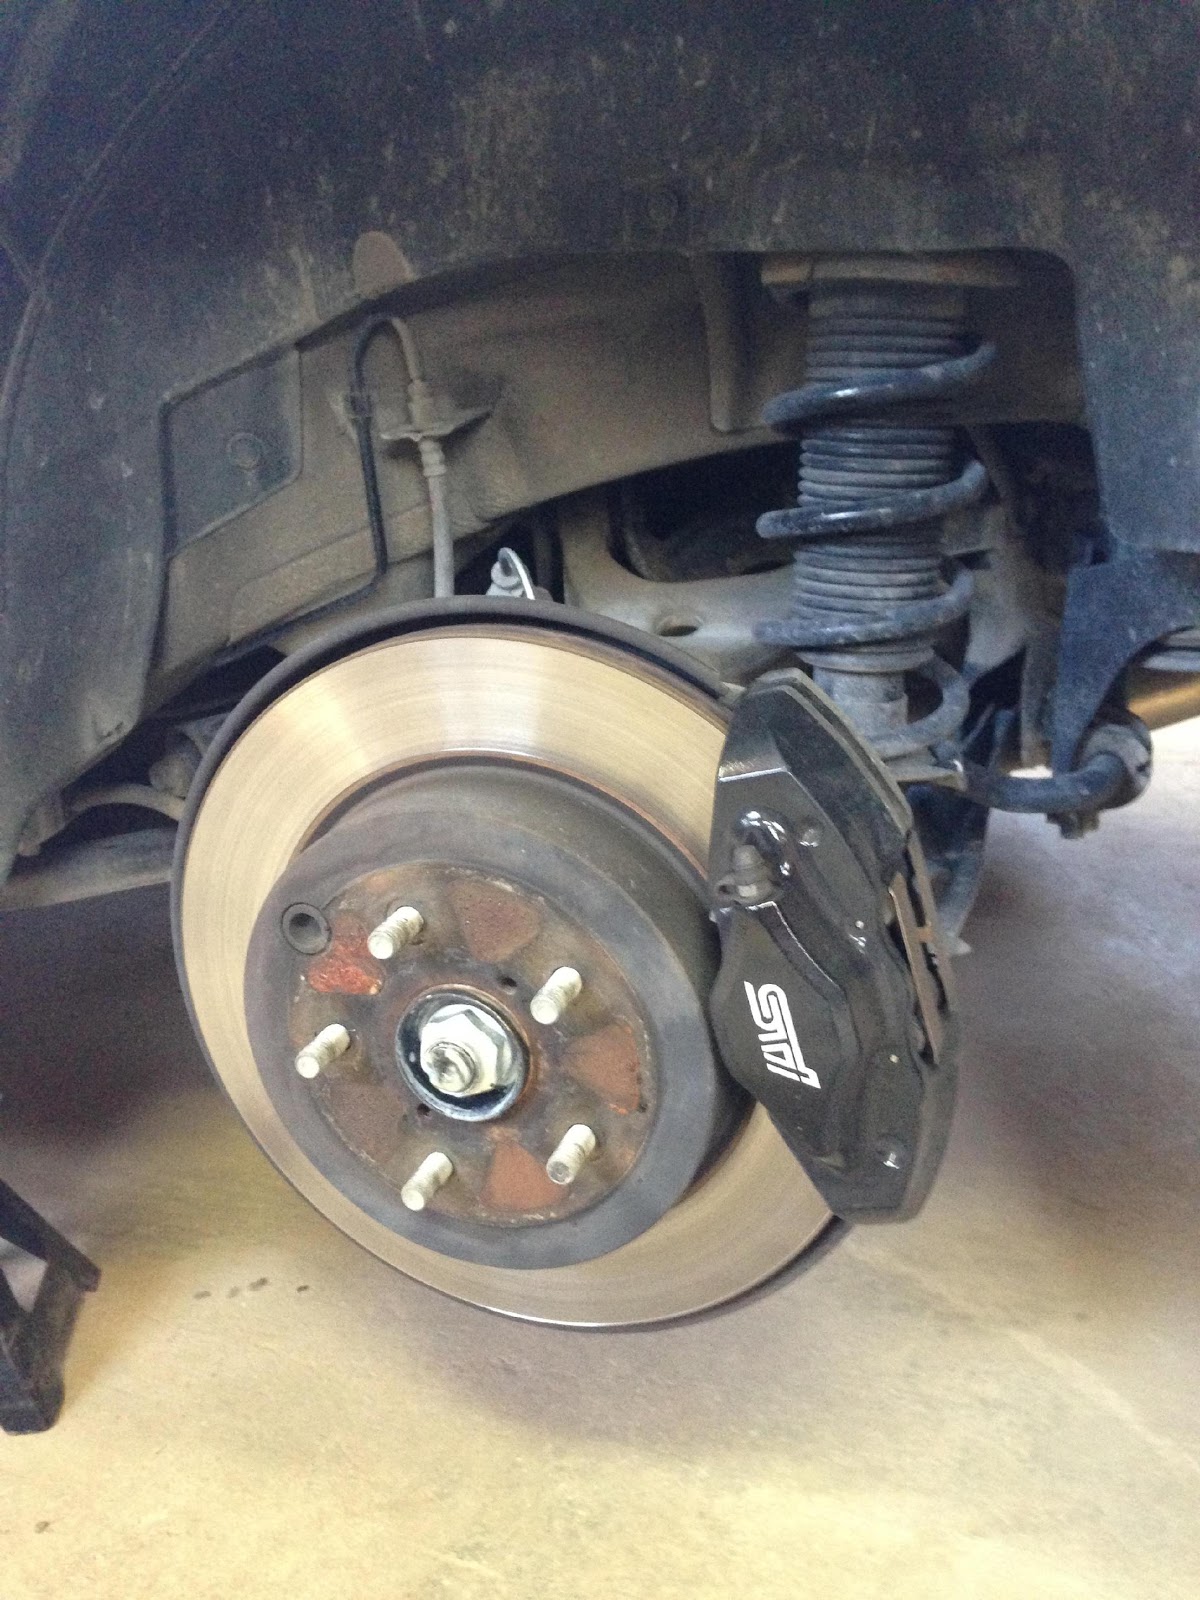
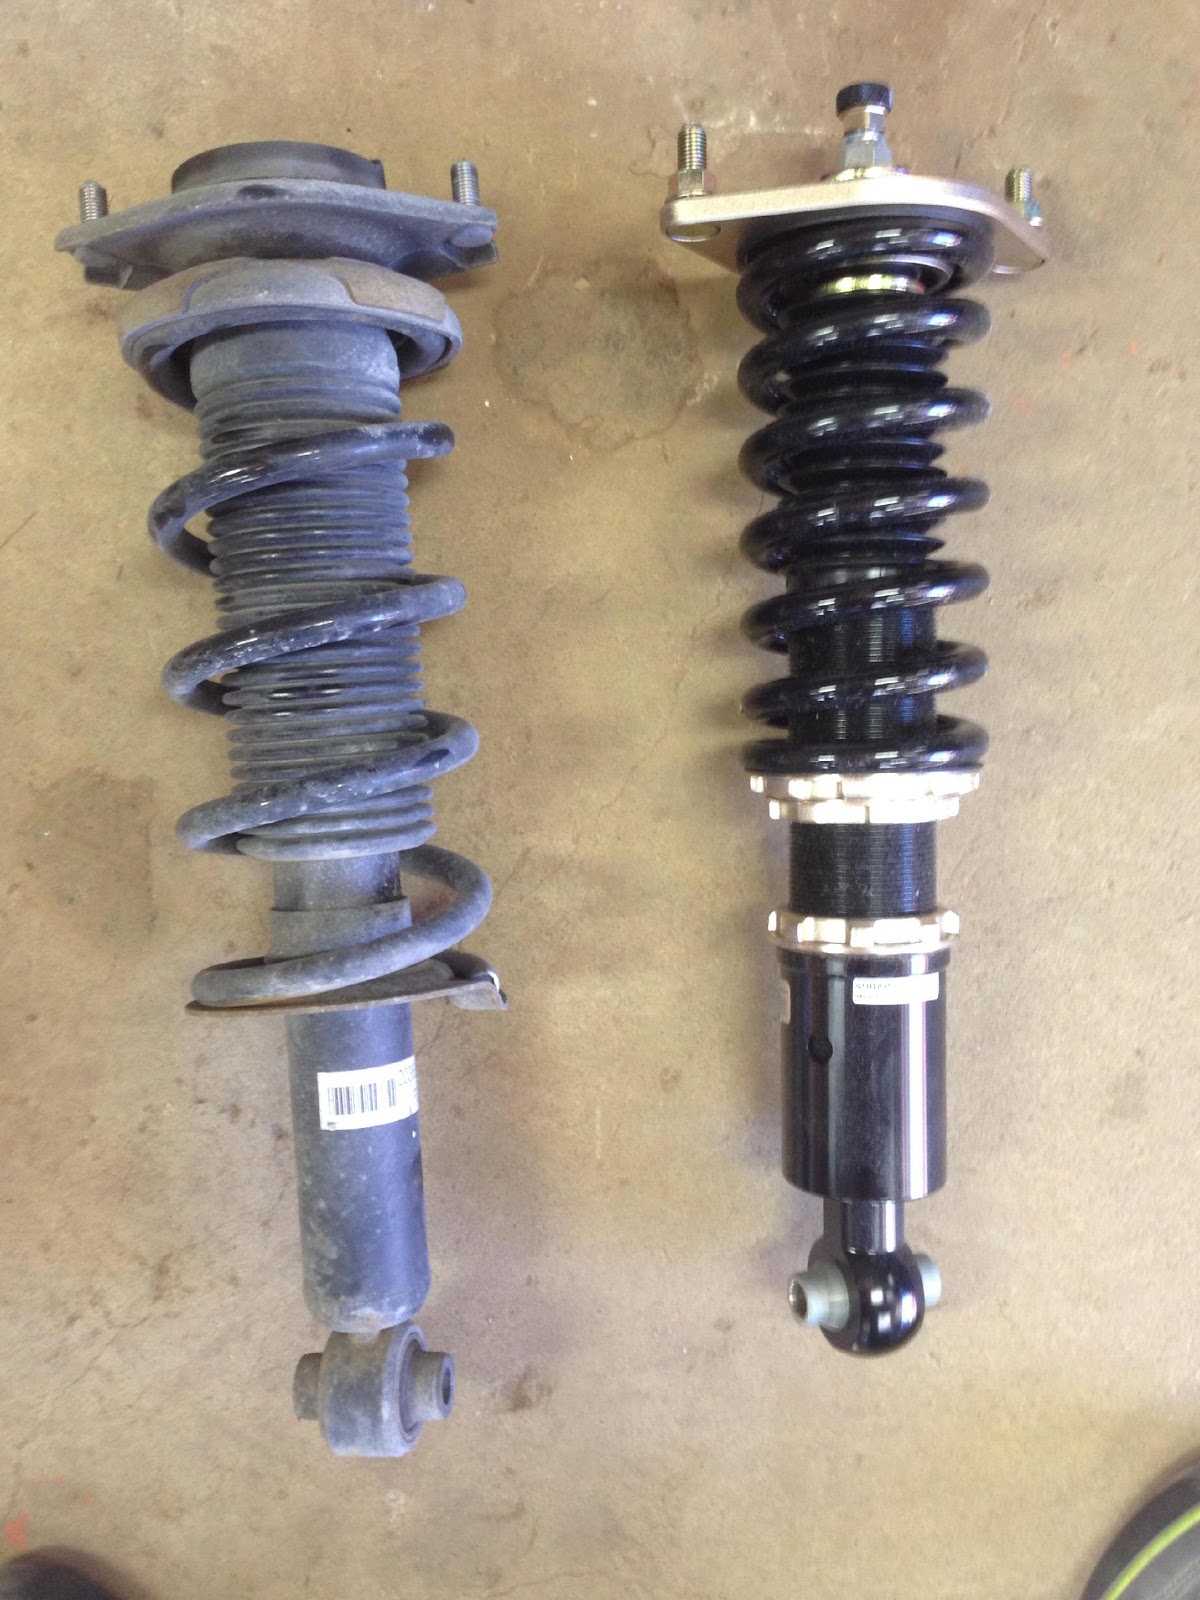
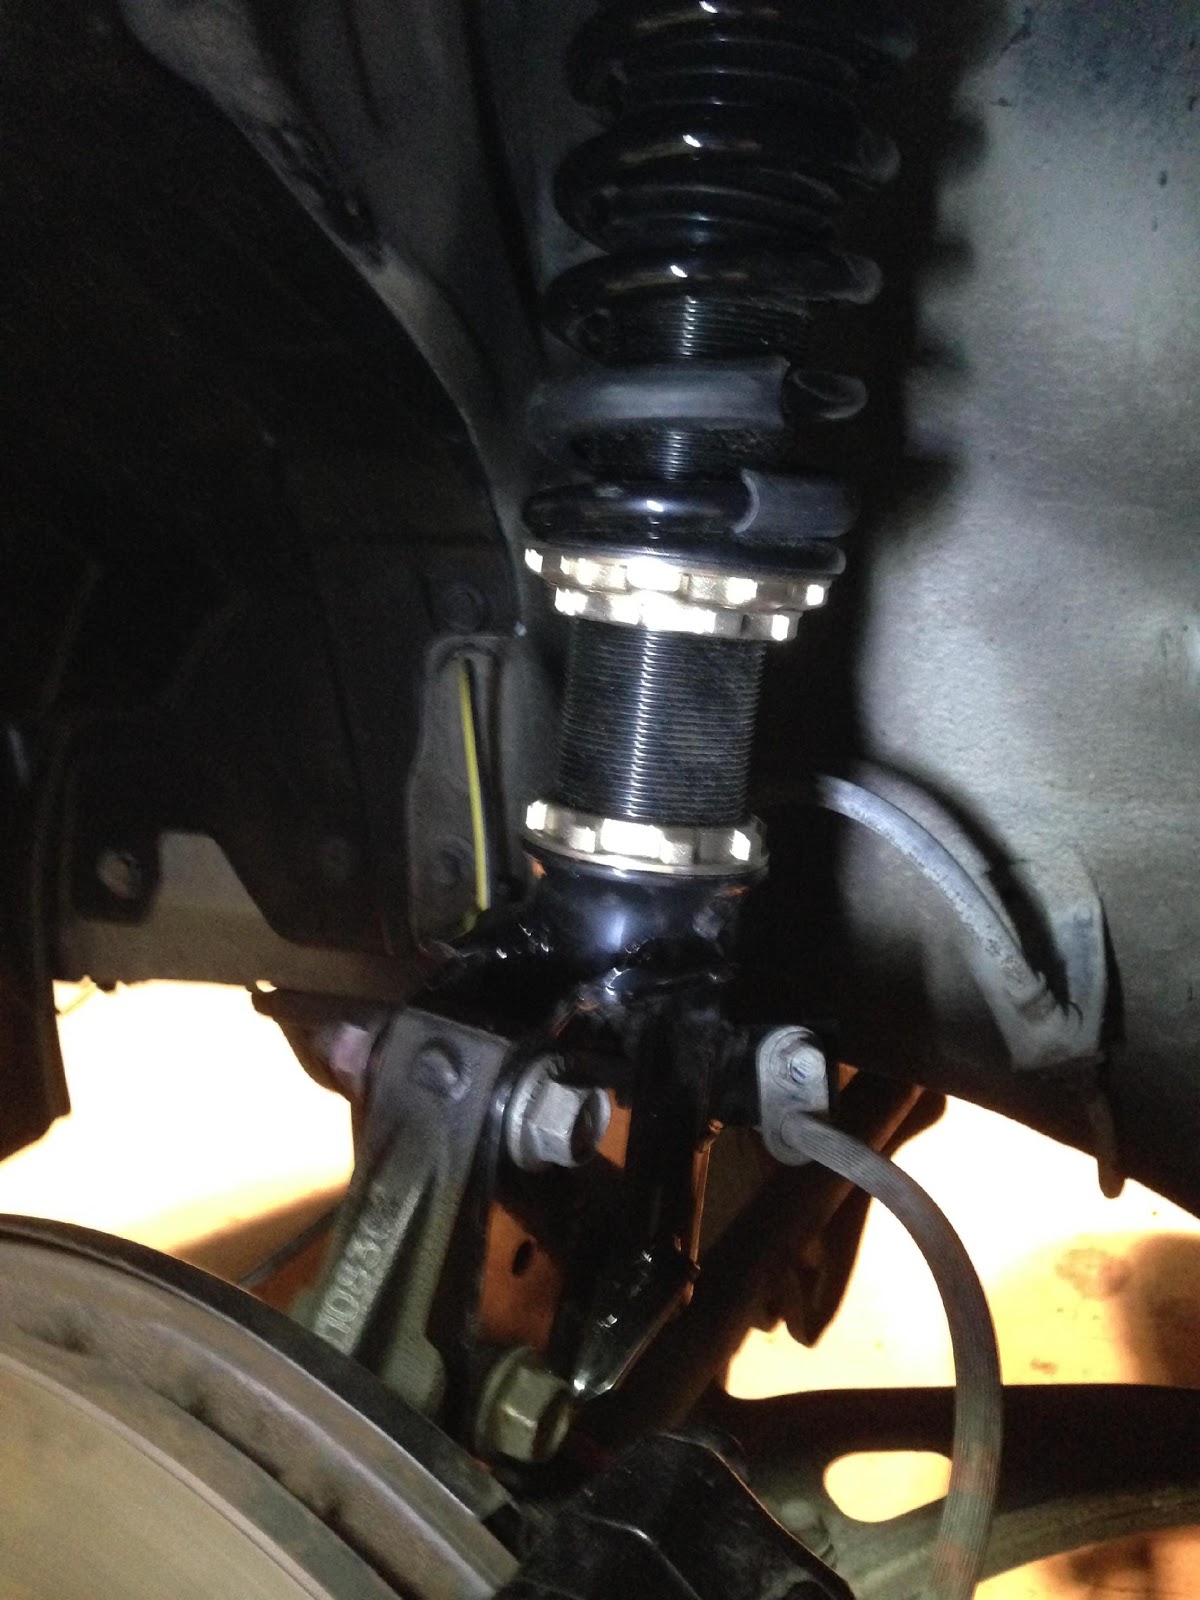
A comparison of the rear stock shock and the new BC Coilover
What I thought was a good idea was to put some anti seize inside the coilover body.
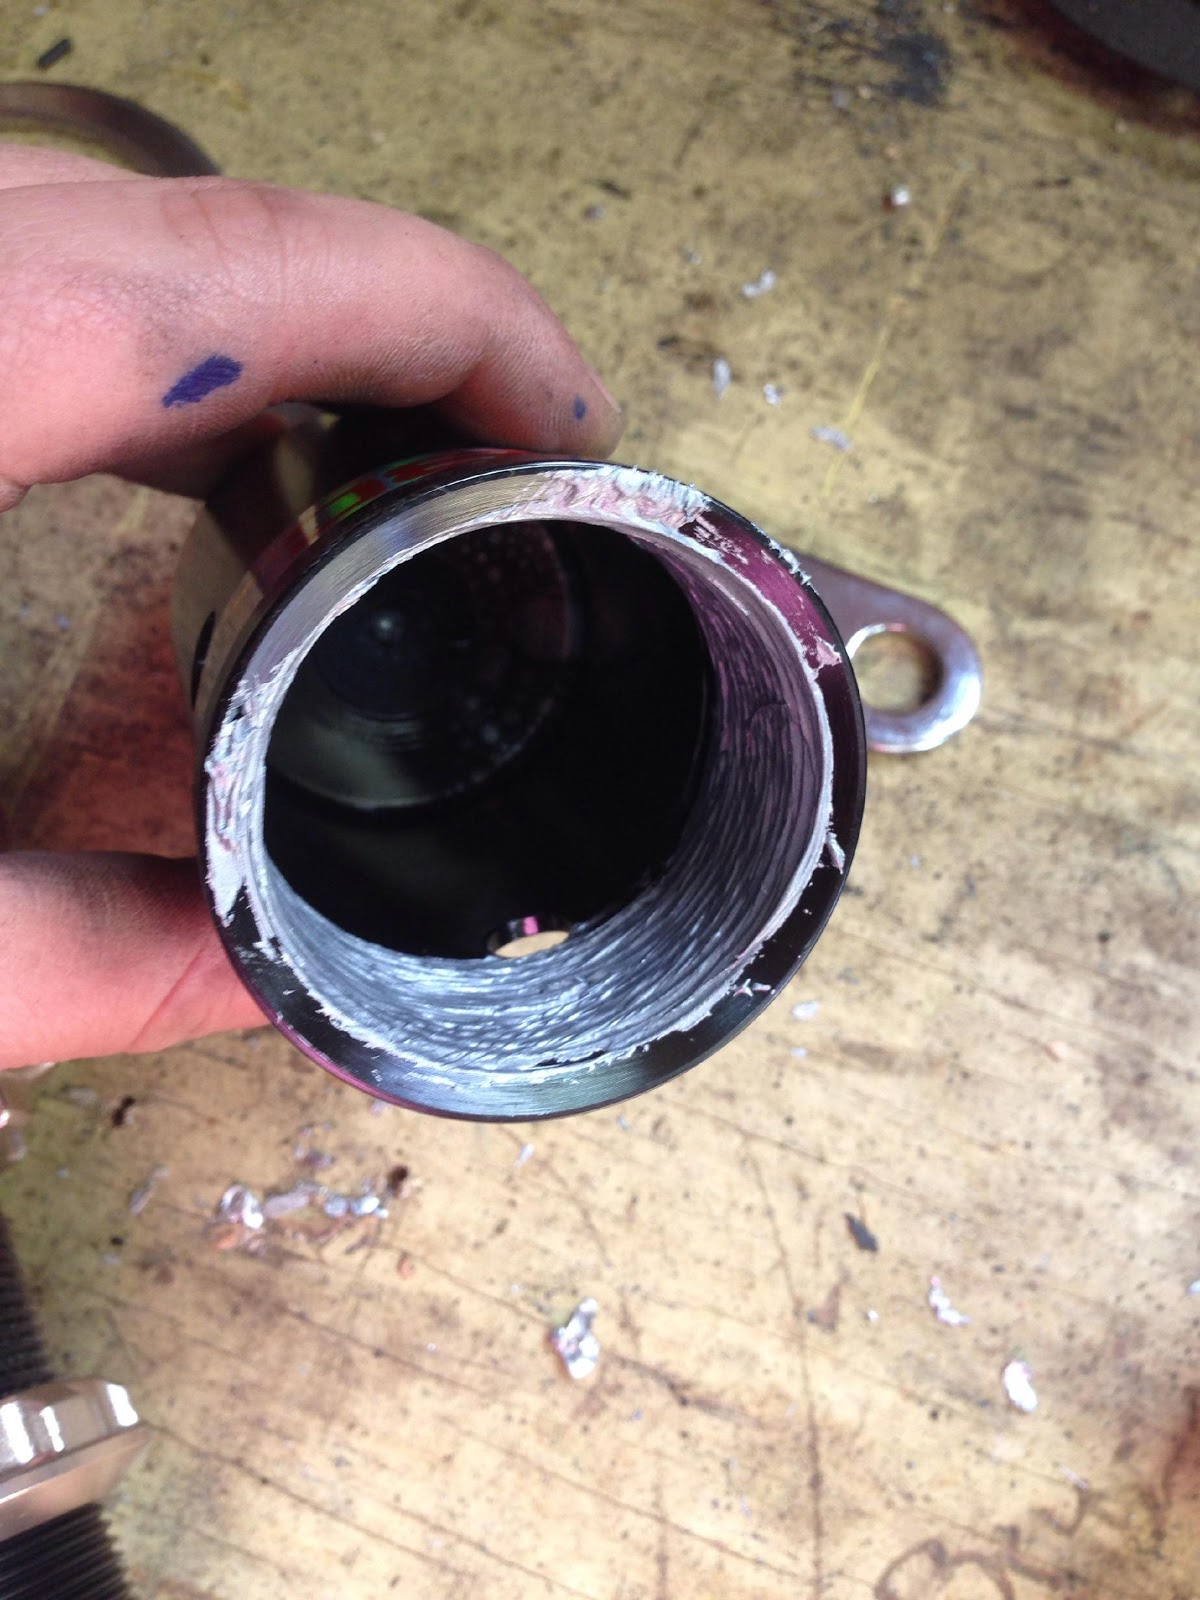
Once thats done measure the thread body on both coilovers and make sure they are the same.
Once thats done put the coilover back in place. Lightly tighten the bolts up top just to keep it from falling. I found it best to install the endlink bolt first. Its best to use a jack and jack up on the lateral link until the car starts to come off the jack stands. Once thats happens that mean you are at ride height. Install both bolts, the endlink bolt needs to be torqued at 33lbs and the shock bolt to 89lbs as by Subaru torque spec.
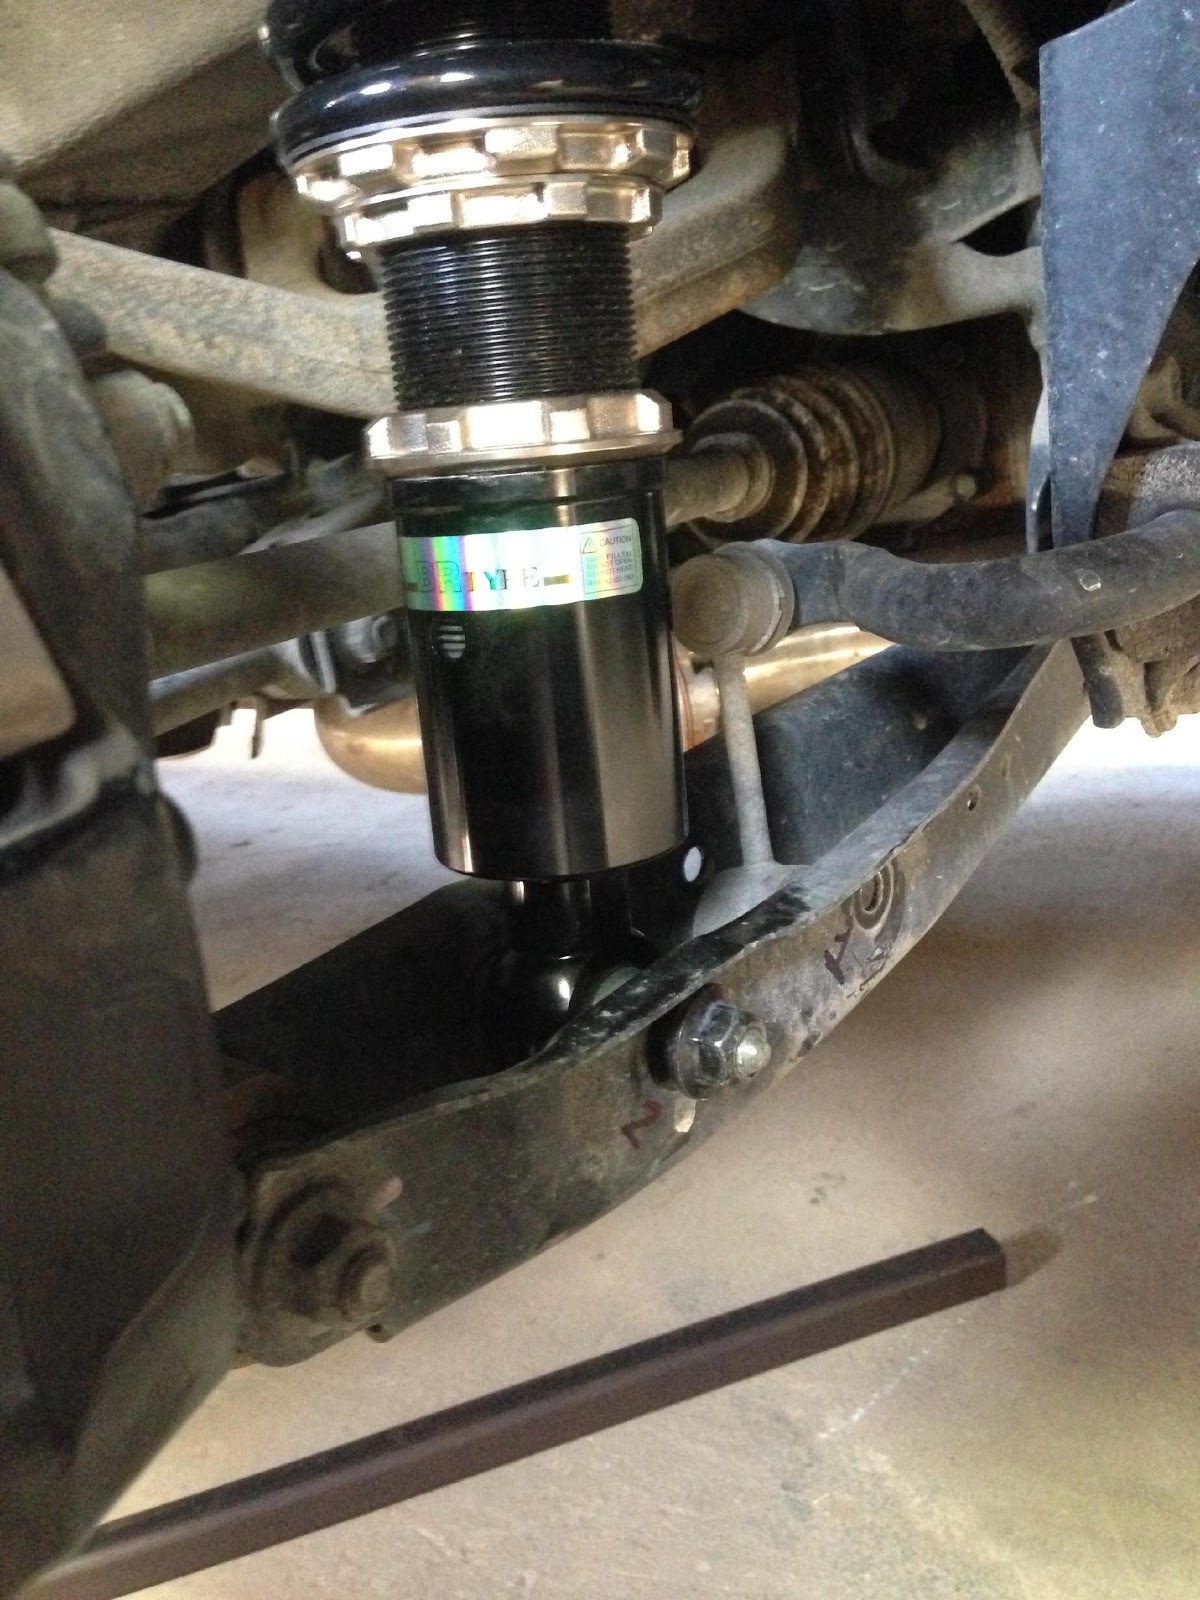
Follow the same instrustions for the opposite side. Becareful not to over tighten or when taking the bolts off not to turn the wrong way.
Next is the front coilovers.
First thing is jack it up and put jack stands underneath. There are 4 bolts. One for the ABS line and the other is the brake line. Both of these bolts are 12mm
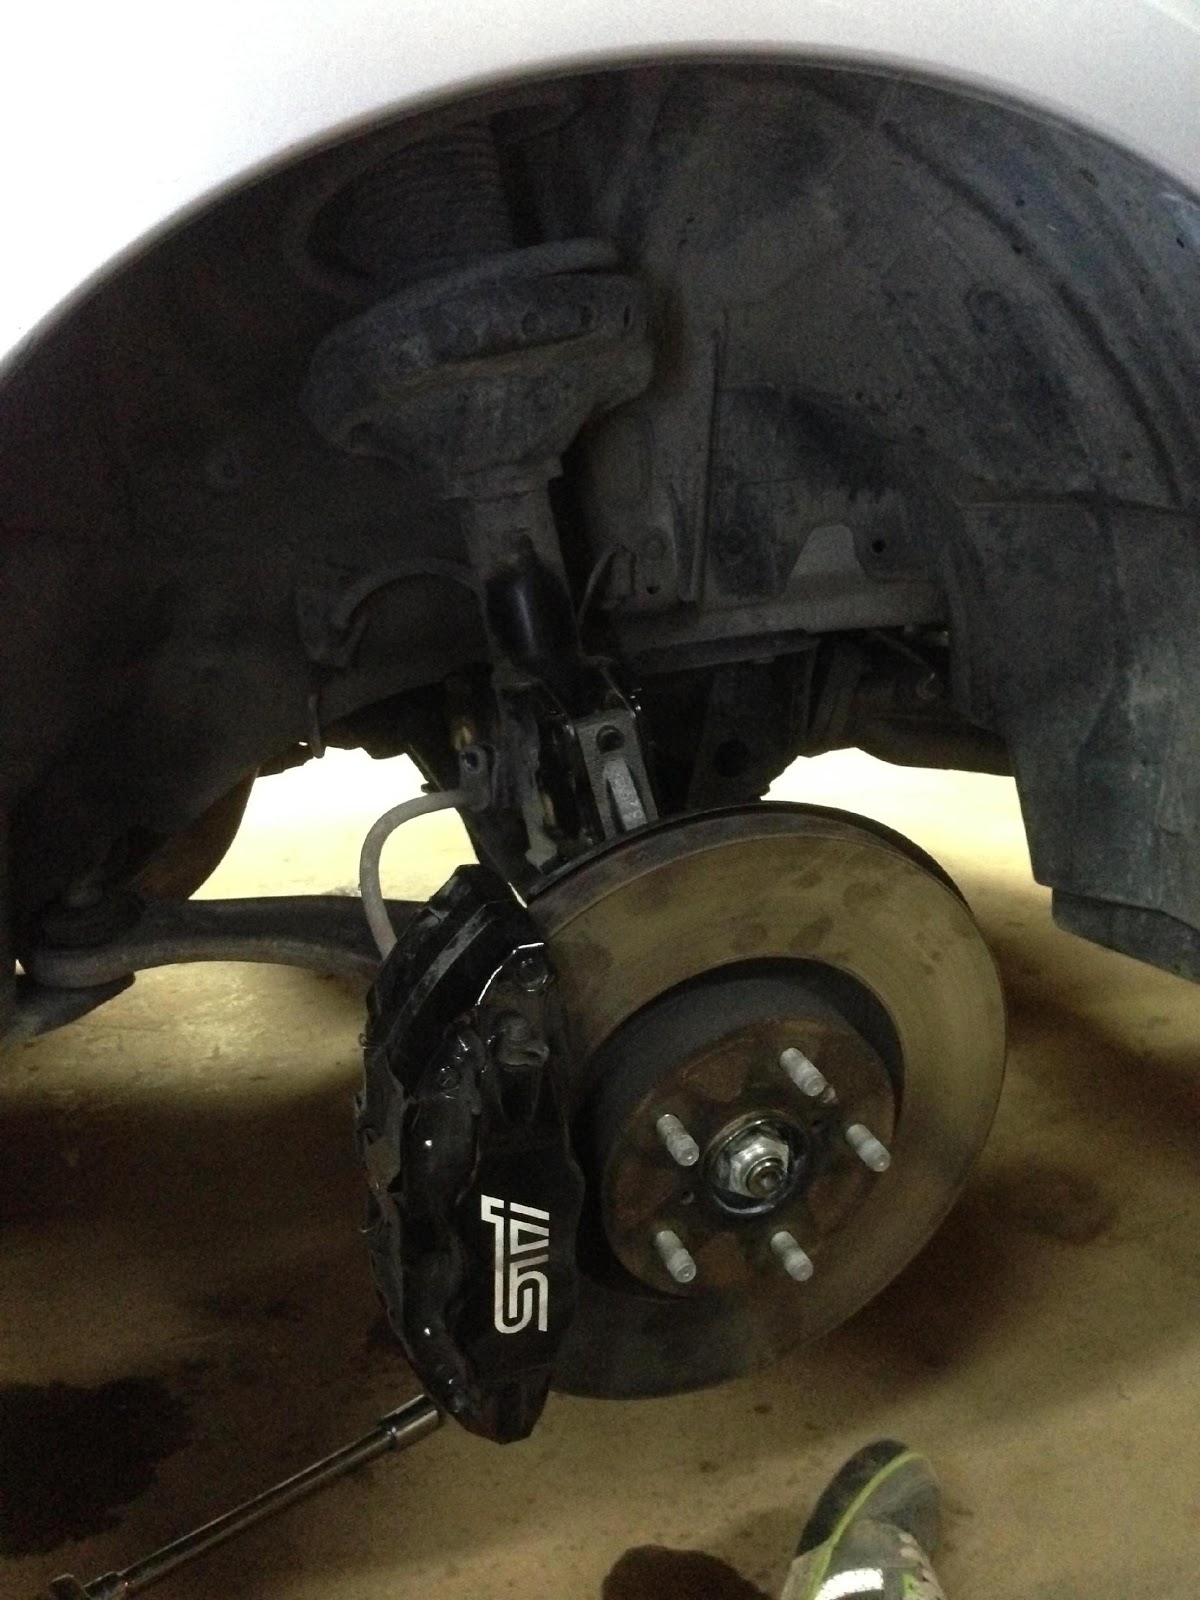
Then there are 2 19mm bolts. The top bolt is a camber bolt which has a washer on it. (indicated by 3) and the bottom bolt is just a 19mm bolt. (indicated by 4). Again its best to put some PB Blaster on the bolts and nuts.
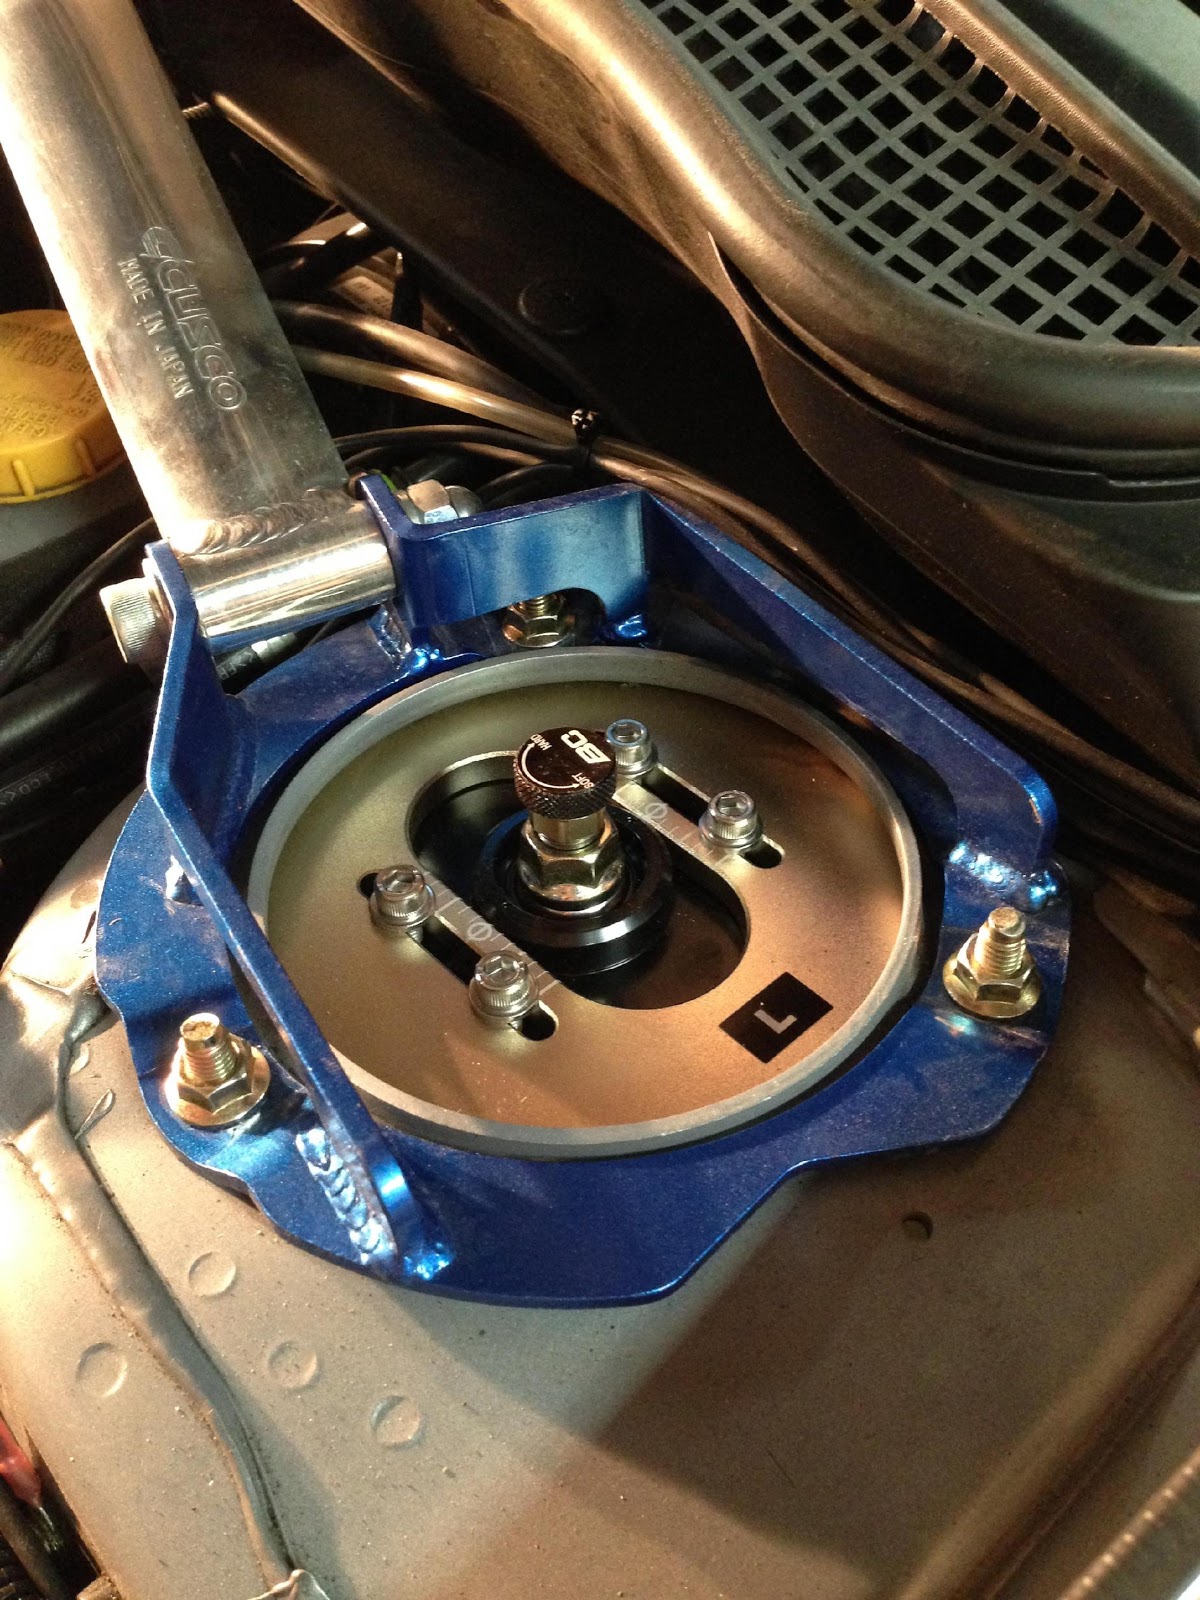
Once thats done there are 3 12mm bolts up top on the strut tower. Undo those and then haul the hub out and turn right or left. Then haul the strut down. Use anti seize on the shock body again and place the coilover up in place. Make sure the camber plate opening is running parallel with the car. On the BC coils there is a R for right and L for left. Make sure the letter is facing and closest to you. The torque spec of the 2 19mm bolts are 129 as by Subaru spec. The bolt small bolts are just tight. Same with the 3 up top.
This is the picture of the camber plate on the Driver side. Notice the camber opening and the letter.
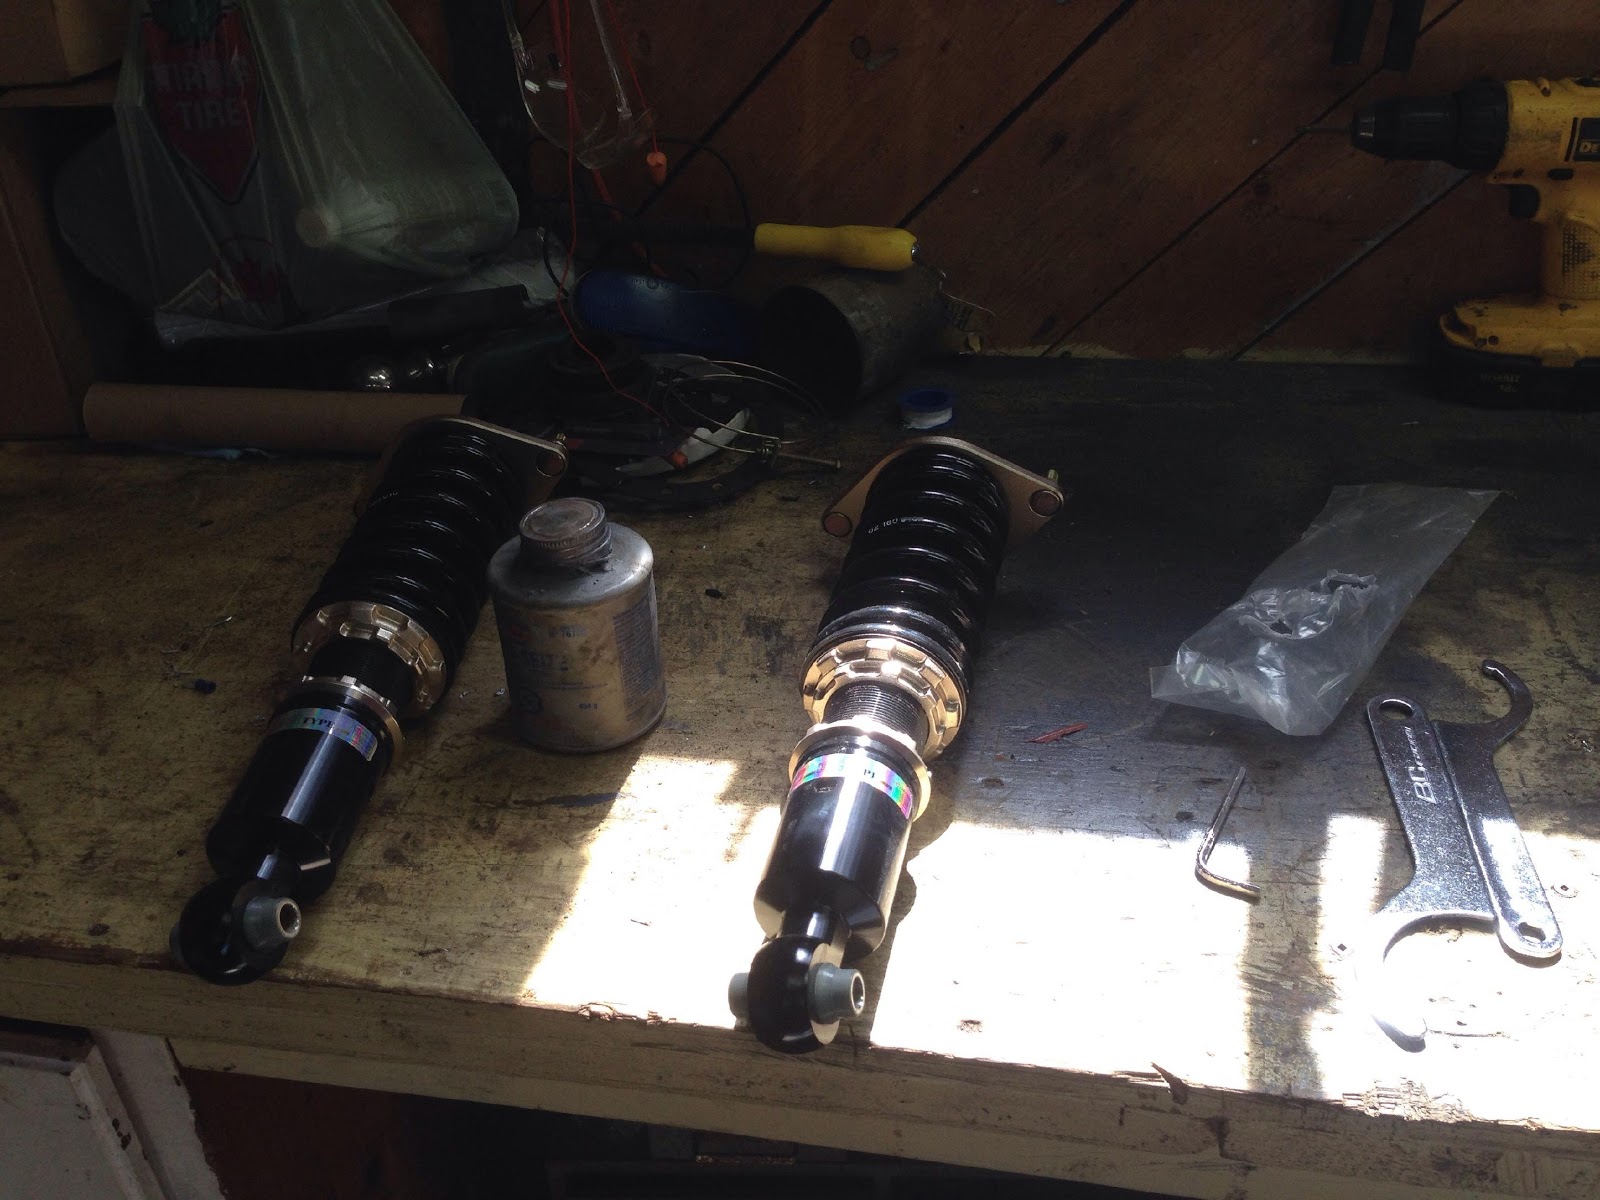
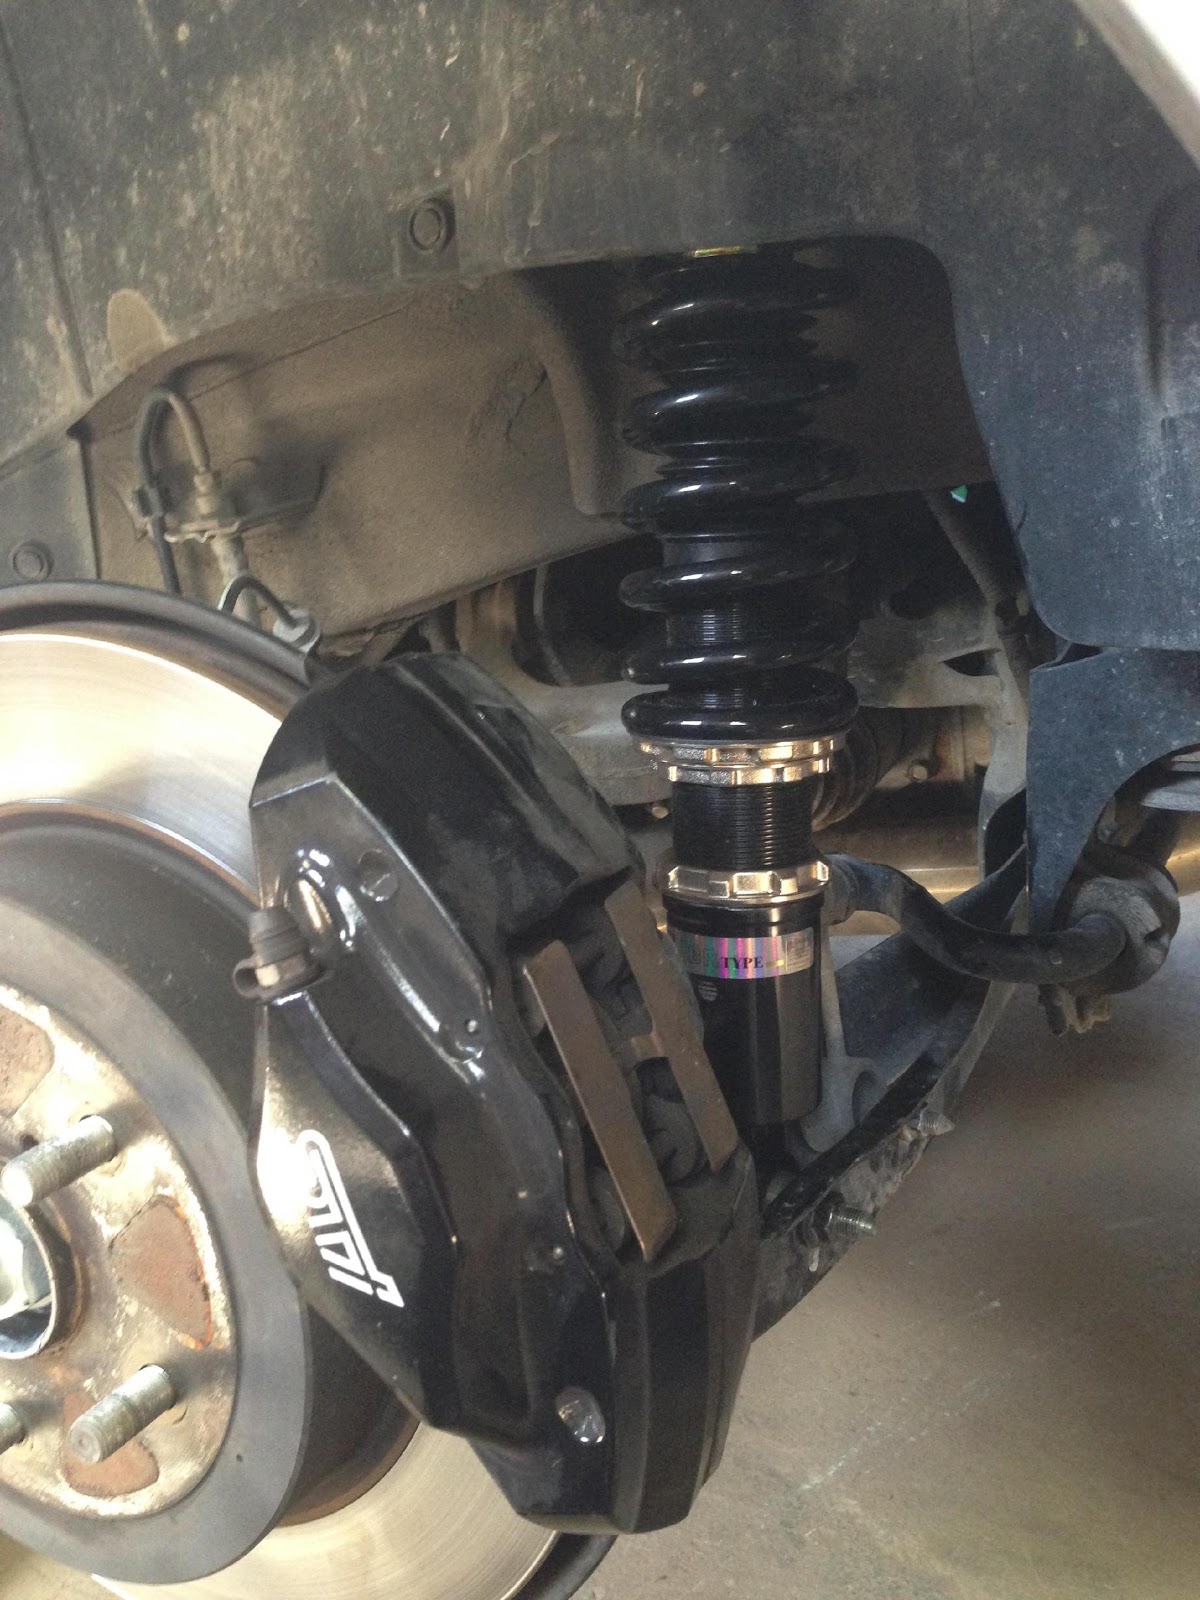
Some pics of the setup after I installed them.
My take on these Coils so far is def worth the money. I know they are cheaper and yes they dont ride as good as the KWs but if you are looking to spend around 1000 dollars and dont want to spend more then these are the right choice.
Here was some other pics after the coils settled.
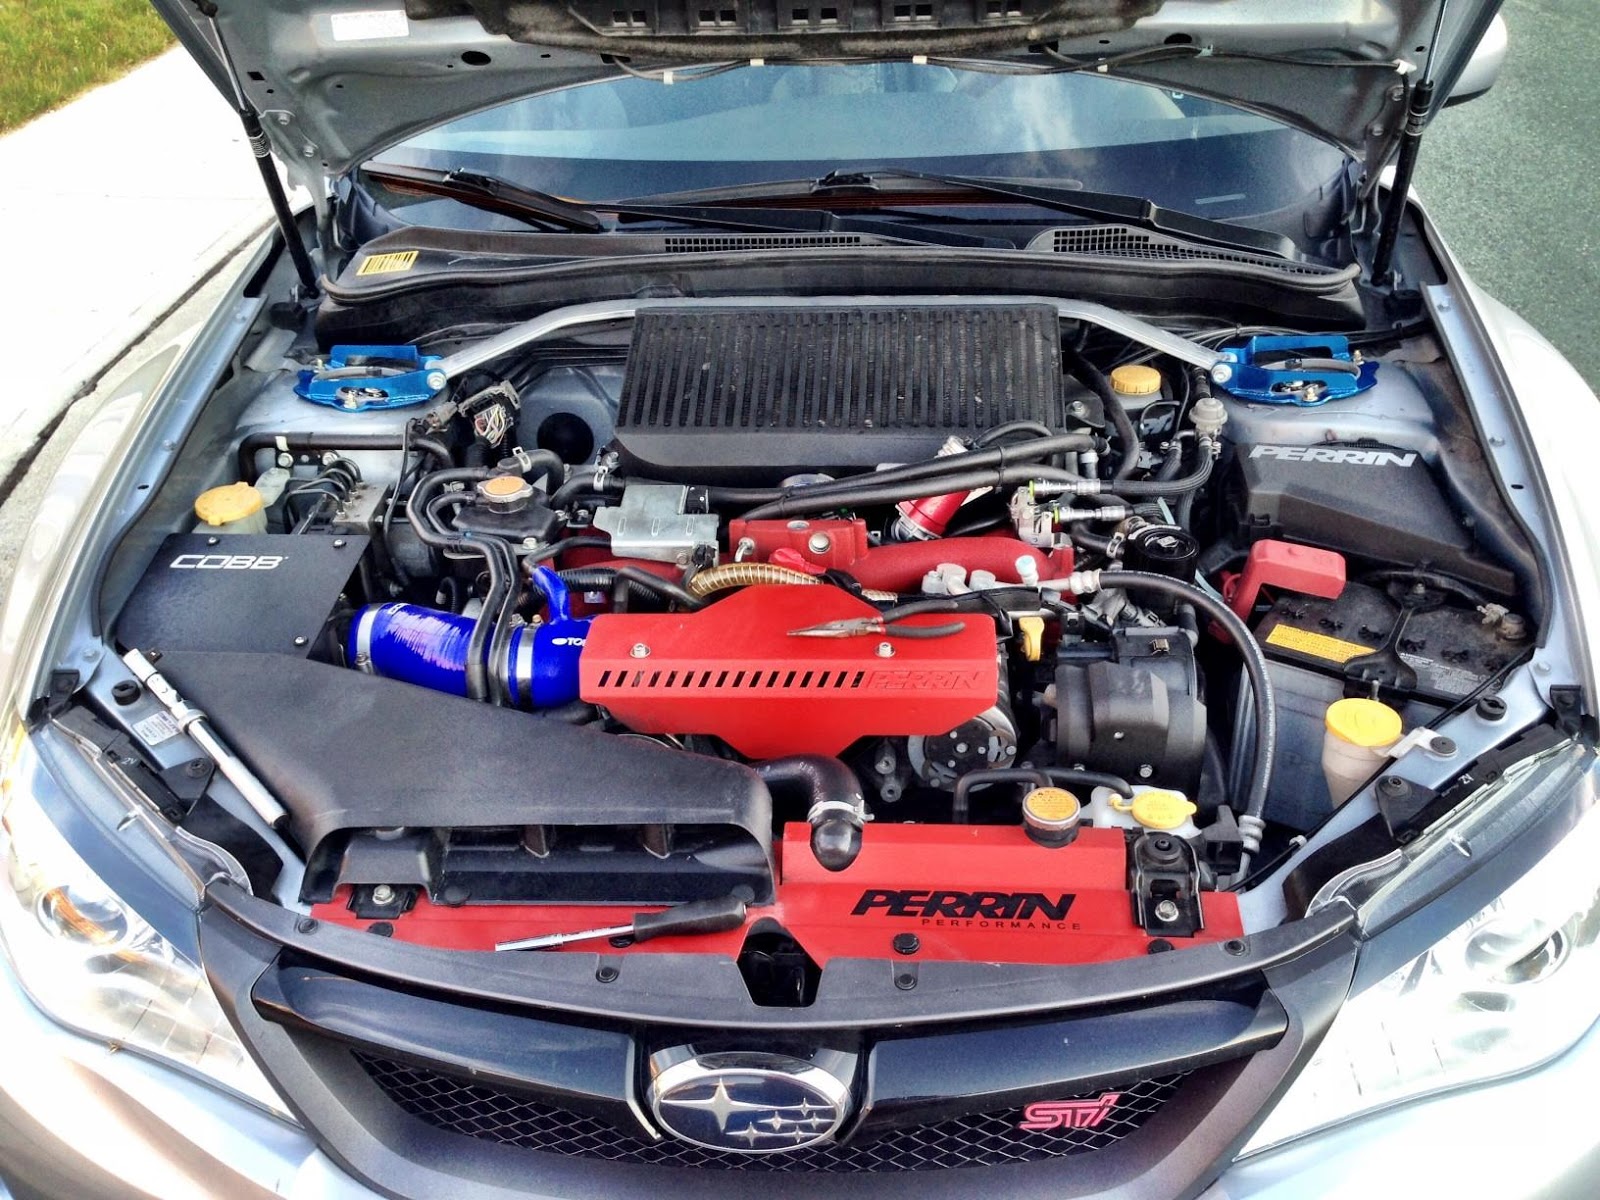
When my JCS pillar came in
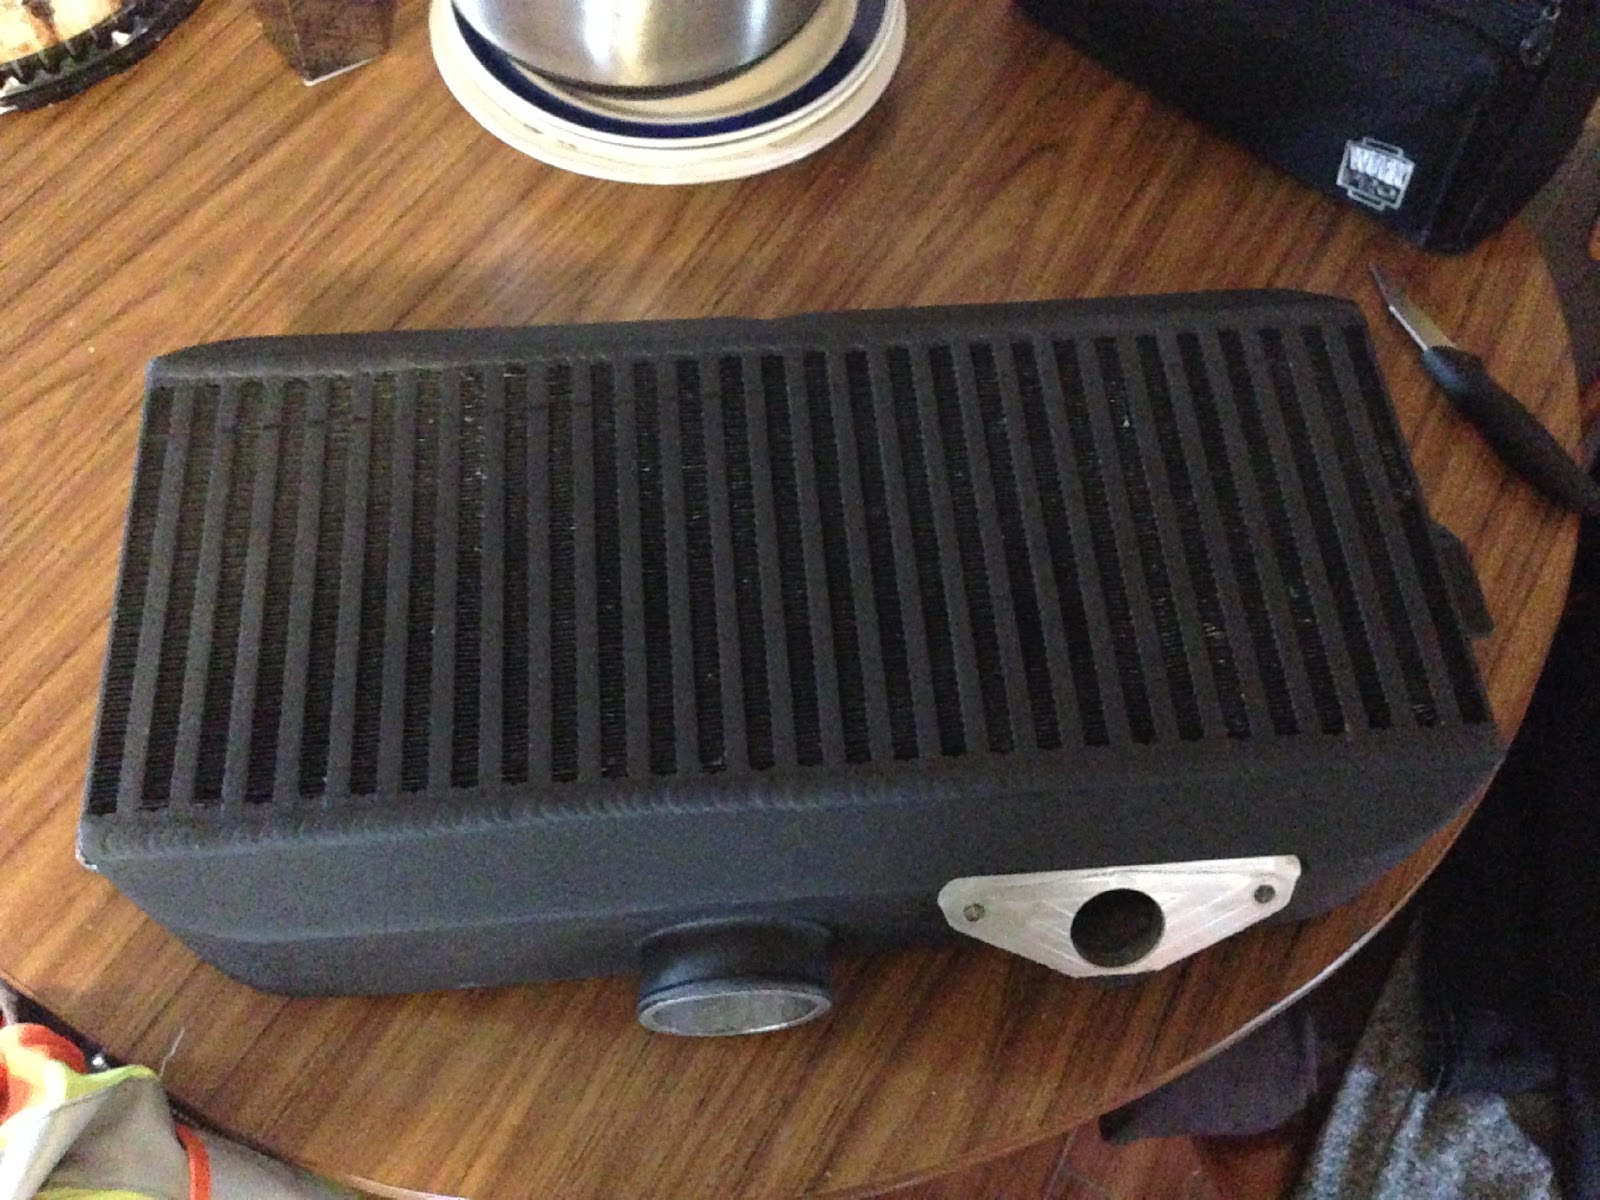
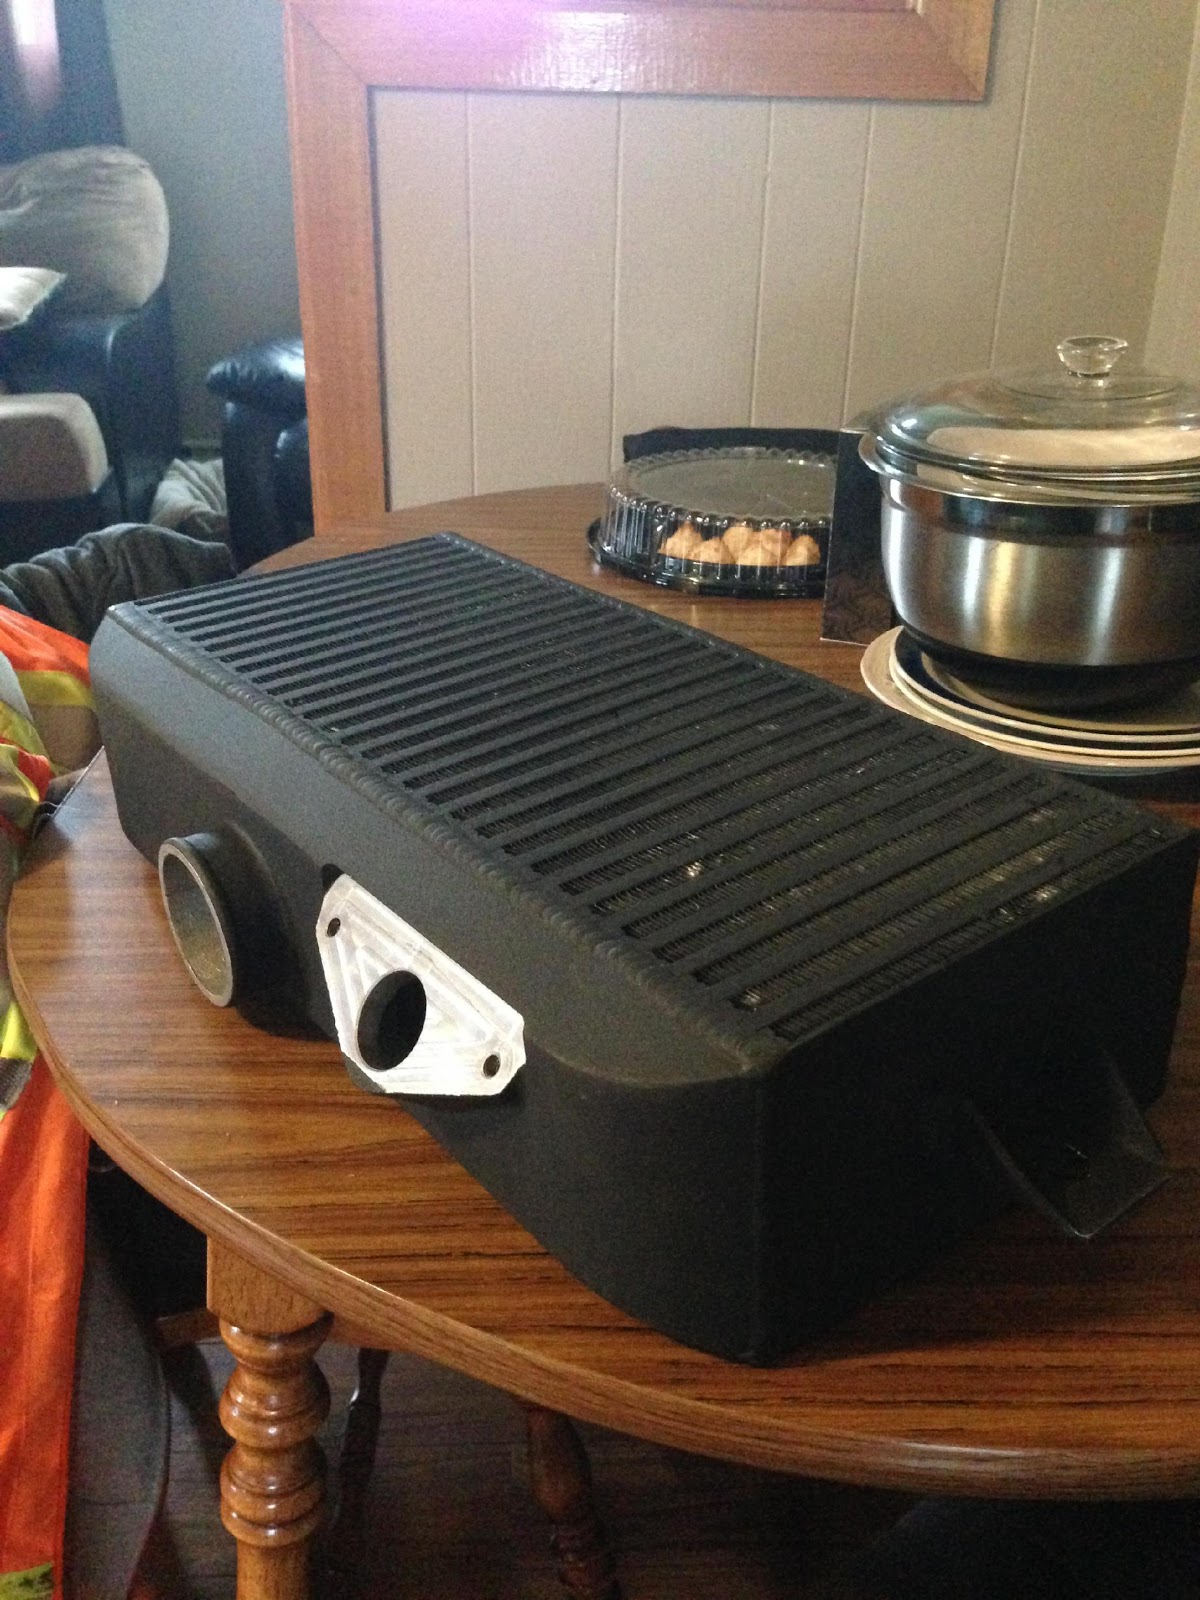
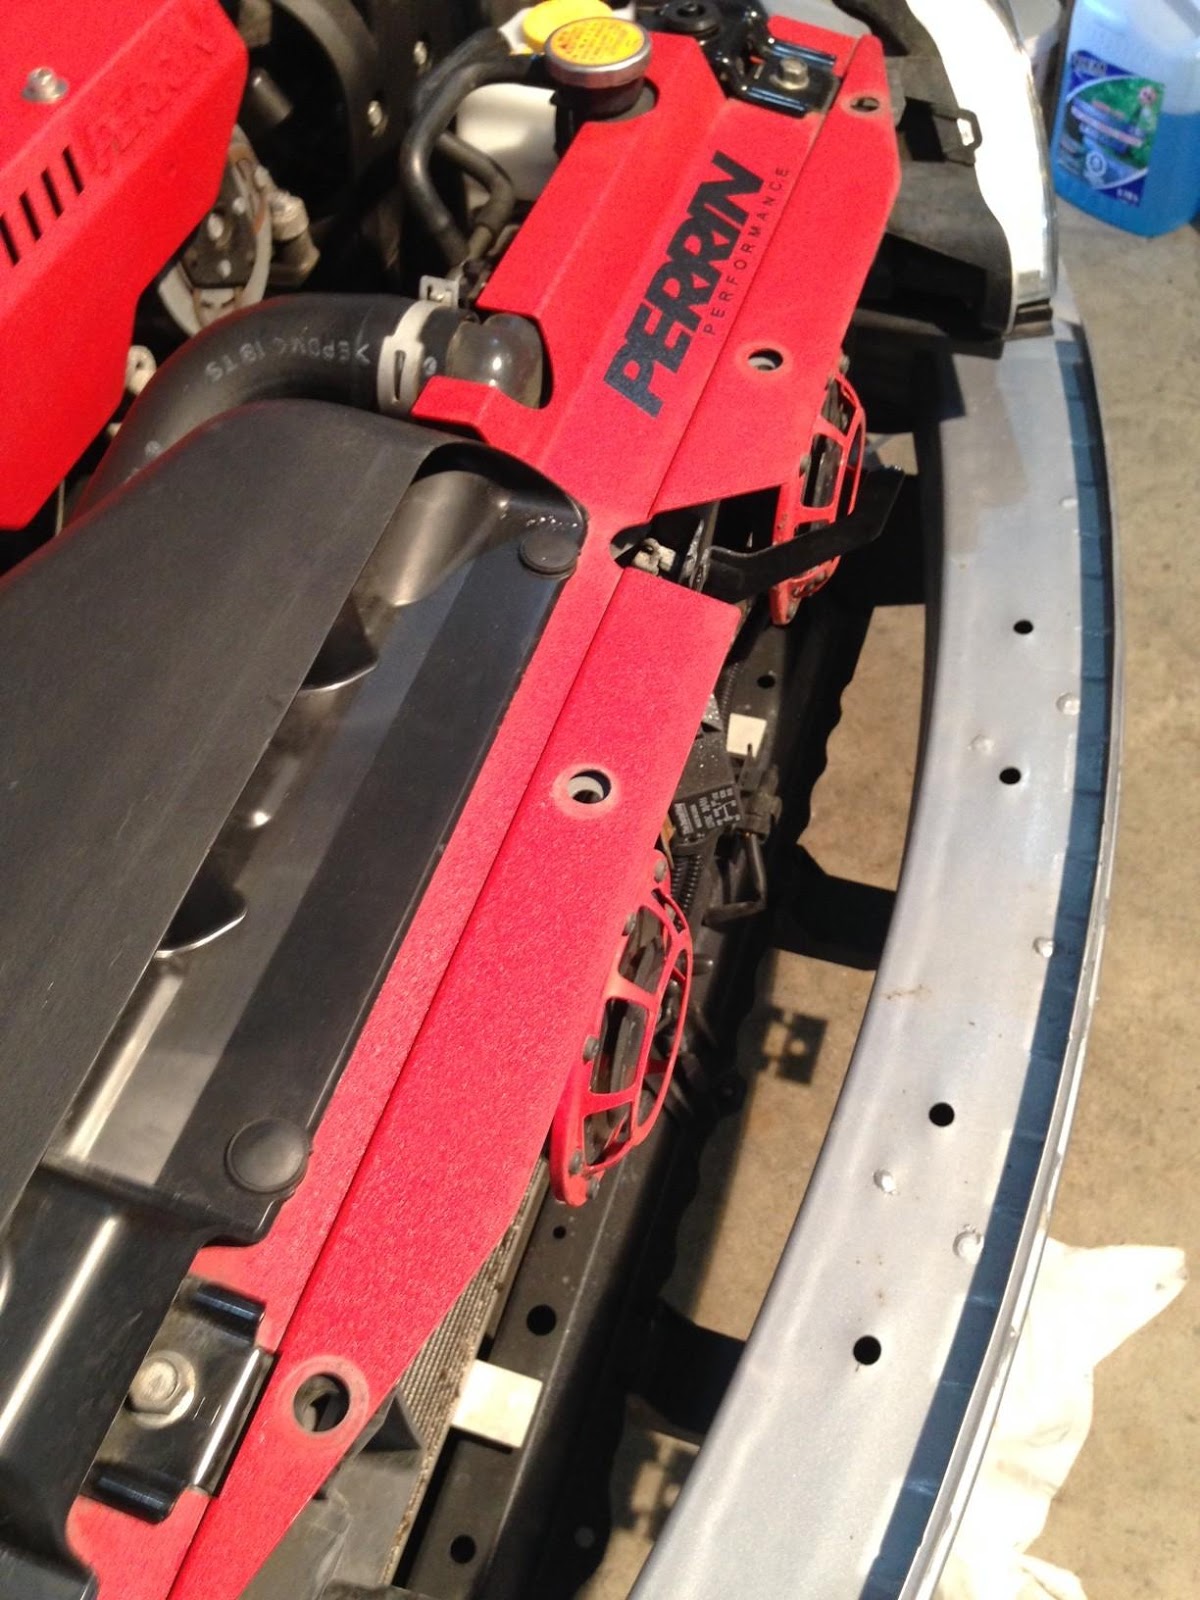
Then my Torx Racing TMIC intercooler came in.
Well here is the pics.
My Cat being curious..
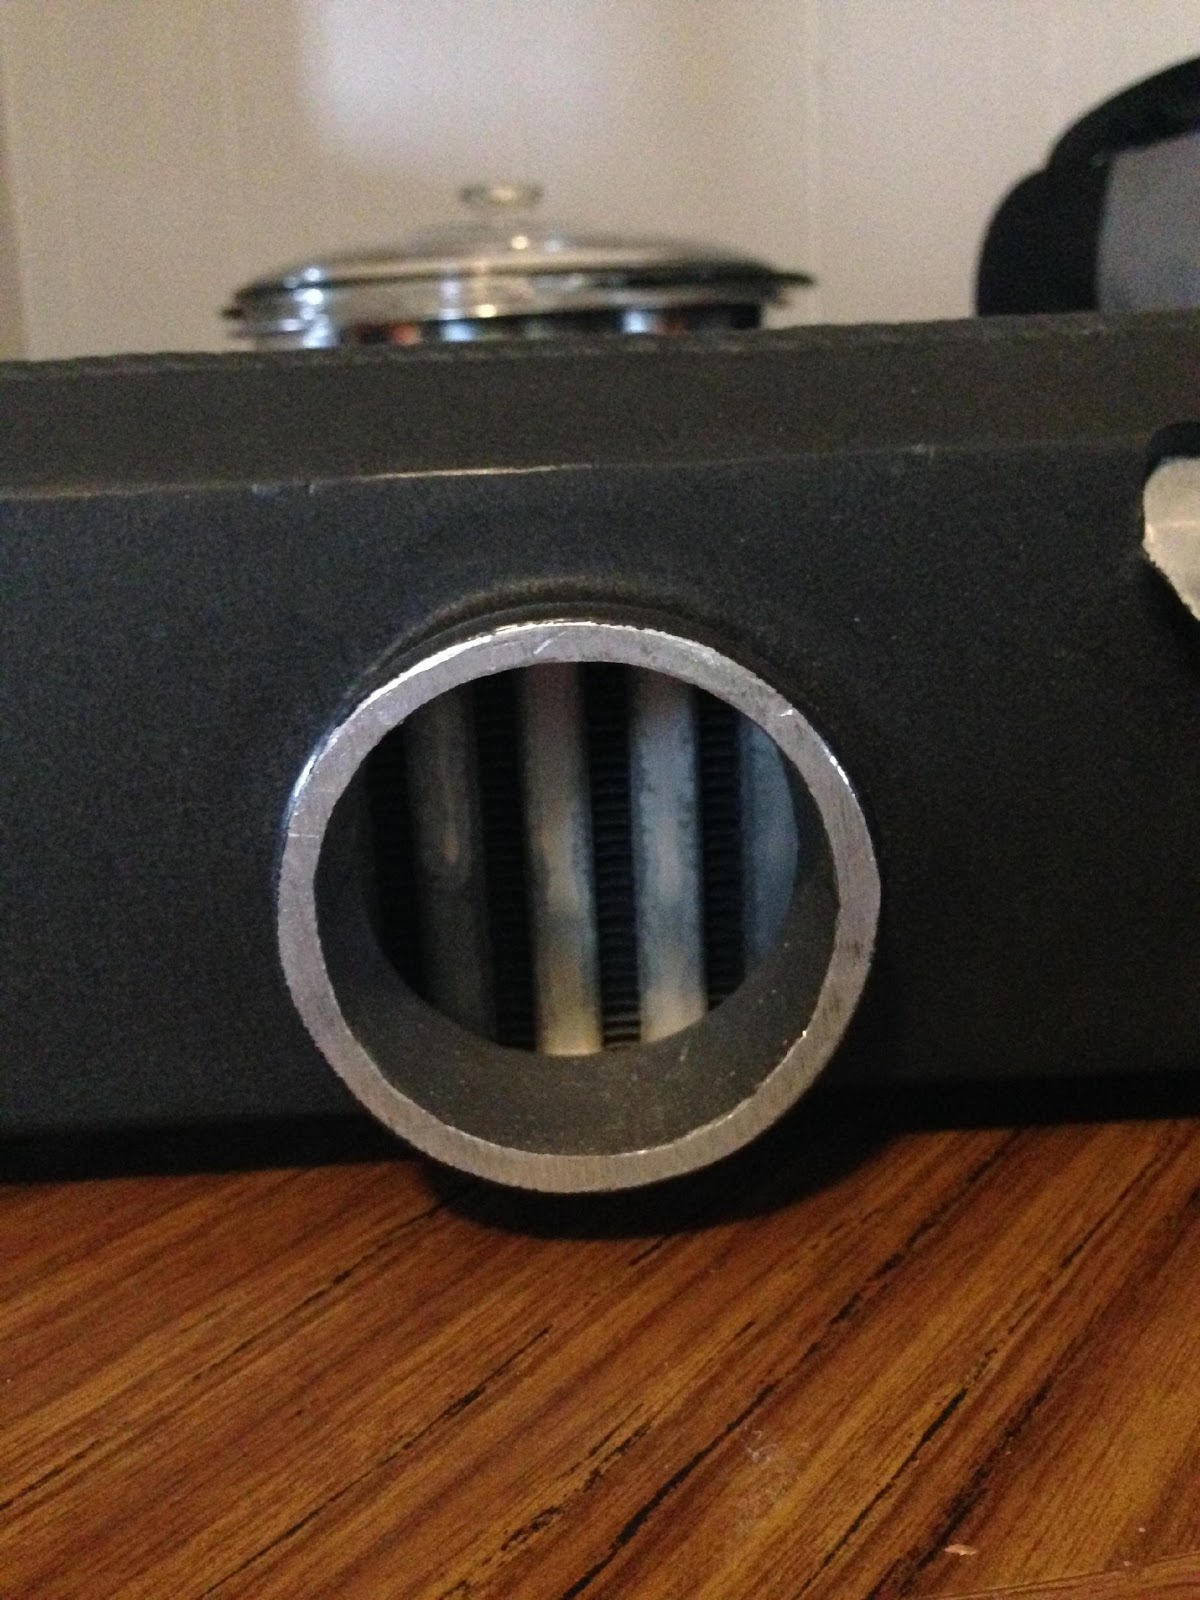
The core from 2 different angles
Inside the bar and fin core
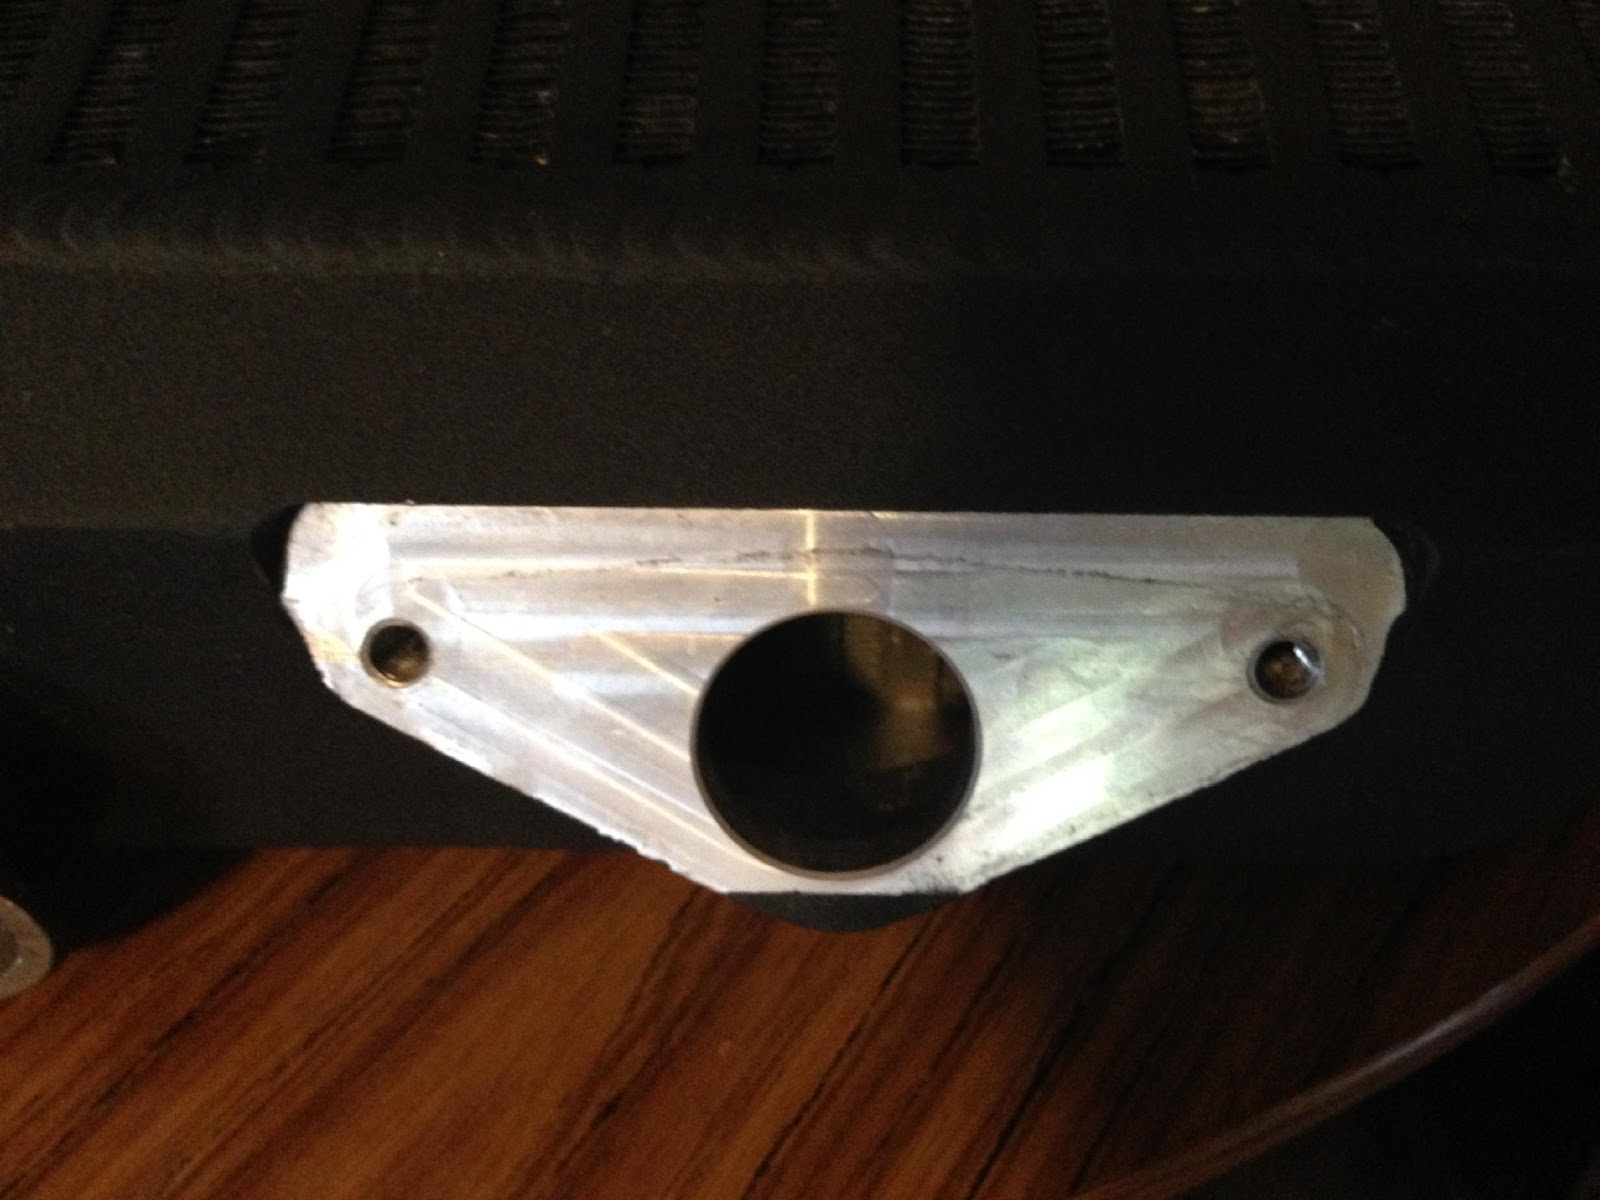
and the flange for the BPV.
Core is in really good shape and def worth the buy.
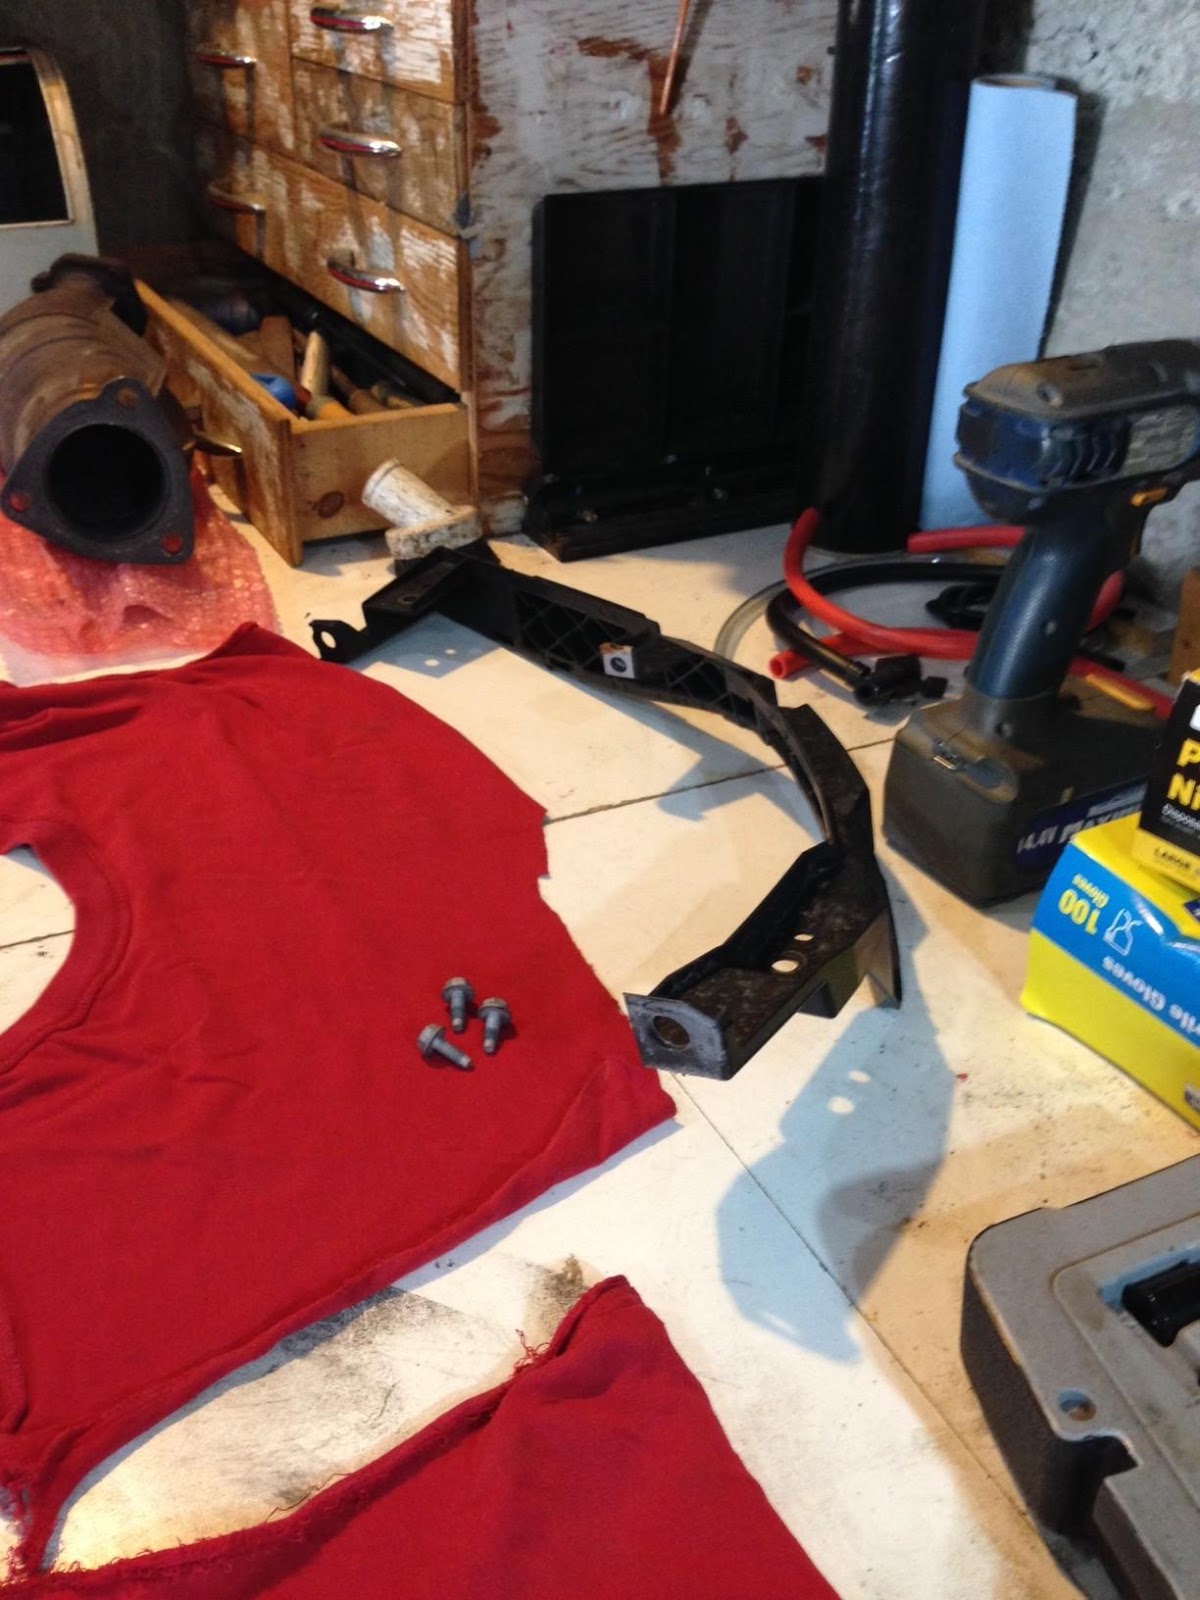
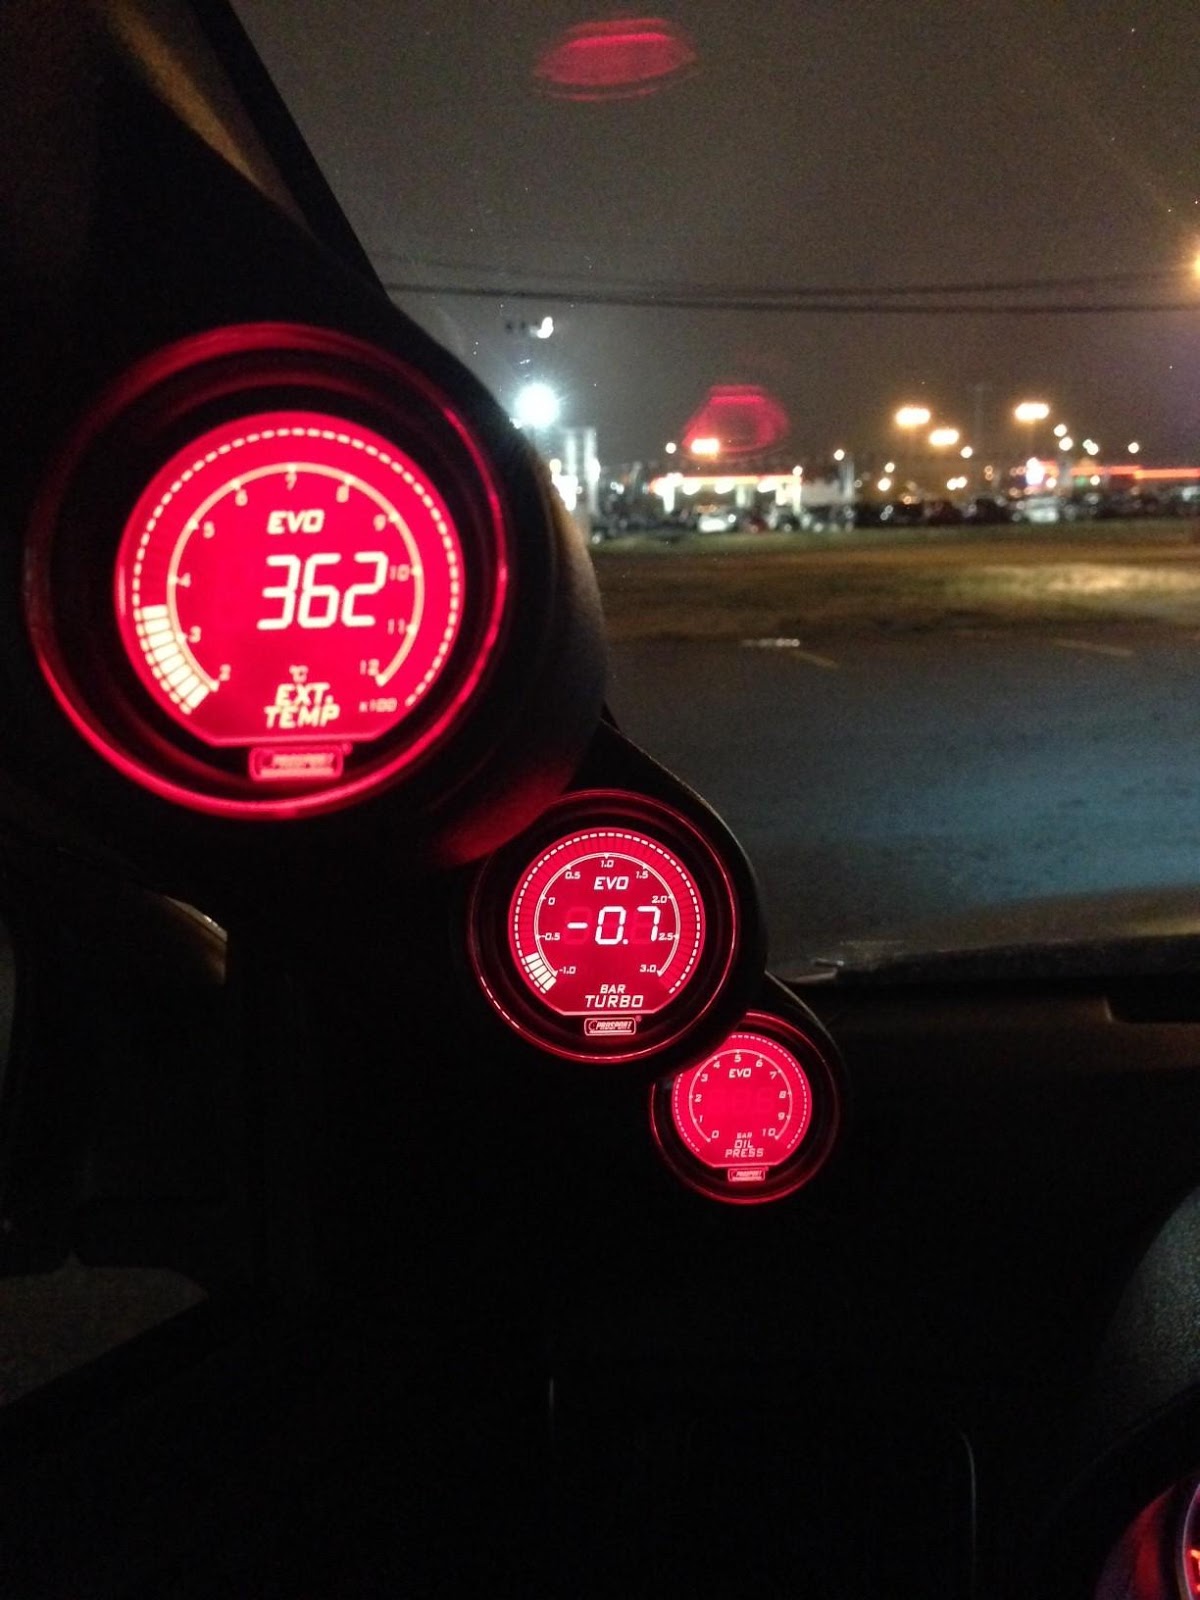
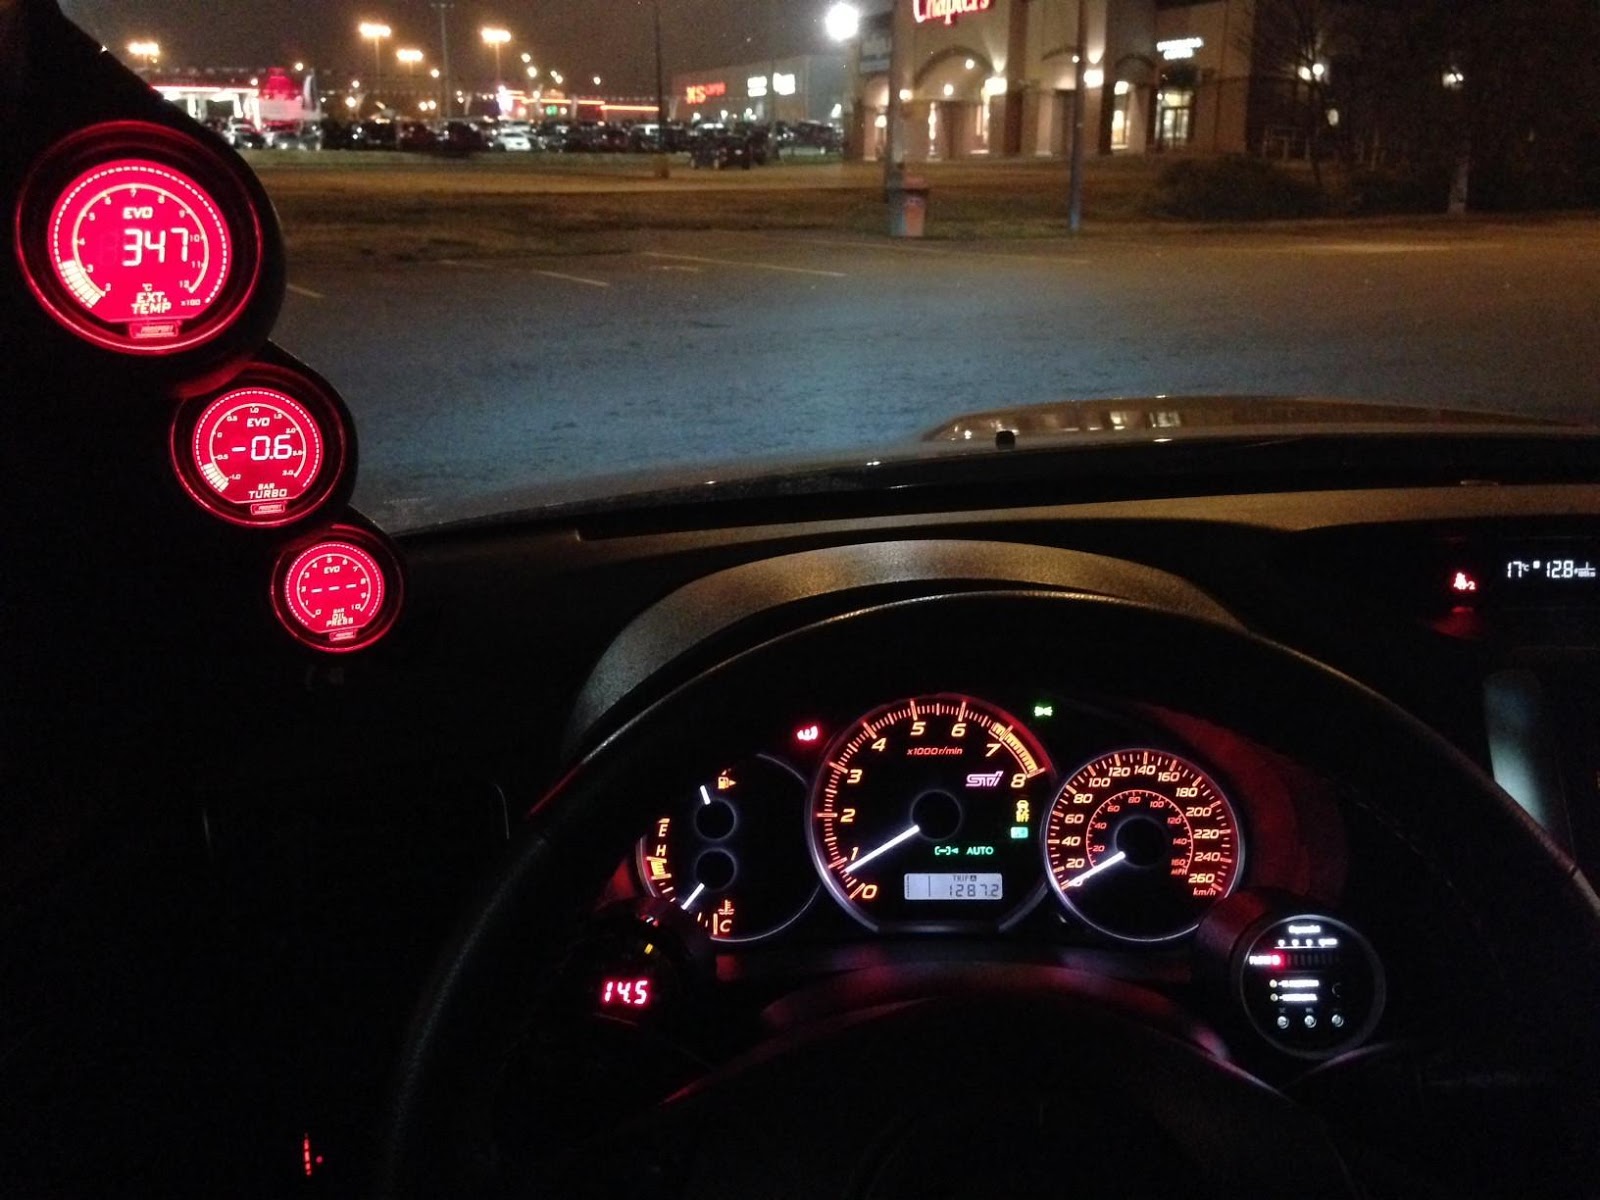
Here are the pics og my gauges and the exhaust hanger I bought to see if it would help with the uneven of the exhaust. It did not. Because I ordered the wrong length lol
Gauges
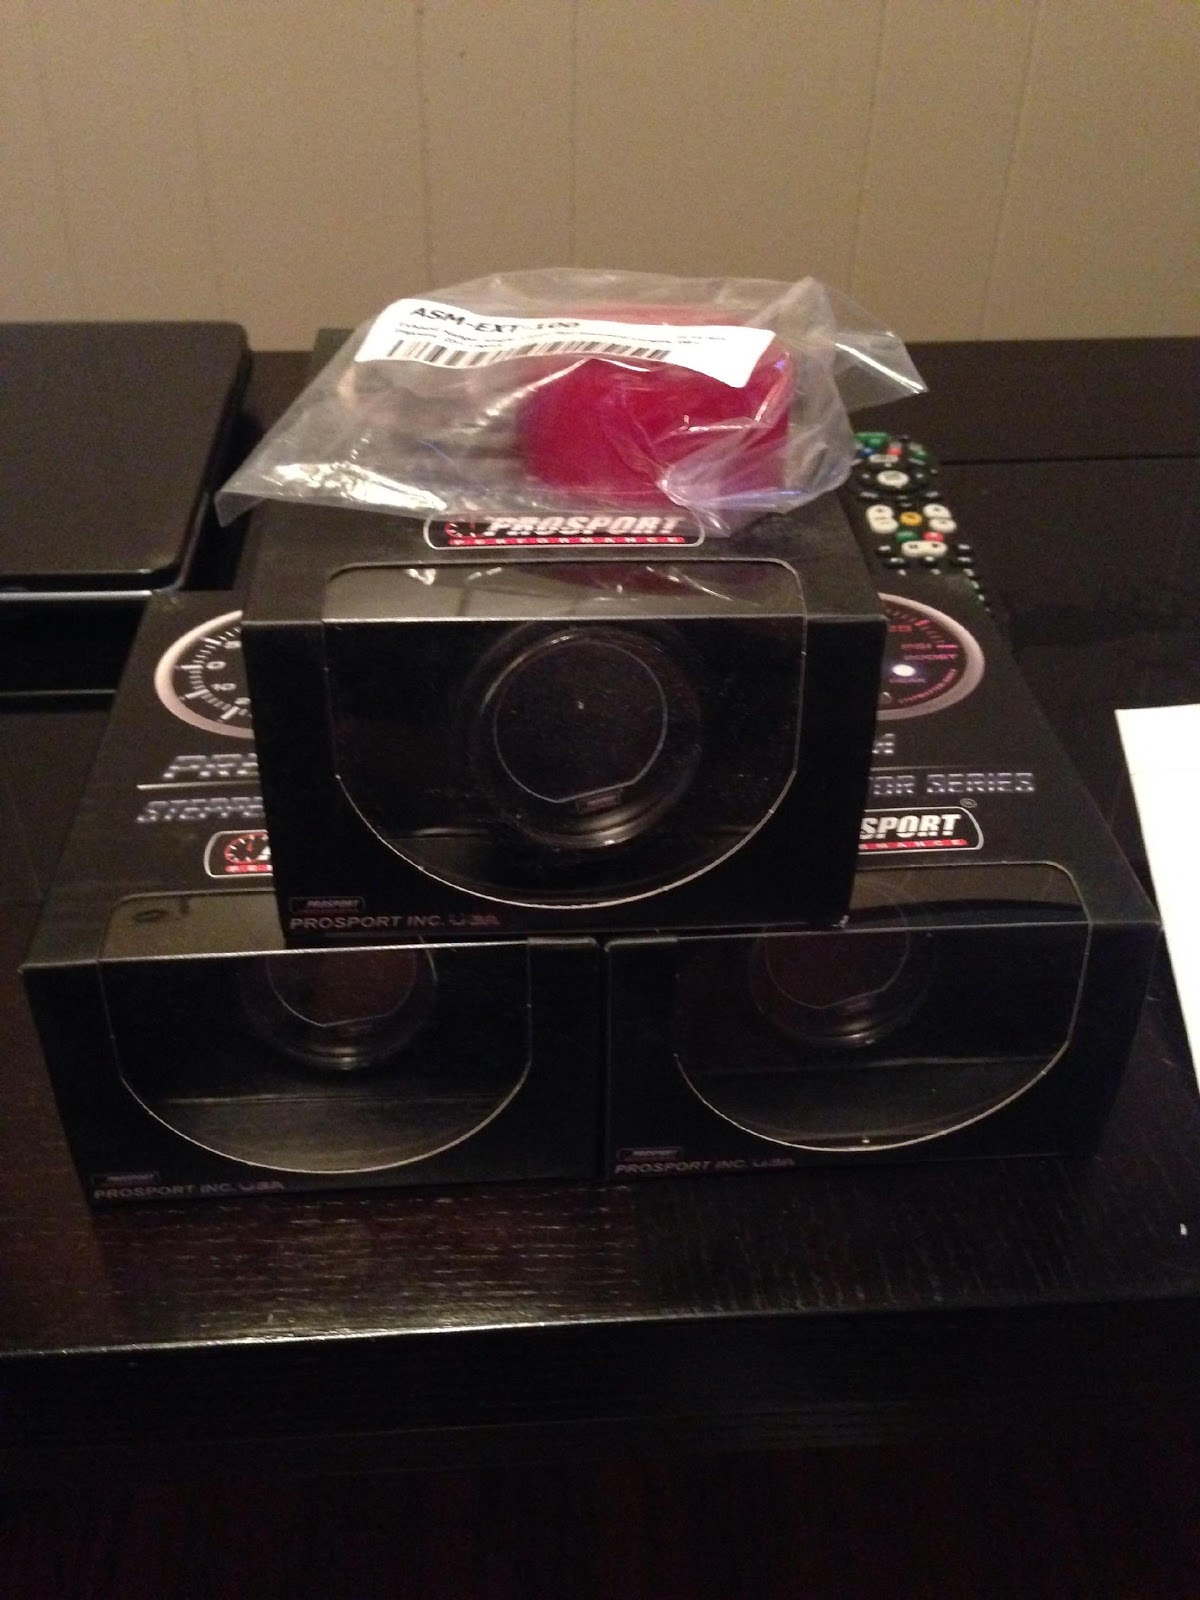
and the hanger
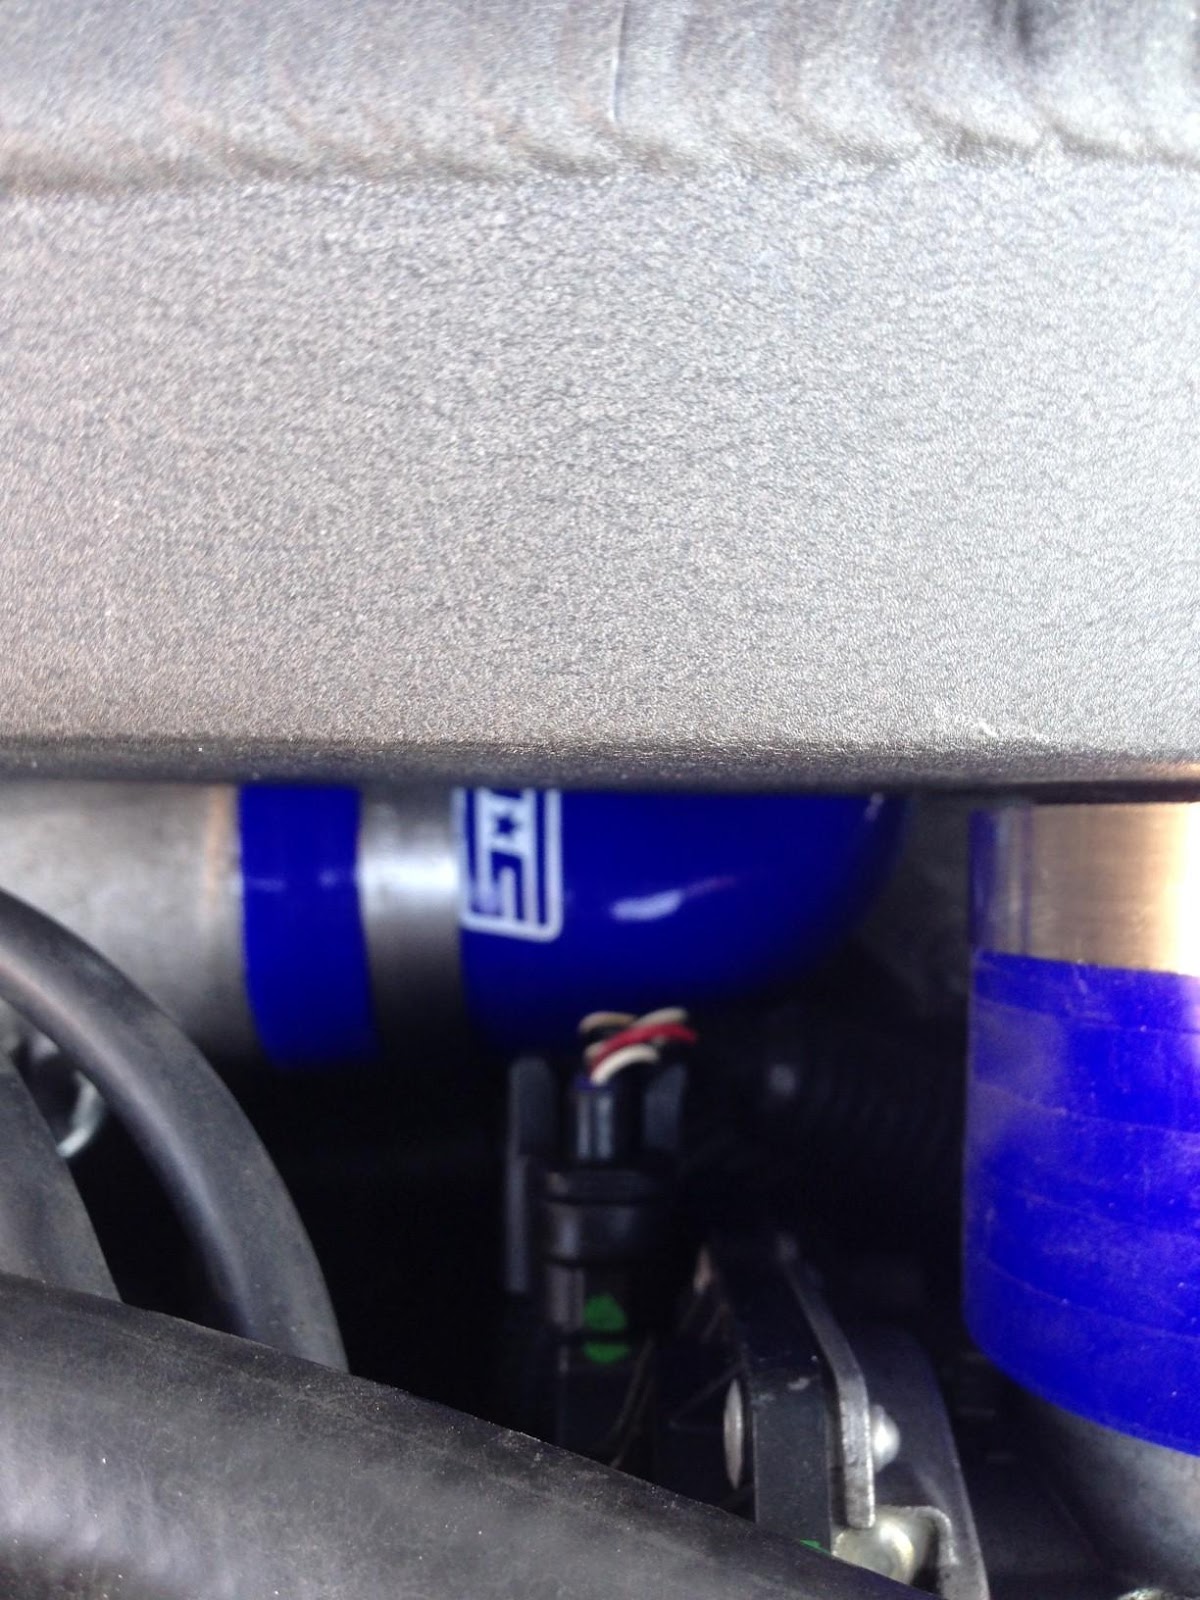
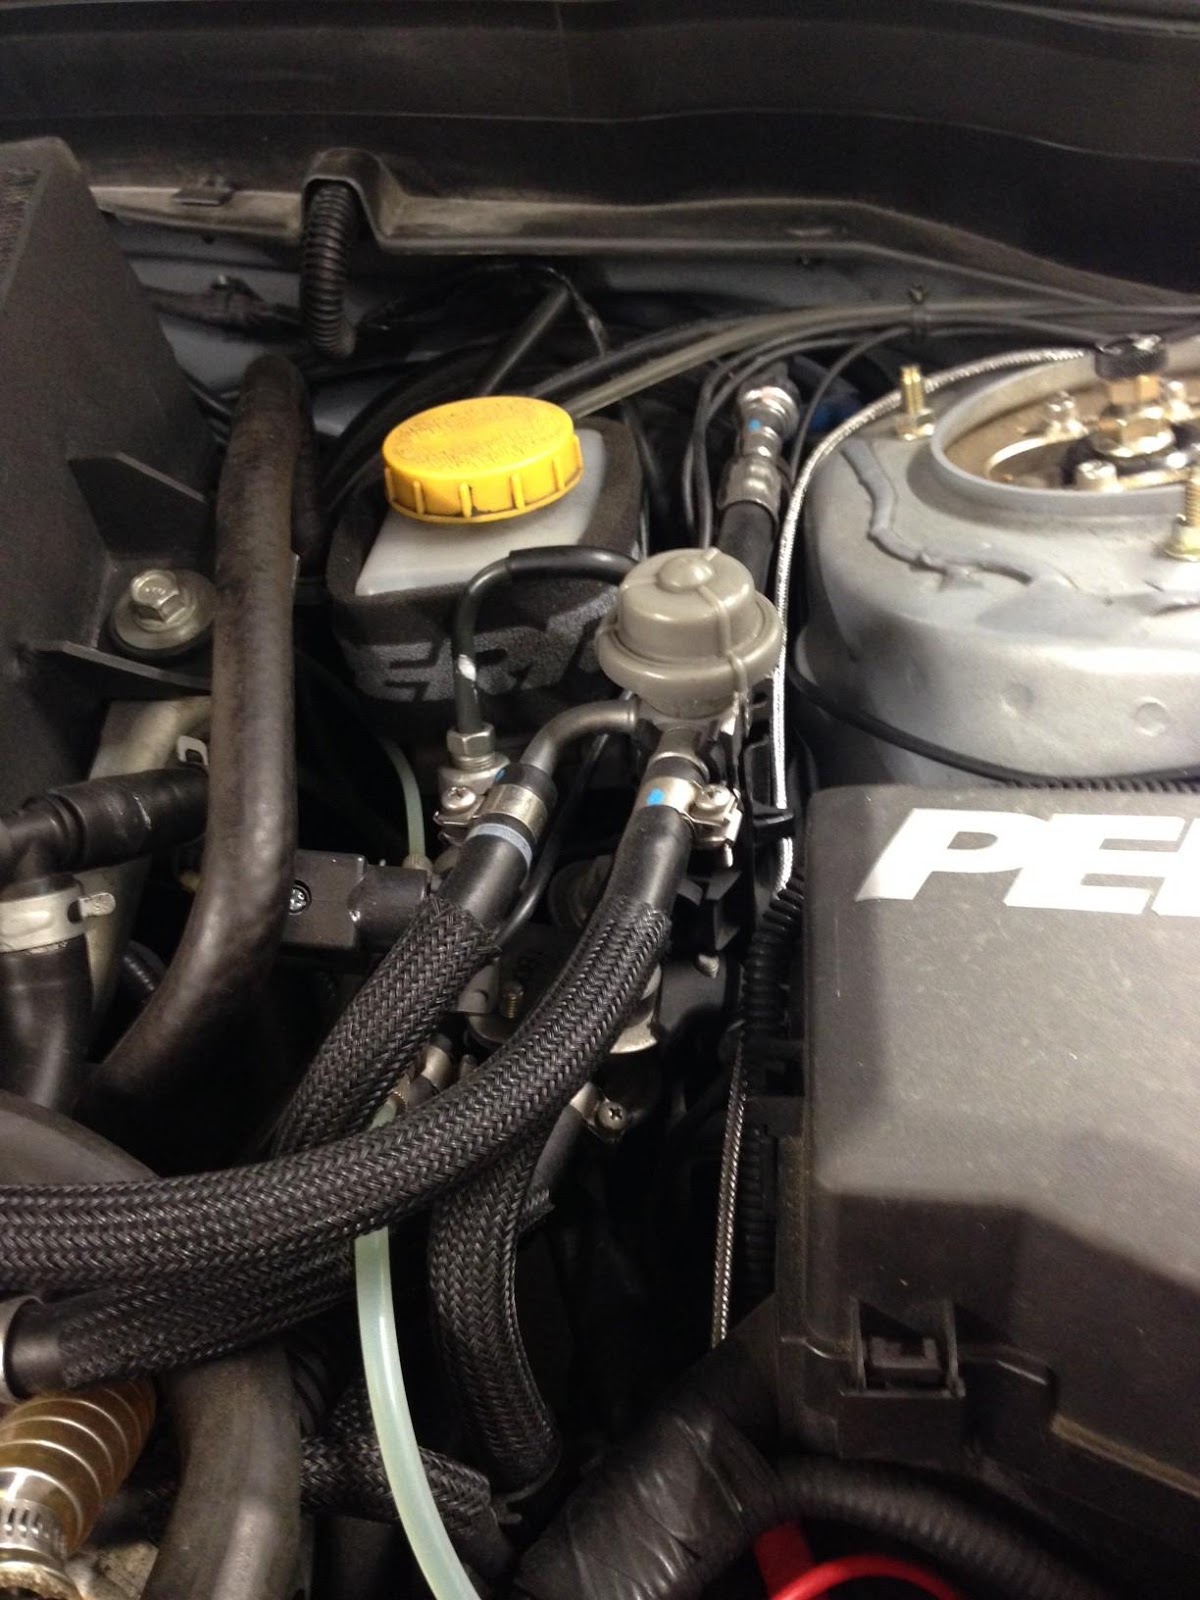
Next: Was I installed and tapped the inter-cooler.
So here is where you drill the hole and install the meth lines. Sorry I didn't take as many pics but it totally slipped my mind. But when drilling the hole you want to push some shop towels in the inter-cooler opening to catch the fillings that will come off the drill bit. Once that's done you need to have a treading tool to tread the hole so the meth line can screw in. Leave the shop towel in the opening and use plenty of oil when using the treading tool. Makes it easier to tread. Pic below of the line installed.

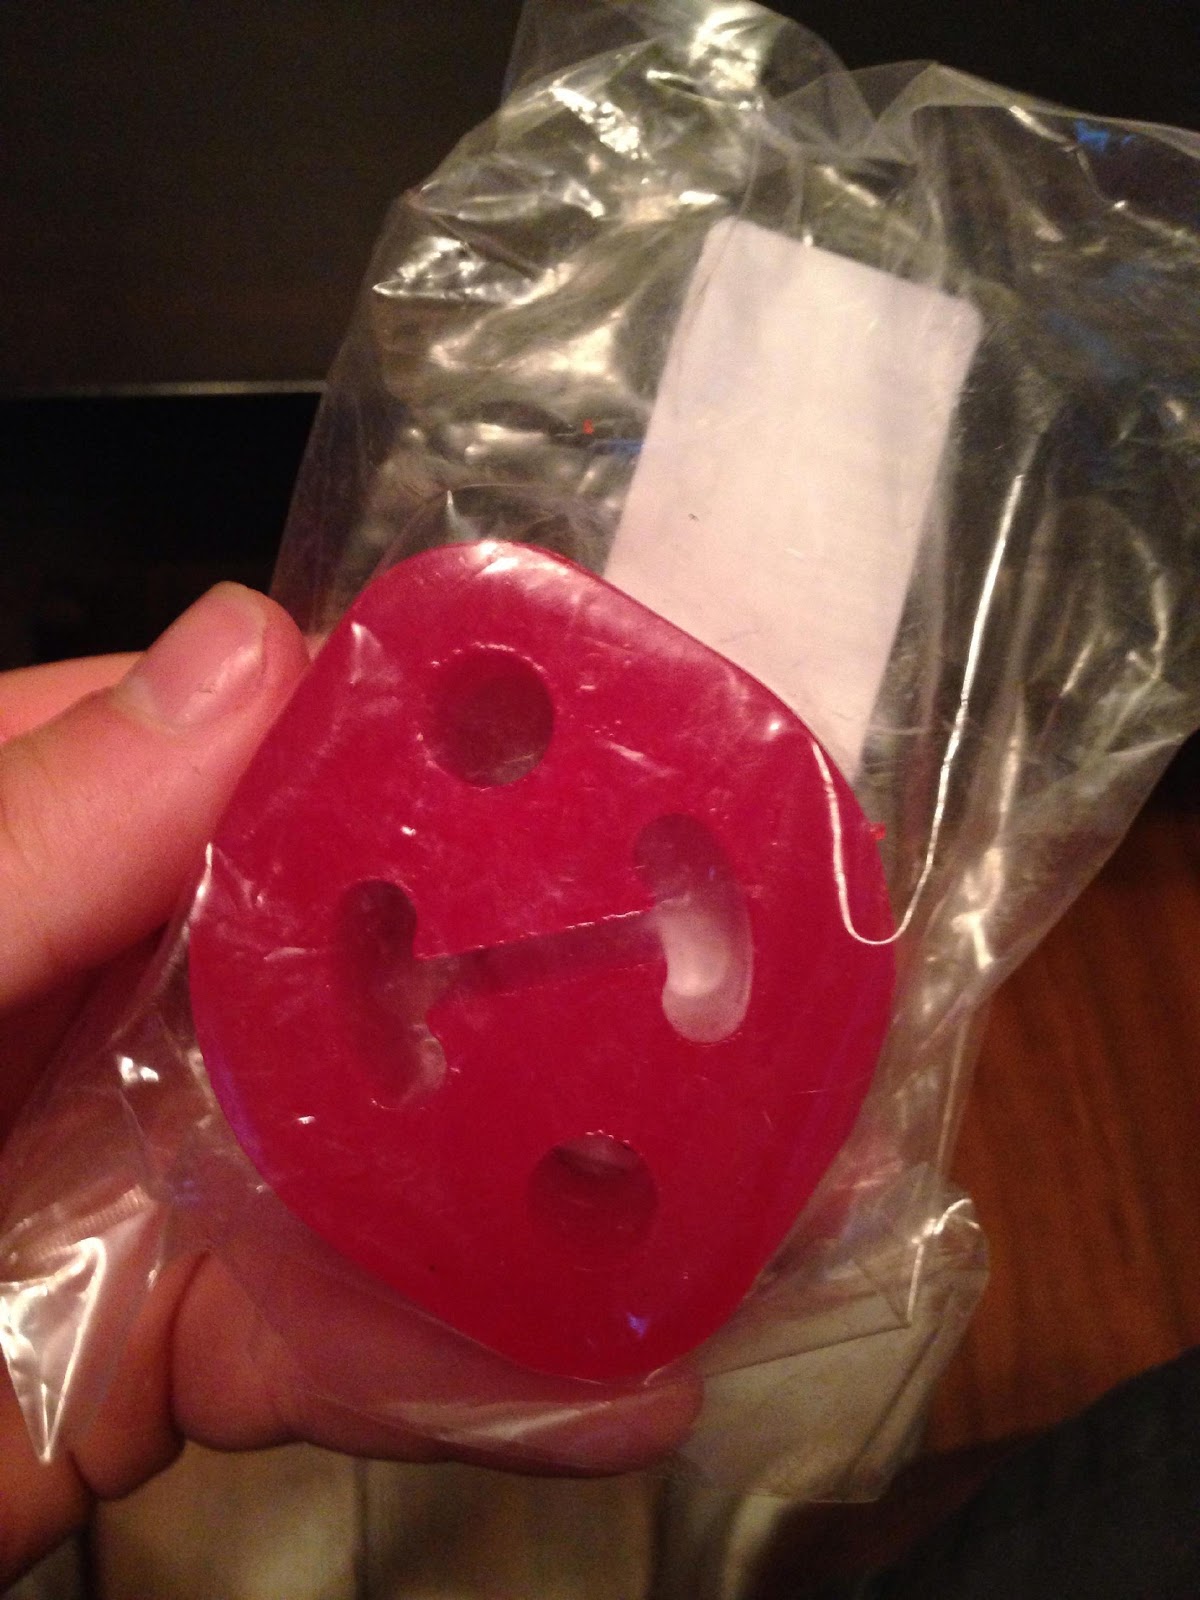
So when your taking off the stock inter-cooler you have to use the same bushings for the inter-cooler brackets and also the same piping. Unless like myself I had the Grimmspeed piping kit. Below is the bushing.
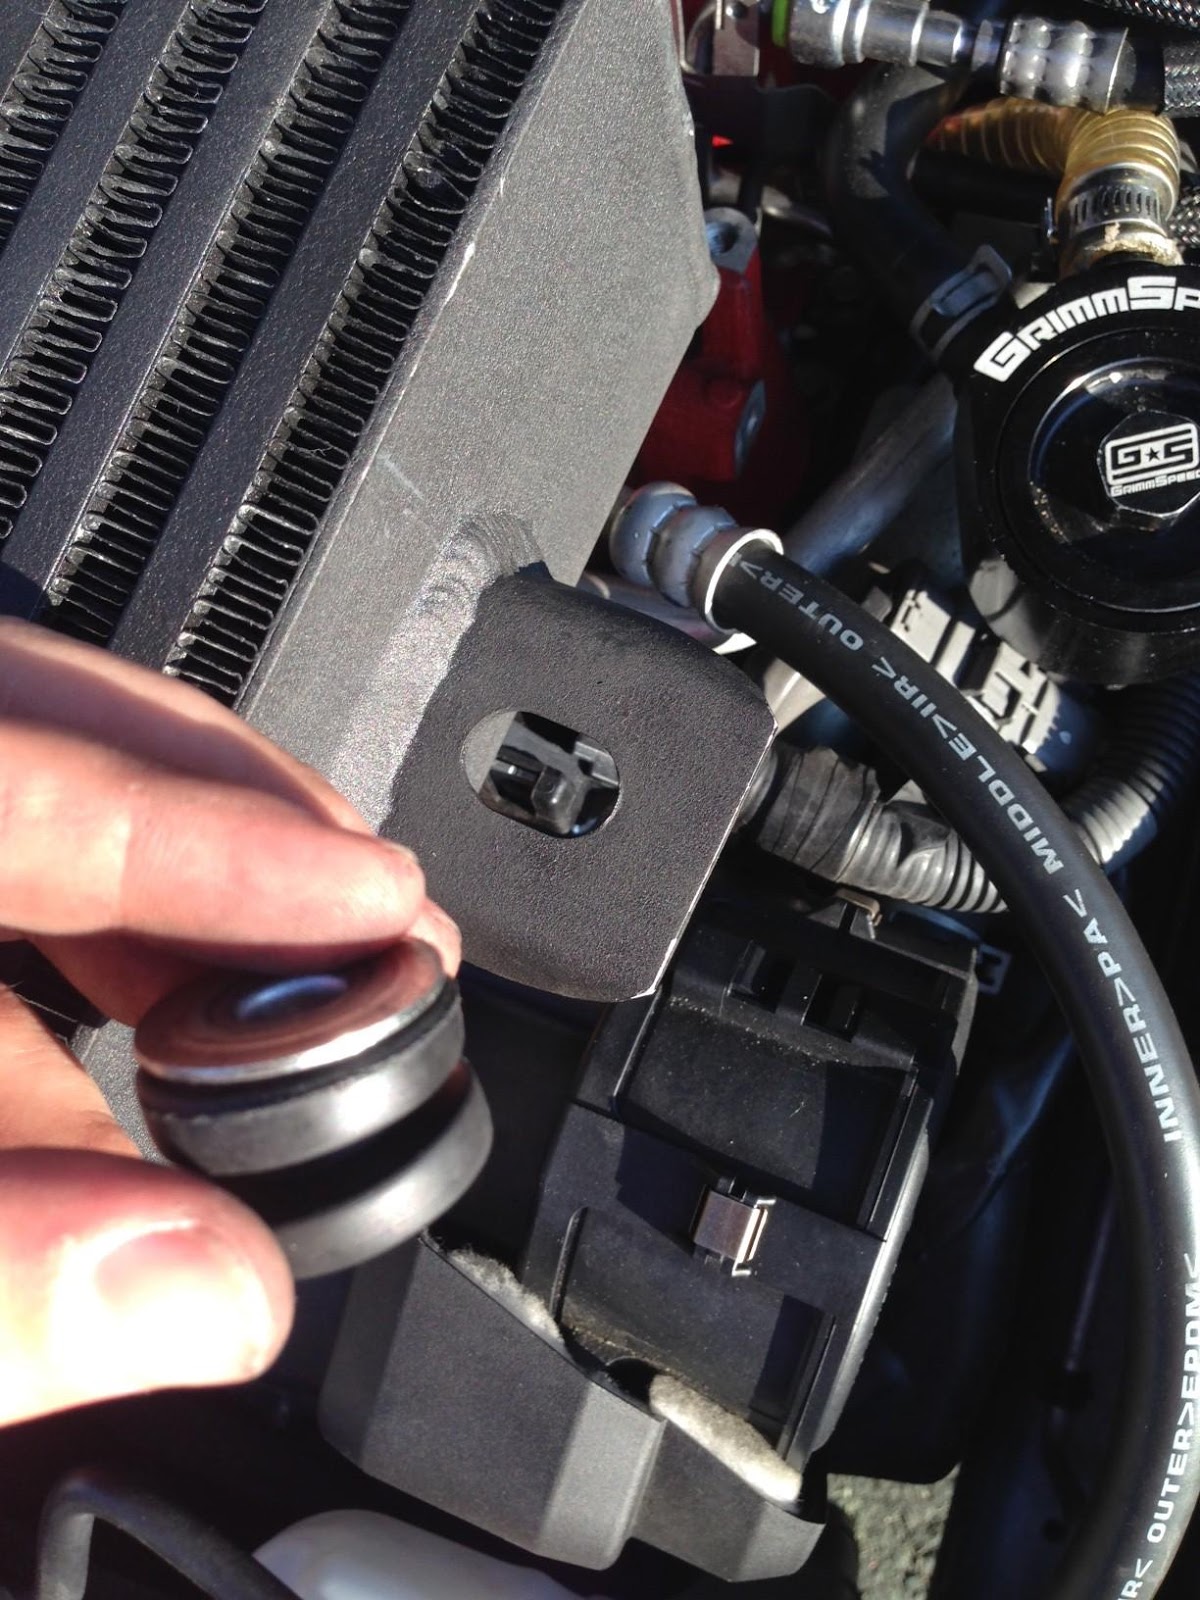
Little tip for installing the new bushings. Take the metal insert out of the bushing when trying to squeeze it through the bracket. With the insert out the bushing is easier to bend. Pic of the bushing in. (Note the metal insert must be facing up)
I did a little test for anyone who is looking to upgrade the TMIC. Dont know if it will be the same for every TMIC but with this particular one the stock elbow on the back of the inter-cooler was too short for this TMIC. So it is recommended that you get a different elbow.
Below is the pic of the elbow installed.
and also the coupler
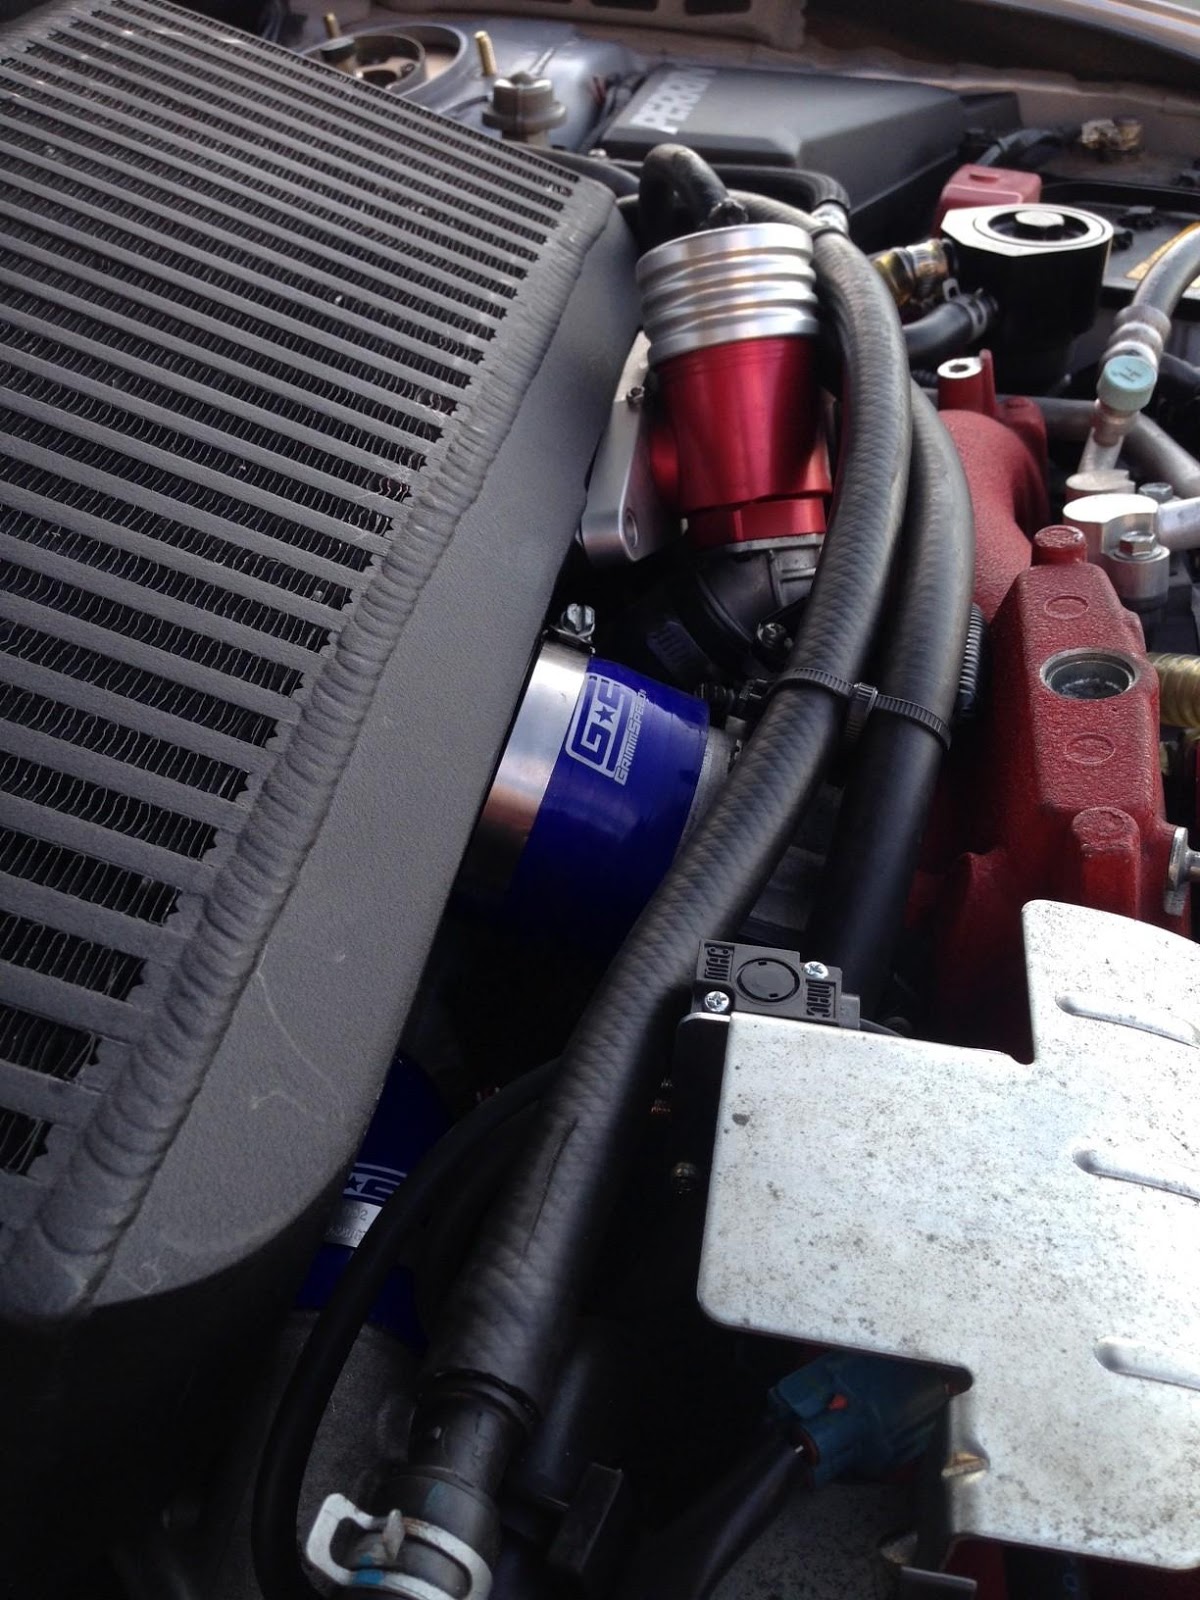
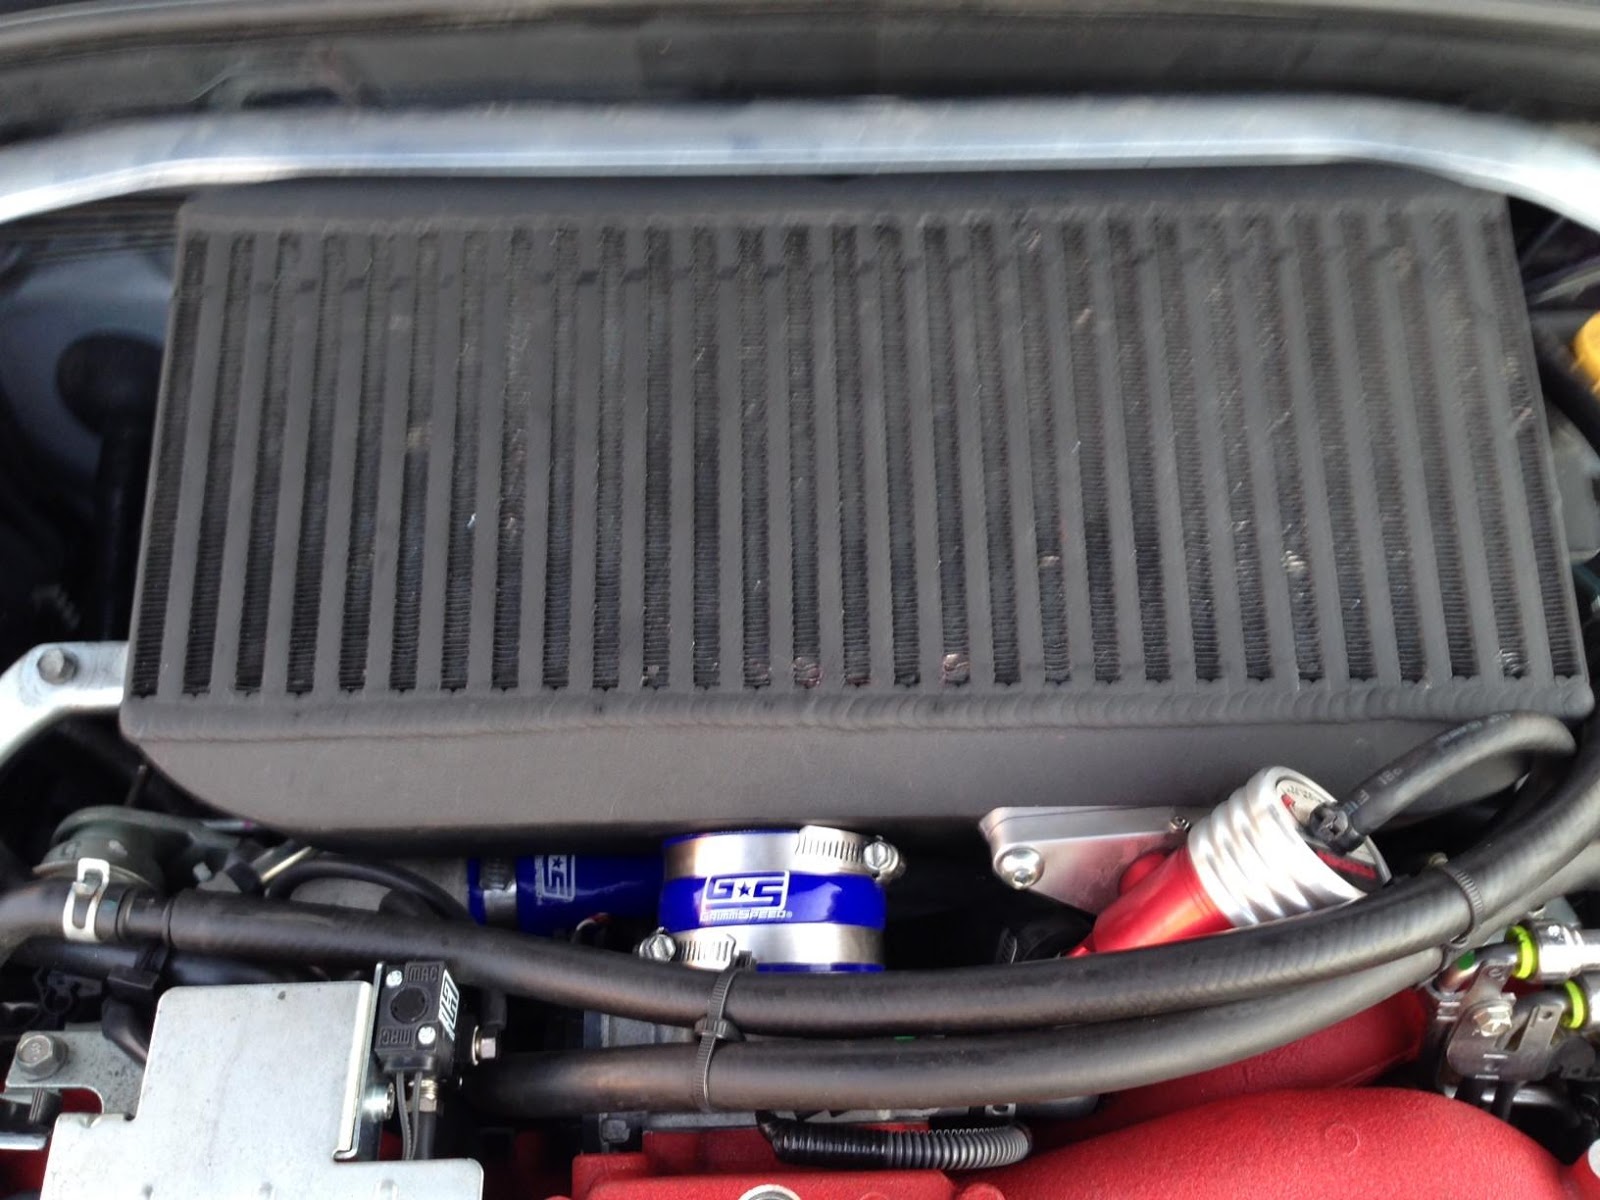
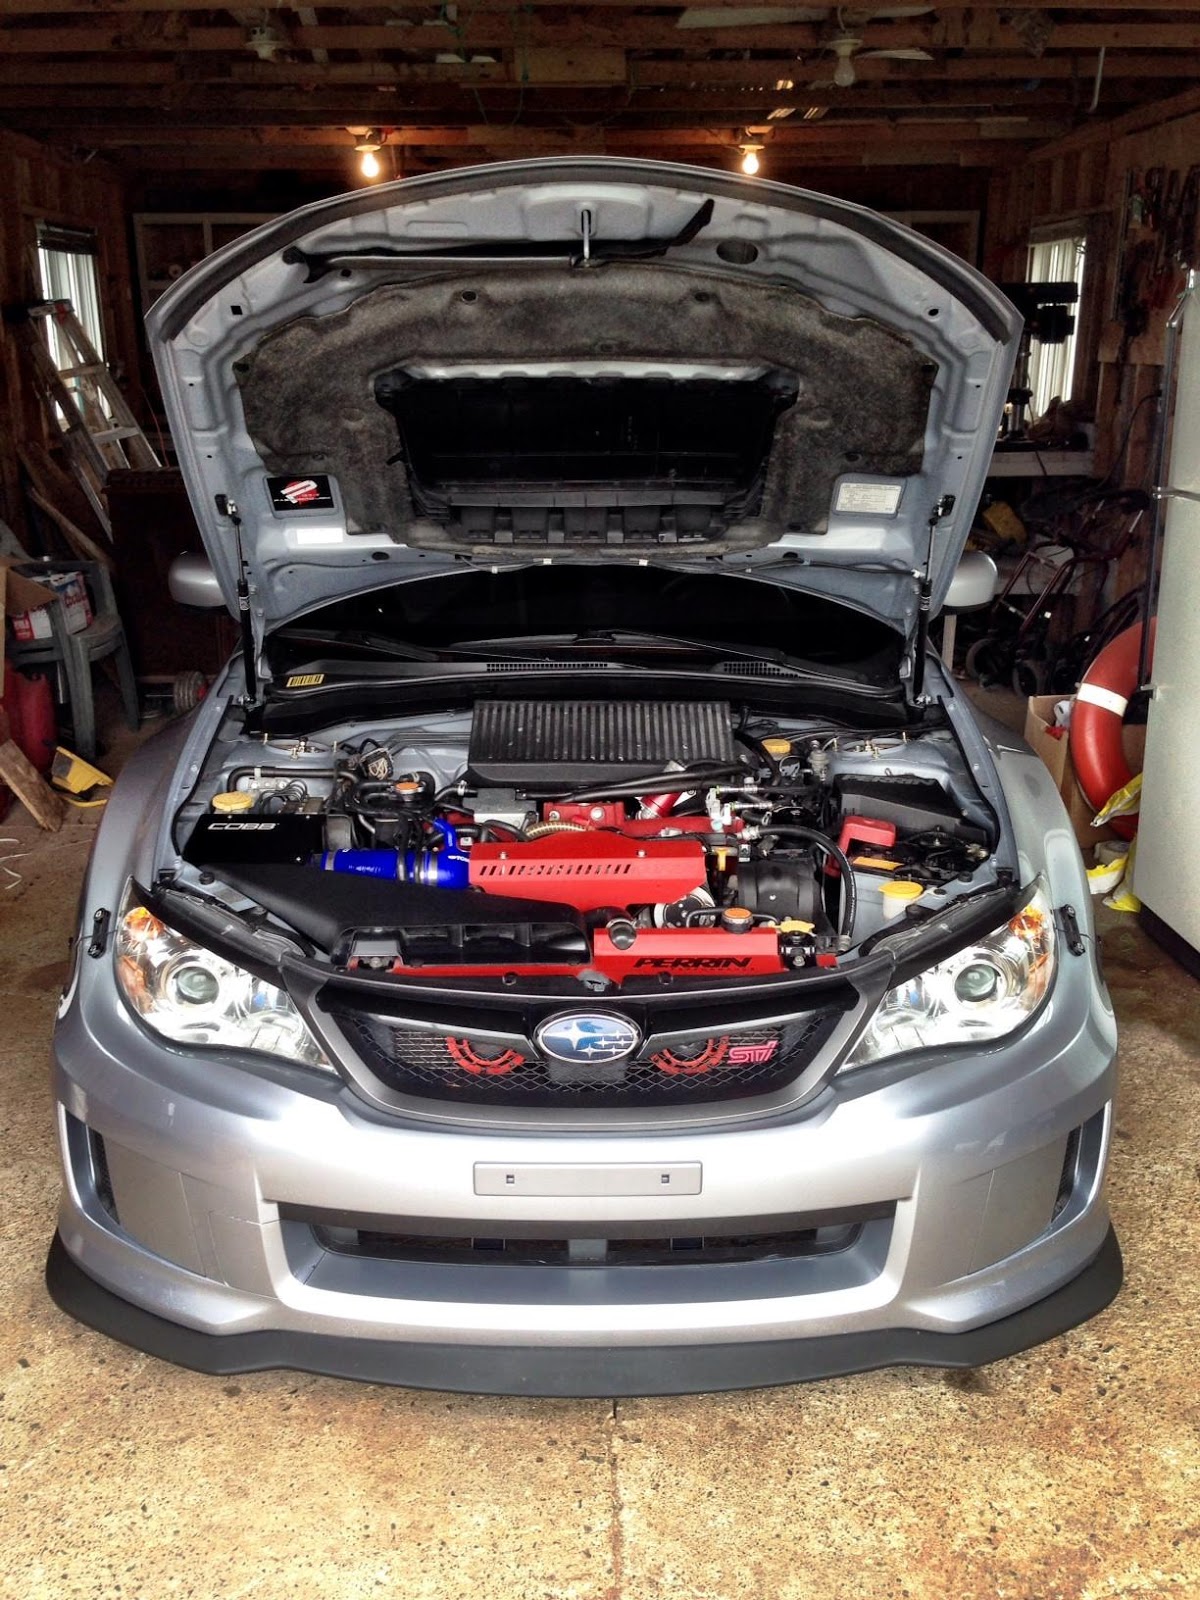
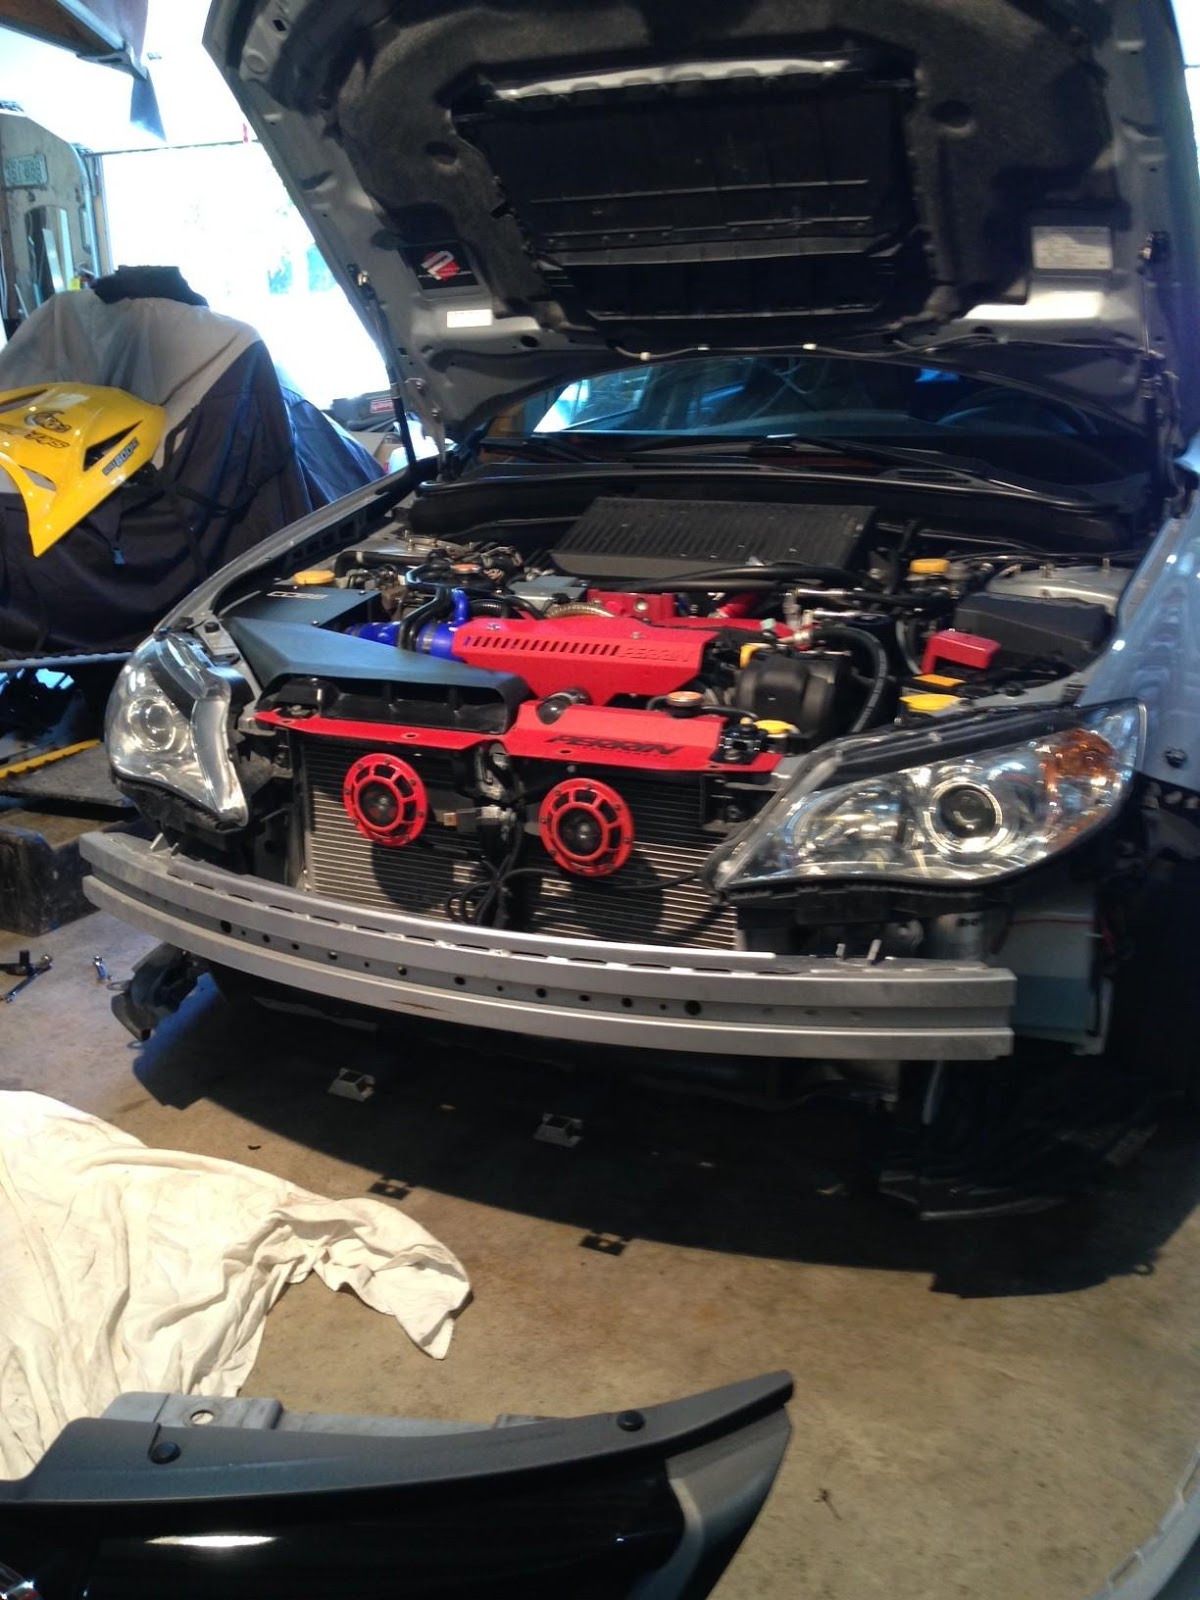
There is a bit of messing around to get the elbow and the front coupler to line up. Also note to make sure that all hose couplers are tight. Also when screwing down the inter-cooler there are 2 brackets that the inter-cooler brackets will screw on to, loosen those and it makes it easier to install and line of the bracket holes. Pics of the inter-cooler installed.
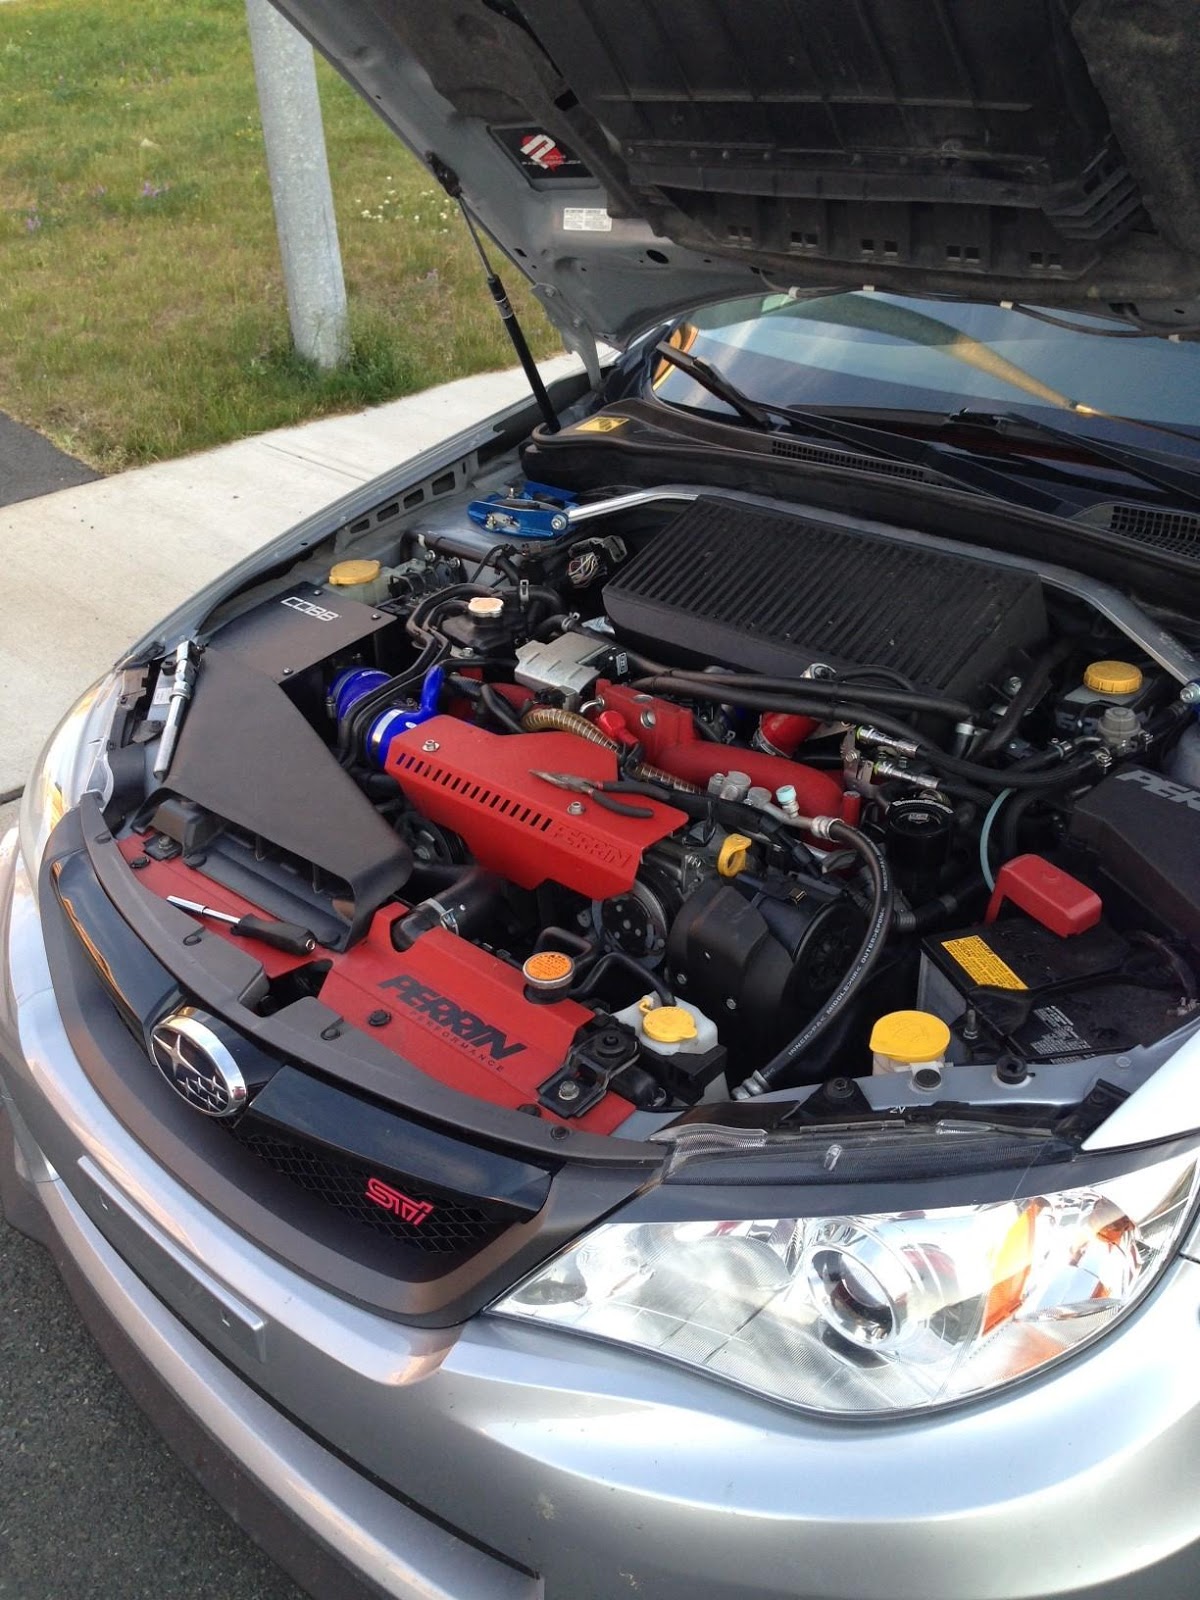
And just a few more pics of where I did the install. There is a full engine build for an sti going on in the garage and another sti getting a wash lol at my buddys. Busy spot!
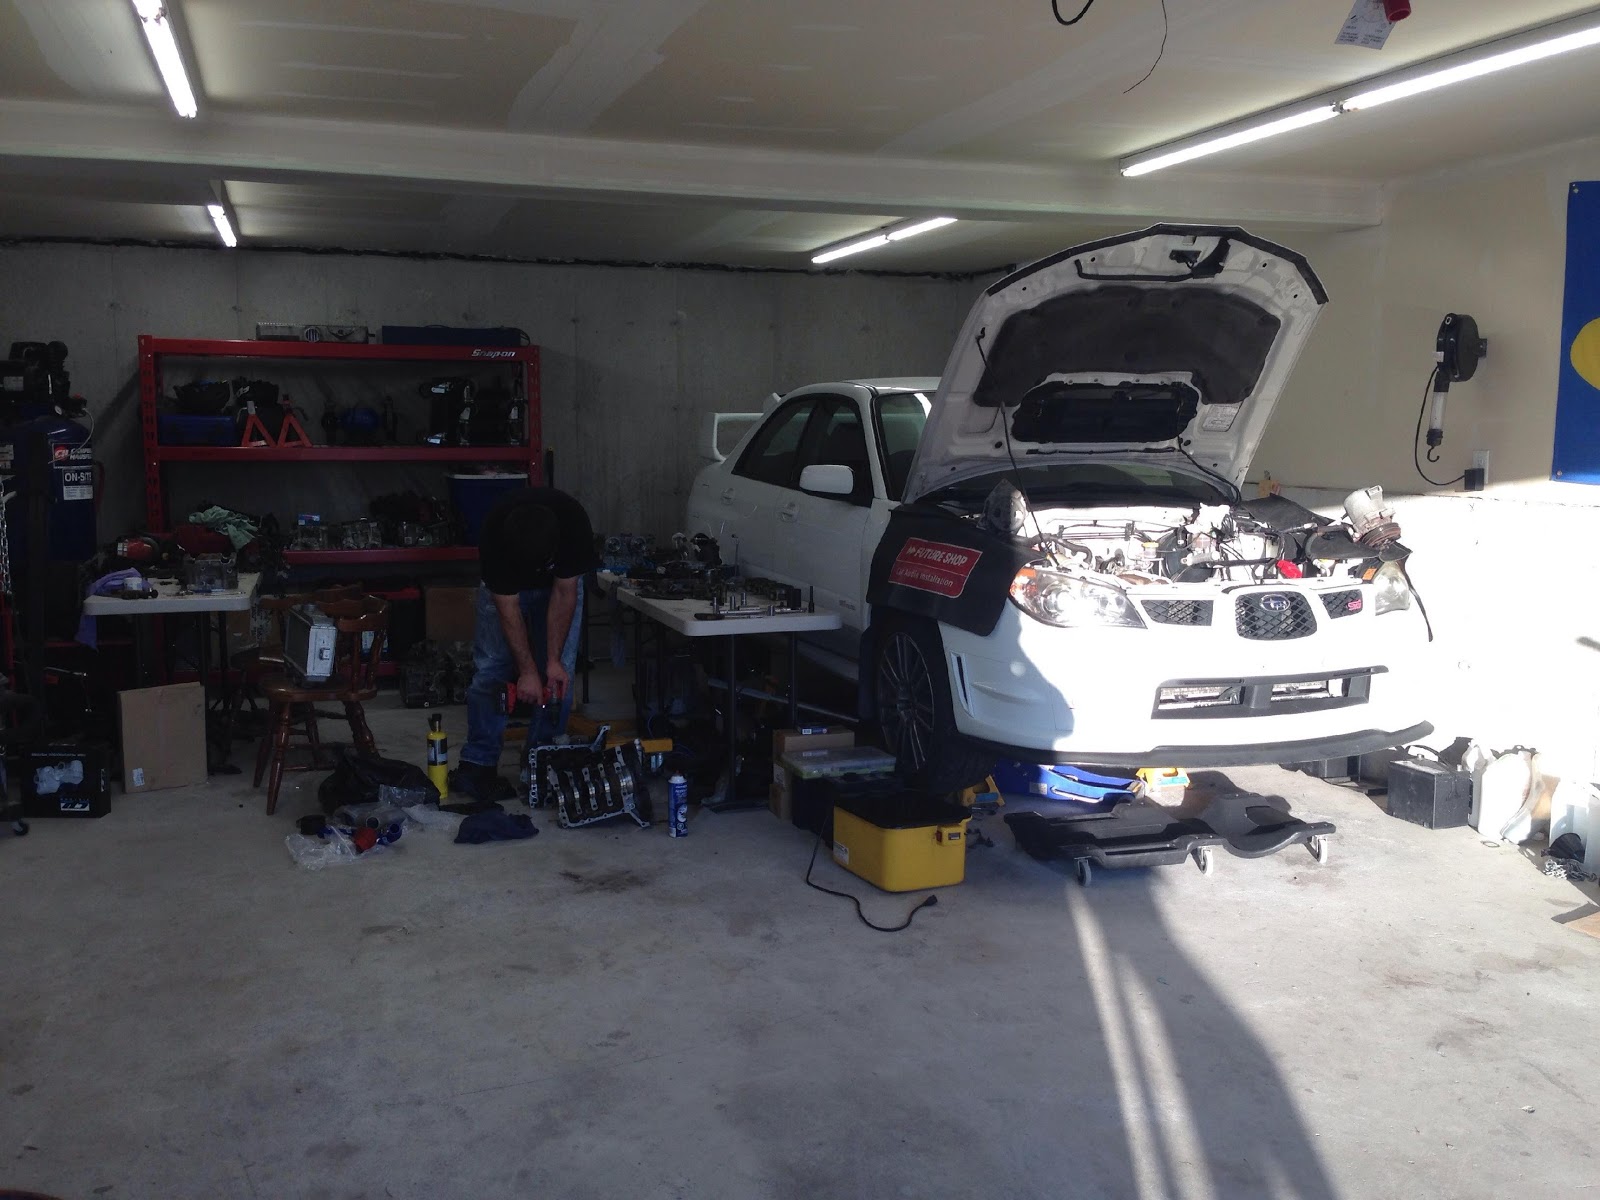
and my tuners car. 470whp
So then I ordered a Aquamist HFS-3 methanol kit and this is the install
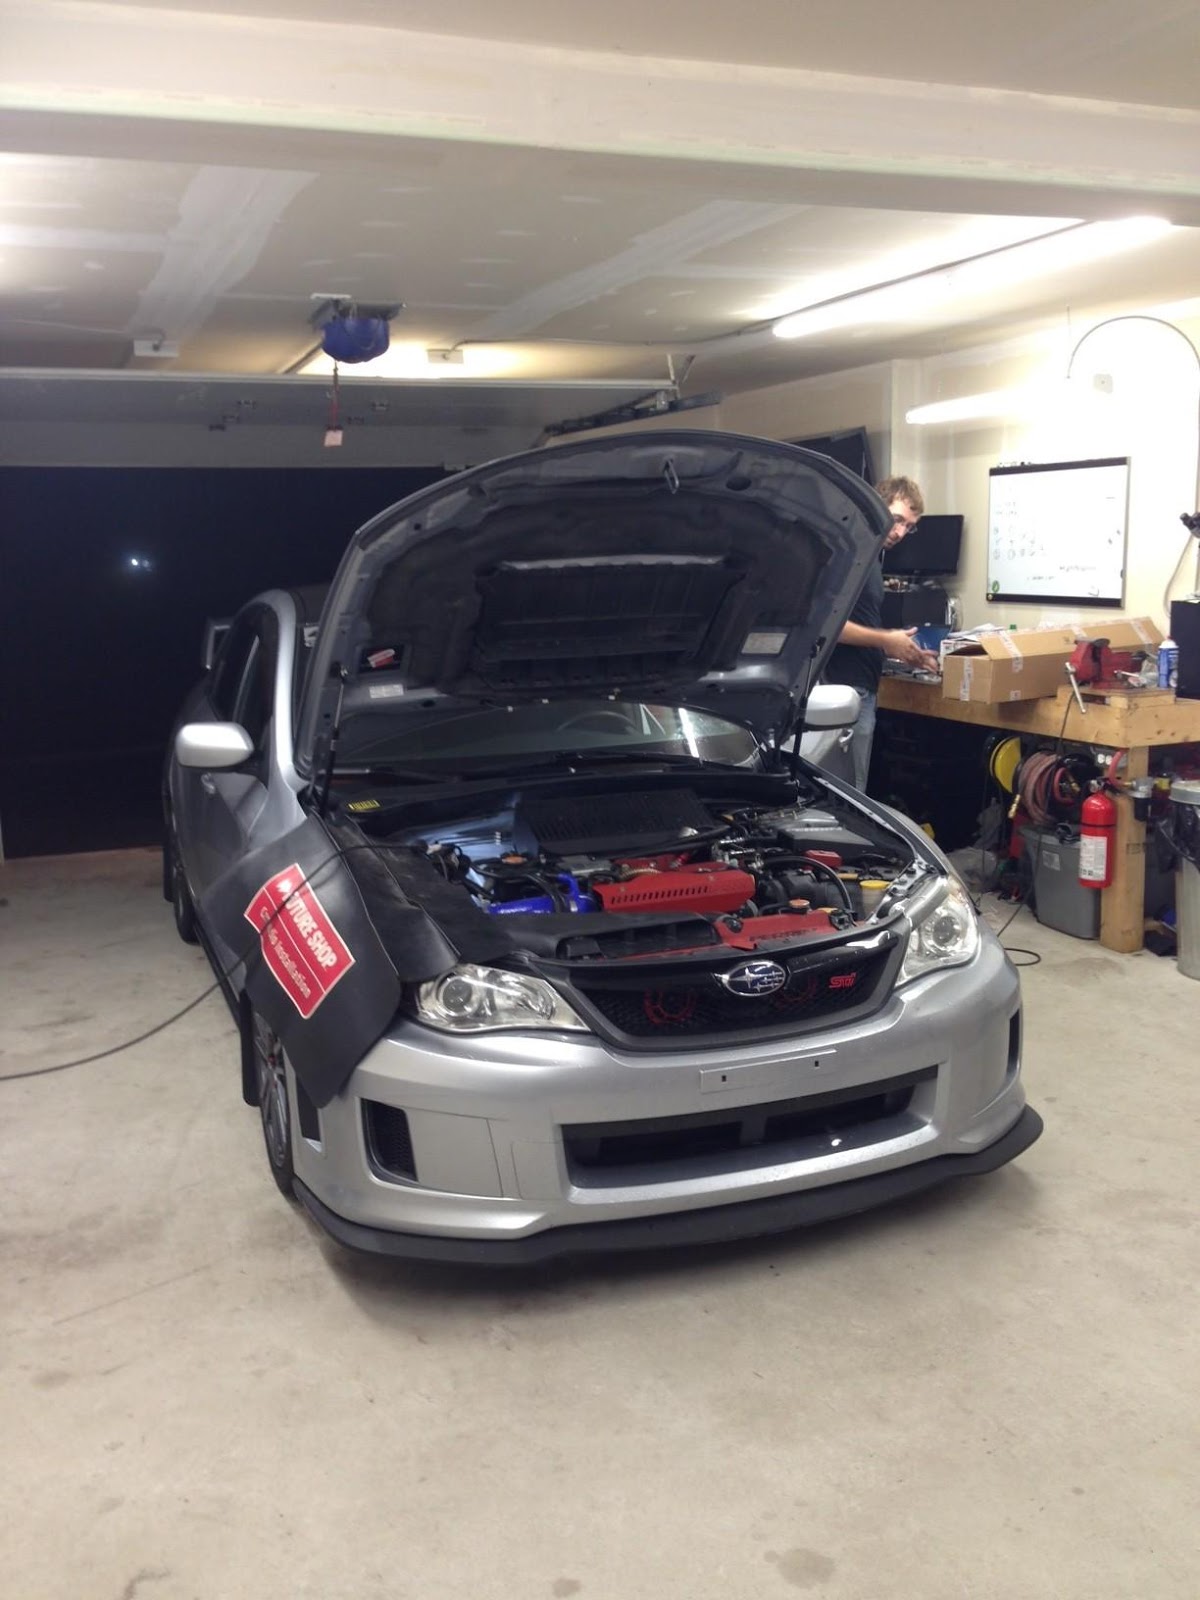
Got the car in and hood popped and started.
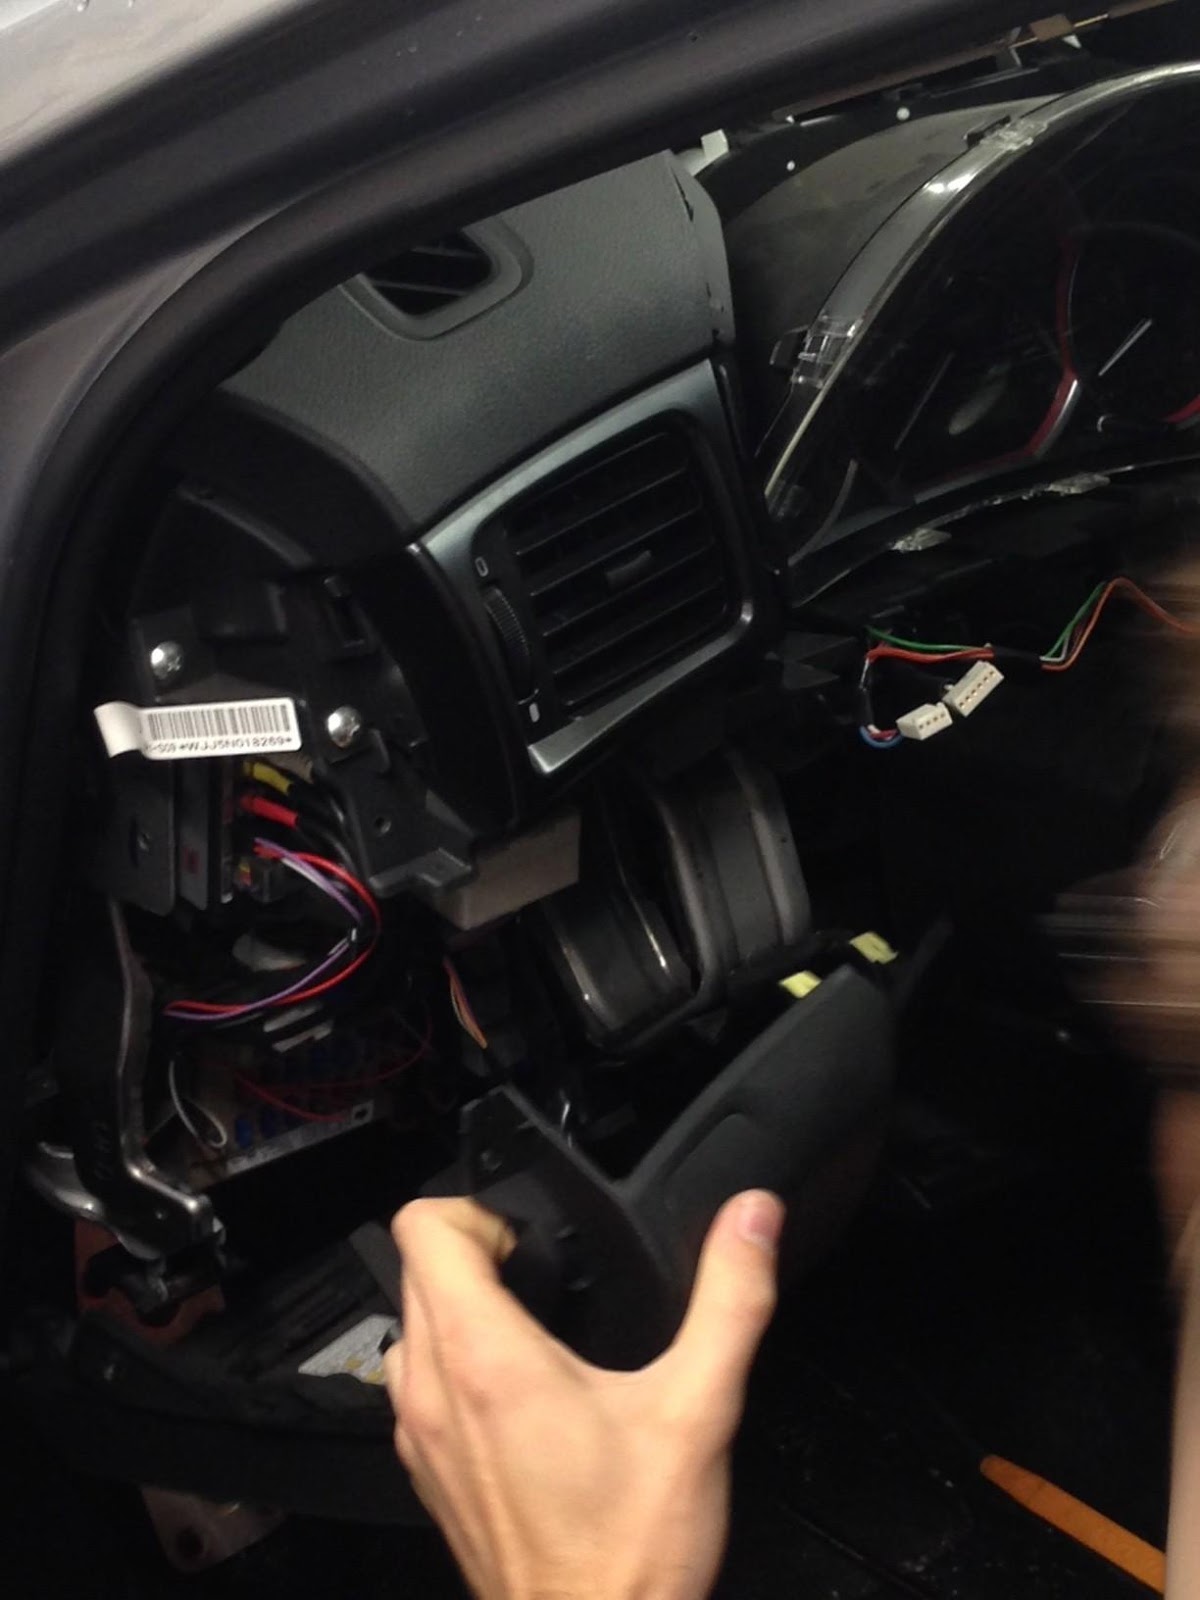
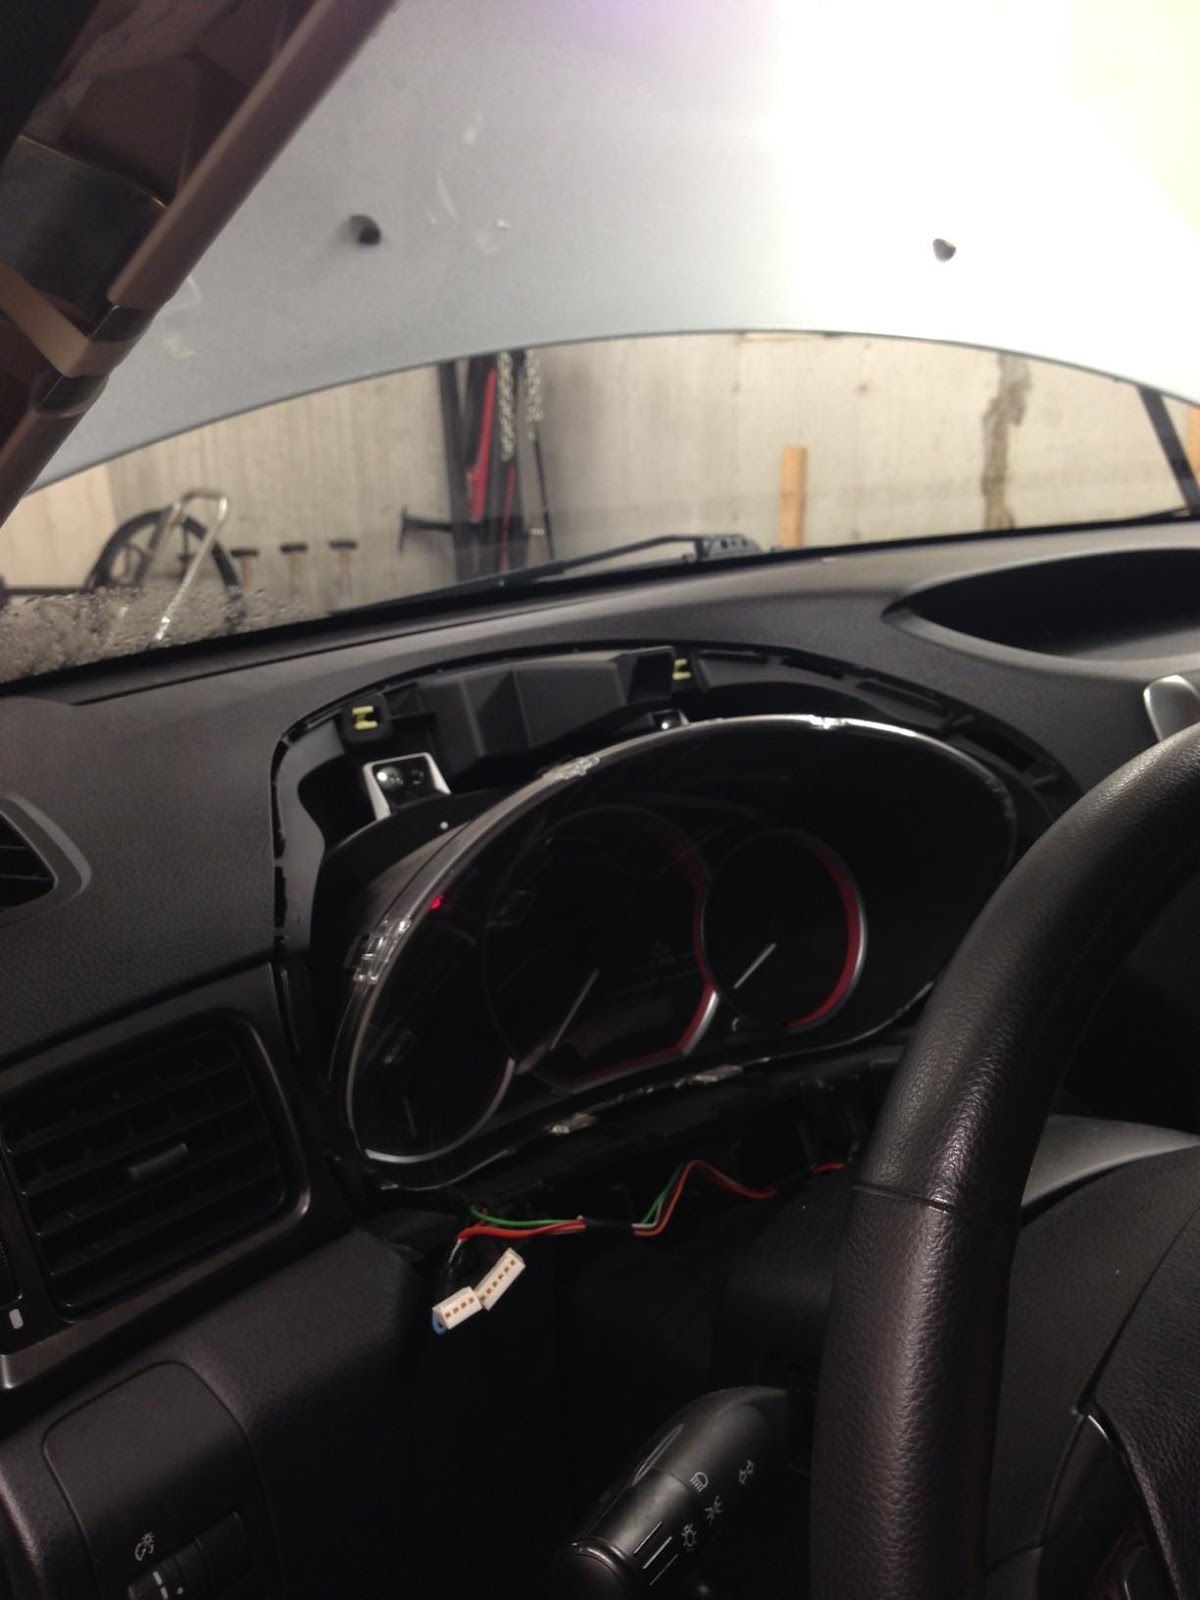
Next was to haul out the SMY cluster gauge. This is simple. Just give it a small tug and it should pop right out. Next was the dash piece under the steering column. Its only a few clips pretty easy. Next its the side piece to the left. Just haul that off and then there are I think it was 3 screws that you have to undo.
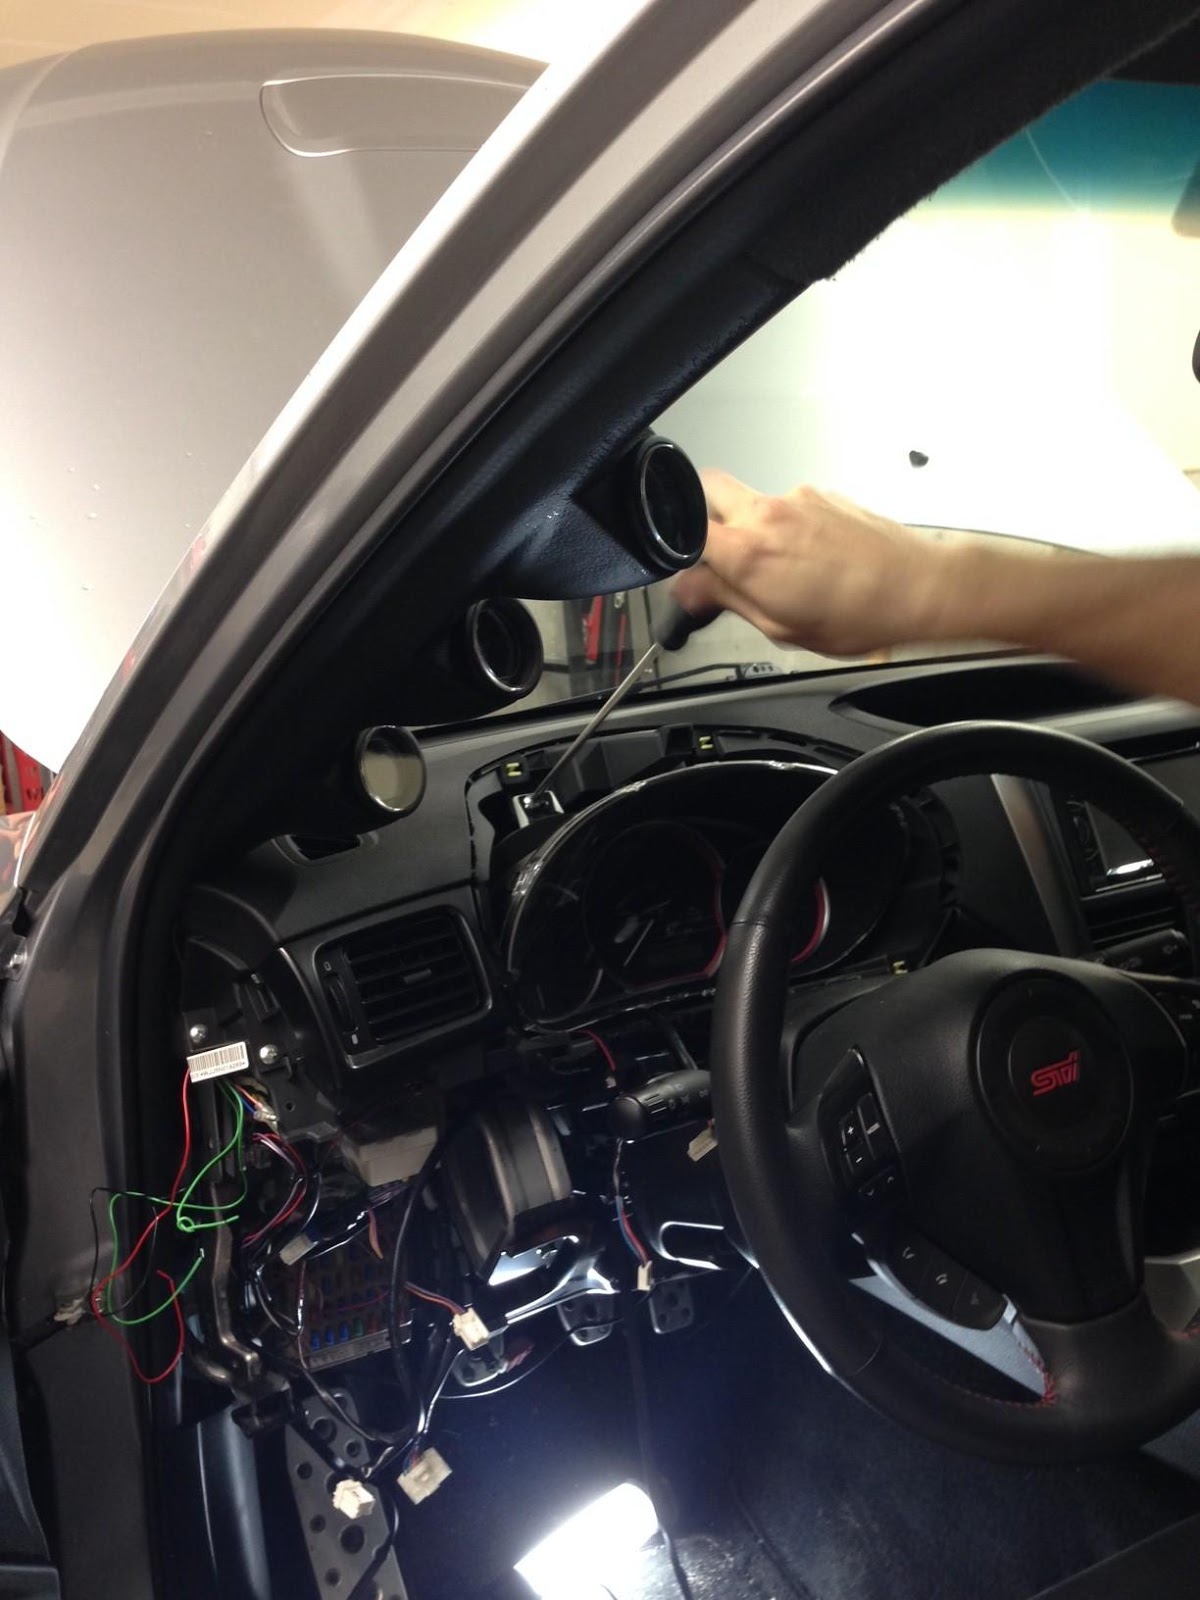
Next there is a couple screws keeping the tach in place. The screws are located on the back as seen in pic below.
The boost gauge was already installed so just follow the wiring diagram for that. The Oil Pressure isn't finished like I said before due to improper fittings. As the the Exhaust Gas Temp it comes with a bung that needs to be welded to the header. Right now I just drilled a hole in the header and threaded out a hole. Some people just do that but im hoping to be able to get under and weld it together to prevent any chance of leaks. I read that some people put it in the downpipe or even in the collector of the header which both are wrong. The collector has too much air/heat due to multiple pipes joining together. The DP will not give to a correct reading. Just place in one pipe of the header to get the best reading.
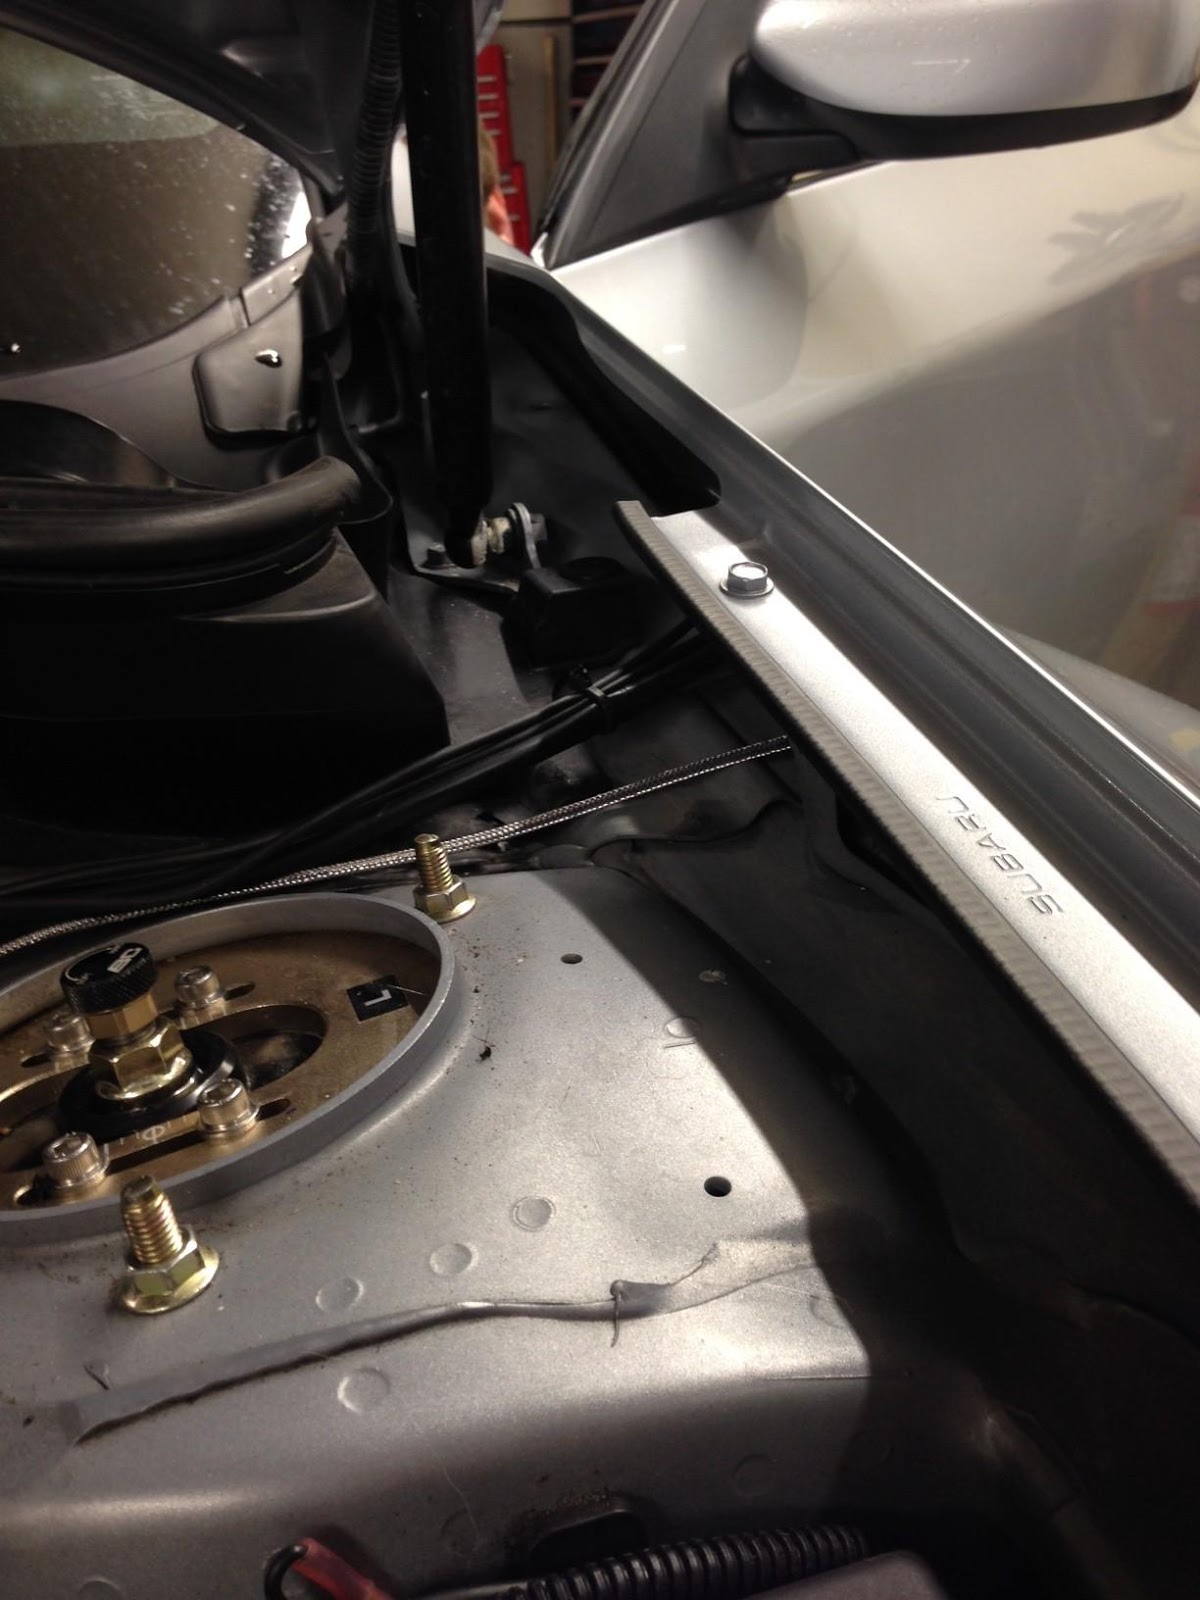
So next was the braided line that was included with the gauge. You need to run it up the side of the engine which I ran the wire through a bracket to reduce any movement
The I ran it along side the fuel lines and around the back of the strut tower.
The I ran it through the firewall and wired it up.
To take of the A-Pillar its best to have a little tool with a tiny end to pry the SRS badge and then unscrew the bolt. Then just haul the piece out. The A-Pillar holes come very tight so the gauges dont move around so you might have to shave it down a bit. Once all of that is done we just put everything back together.
And here is a couple pics of the gauges. One hasnt been installed yet at this point.
Got my Oil Pressure Gauge finished up and got some pics of where I do most of my work.
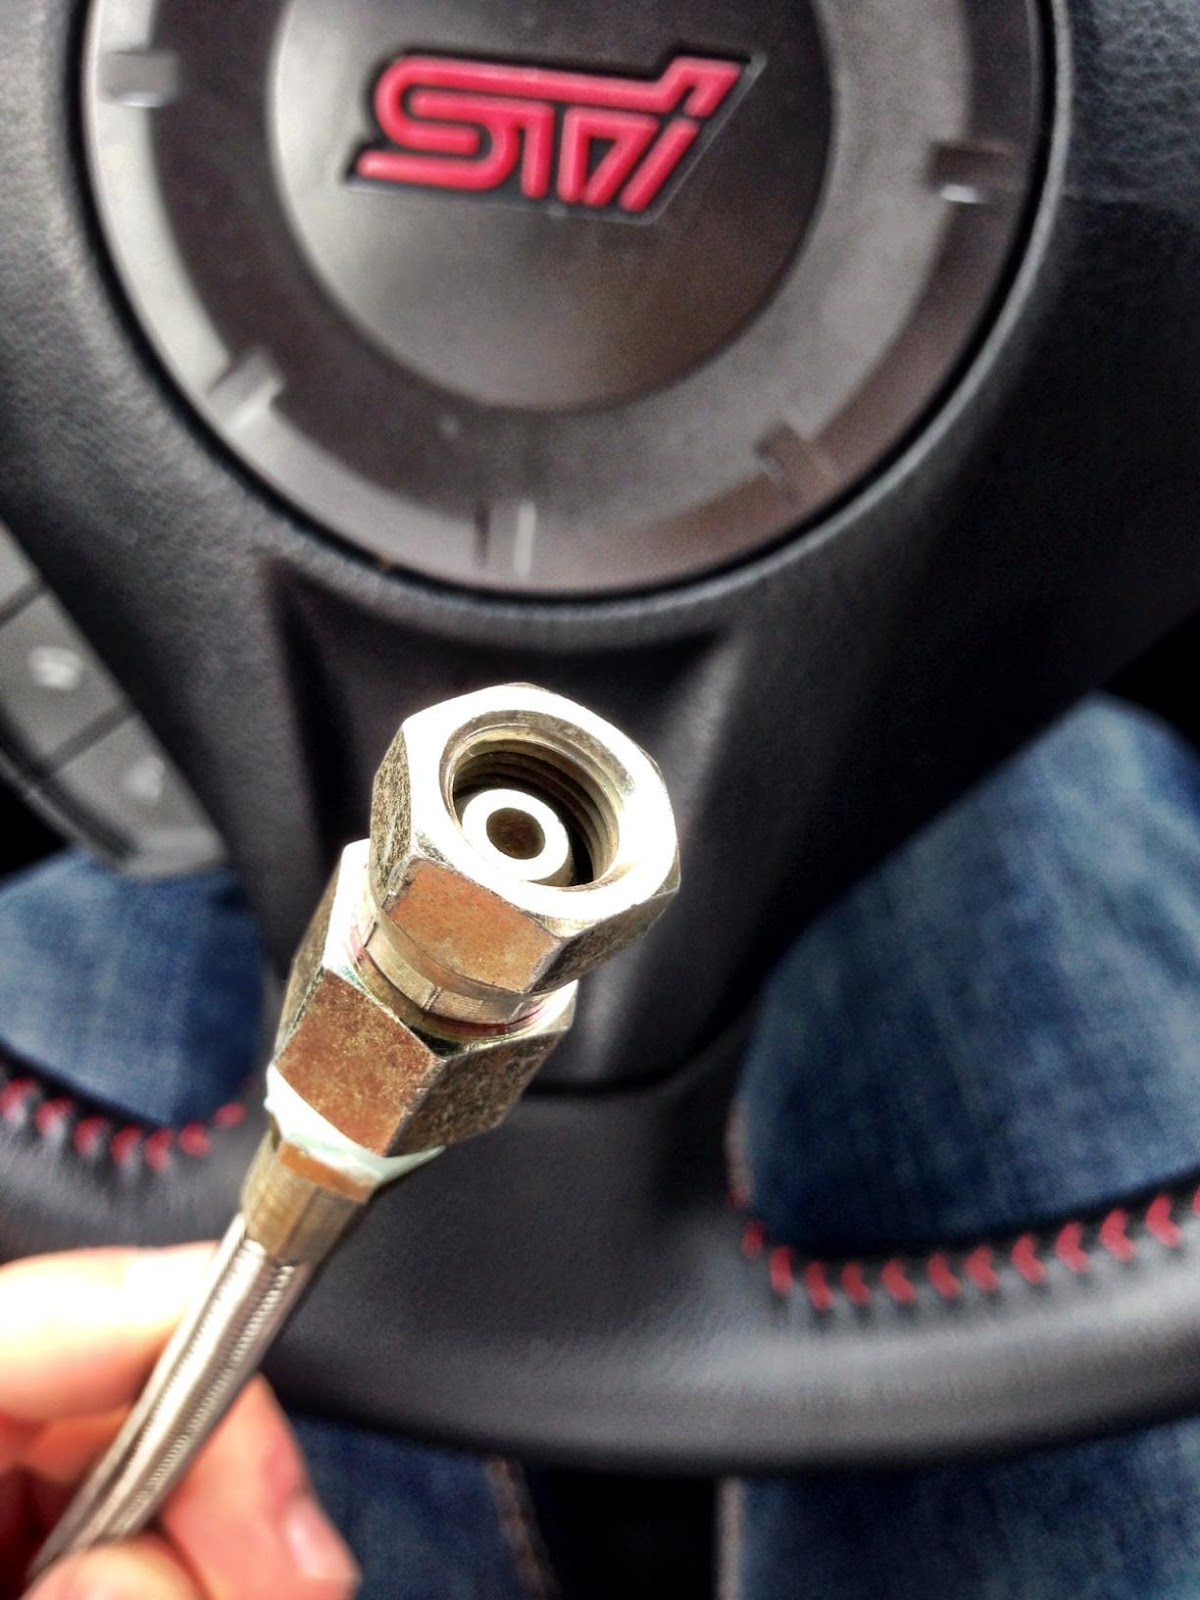
What I did first was I got a Nylon Steel Braided line made up for the relocation of the sender unit to make it easier to install cause the sender unit is pretty big (Forgot to take a pic of it).
Here is the line.
The female end. I got a swivelled connection put on to make it easier so you don't have to turn the line.
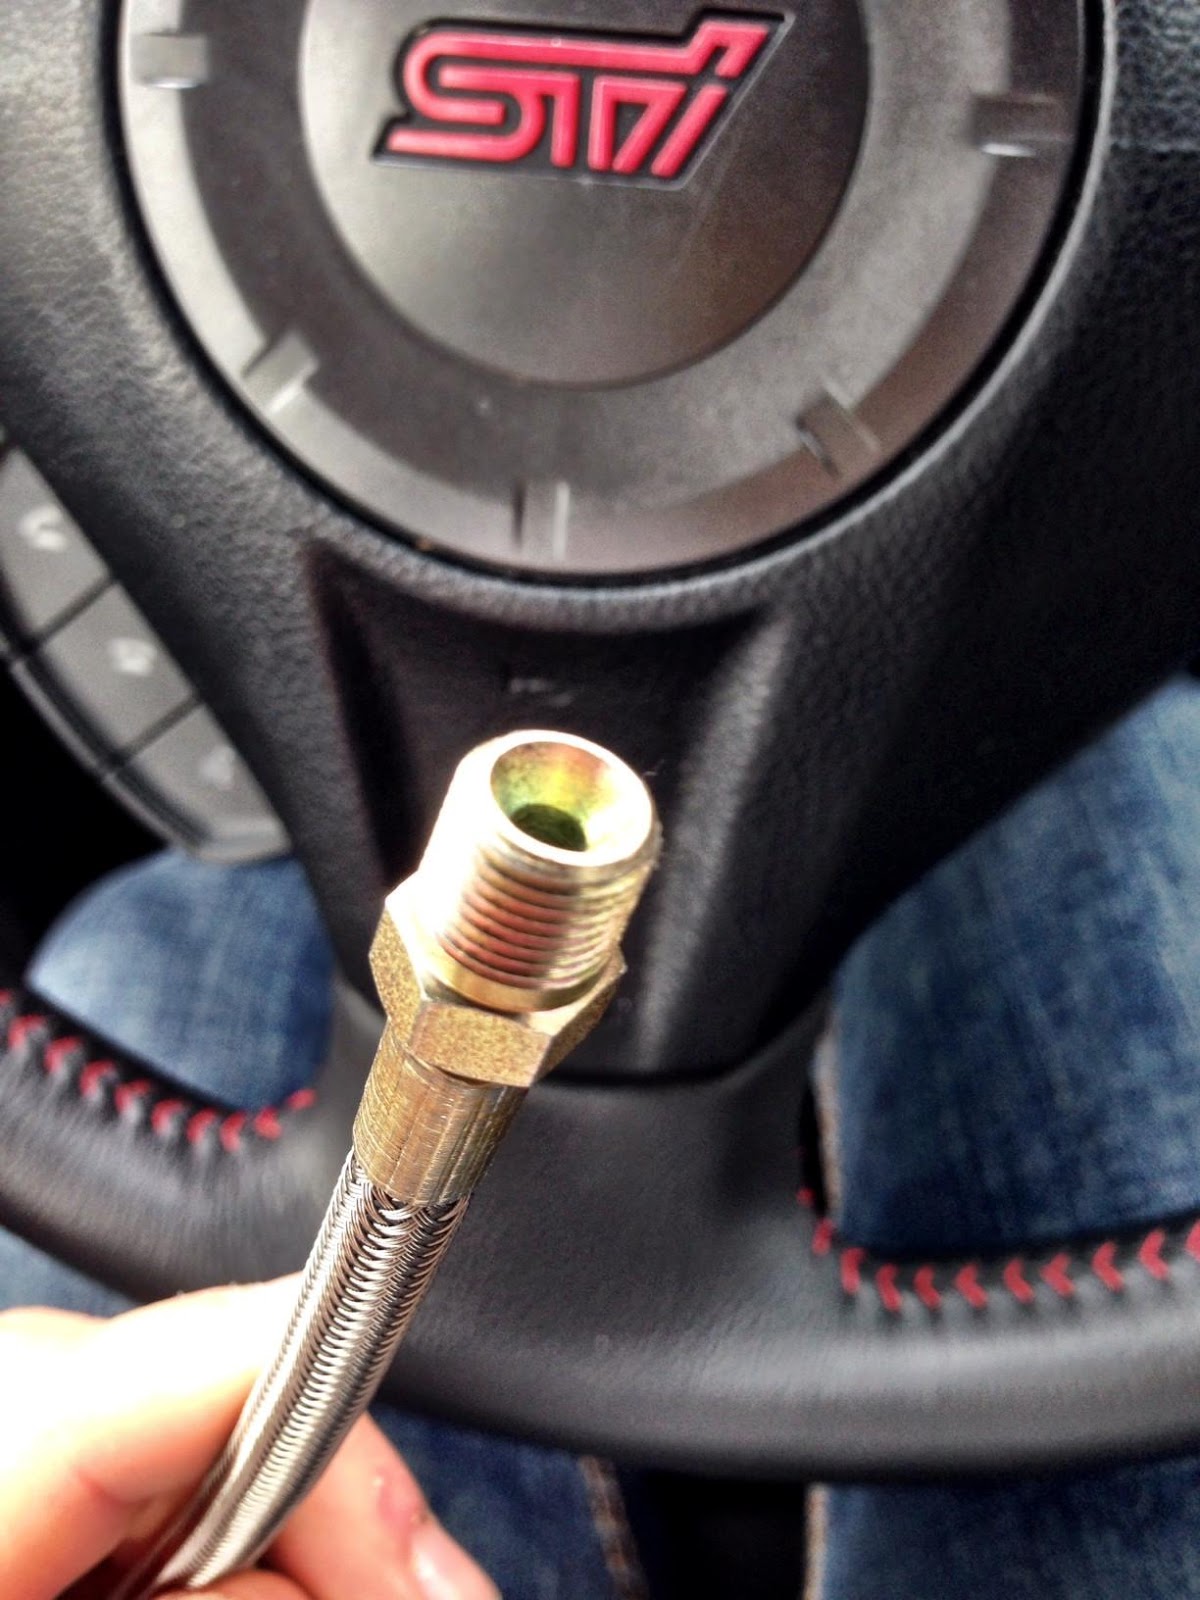
The male end. Its a 1/8 fitting NPT connection. Both the male and female are 1/8 size.
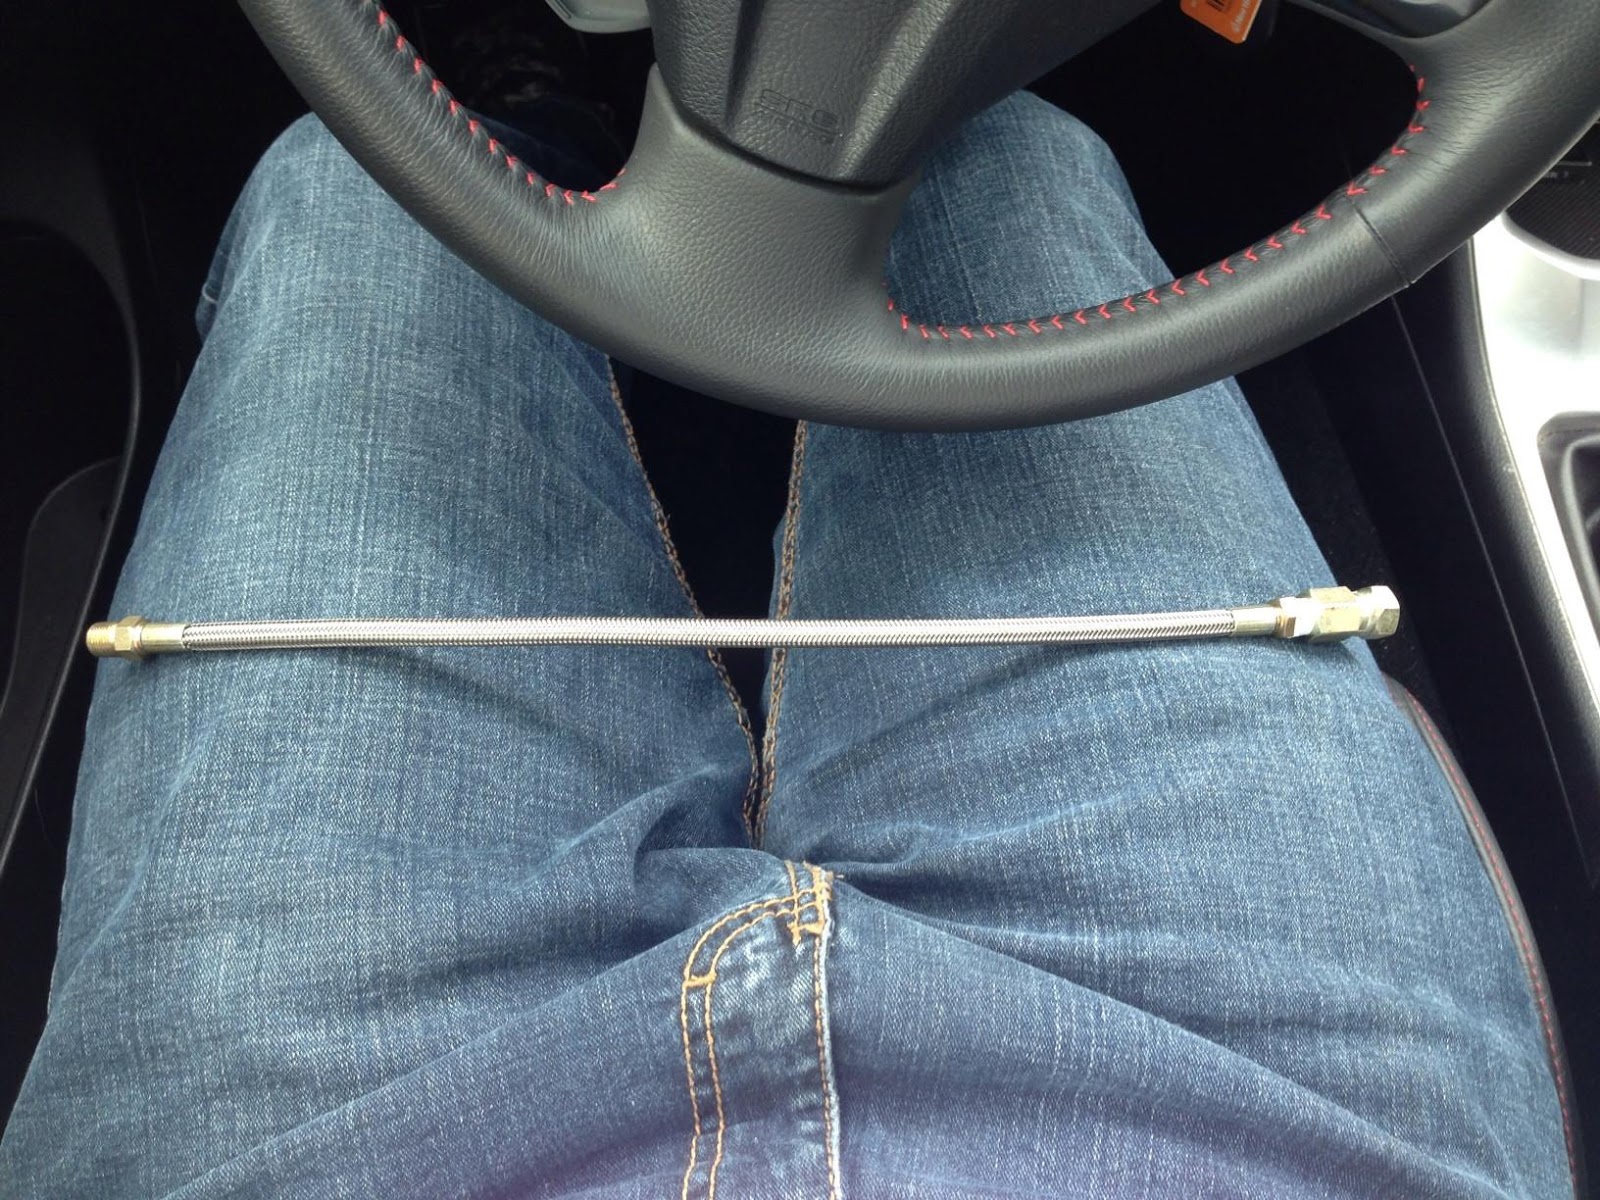
I got it made a foot long for plenty for room.
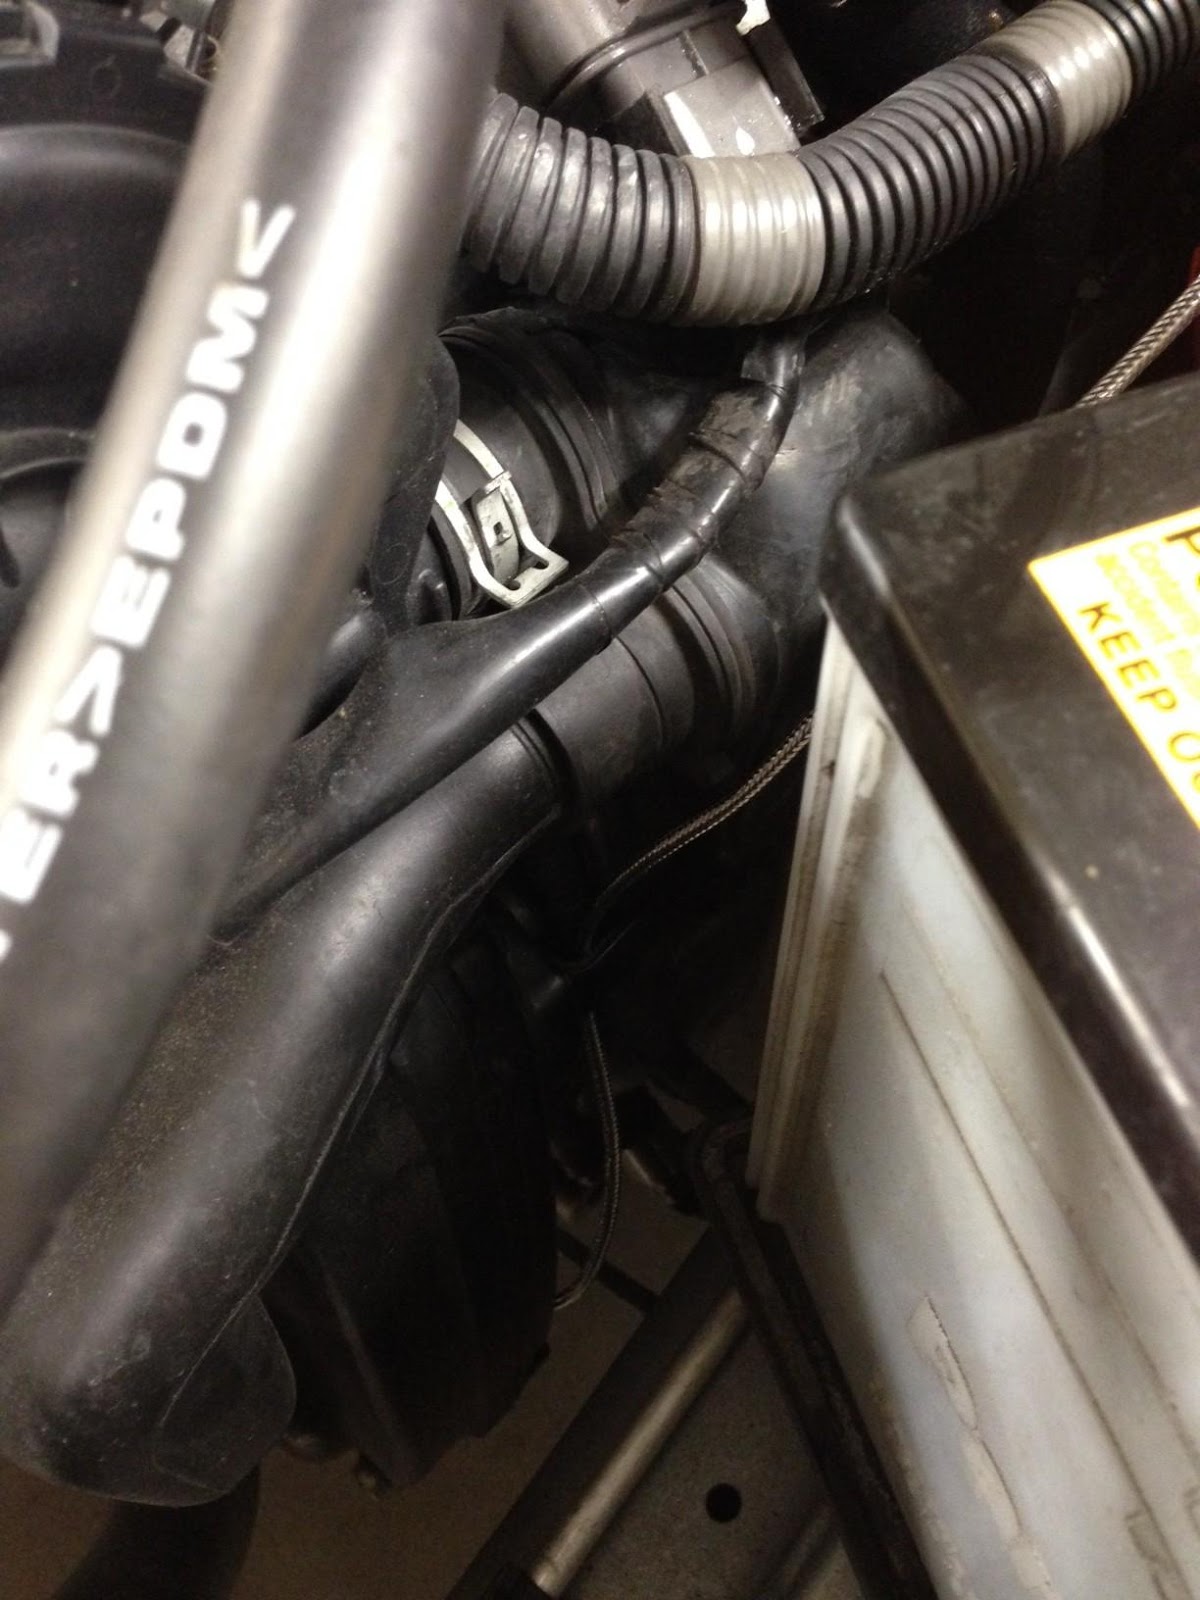
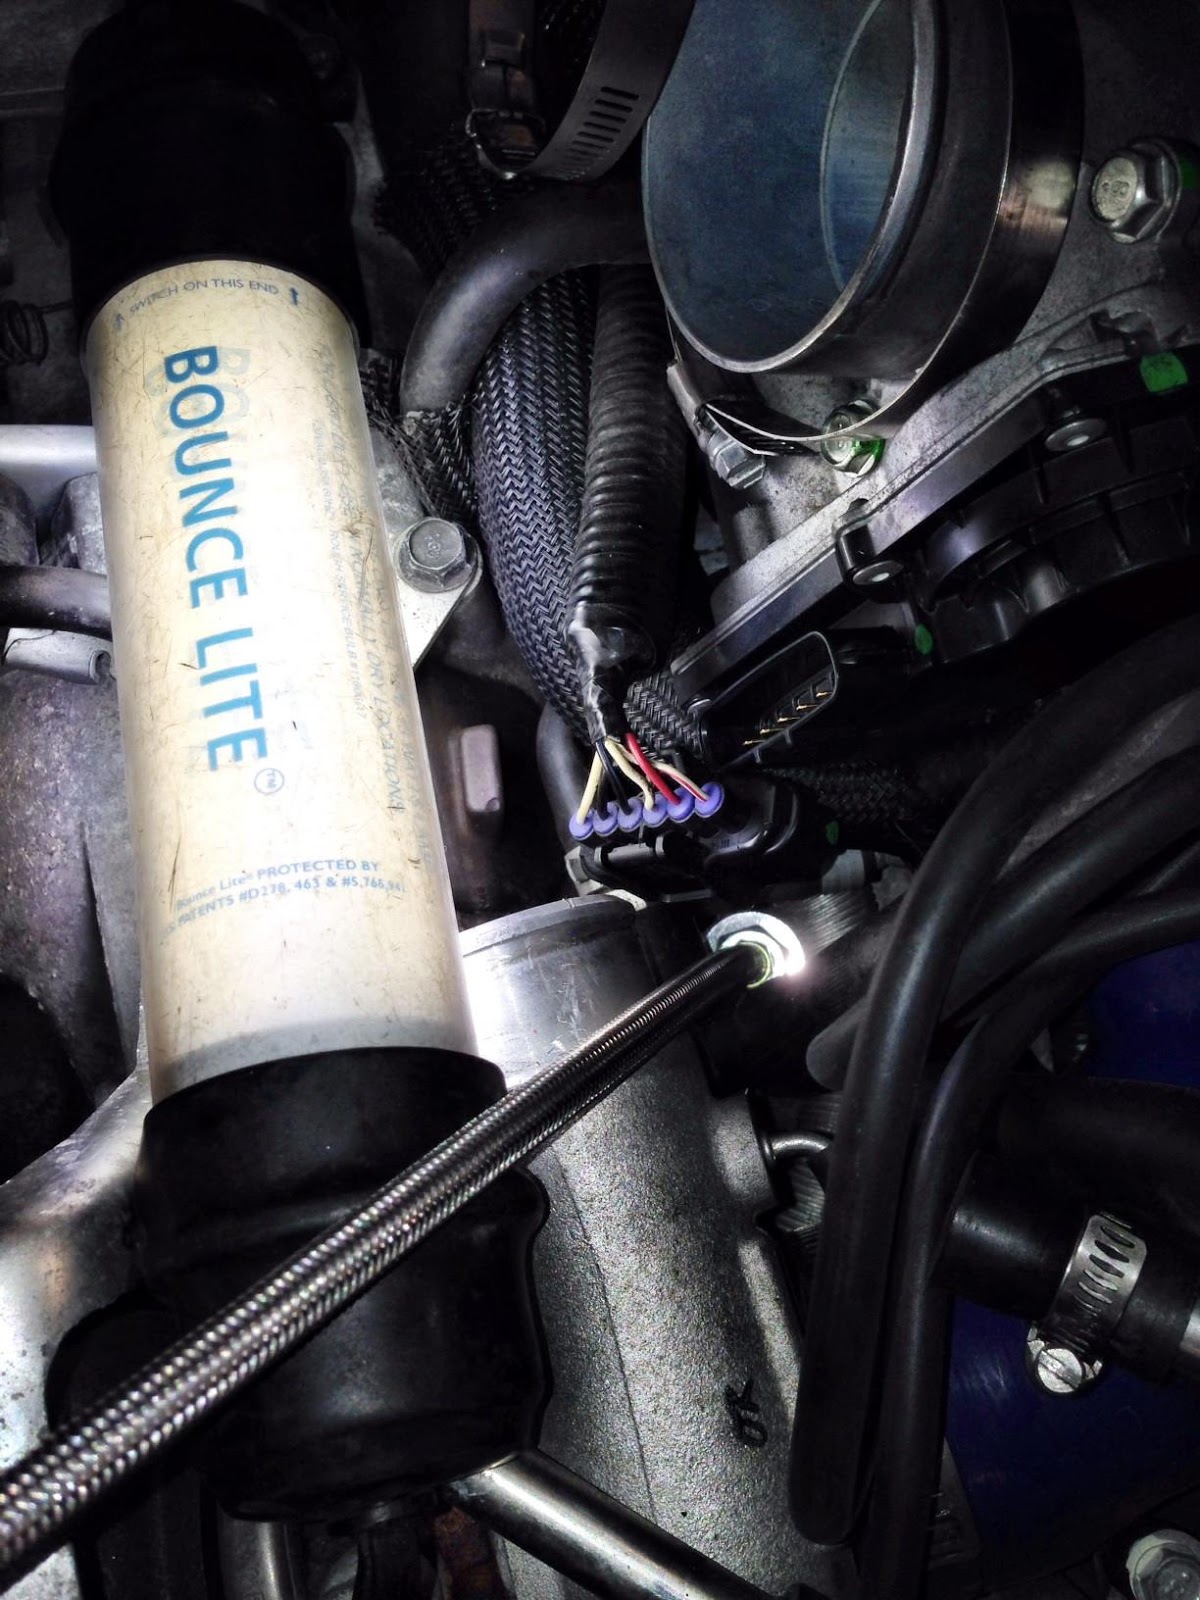
Next is to take off the intercooler to access the plug.
This is the Oil Galley Plug that I ordered from subaru. (Not my picture)
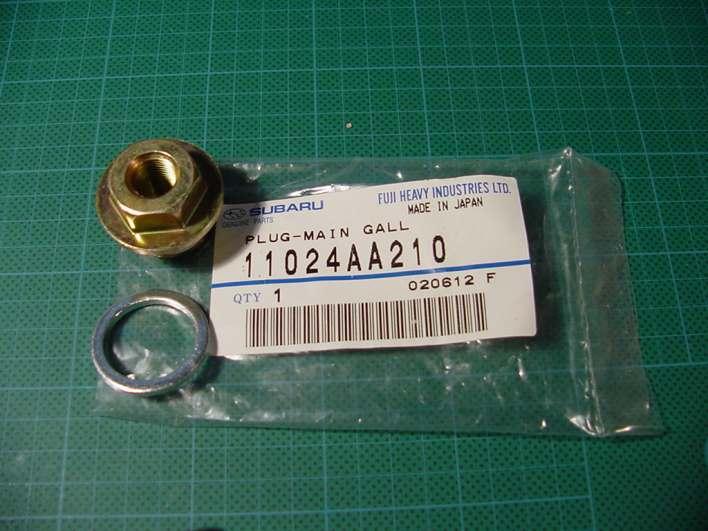
The plug is located between the turbo and throttle body. The picture is installed the relocation line.
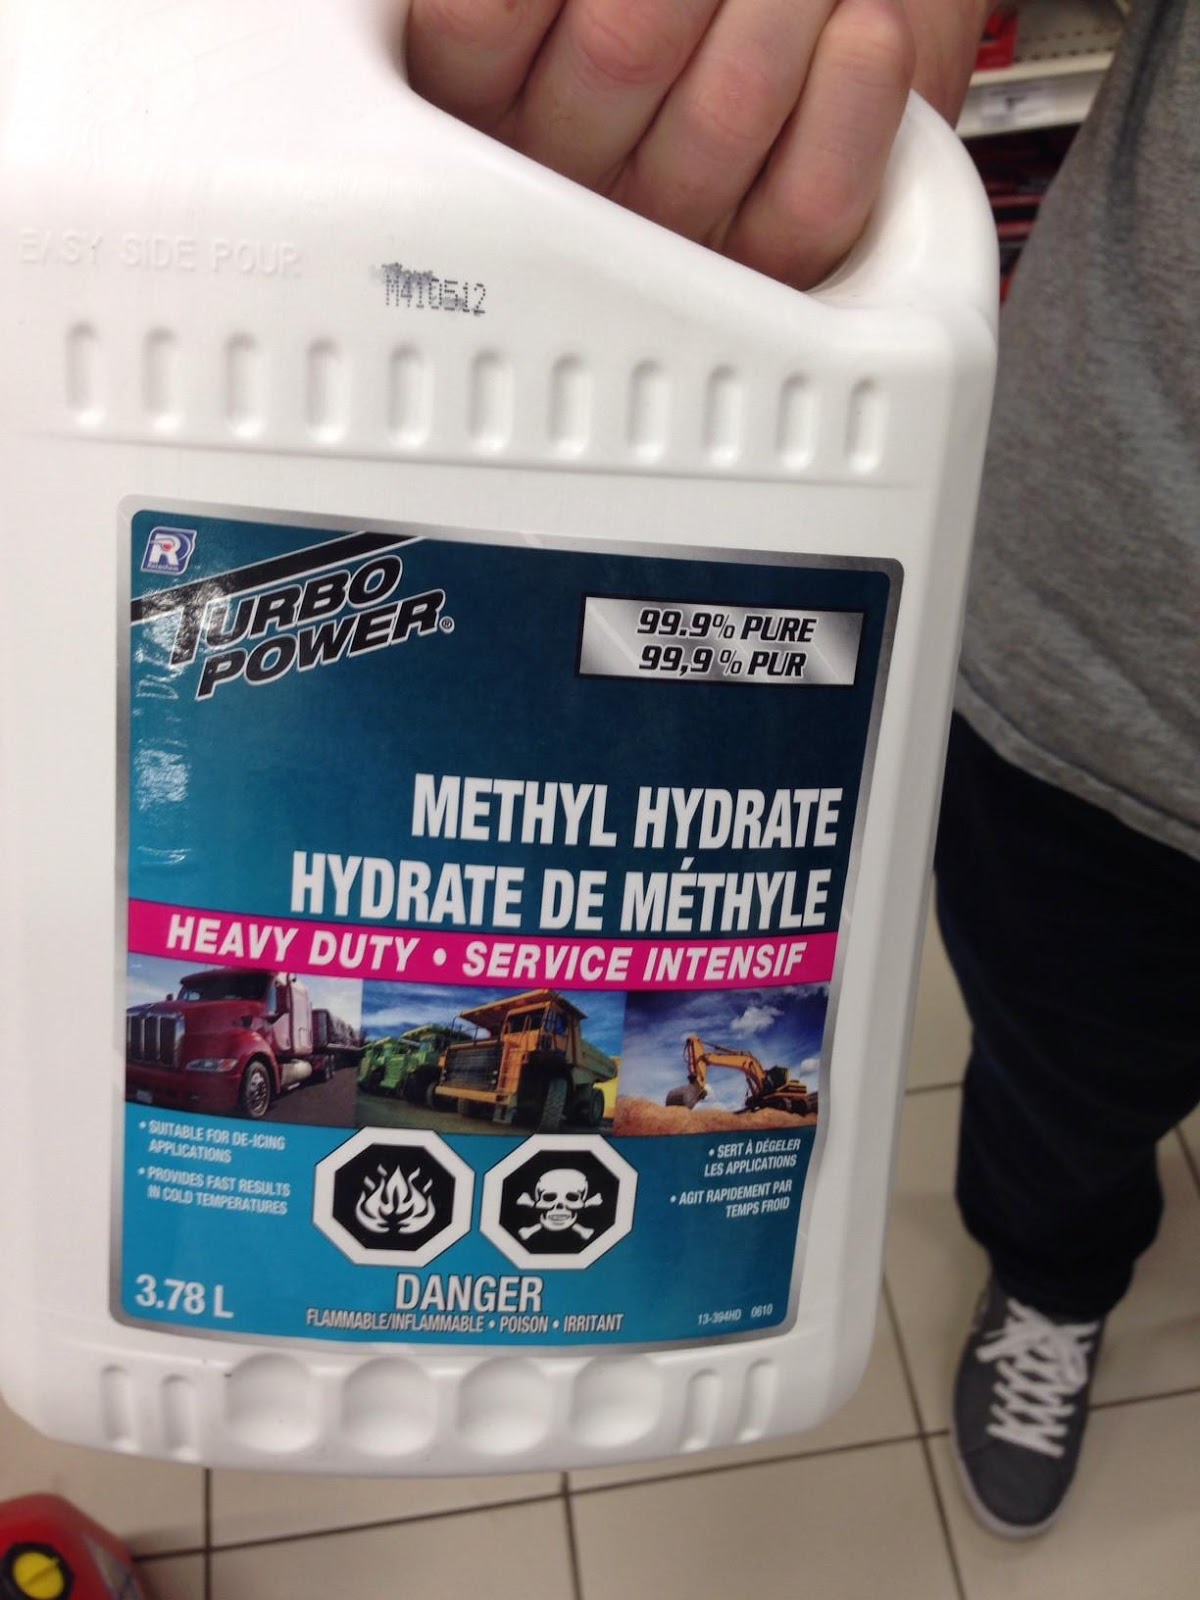
And here is what I use for my methanol. 50/50 mix so all I do is buy a 20gal gas can and 2 bottles of deionized water and 2 bottles of Methyl Hydrate.

Got a video the other night of the launch control and flat foot shifting. The video is dark but you can hear and see the flame at the end lol
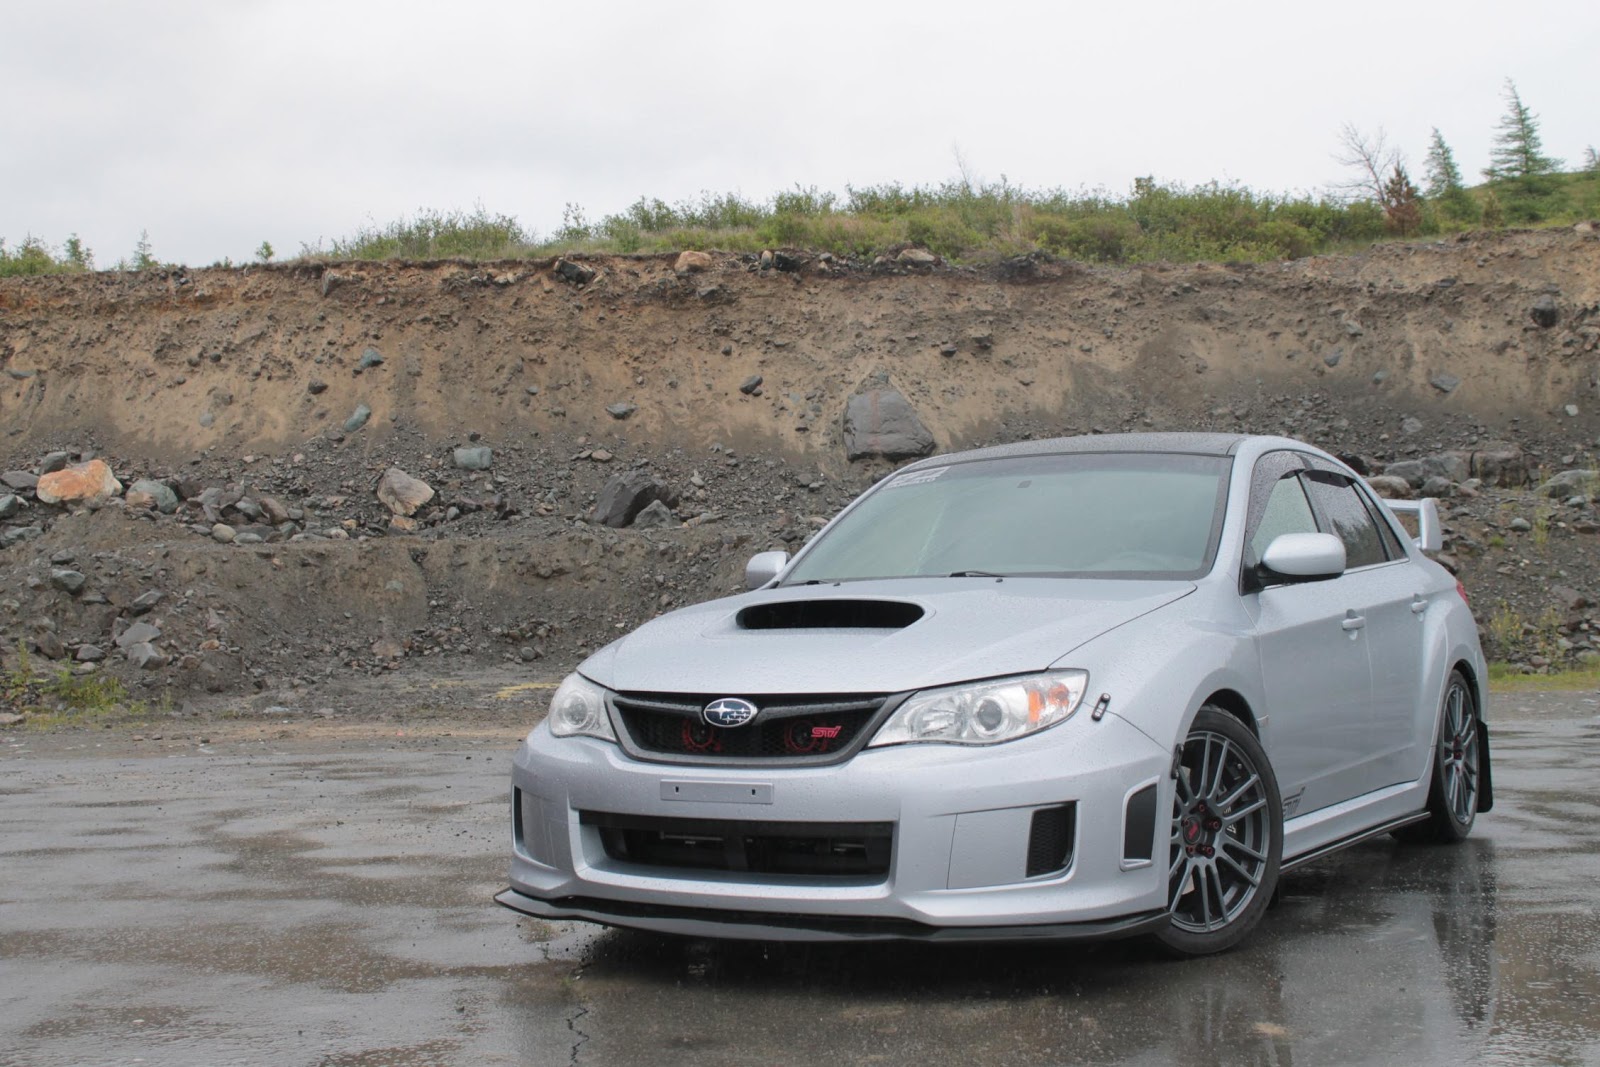
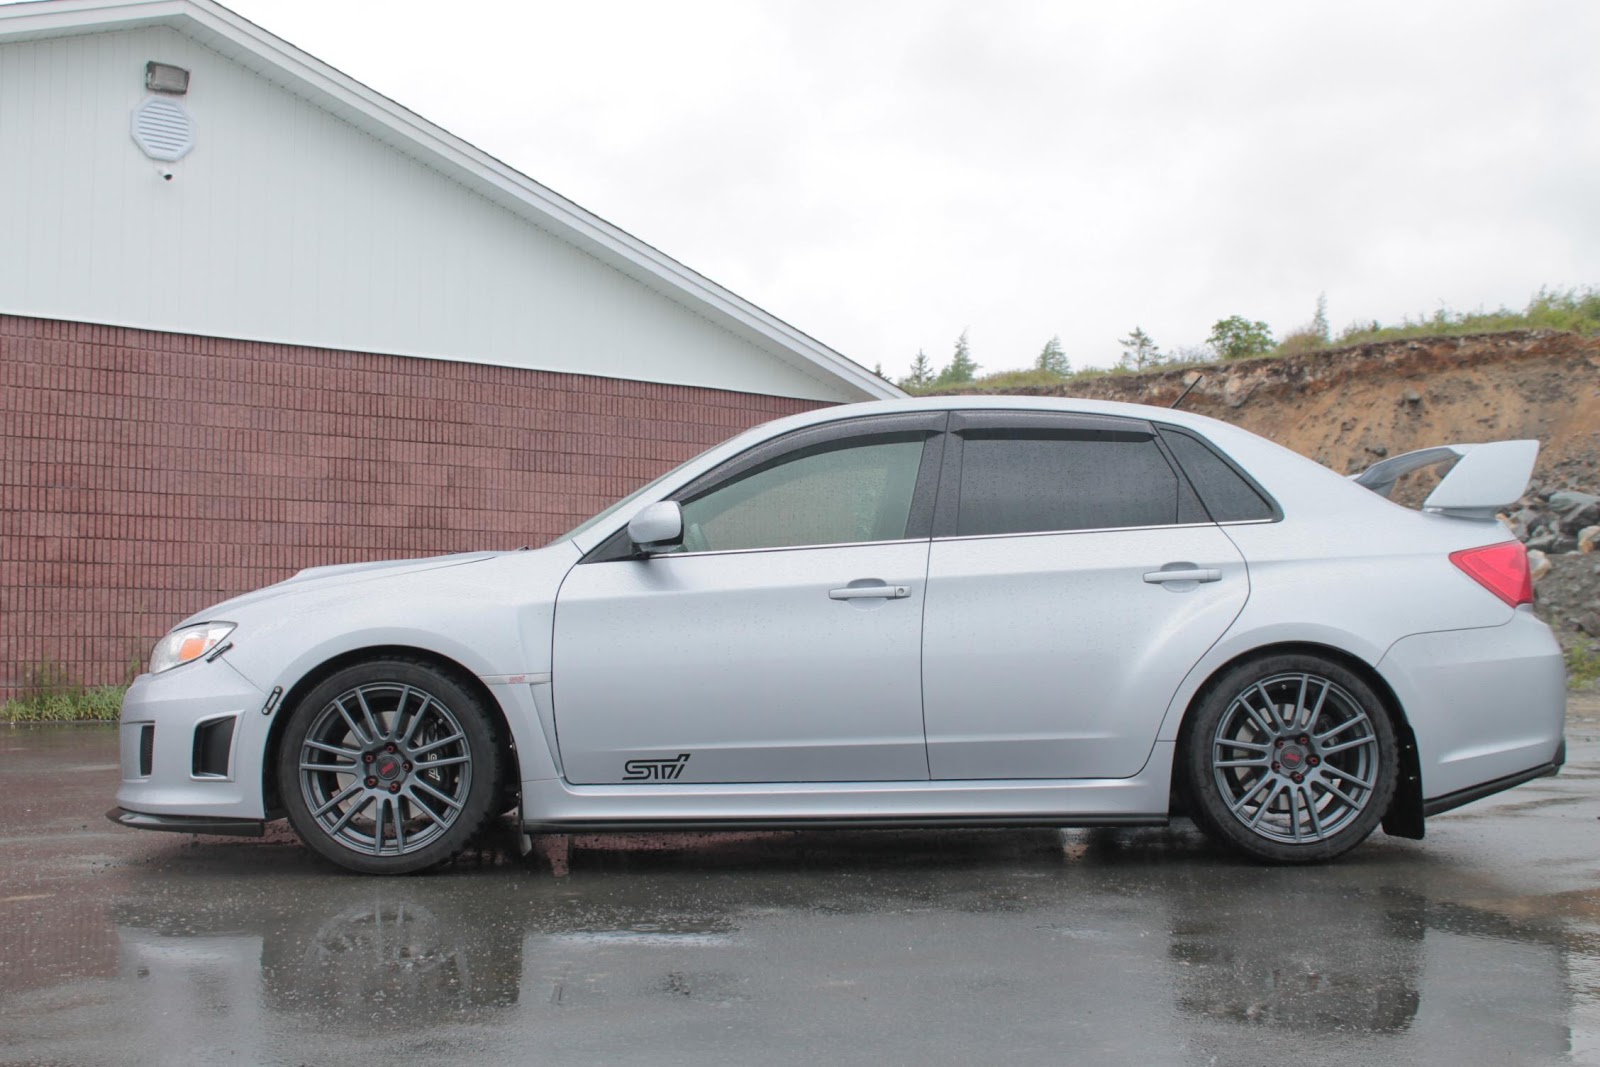
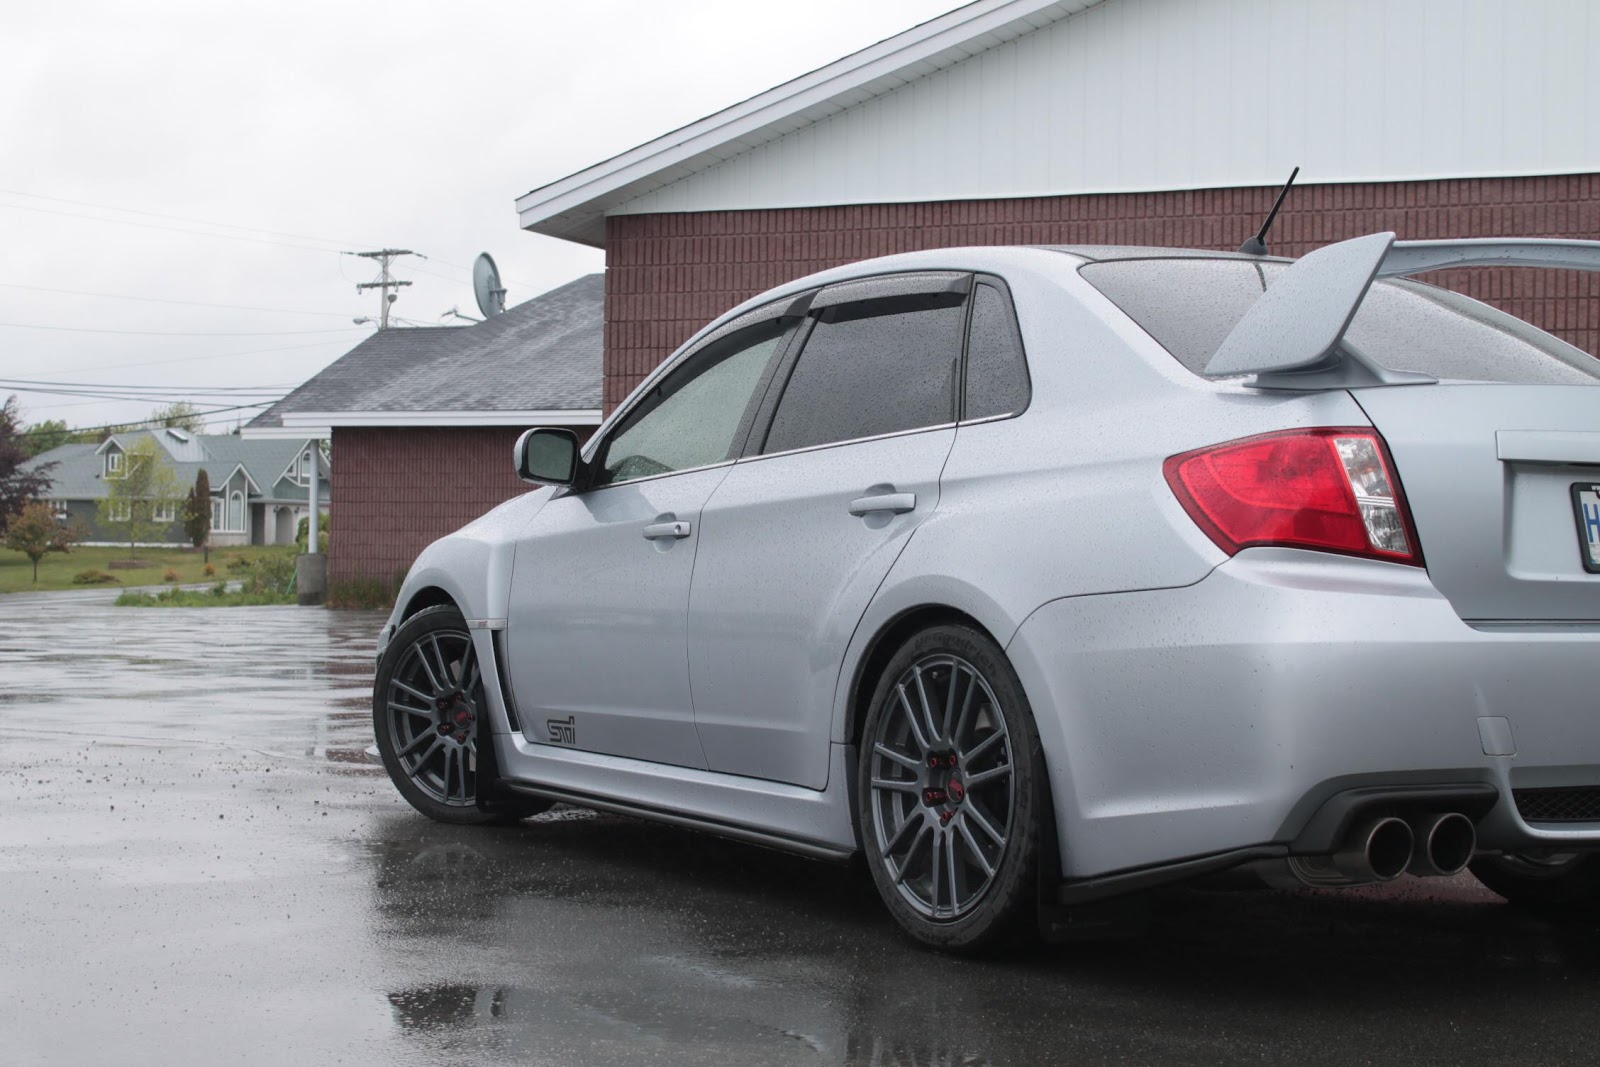
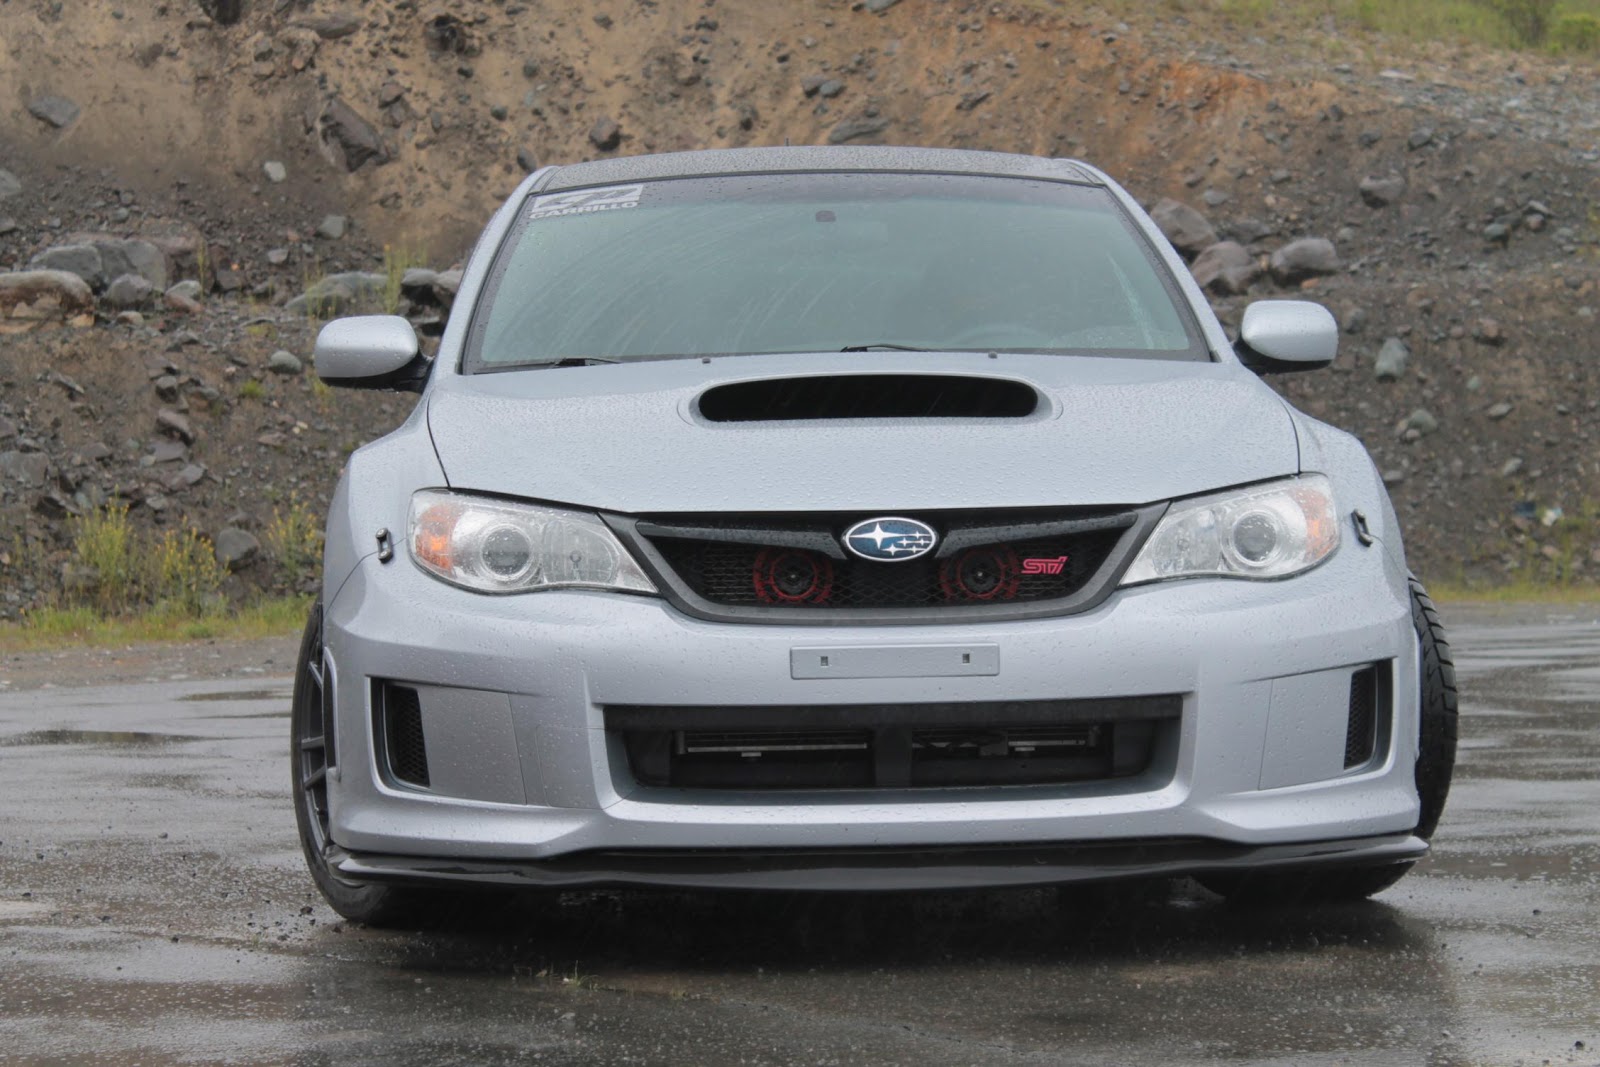
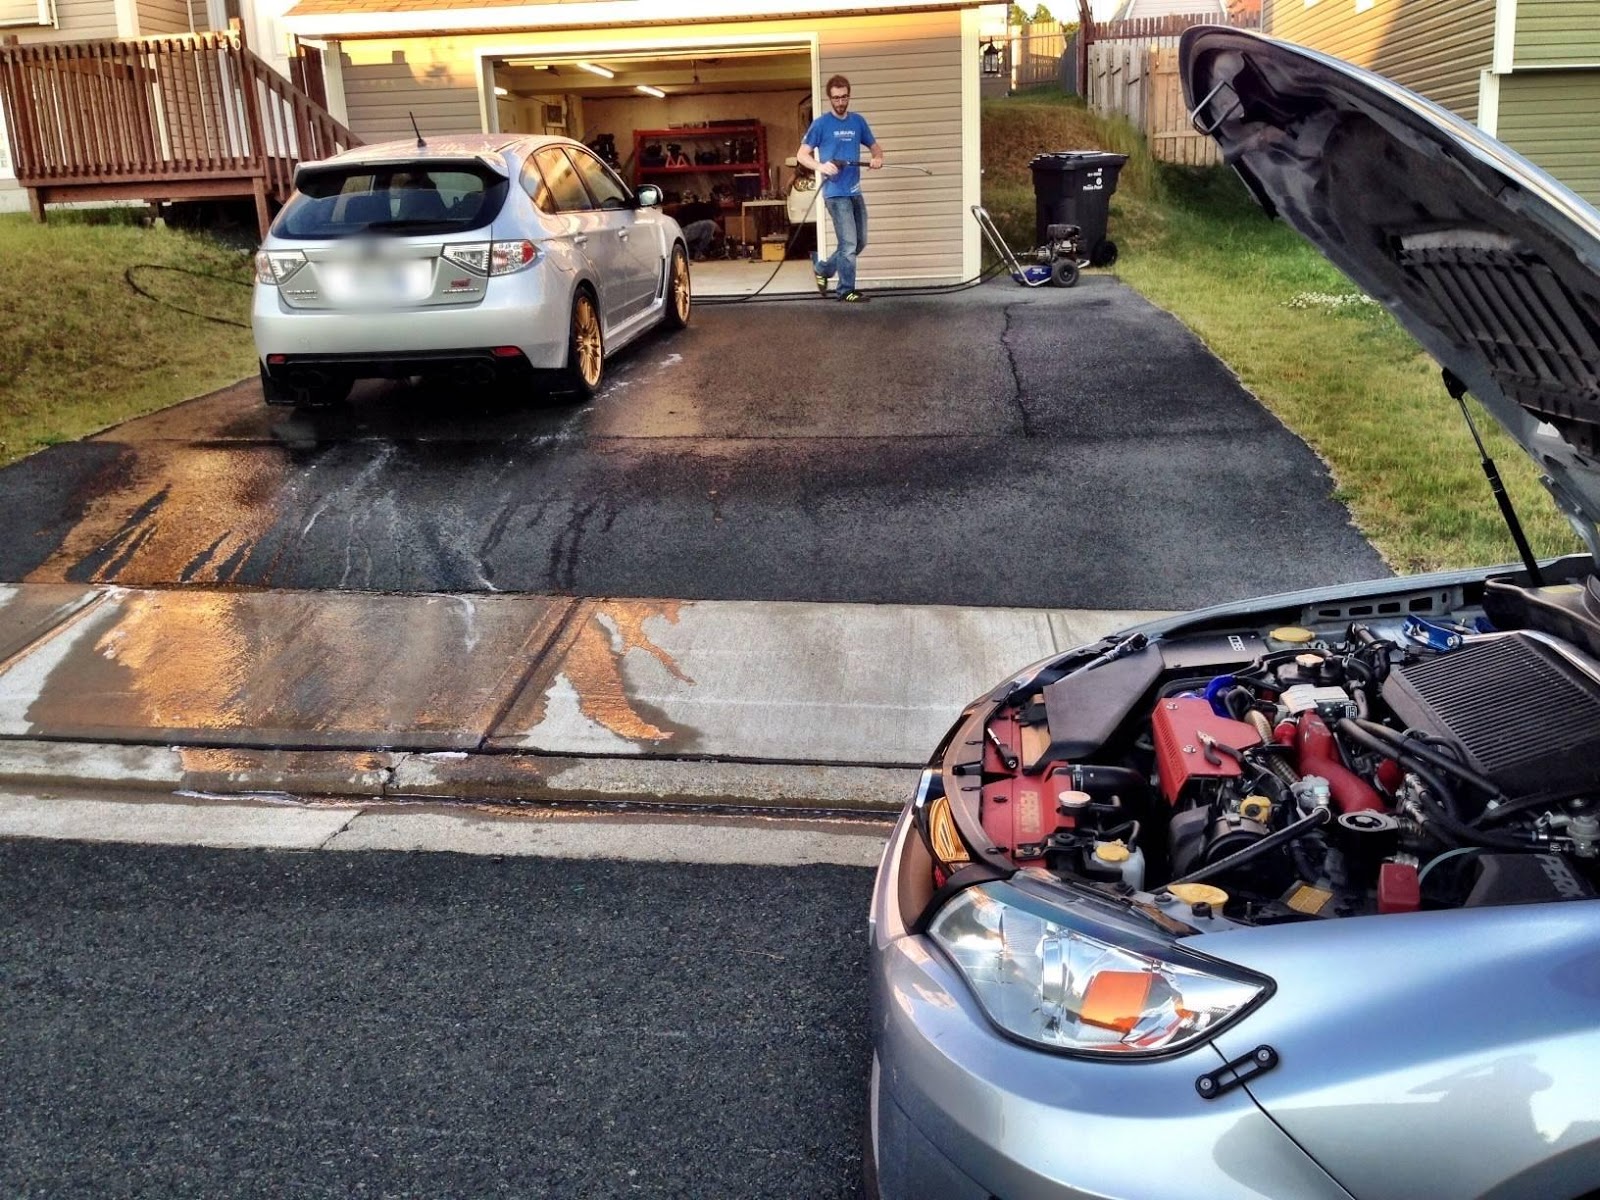
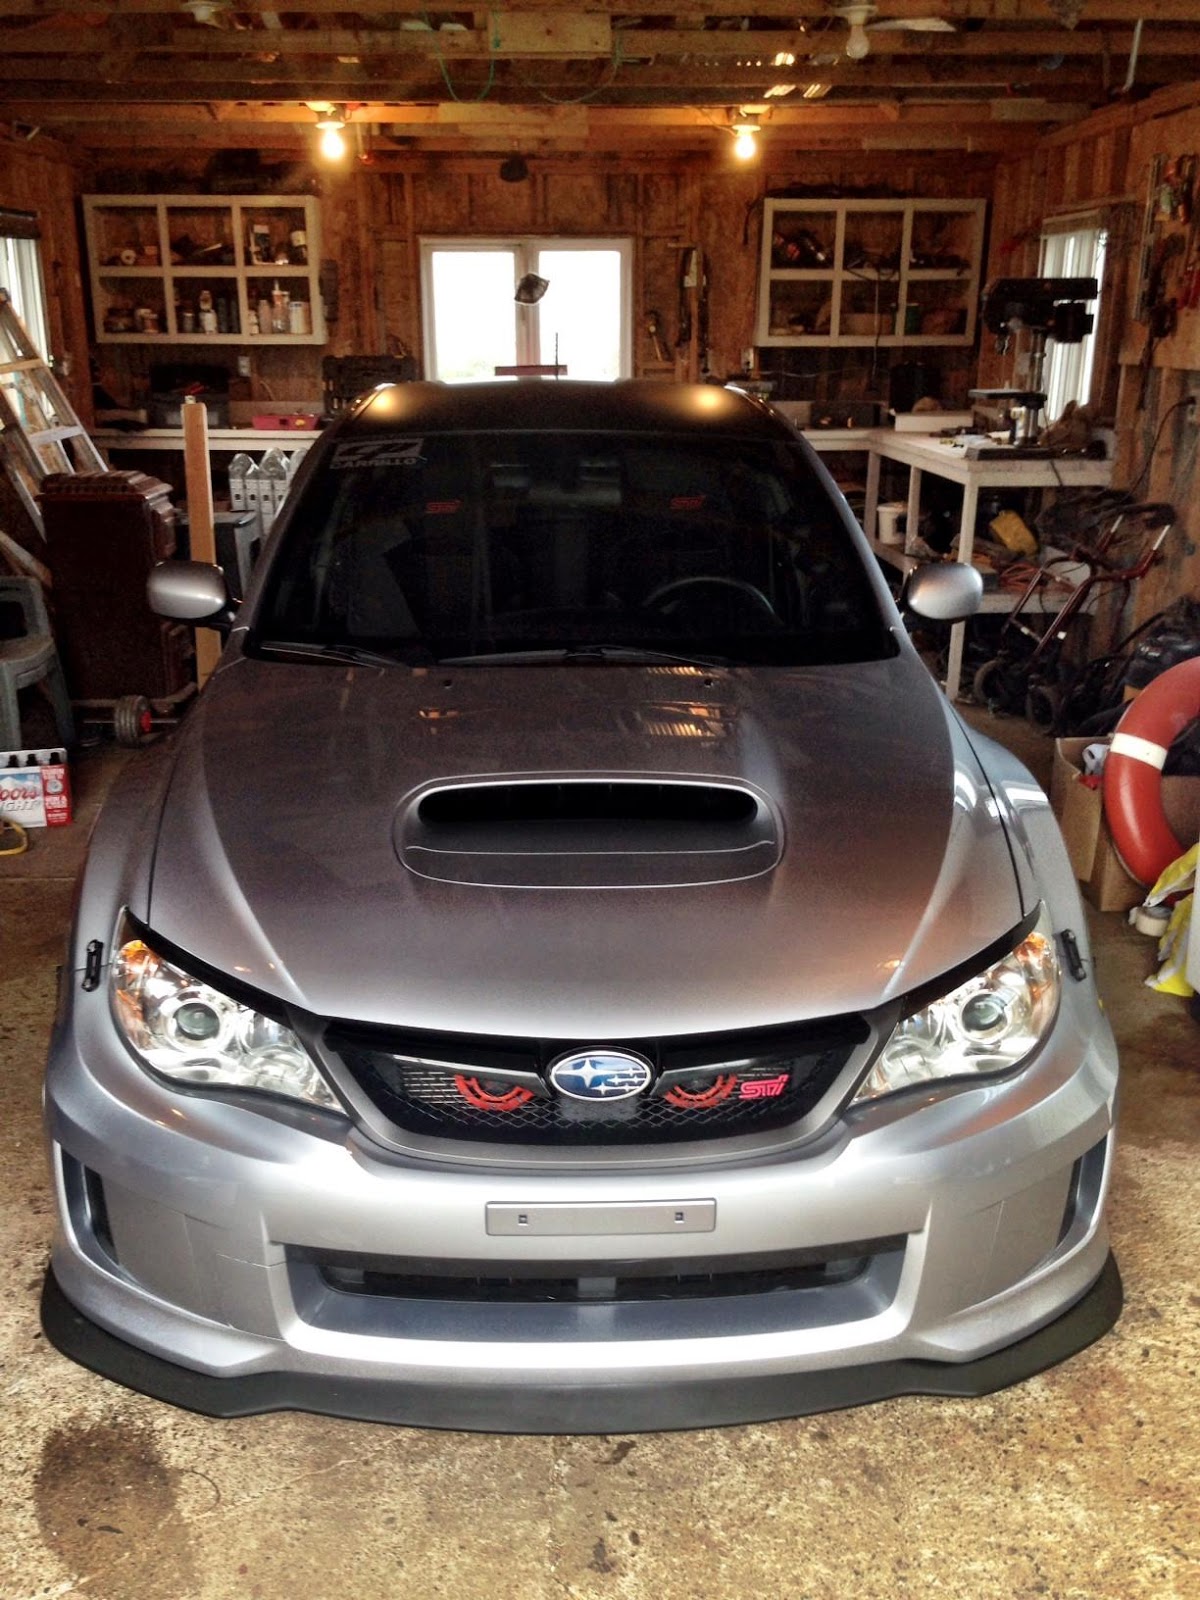
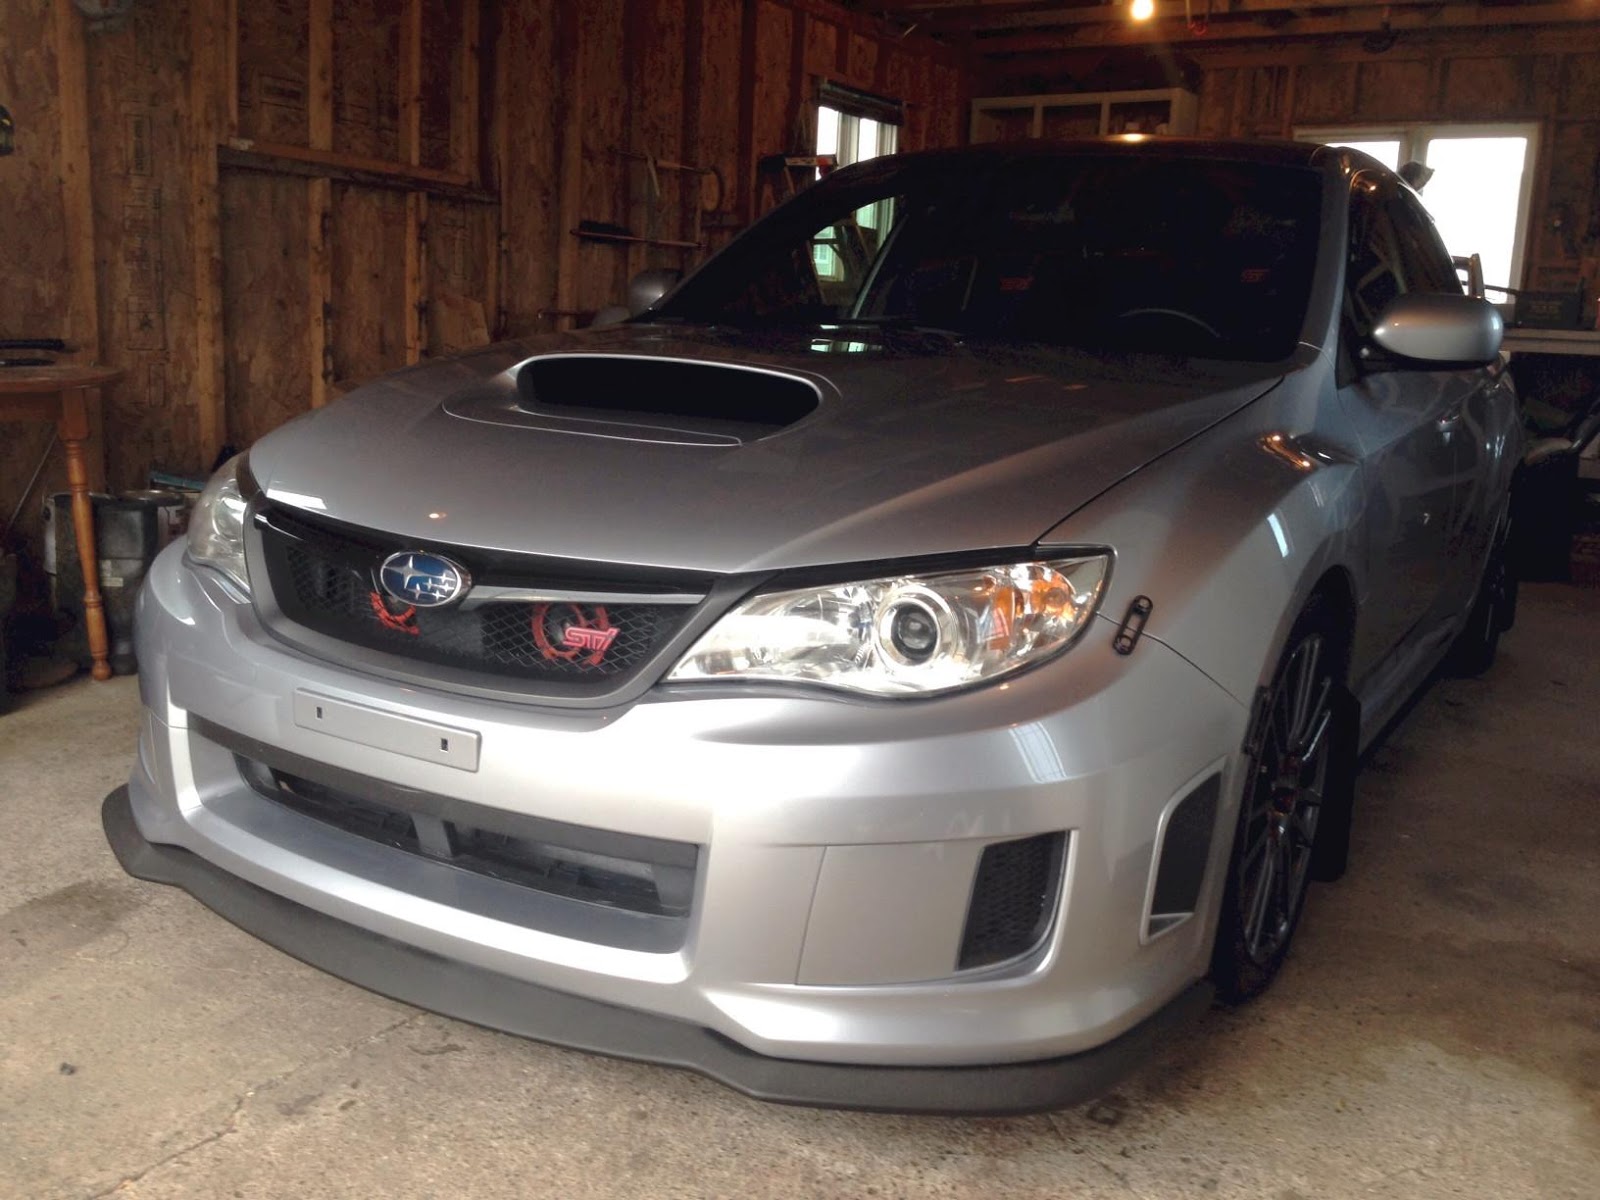
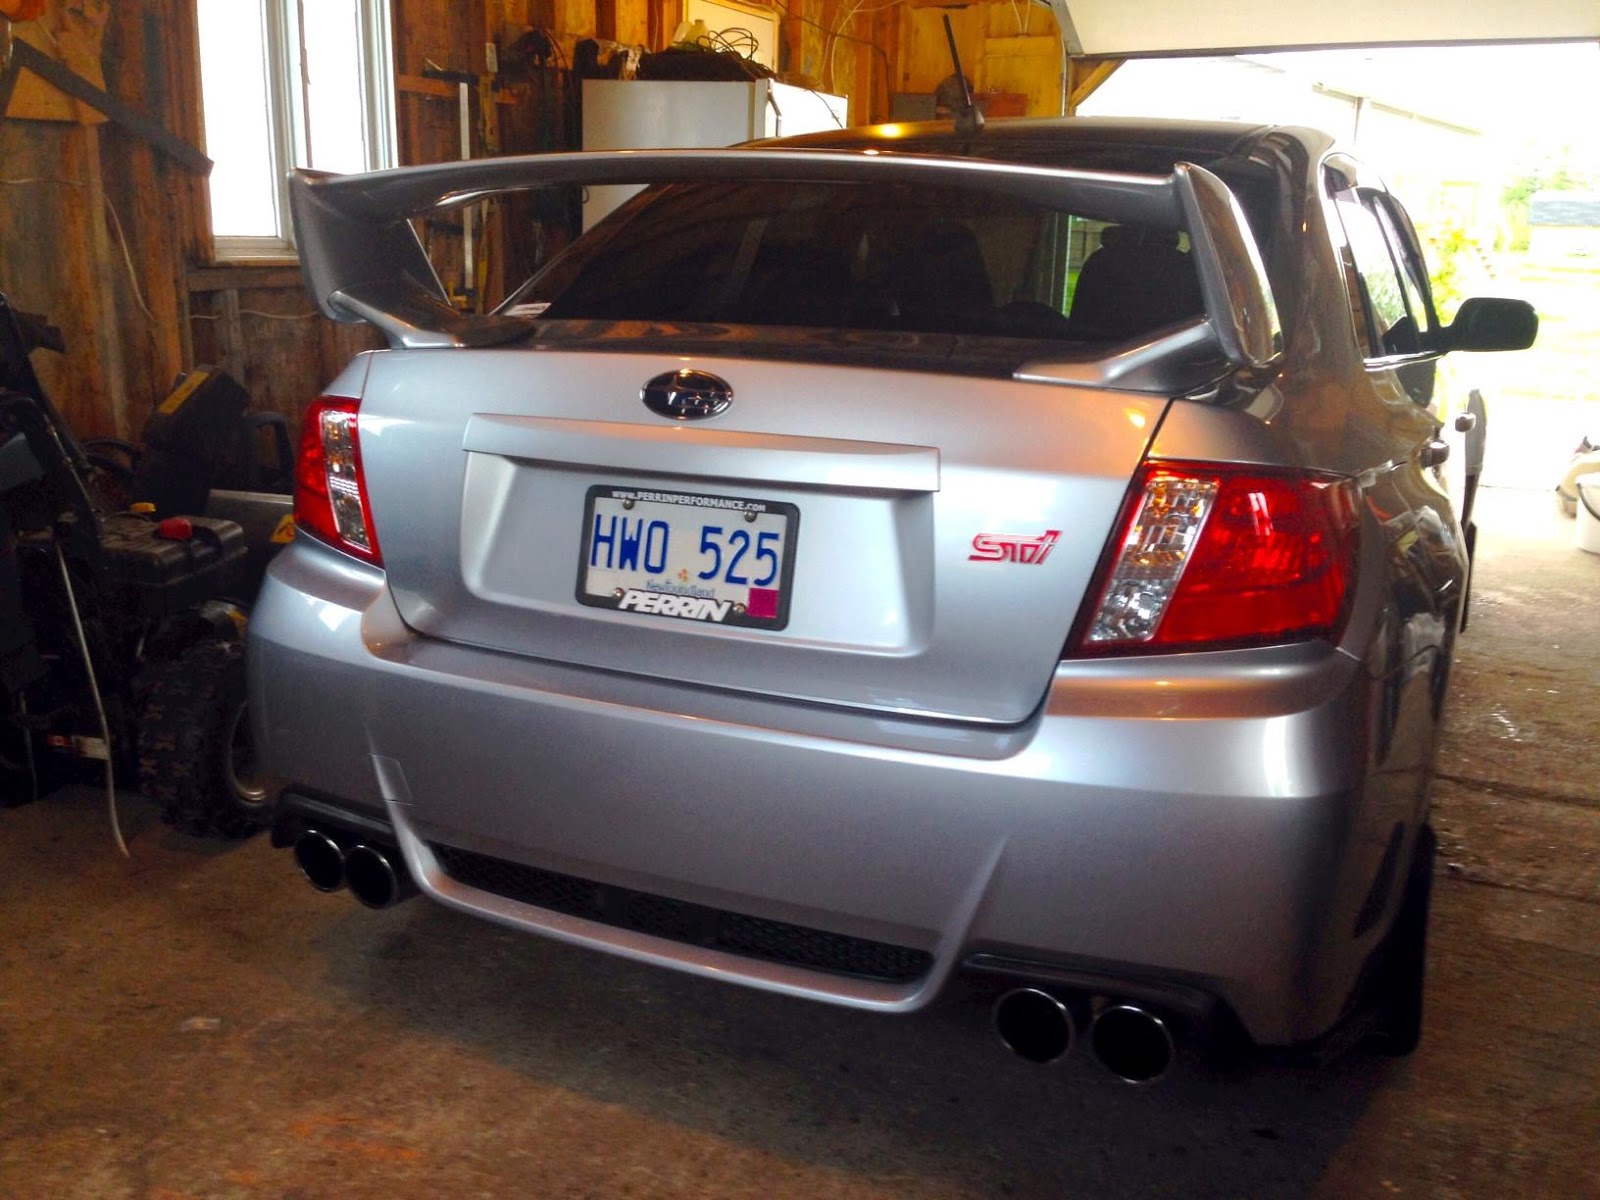
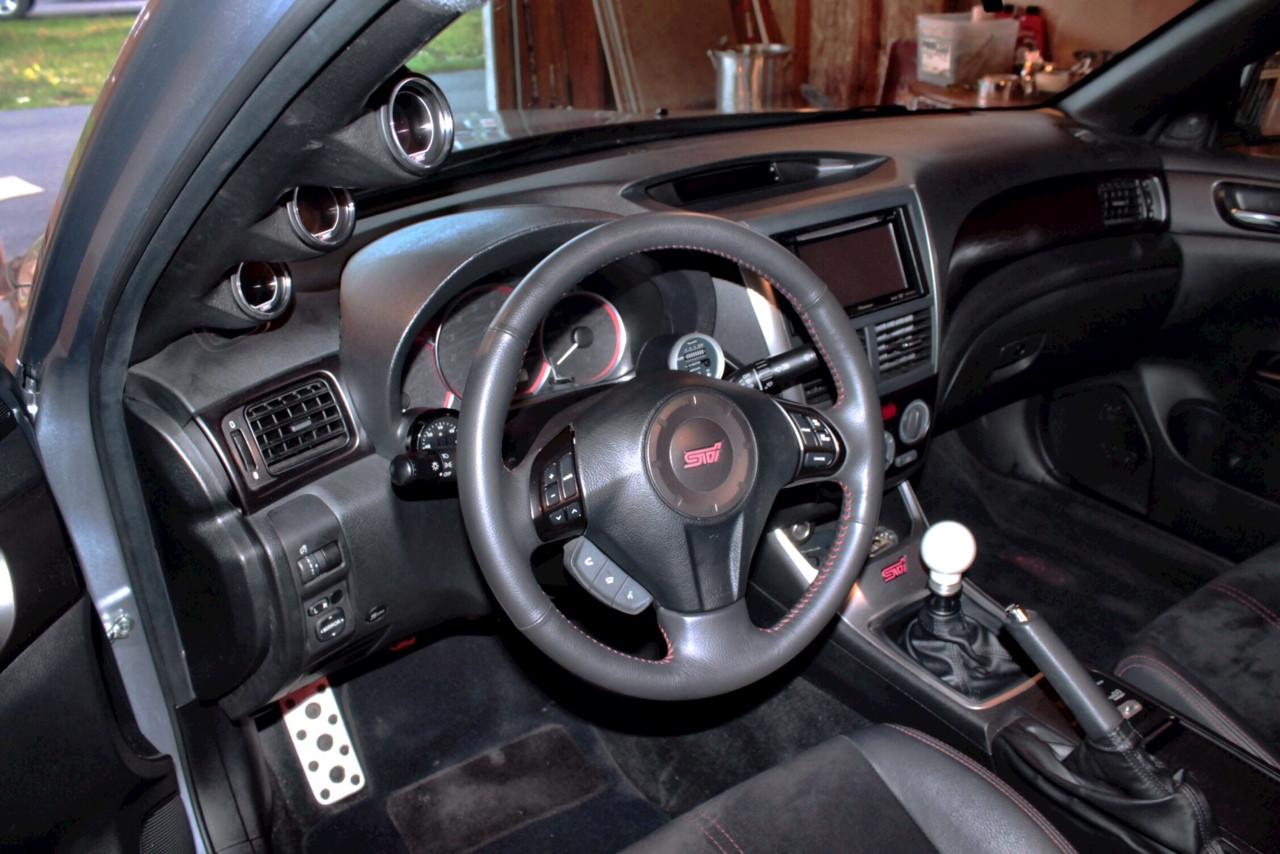
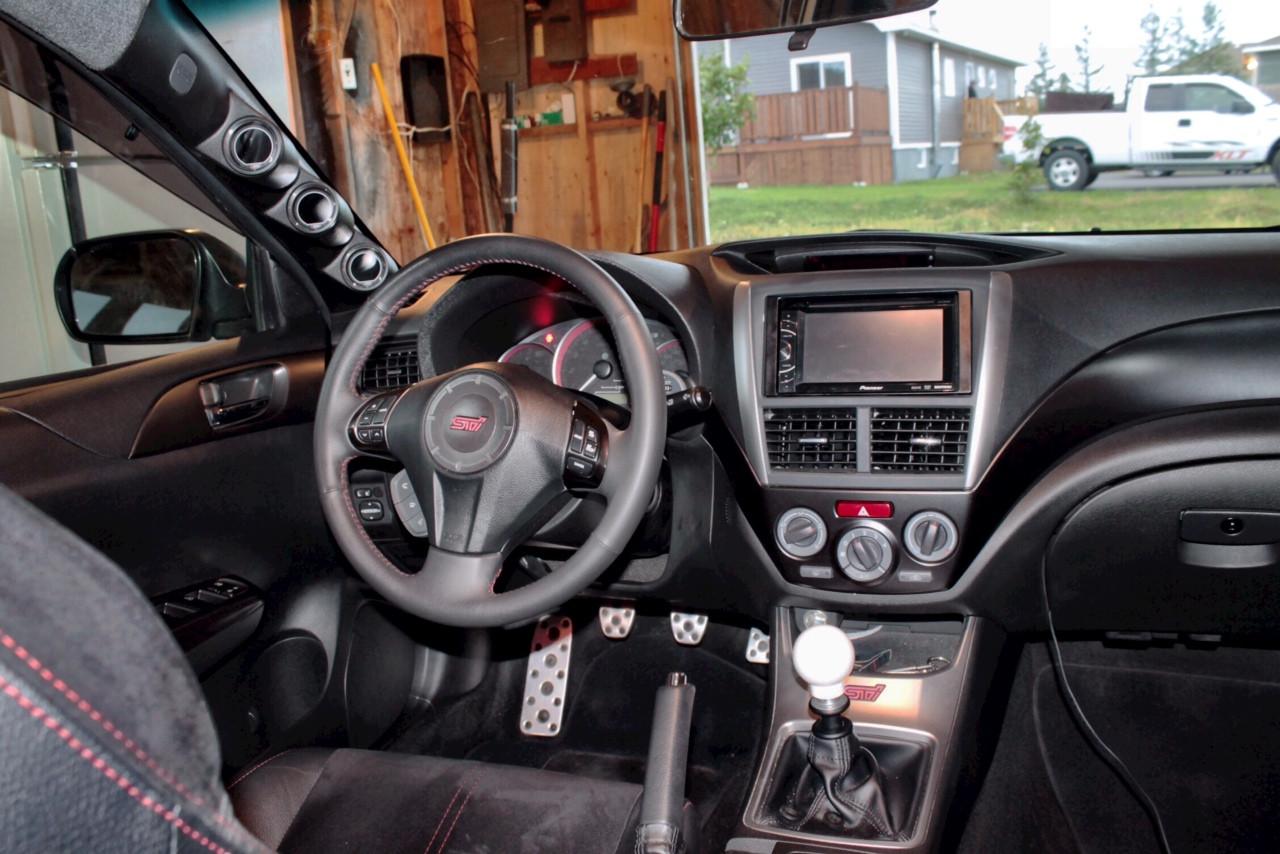
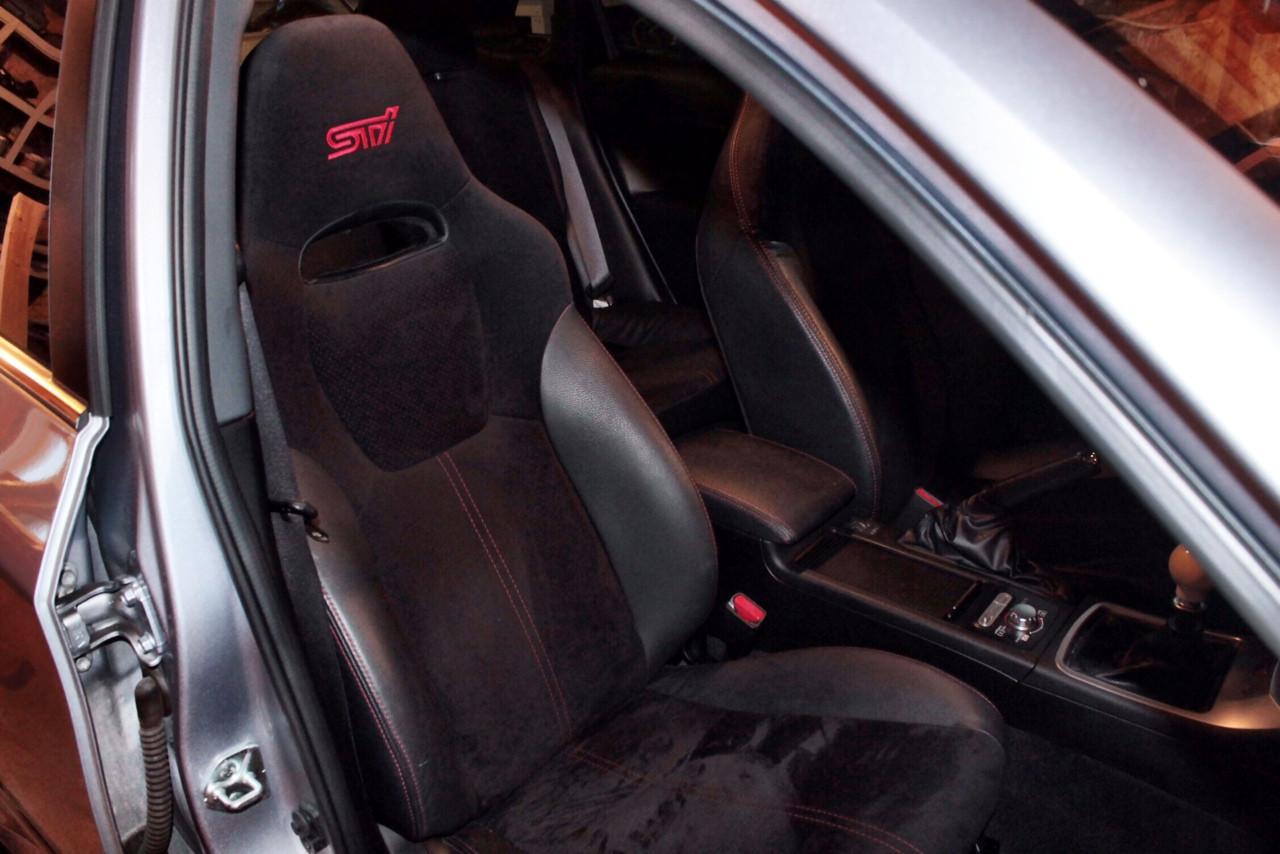
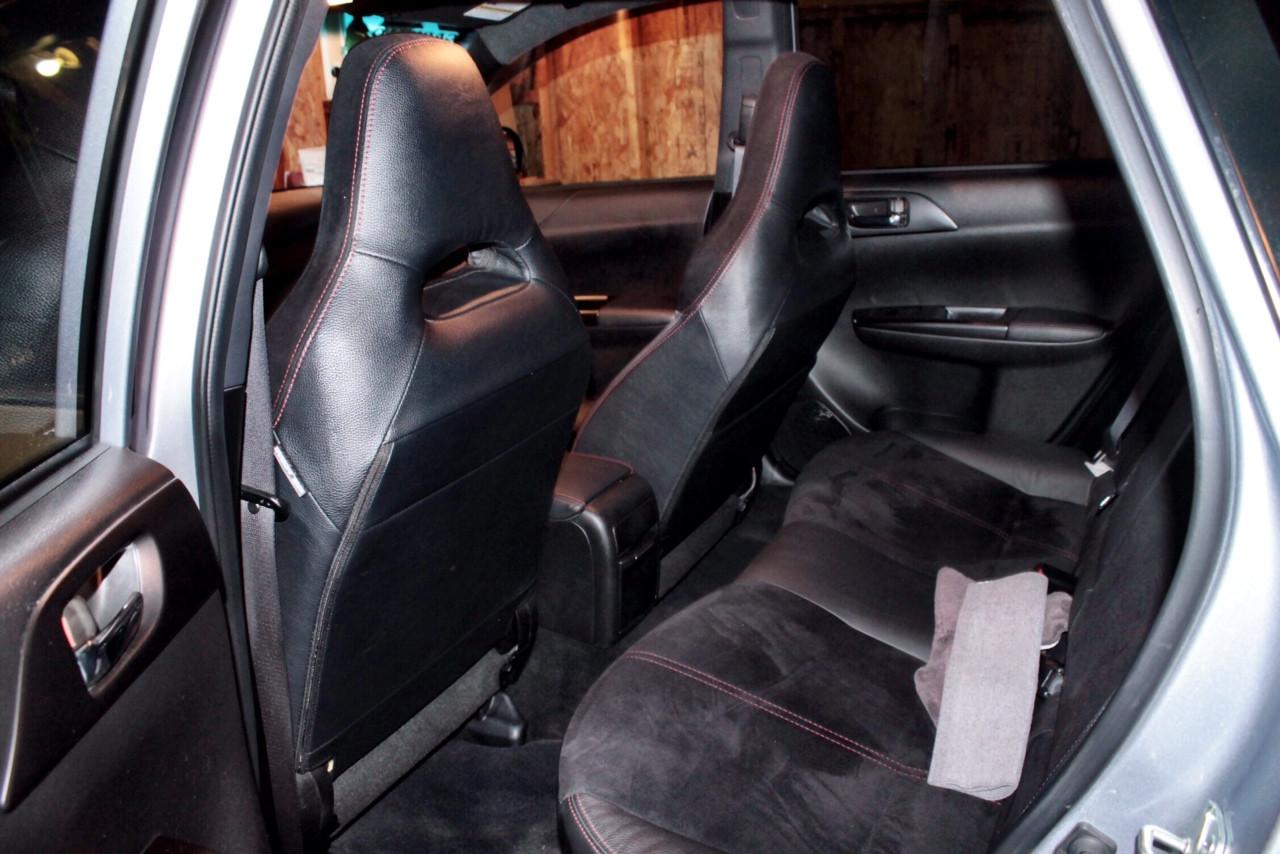
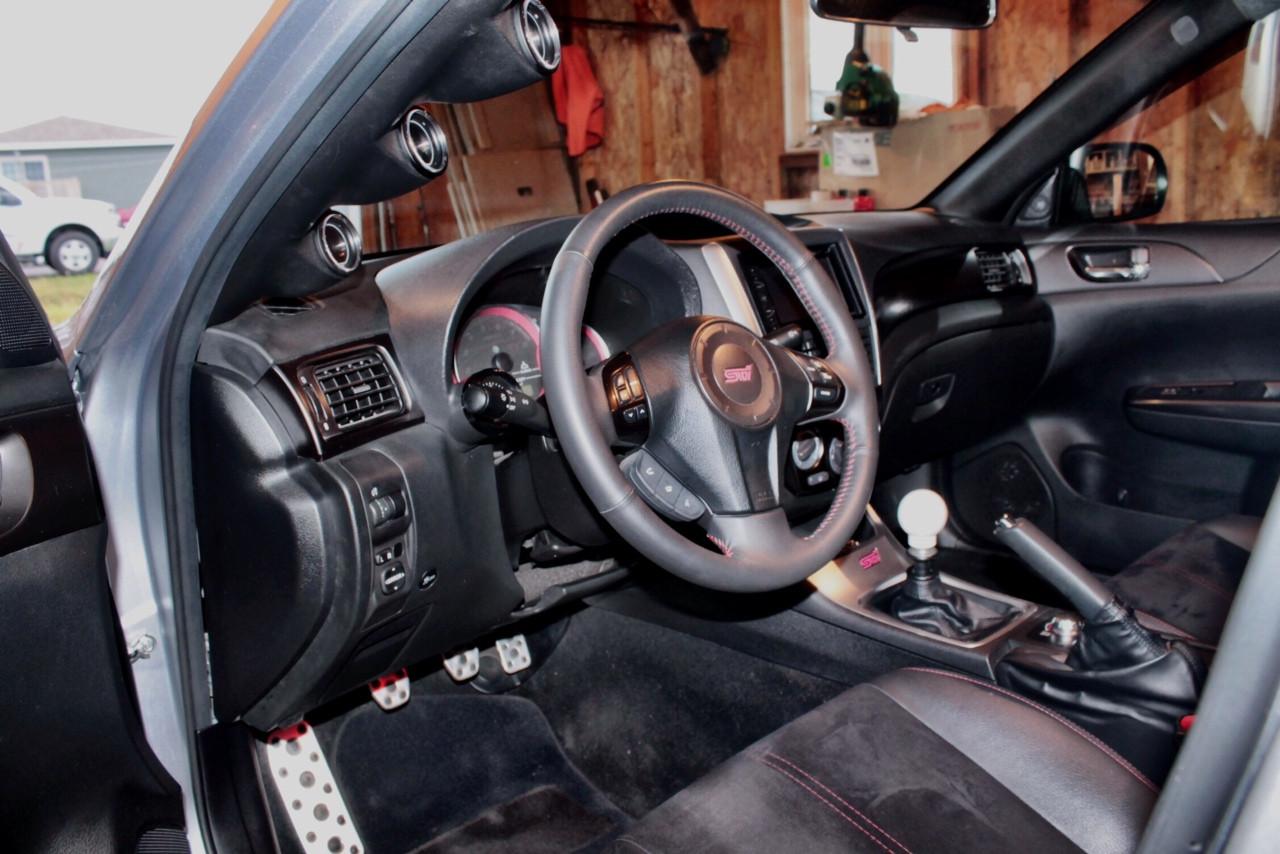
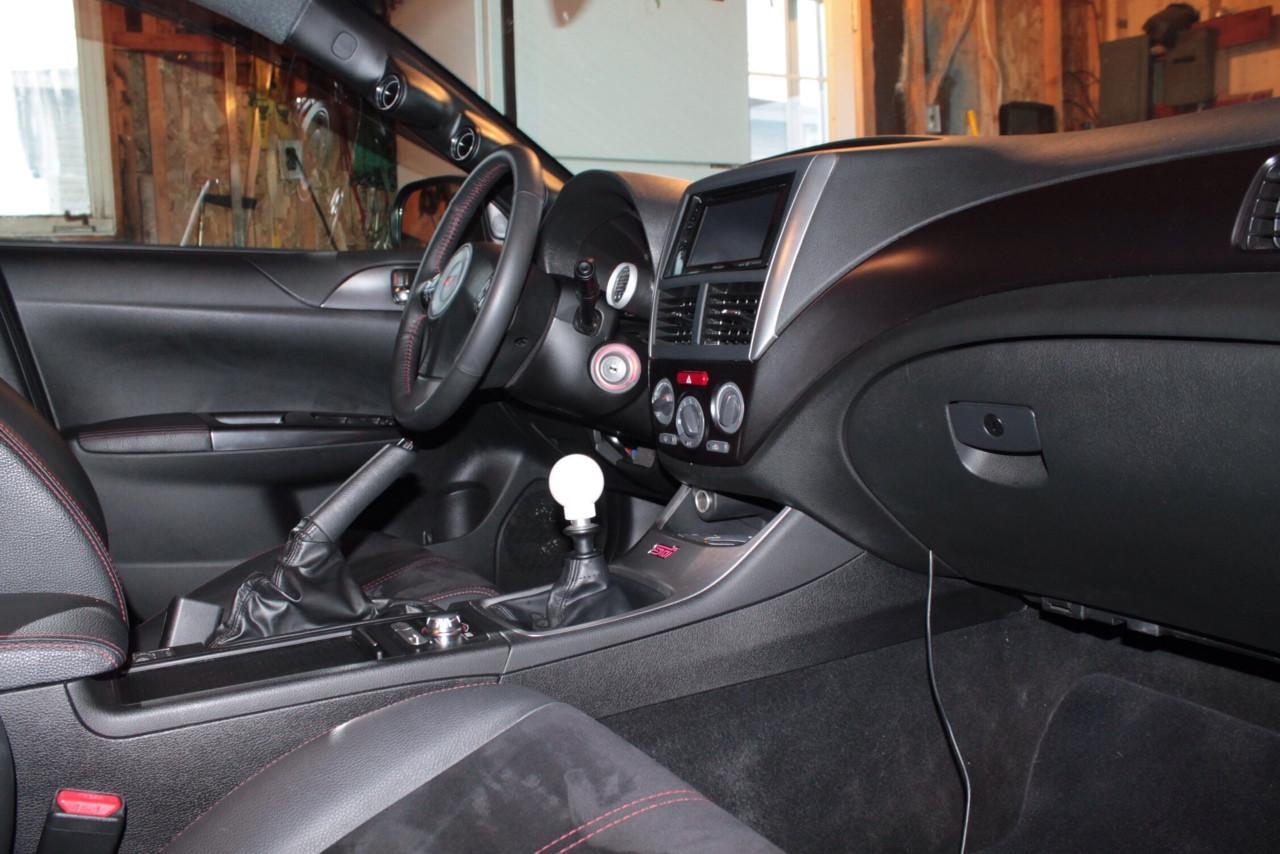
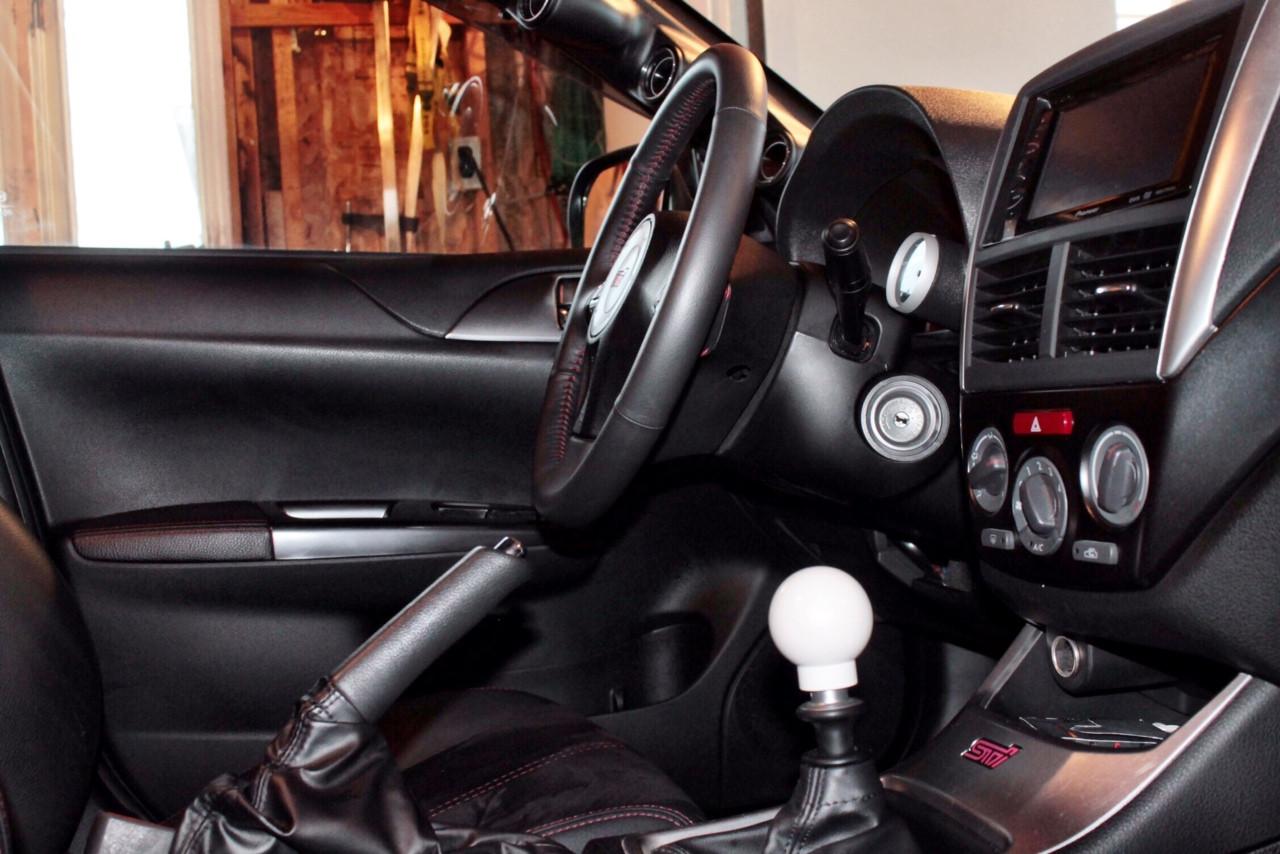
Here is some pics I took before I went to a car show. 13 hours wash/wax/clay bar and 3 step protection and also shampoo the interior. Pics dont do it justice.
Some interior shots
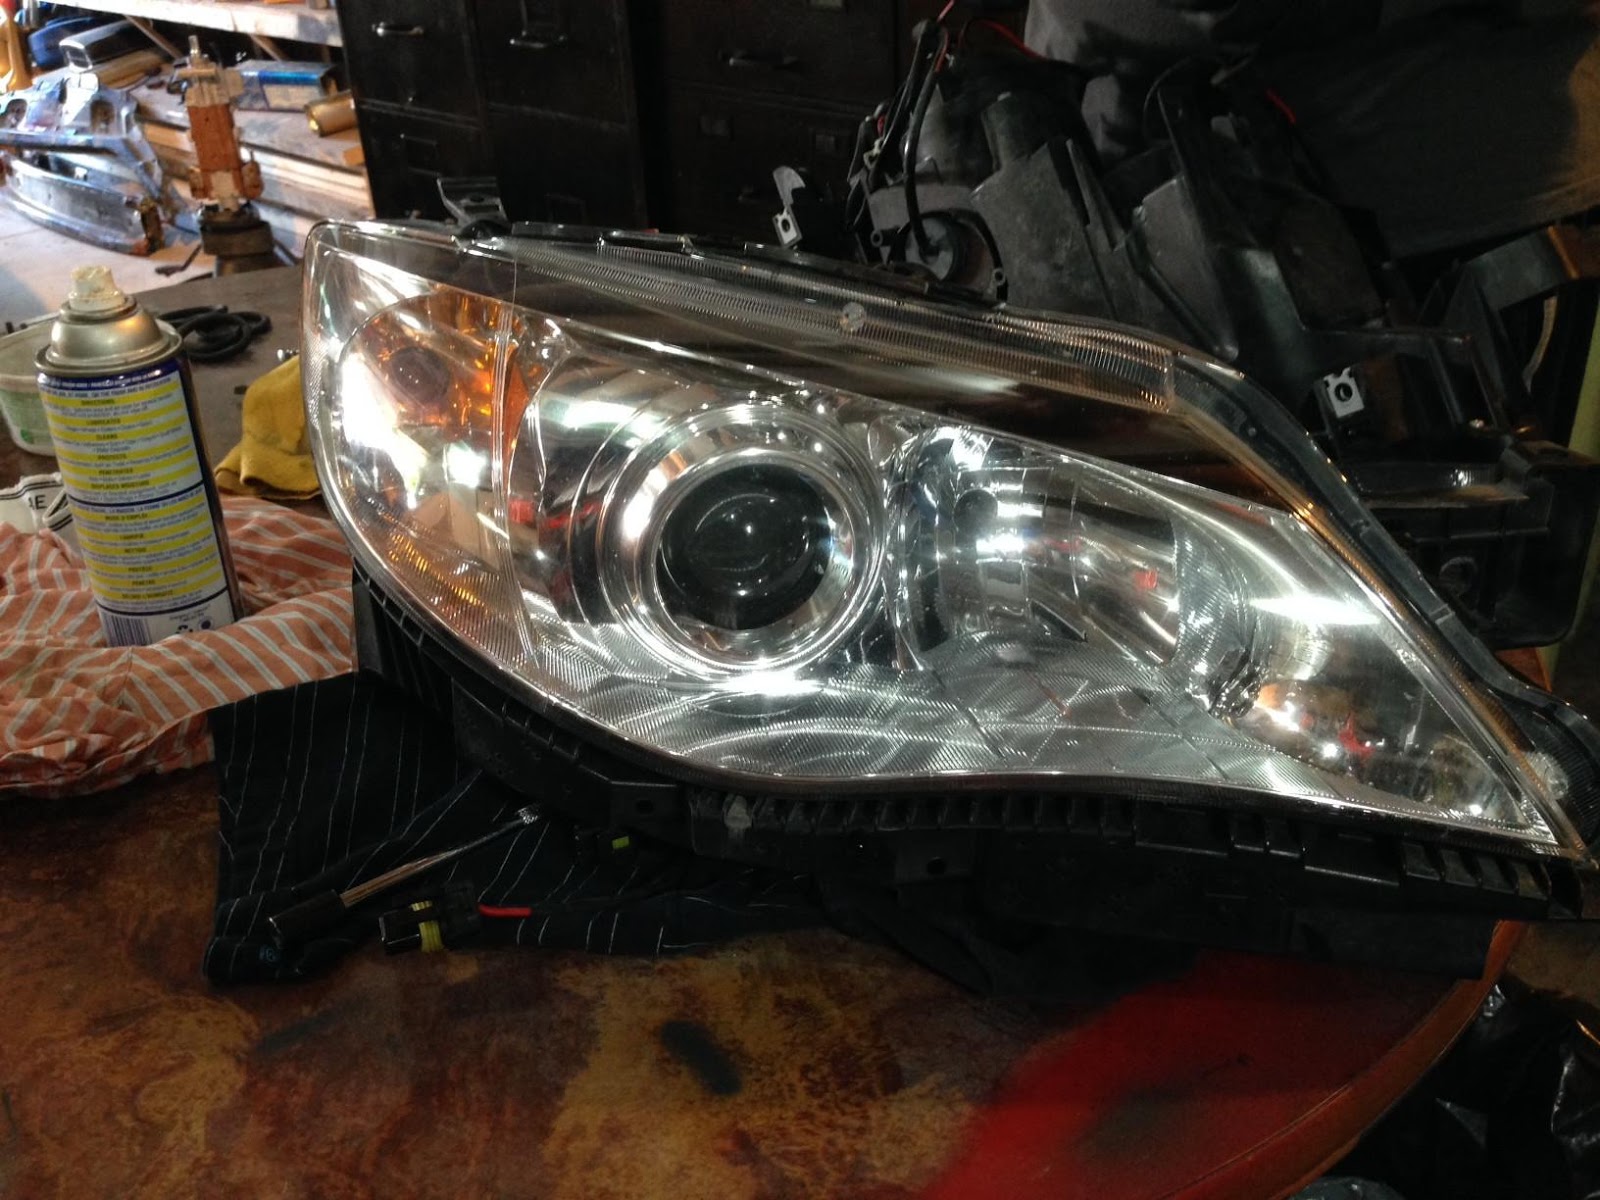
Then I did a little DIY and painted my headlights. So here is my write up. Hope you enjoy.
Here she is just started and the chrome HD
First step is to take the bumper off. So undo the top 4 push pins
Next undo the the 5 push pins in the wheel well. 2 on the bottom and 3 going up the side.
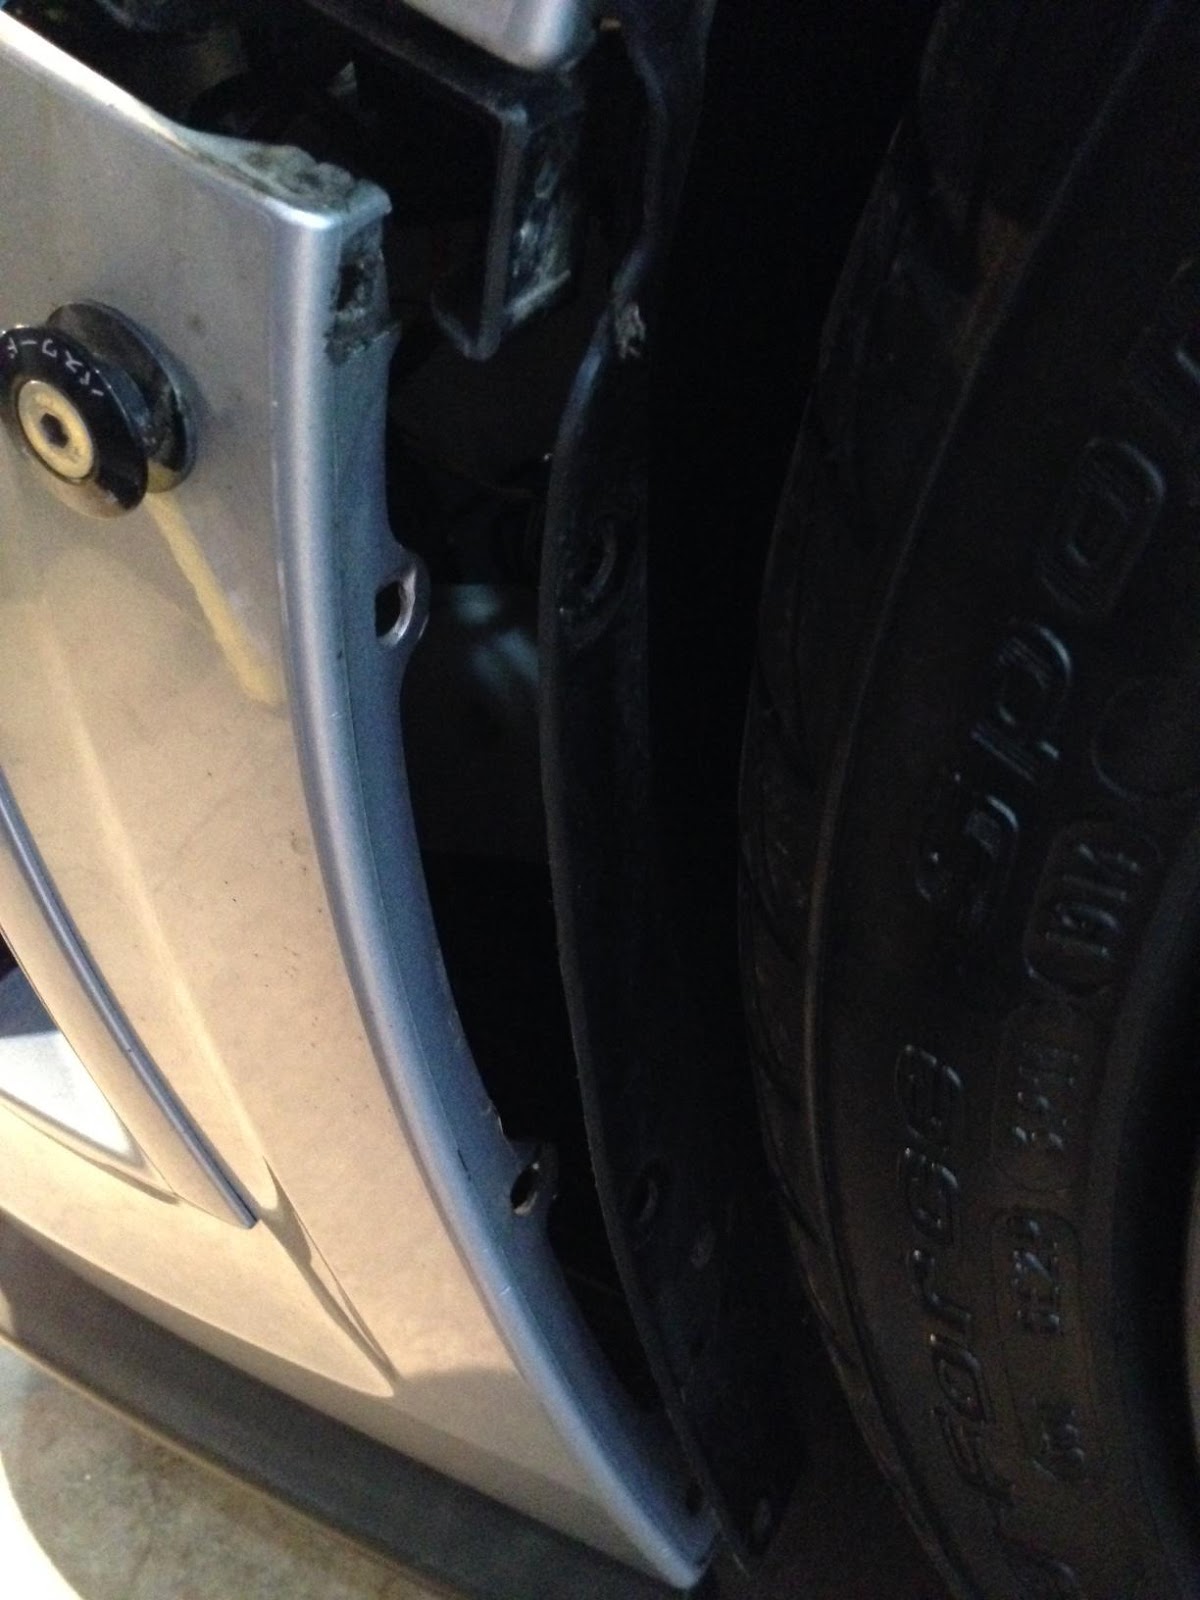
Then haul out on the bumper to remove it from the clips.
Then just remove the bumper and put it to one side out of the way. Cover it with a blanket if your going to be painting in the same area.
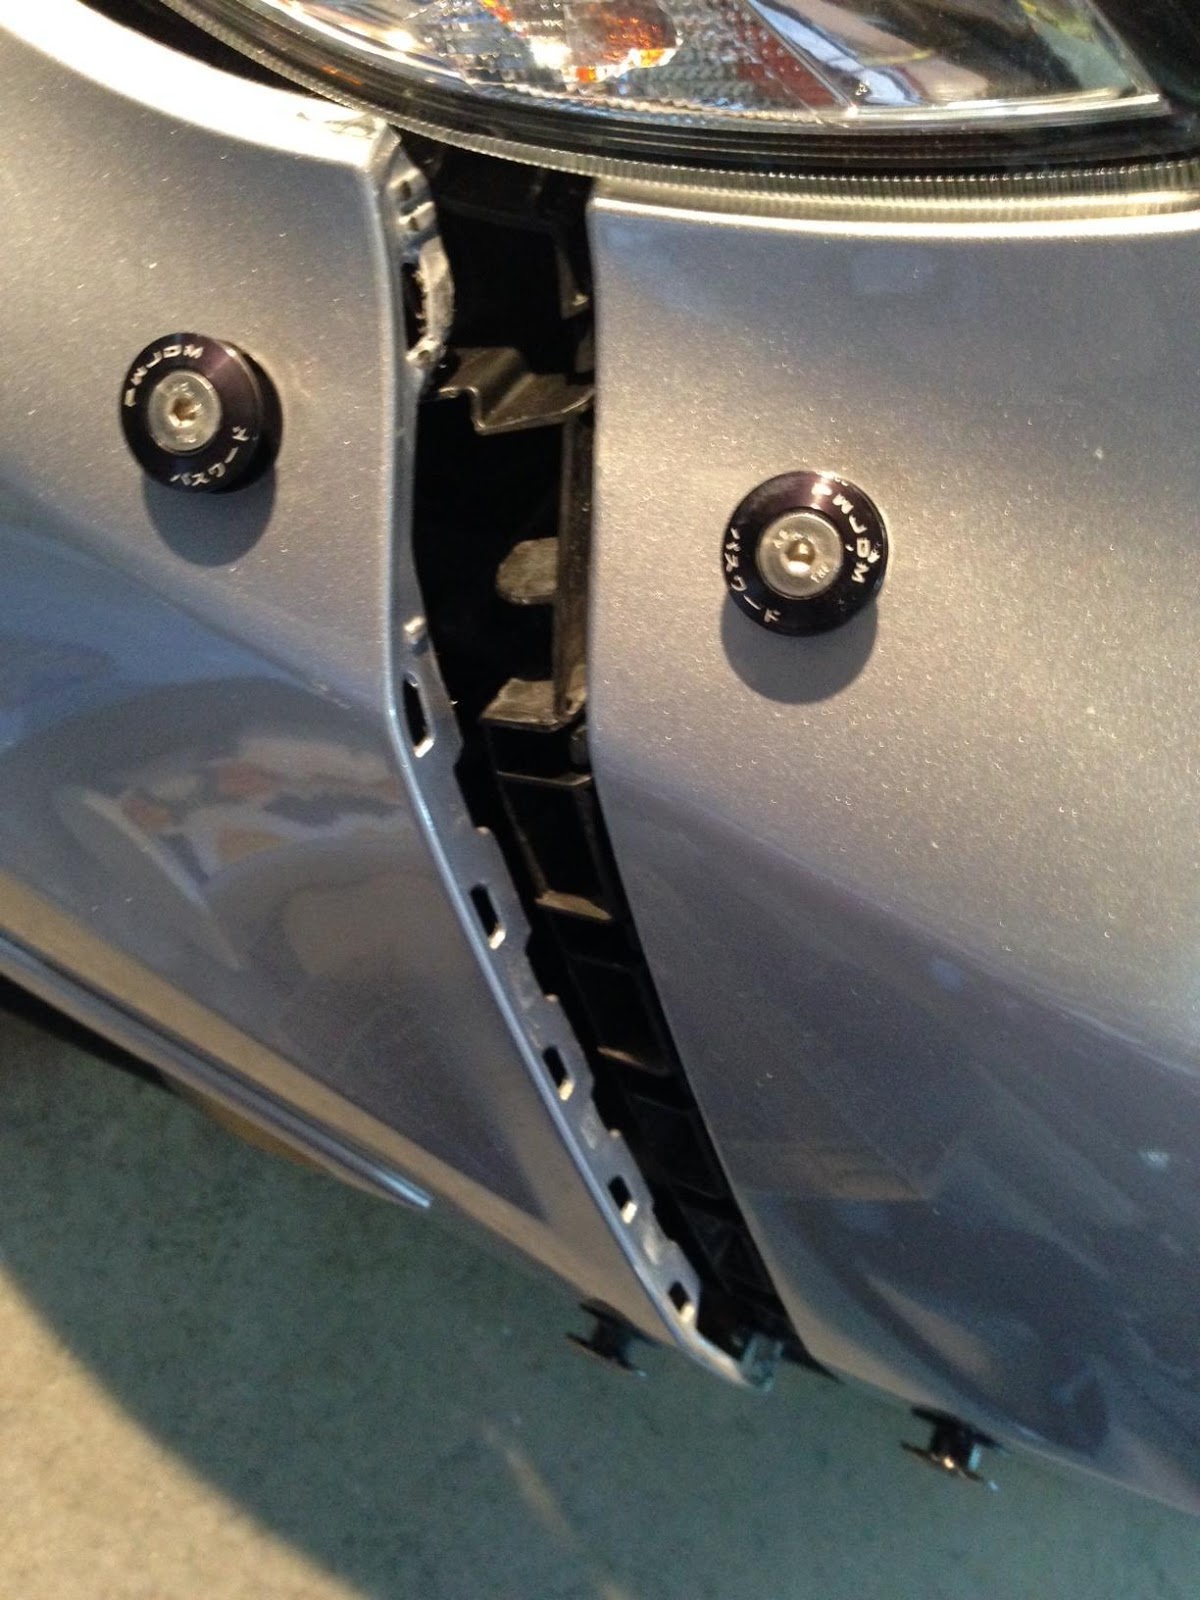
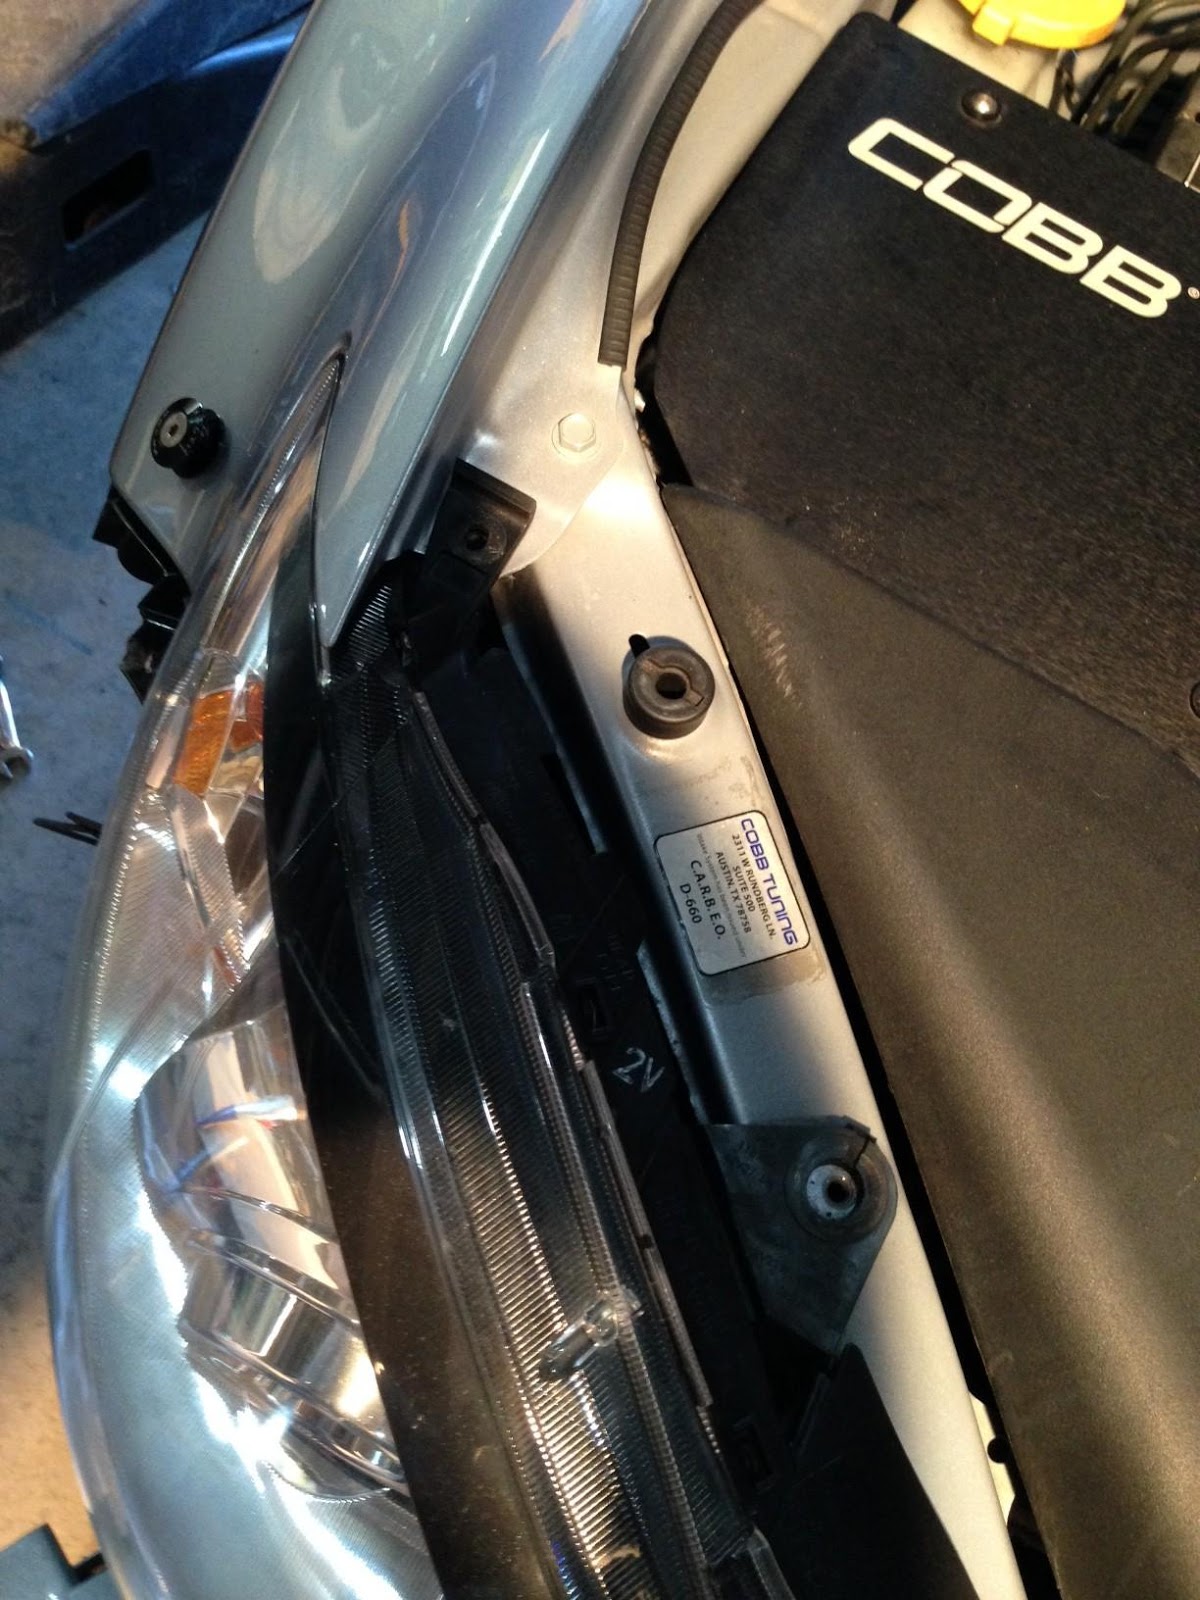
Next is to remove the headlights. This is also not hard to do. There are 5 10mm bolts that you have to remove.
First one is on top of the HD.
Next there is one close to the bottom corner going towards the middle of the car.
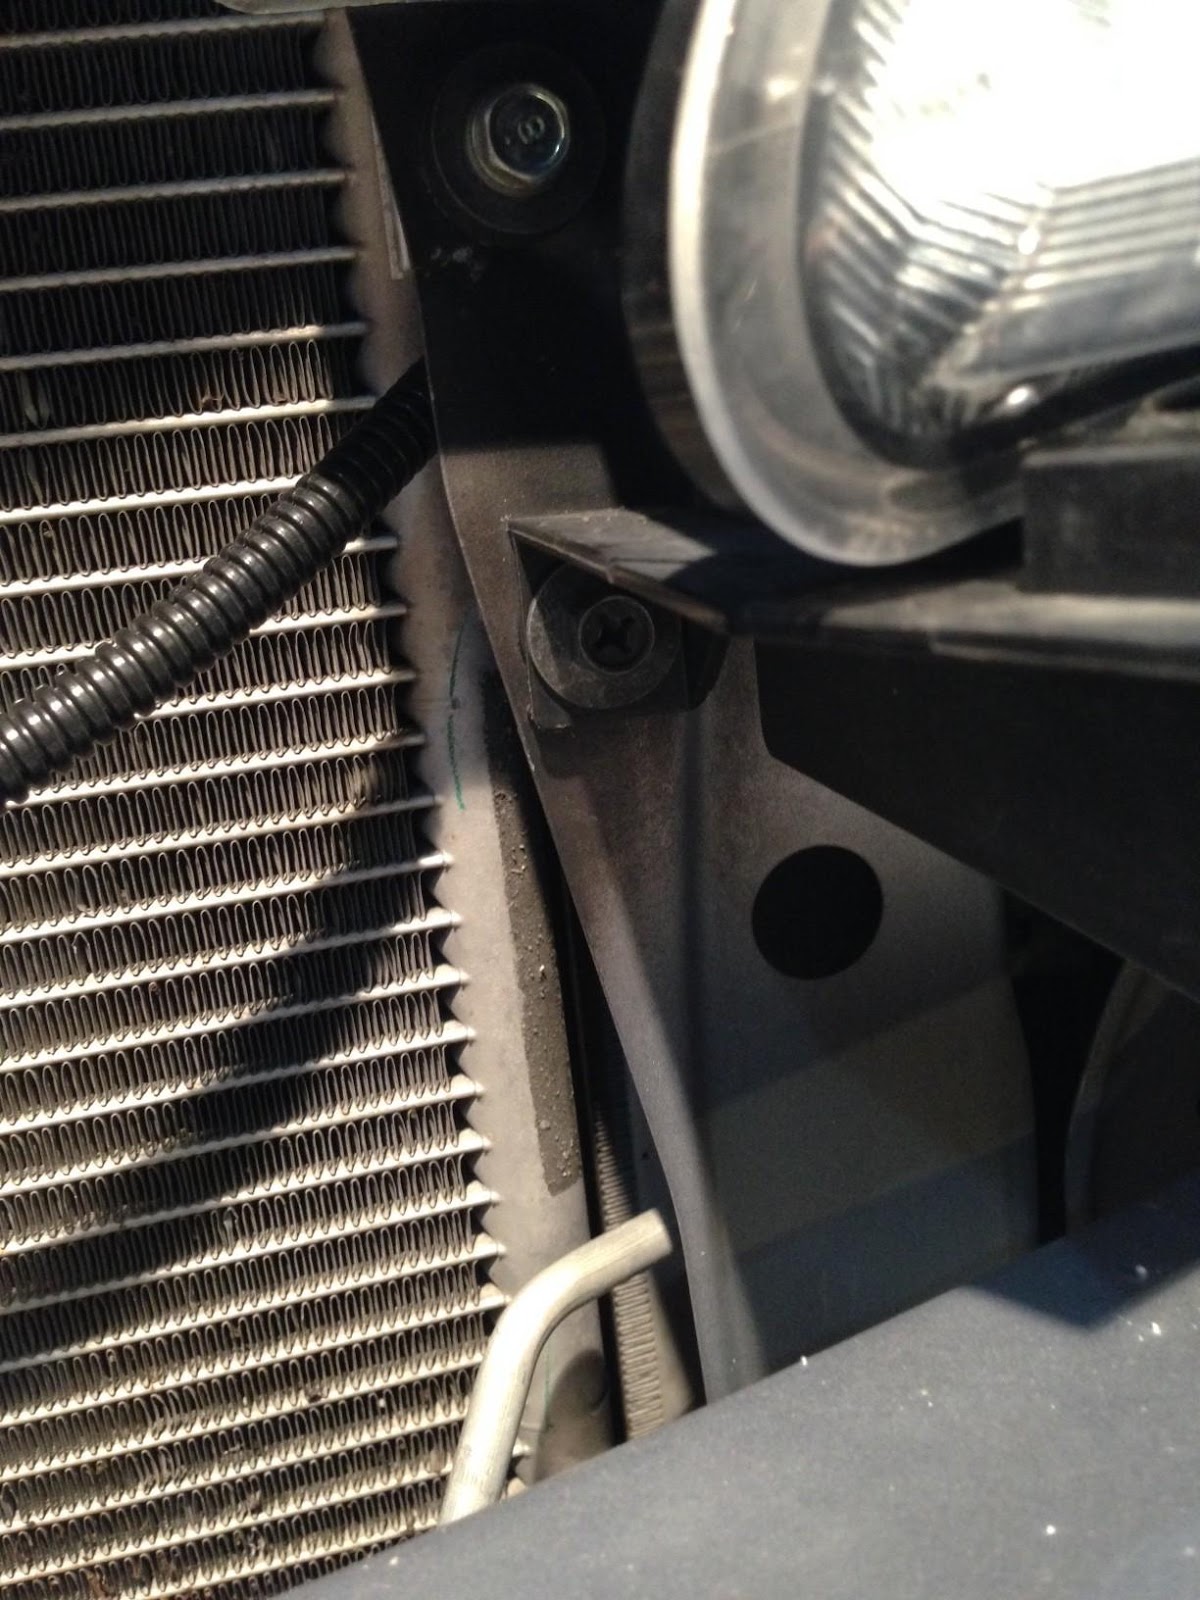
Then there is one on the top of the corner going towards the middle of the car.
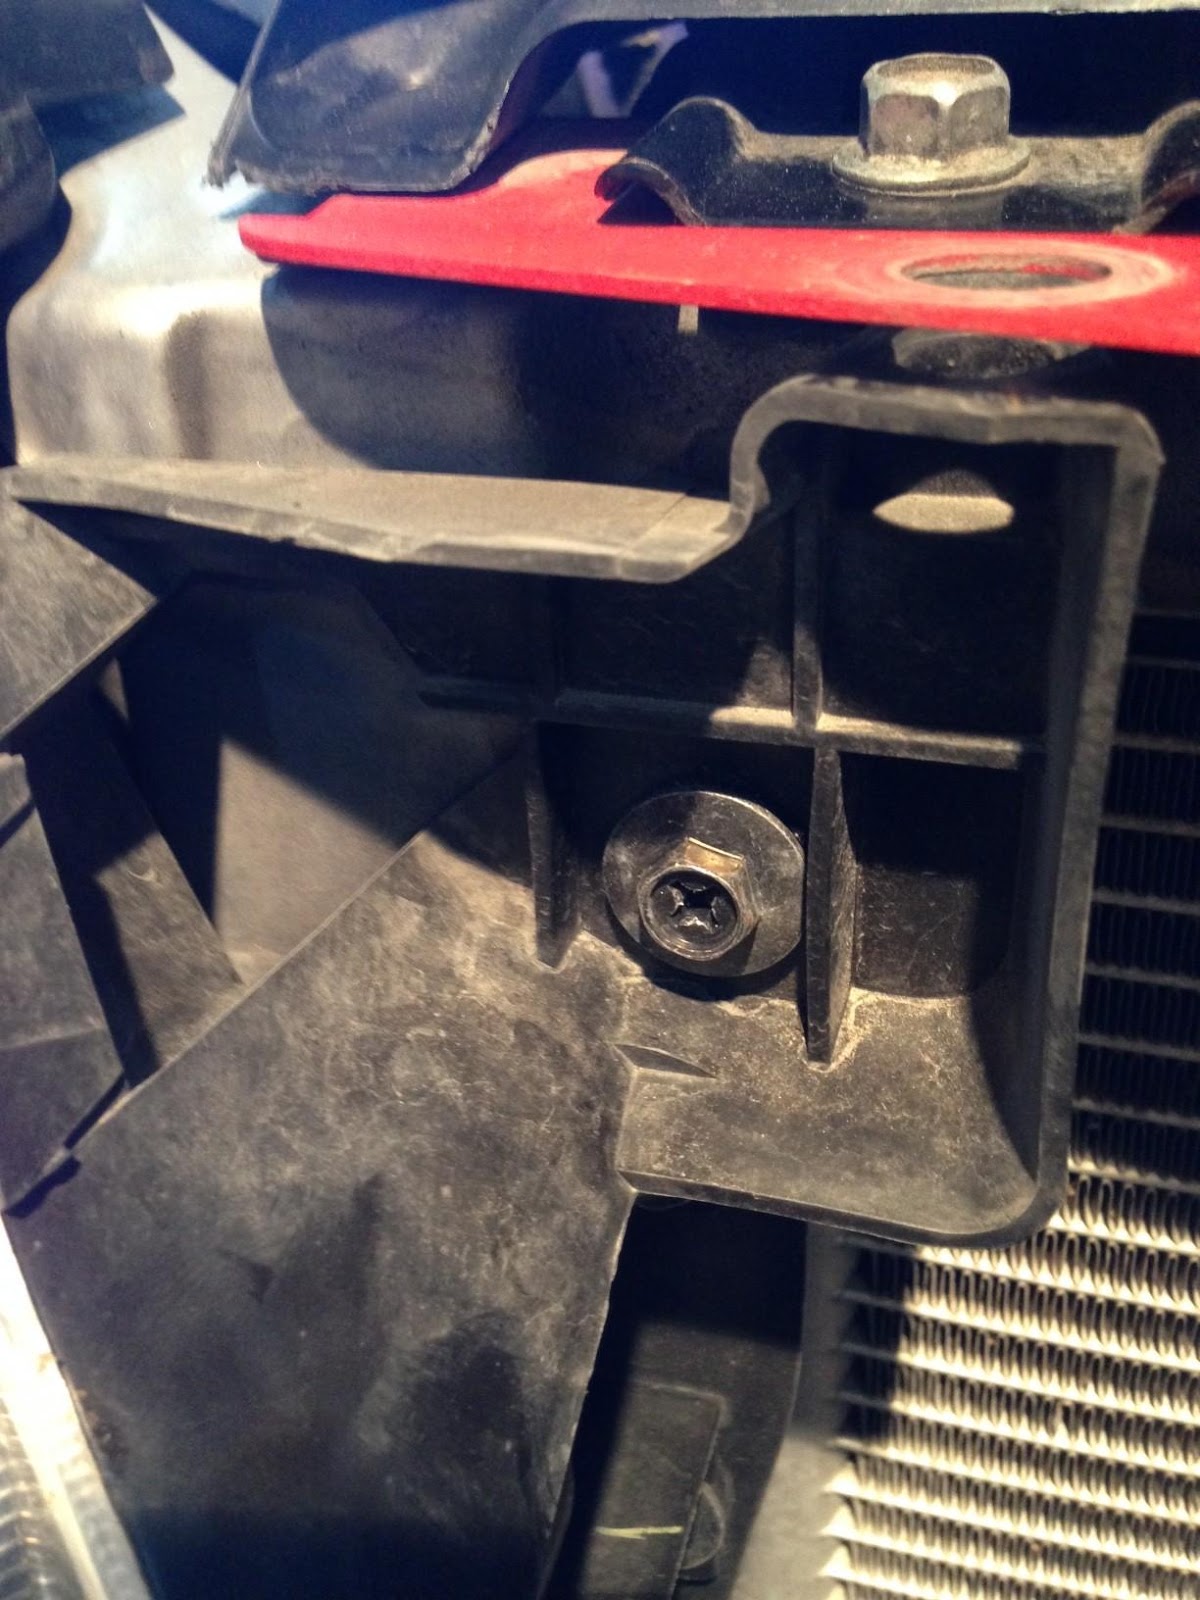
Then there are 2 on the side facing the outside of the car.
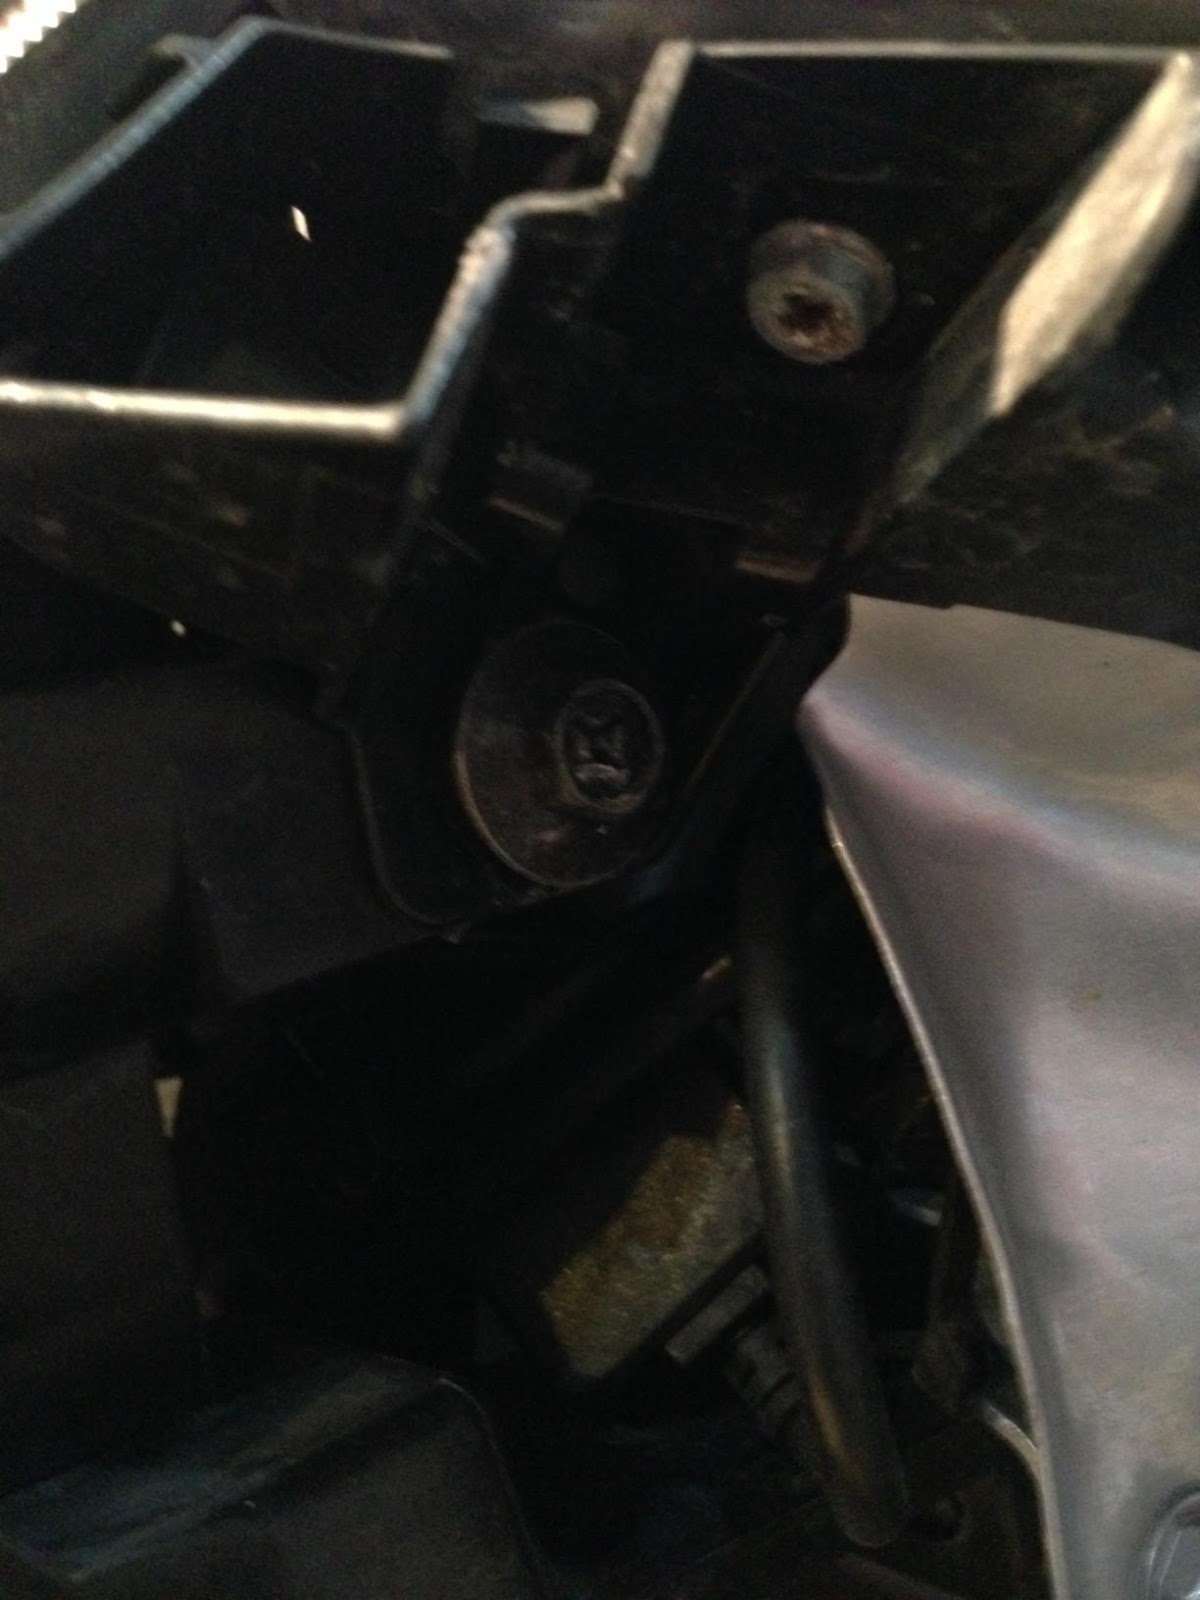
After that remove the HD.
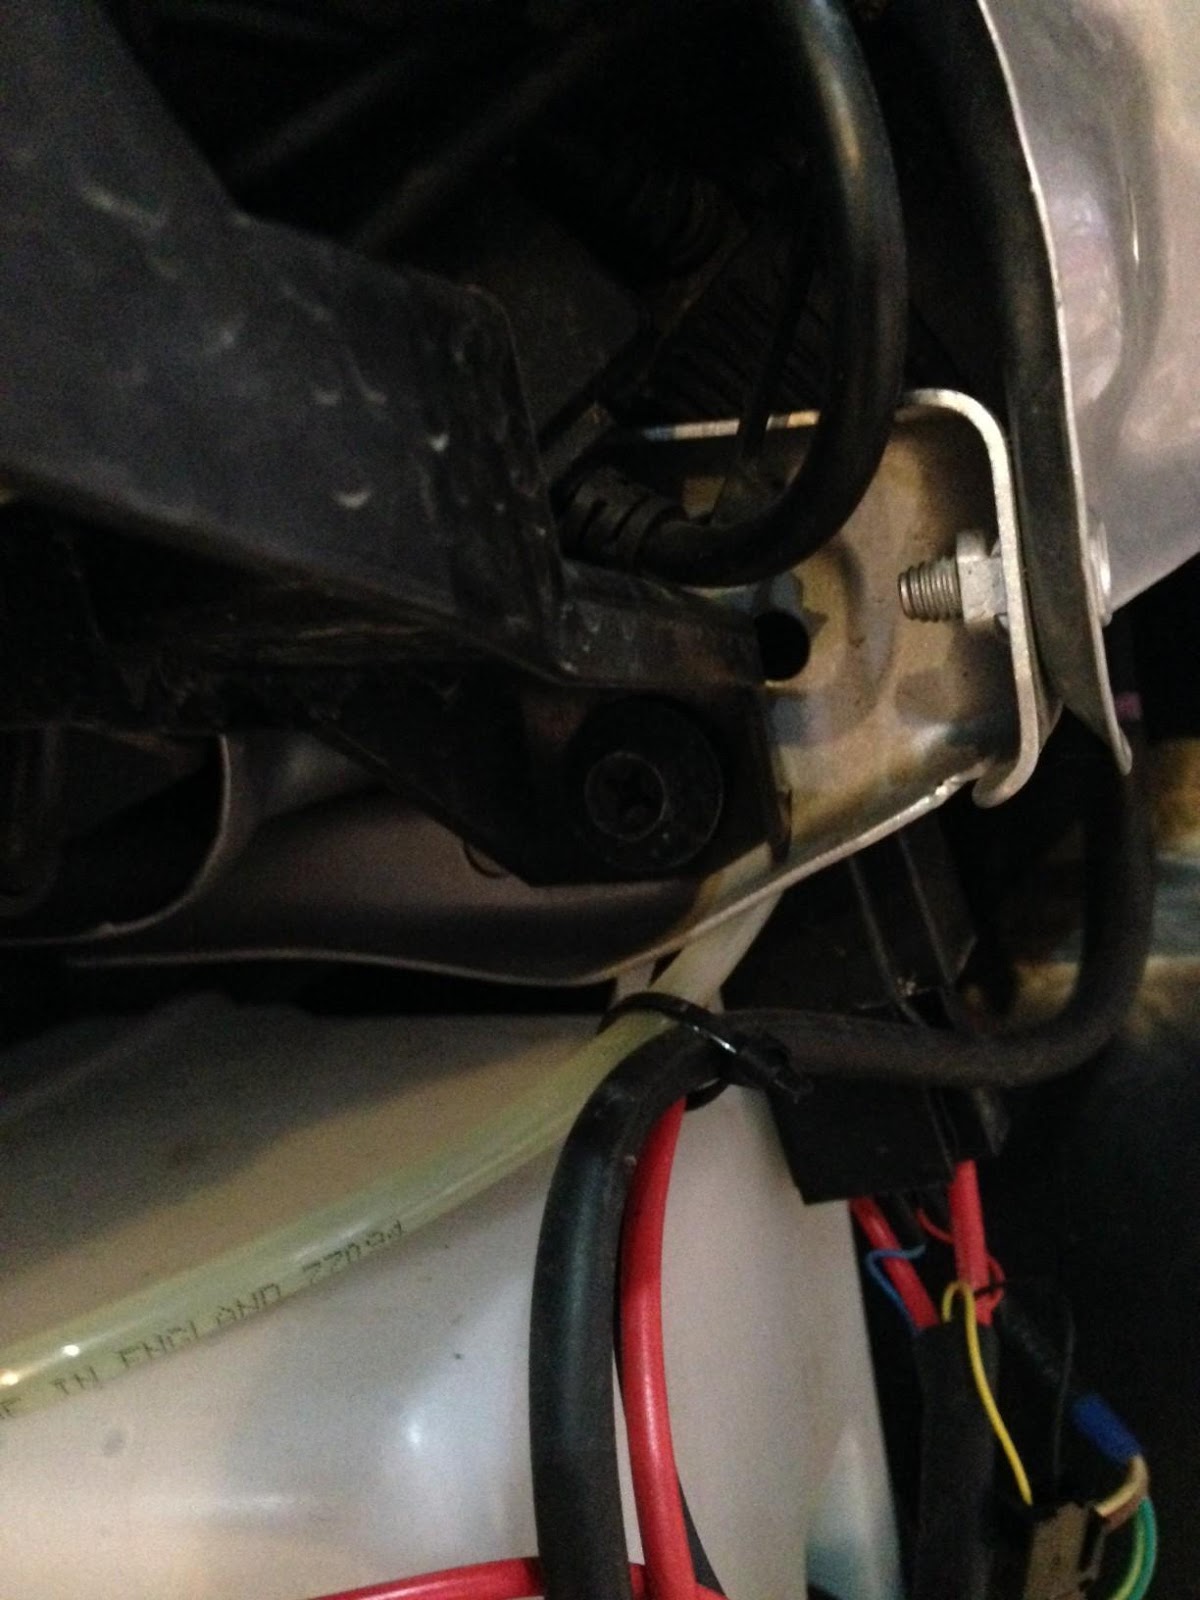
There are 3 10mm bolts holding the clip onto the housing that would help mount the light onto the car. Remove those.
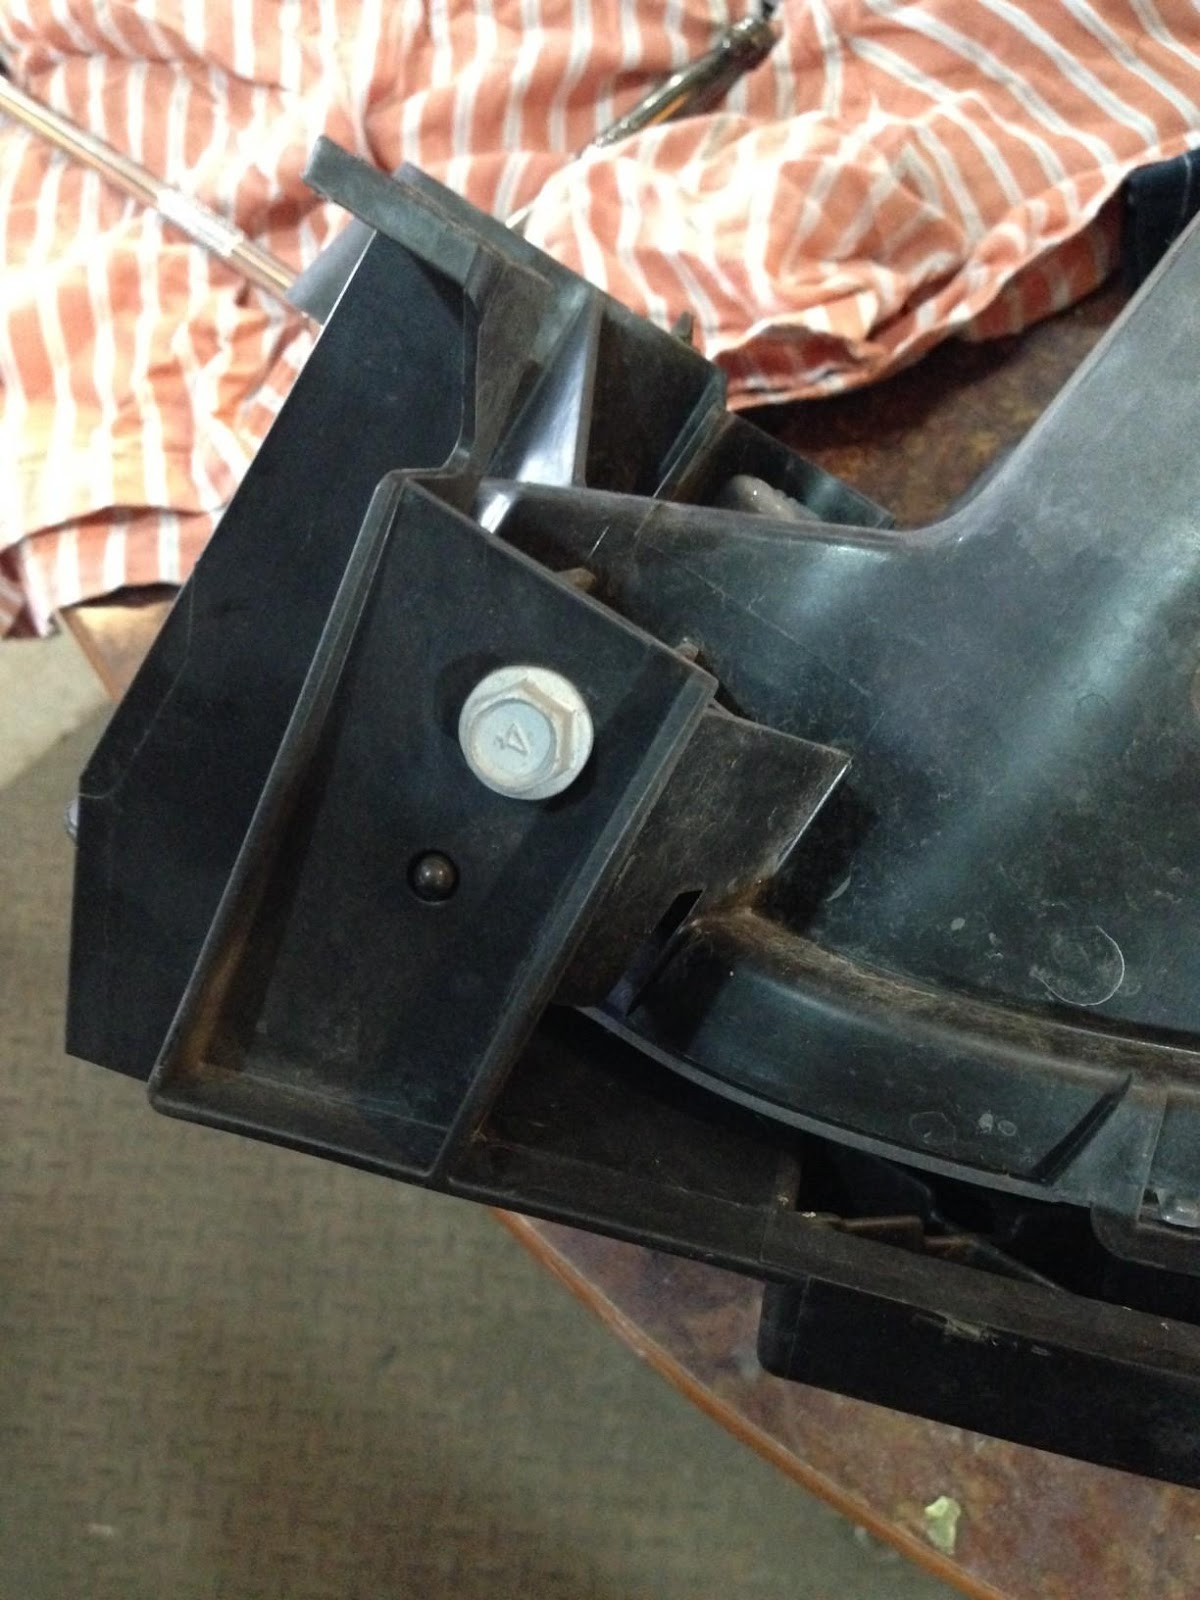
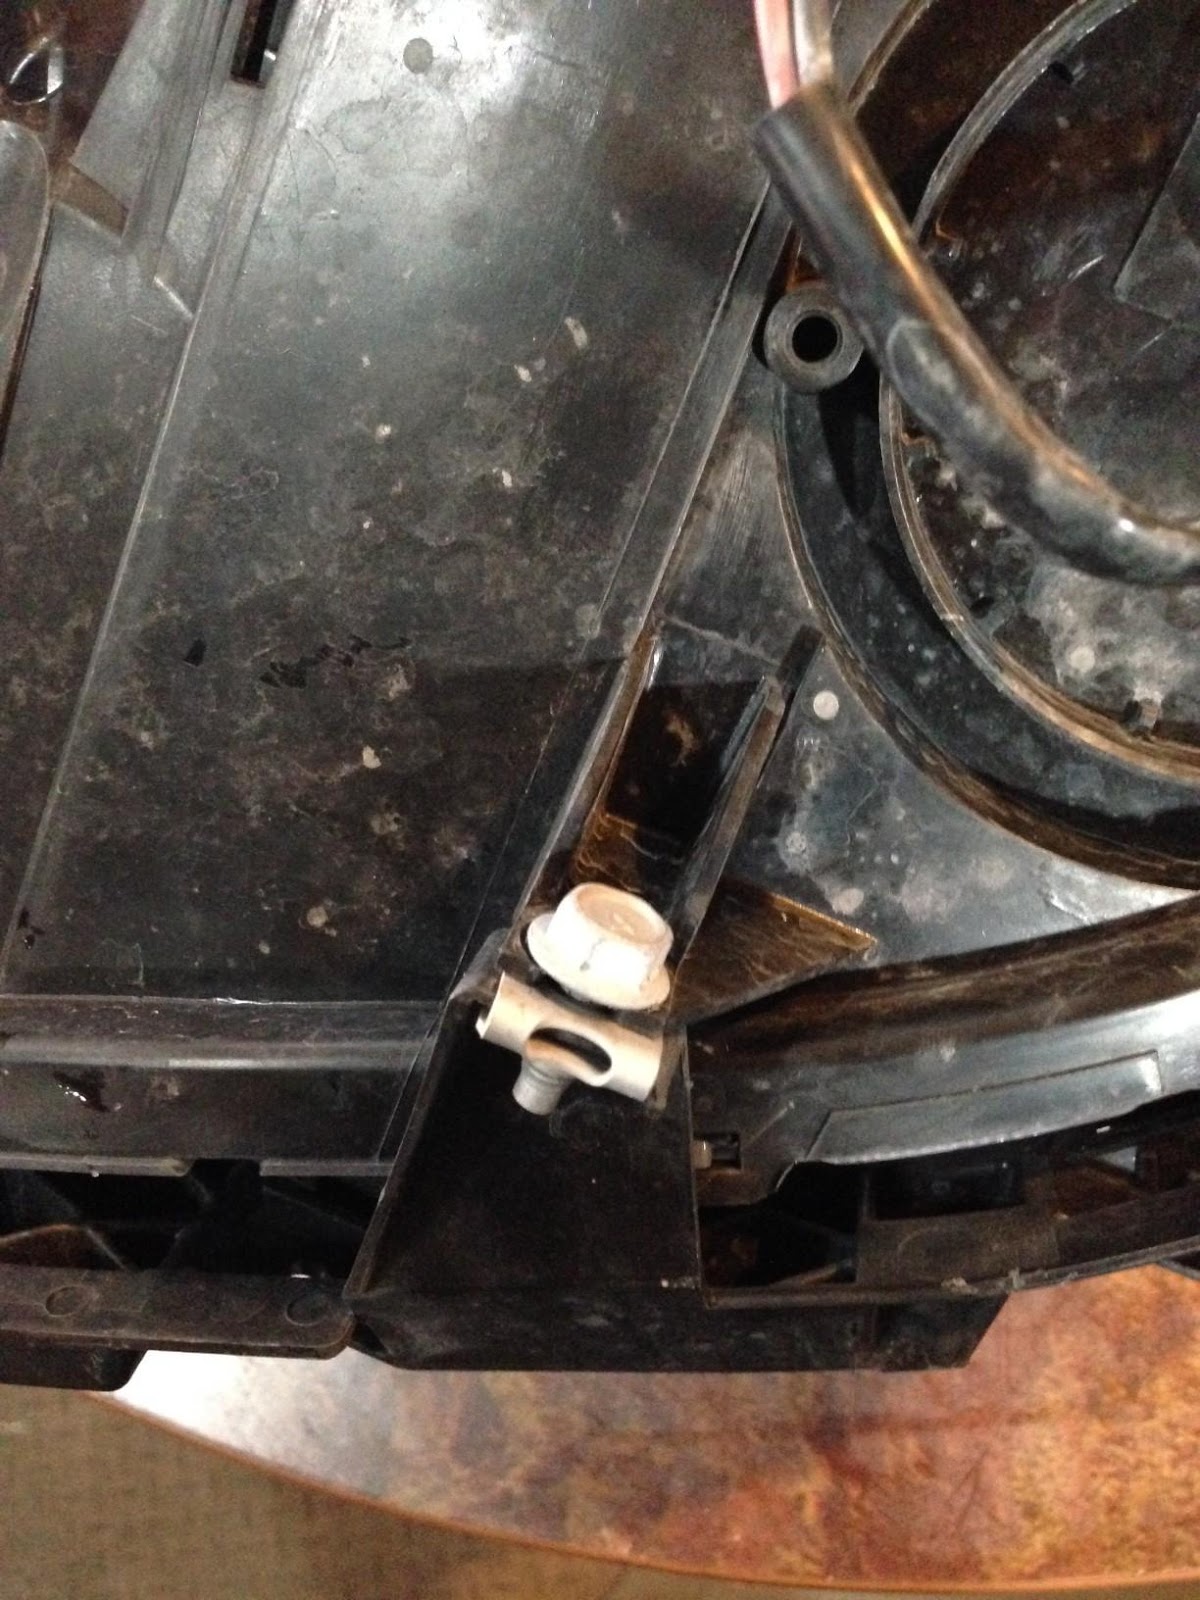
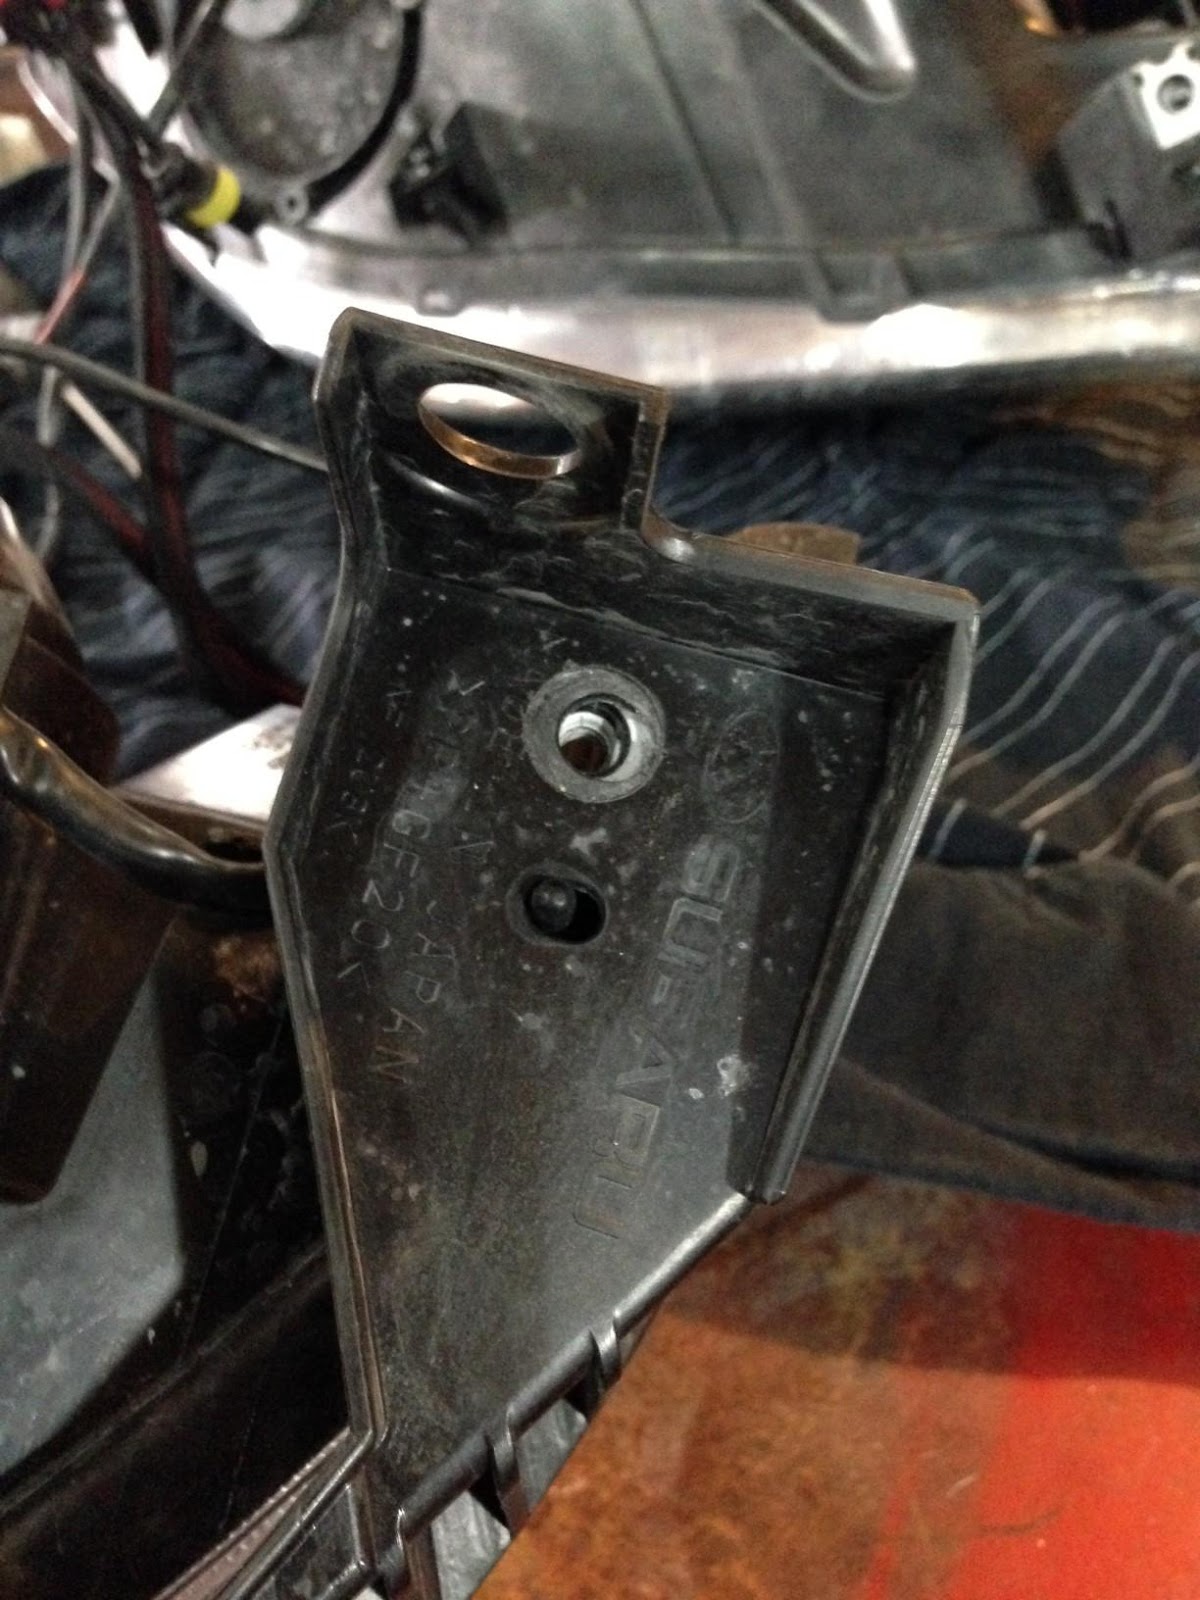
and this is the clip that will come off.