You must be logged in to rate content!
8 minute read

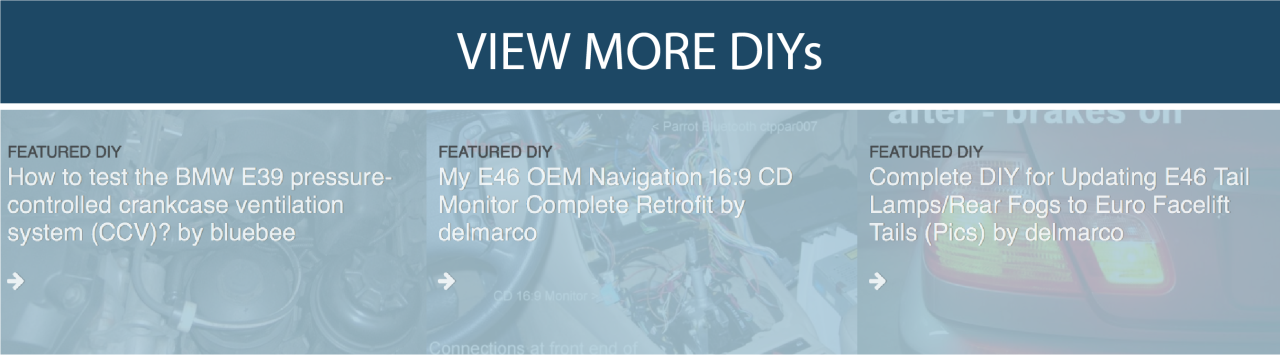
1. Begin by opening the lid to the center console. At the front of the center console you will see two screws holding on the plastic trim piece that surrounds the e-brake lever. Remove these screws.
2. Lift the loosened trim piece over the e-brake handle and set it aside.
3. Grab the shifter surround from the rear (revealed by removal of the e-brake surround), and lift it out. It may be necessary to pry with a screwdriver from the sides to get it loose. The shift boot will still be attached to the shift lever, so don't try to remove the trim, just get it loose.
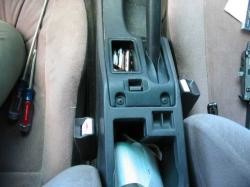
4. Twist the shift knob counter-clockwise. It should spin free of the boot and trim piece, but if it doesn't, spin the trim with it (as loosened in step 3). It will take a number of revolutions to remove it, so be patient.
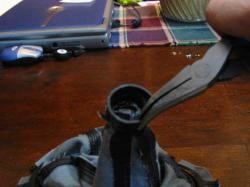
5. Lift the entire assembly from the shift lever (plastic trim, vinyl boot, and shift knob) as a unit.
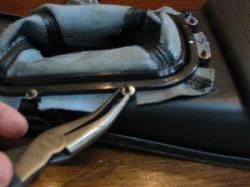
6. Flip the trim piece upside down. You will see a plastic ring holding the shift boot on, secured by small metal fasteners. To remove these fasteners, use a pair of needle nose pliers to lift them off. Expect to spend some time doing this, as they do not come off easily. However, they will be re-used, so remove them carefully (although don't worry about bending them, as you can bend them back if needed). Take care to not break off the plastic studs they fit over.
7. Remove the boot, knob, and plastic ring from the trim piece as a unit.
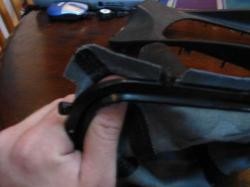
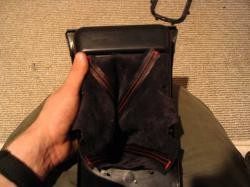
8. Remove the plastic trim piece from the boot. It is glued on very well, so it can be difficult to get it started, but will be much easier once it gets going.
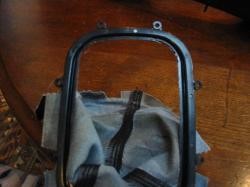
9. Invert the boot. You will see a black plastic ring with the old boot sandwiched between this ring and the knob. Remove this ring by pulling it away from the shift knob.
10. Invert the new boot.
11. Insert the shift knob into the inverted boot, with the white end leading (so it will come out of the end of the inverted boot).
12. Align the end of the knob with the end of the boot, and then pull the knob back approximately 1/4 inch (~1cm) INTO the boot. This will ensure there will be no slits showing at the top of the boot.
13. Re-install the plastic ring, with the wider end facing away from the boot (as it was installed before). It may be stiff, but will go into place with some force.

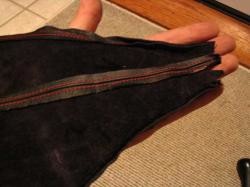
14. Flip the boot right-side-out. Inspect the area around the knob to ensure there are no visible openings in the leather. If so, repeat steps 11-13 as needed.

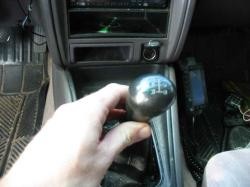
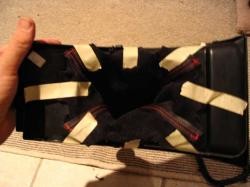
15. Slide the boot back into the plastic trim piece. Fan the boot out so it covers the entire space. The shorter threaded seam should point towards the passenger's seat when finally assembled.
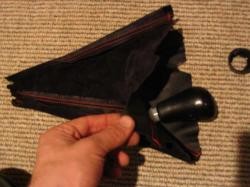
16. If working alone, you may find it necessary to tape the boot into place, as is shown below. With an assistant, this should not be necessary. Make sure there is not leather covering the plastic studs (there are spaces provided in the leather for the studs to come thru).
17. Re-install the plastic ring. It is not necessary to glue it, although you may if you desire a more secure fit. There is a small "F" on the front of the plastic ring, and it is directional, so pay close attention to this. Re-install the retaining metal clips, bending them as needed to achieve a secure fit. Once the ring is secure, remove any excess tape, if used.
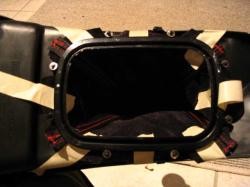
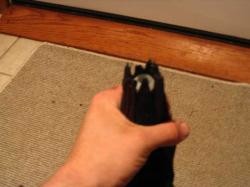
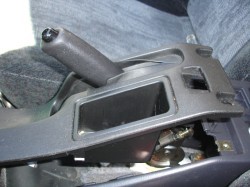
18. Flip the assembly over and ensure the leather is evenly seated around the entire trim piece. If there are any creases or folds in the leather, flip it back over and pull them out gently.

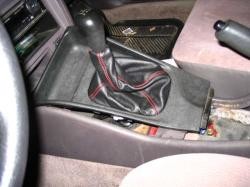
19. Loosely slip the trim and boot over the shift knob. Screw the knob onto the shift lever. Because the leather is so much thicker than the stock vinyl, it may be necessary to spin the entire trim piece with the knob and boot. Install the trim piece, reinstall the ebrake surround - if you are installing the ebrake boot as well, do not reinstall yet, proceed to 20 below.
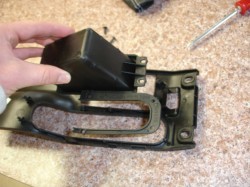
20. Pull the ebrake in the up position.
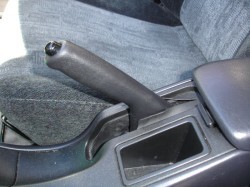
21. Remove the two screws at the front underneath the arm rest.
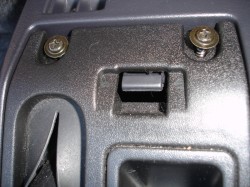
22. Carefully pop the ebrake plastic panel free and pull up and off of the ebrake.
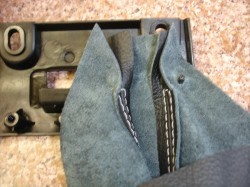
23. Turn the panel upside down and remove the tiny metal fasteners.
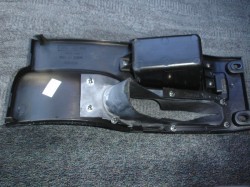
24. Remove the three screws holding the small cell phone tray to the panel. Remove the old boot.
25. Get familiar with how the ebrake boot fits since the old piece wasn't really a boot to begin with. Make sure you leave a lot of slack for flexibility
26. Tack down the boot by making a few holes for the plastic pins with a small hole punch or with the tip of a sharp knife.
NOTE: be careful when using the tip of a knife to make holes not to slip and cut a large slit in the leather. Just steadily pull the leather over the tip and stop when you see the tip pop out 2mm.)
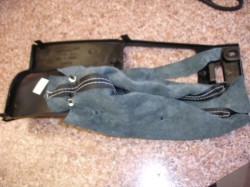
27. Set the panel back into the car and feed the ebrake through the leather boot and check for full travel.
NOTE: gently operate the ebrake and adjust the ebrake accordingly). Reinstall everything in the reverse order of removal.