You must be logged in to rate content!
6 minute read
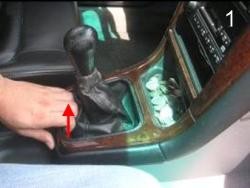
1. Begin by gently lifting the back side of the shift bezel to release the clips. Unscrew the knob and separate it from the boot by pulling upwards.
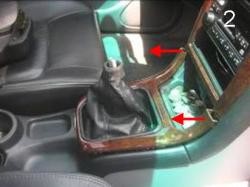
2. Pull the bezel towards the rear of the car to slide out the pins located at the red arrows.
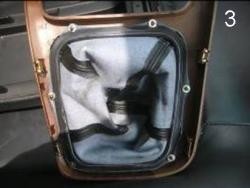
3. Here is a bottom view of the boot assembly. It is glued in and held by six small friction clips (silver circles).
4. Invert the boot to reveal the factory shift knob collar.
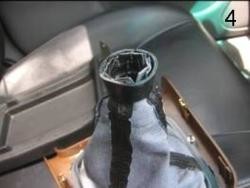
5. Remove the factory collar and save it for reinstallation of the knob and the new boot.
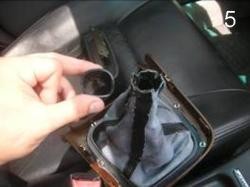
6. These are the clips that need to be removed before the glue can be separated.
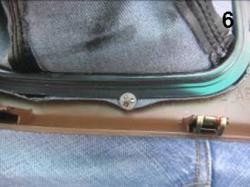
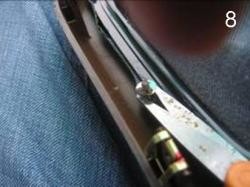
7. Using a small pair of scissors, get underneath the clip and “shimmy” it out by twisting the scissors along the blade axis (tilt, don’t spin).
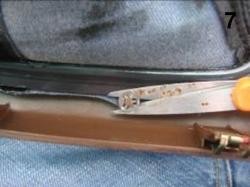
8. The clip should lift up and off. Be patient and do not force these, the plastic pins are delicate.
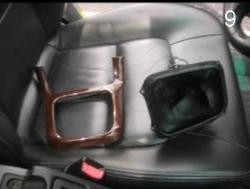
9. The boot assembly should now be easily separated from the bezel.
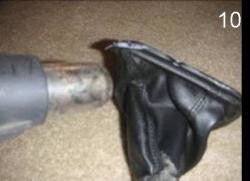
10. Using a heat gun (low) or a hair dryer heat a small area of where the boot meets the plastic ring.
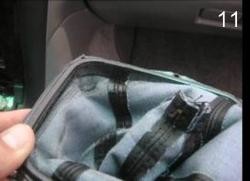
11. Begin separating the boot from the ring along the inside first.
12. Then continue out to the top of the ring.
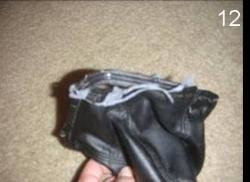
13. Slowly continue to lift the boot until it is removed completely.
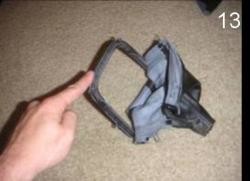
14. Here’s the separated factory boot and the factory ring used for reinstall of the new boot.
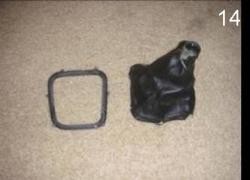
15. The boot only fits the ring one way. Be sure that the holes at the base of the boot line up with those on the ring.
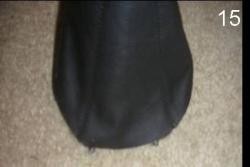
16. Using a spray adhesive, coat the top of the ring and the inside of the base of the boot.
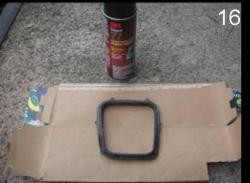
17. Being certain to line up the holes, adhere the boot to the ring (start with one and work your way around).
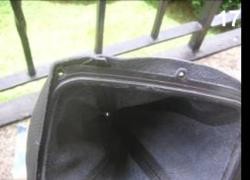
18. Here we see the holes in the boot and ring matching up properly.
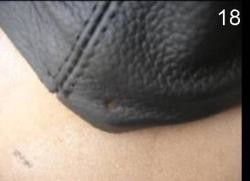
19. Here’s what it should look like at this point.
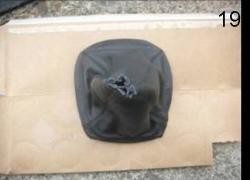
20. Next coat the inside of the ring and the base of the boot with the spray adhesive.
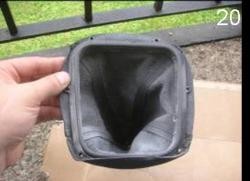
21. Next, carefully lay the boot into the ring so that it adheres into the proper shape.
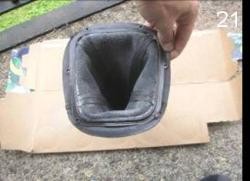
22. This is how it should look when the boot is completely set to the ring.
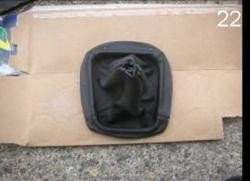
23. Invert the new boot and place the collar with the large side up (as shown).
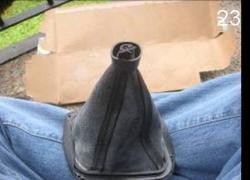
24. Return the boot to the correct configuration, being certain that the collar has not slipped out of place.
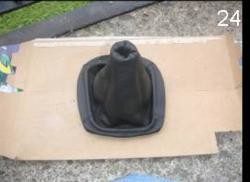
25. Here is how the inside of the boot collar combination should look.
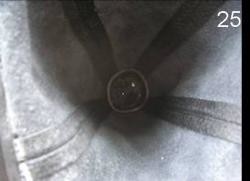
26. Now reattach the new boot, ring and collar combination to the bezel. Be sure to reinstall the silver circles.
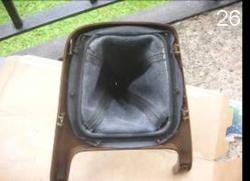
27. Here is the new boot assembly reattached to the bezel.
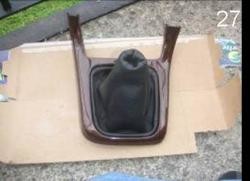
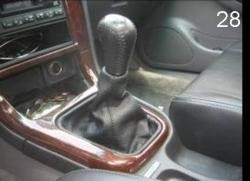
28. Finally, reinstall the entire assembly into the vehicle and you’re done (be sure to take care when rejoining the knob into the collar, be patient).
