You must be logged in to rate content!
14 minute read

Gen 4 Interior Illumination Kit (2012)
Compliments of iainb @ subaruoutback.org
5-12-2012
First of all you'll have to excuse my lack of pictures at some points, specifically with the clip removal for the carpets, I had to work at a few of them and totally forgot to take pictures. Please consult the included instructions in addition to this guide.
Parts were ordered from Subaru Online Parts and it was this item, which includes Subaru part numbers H7010AJ100 (illum kit) and H0070AJ000 (wiring harness).
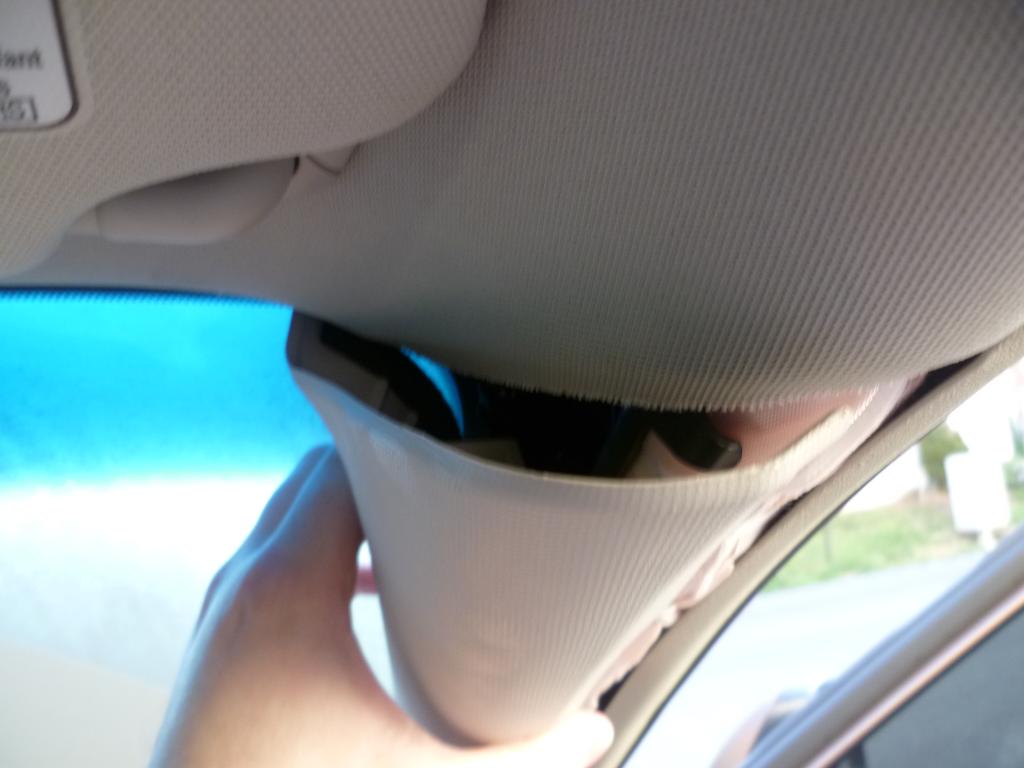
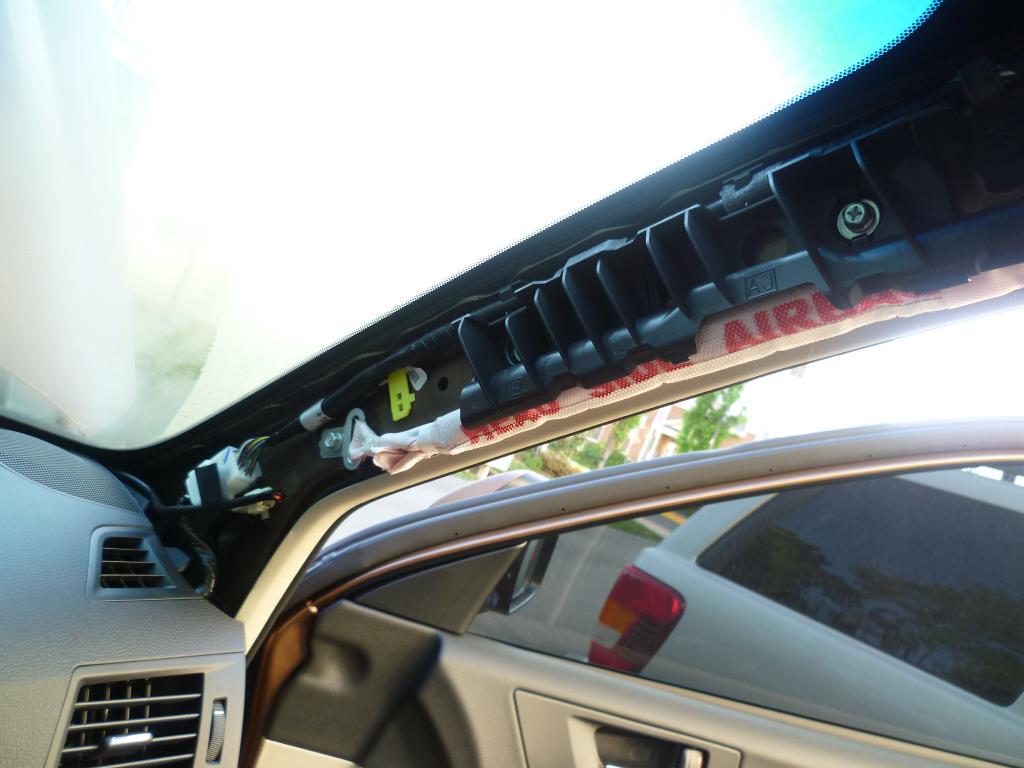
Start with the a-pillar cover. Easiest method is to take a trim tool and carefully lift from the top edge. Once you can get a few fingers underneath just pull it away from the windshield.
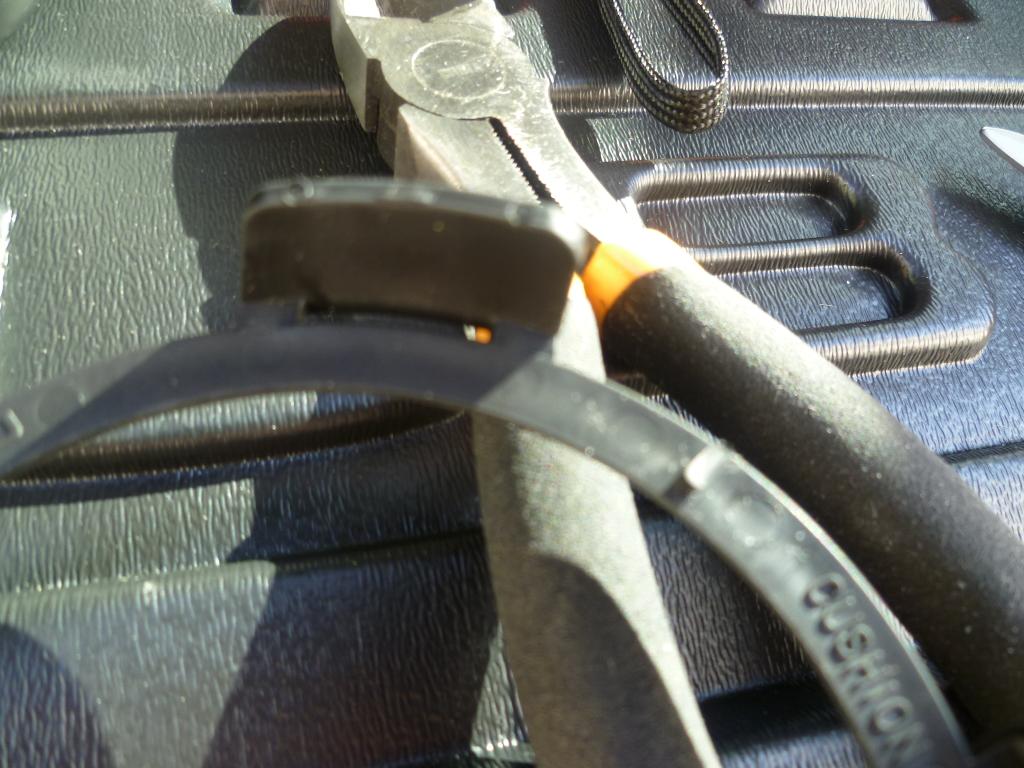
Here is a picture of the clip that you have to reach into and cut. Carefully slide a pair of angled clippers in and cut the black piece on its long end.
Once that clip is removed you can just lift the pillar cover up and out.
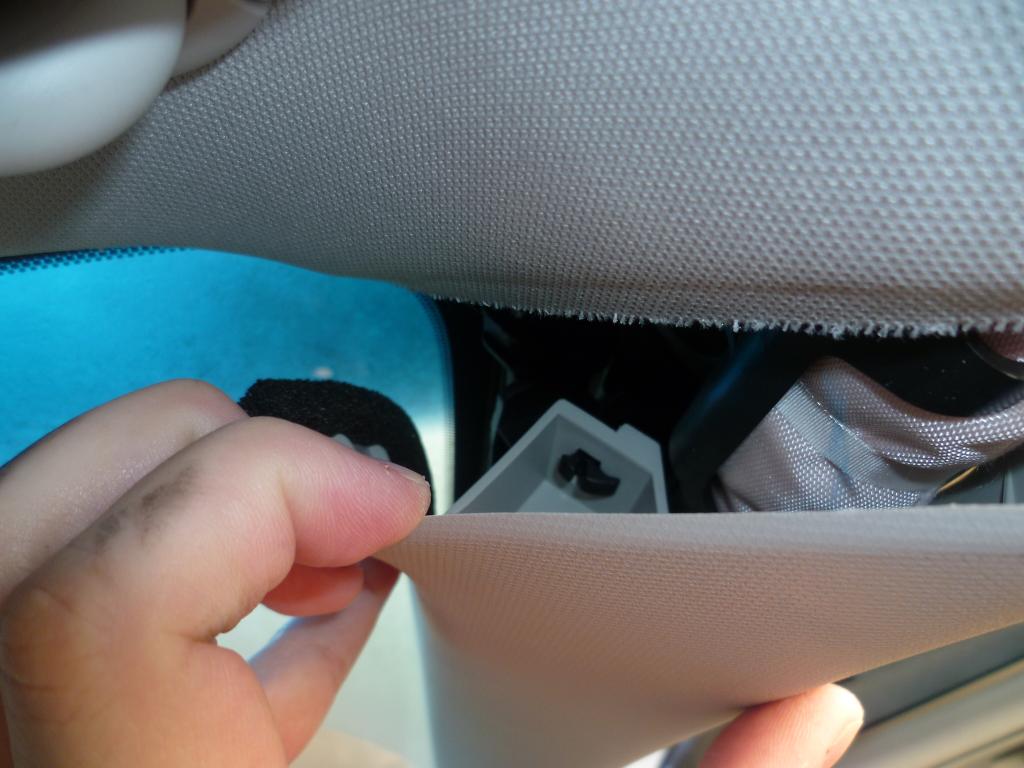
With the pillar cover removed you have to CAREFULLY slide a thin screwdriver behind the airbag. It seems dicey but if you're slow and careful it will slide behind. Then pry the attached portion of the clip that you cut off.
Pillar cover removed
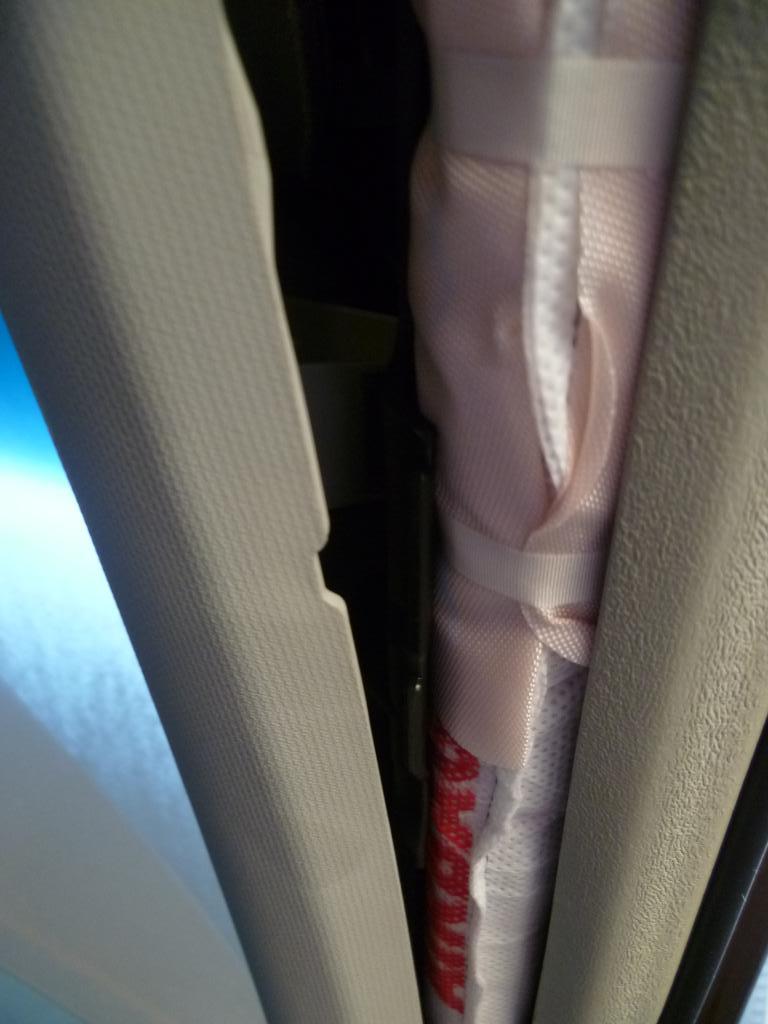
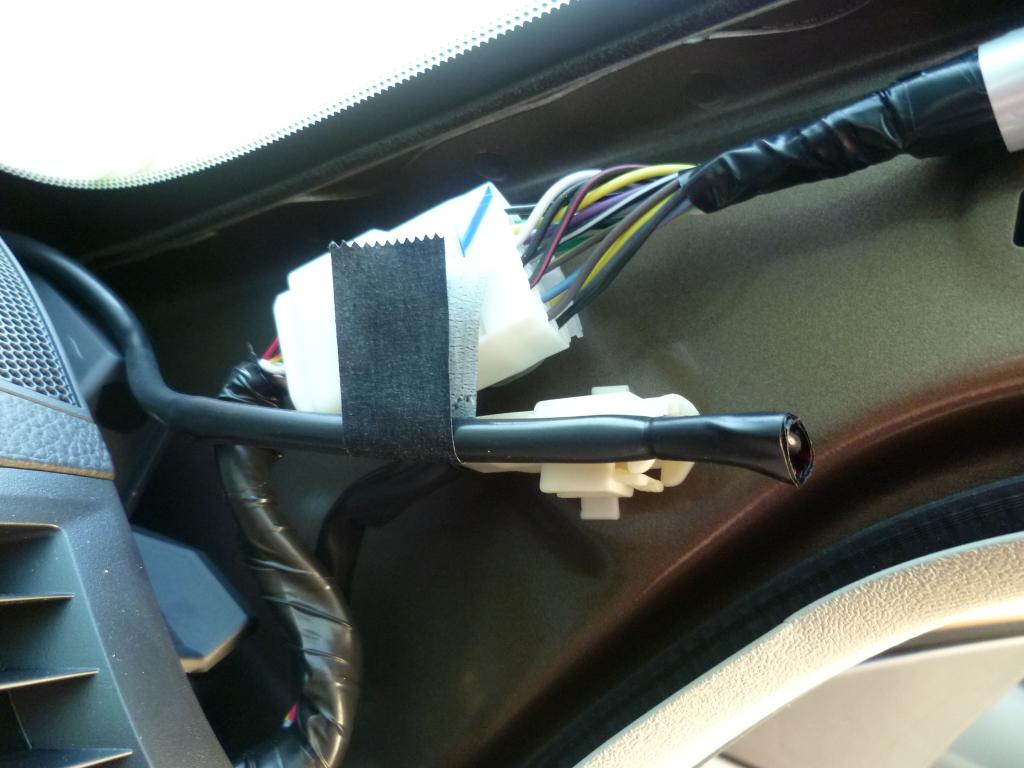
Here is the pillar harness as it's connected originally.
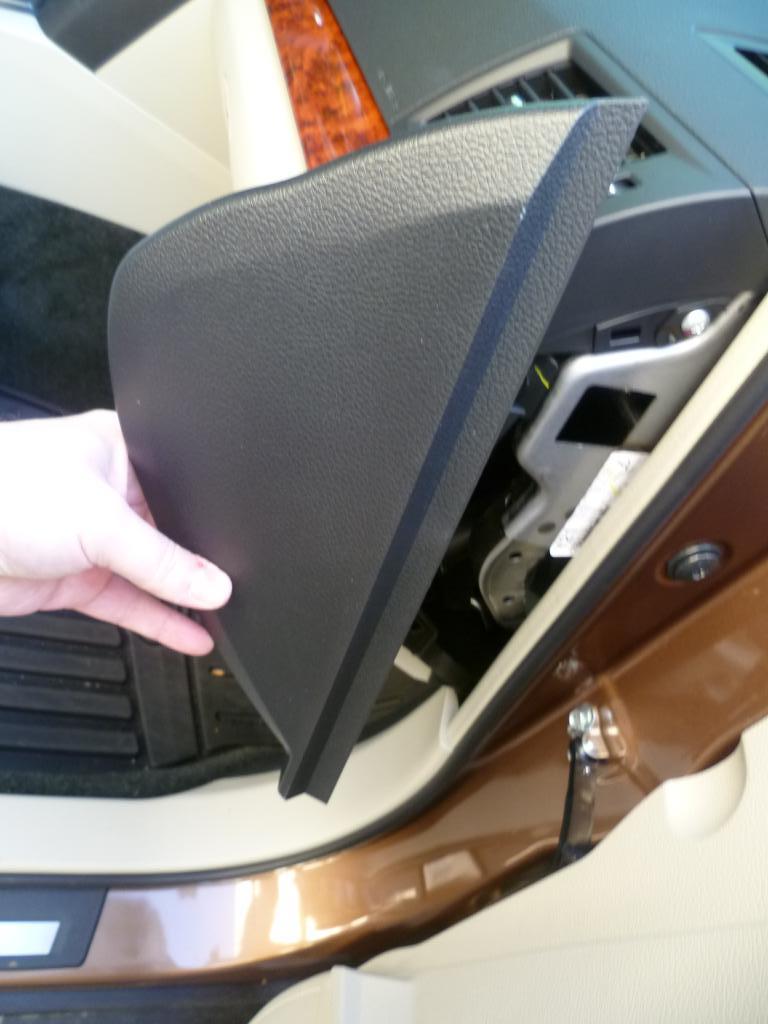
Now remove the black trim piece on the passenger side.
Unclip the wire harnesses.

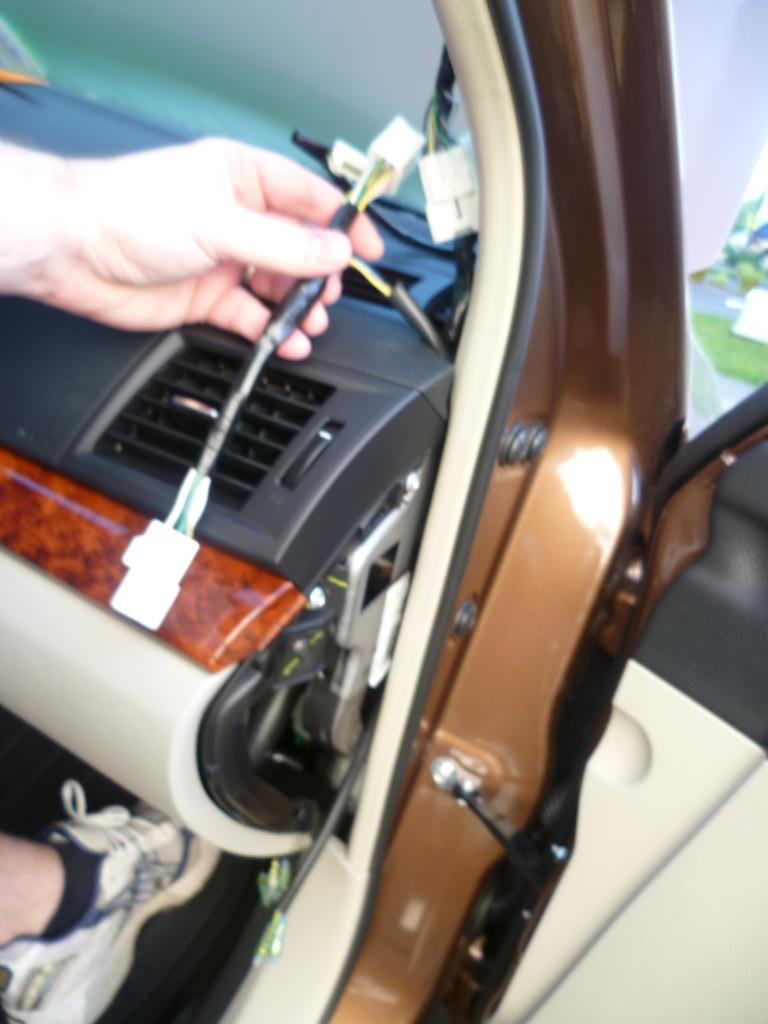
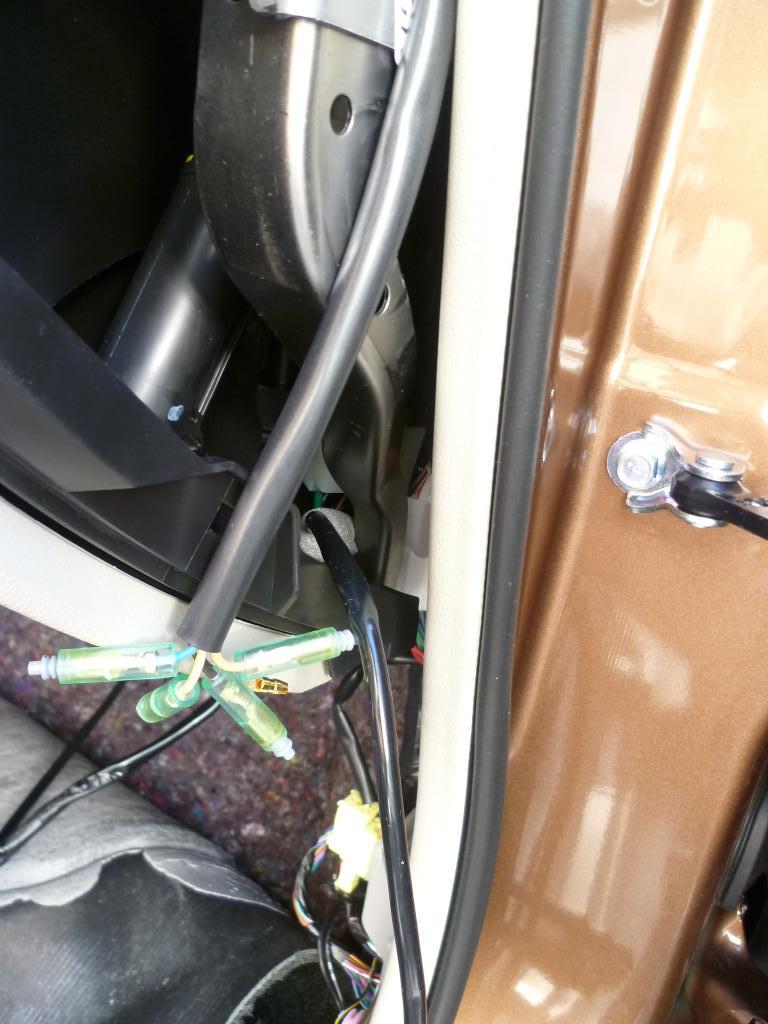
Now thread the new wiring harness ((H0070AJ000) through the various structures of dash.
I skipped a few steps here where you remove the under dash cover and the door sill pieces from the driver and passenger sides. Thankfully the included instructions are pretty clear for this part so it's fairly straight forward.
Now you will roll back the carpet in the passenger footwell
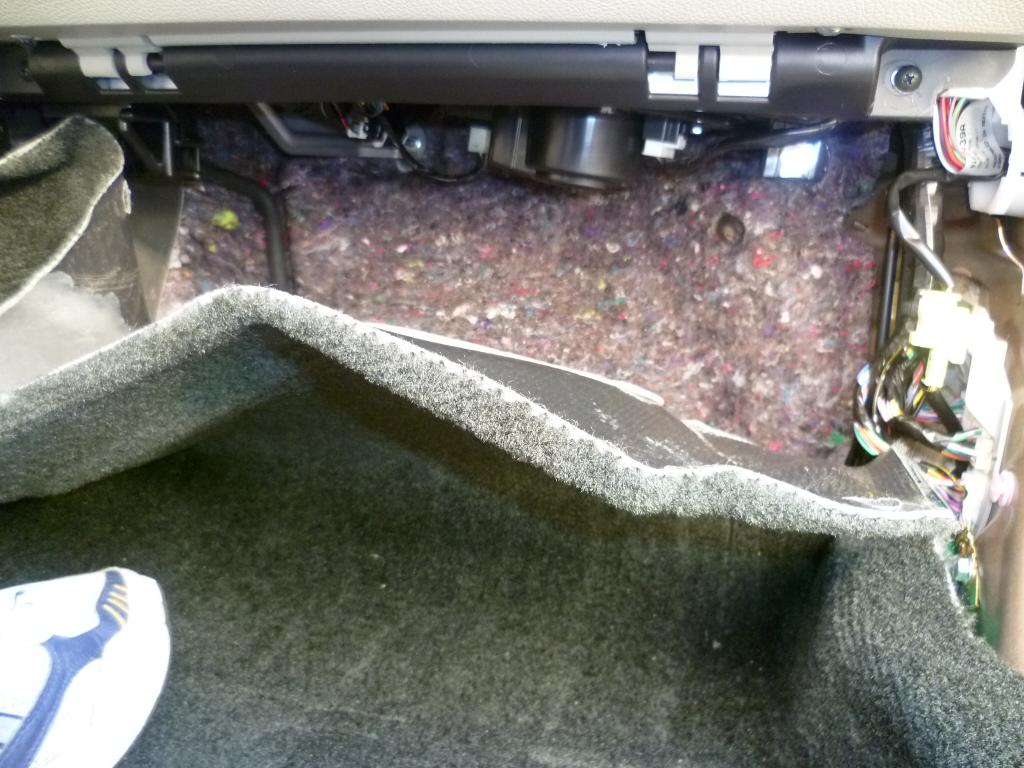
and the driver's footwell
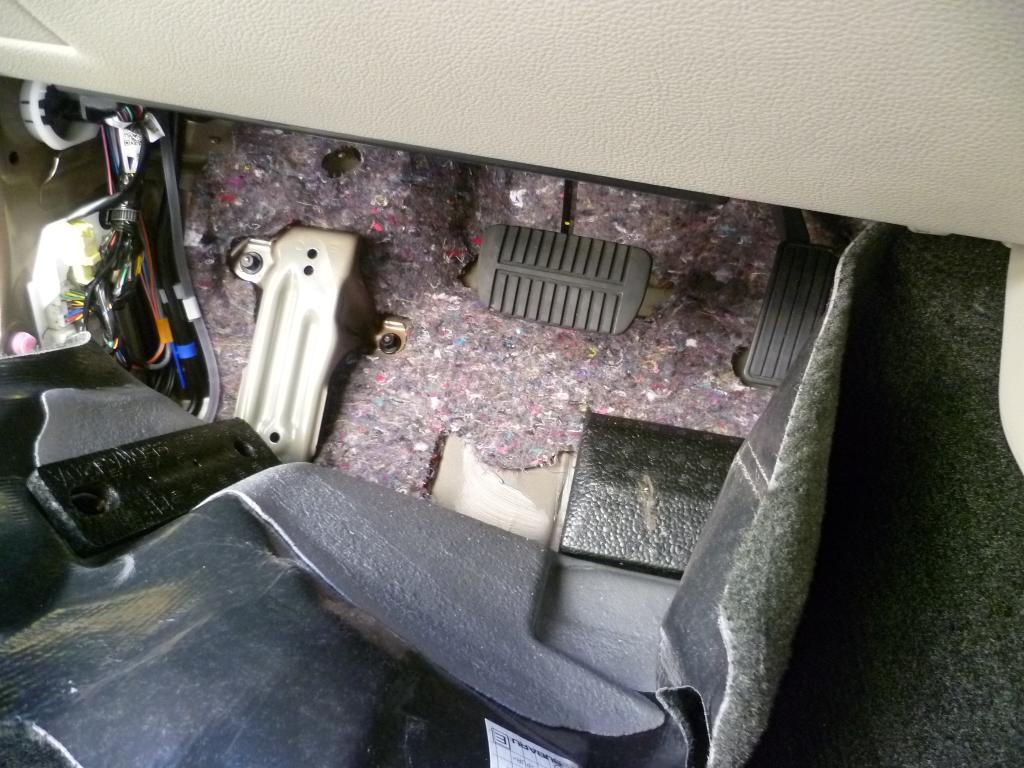
One thing to keep in mind with the driver's footwell. The "plug" underneath the gas pedal screws off. DO NOT PRY IT. You can just unscrew it by hand, it's not in there tight.
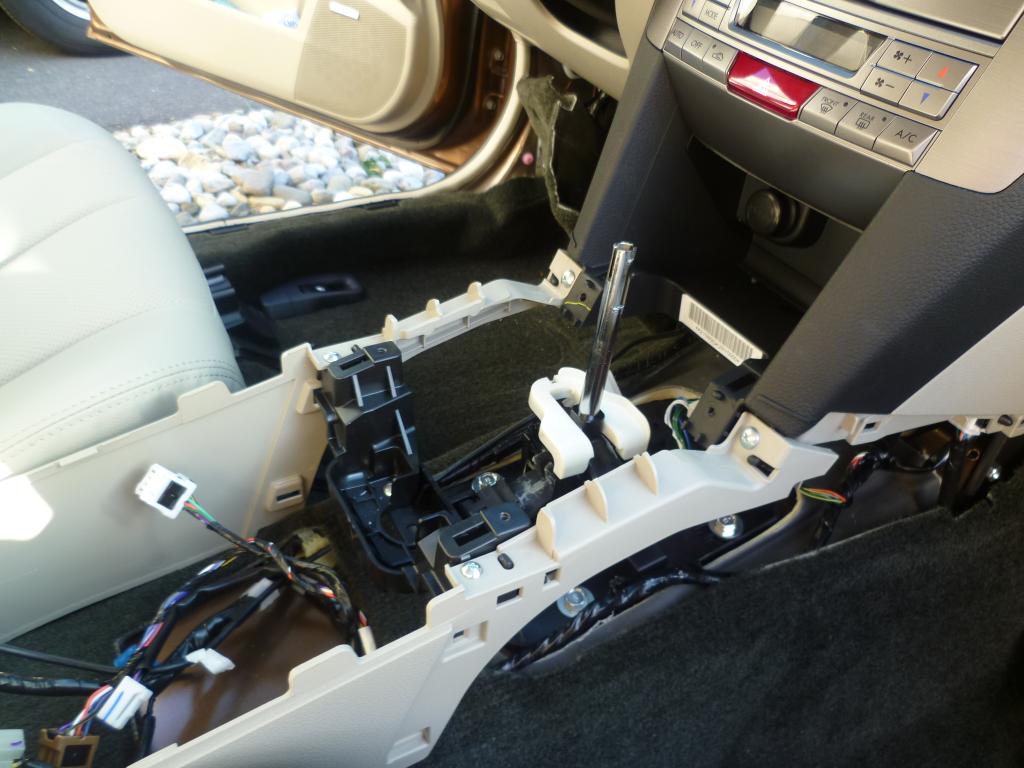
Next you will remove the shifter (as indicated in the instructions), remove the rubber mat in the storage pocket in front of the shifter (use a trim tool to lift it from the front, it just sits in there) and then remove the actual shifter. To remove the shifter just give the shiny plastic trim piece a small tug and it pops off and down. CAREFULLY remove the spring clip, just push it forward from the ends and then you can lift the shifter off. The end of the shifter is covered in grease, so careful where you put it down.
Now you can pop up the center console. Just lift from the front, where you removed the rubber mat, and lift up and back. It will kind of swing up.
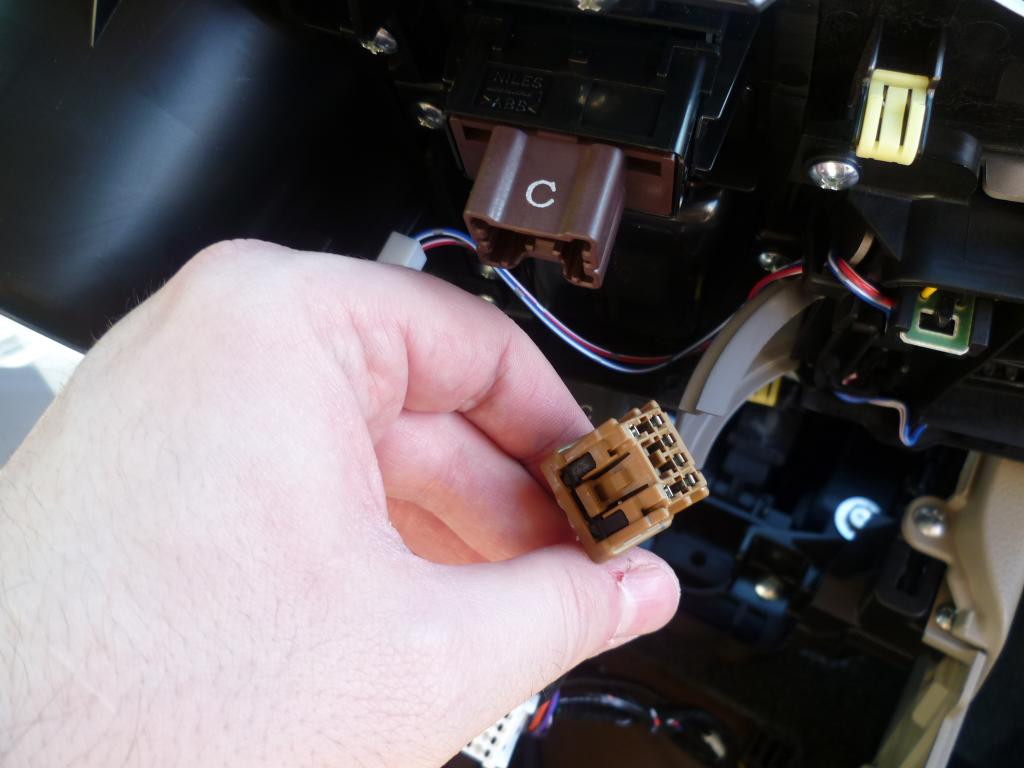
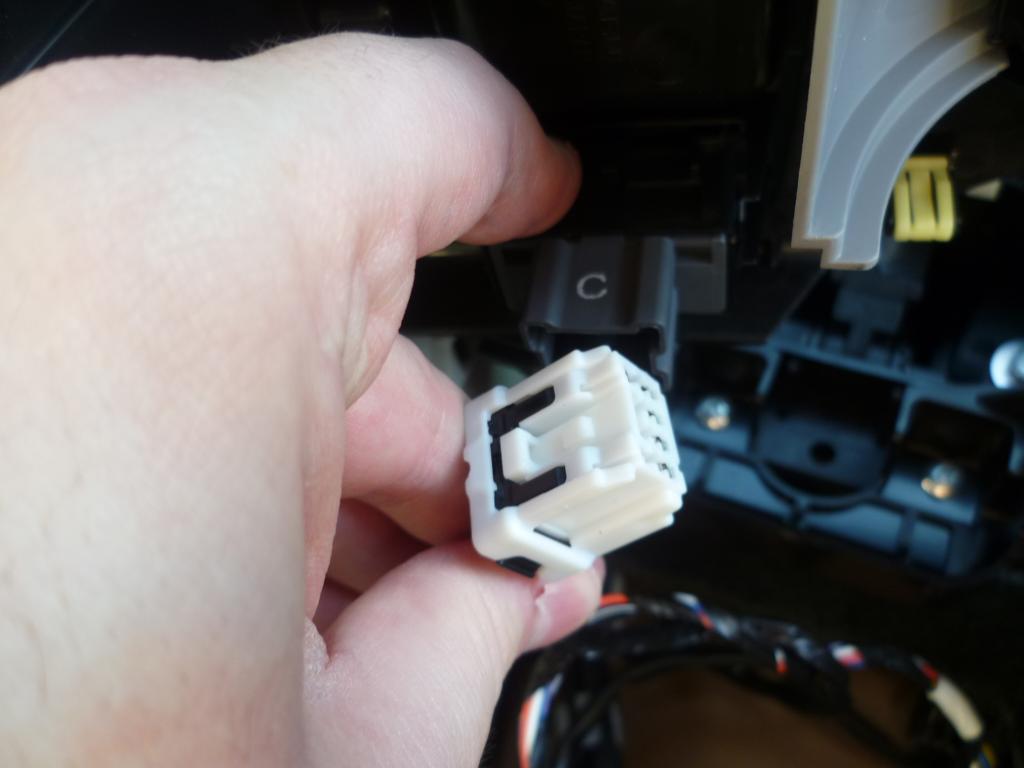
Underneath the console cover there are 3 harnesses you need to disconnect, one for each heated seat and a 3rd that probably provides power to the lights under the gear selector.

For the heated seats make sure to note which side is which, they are kind of color coded.
Brown to brown
White to gray
Once the three harnesses are disconnected you can remove the console cover for later.
With the console cover removed you now have to remove the side trim pieces.
Remove the 2 screws first, then they are just held in place with 4 clips. I worked the piece off from the seats towards the front of the car.


The console is now naked.
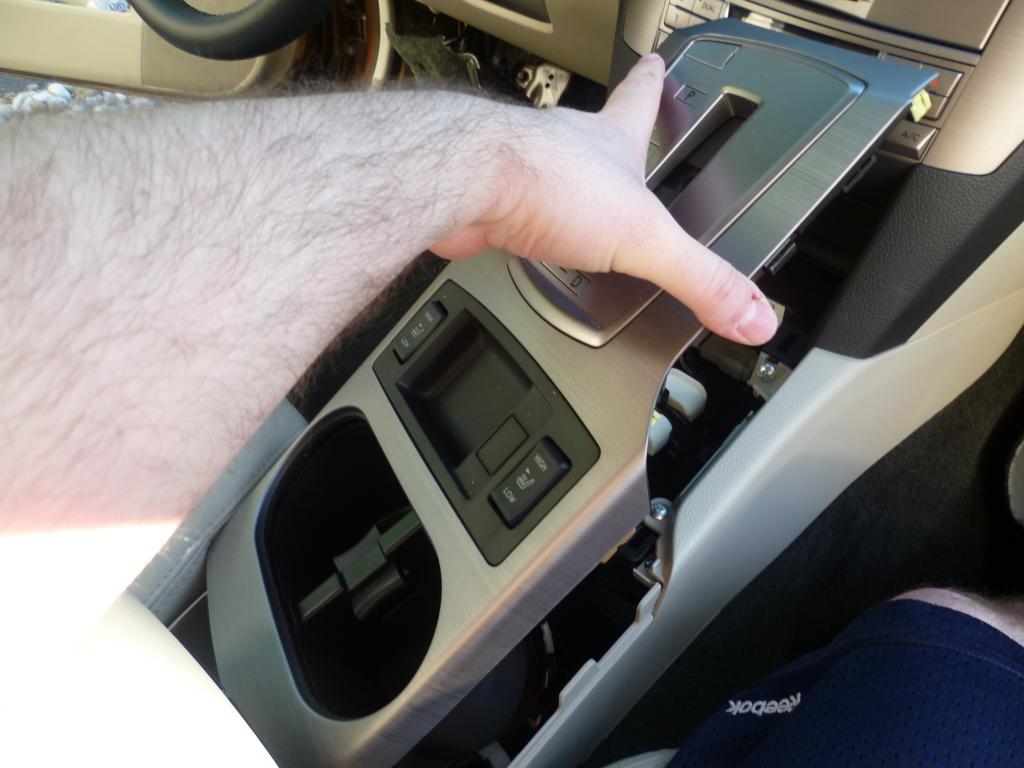
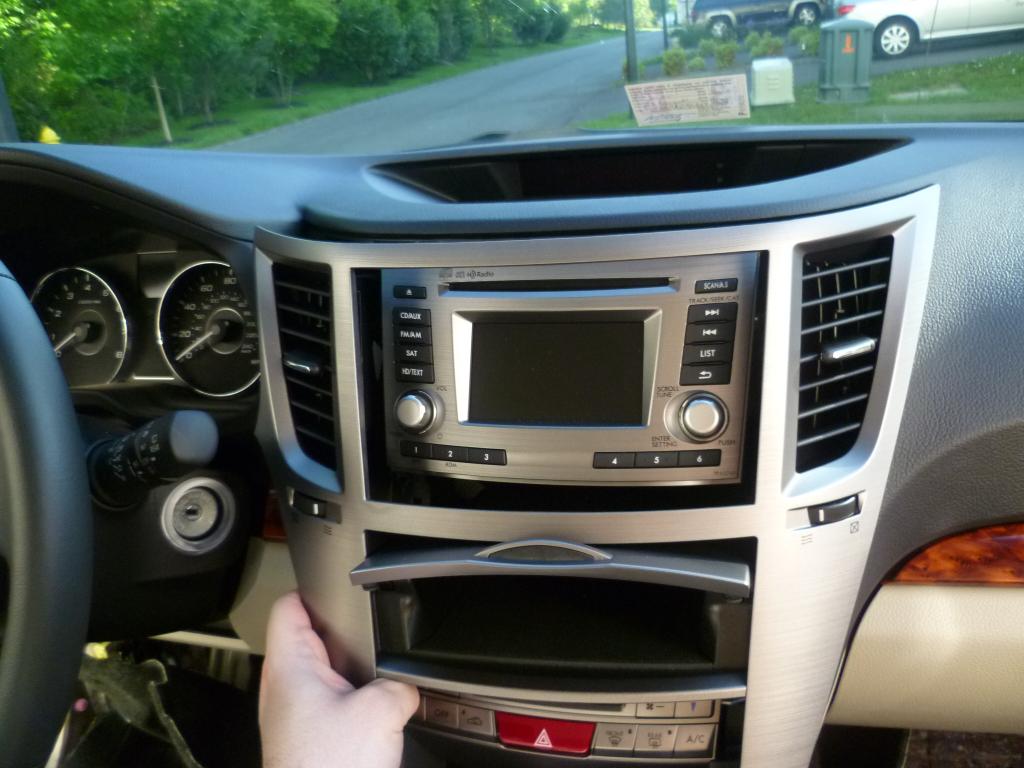
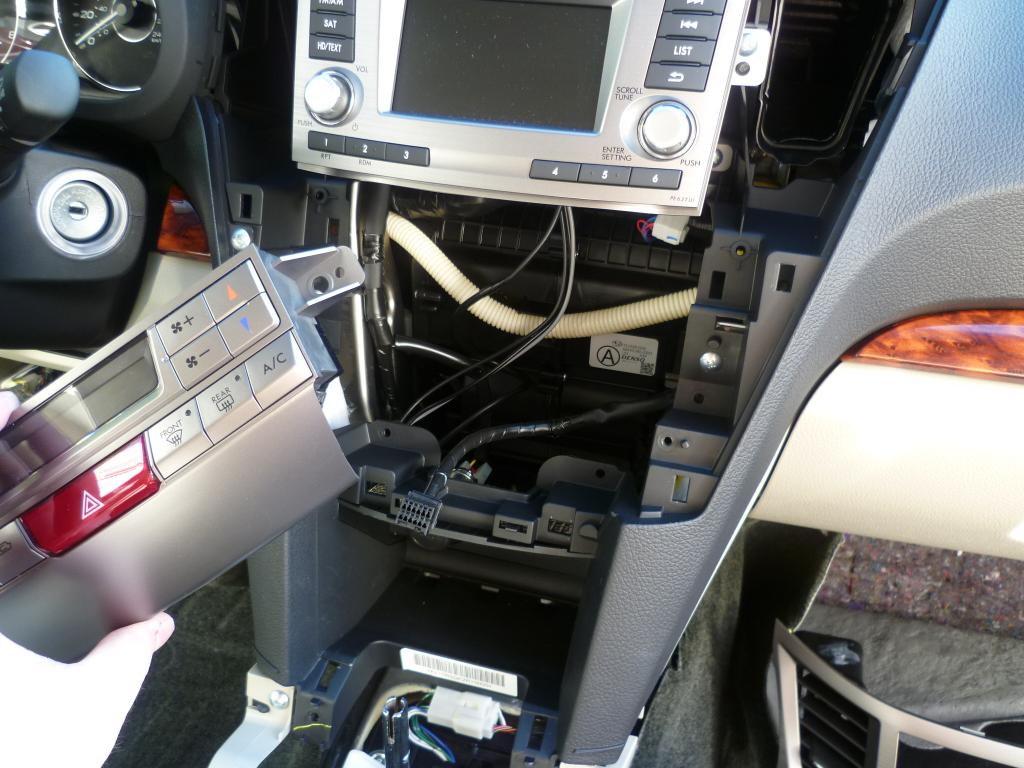
The next step is to remove the center trim panel around the radio and vents. As others have mentioned in other write-ups the best way is pop this out is to push from behind.
What I did was, sitting in the passenger seat, I snaked my arm around from the driver's side and then up into the cavity behind the dash pocket (underneath the radio). I then pushed with my left hand from behind while pulling from within the pocket with my right hand. There are 6 or 8 clips holding it in place. Pushing it out should disengage a few and from there you can just pull it out.
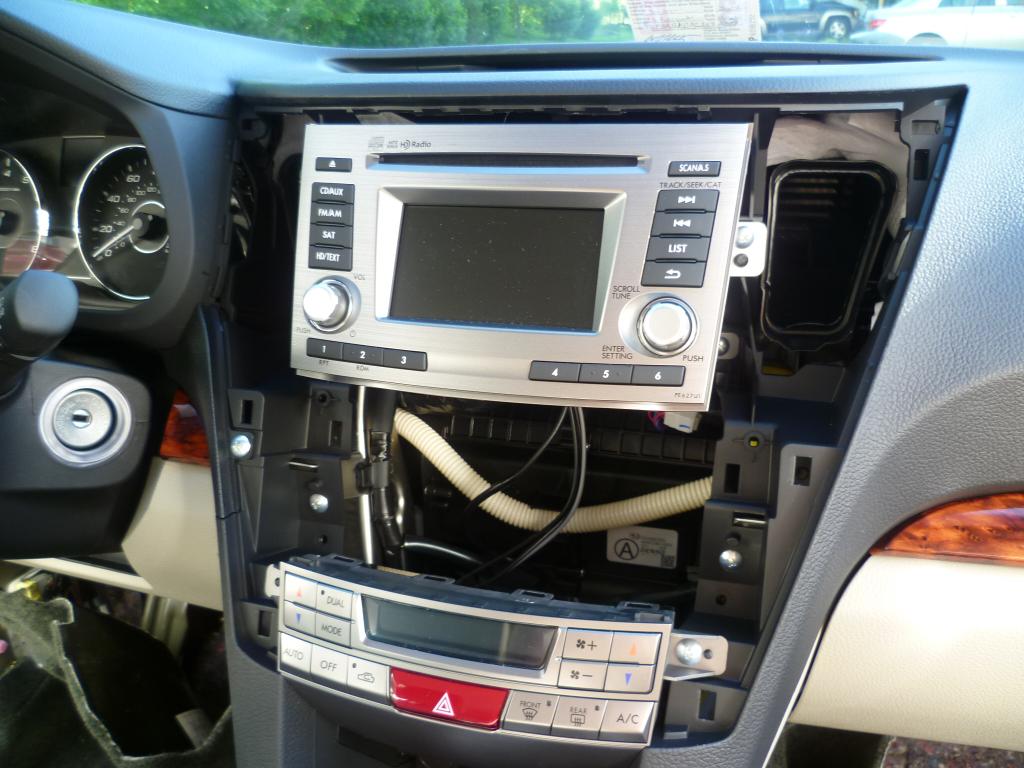
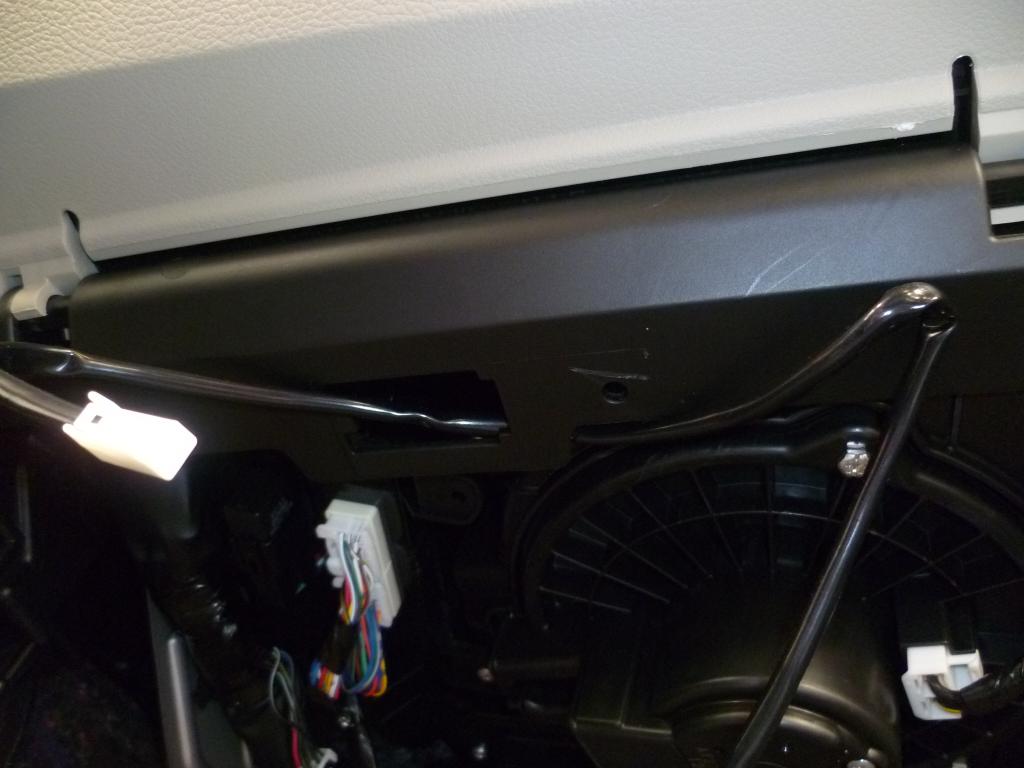
Once that's removed you need to remove the HVAC controls. For the auto climate there are just 2 screws and 4 clips holding it in place, remove the screws and then you can just pull it out.
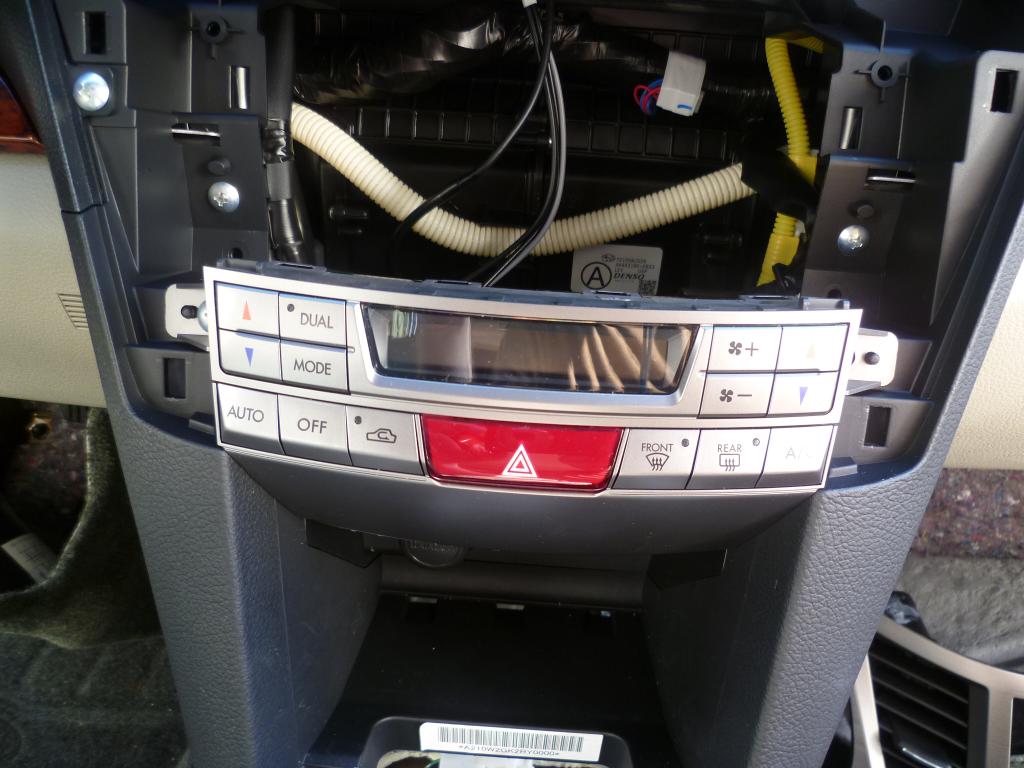
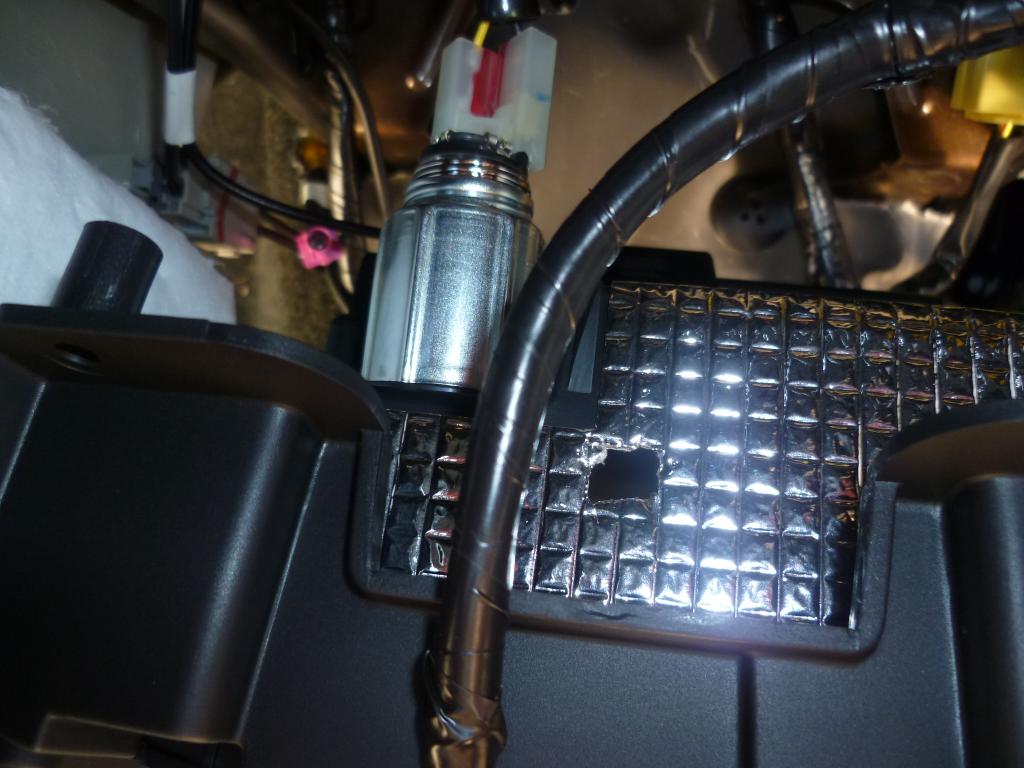
Once the HVAC is out you need to cut a hold in the reflective insulation for the front pocket. You can actually feel the hole if you touch the roof of the pocket from the inside, there is a hole with the sticky side of the insulation tape exposed. I just got a small knife and cut around the hole from the top.
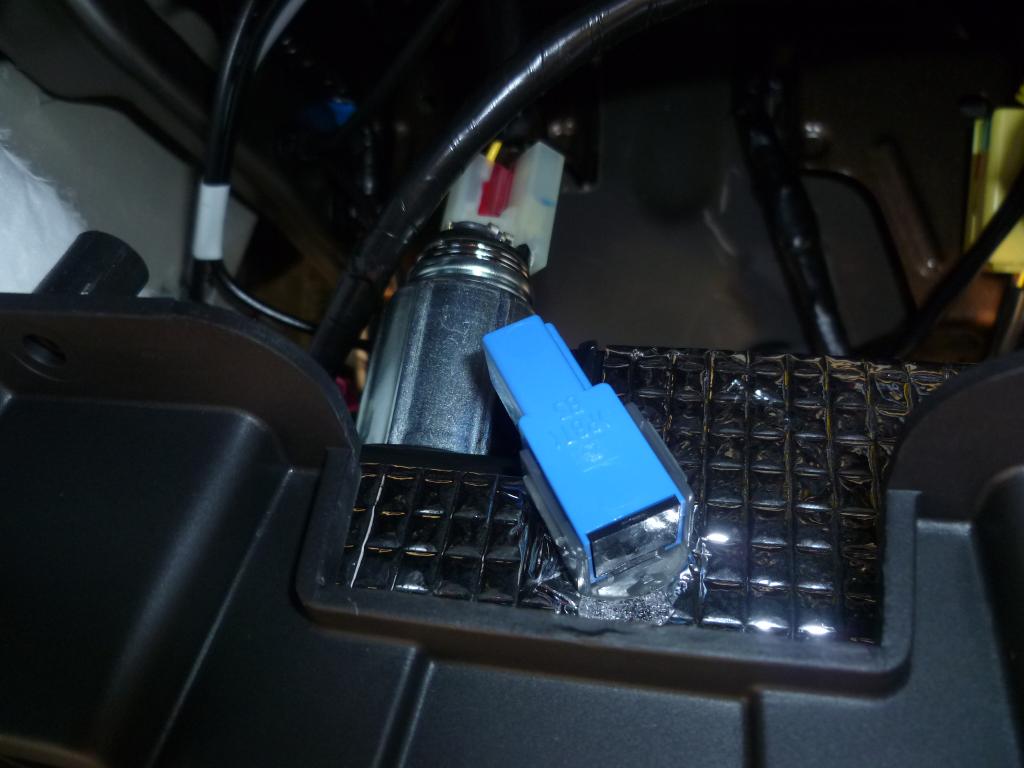
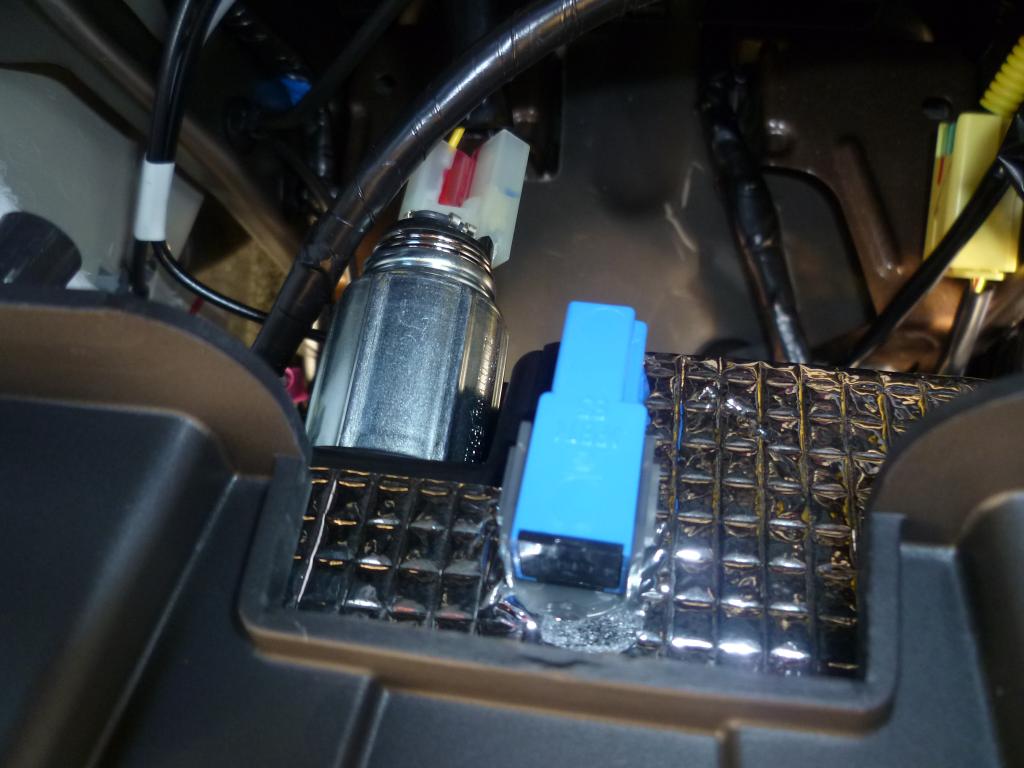
Now it's time to pull out the LED wiring. This wire is about 8 feet long and there are a piece segments (cupholder and driver footwell) that are a foot or more too long.
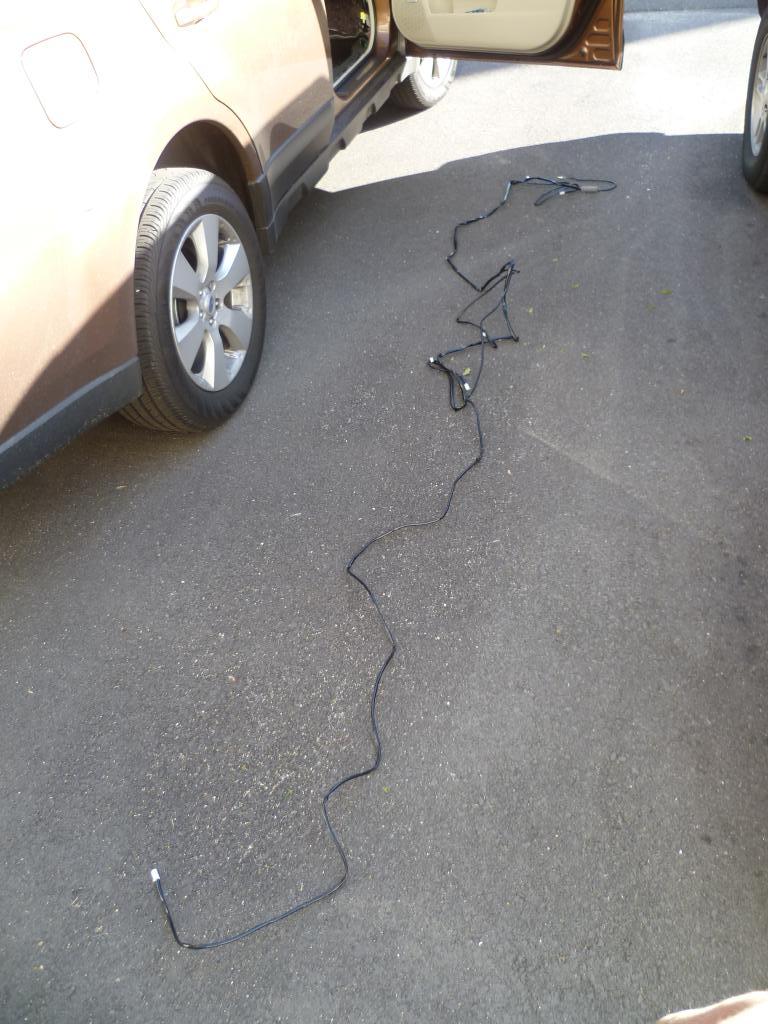
Just follow the directions to thread it through the car- remember to put it UNDER the wool fire insulation otherwise you'll have to re-route some of it like I did.
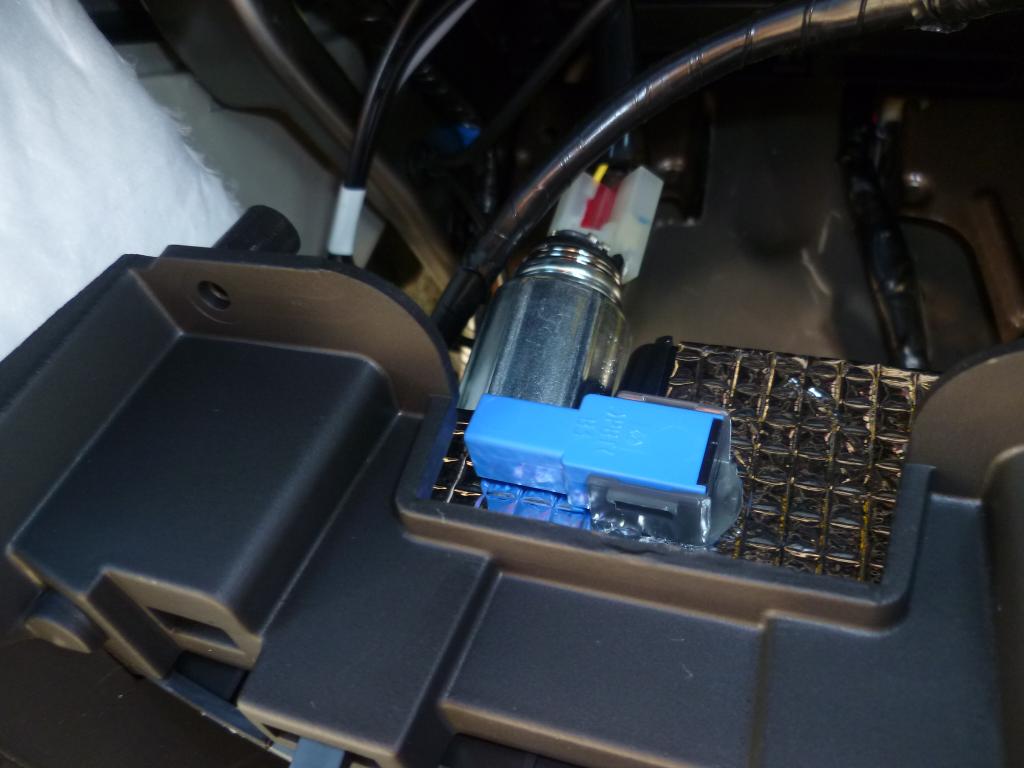
You are going to feed the end with the two male ends for the wiring harness through the right side of the car towards the door. I pulled enough of the wiring through that I was able to tuck the fuse into this little pocket so I can get to it later if need be.
At this point I carefuly pulled all the LEDs where they needed to be: passenger side, driver's side, cubby, and cupholders.
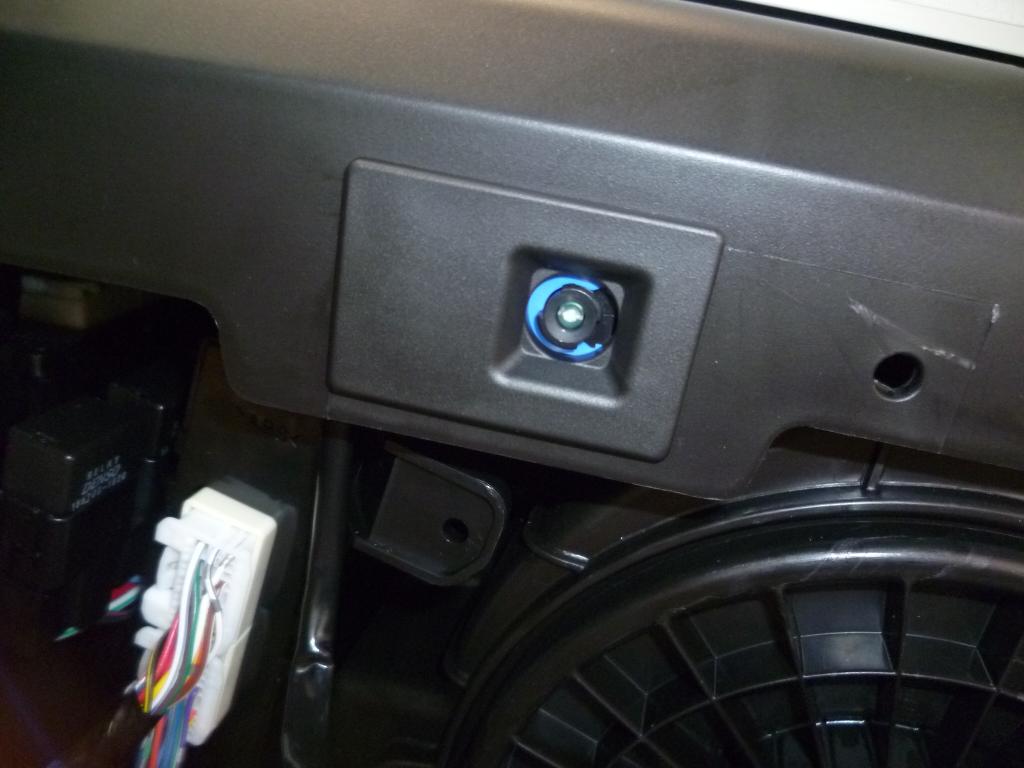
Route the passenger LED through the square hole provided up on the underside of the footwell.
Attach the LED and the LED bracket, as described in the instructions, and then clip the bracket into place. It will only go in one way (easily) so just pay attention before you try to cram it in there.
I went ahead and routed the driver's side LED at this point, this is where you are going to have a lot of excess cable. I bunched it up and ziptied it near the wiring harnesses that are on the outer edge of the footwell. The LED bracket mounting point is hard to find at first, there is a flimsy piece of black plastic trim similar to the piece you removed on the passenger side. The hole for the bracket is on this flimsy piece, on an extrusion. Once it was all connected I zip-tied the excess up behind this plastic trim piece and kind of tucked it up there. There might be a better way to do it but it's kind of tight where the firewall meets the harnesses and where the water line is for the rear wiper.
Next you will mount the cubby LED behind the shifter. The instructions are wrong for this part (at least for me car). They want you to mount it with the cable at the 3 'o clock position and then rotate 90 degrees counter-clockwise. I struggled for a minute or so before I stopped and looked at the LED. The detents were backwards. So I put it in with the wire at the 9 'o clock position and it easily clicked into place at 90 degrees clockwise.
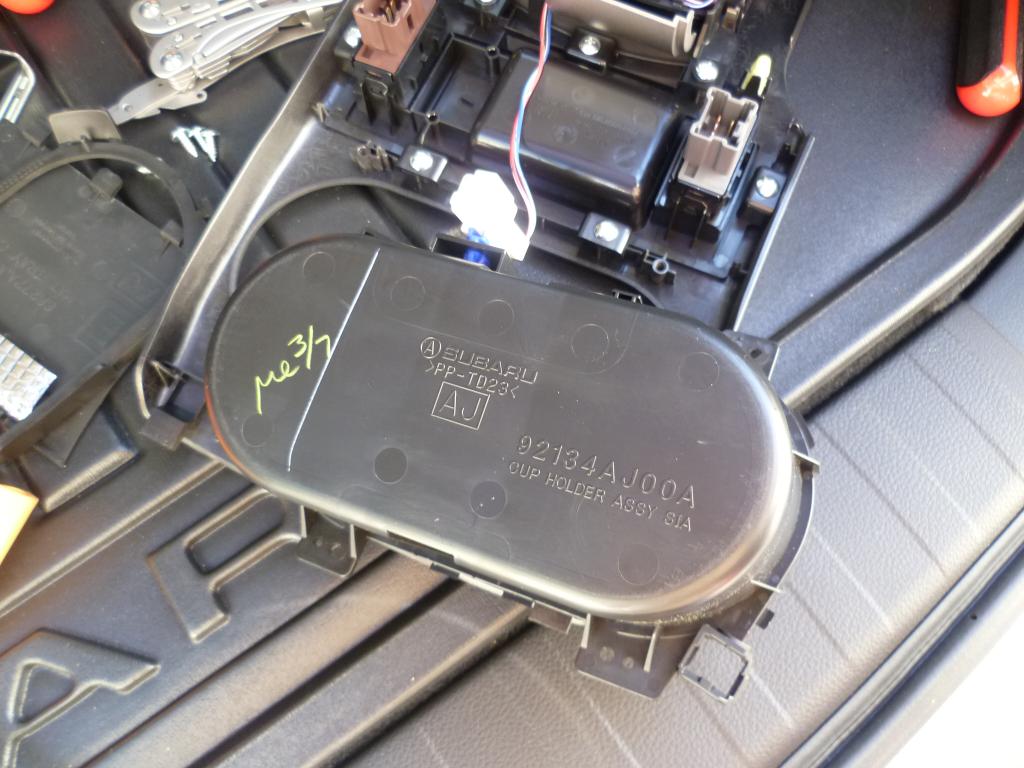
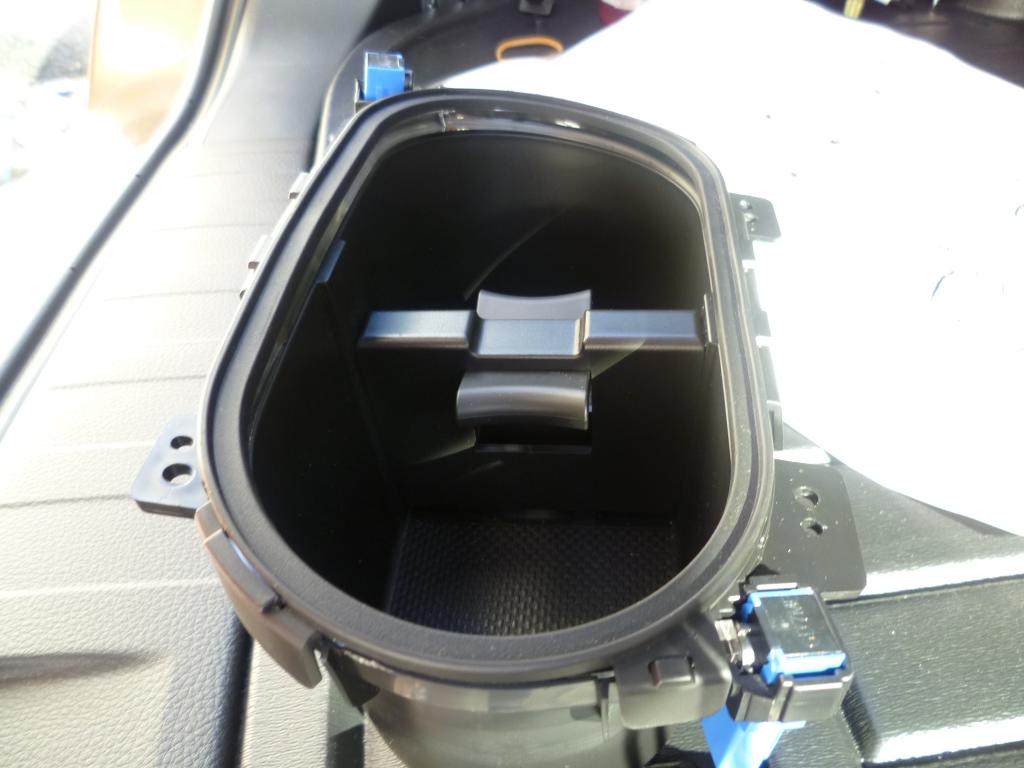
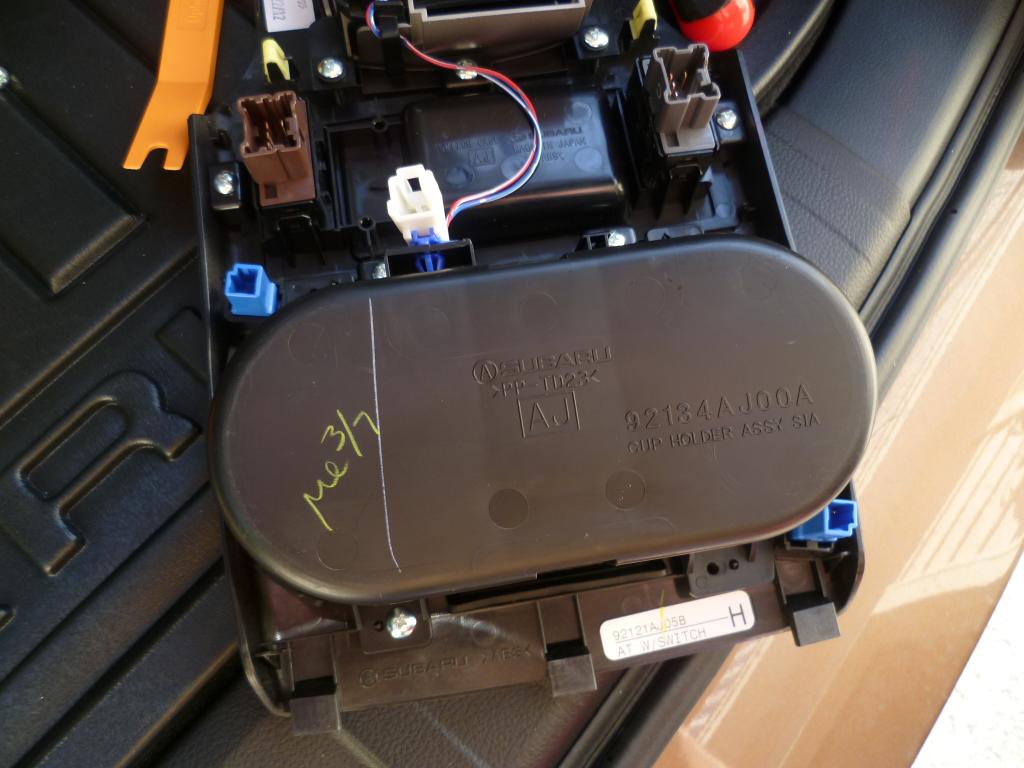
The next part to tackle is the cupholder LEDs. The first step is to remove the cupholder from the console, it's just 4 screws and disconnect the harness.
You will now remove the rubber lip, just push the rubber from the inside and it pops out of each tab easily.

Once the rubber is out there will be 6 or 8 little nibs you have to cut off. These are there to keep the rubber from sagging when the light ring is not installed. When you cut the nibs off make sure they are flush, I used a sharp knife to remove what my angled clippers didn't.

Now insert the plastic lens ring into the groove. The lens is not flat, it's contoured. Don't try to straighten it!
Now for some reason I struggled for a good 2-3 minutes to get the lens to clip into place. I put it down, went to the instructions and when I came back it loosely slid into place. I'm not sure what happened but apparently it does not need to be pried in.
Once the light ring is in place you can put the rubber ring back on and now you clip the LEDs into place. They can be a bit tough to seat but they will make a positive click when you insert them.
Inserting the LED

Fully seated

Now re-attach the cup holders to the center console.
This is another spot where there is a lot of excess cable for the LEDs, I bunched it up and zip-tied it to the insulated wires that are running down the bottom of the console on the driver's edge.
Unfortunately this is where the pictures run out but you're pretty much done. Everything now is just re-assembly so work backwards and put everything back into place.
The entire project took me 2.5 hours, not including having to take the dash back apart to reconnect the HVAC controls and cleanup
Tips:
- Double-check that you have reconnected everything. I put everything back together, fired up the car, checked the lights, etc only to find out that I forgot to reconnect the HVAC controls. At least it only took a few minutes to remove the console parts.
- Before you put too much of the car back together test the LEDs. Put the console cover and shifter back on, reconnect your battery and you can turn the car on. I did this before putting any trim or carpet back. If it's light you won't be able to see the light, you will have to crawl under the driver and passenger foot wells to see the blue light is on, same for the cubby.
- Put everything back together, except for the a-pillar cover, and give it another test. Once the a-pillar covergoes on it's not coming off again without having to cut that replacement clip so make double sure everything is working right.
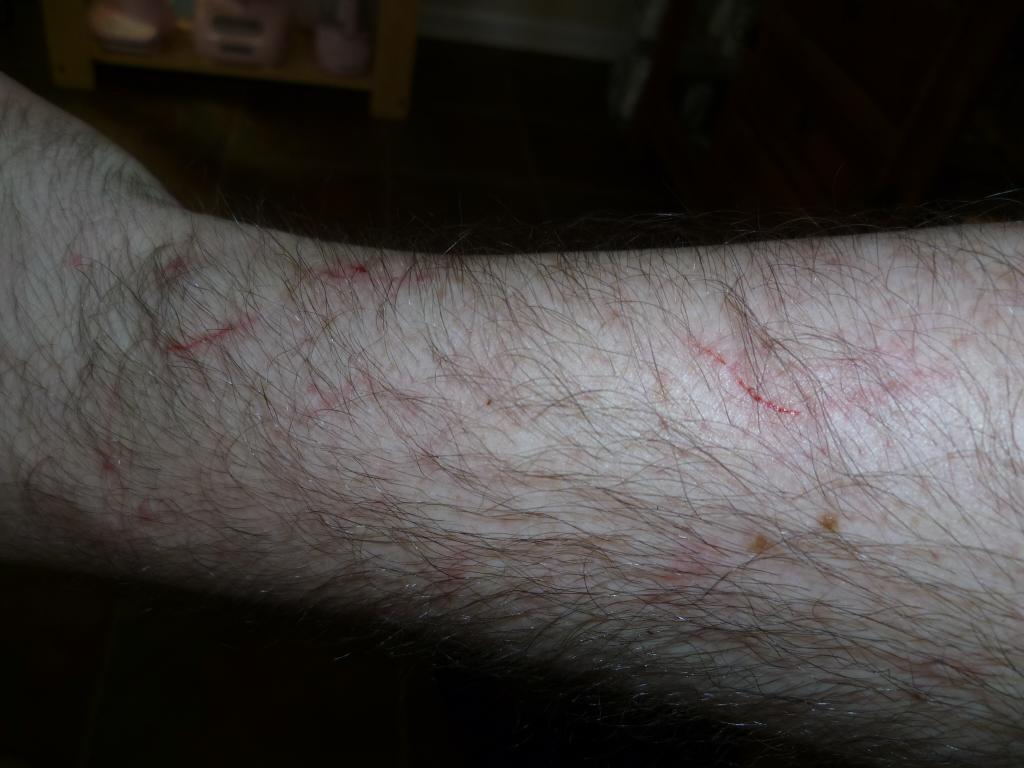
- Wear mechanics gloves if you've got em. My hands and arms got pretty torn up.


It took about 2.5 hours and I didn't work particularly fast- I wanted to take my time to ensure that I didn't scratch or damage anything.