You must be logged in to rate content!
3 minute read

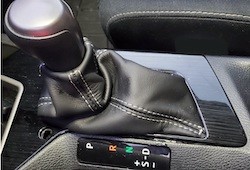
1. Unscrew Shift Knob (Counter-clockwise).
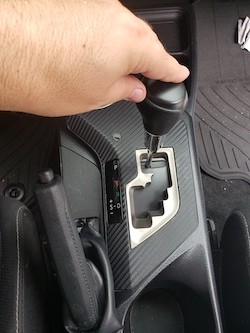
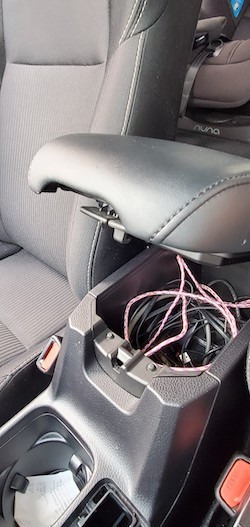
2. Open Arm Rest.
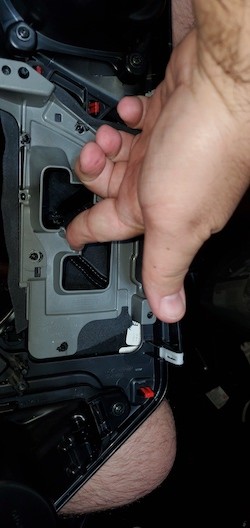
3. Pull straight up on shift boot opening.
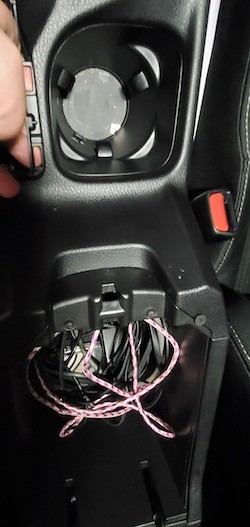
4. You will see the 2 white clips holding it in place.
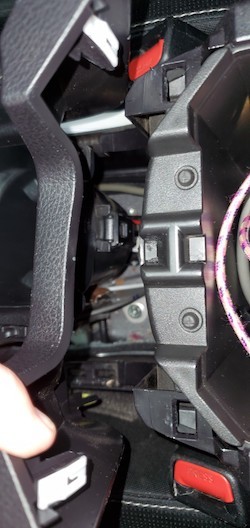
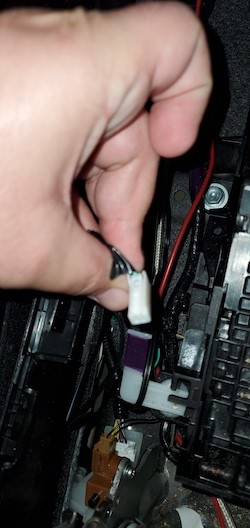
5. Carefully lift up on panel. There is an electrical connection towards the front center that needs to be disconnected before removing panel from vehicle.
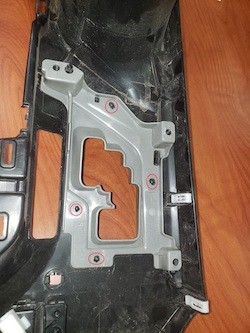
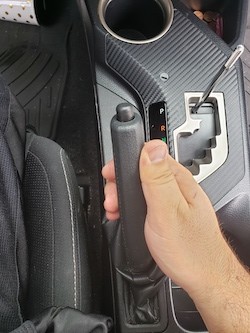
6. Remove 4 screws (circled in red). Carefully remove shift lever trim from panel.

7. Carefully pry up with thin flat head screw driver to remove shift bezel.
8. Place shift boot in panel over shift bezel. Shift boot will be held in place/ sandwiched by bezel and shift lever trim and held in by 4 screws.
9. Reinstall panel in reverse order. Do not forget to reconnect electrical connector. Screw in Shift Knob (Clockwise).
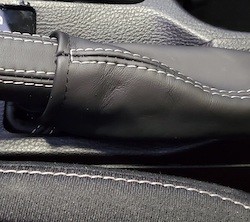
10. Firmly grasp handle and pull up to remove. (Only if adding leather handle cover - this is described in another document, see Install info for the Ebrake Handle Cover).
11. Grab E-brake boot and pull straight up on plastic trim/ surround.
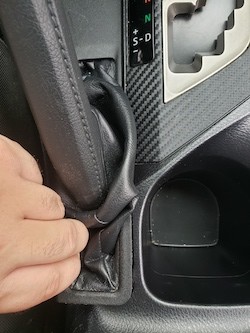
12. Remove factory E-brake boot and reinstall new boot in same orientation.
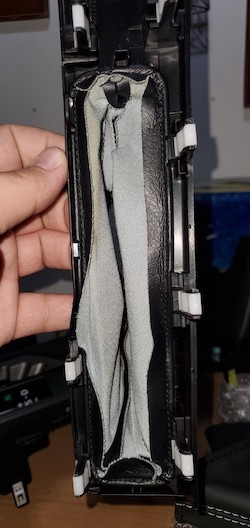
13. Slide boot over handle and reinstall E-brake boot trim clips into openings. Re-install handle if it was removed.
Useful tip
You have installed a product made out of genuine leather. As you know, to maintain a leather product in good condition, you should take care of it. We suggest occasionally (every 4-6 week for example) applying some leather conditioner/UV protector to keep your leather from drying up in the sun and cracking.
Redline Automotive Accessories Corp. will not be held liable for any labor, incidental or consequential damages of any kind. Proceed at your own risk.
