You must be logged in to rate content!
5 minute read
Total Chaos UCA how-to Install
Compliments of SILVER06TRD @ www.tacomaworld.com
9-14-2008
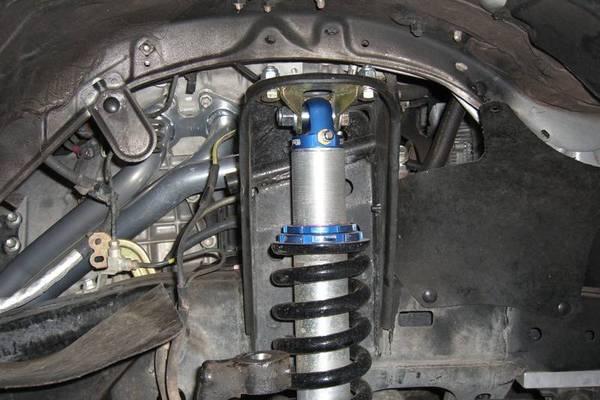
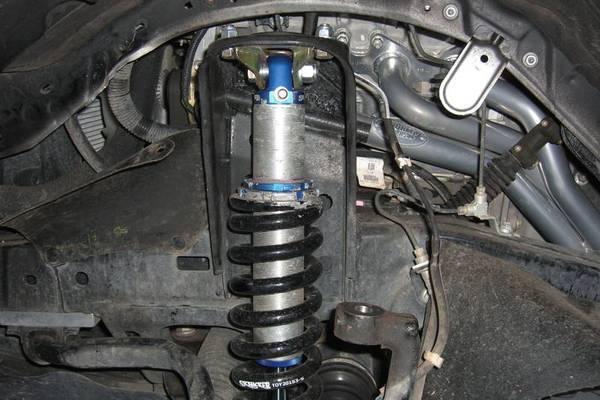
Got the total chaos uca's intalled this weekend. With help from Chris it took about 2hrs with only a few minor bumps. They make a night and day difference compared to stock and allow for proper alignment and ride quality. These were installed on my 06 TRD with skyjacker coilovers and AAL's.
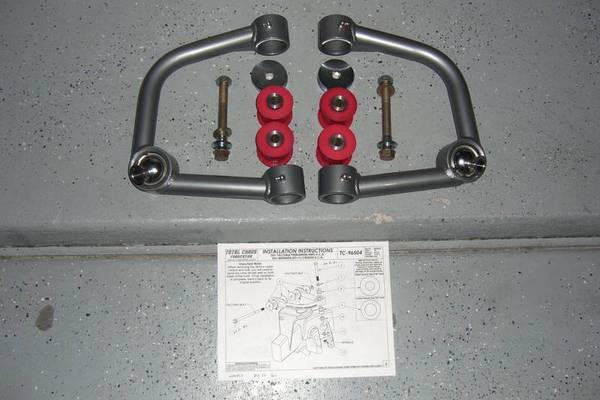
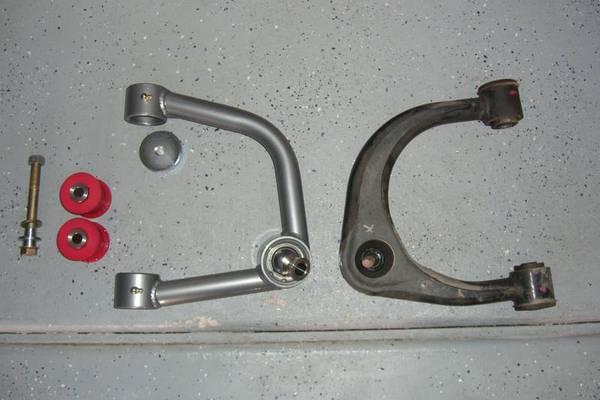
go over the instructions and ensure you have all your parts.
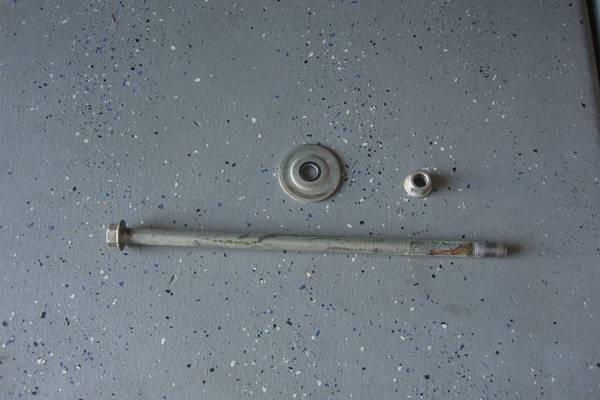
note: for some reason my zerks were difficult to get started and hard to tighten. they were actually 3/8. take your time and don't strip em, i did and had to get some generic metric one's at auto zone..the went in by easily by hand.
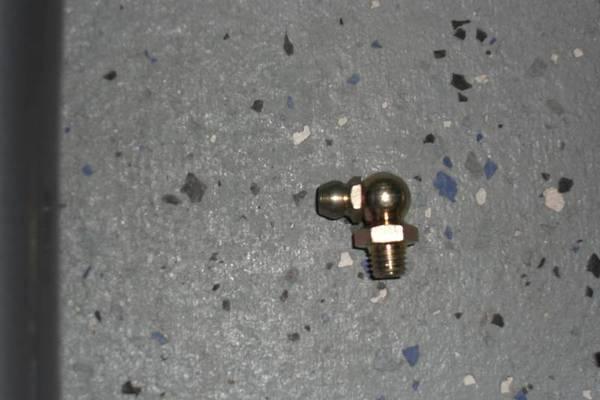
supplied 3/8 zerk
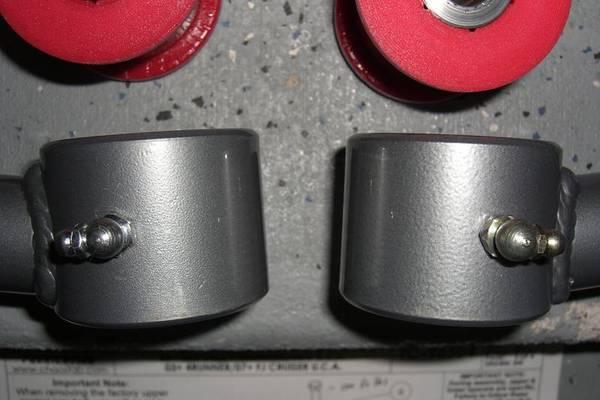
auto zone one's on the left compared.
start by removing the wheels and placing the truck up on some stands.
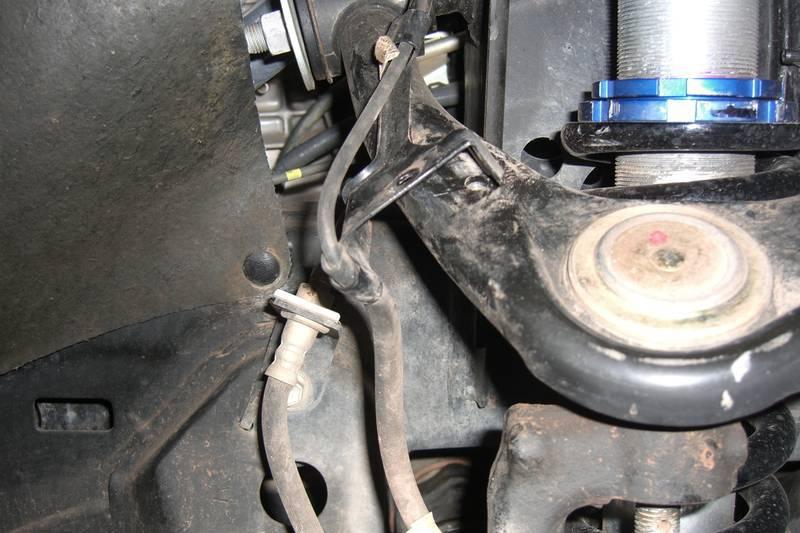
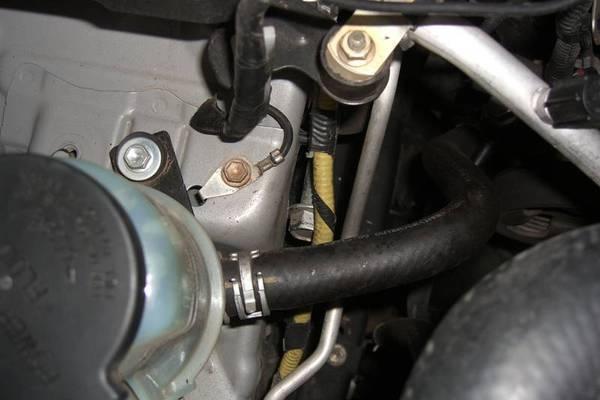
remove this bracket (10mm) and un-bend the clips that hold the line.
remove some of the rubber shroud to give yourself some room to see and work. it's easy to just pop it over the plastic clips.
remove the ball joint bolt (19mm)
loosen the top nut (22mm)
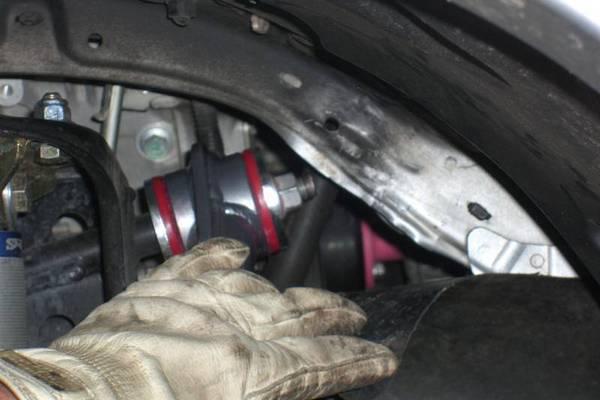
you will have to bend the inner fender well just a bit to get the top bolt out. don't worry...it's not as bad as it sounds. use some channel locks and take you time. it helps to have someone look down from the top and guide where to bend. to work the bolt out Chris used a hammer and a 1/4" extension. as you tap it out you may need to continue to bend it some more. just bend as you go so you can see exactly where you're at.
note: remember that when you put the bolt back in; you'll be putting it back in from the rear. so, it's ok if it wedges a bit against the fender when you tap it out.
once you get it out, install it the reverse of the way to you took it out so that it's easier to get in.
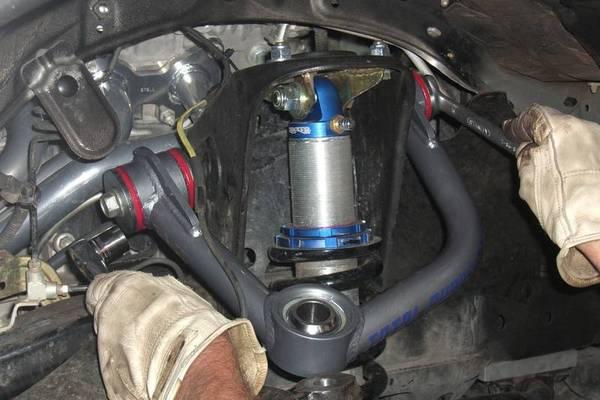
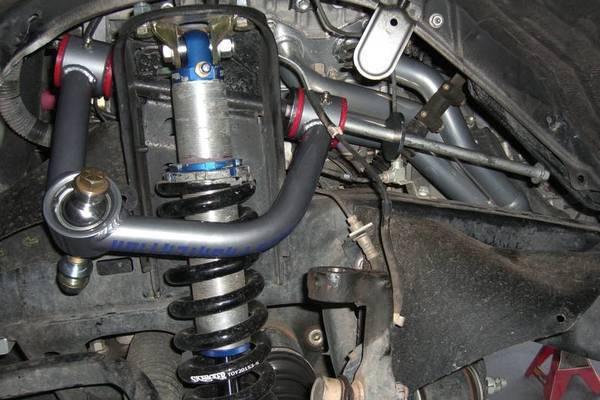
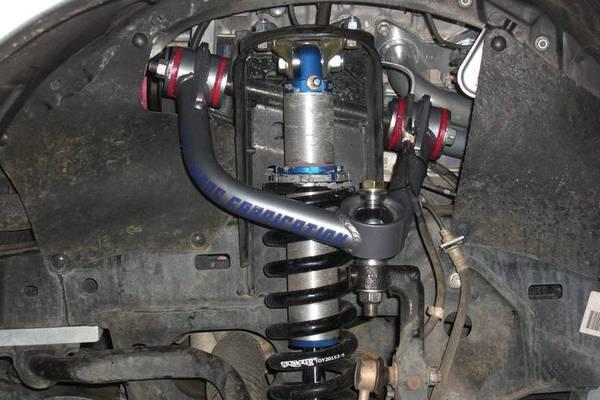
install the assembled arm, put the bolt in from the rear and tighten to 83ft lbs
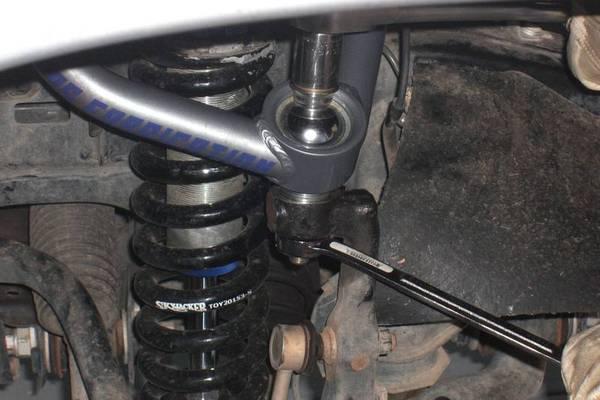
install the ball joint bolt, collars and washers..be sure to review the instructions so you have the correct order.
we used used zip ties to attach the line back to the arm. double check to be sure it will have enough movement free play.
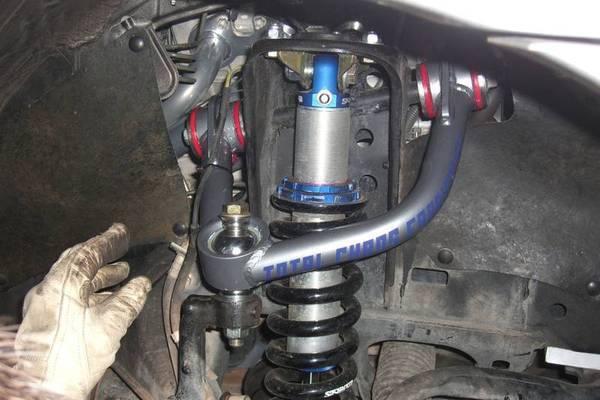
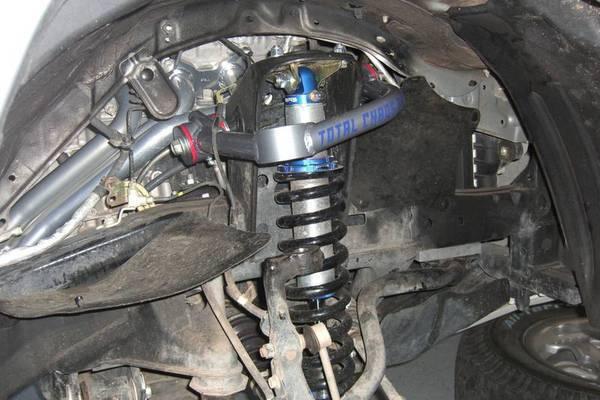
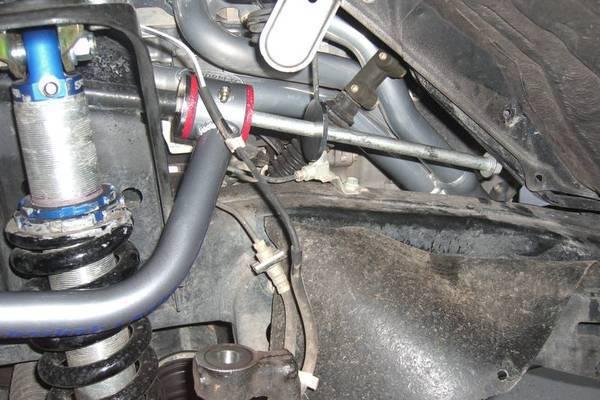
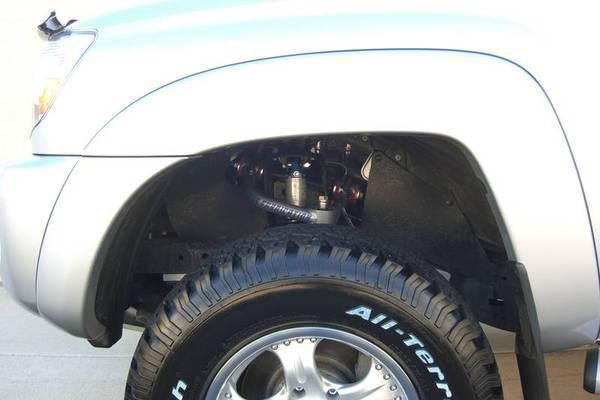
it's basically the same thing on the diver side. here are some more pics of where to bend, how to feed the upper bolt and the finished product. ![]()
note: see if you catch it?? one of our bumps ![]()

bend here
re-install your upper bolt the opposite way.
align and enjoy....if you want em i have my alignment numbers hit me up and i'll post em. all the credit goes to Chris 4x4 awesome bro! thanks again