You must be logged in to rate content!
14 minute read

AUTOMATIC SHIFT BOOT AND EBRAKE BOOT
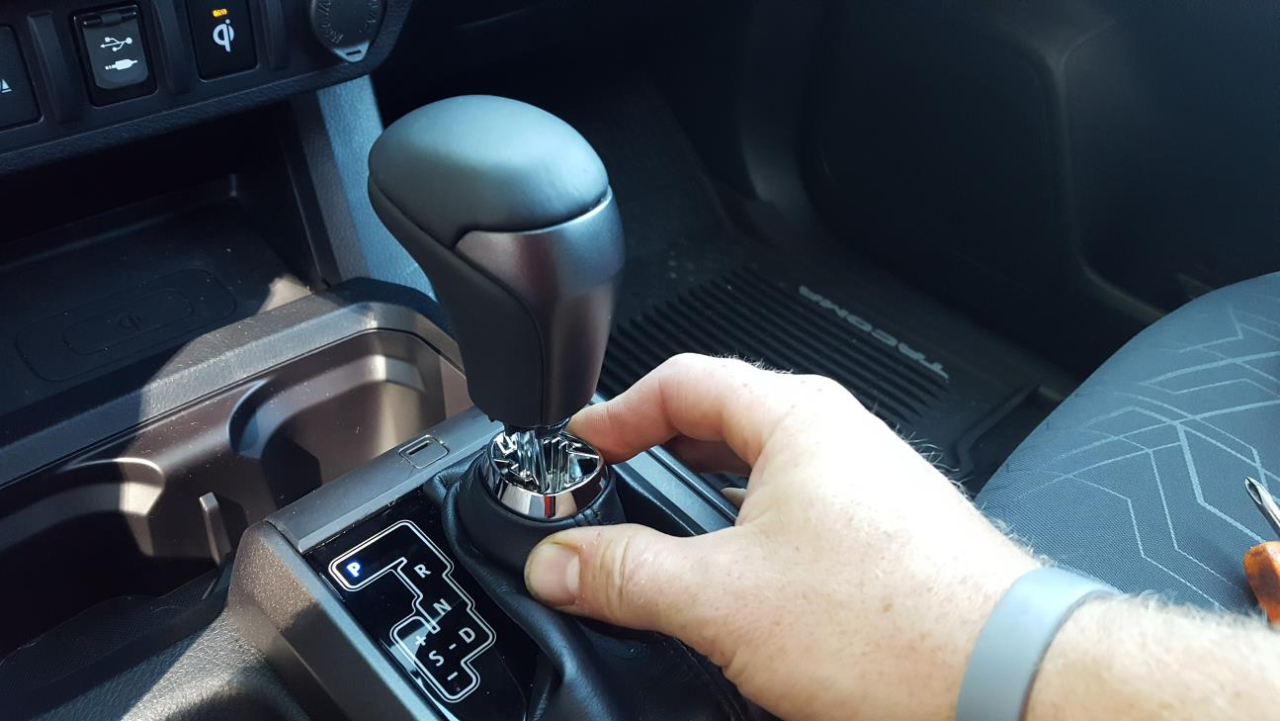
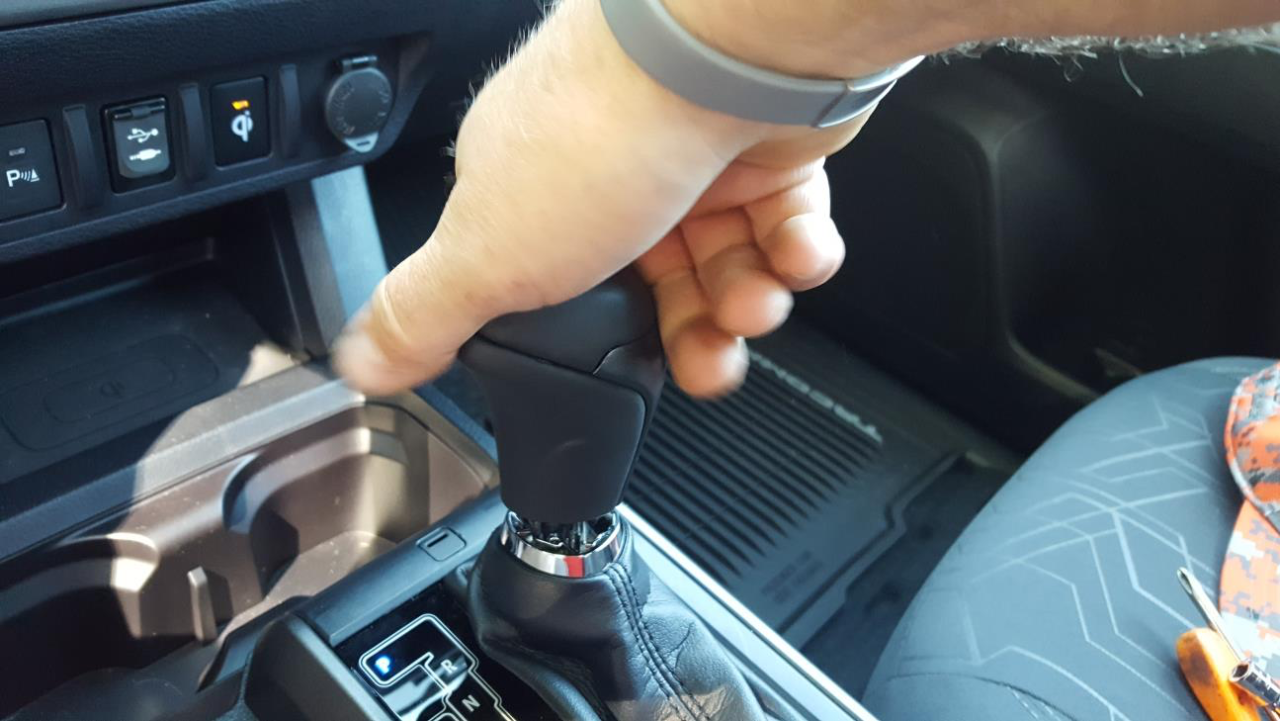
Press down on the factory shift boot collar to disconnect it from the shift knob.
Unscrew shift knob
Pull up on the rear of the console to separate it from the base
Do the same in the front on both sides
Pull trip panel upwards and off the e-brake
lever. (E-brake lever should be in full on position)
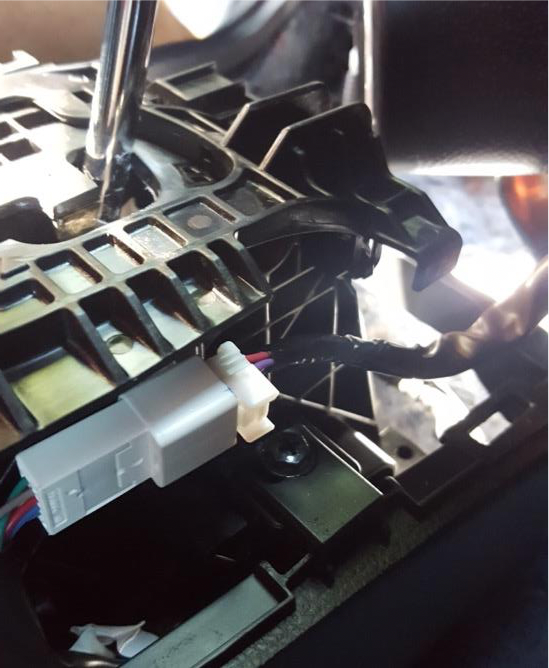
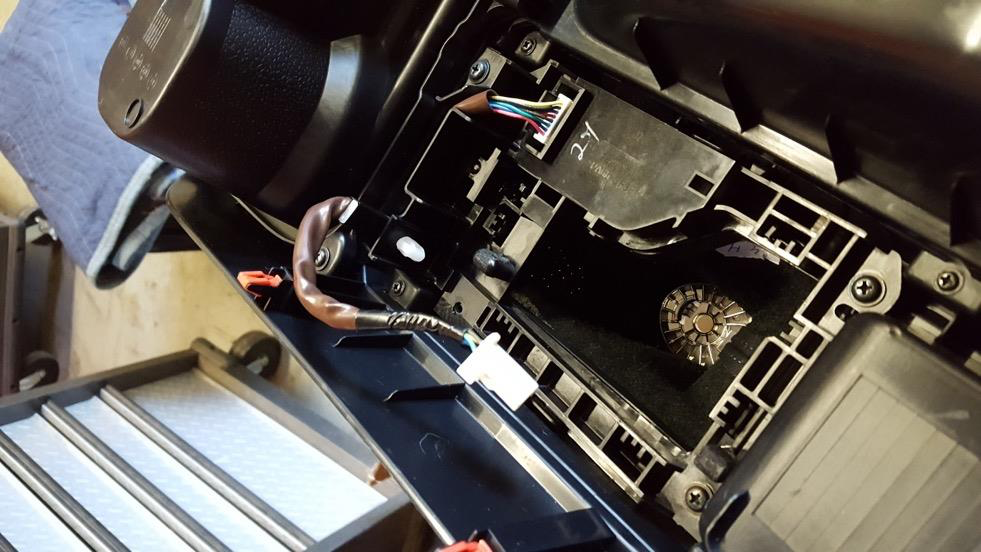
Unplug this harness on the passenger side of shifter assembly to fully remove trim panel.
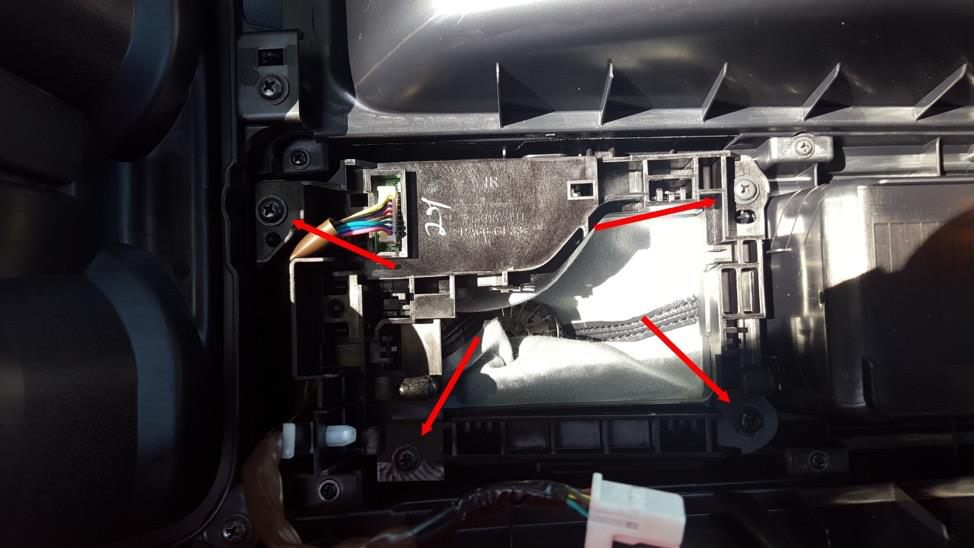
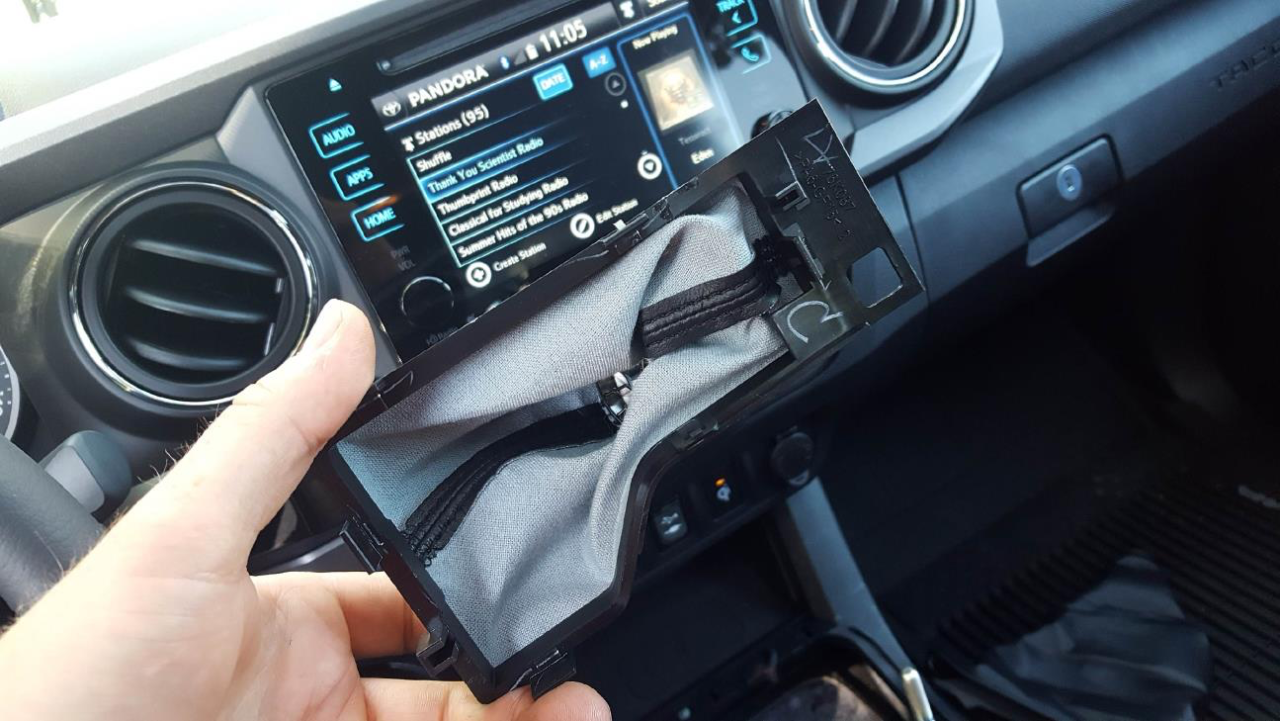
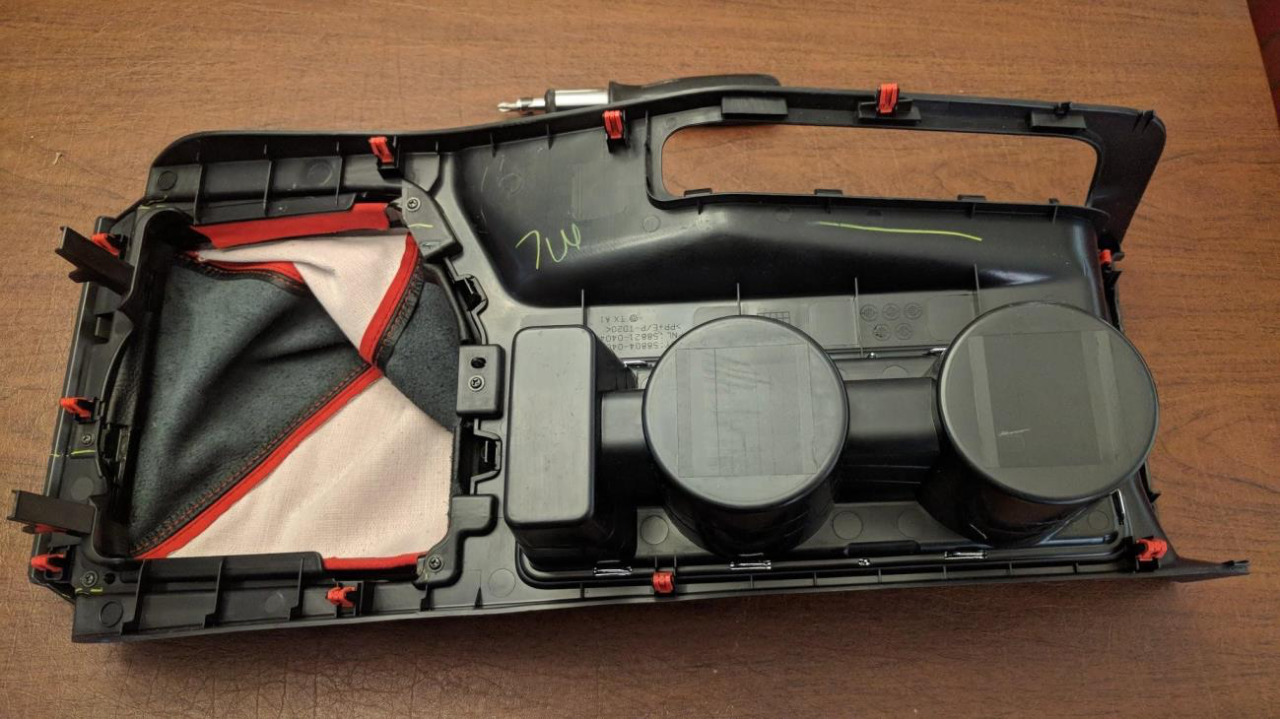
Remove these 4 screws to free the shifter boot surround from the trim panel. You will also need to release 2 plastic clips carefully with a screwdriver.
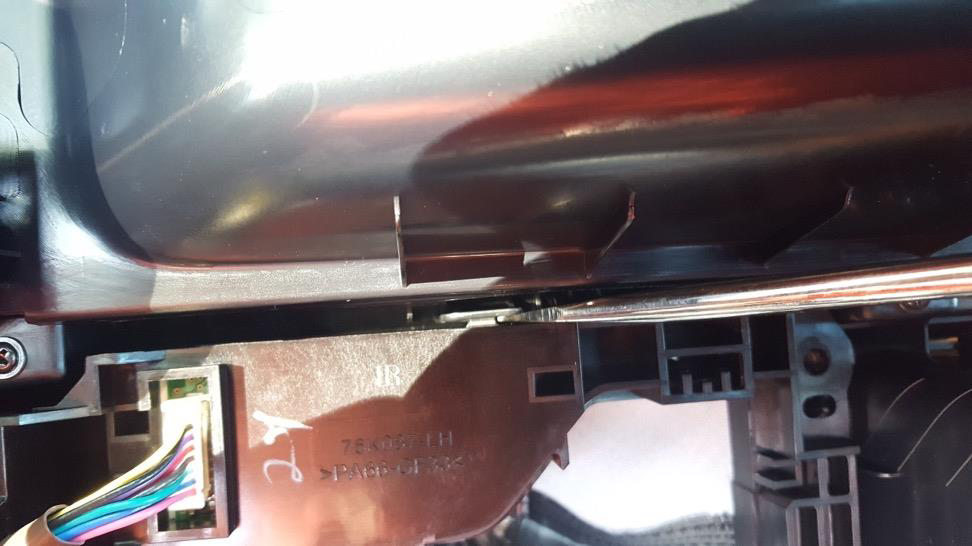
Once the shifter boot surround is free, it needs to further
come apart. Gently pry these 5 plastic clips and pull the factory boot and plasic mounting ring from the surround.
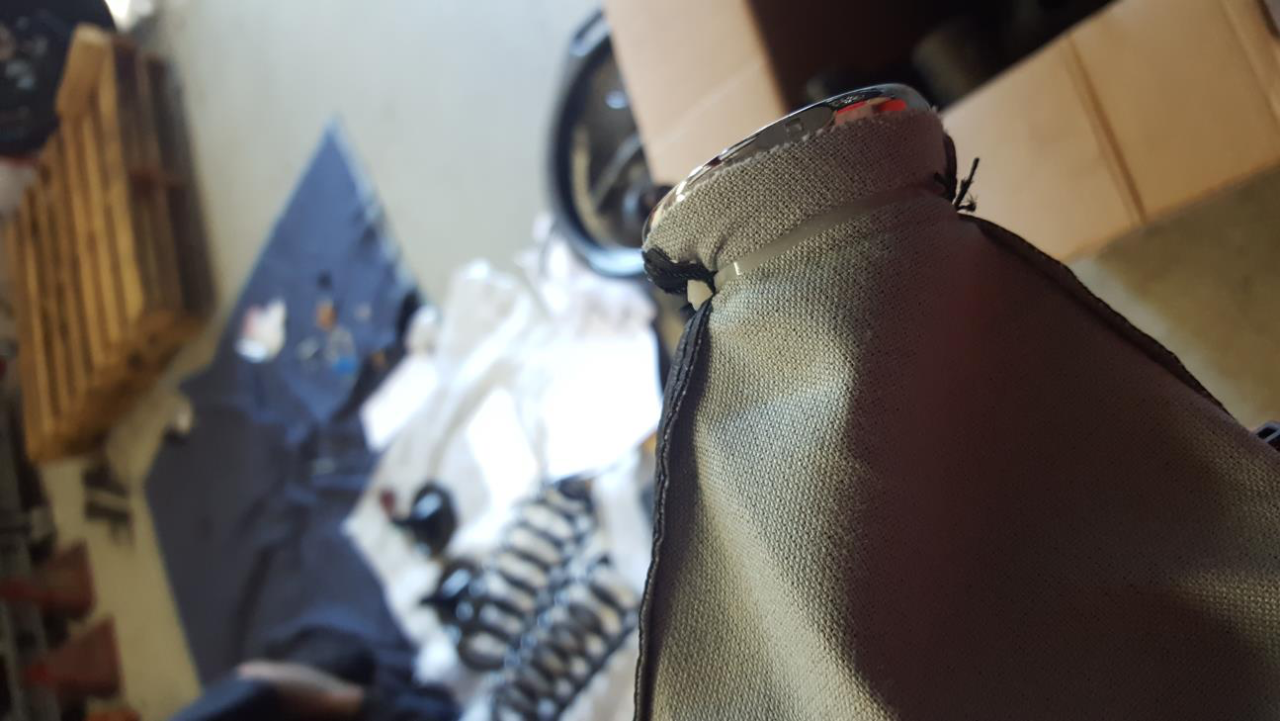
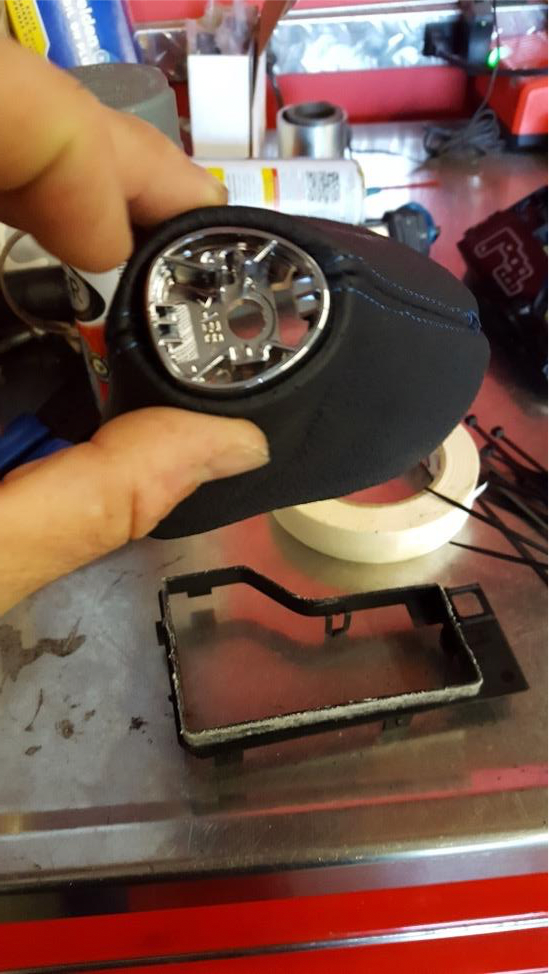
Turn the shift boot inside out and cut this zip tie. Remove the chrome mounting ring collar and save.
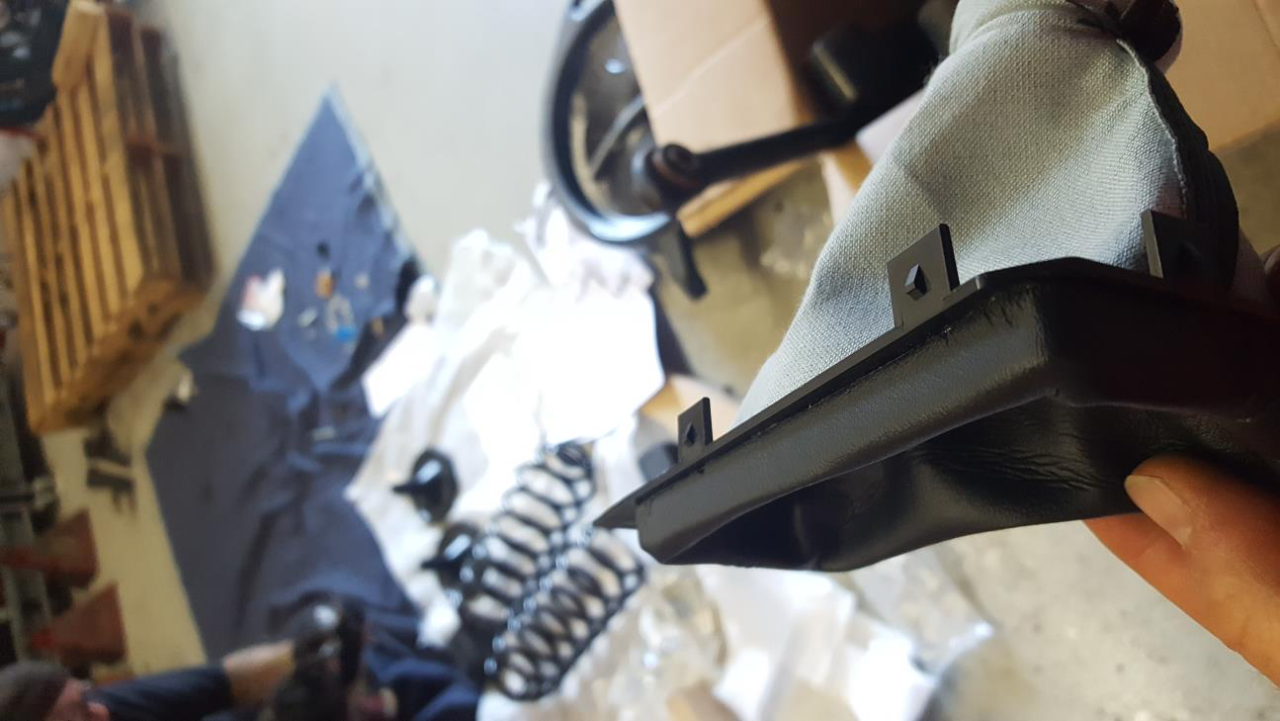
Remove the factory boot material from this plastic mounting bracket. It’s glued on, so force may be
Take your new leather boot and turn it inside out. Slide the plastic collar inside (upside down) with the narrow end pointing forward and zip tie the leather boot to the collar like so.
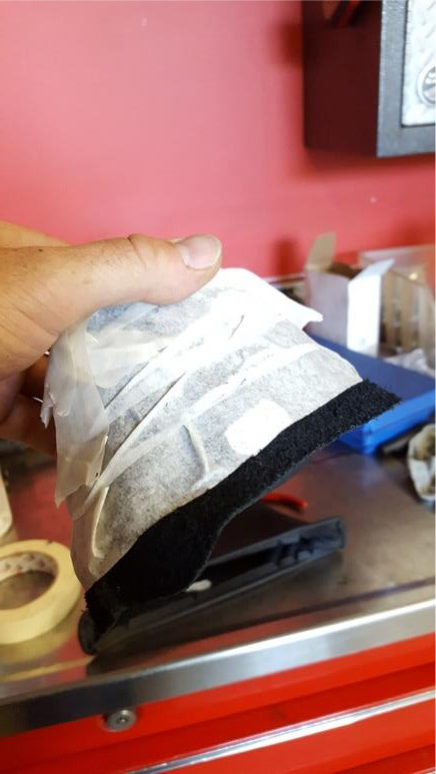
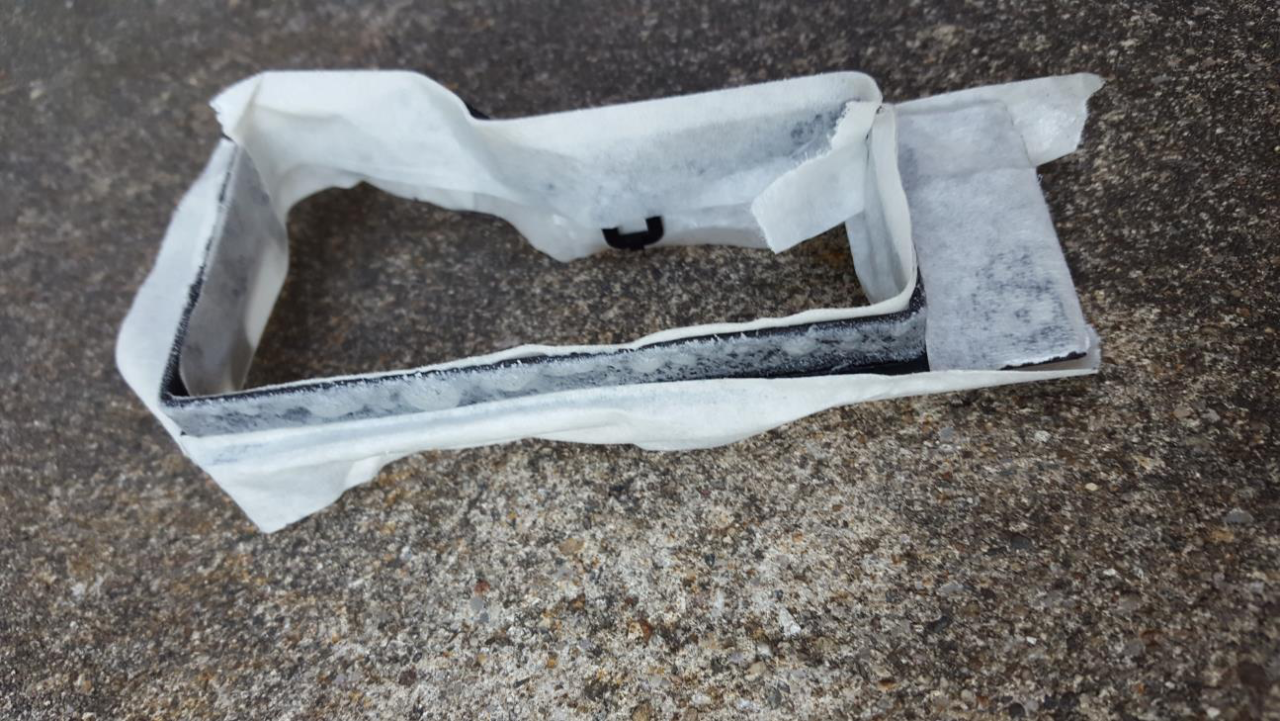
Wrap the inside of the new leather boot with masking tape to keep overspray off and tape the surfaces of the shift boot mounting bracket that you don’t want glue on.
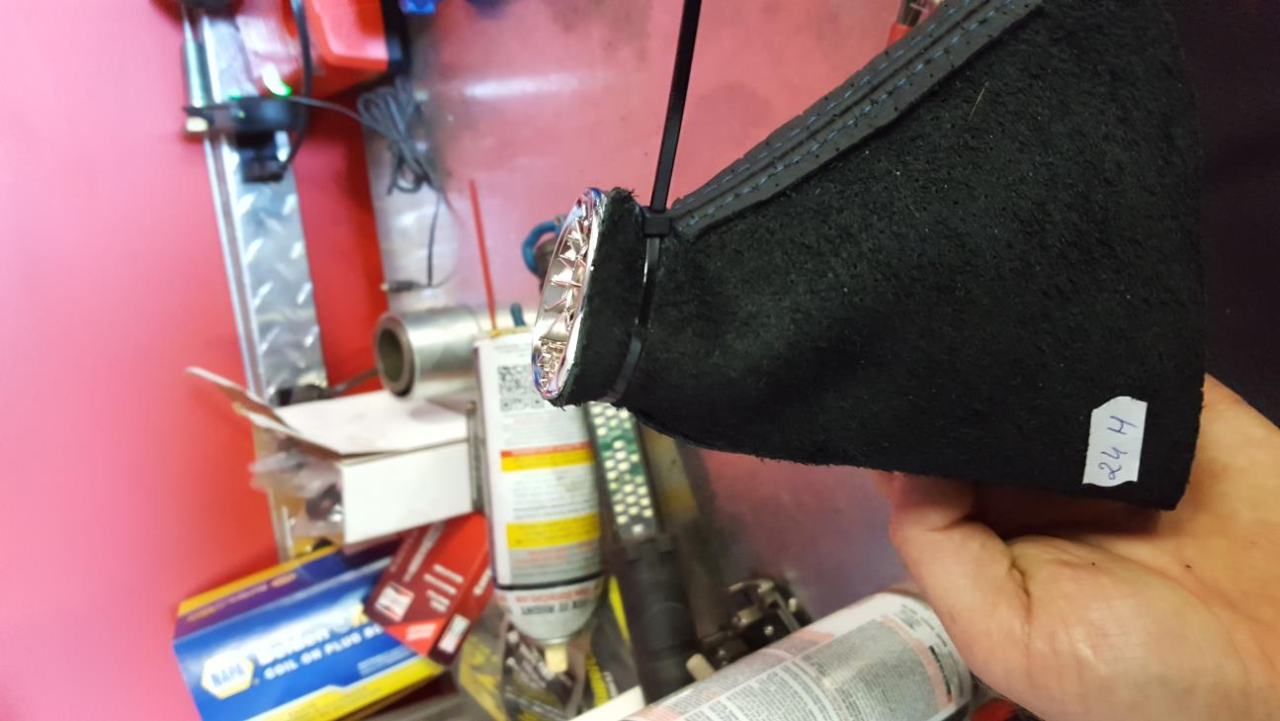


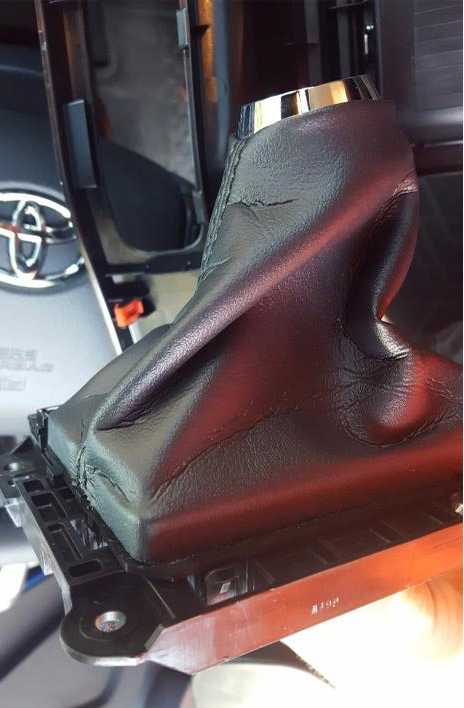
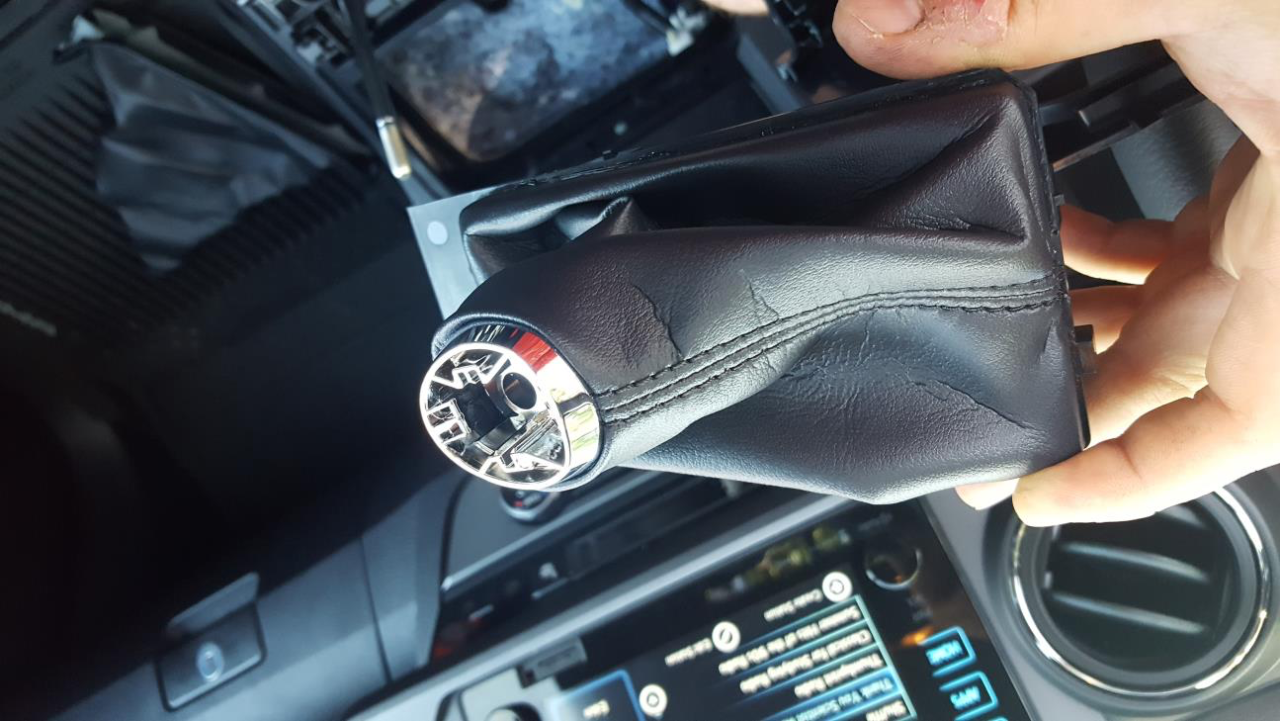
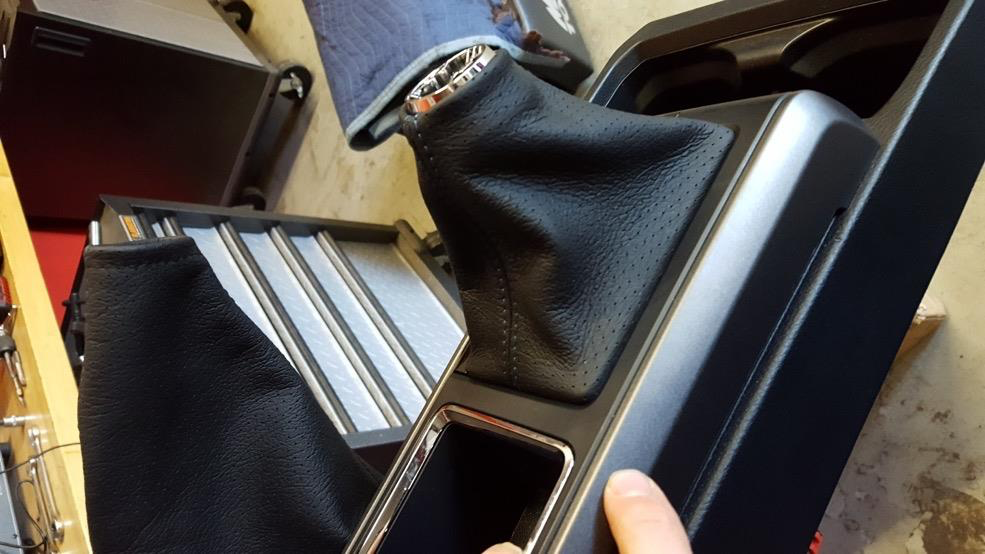
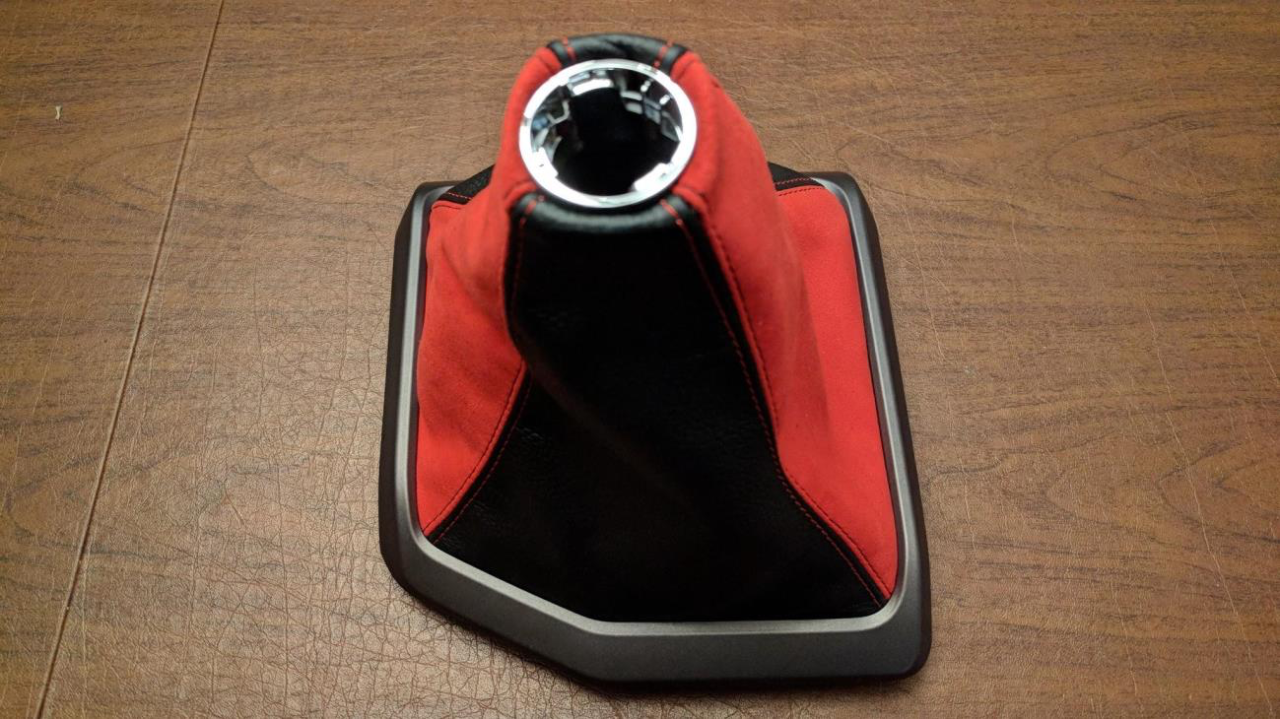
Flip the boot back to the correct orientation. It
should look like this.
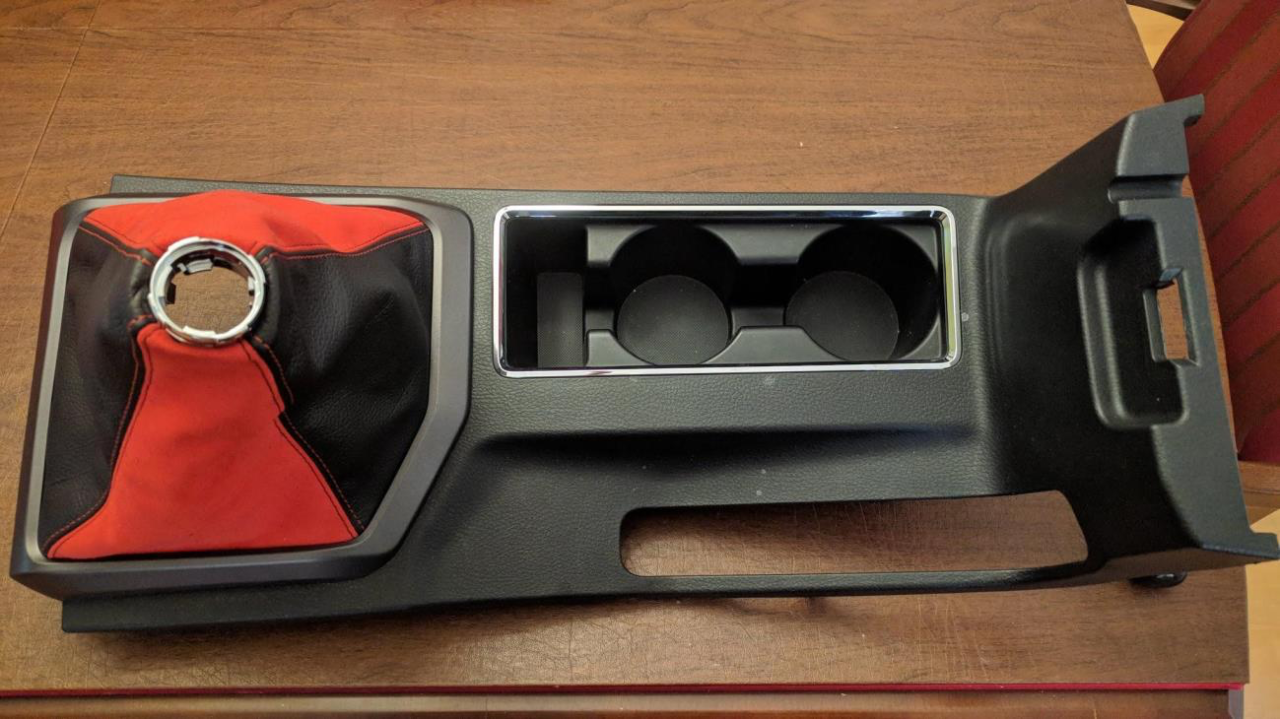
Install the shift boot and trim ring, back into the shift boot bracket, then into the console trim panel in the reverse order you removed them. The leather may be thicker than the factory material that came out, so take care he to make sure the plastic clips snap back together.
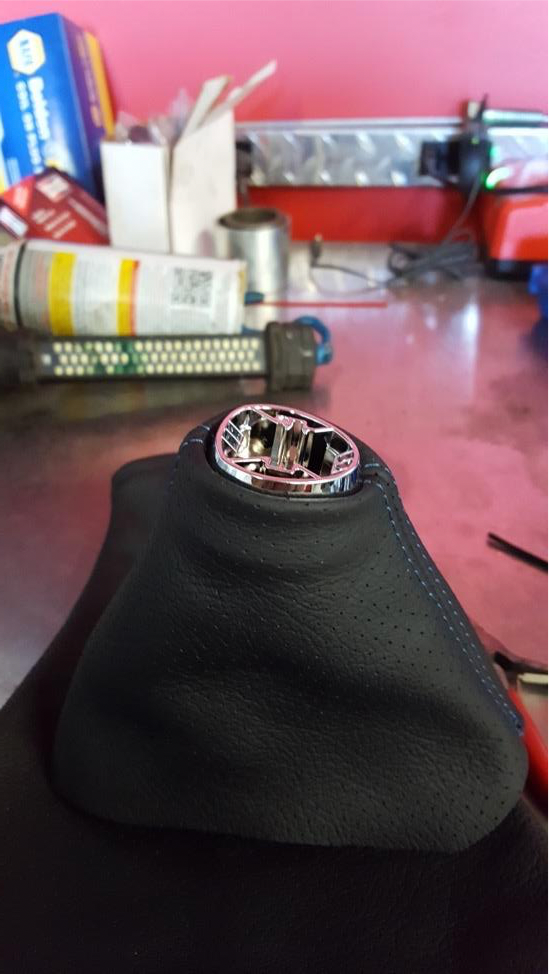
Once the adhesive is dry to the touch, remove all the tape and mate the leather boot to the trim ring. Remember this shift knob colar points forward! Also pay attention to the seam alingment. You may want to test fit the pieces into the console before you glue them to mark orientation with a piece or chalk or crayon. Take your time!
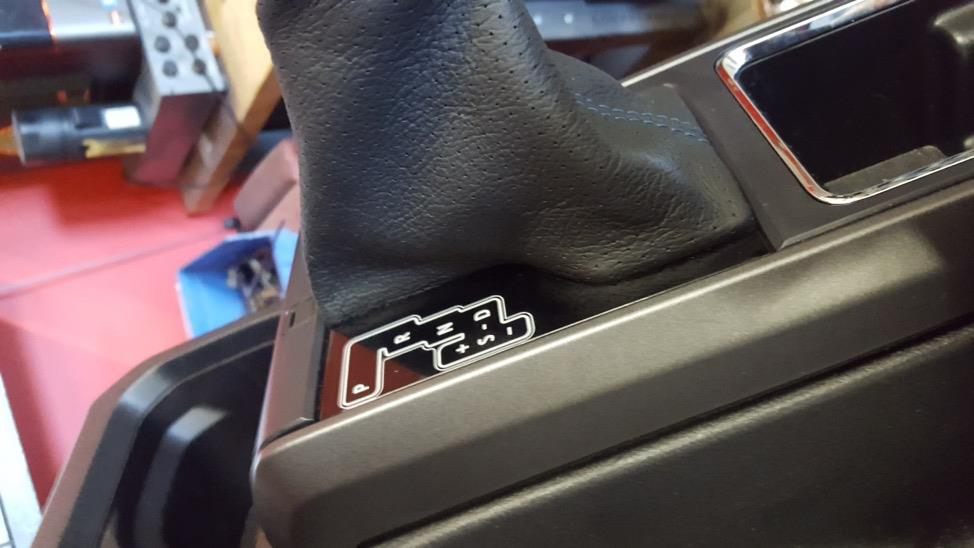
Screw the factory shift knob back into place and pull up on the shift boot trim ring to snap it back into place.
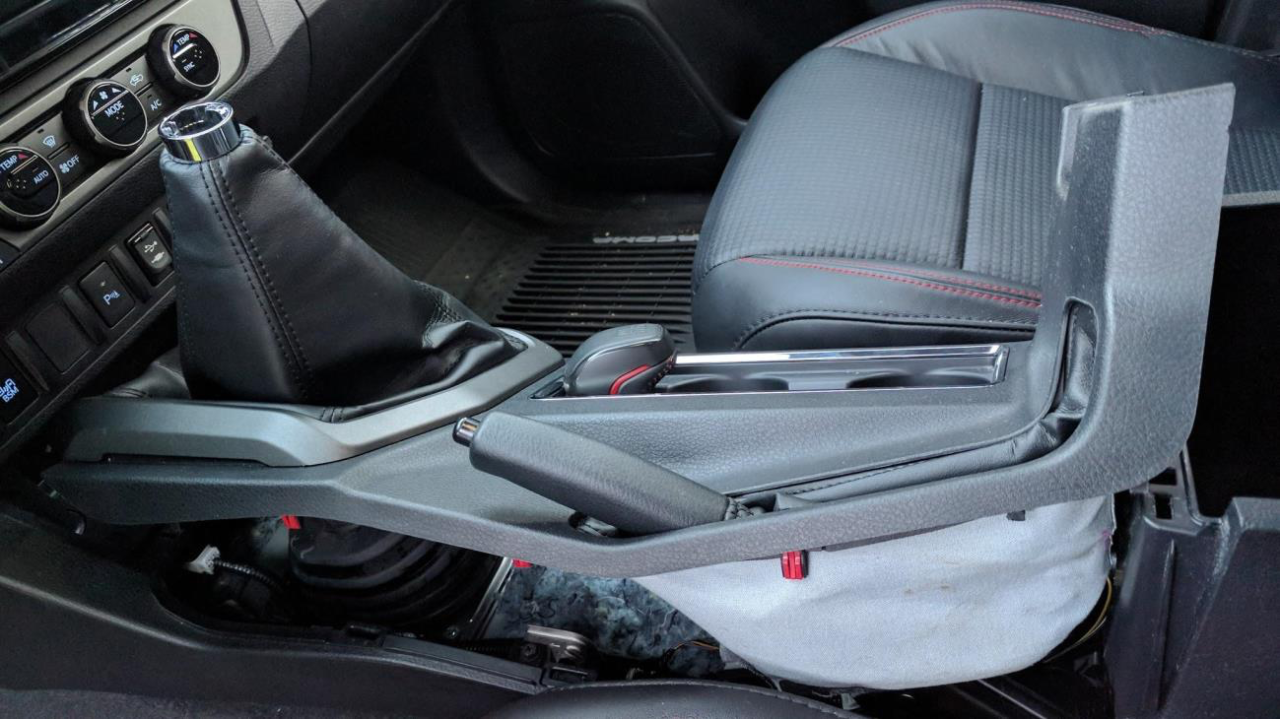
MANUAL SHIFT BOOT
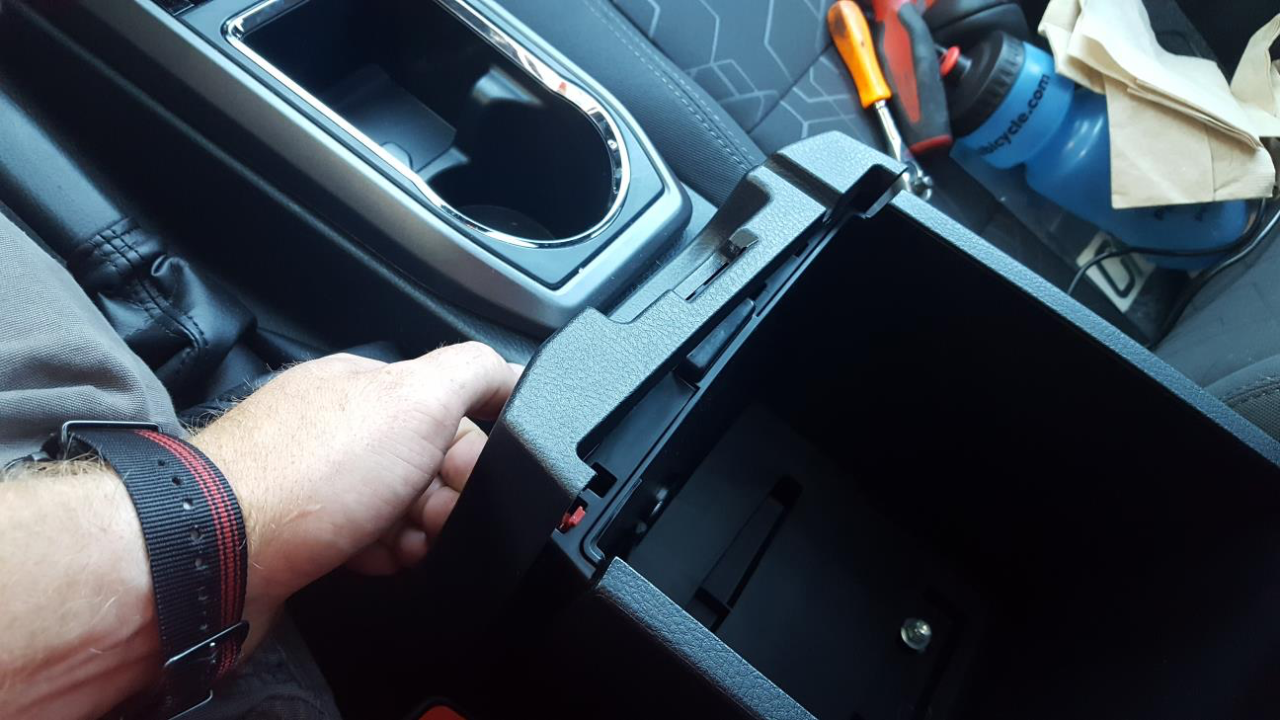
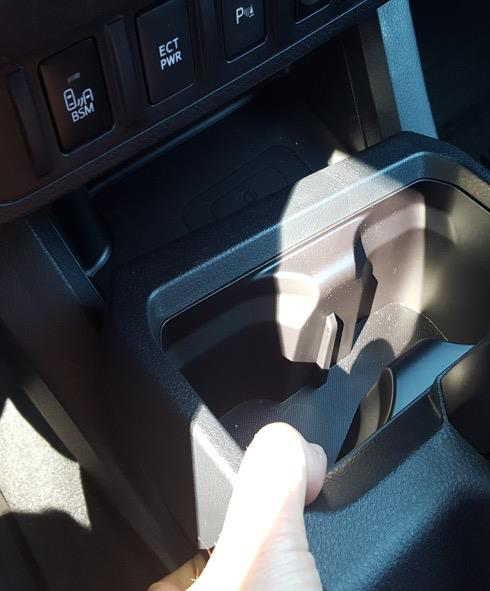
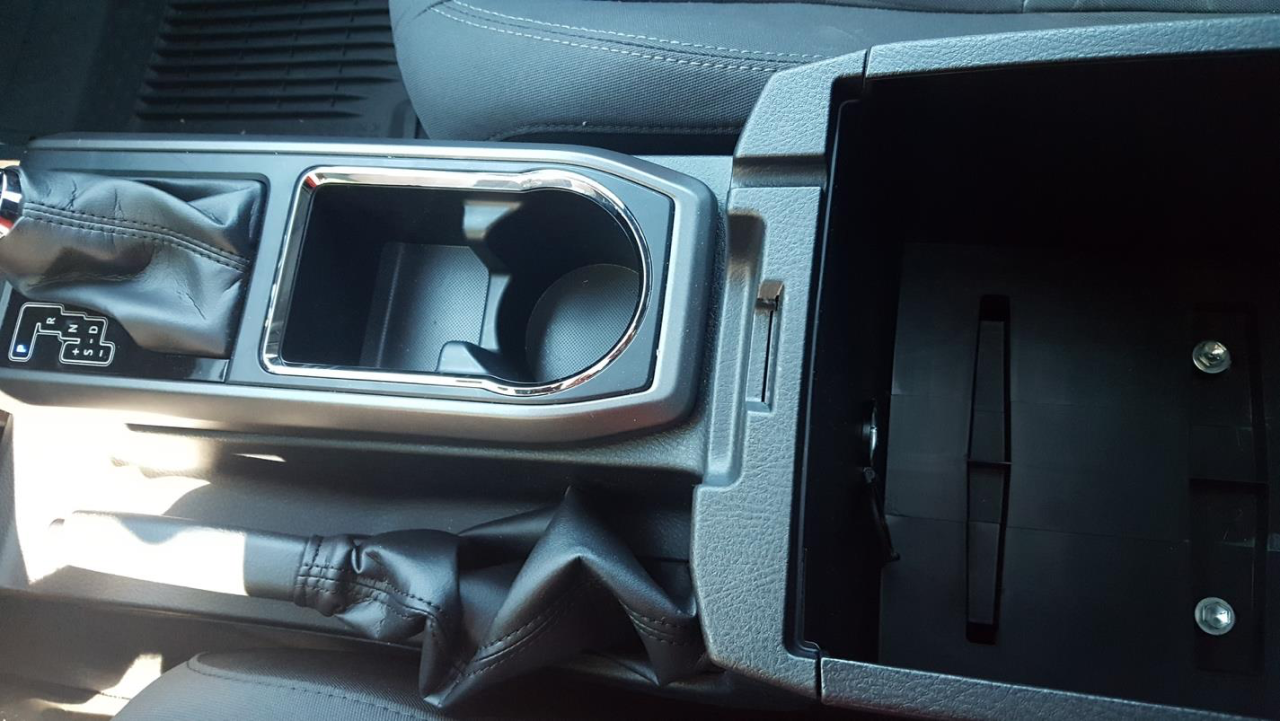
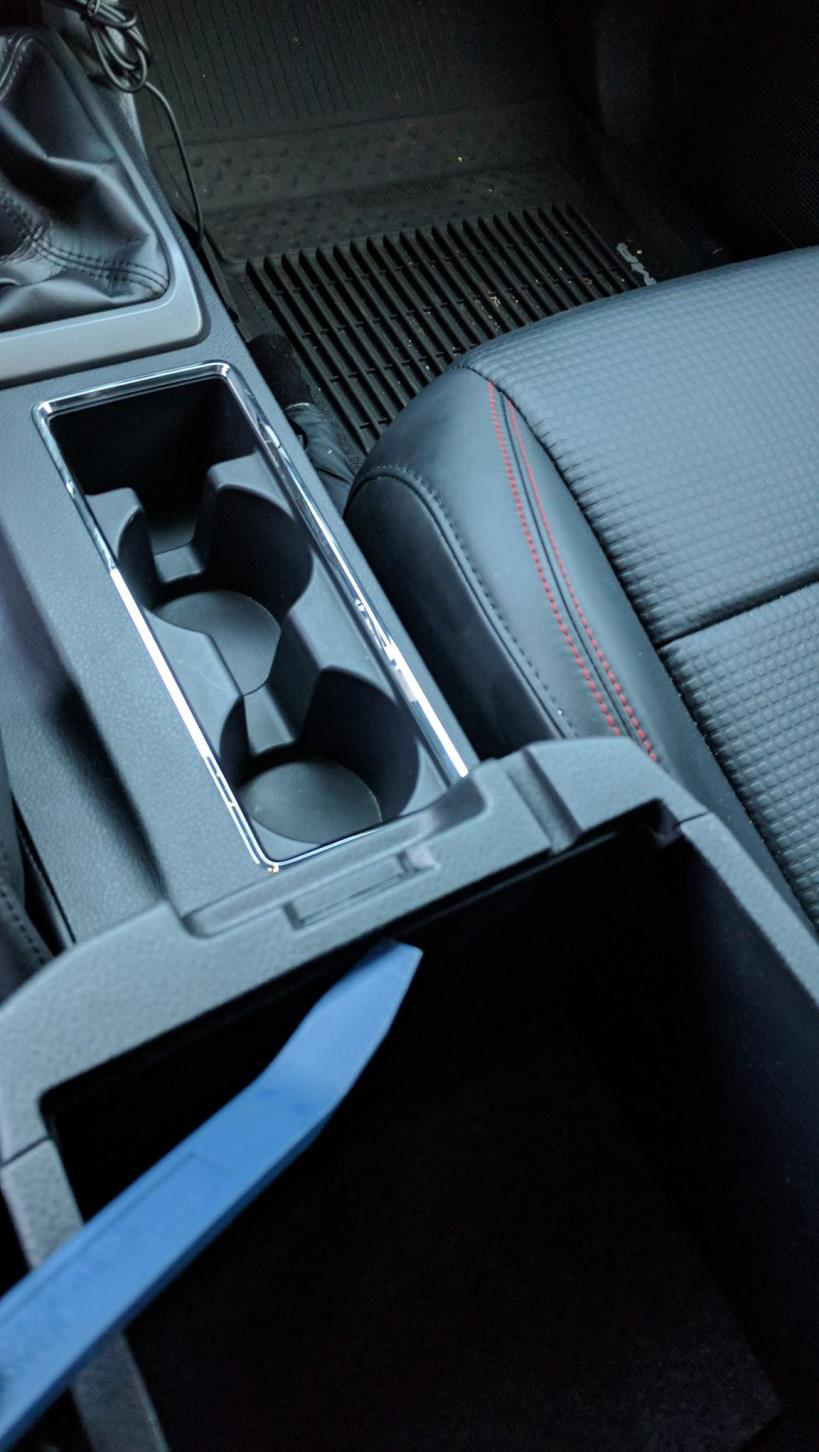
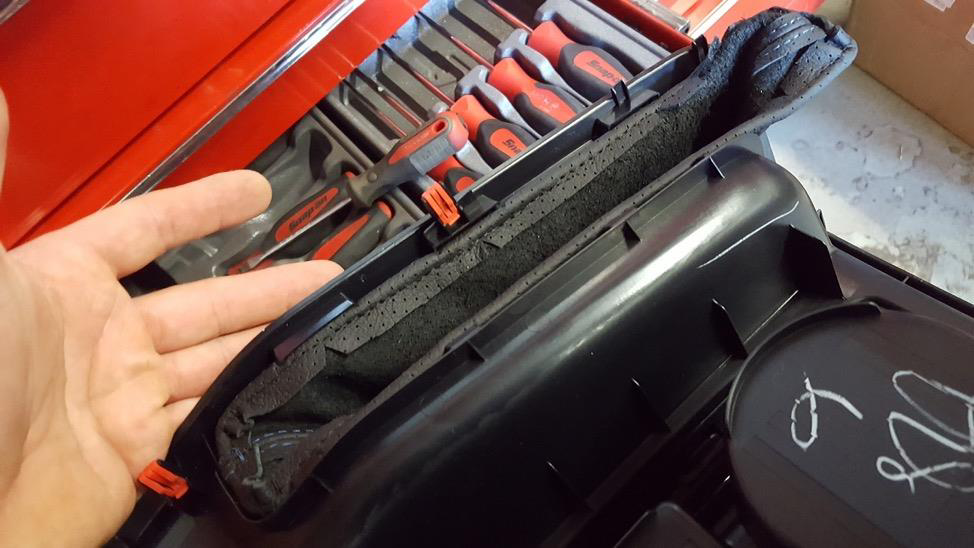
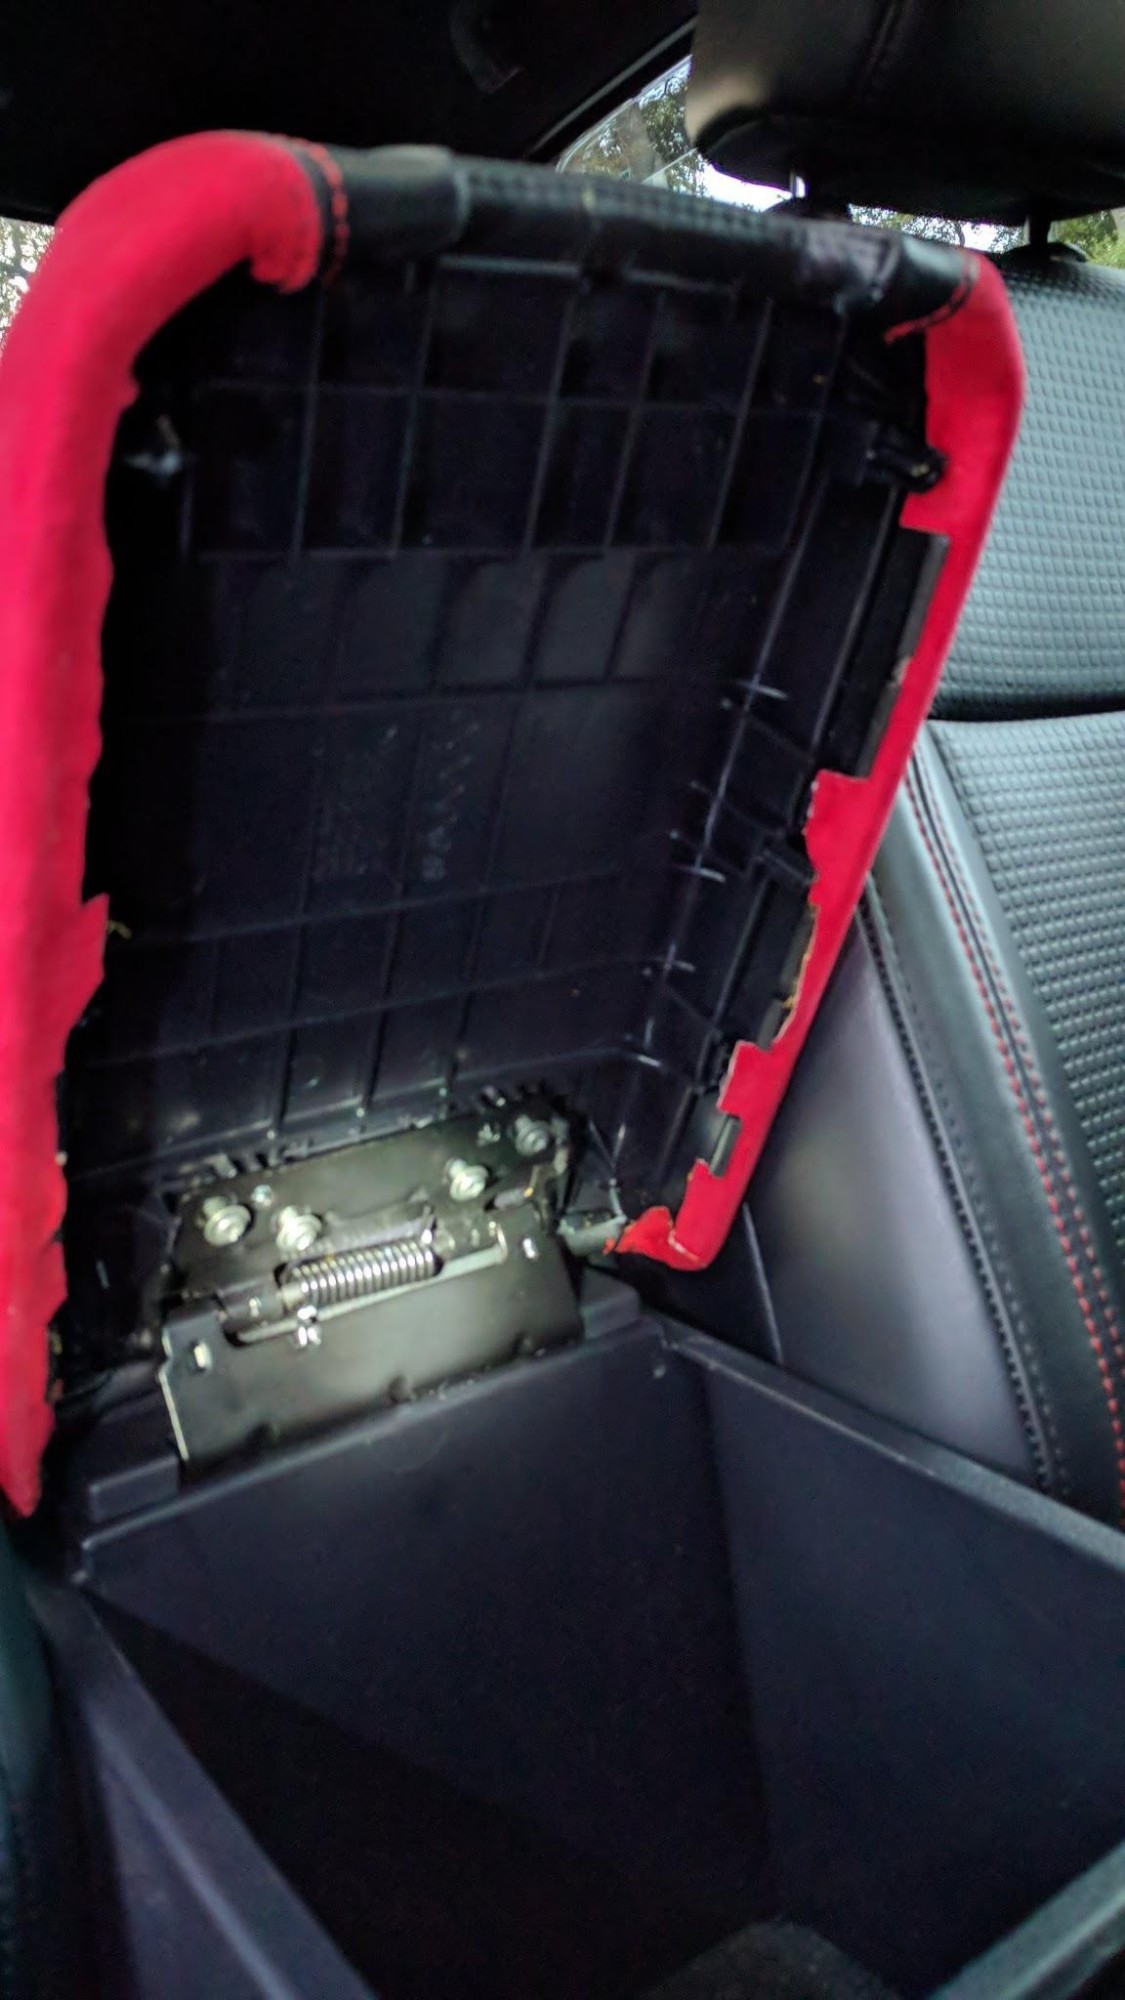
Use the trim removal tool to pry the center console edge in the armrest storage as shown in pictures below.
Grab the back edge of the center console cover, and keep lifting it gently. The remaining 9 trim clips will pop loose.
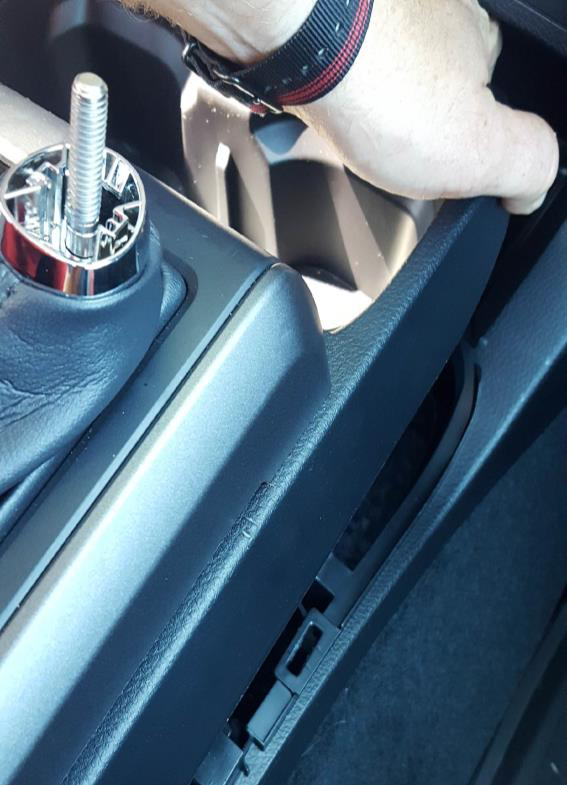
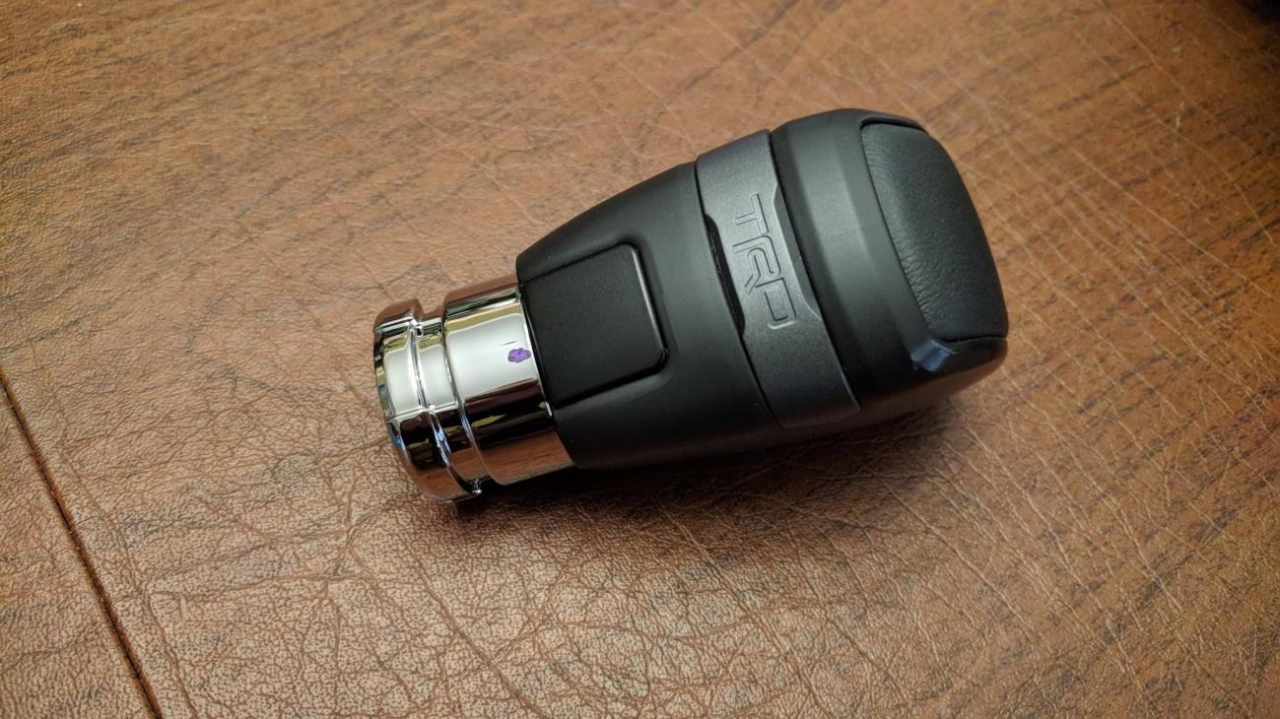
Remove the gear shift knob by grabbing the chrome ring between the boot and the shift knob, and twist it counter clockwise. Unscrew the the shift knob.
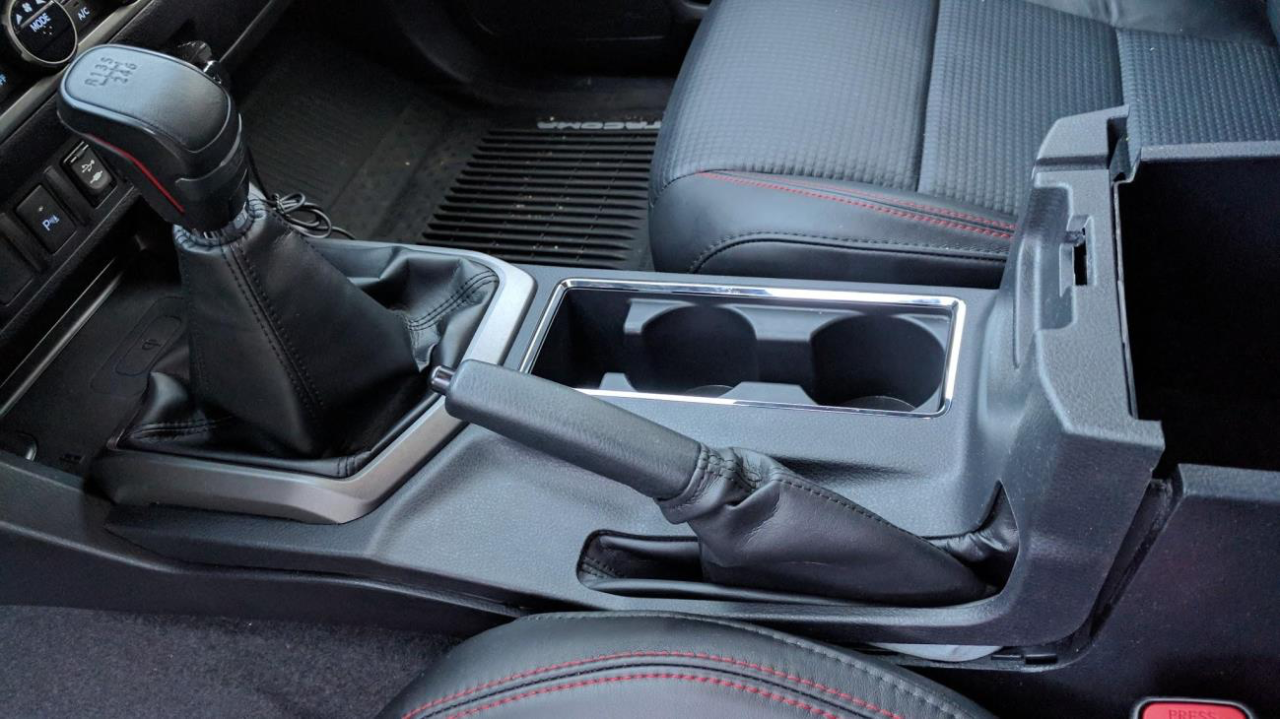
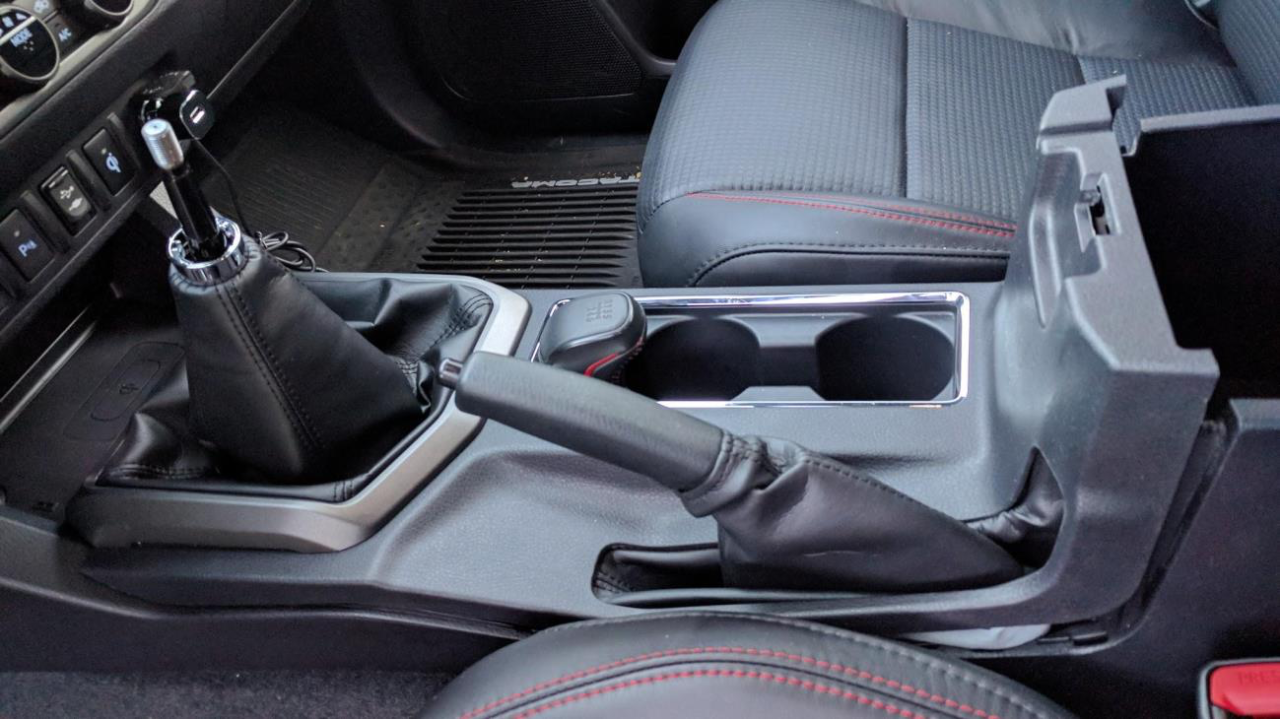
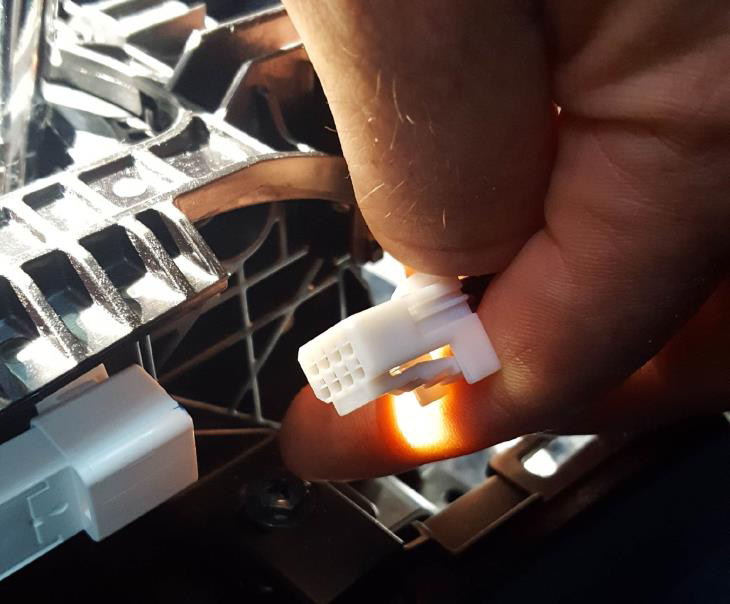
Continue to lift the center console cover over the gearshift lever and handbrake handle. Depending on vehicle equipment you might have to disconnect an accessory connector before the console can be removed from the vehicle completely, so don’t pull on the console too quickly.
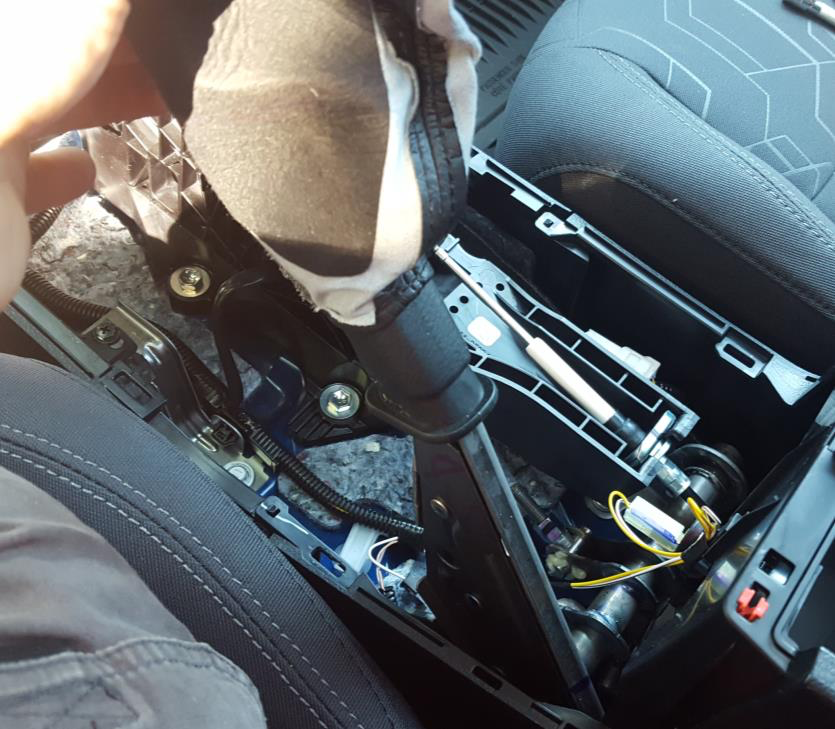
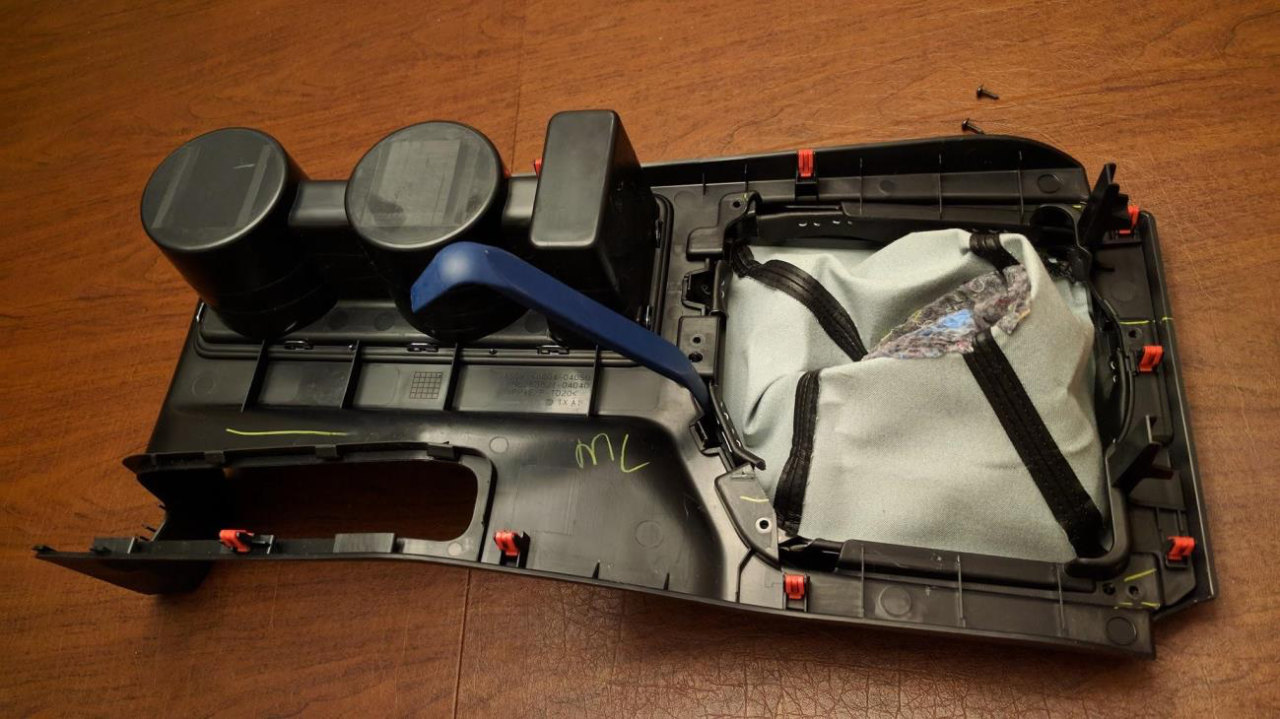
Now that the center console cover is completely removed, you can take all the parts to a work bench/table to continue with the removal procedure.
Remove the 6 screws holding the shifter boot bracket to the center console cover, then pry the bracket away from the center console
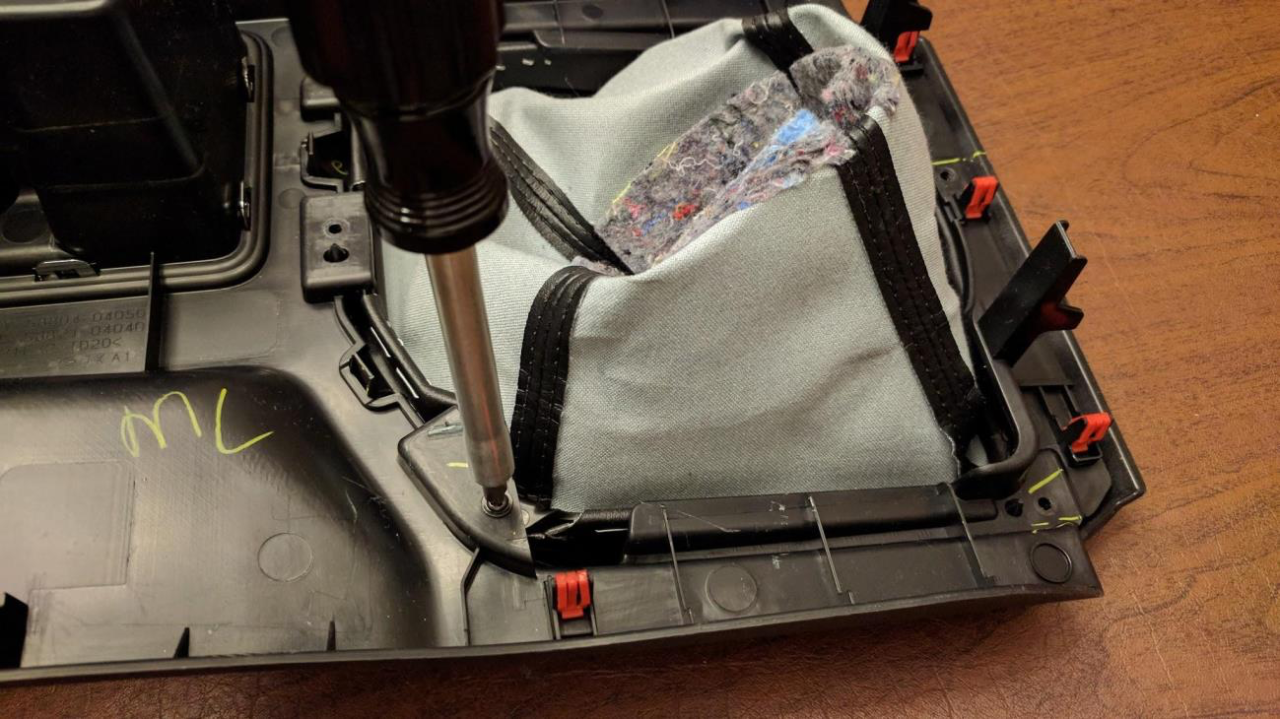
With the shifter mounting bracket separated from the console cover, remove the shift boot from the trim cover.
Remove the frame and unstaple the boot from the bracket.

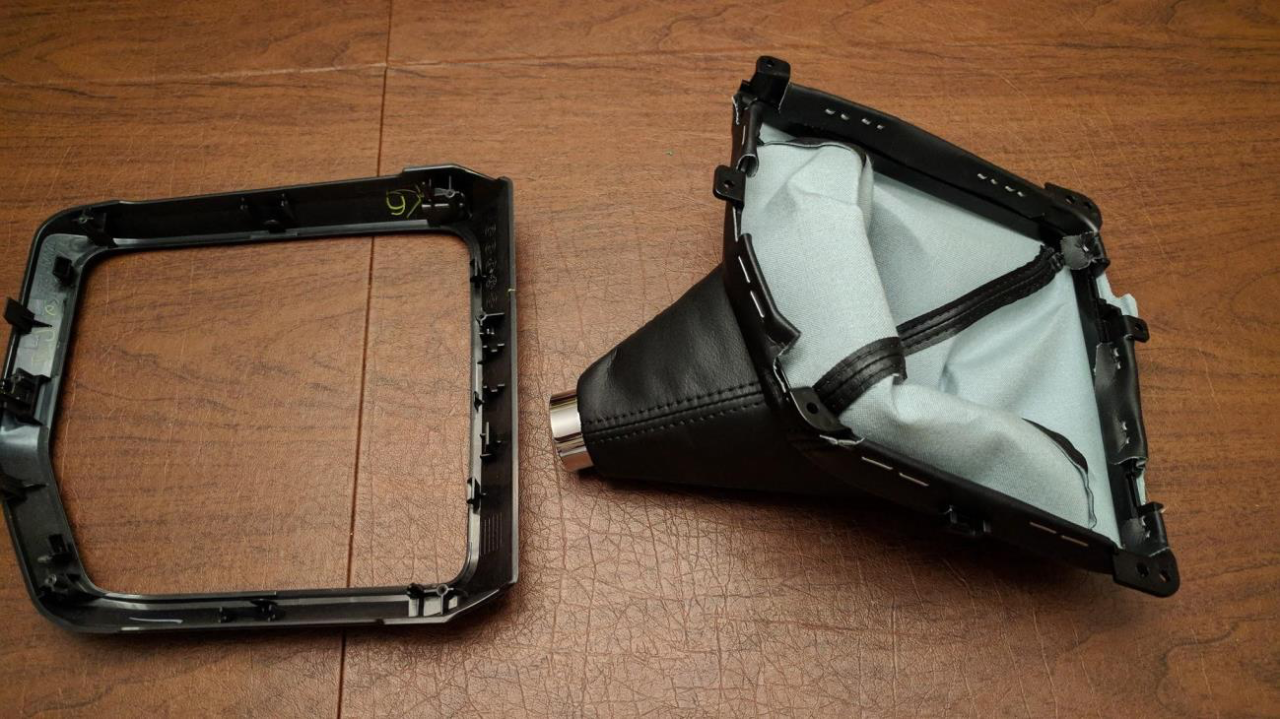
Flip the shift boot inside-out and cut the tie-wrap holding the collar in it.
Replace the vinyl boot with the RedlineGoods boot. You can either glue it, staple it or just sandwich it between the bracket and the trim around it. Stapling is preferred if you have access to a heavy-duty stapler. Gluing is a #2 choice, and just sandwiching the boot is the lazy way about it, which might require you to re-do this when the boot slides out slightly due to the movement it’s subject to when you operate the shifter. Your call.☺
Prepare the shift knob for reinstallation by connecting the plastic chrome ring between the boot and shift knob to the shift knob, and mark the center of the ring that will face forward to the dashboard when installed. This will ensure that when the ring is locked again, it is pointing in the correct direction.
Re-install the shift boot bracket and trim by reversing the removal steps
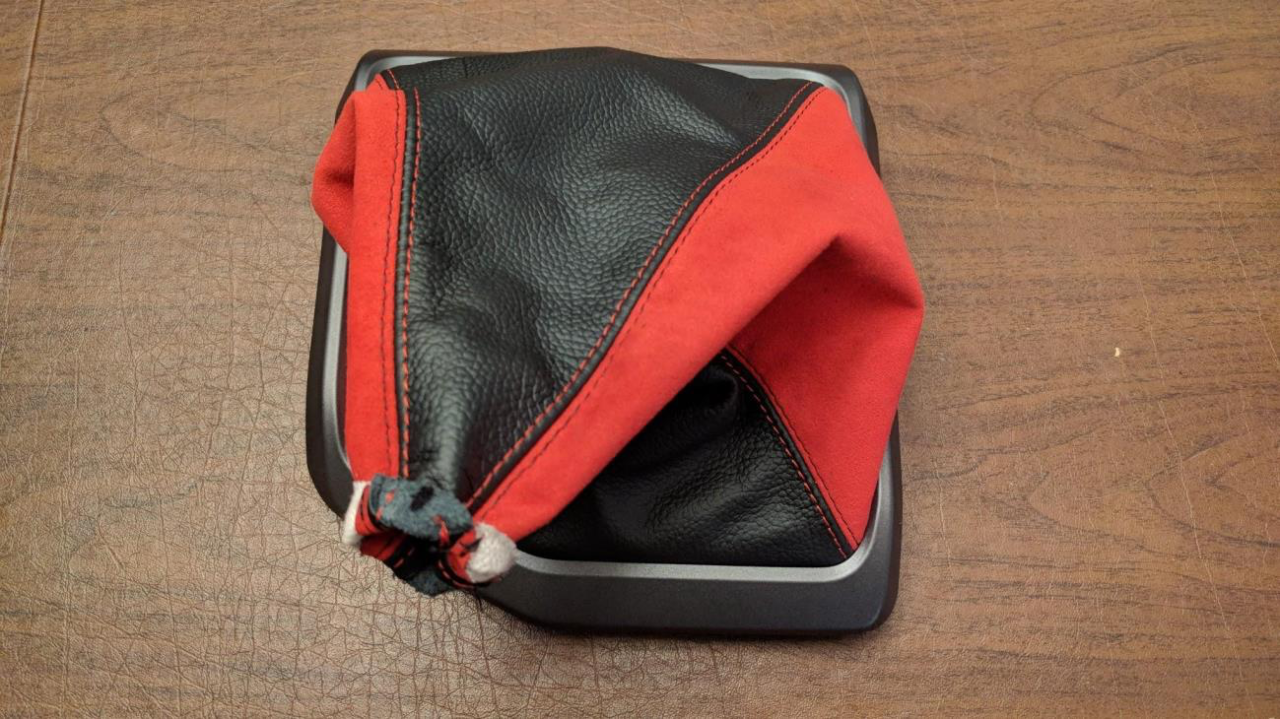
With the diagonal edge of the shift boot trim closest to you (same orientation as when it is installed in the vehicle), fold the top edge over, and mark the center of the top edge furthest away from you (edge that points to the front of the vehicle)
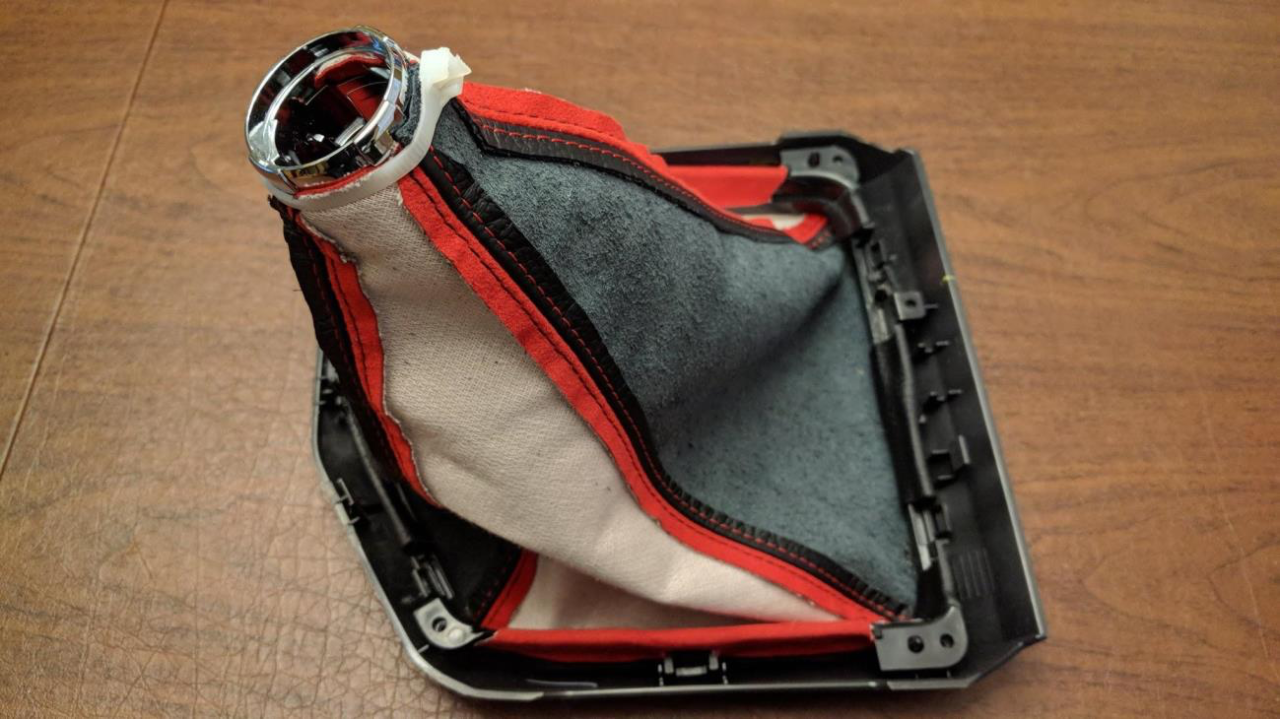
Insert the plastic chrome ring in the direction shown below after pulling the boot inside-out. Line up the center mark you made on the ring, with the center mark made on the shift boot. Tightly secure the top of the boot to the ring with a tie wrap, then cut off the excess tie wrap.
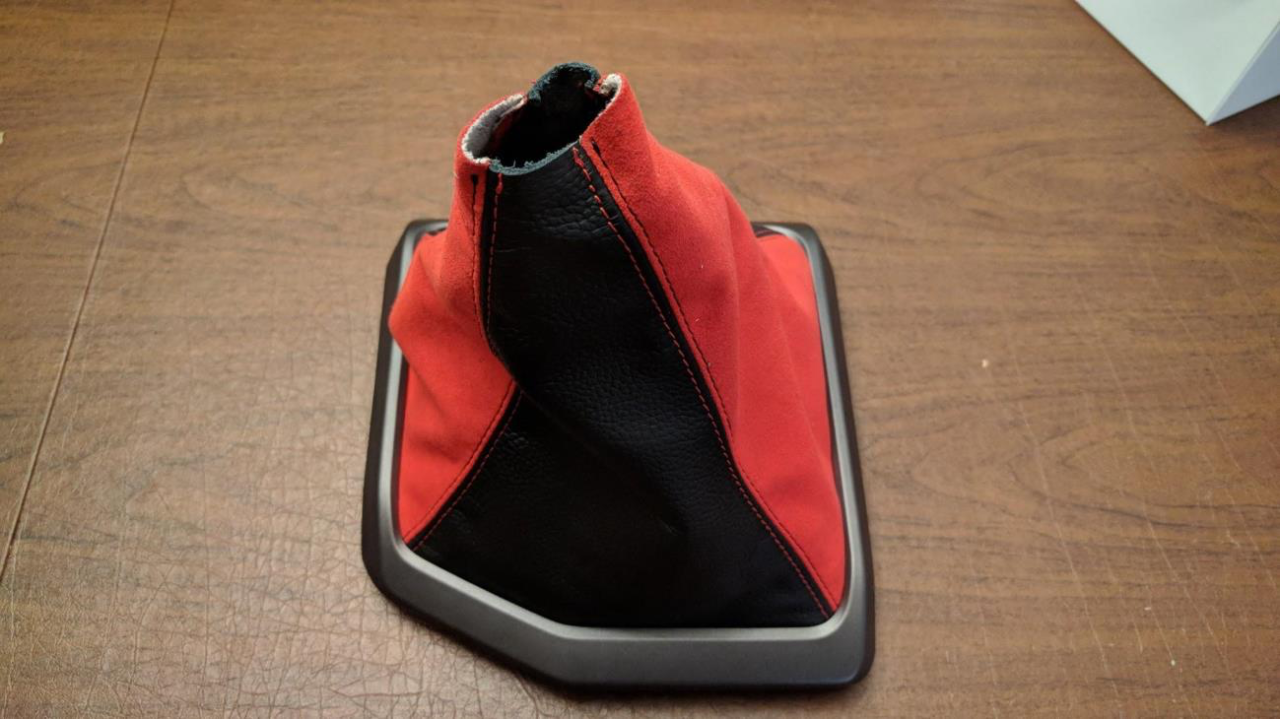
Pull the boot back to outside out.
Re-install the shift boot along with the shift boot trim to the center console cover using the reverse of the removal above.
Check that all 12 red trim clips of the center console cover are present and securely fastened before reinstallation back into the center console.
Replace the ebrake boot (see below) if you bought a RedlineGoods one, or just reassemble the console back into the vehicle. Use a little blue loctite to secure the gear shift knob correctly aligned and taught. Be careful to not drop the blue loctite onto the gear shift boot. Reattach the shift knob and enjoy!

EBRAKE BOOT
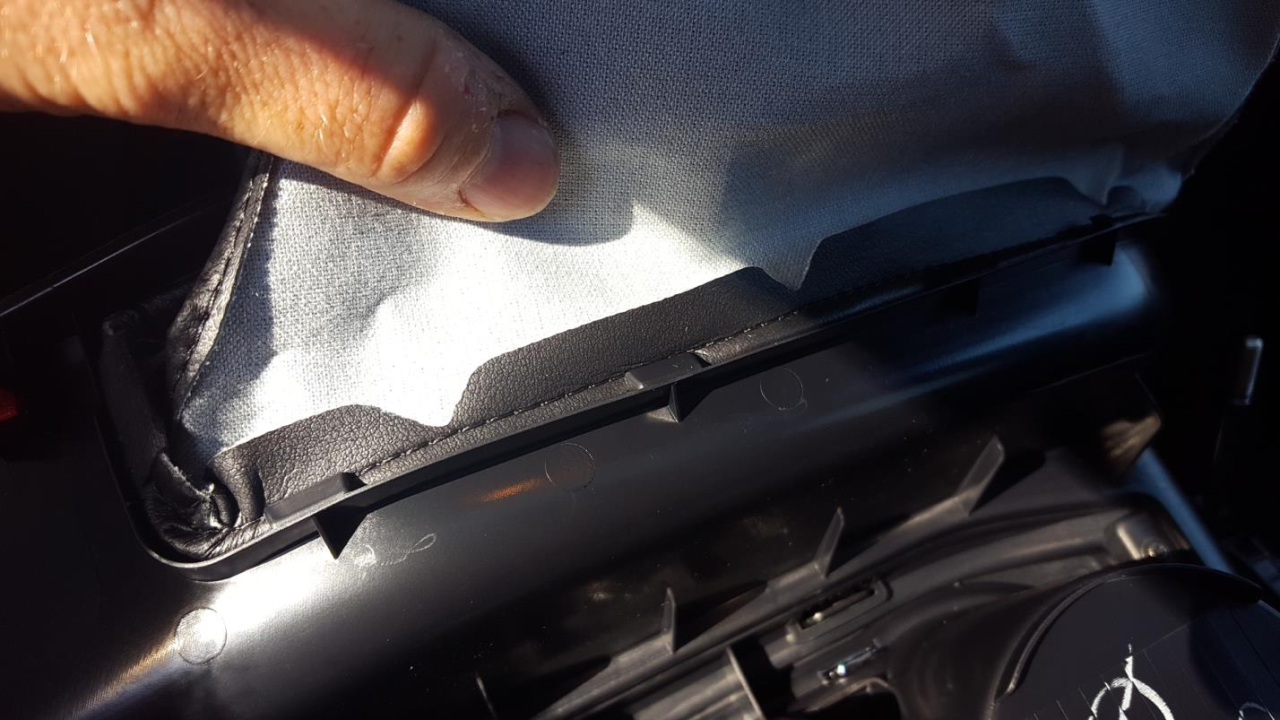
Removal of the center console is required, and explained, in shift boot replacement manual. Once the console is out of the vehicle, turn trim panel over and remove the e-brake boot from the panel. A flexible wire is underneath that stitch, gently bend it from under the plastic clips.
If you purchased the RedlineGoods ebrake boot with the bracket – it just snaps in (see next step)
If you didn't get the bracket, cut the bracket out of the stock boot, clip the bracket open in the middle of the front or rear walls, and use the hem on the bottom of the RedlineGoods shift boot to slide the bracket back into the boot.
Alternatively, you can glue the bracket inside the boot.
Once you have a wire (either RedlineGoods or you're the stock one) inside the boot, clip it back into the console assembly just as you removed the old one. Some bending of the wire may be required. Take your time here as well.
Reconnect the disconnected wired from dissasemly then slide the e-brake handle into the new leather booth while you put the console assembly back in place.
Line up the plastic console clips and give each corner a firm push. You should feel all the clips snap into place.
ARMREST COVER
Tools needed - trim removal tool, and philipps #1 & #2 screwdriver
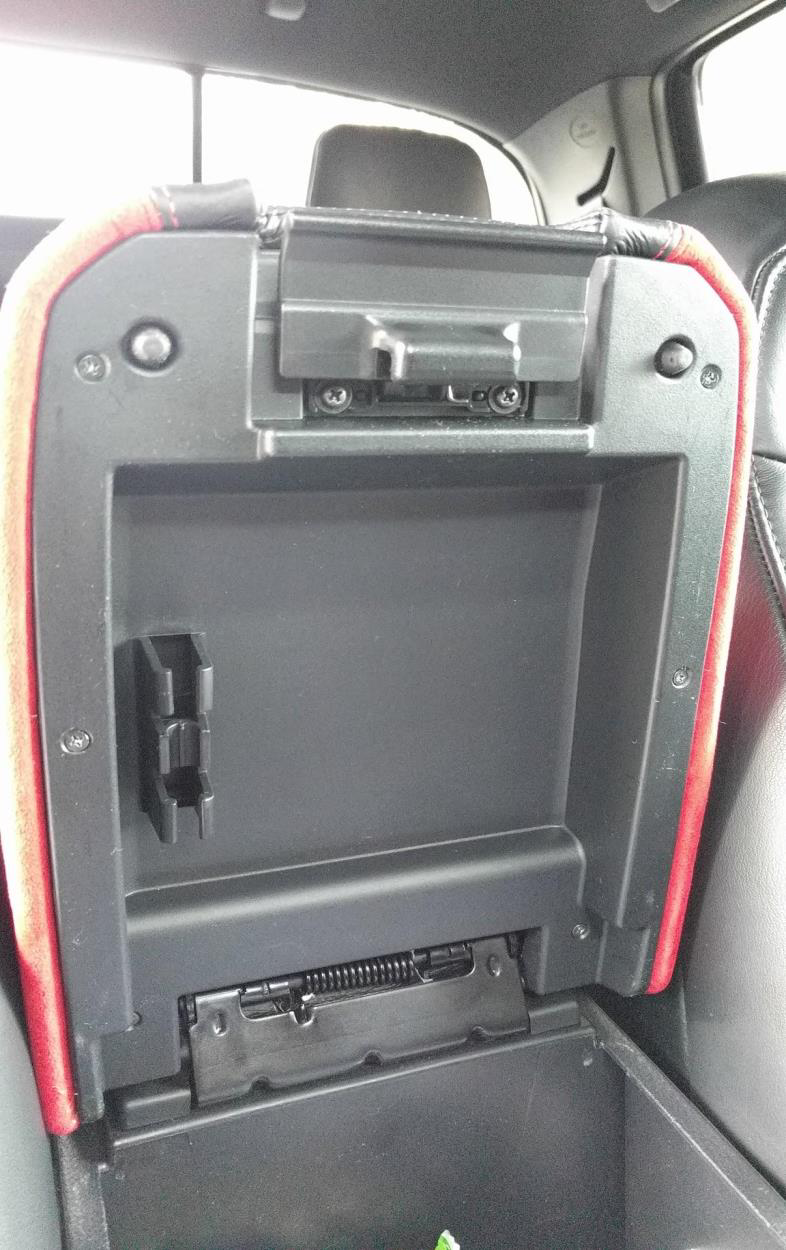
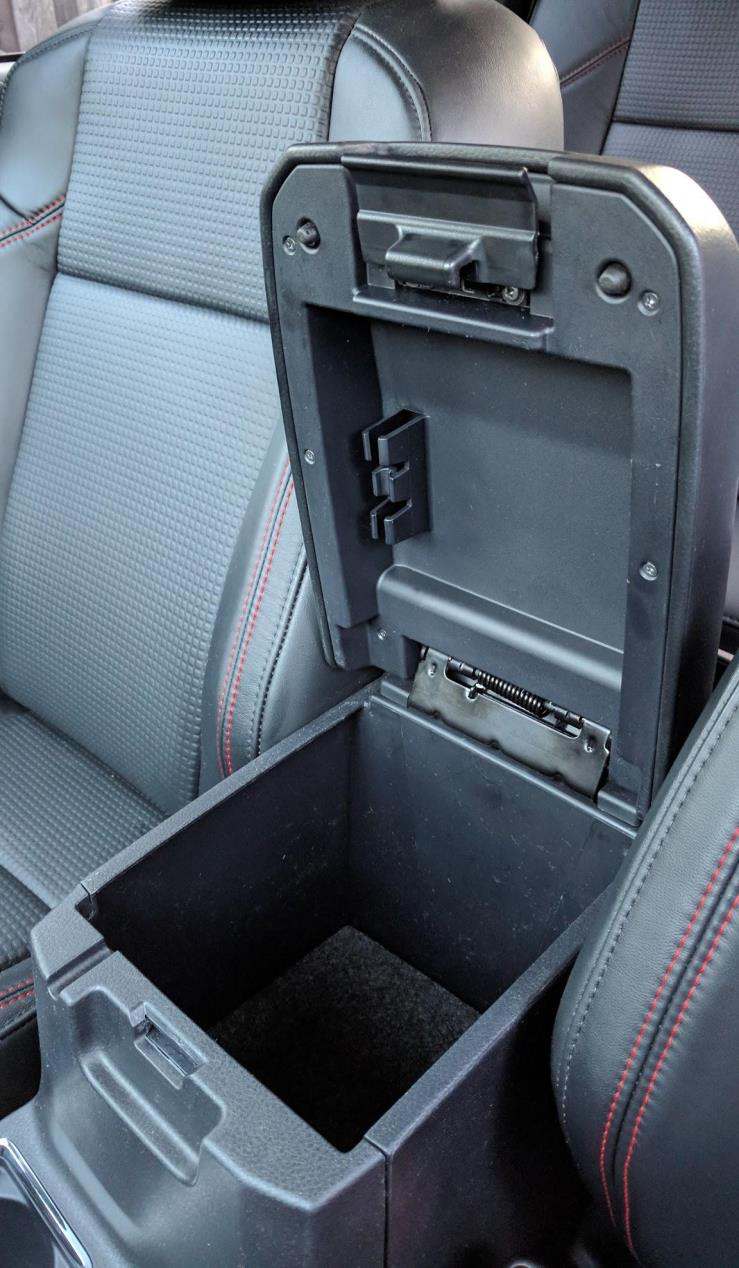
Open armrest cover and locate the 6 screws shown in the following picture. Remove the 6 screws with a #1 phillips screwdriver being careful not to drop any - they are very small.
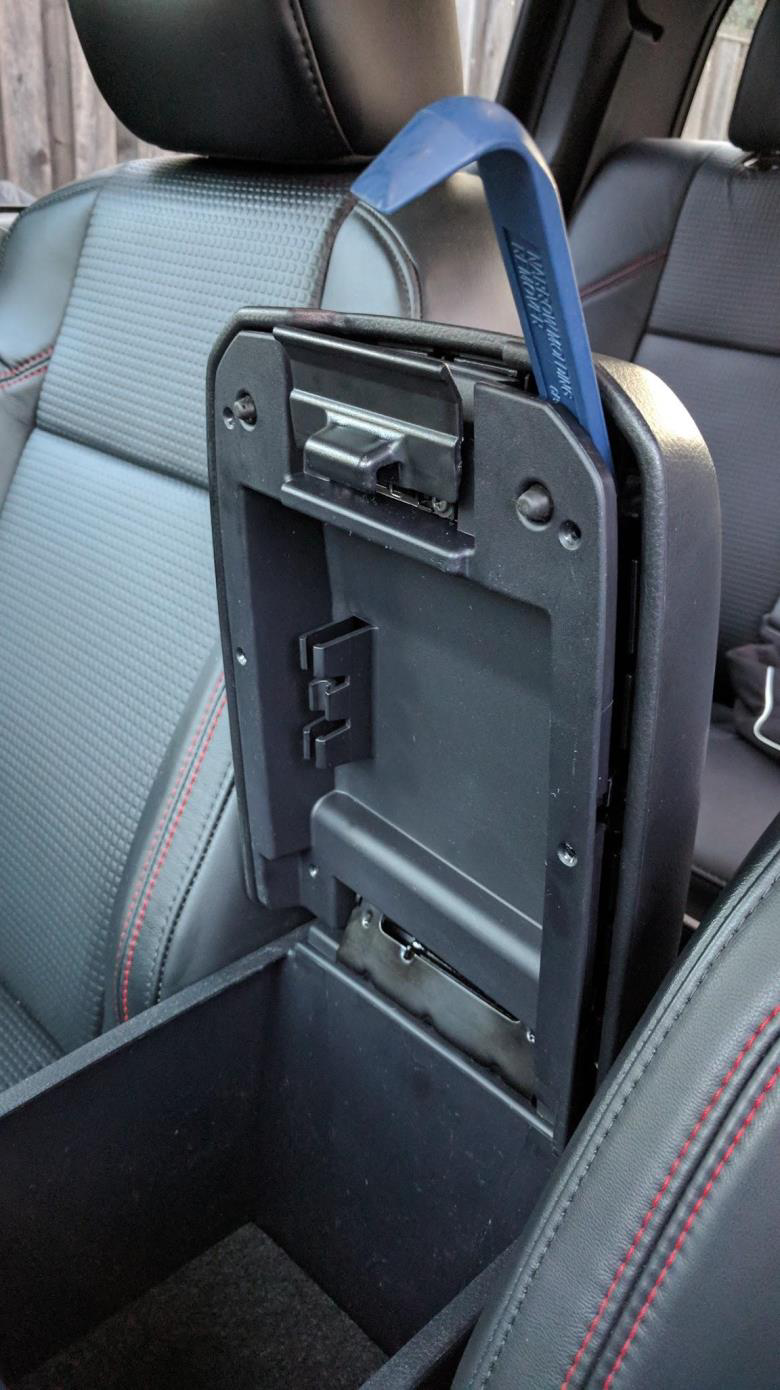
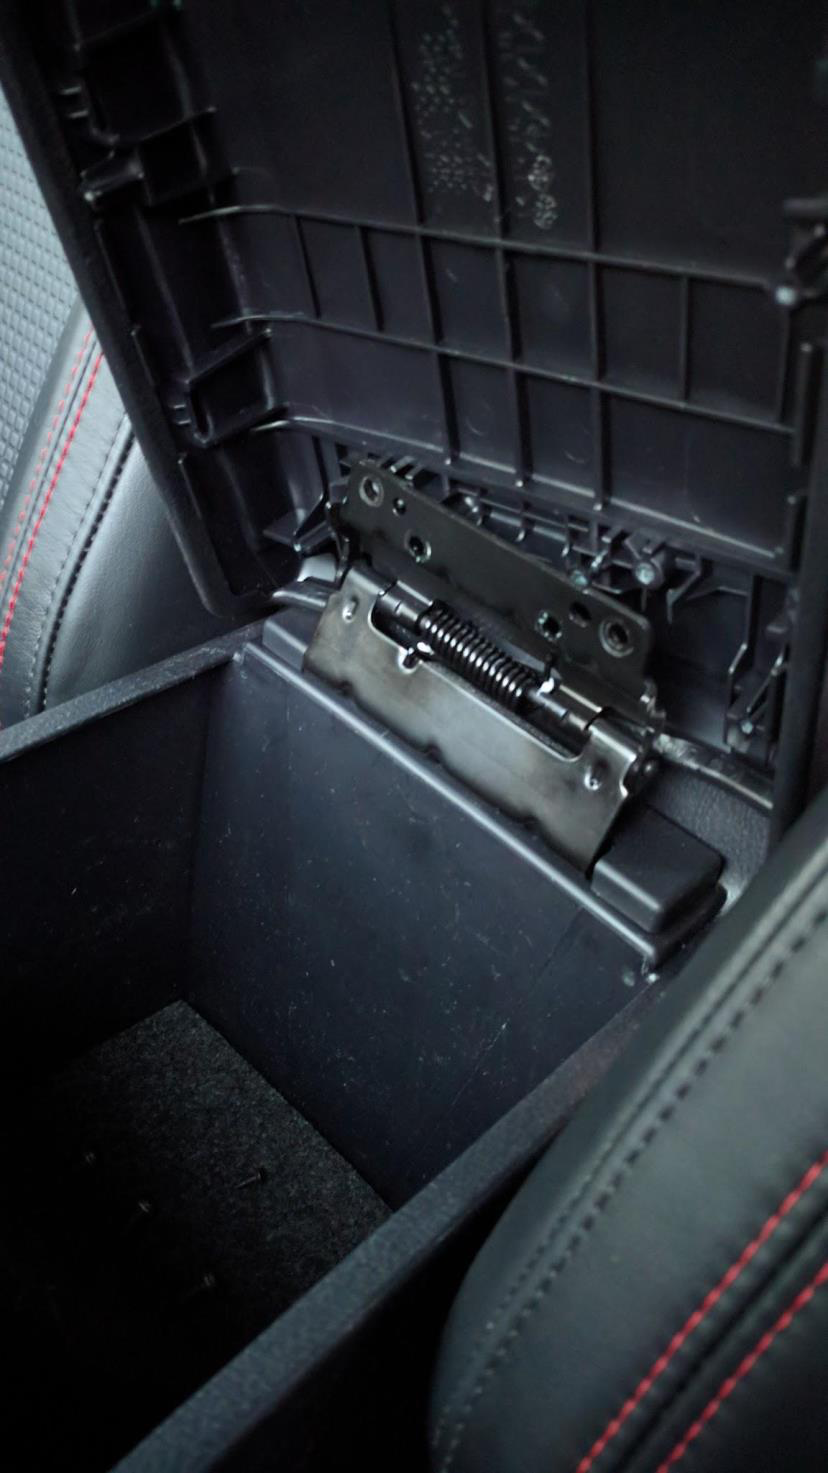
Use a trim removal tool to pry open the top of the armrest from the inner cover that was held by the 6 screws just removed
With the inner cover removed, remove the 4 screws on the hinge to the armrest cover with a #2 phillips screwdriver
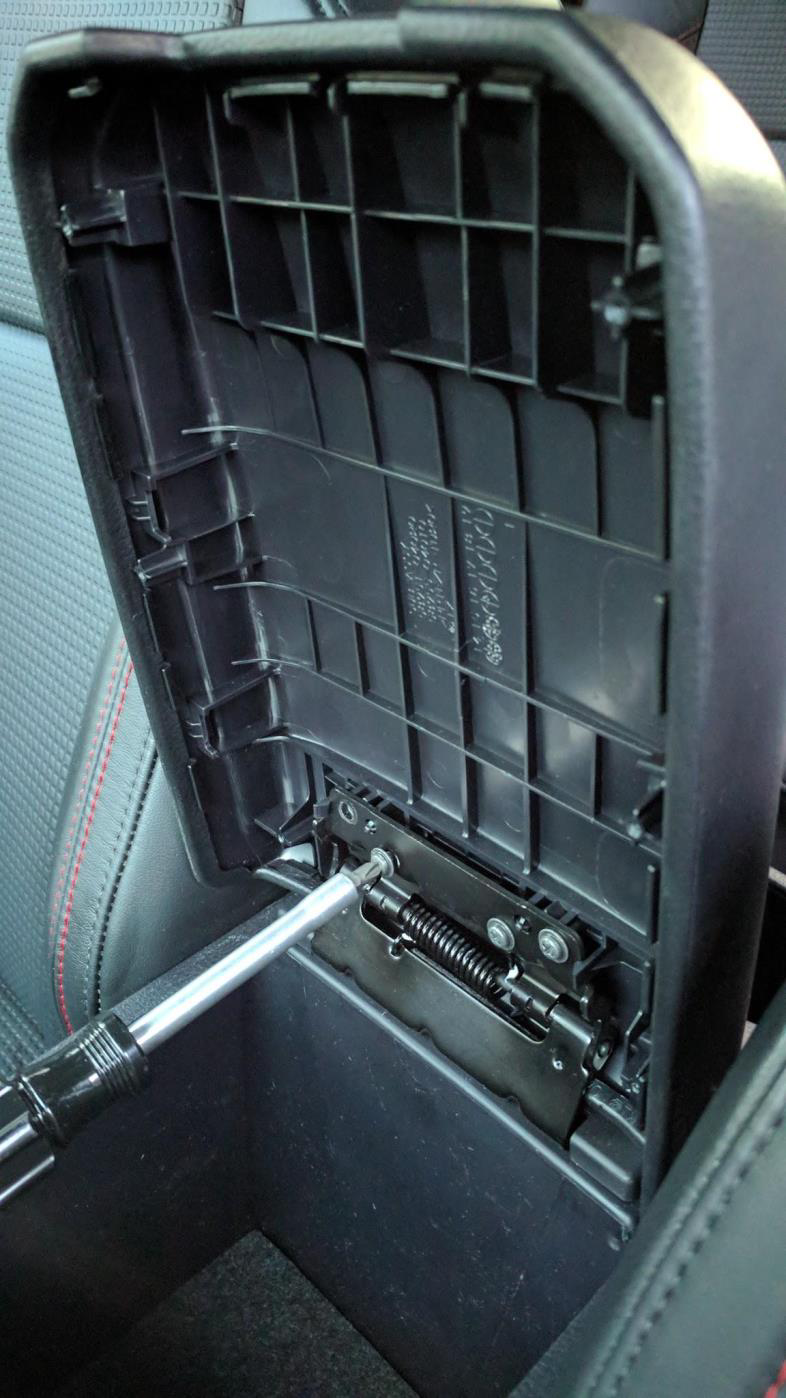
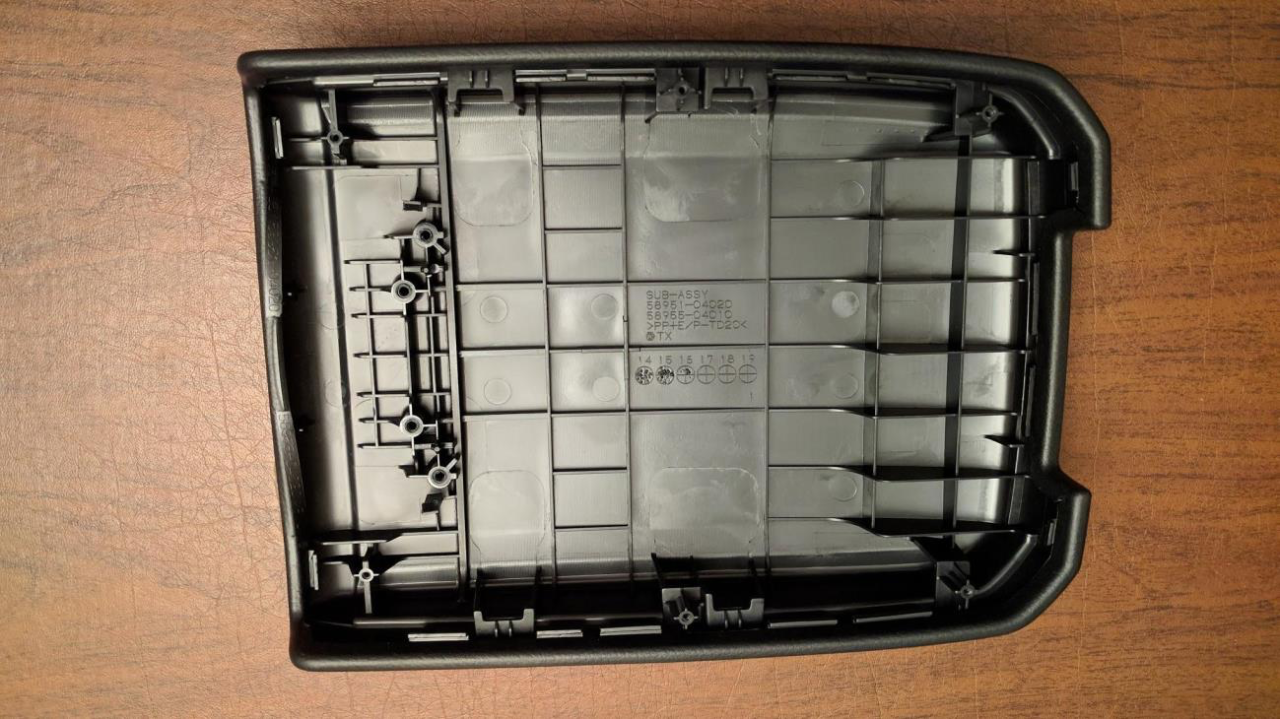
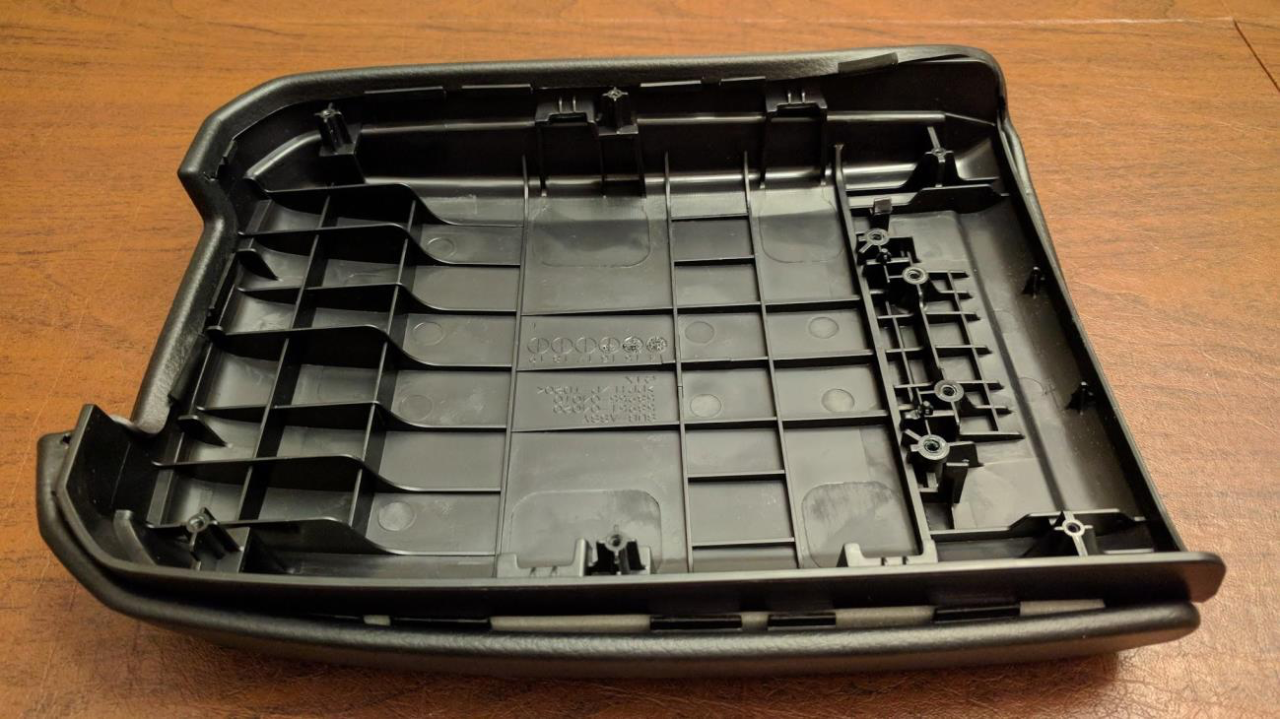
Separate the armrest from the hinge
Remove the armrest vinyl cover as depicted in the following series of pictures (skip to step #13 if you are not replacing the armrest cover) ...
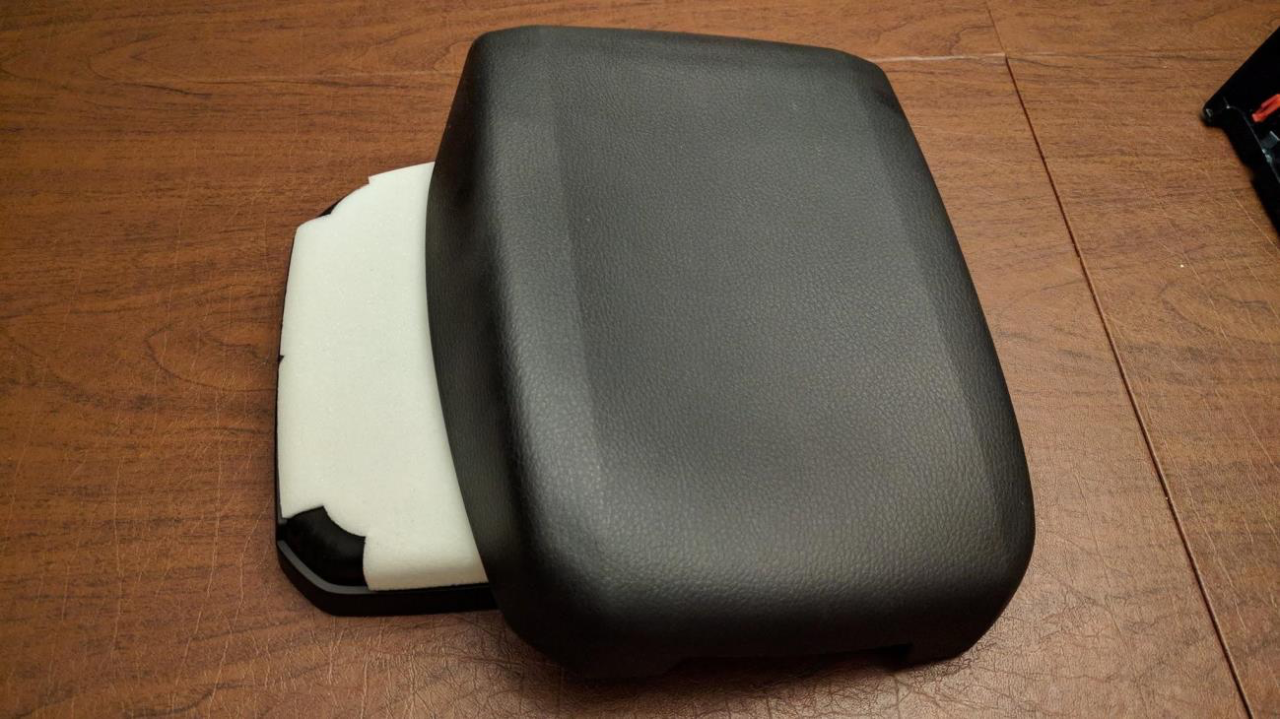
Install the new cover onto the armrest. The new cover needs to be glued.
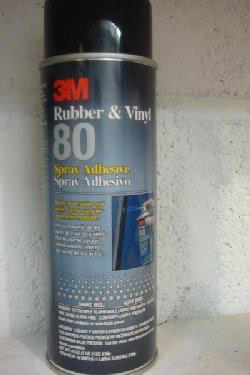
There are several kinds of glue that can be used, the 3M used below is just one of them.
Set up a staging area because the adhesive sprays pretty well out of the can.
Clean the console with a little soap and water to ensure that nothing interferes with the adhesive.
PRACTICE lining the leather up on the armrest. Decide where you are going to lay the leather on the console after the adhesive has been applied - once you have sprayed the glue and put the parts together, it's very tough to pull apart. The leather pattern is cut precisely.
Spray the adhesive on the console and the back of the leather. Follow the directions on the can. Be careful that you don't get any on the front of the leather.
Don't worry if it looks like the adhesive seeps through to the finished side of the leather. It does leave some marks on the good side while it's wet, but that goes completely away when this dries in about an hour.
Line up the notches in the leather with the corresponding area on the console (what you practiced). Begin smoothing the leather from the edge and working your way toward the back of the console.
Smooth back and forth with one hand while holding the leather in the other. You don't want to drop the whole leather cover on the console because the alignment won't work. You'll have to press and smooth - but occasionally peel it back to keep it lined up. Use the stitching as a guide - it should run along the edges of the console.
Once the top is done begin smoothing the sides. Finally - work your way around the edge of the console and just fold the leather. The adhesive is tacky enough that it will hold just fine.
Attach the armrest to the hinge win the 4 screws and a #3 phillips screwdriver.
Install the armrest inner cover with the 6 small phillips screws