You must be logged in to rate content!
5 minute read

1. Remove old shift boot
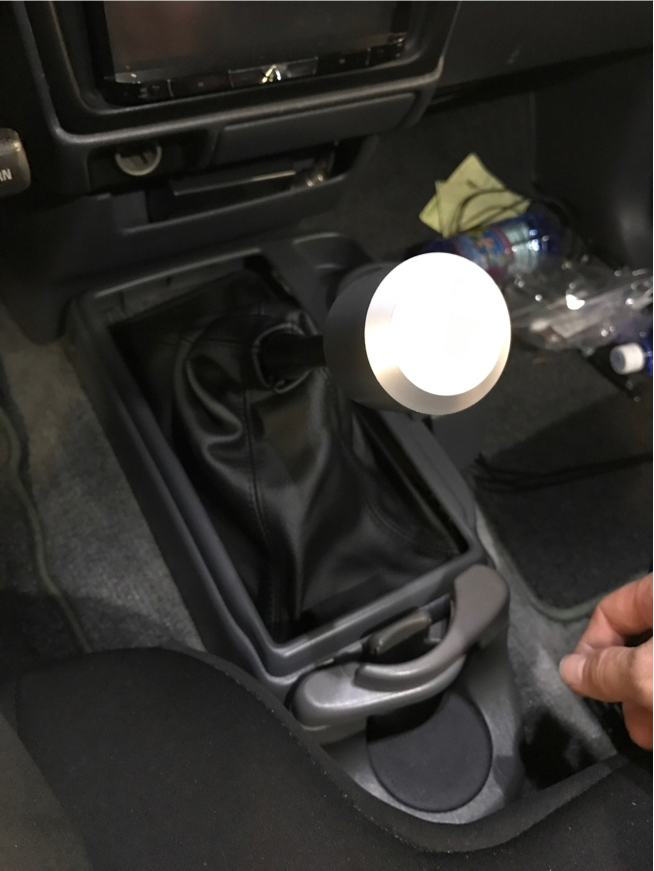
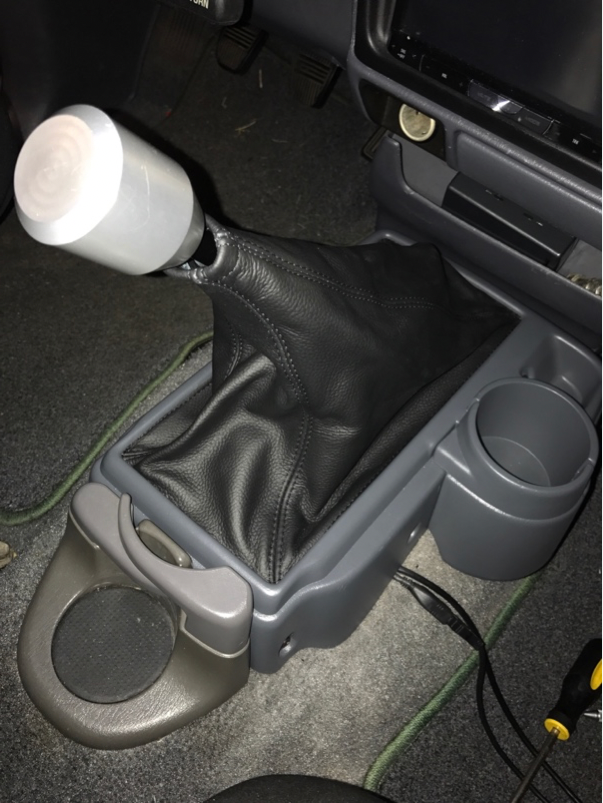
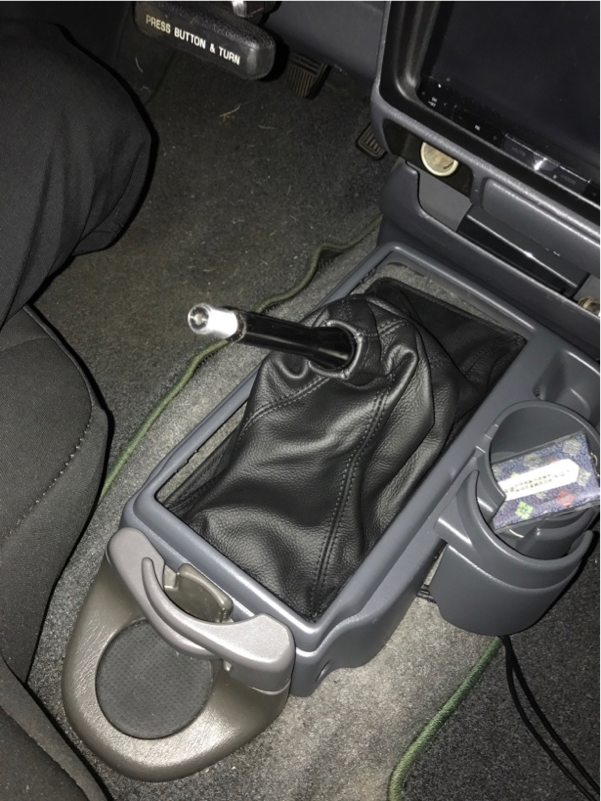
First remove the shifter Knob, just untwist to remove
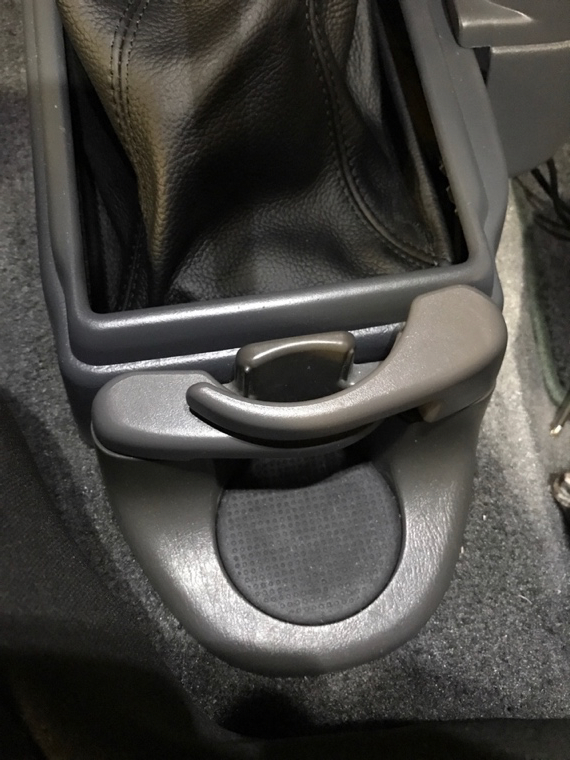
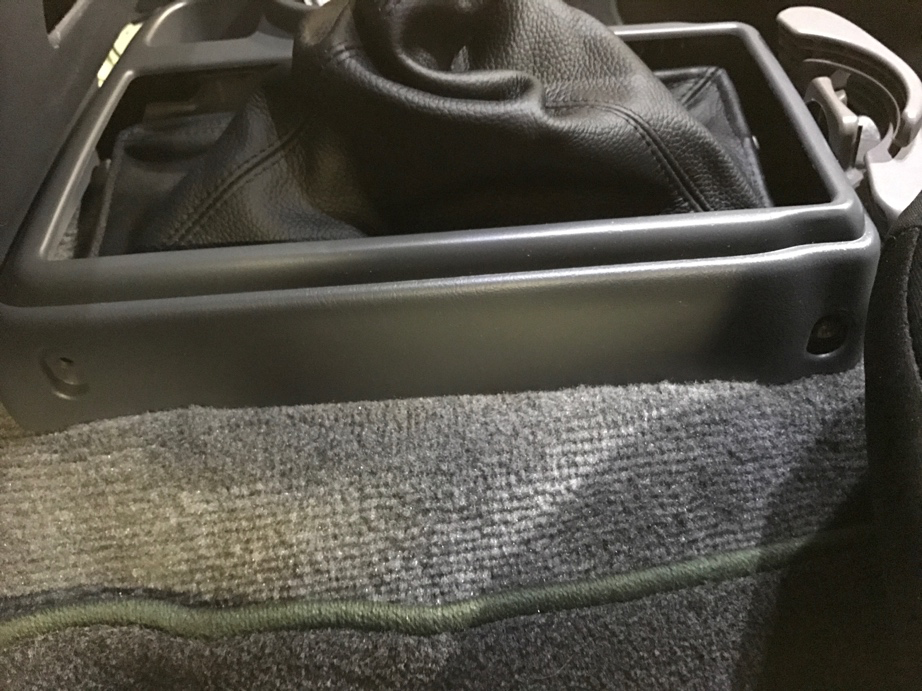
View of Cup holder not all models have this, to remove push down and slide towards rear of vehicle
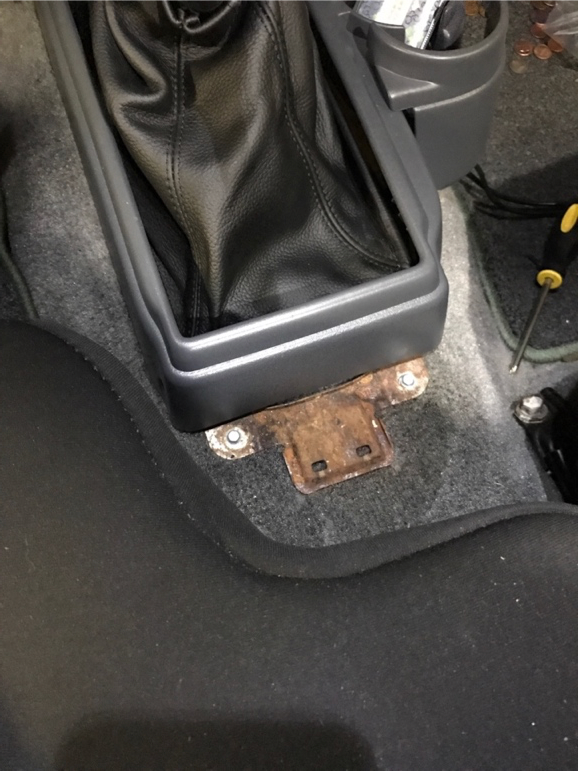
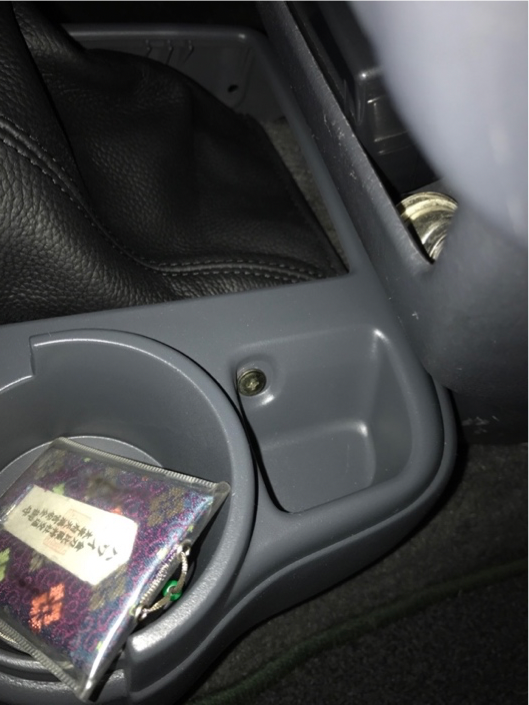
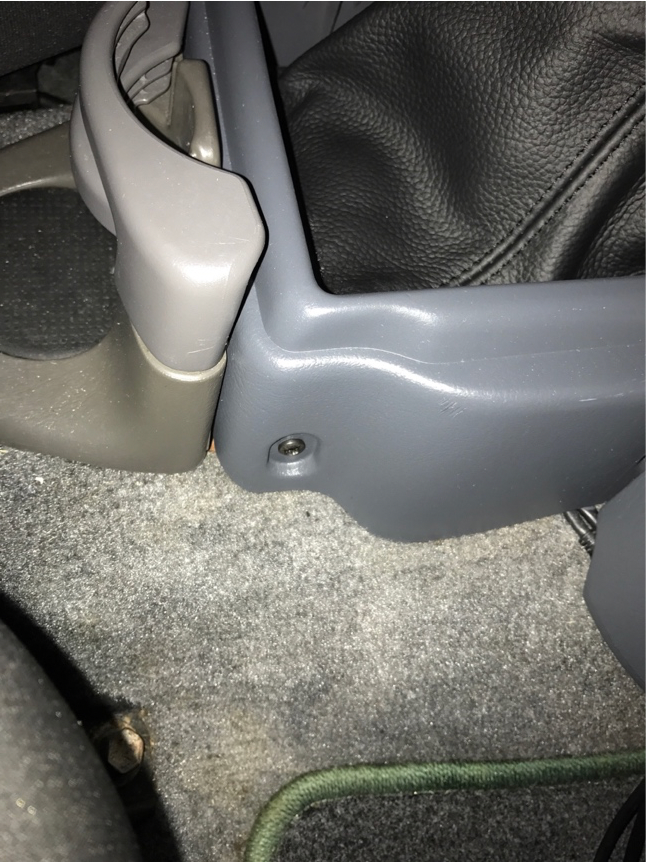
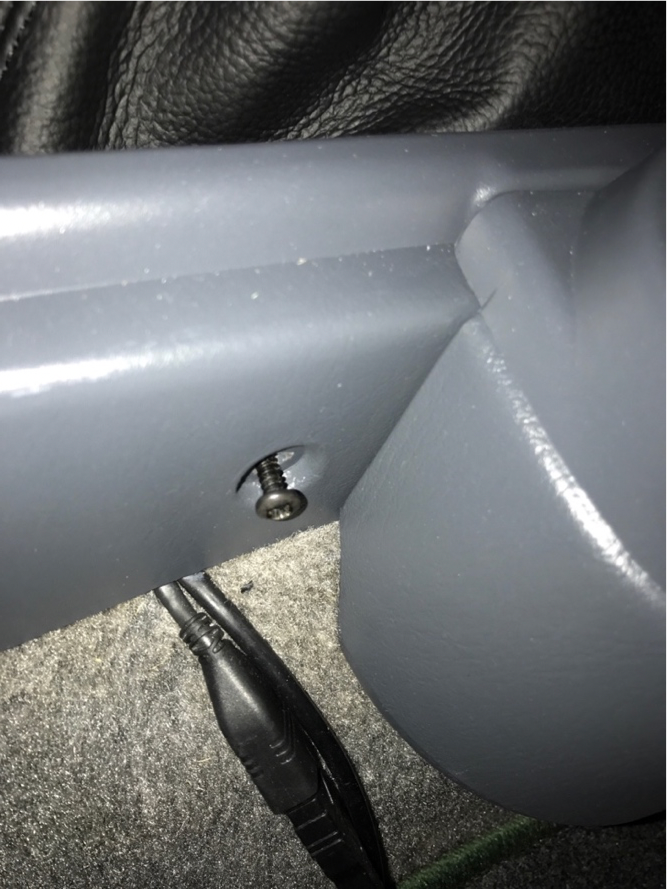
There are 4 screws holding down the center console, 5 if you have the side cup holder. Remove screws to remove console
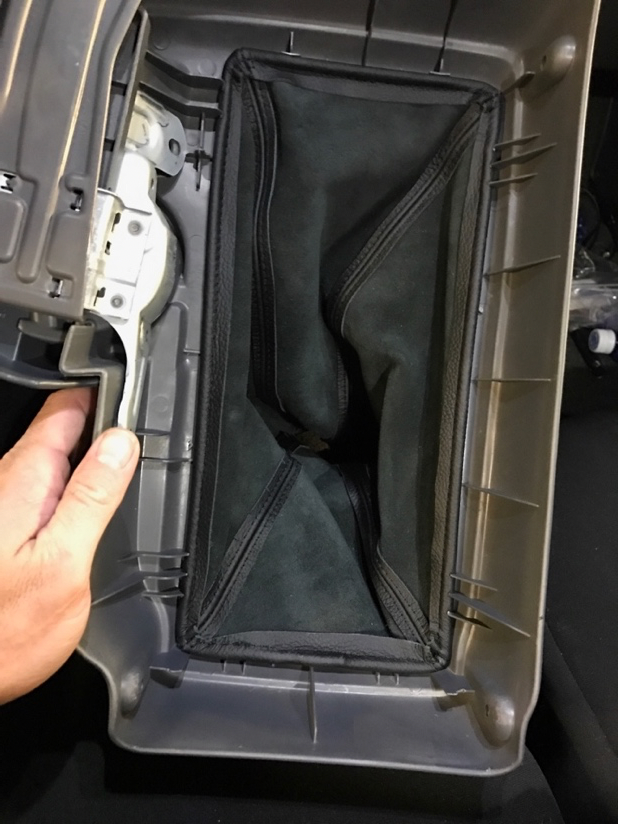
If you flip the center console you will see that the shift boot is stitched around a steel bar and is held in by clips at the 4 corners. To remove pull in on shift boot to unclip.
2. Attach shift boot to bracket
If you purchased the RedlineGoods shift boot with the bracket – it just snaps in (see next step)
If you didn't get the bracket, cut the bracket out of the stock boot, clip the bracket open in the middle of the front or rear walls, and use the hem on the bottom of the RedlineGoods shift boot to slide the bracket back into the boot.
Alternatively, you can glue the bracket inside the shift boot. The following in the process you would use to glue your boot to the metal frame. This is an exerpt from a 1983 pickup install it will be the same process.
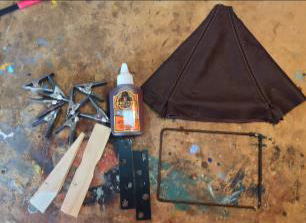
You’ll need a few things to do this job: the new boot, the metal frame from the center console, some clamps, some pieces of wood or strips of metal for clamping (a painting stir-stick and some mending plates were used here, but something like Popsicle sticks would be ideal), and some glue. Gorilla Glue works well on leather.

In this step, you’re going to place each side of the frame over the corresponding side of the boot, then lay down glue on either side, fold the flap of the boot over the frame, and clamp it down until the glue dries.
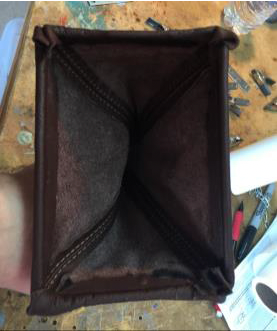
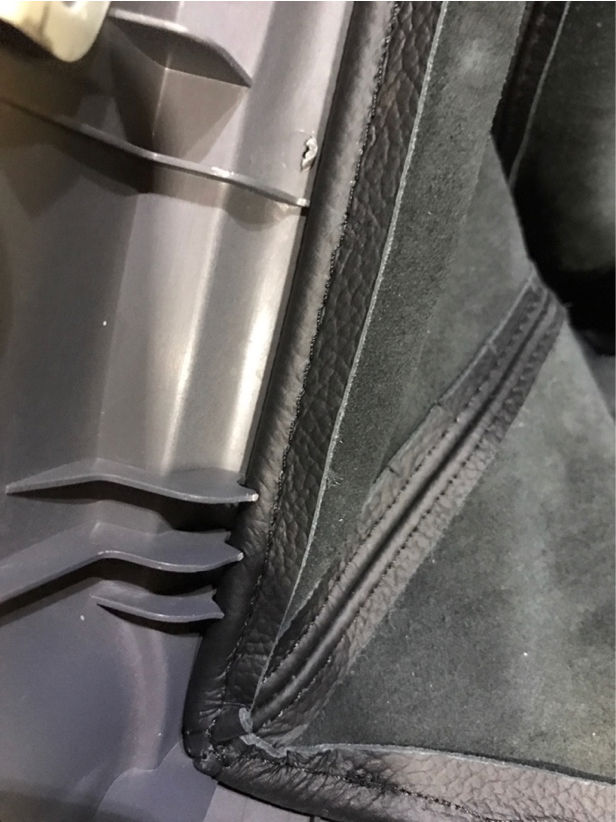
The stitching on the boot stops about an inch from the bottom, creating flaps on all sides that are glued over the metal frame. The point here is not to glue the boot to the frame, but rather to fold the boot over the frame and glue the leather to itself.
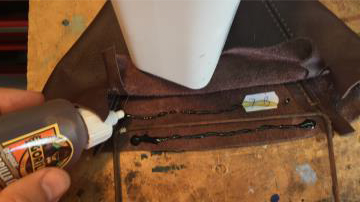
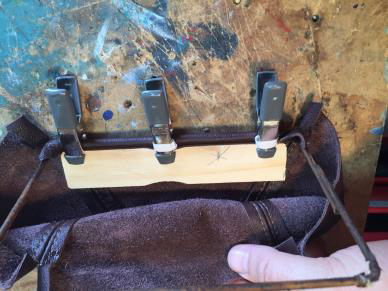
Here, the top flap is held out of the way by a heavy object. The metal frame is laid down over the inside of the bottom flap, with the frame roughly lined up with top of the flap, where the stitching starts. Apply glue, following the instructions for whatever glue you’re using.
After you’ve applied the glue, fold the flap over the frame. Using the pieces of wood (or Popsicle sticks, or whatever you’re using) on both sides of the flap, clamp the flap down.
Repeat the process with the flap on the opposite side.
In this installation, the glue was allowed to set on the two sides of the boot before gluing down the remaining two sides, as you can see in this photo. However, that's not necessary and you can glue all
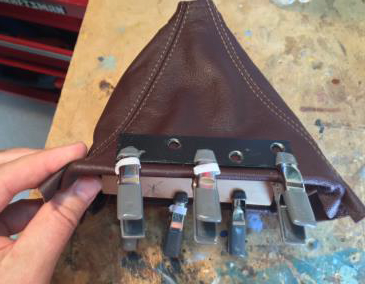
four sides at the same time.
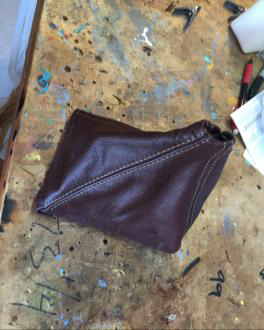
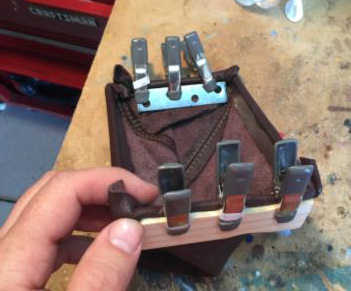
After the glue sets and you remove the clamps, your boot should look like this:
3. Install new shift boot
The new boot is a tight fit, to install work through the instructions in reverse, insert the boot through the console from underneath and snap the metal frame into the clips on the underside of the console.
Flip console back over, install 4 or 5 screws, install rear cup holder, shift knob and you’re done.