You must be logged in to rate content!
4 minute read

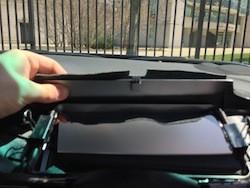
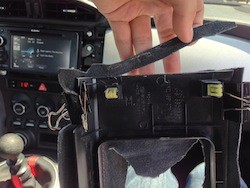
1. Use a small flat head screw driver or a panel removal tool to lift the top left corner of the stereo trim up.
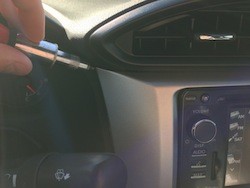
2. Unclip the stereo trim
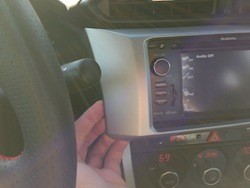
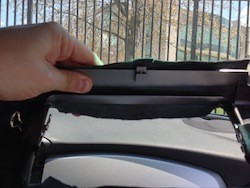
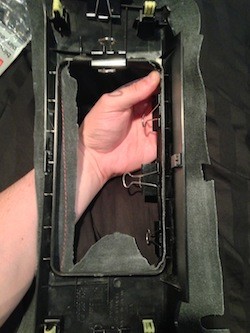
3. Starting from the left side of the right dash trim, lift up and unclip from the dash.
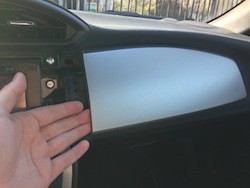
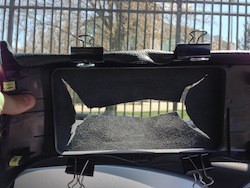
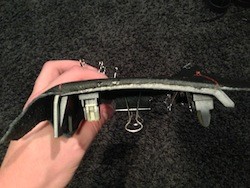
4. Line up the fabric for the stereo trim on the trim piece and clip it down in place.
5. Make incisions to the stereo space up towards the corners.
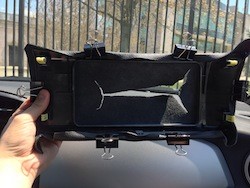
6. Make sure you have cut far enough so that the fabric will be able to fold back and wrap around.
7. Clip the fabric down so you can now see the opening for the stereo.
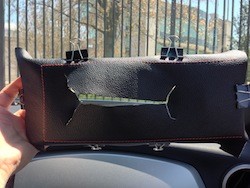
8. Cut a notch out of the fabric to allow for it to wrap around the clips in the middle of the trim piece.
9. If you have leather, you may want to trim the leather so that it will not wrap around the edge where the 2 trim pieces meet to avoid thickness issues
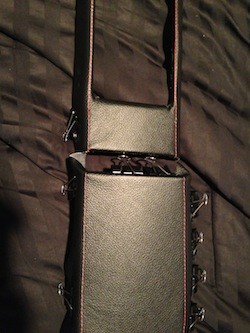
10. Make sure everything is clipped in place for reference before gluing.
11. Begin gluing the edges of the fabric to the trim piece using industrial adhesive or contact cement. You may need to cut small pieces of fabric off to allow for it to wrap around curves as you go. replace the clips as you glue to create a good bond.
12. Clip the fabric to the passenger side dash piece and line it up with the stereo trim to be sure the stitching lines up.
13. Begin gluing the fabric to the passenger side trim and hold in place with clips while it dries. Again, you may have to trim small pieces of fabric as you go to avoid folding and gathering. Remove your clips after the glue dries and clip back into place in the dash.