You must be logged in to rate content!
6 minute read

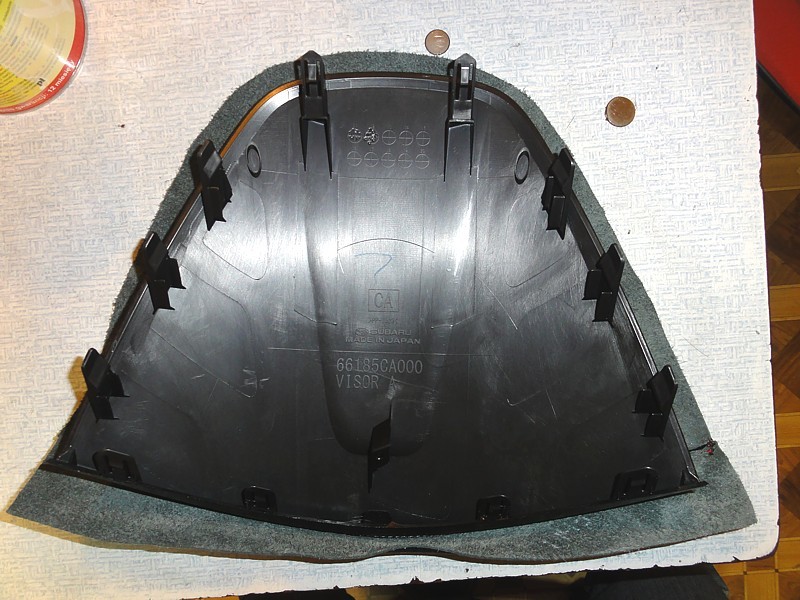
1. To remove the hood, unscrew it from the dashboard - there is one screw from the bottom of the hood. Once you do it, pry the clips all around the hood making sure not to break the clips. In general, use an epoxy-based glue that doesn't settle instantly but allows a few minutes to make sure your alignment is perfect before it settles.
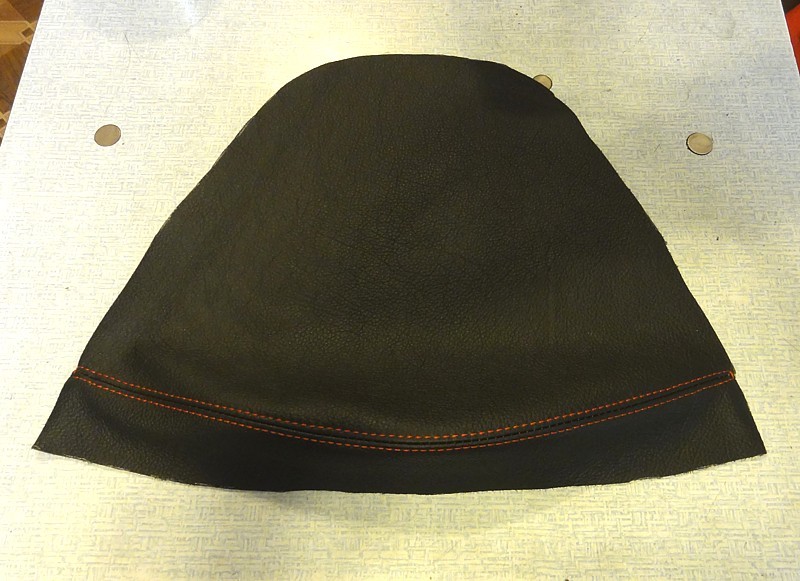
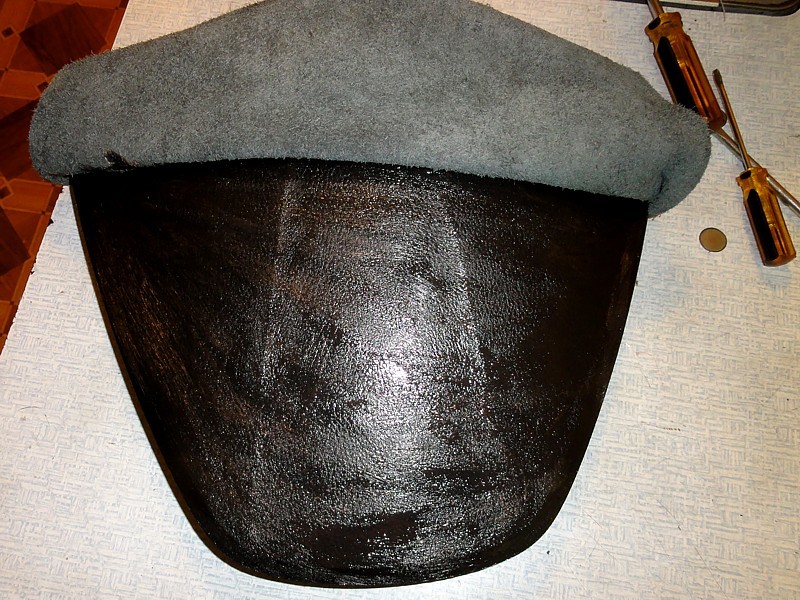
2. Test-align the cover on the gauge hood, make sure it fits perfectly before you even start glueing
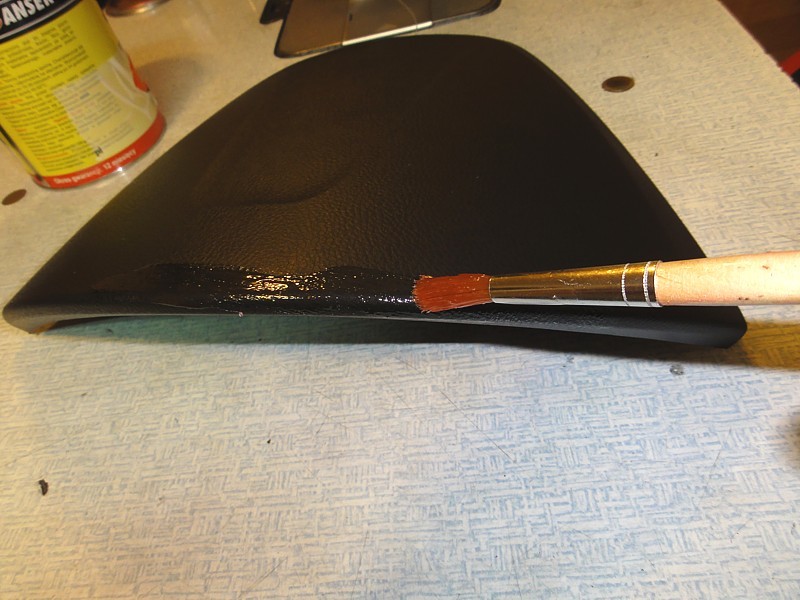
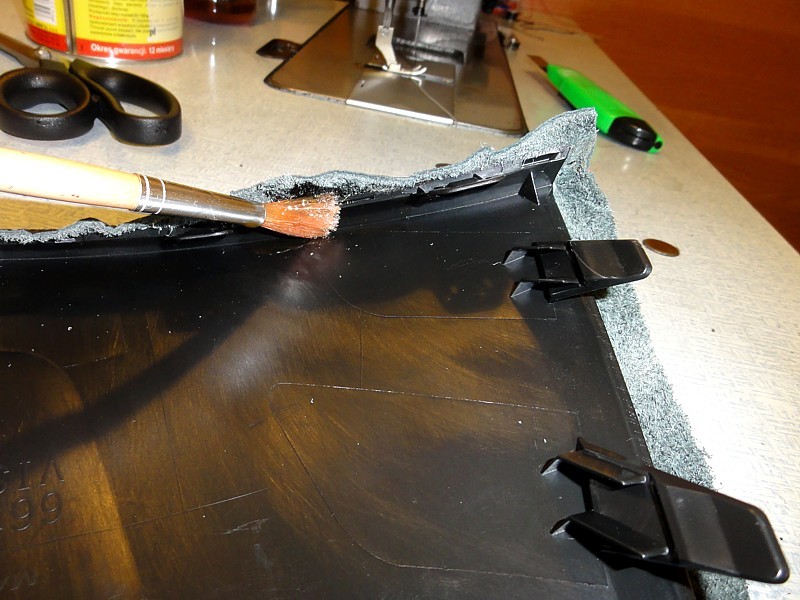
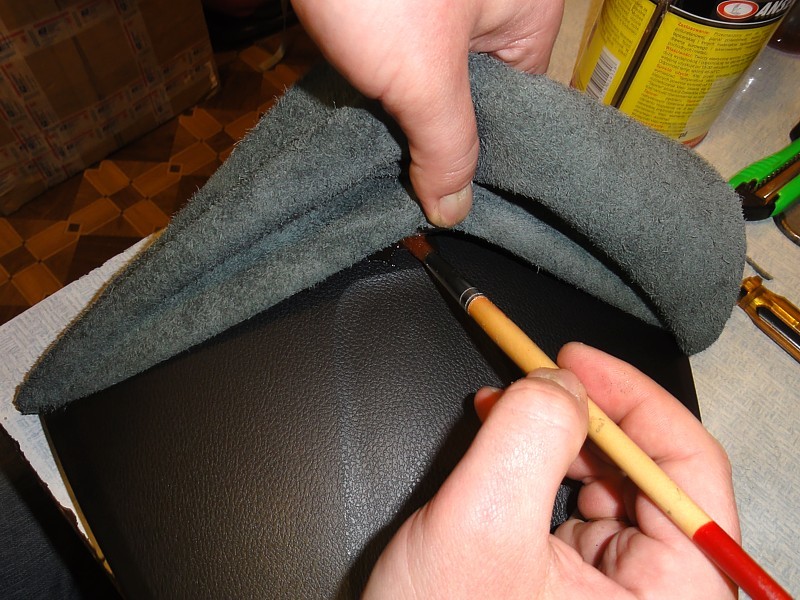
3. First glue the driver-facing edge of the hood - apply the glue along the edge with a brush - approx. 1-2cm to both sides of the edge.
4. You can consider using clamps to help you hold the rest of the cover in place while you do it.
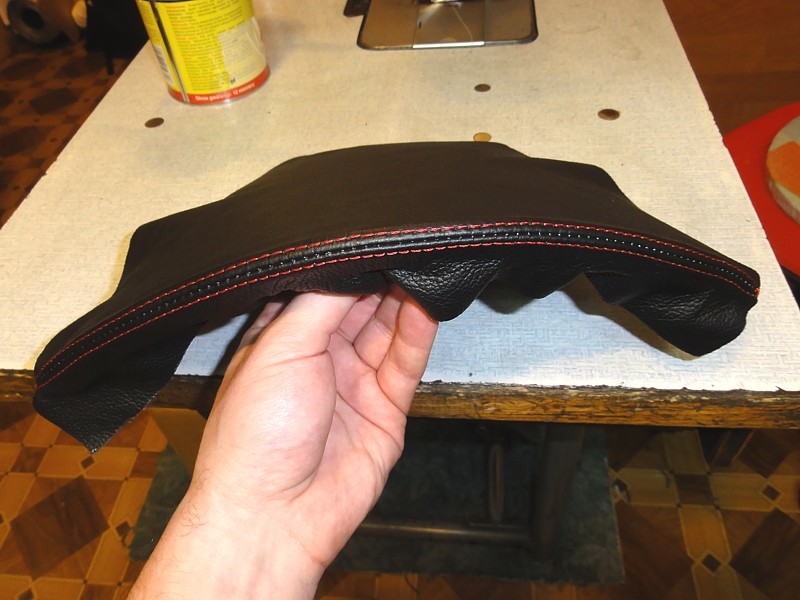
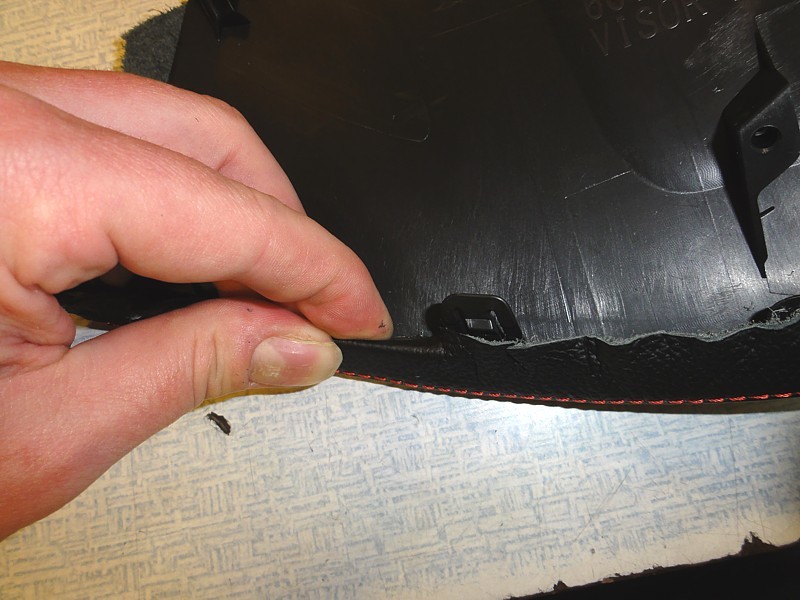
5. Make sure it's nice and tight, seam properly aligned to the edge and let the glue settle a bit.
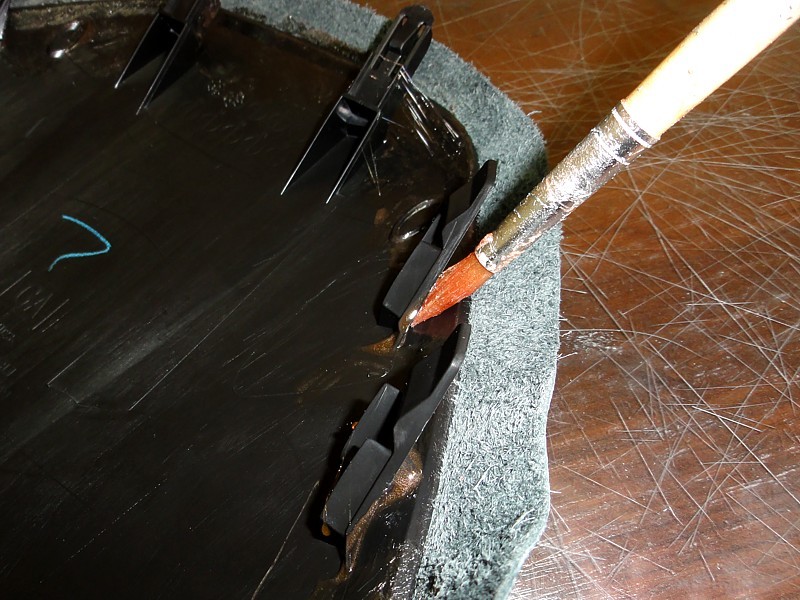
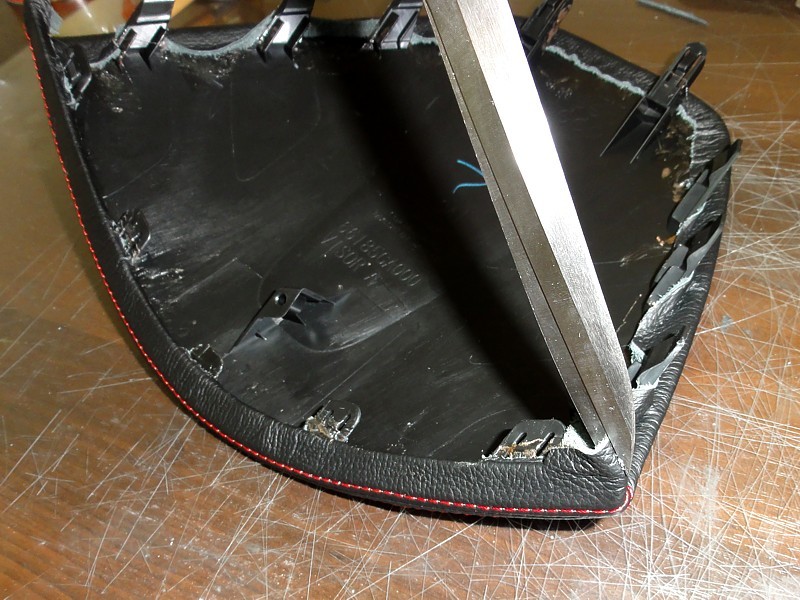
6. Then apply the glue to the bottom surface of the hood cover along the front edge, fold the leather and pres it strong to make it stick to the glue. Make sure the leather holds tight especially at the clips areas
7. Pay attention to clip areas...
8. .. adjust them if neessary...
9. ... including trimming the leather just a bit to make it sit flush.
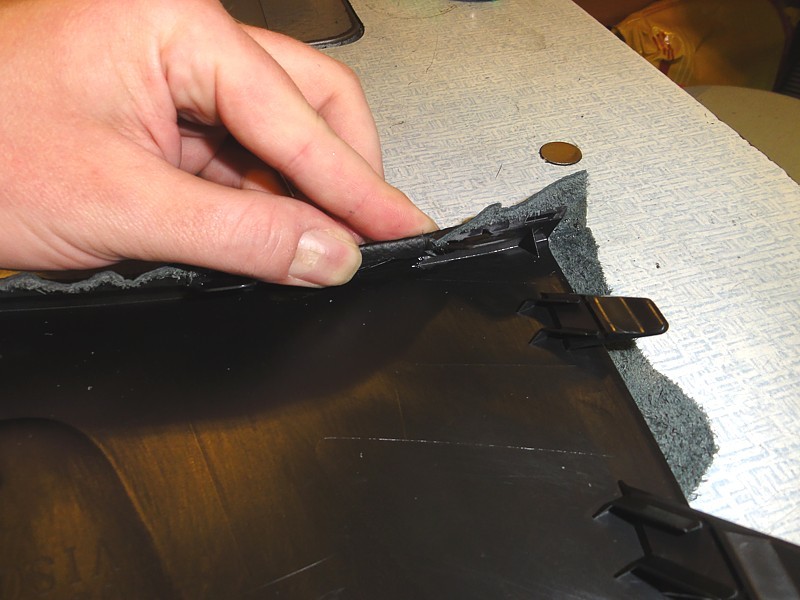
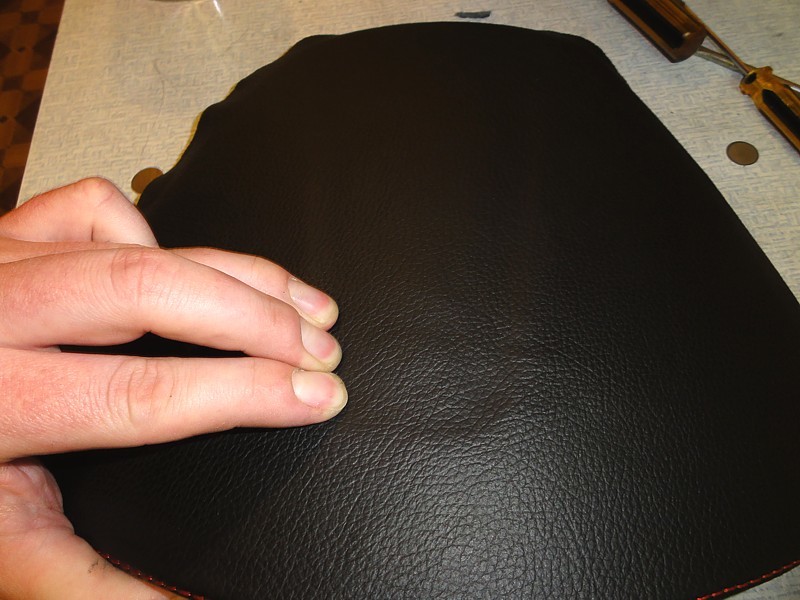
10. Then proceed with applying the glue to the upper surface of the hood making sure you apply the glue to the whole surface - lift the leather a bit and slide the brush under it to spread the glue in there. You can glue the whole surface at once making sure to spread the leather evenly. Do not stretch the leather too much.
11. Instead, before you lay it on the whole surface, press it strongly into the hollow to make the leather stick there, (otherwise it may lift there after some time) and then press the leather firmly all over the surface till the edges.
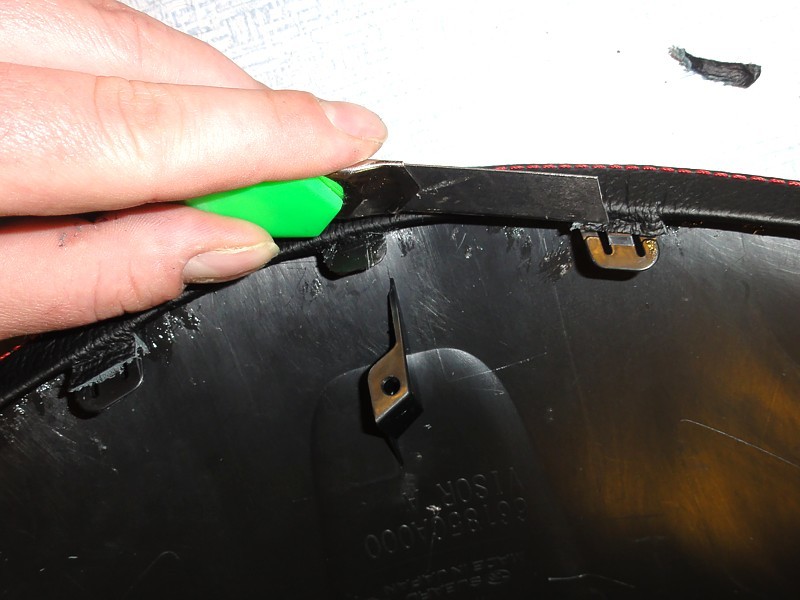
12. Let the glue settle and then apply the glue to the bottom of the hood along the edges, fold the leather and press firmly to make it stick.
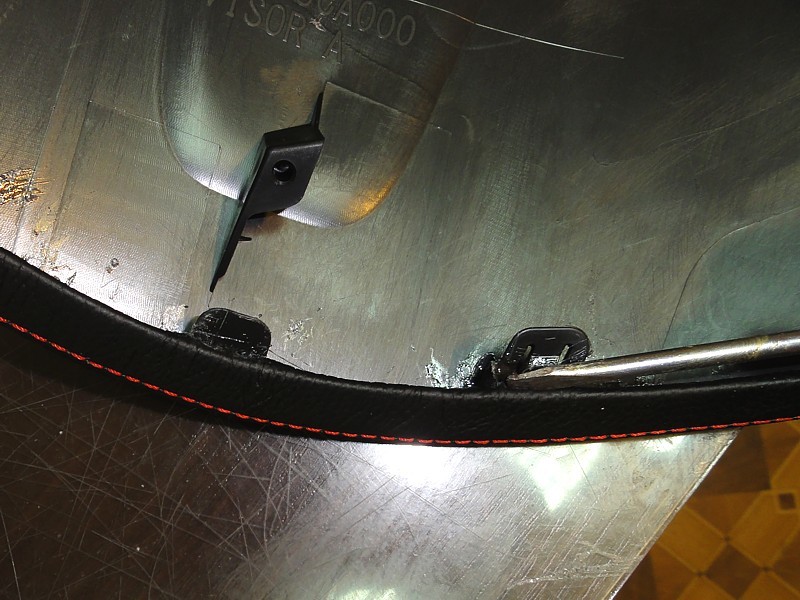
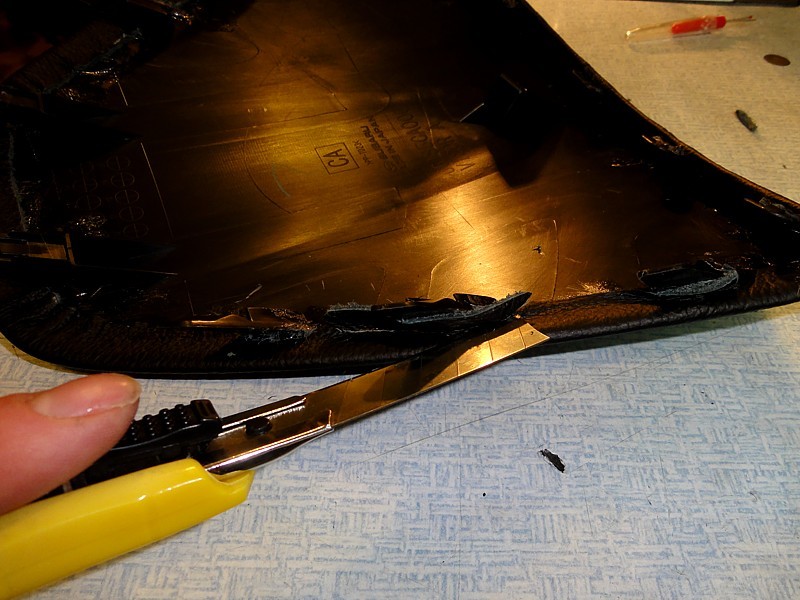
13. It mmight help to use a screwdriver, putty knife or even a ruler to make the glue hold the leather along the clips.

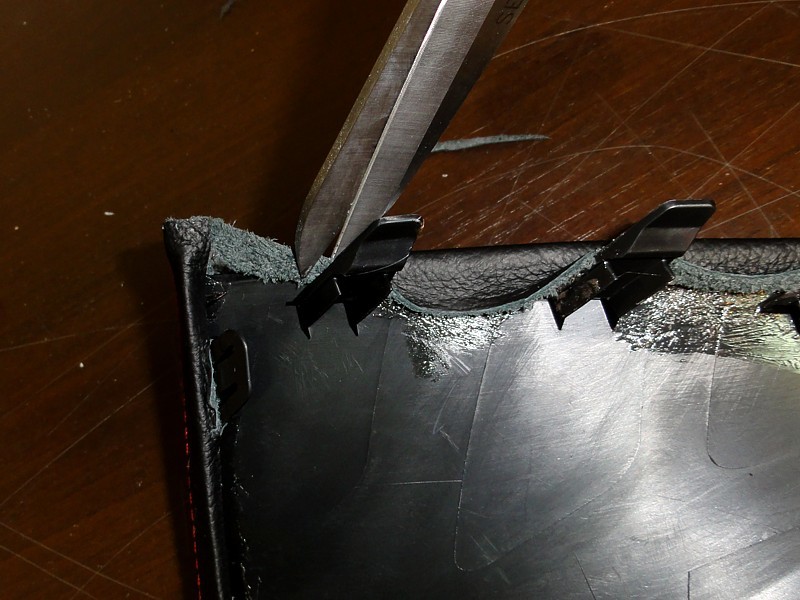
14. Details seem here...
15. ... and here.

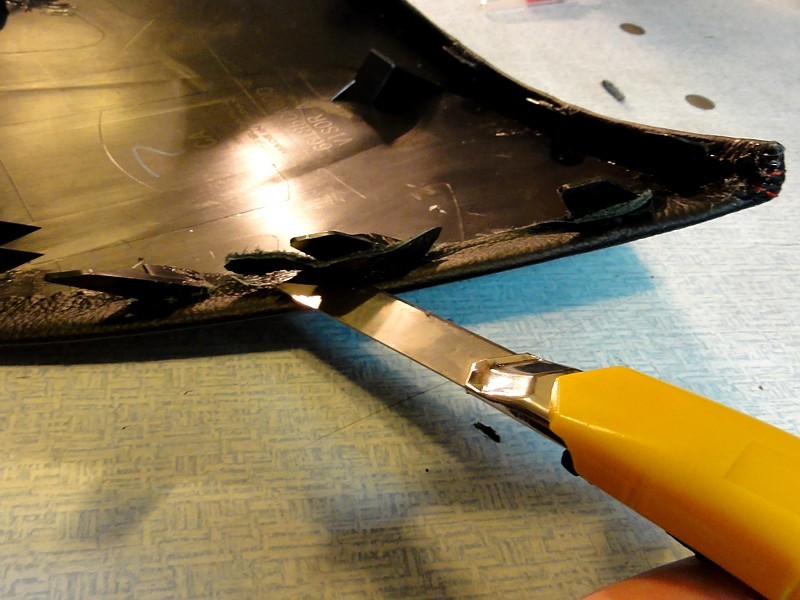
16. You will need to make small cuts in the leather on both sides of every clip to make it lay properly.
17. After the glue settles firmly cut the excess of the heather that lies on the clips in order to make the clips snap back into the dashboard.
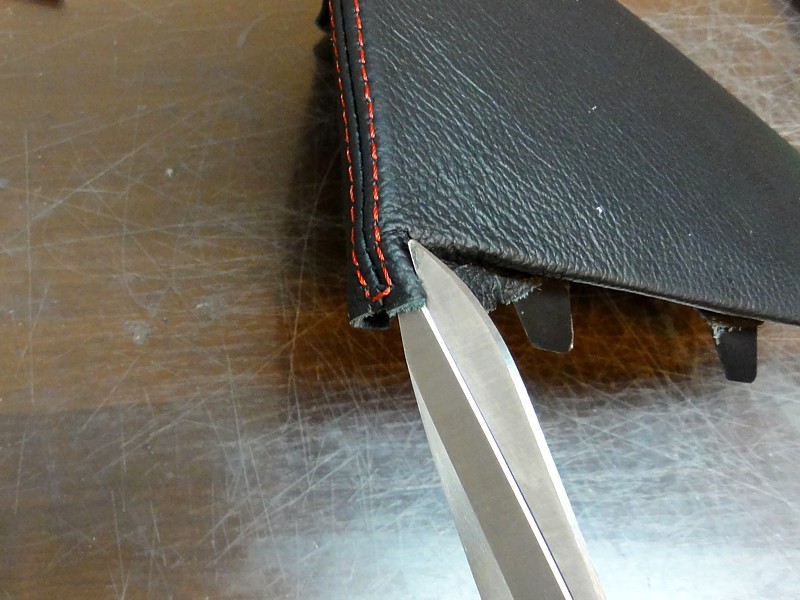
18. Let the glue settle and proceed with the front corners Ð make cuts along the seam to enable the seam to be folded under the hood.
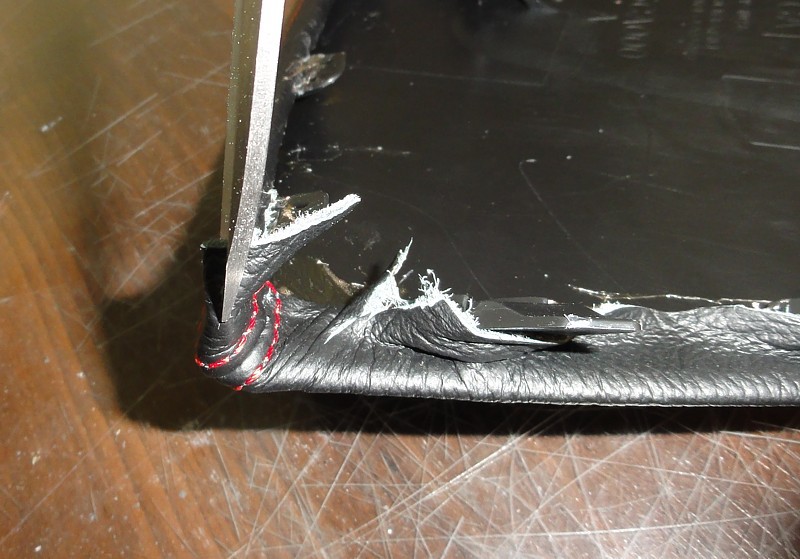
19. Here you will have to be a bit creative and see for yourself how much you need to cut in order to make the leather lay properly and not make the cuts visible. Remember it is better to cut too little and then extend the cut again and again than to cut too much at first. :)
20. Once you are sure you cut enough, apply the glue to the bottom of the hood around the corners and fold the leather there. You should work with one corner at a time because you'll have to hole the leather folded with your fingers pressing it for some time until the glue settles. Then proceed to the other corner.
21. Now you should be able to install the hood back into the dashboard Ð press it from the top to make the clips snap, screw it back and enjoy your good work. :)
ENJOY YOUR NEW LEATHER BOOTS!
Useful tip
You have installed a product made out of genuine leather. As you know, to maintain a leather product in good condition, you should take care of it. We suggest occasionally (every 4-6 week for example) applying some leather conditioner/UV protector to keep your leather from drying up in the sun and cracking.
Redline Automotive Accessories Corp. will not be held liable for any labor, incidental or consequential damages of any kind. Proceed at your own risk.
