You must be logged in to rate content!
4 minute read

KNEE PAD INSTALLATION FOR SCION FRS, SUBARU BRZ, TOYOTA GT-86
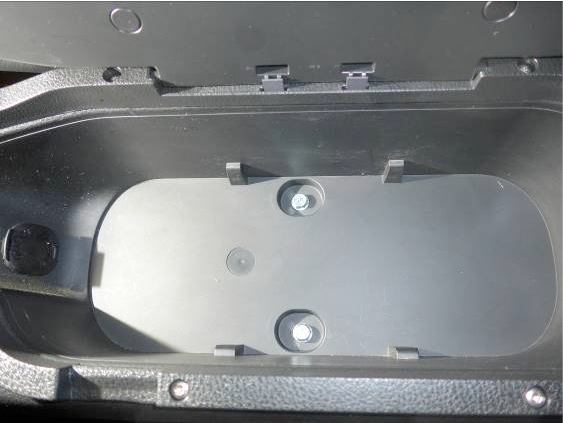
To remove to the knee pads, you will need to remove the center console. Start by removing the cup holder and the pad beneath it to reveal the first two 10mm bolts that hold the console in place.
Next, remove the E-brake boot by lifting straight up on the plastic portion, then stretching the boot over the brake handle.
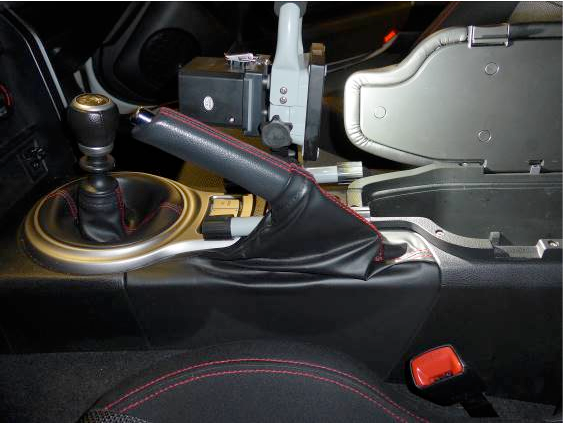
The shift boot comes off next. First, twist off the shift knob. Then, use a trim tool to separate the silver trim piece from the console.
Now, disconnect the switch connector and stretch the boot over the reverse lockout to remove it.
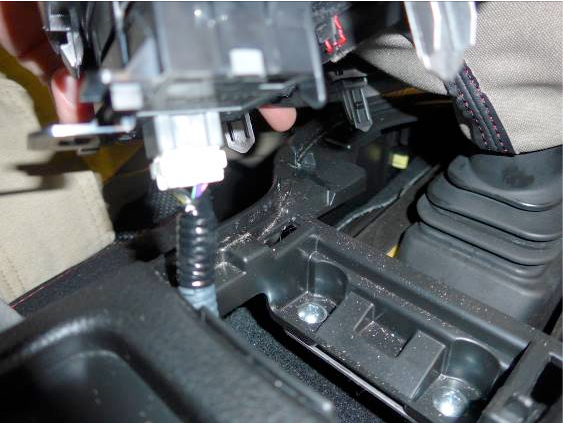
Now you can remove the center two screws that hold the console in place.
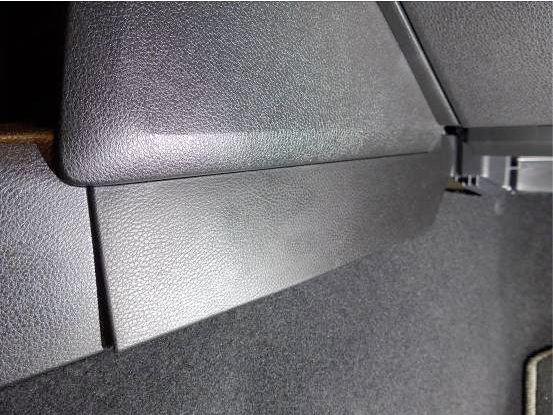
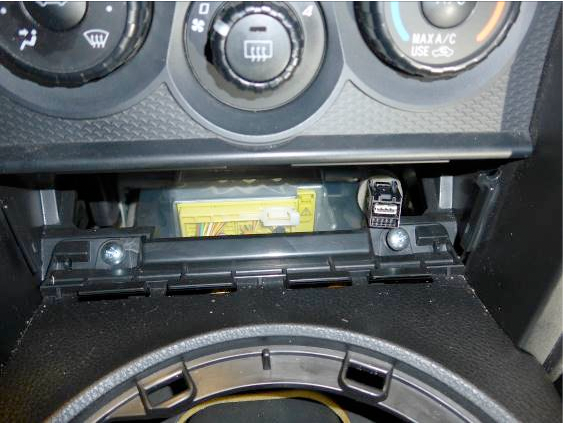
To gain access to the last two screws, you need to remove the tray below the climate controls. Start by pulling off the lower trim piece under each kneepad.
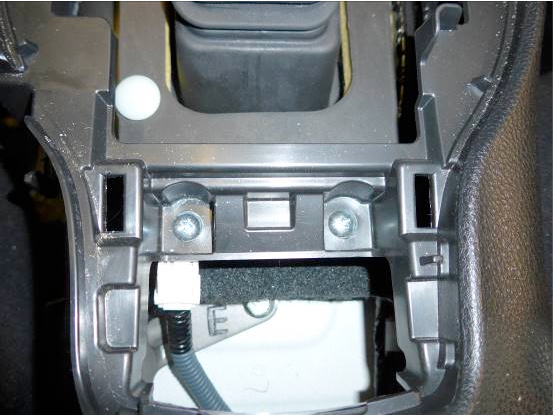
Reaching around the passenger side, you can push out the Aux and USB inputs, then unplug the connector for them.
Additional steps may be required for a car with push-button start. Reach behind both sides of the tray and push it out of the dash. It requires quite a bit of force to remove.

Remove the last two screws that hold the console in place, then remove the console from the vehicle. Remove the connector to accessory power as you do.
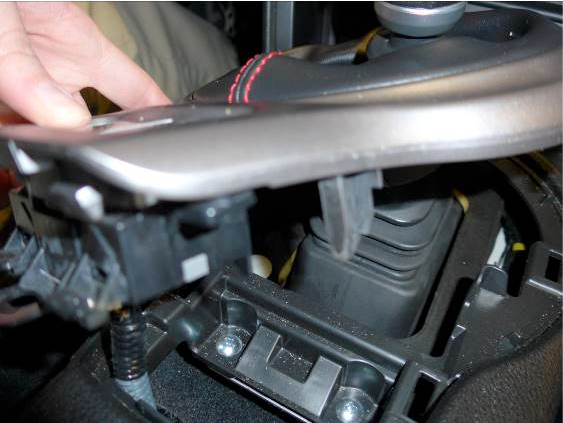
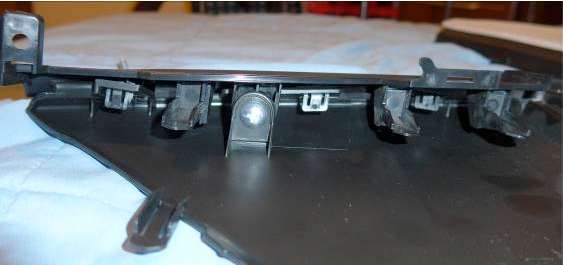
Use a trim removal tool to remove the piece around the radio, then remove the screws (1 each) that hold the knee pads in place. Pull the knee pads straight toward the back of the car to remove them.

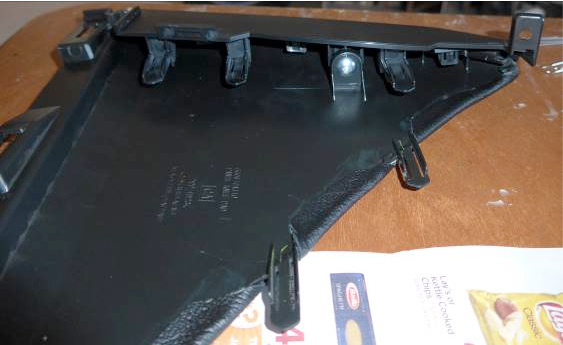
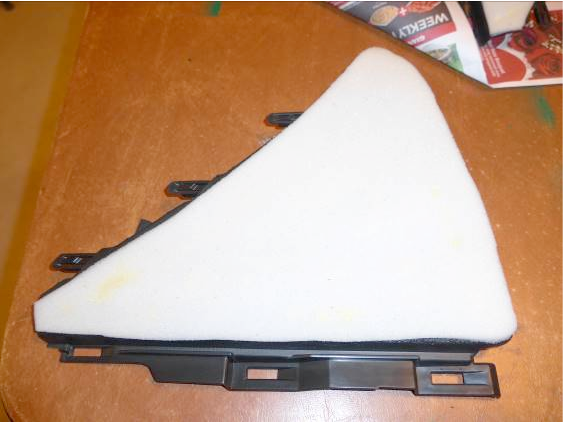
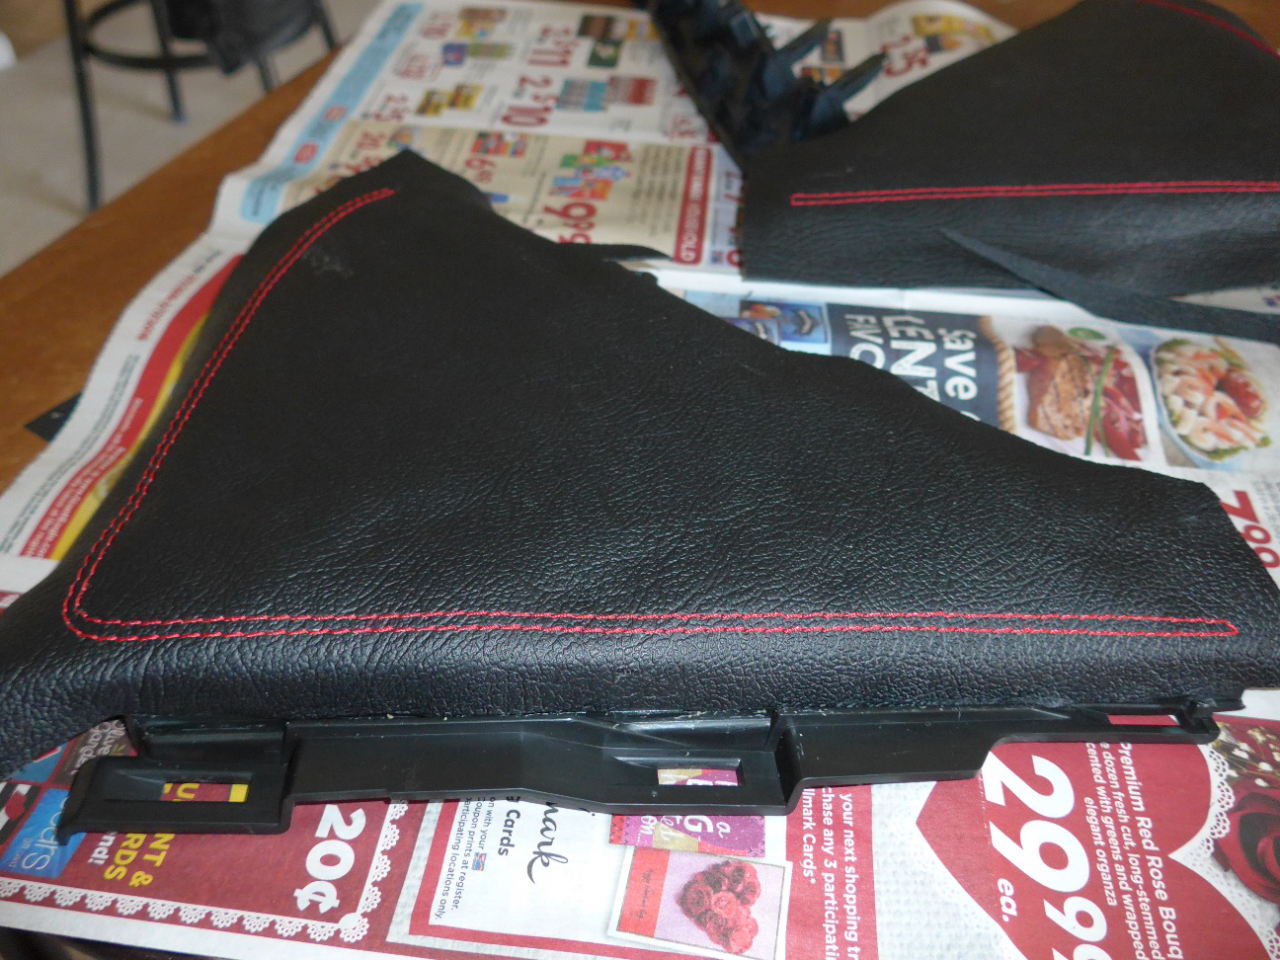
Remove this screw, then pull up to separate the inner and outer parts of the pad.
Use a suitable glue to attach the foam to the knee pad.
Place the leather on top of the pad, lining up the stitching where you want. Working in sections, glue the leather to the foam.
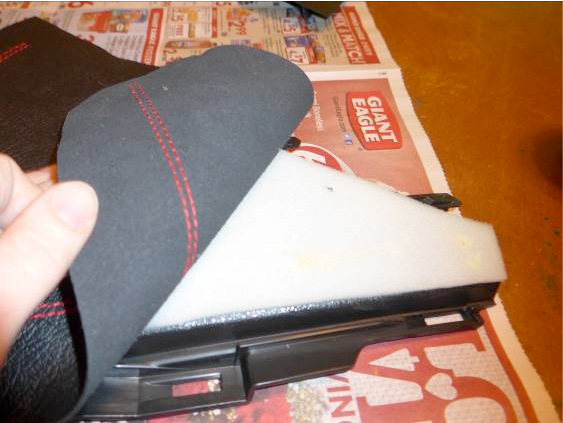
Trim the edges of the leather so it will wrap around the edge of the pad without interfering with any of the mounting tabs.
Work around the piece gluing the leather to the edges of the plastic
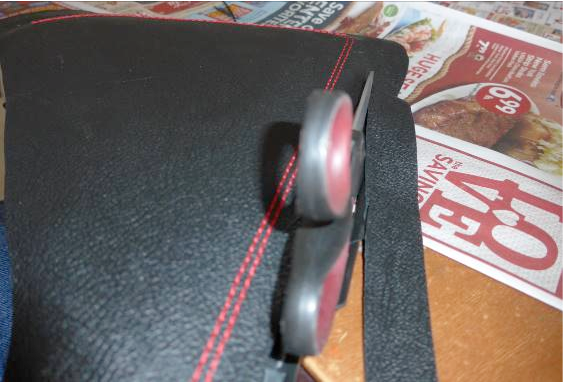
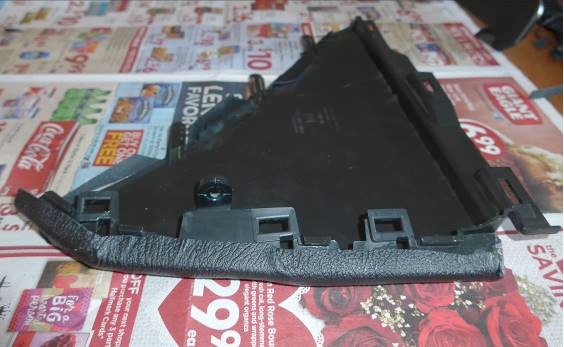
Reassemble the pad, then install the pieces on the car Install the center console and trim pieces in the reverse order they removed.