You must be logged in to rate content!
3 minute read

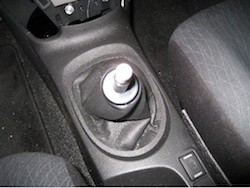
1. Remove your shift knob… righty tighty, lefty loosey.
AUTOMATICS: Remove the shift knob using the screw on the base. Once the screw is removed the top part of the shifter will pull off. Once removed pull the base part off as well. Turn the key on and suppress the brakes to move the shift selector to D.
2. Remove plastic bezel under A/C. (pops right out)
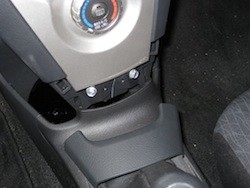
3. Lift out plastic console bezel in which shift boot is attached. It lifts directly up. If you have the Toyota Security system, you will also have to unclip the connecting wire.
AUTOMATICS: Remove the silver bezel around the gear select; starting with the front side separate the bezel from the center console, mild to moderate force is required.

4. Remove your old shift boot. It is just wedged in place, and pops right out. Remove the wire from the stock boot (cut it in the middle between the corners, it doesn't matter that it won't be a closed loop anymore it's strong enough to hold anyway) and feed it through the hem at the bottom of the new shift boot. Reinstall the new boot.

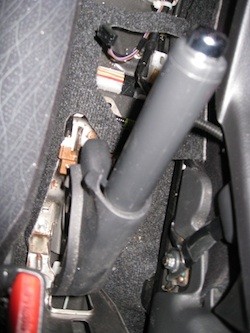
5. Open center console armrest compartment and then remove plastic bezel around E-Brake. It also lifts up. You will have to disconnect the wire that goes to the cigarette lighter.
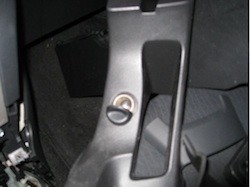
6. You can now access the e-Brake and install the ebrake boot.
CONGRATULATIONS - YOU HAVE SUCCESSFULLY INSTALLED YOUR NEW LEATHER BOOTS!
Useful tip
You have installed a product made out of genuine leather. As you know, to maintain a leather product in good condition, you should take care of it. We suggest occasionally (every 4-6 week for example) applying some leather conditioner/UV protector to keep your leather from drying up in the sun and cracking.
Redline Automotive Accessories Corp. will not be held liable for any labor, incidental or consequential damages of any kind. Proceed at your own risk.