You must be logged in to rate content!
3 minute(s) of a 26 minute read
5-11-2013
Thanks man, I've had a bit of experience behind a few MIG machines when I was in school. Now I have a Lincoln 140HD MIG of my own that I can use whenever. I need to go ahead and get my air tank for it so I can stop using Flux but it all seemed to hold fairly well and most welds will end up covered anyway. The pain on the bumper panels was a semi-gloss I am pretty sure (it's been a while since I painted those.)
5-13-2013
The cluster actually fell through. There was some funny business going on on the other end of that deal that seemed very similar to a deal that screwed me out of about $200 a while ago. Learned my lesson with funny situations and do not plan to have to put up with that kind of stuff again if I can help it!
5-14-2013
So i forgot to grab pics but the engine bay is ready for the next round of body filler. Thankfully this layer should involve much less work since I can now see where the bulges/holes are much easier. It also feels ooh so smooth and clean. I'm getting really excited to start spraying the primer on it but thankfully I've been able to refrain from doing that too soon haha. With all of the running around I've been doing (much more than I expected I'd have to) it's been a bit slower but little things keep happening and, well hey, little things join to make a big thing in the end haha.
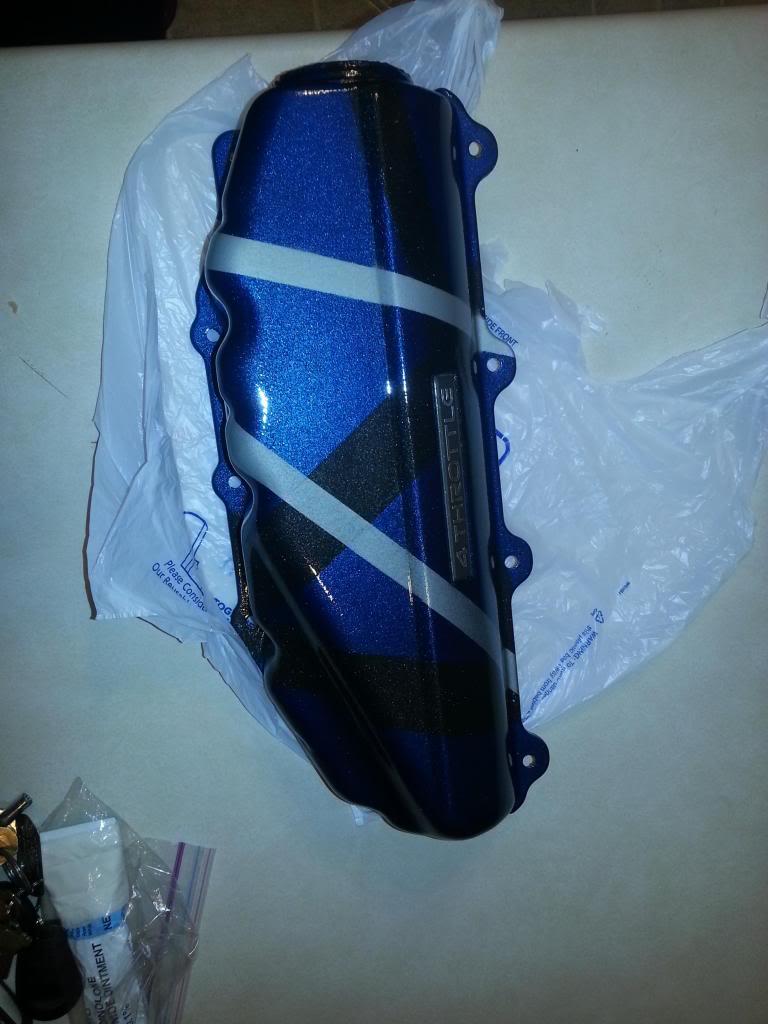
I did manage to grab some pics of the motor covers after I cleared them. Used some High-Temp clear and put about 8 layers on them. Pics do a little justice but nowhere near enough, the flake on these things pop like nobody's business and it's really nice to see it come together the way it did. Granted these will get replaced when I can afford some new ones that aren't so beaten up I think they came out just fine for the time being.
next time i make it over to the car I'll grab some before/after pics of the next layer of body filler on the bay and how she comes out! Firewall will be included in the next round too so all that crazy hacking will finally have some pretty form
5-15-2013
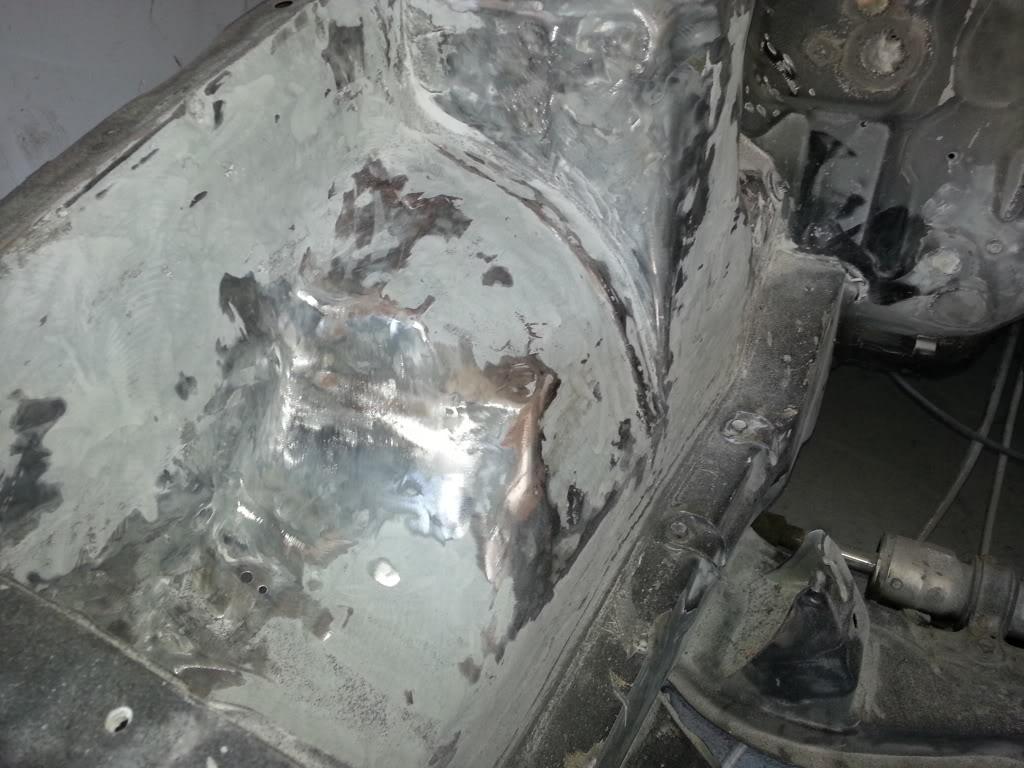
Got some pics of where the engine bay is currently. This is after the first layer of body filler. I haven't done the filler on the firewall yet, I still have a few spots to touch up first but the wheel wells and spots that I removed look about right for how they need to be. Smooth as a baby's bottom too
This layer was to get rid of the big dips and major changes. The next layer will finish off the small dips and even it all out. Can't wait!

