You must be logged in to rate content!
10 minute(s) of a 221 minute read
9-16-2013
Thanks boosted86, I love them too!
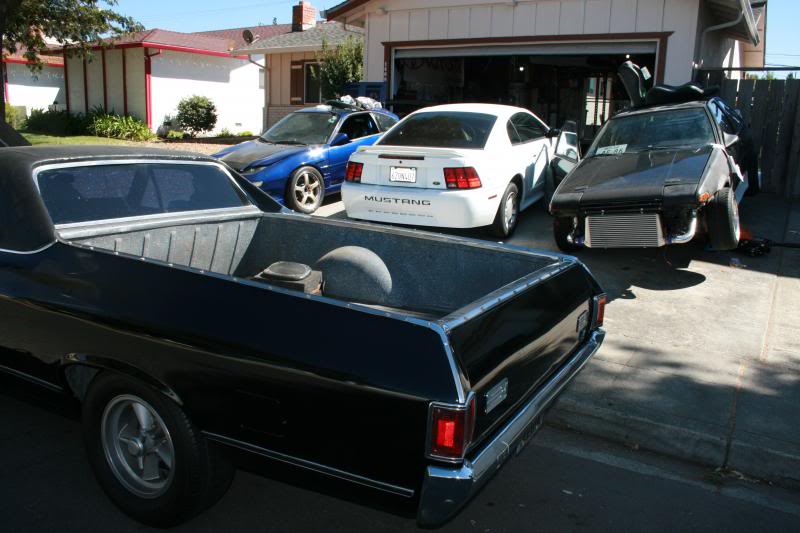
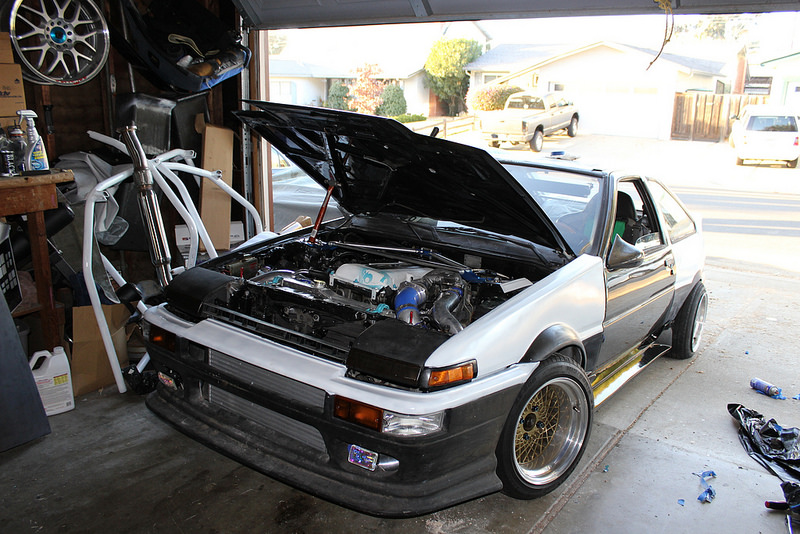
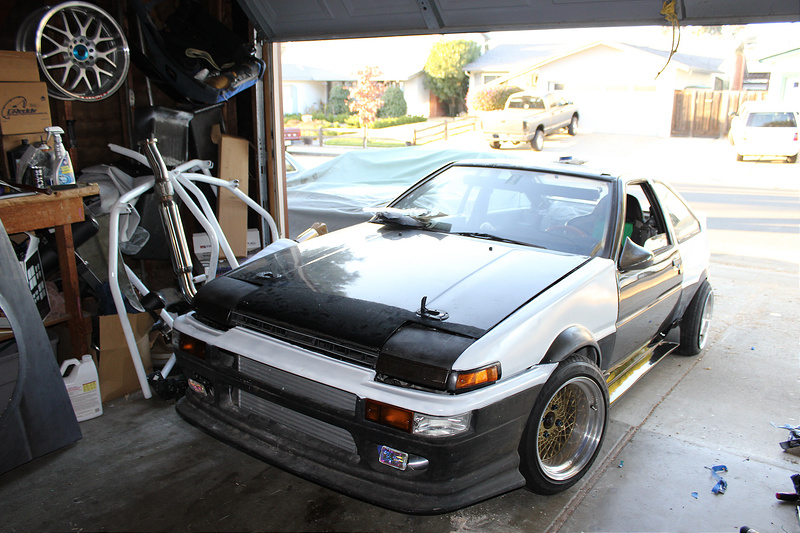
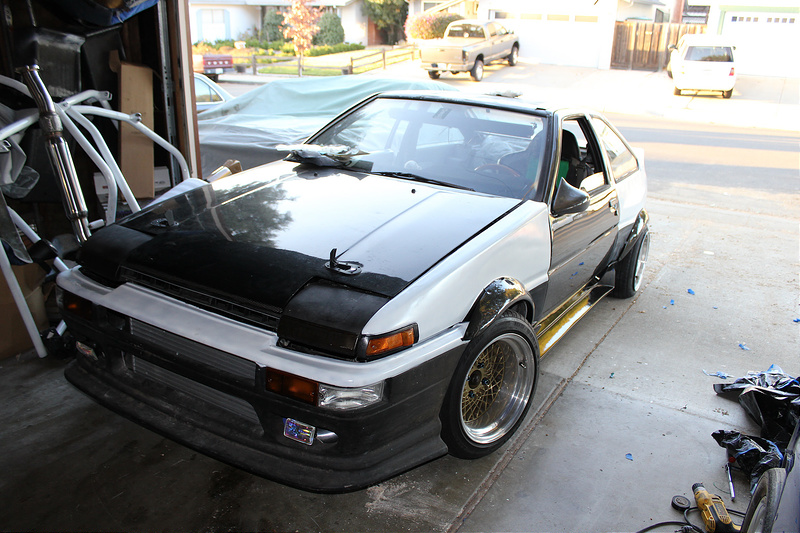
So I went to work on my AE86, had a bunch of things to do, and ended up getting sidetracked with my friends Elcamino lol... oh well..
I did how ever get my Exhaust hangers attached, so the exhaust is held on by more then 1 lol. and I wrapped up the injectors wires, so it is a bit less of a rats nest lol

Things left to do:
1) Replace segment of brake line, and move it down away from the trans tunnel.
2) Bleed brakes
3) Wire fans to ignition
4) input shaft seal replacement
5) Gas Gauge resistor wired up
6) Have cage lateral bars installed and mounted
7) upgrade sway bar attachment points
8) Attach flares
9) Paint car
11-1-2013
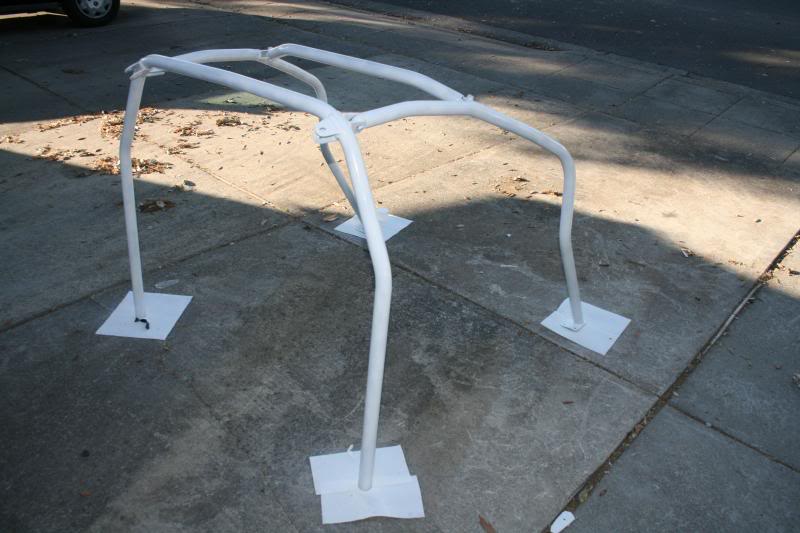
Painted my cage, since it was ugly and banged up! Might throw some of my older stickers too


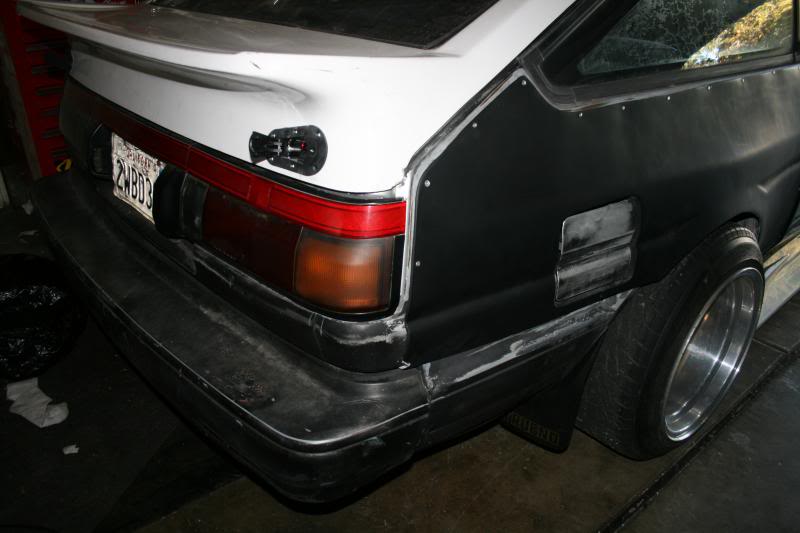
I need Donations!!! I am ready to Paint my car, but I need a JDM or aftermarket REAR bumper for cheap... if anyone has any ideas of a DIY fix, or what not my USDM bumper is ugly and should not be painted with my car... so someone make a wish come true and hook me up with a better rear bumper!


11-3-2013
got a new rear bumper!!! Excited to install it and send my baby off to paint!
11-5-2013
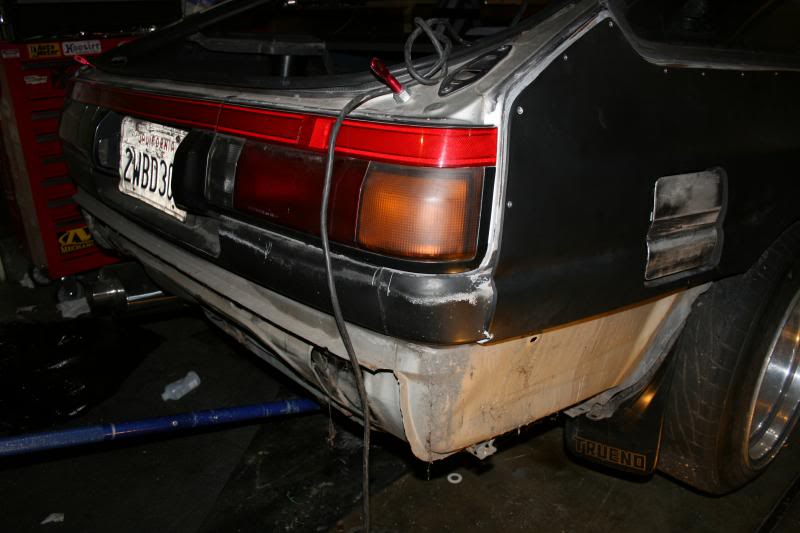
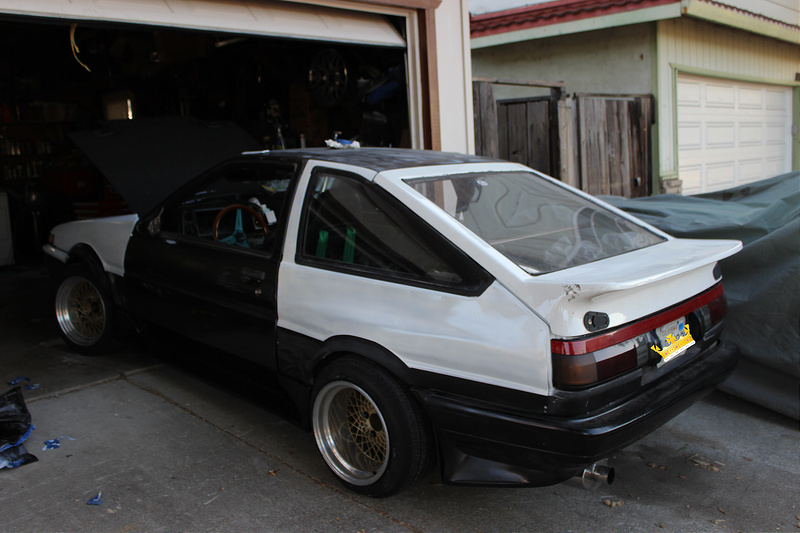
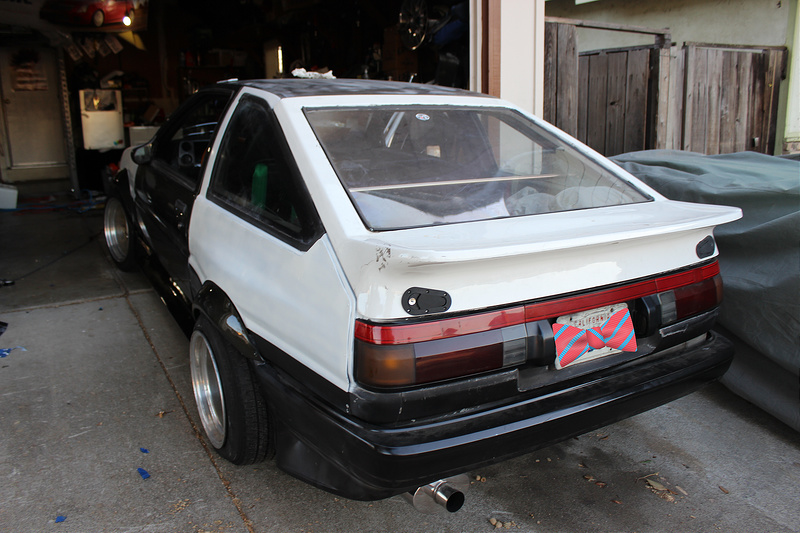
Bumper installed!!!! I am going to space it a little to match the widebody! but ya it was easy!
Tools:
19 mm socket
10 mm socket
Phillips Screwdriver
Flathead Screwdriver
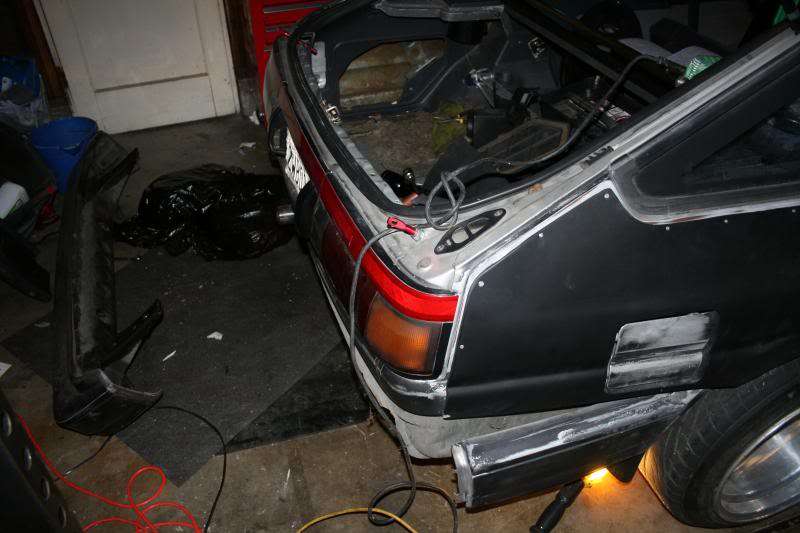
Remove the (4) 19mm bolts in the trunk (pb blaster or wd40 them to help ease the bolts off)
then there are (2) 10mm bolts behind the plastic trim in the trunk quarter panels.
Then there is (2) 10mm bolts for the side piece where the mud guards are
and finally (1) 10mm bolt holding the bumper to the quarter panels trim
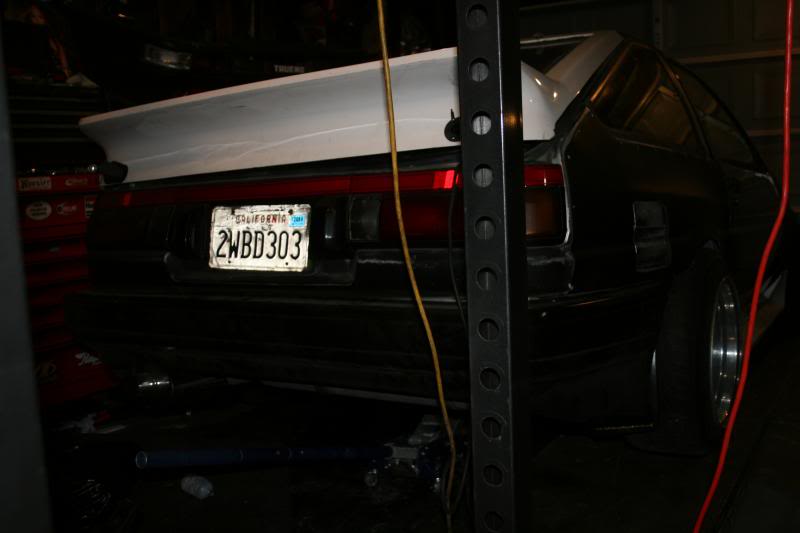
Uglier then sin USDM rear bumper!!!
yes almost there!!!
Ohhh giggity!!!!
11-5-2013

and my JDM replica Jblood style bumper!
11-18-2013
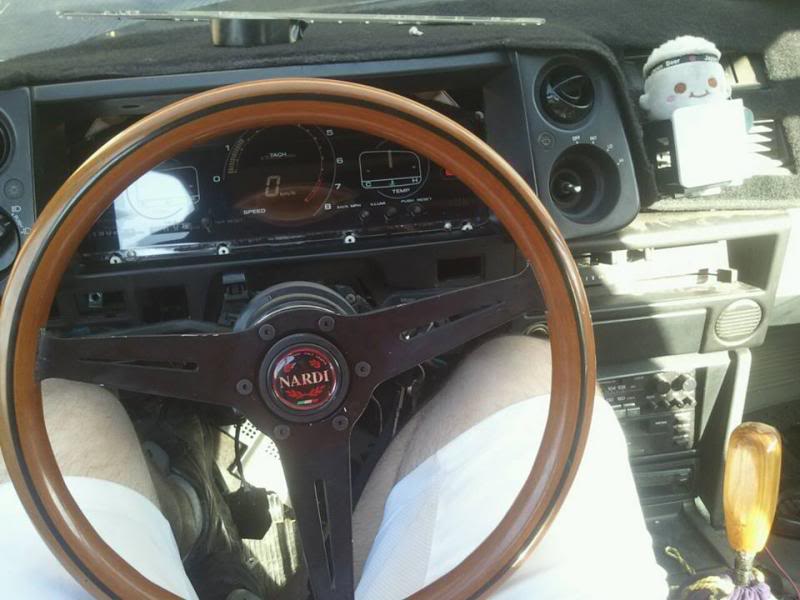
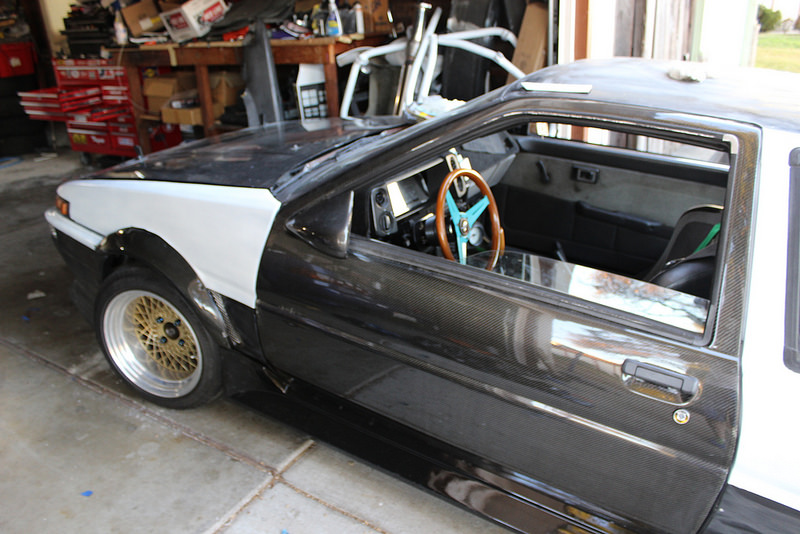
My steering wheel was painted not very well, so I decided to play with it.
Here is how it was
1-11-2014
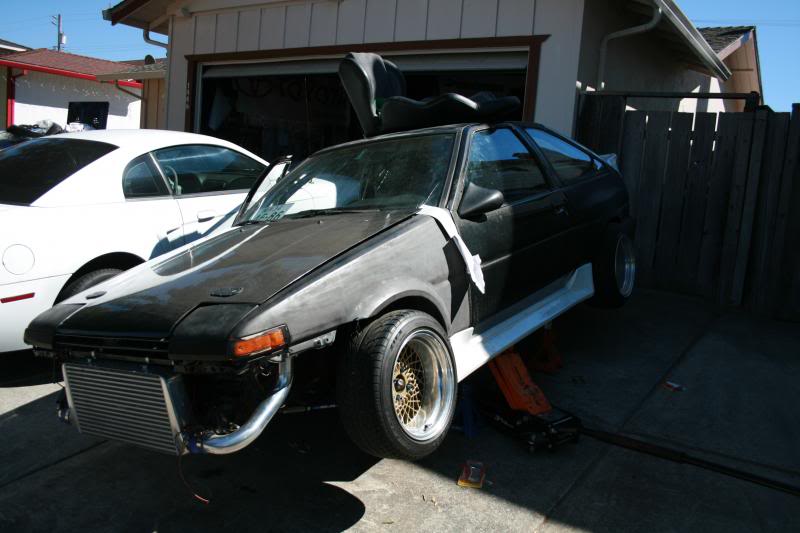
Had a few issues come up, my first brake line fix did not work, so I had to get a double flare tool and repaire it. Then the Fuel lines to my SARD Fuel Pressure guage started leaking...so i cut out the leaking portion and repaired it. I am still having rough idle underwarm up, but I think I have driveable enough to go to paint. so here she is... in all her glory lol
1-16-2014
Thank you everyone I really apprecaite it, your words help keep me motivated.
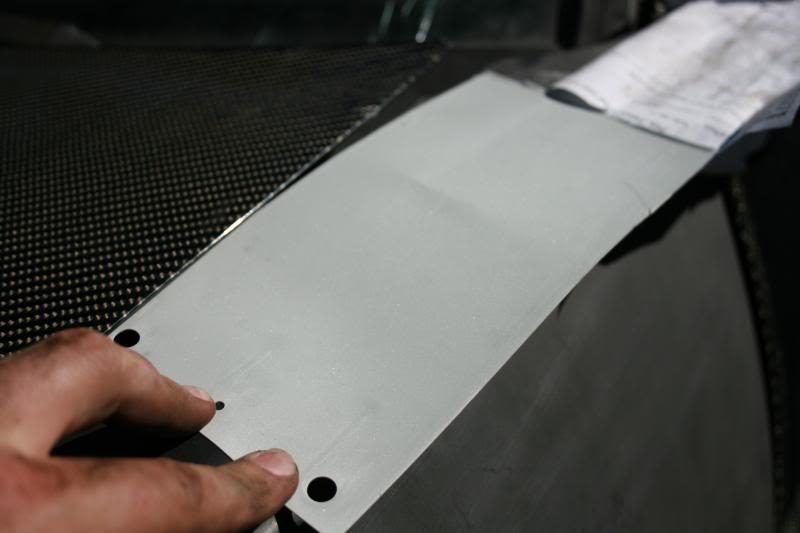
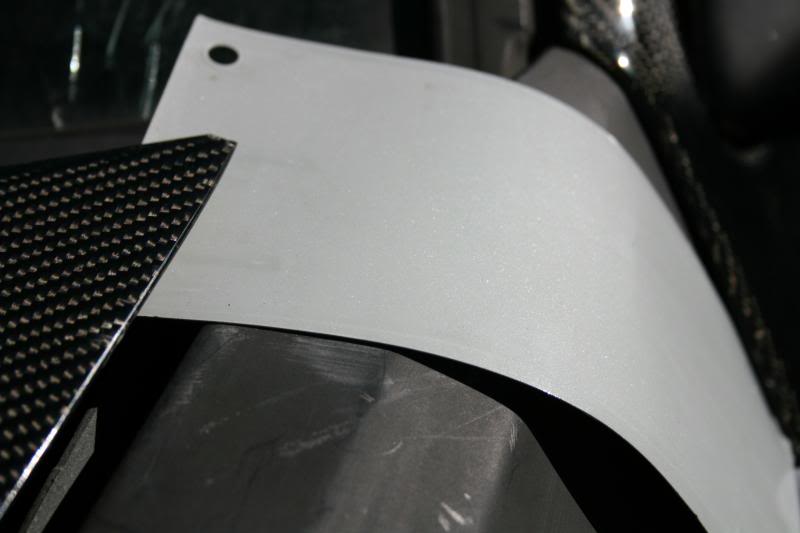
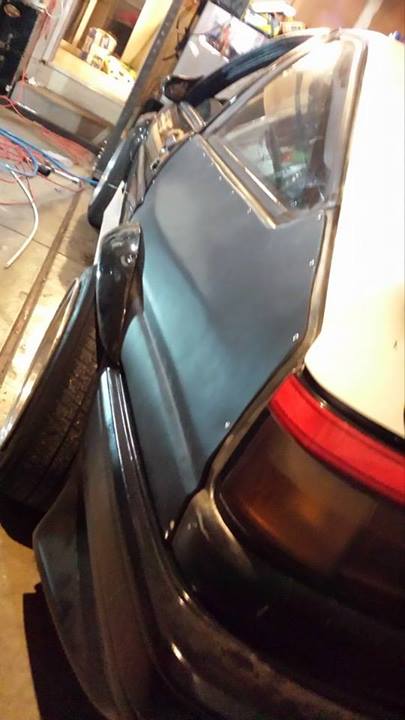
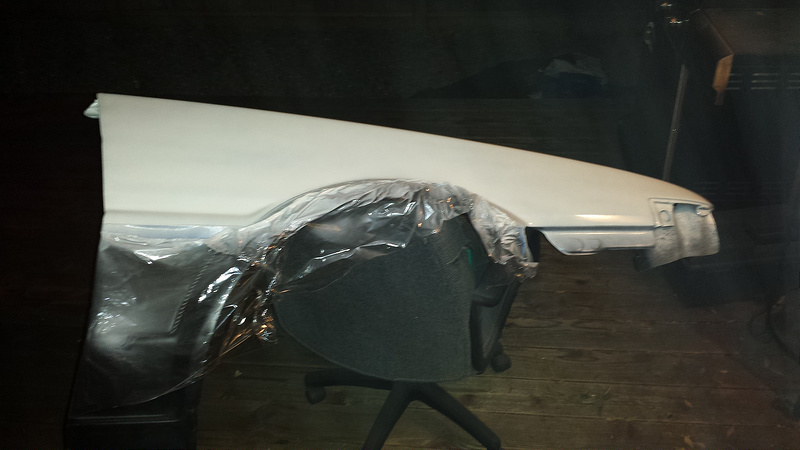
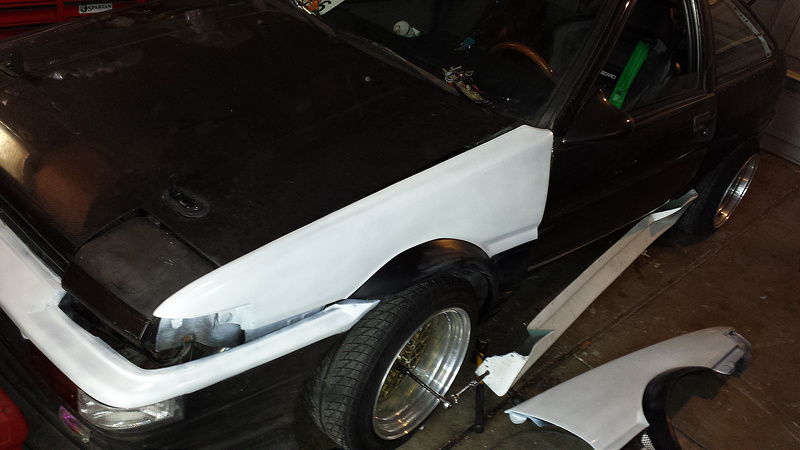
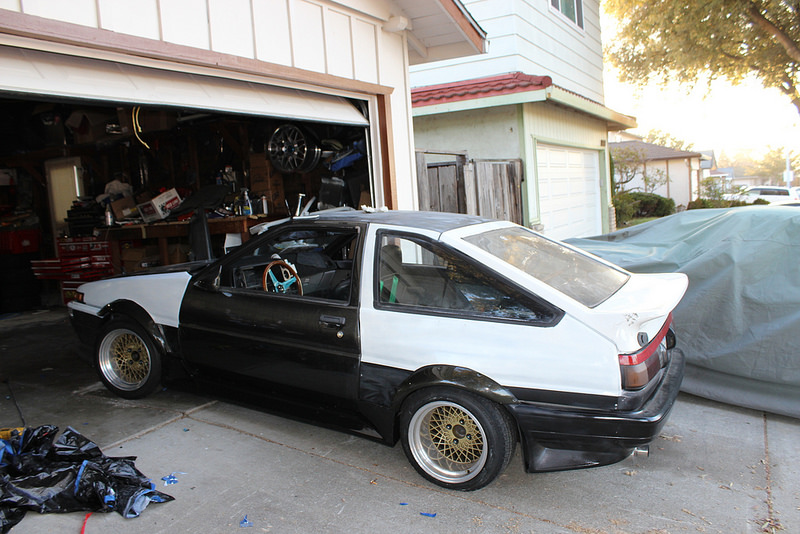
got some origin style front fenders, figured while im waiting to get the car together enough for a real paint job, I will put a little color on em, rattle can style lol... for now.
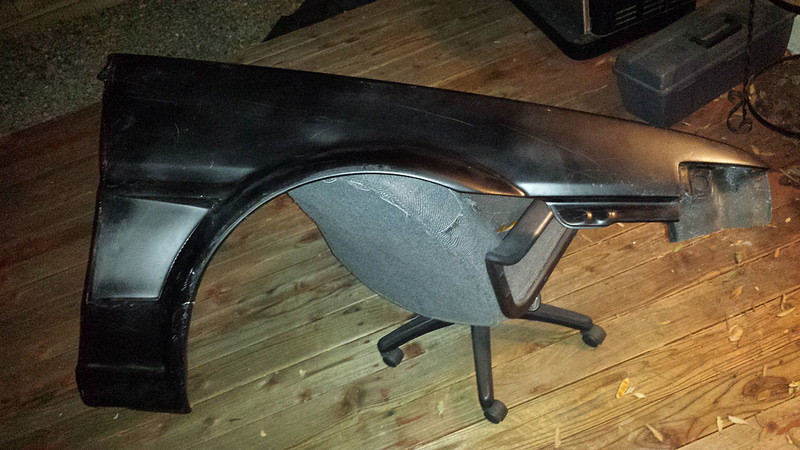
used some painters tap, and plastic wrap to cover it up
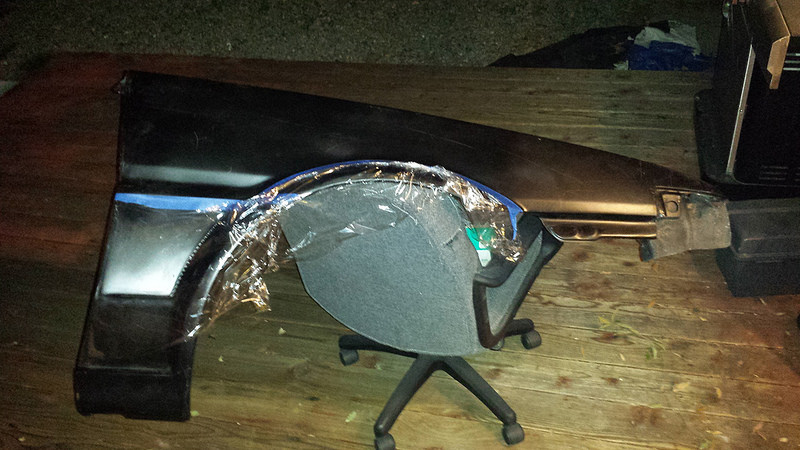
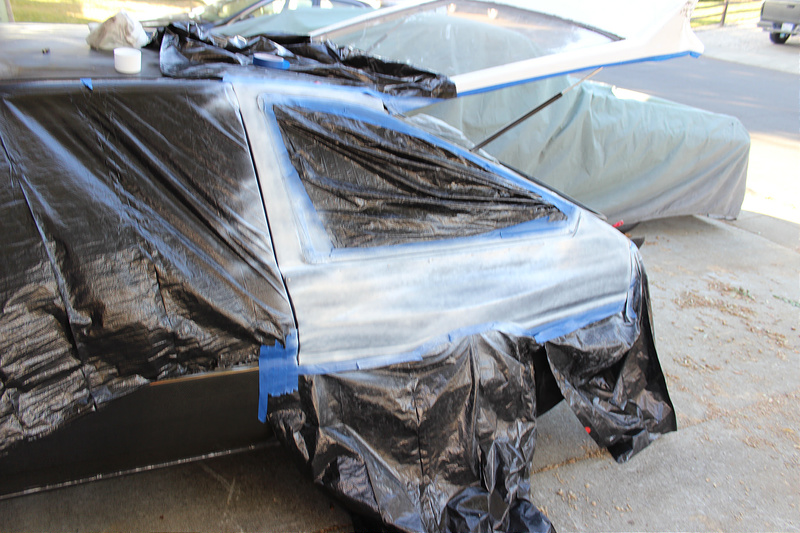
first coat, its cold out here, u can see the mist still from the can
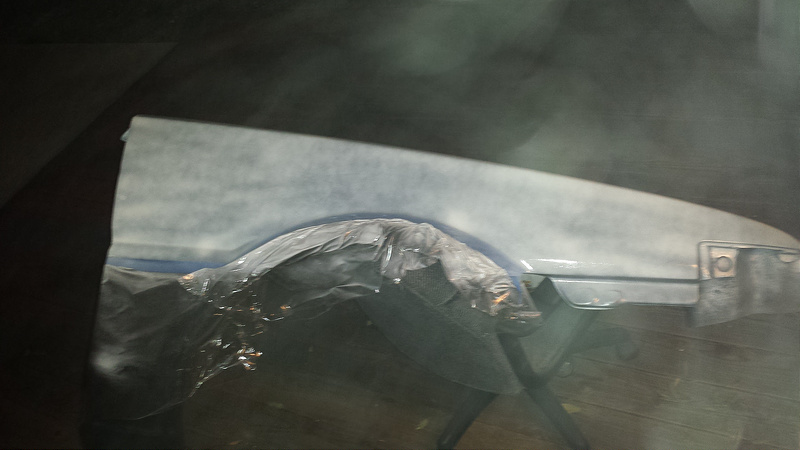
next coat a little thicker
unmasked her and she looks ok lol
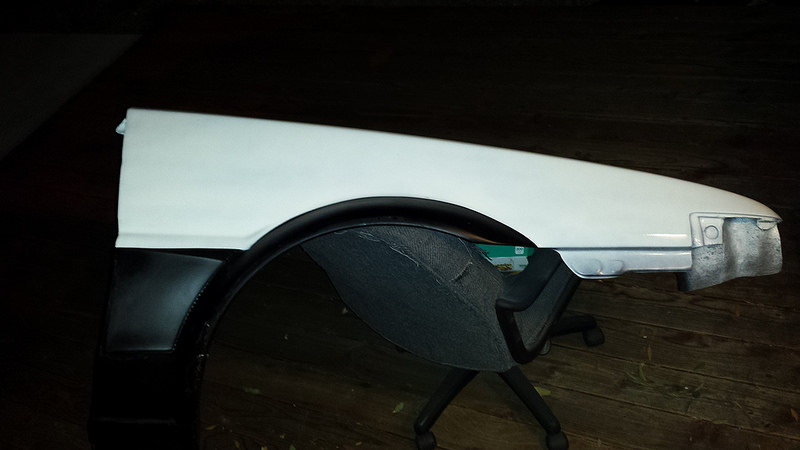
not to horribly for no prep work, and a ______ rattle can
I might rattle can the whole car, and wrap the doors... until I have time to get the car painted in pearl...
I made a one off pearl paint code, for a single stage paint job since I am sure I will smash this car up a bit tracking it. So why spend a ton on paint right? The paint code is based off a mitsubishi color with some of the paint code removed from it. I could post the formula is some one wants it.
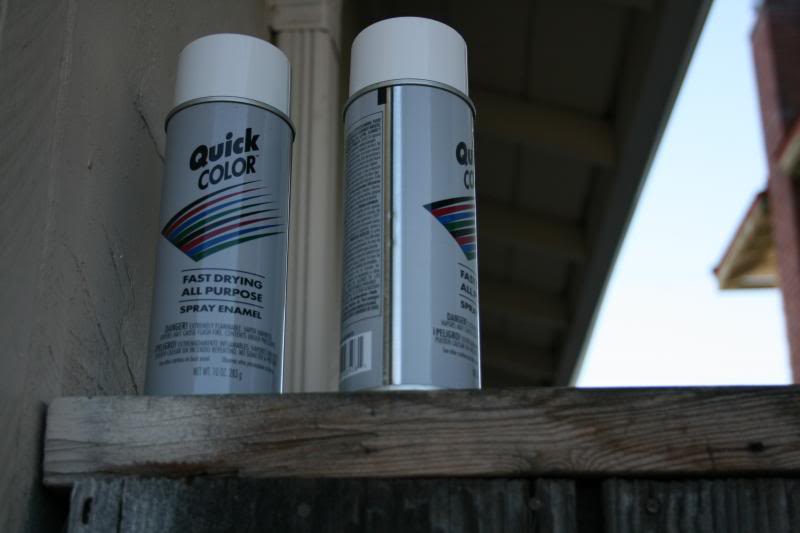
This is just the super cheap $1 white spray can from Homedepo lol
Got some goodies, worked a 16hr shift last night, got off 130am went to pic up a GTS gas tank (thanks johnathan!! seriously cool guy!!!!) started test fitting the nissan sending unit in the tank, i am going to have to make an adapter or have a welding shop put one in for me, but this is on it s way!
I also picked up some stuff to make a camera rig, that will mount to the car. cost less the 100 bucks and has highend suction cups, go pro mounts, aluminum square stock, and folds down!!! I bought a bunch of homedepo 99 cent paint too hahhahahaha
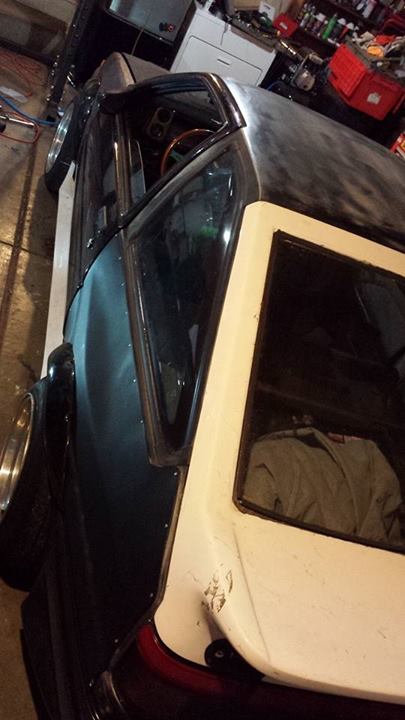
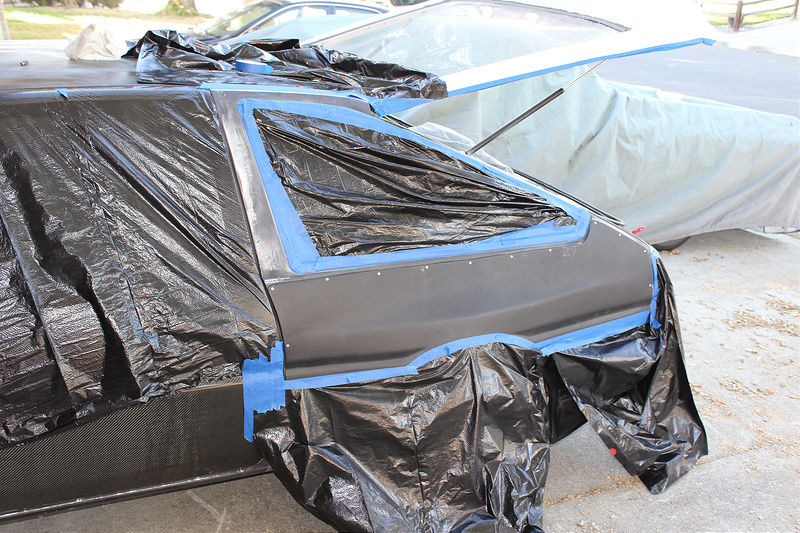
I Definitely got some work done today! Started masking off the car
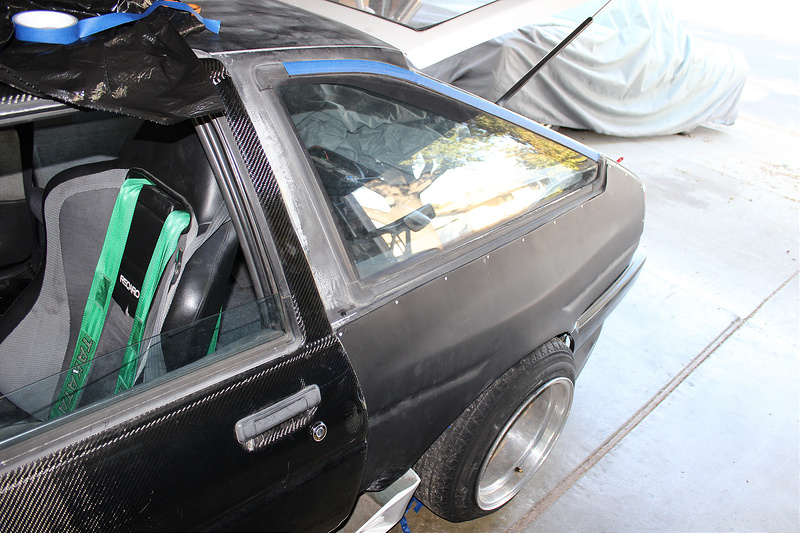
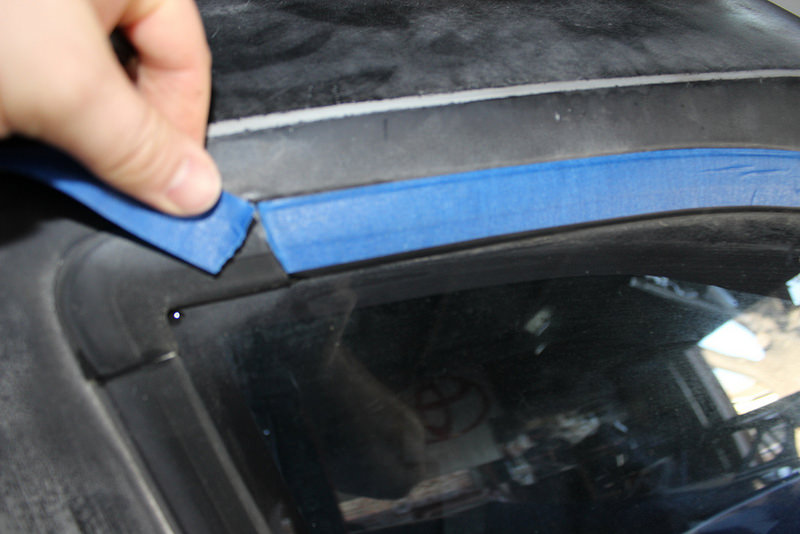
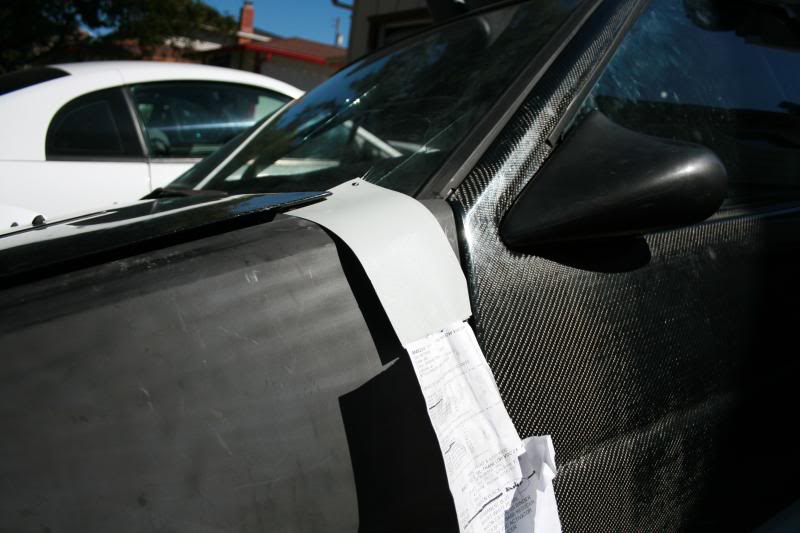
outlined the window trim as close as I could ( I would recomend removing all this if you where doing a professional job, it looks much better)
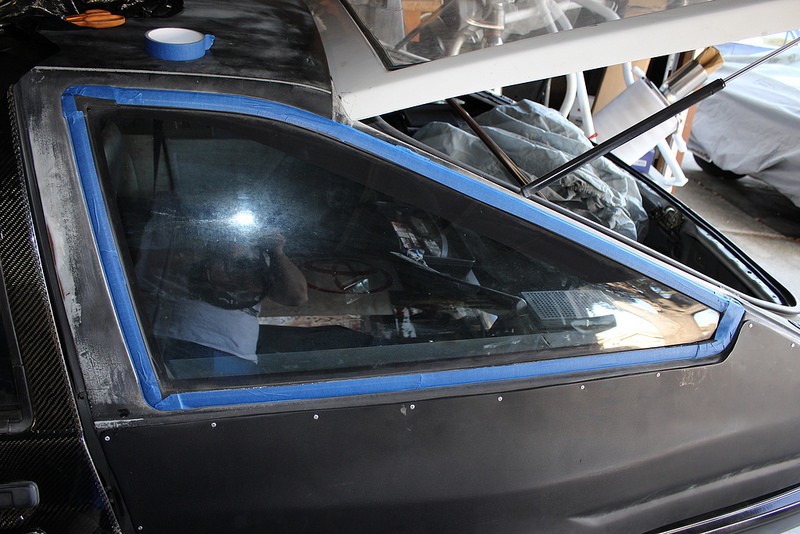
Used some garbage bags to cover the large areas
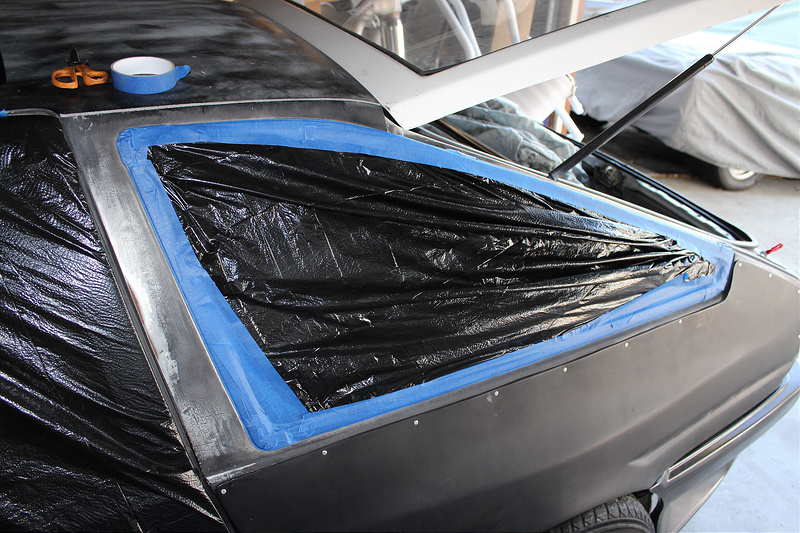
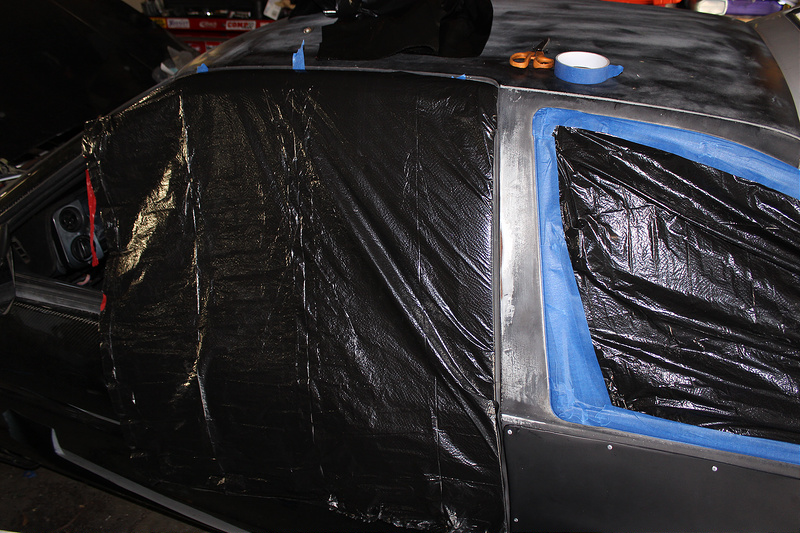
Started taping off the rest of the body
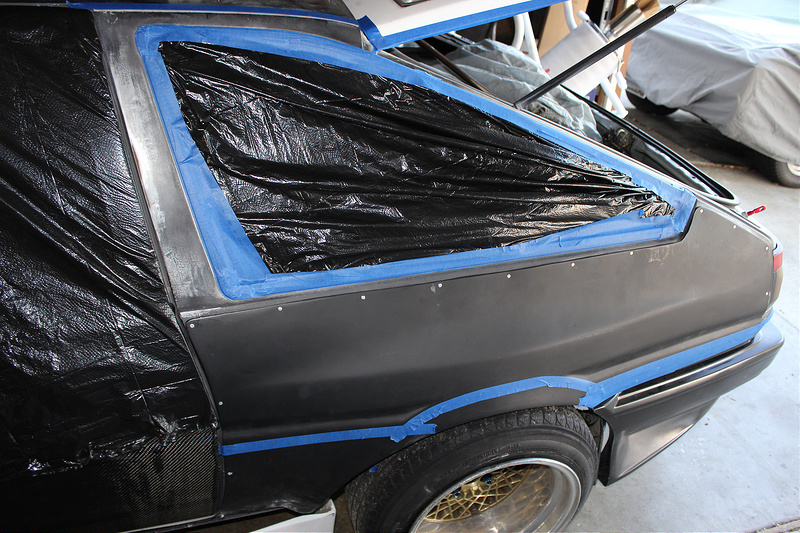
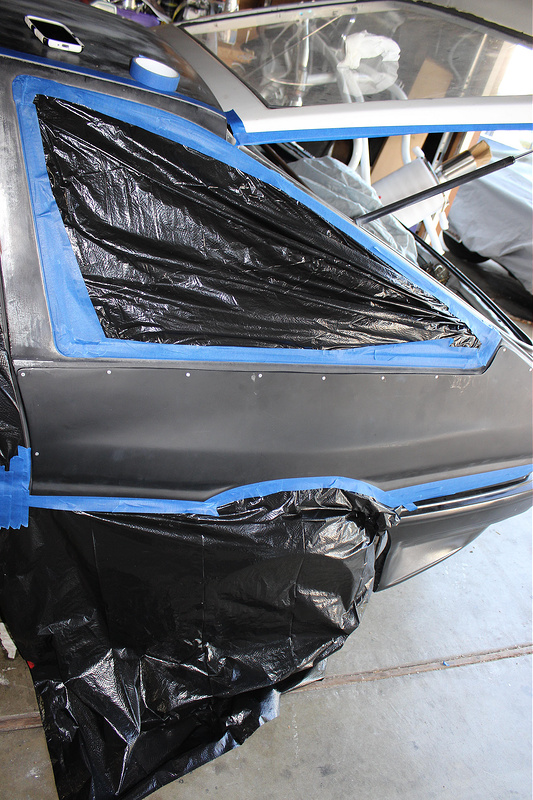
Dont forget to cover up everything you dont want paint or overspray on
Start shooting your color
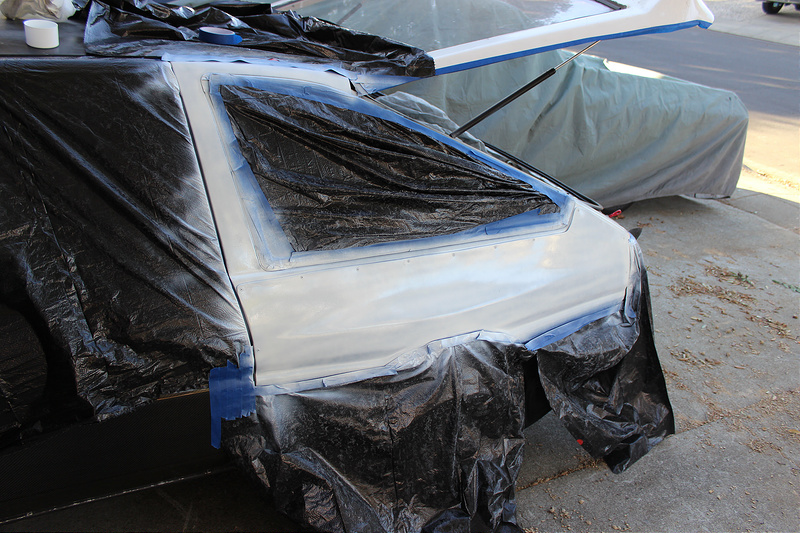
Started unmasking it all
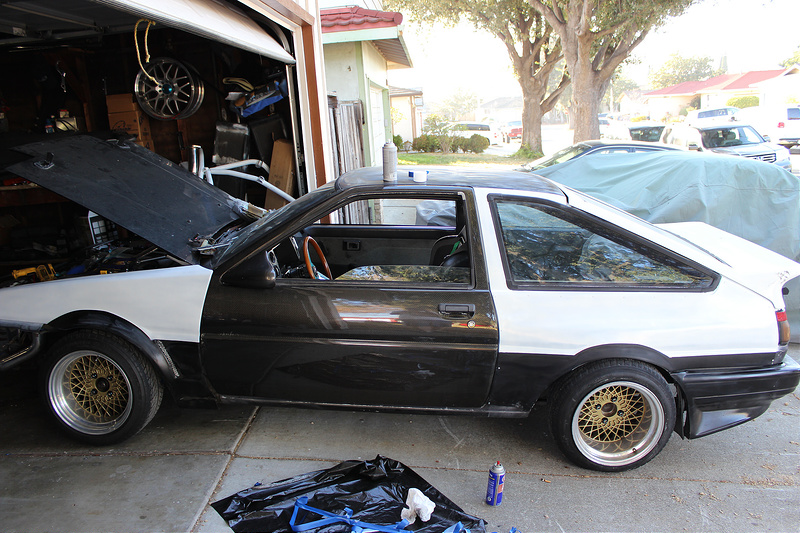
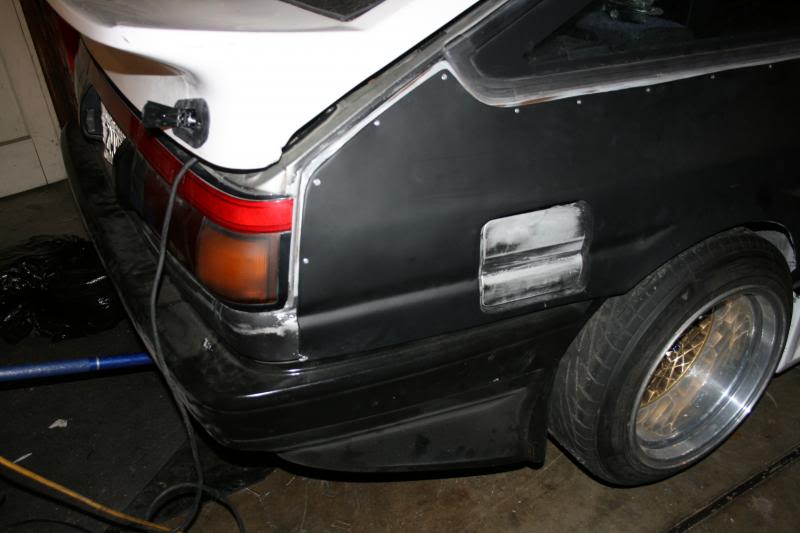
Drilled holes for the corner light and put the bumper back on
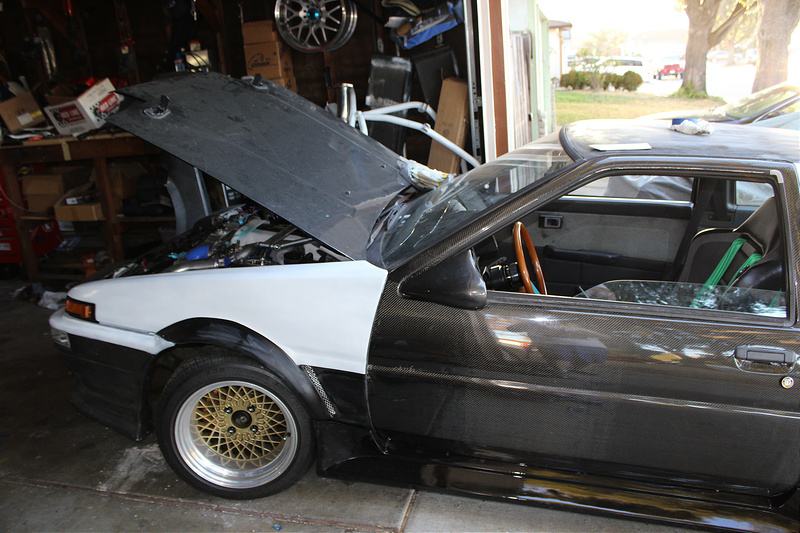
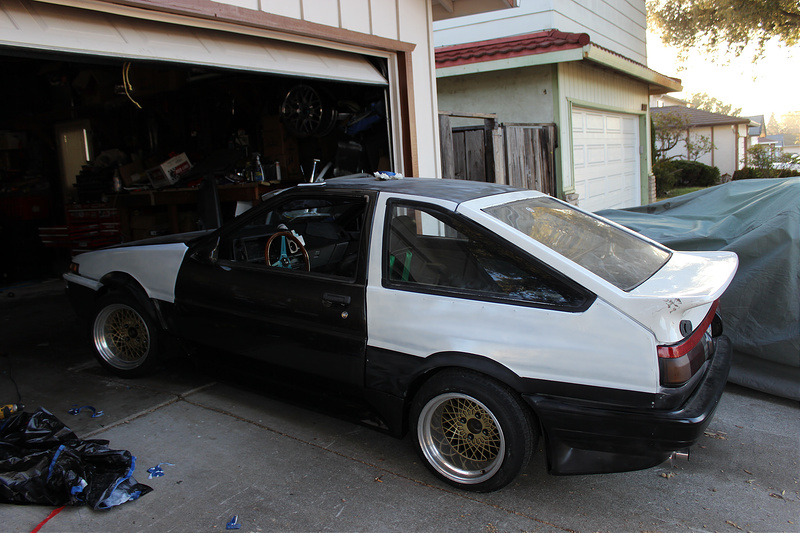
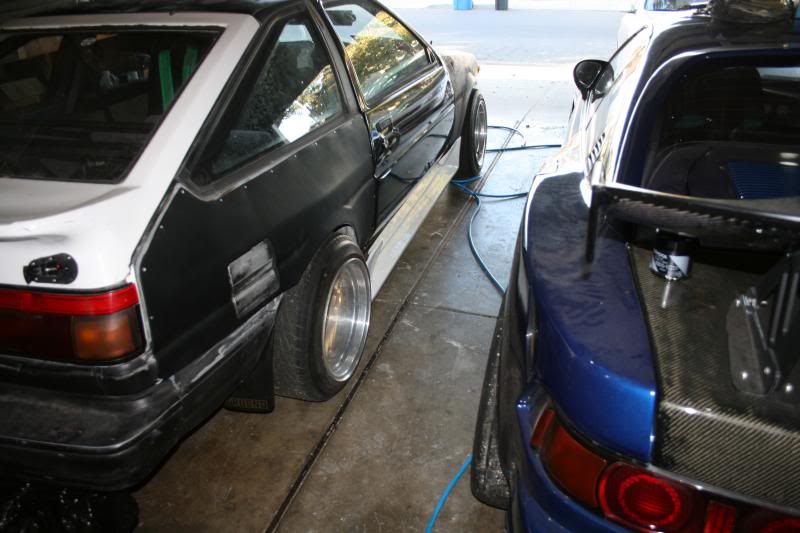
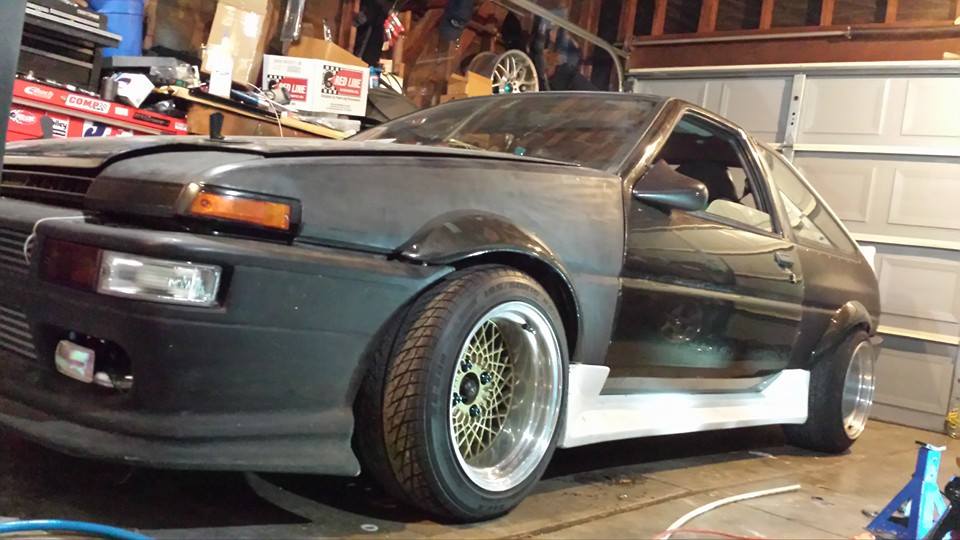
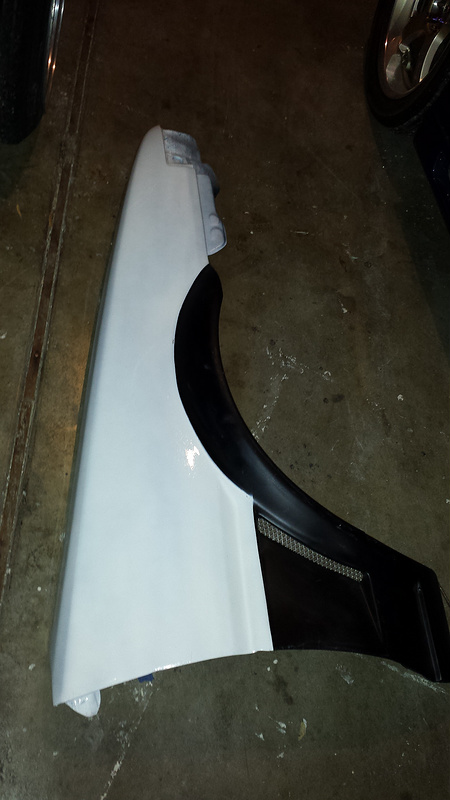
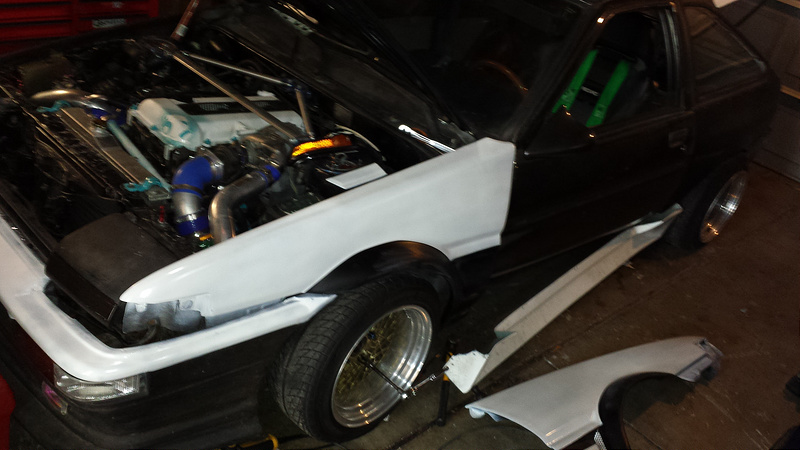
Test fitting the fender flares over the origin over fenders. This is pretty much how the car is going to look after I get a better paint job, but for now it looks ok!
Wow amazing!
Posted by Diggymart on 11/1/19 @ 3:00:13 PM