You must be logged in to rate content!
12 minute(s) of a 82 minute read
1-21-2013
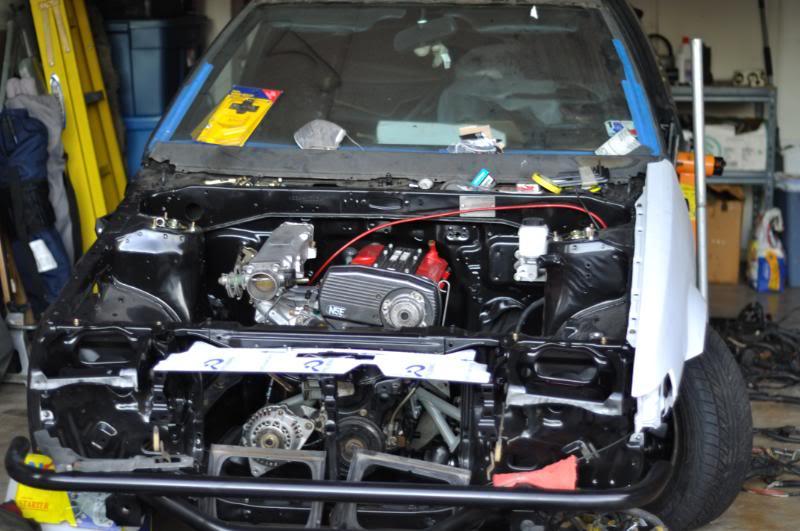

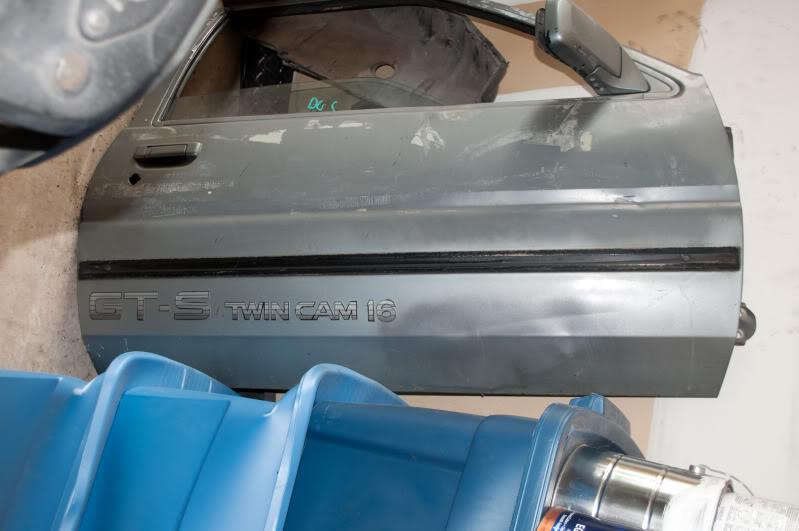
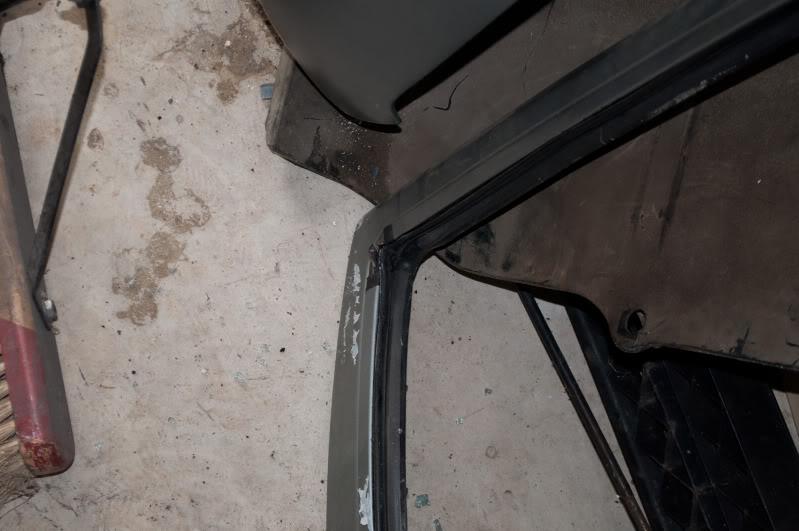
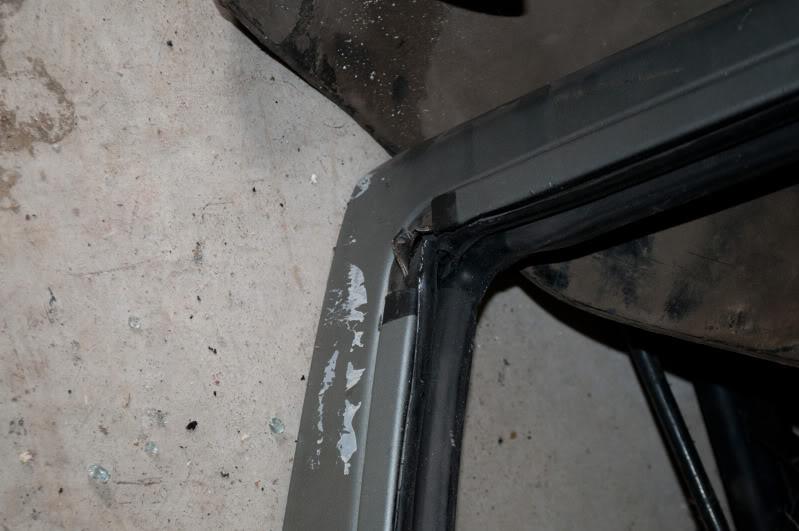
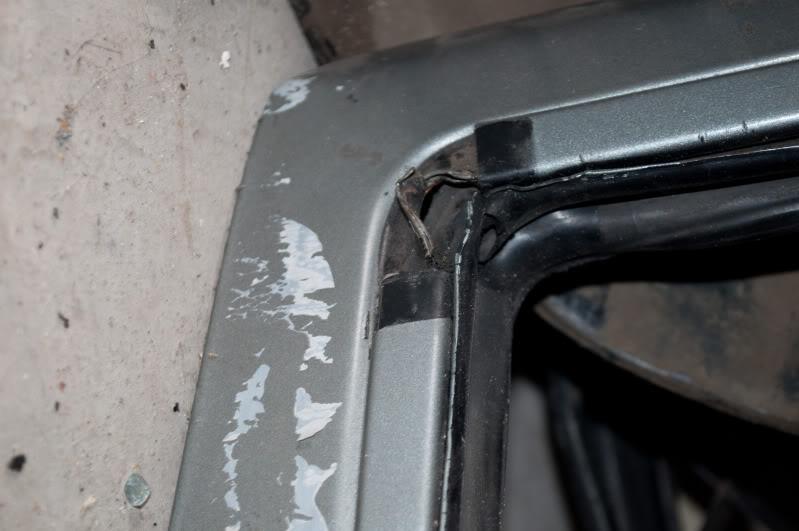
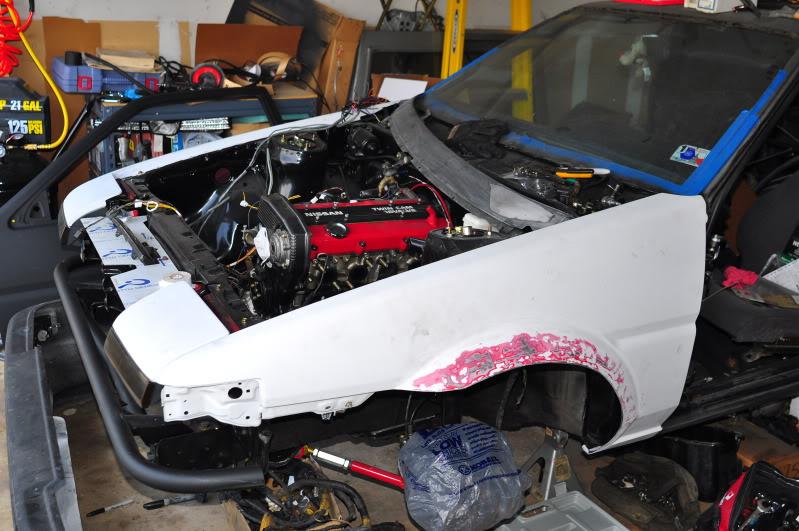
Some photos of the work on the doors and driver's fender:
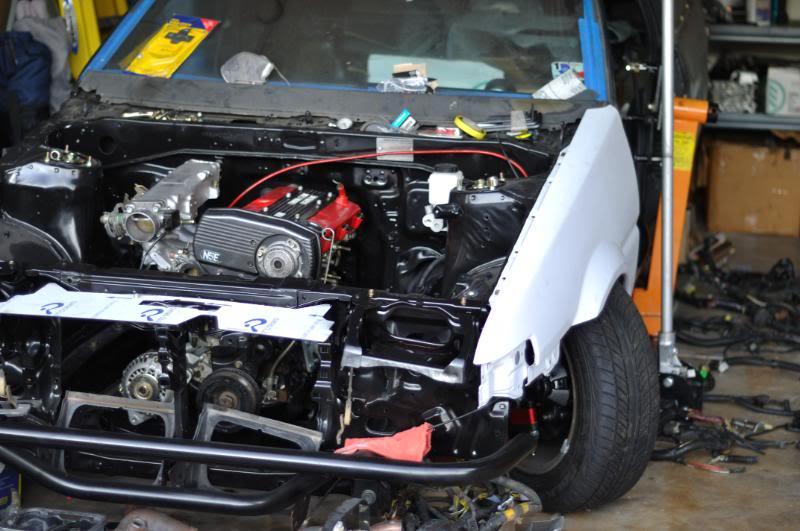
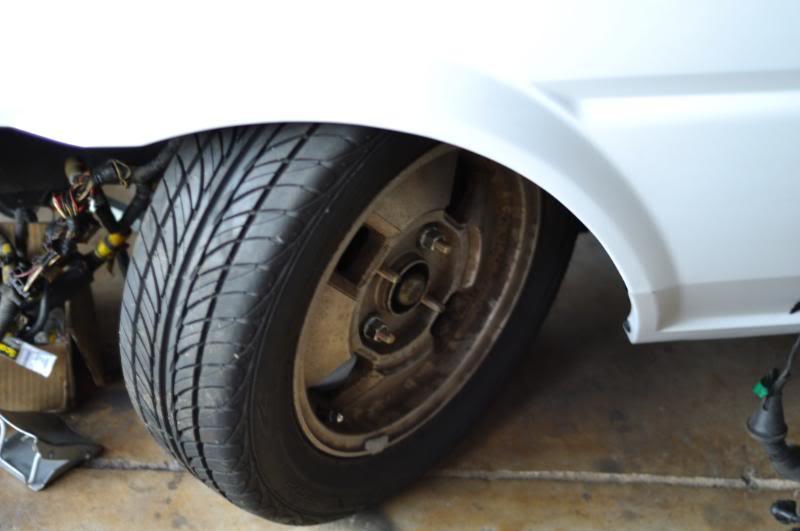
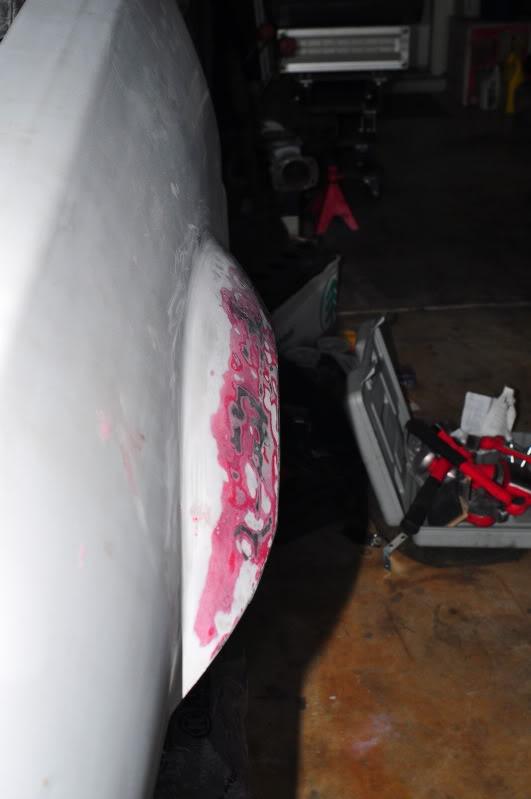
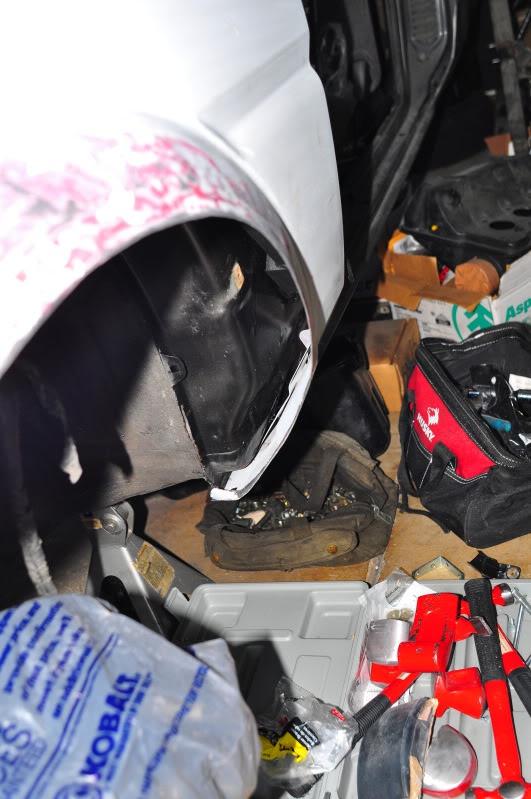
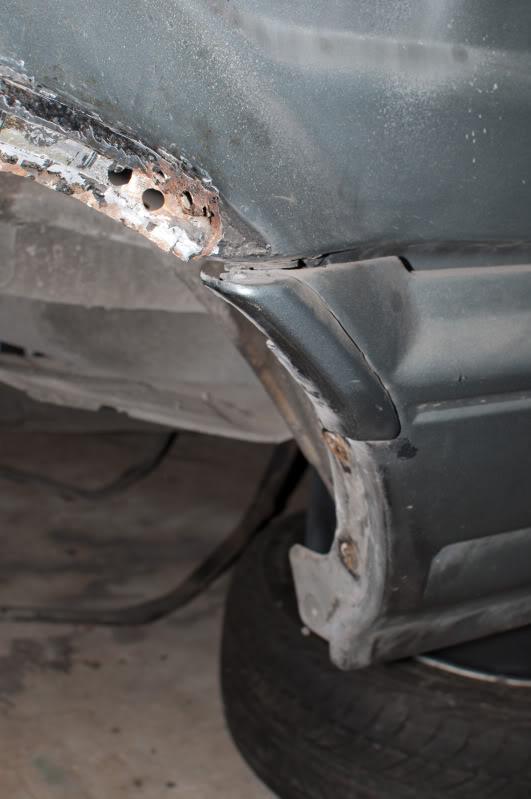
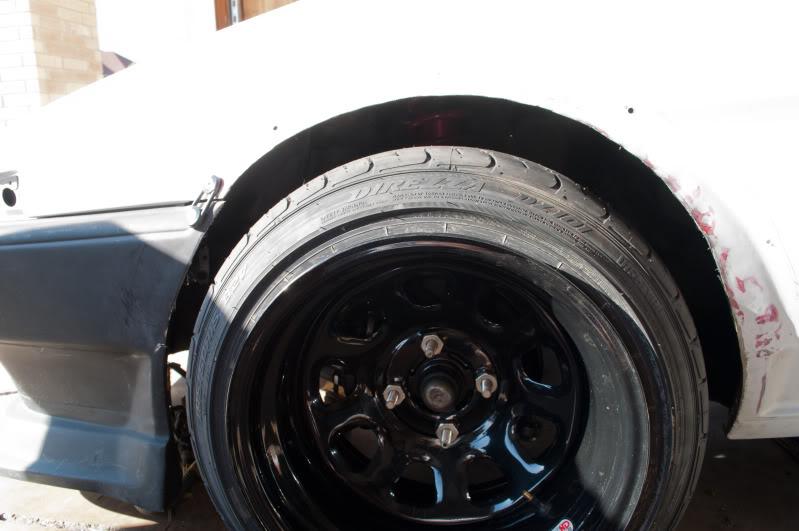
I haven't done too much to the fender except roll the inner lip. The outer was pushed out slightly, but will take some hammering to get where I want it.
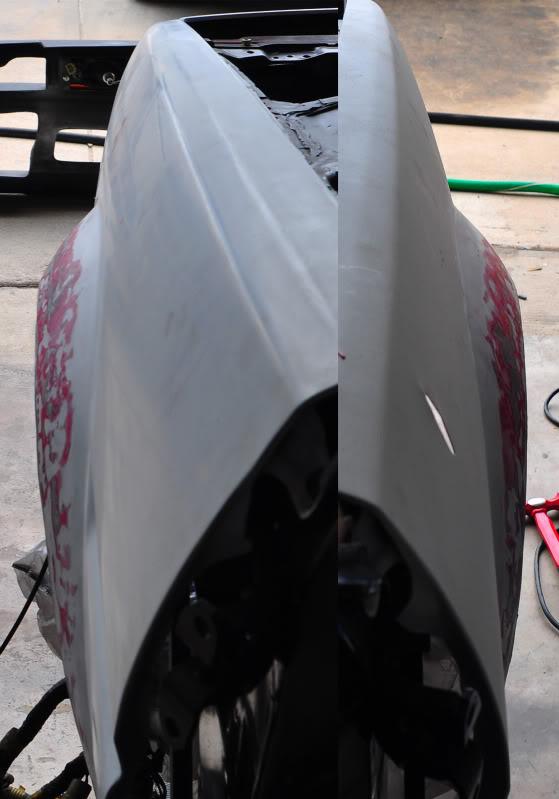
Compared to the passenger stock fender:
Started on the passenger fender:
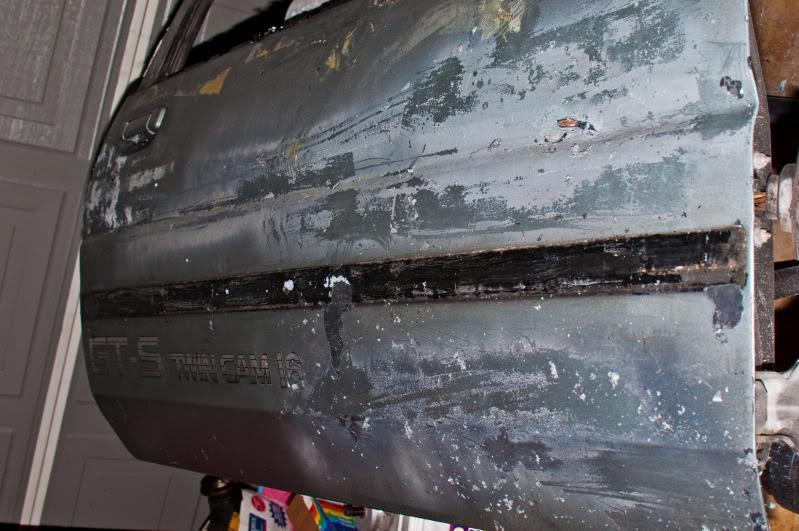

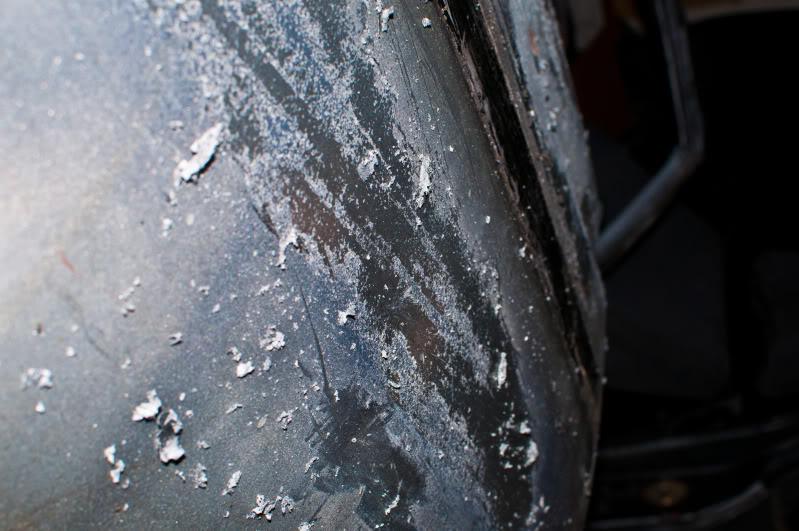
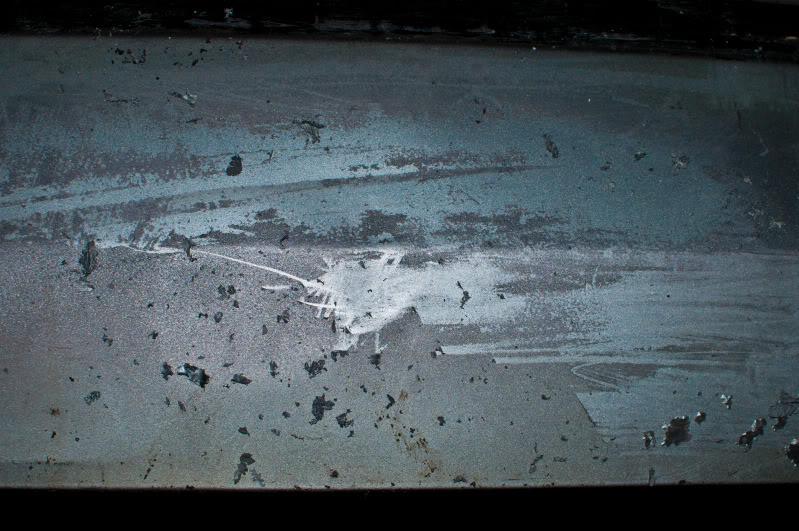
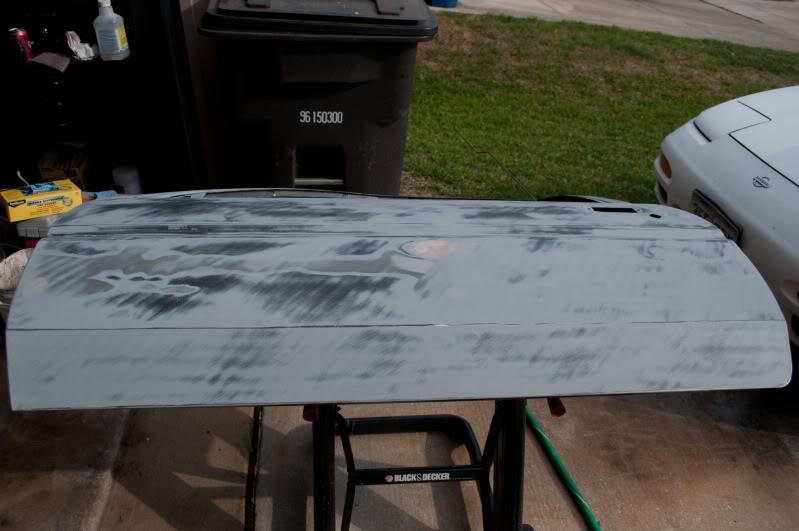
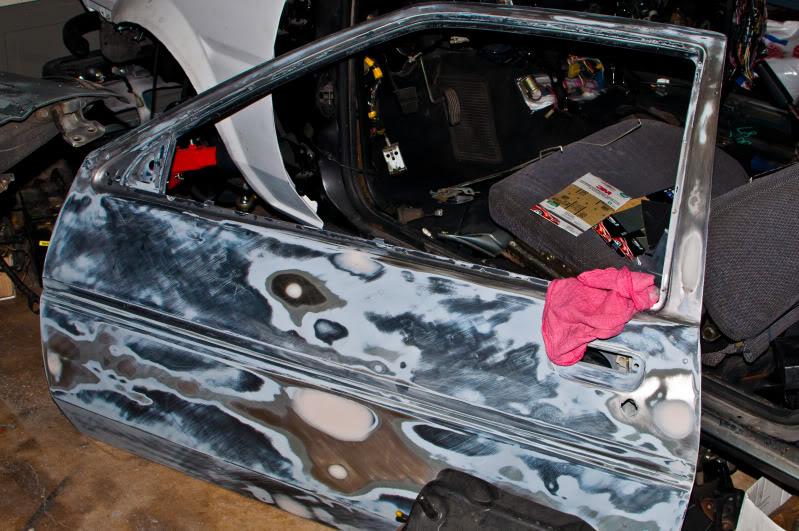
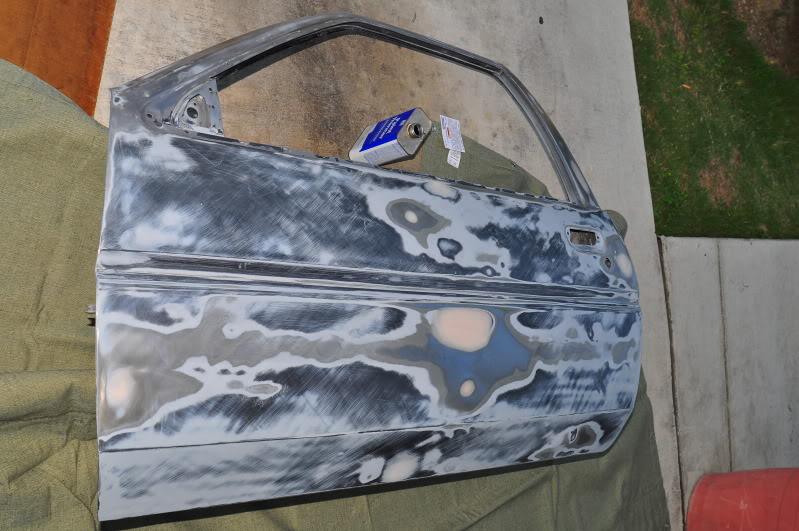
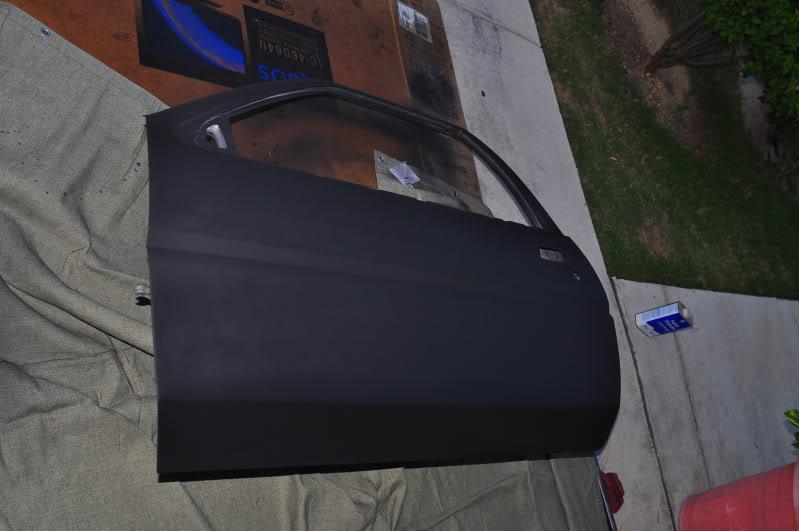
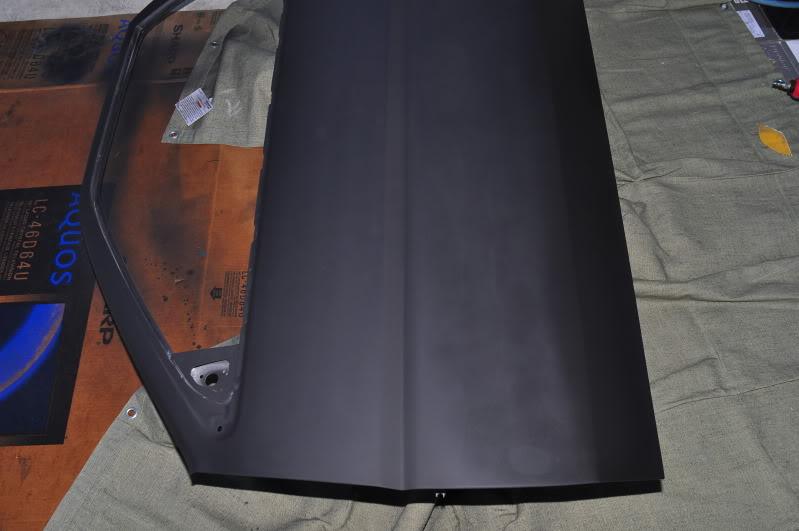
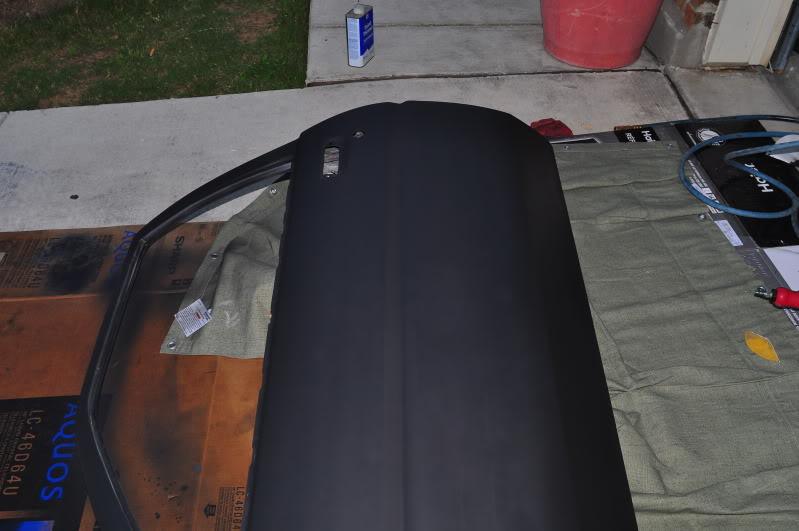
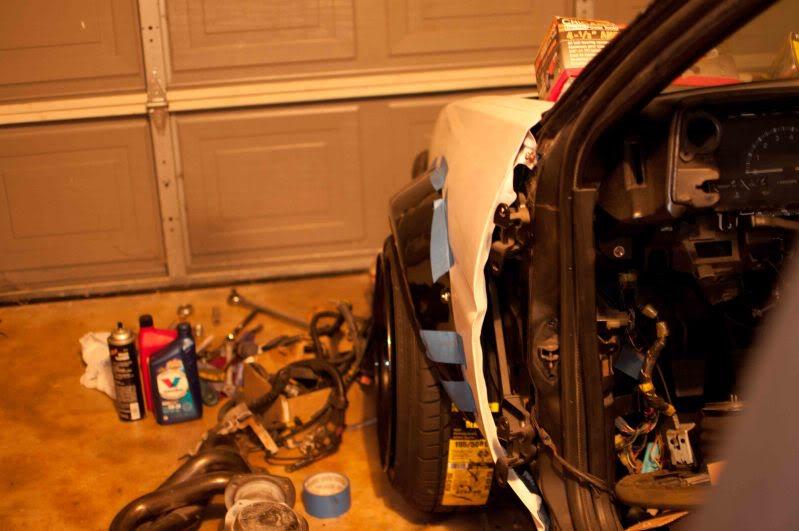
So last night I primed my driver-side door. I didn't want it to start rusting heavily and I figured I'd see any serious imperfections after the primer had settled.
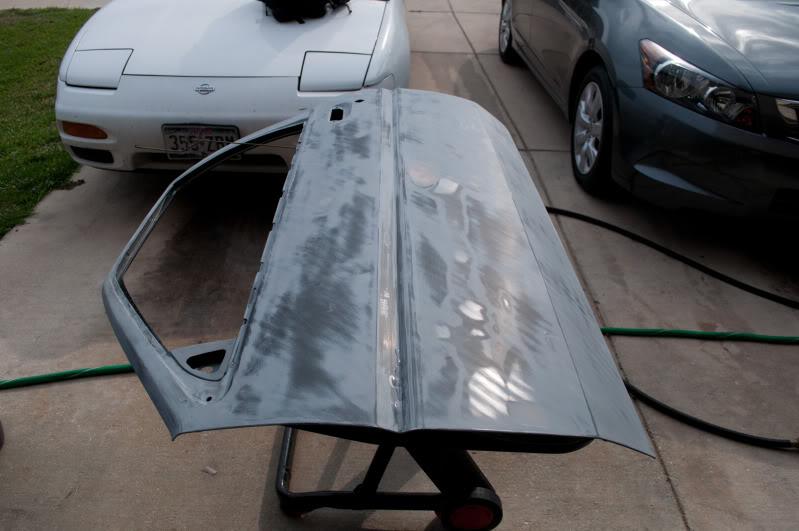
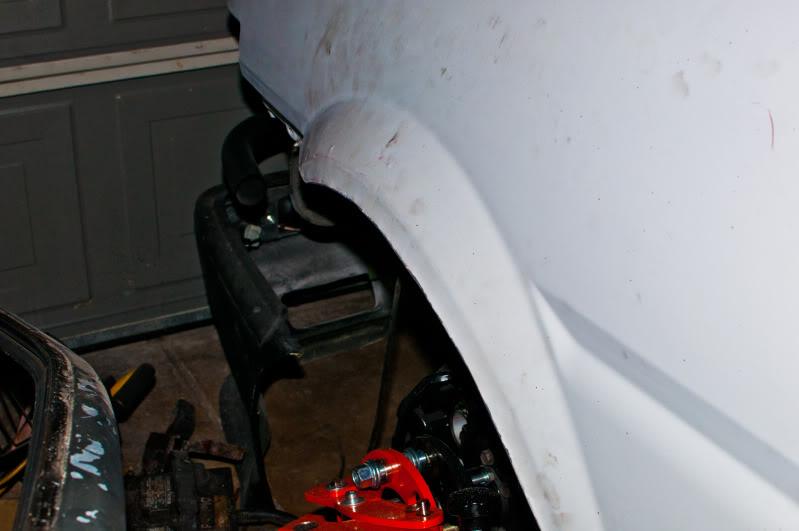
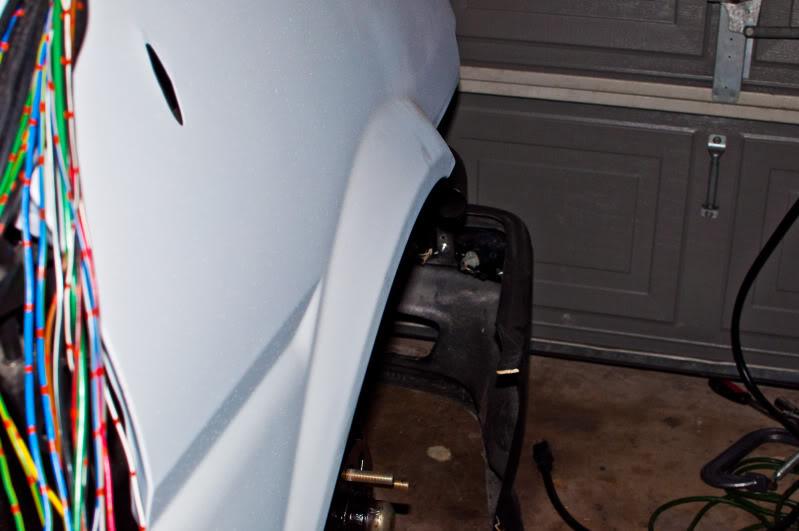
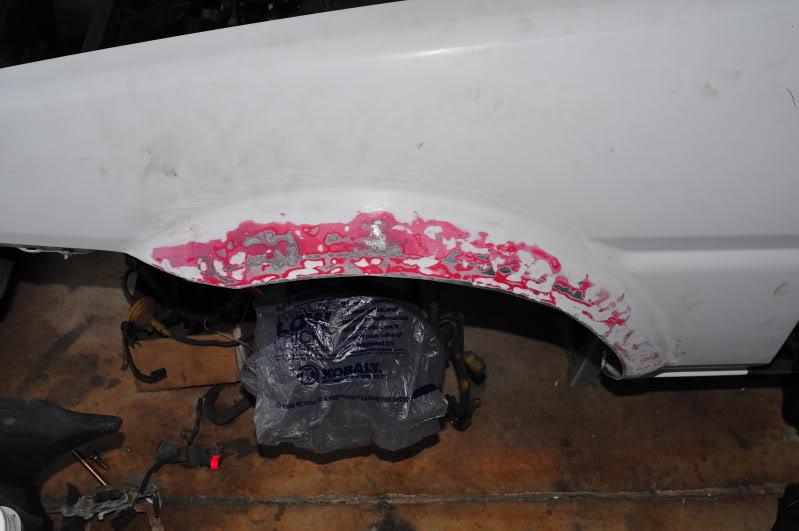
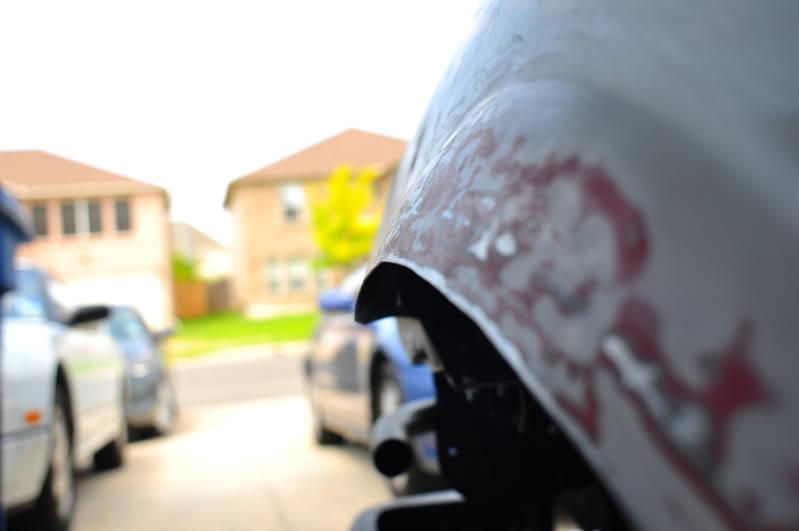
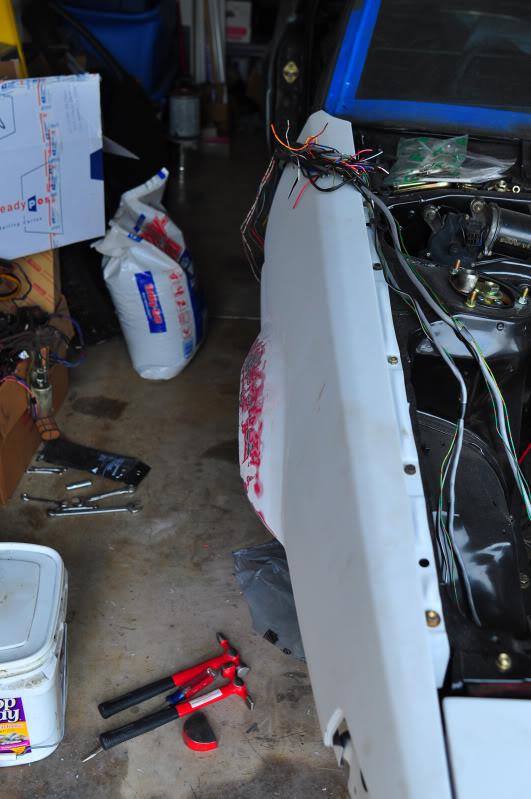
This morning I wanted to do some more work on the driver-side fender. I was hesitant to start hammering on it without really knowing what I was doing, but I figured what the hell. This is my progress after two hours with a hammer and dolly.
Passenger-side for reference:

Driver-side:

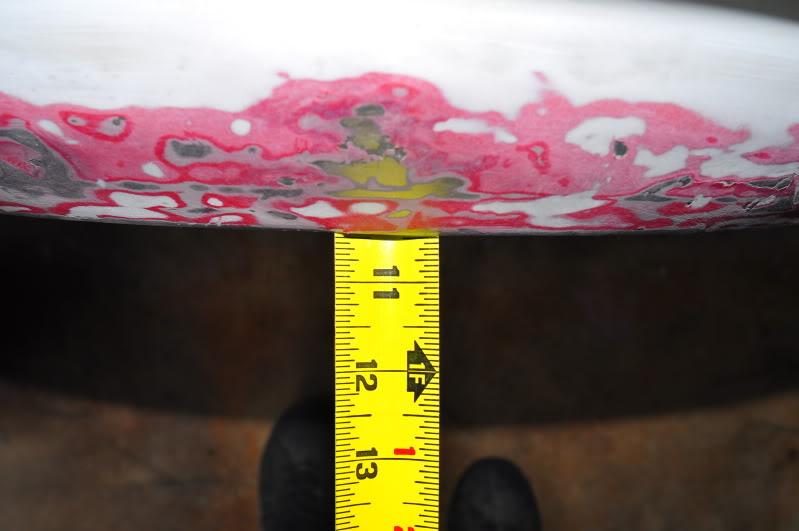
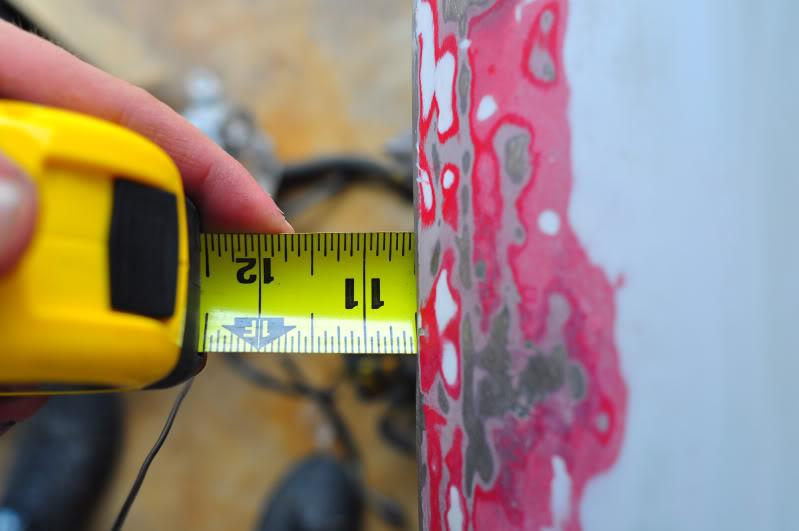
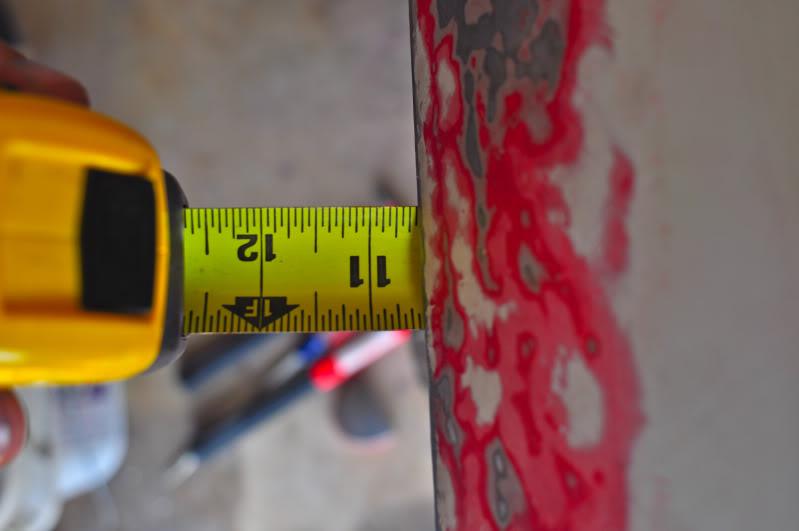
I measured from this point on both sides:
Passenger-side:
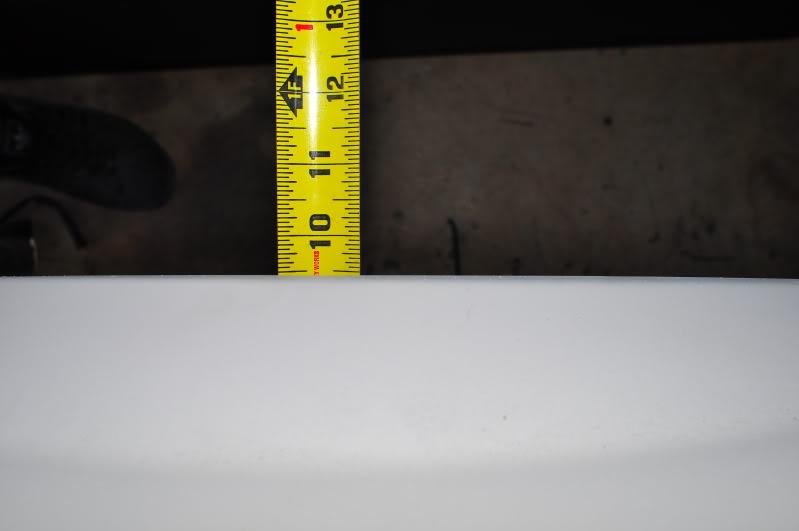
Driver-side:
Driver-side:

Passenger-side:

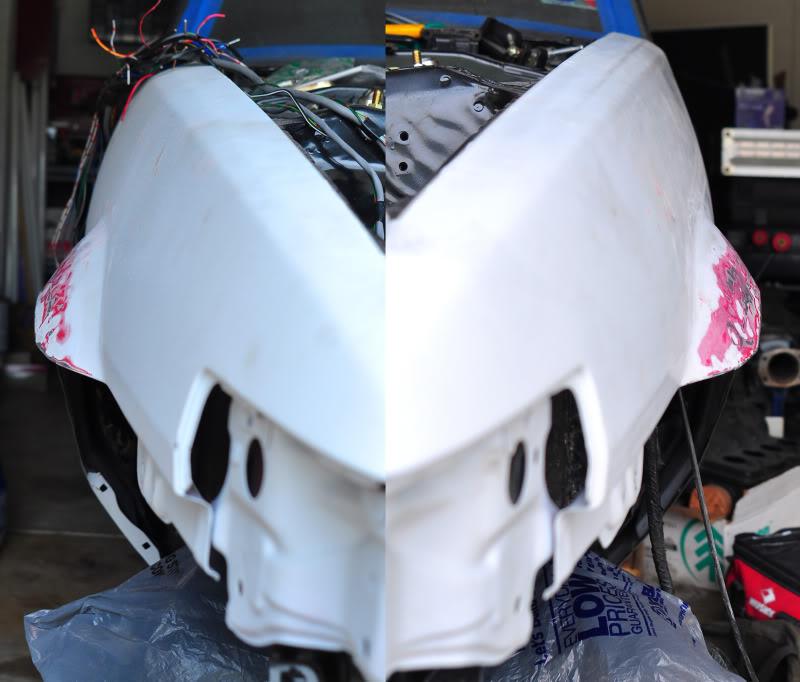
Comparisons:
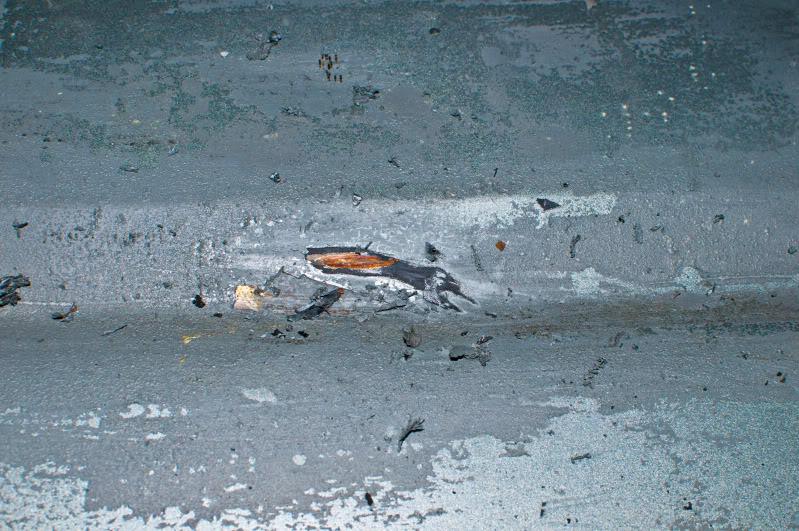
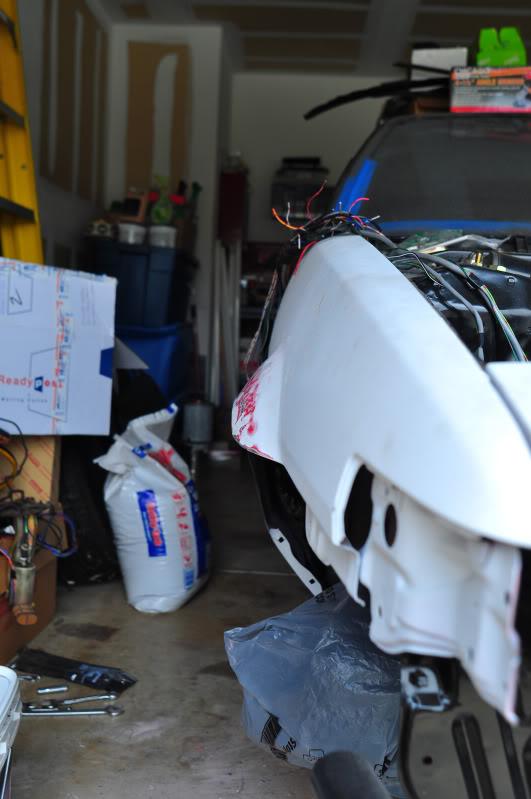
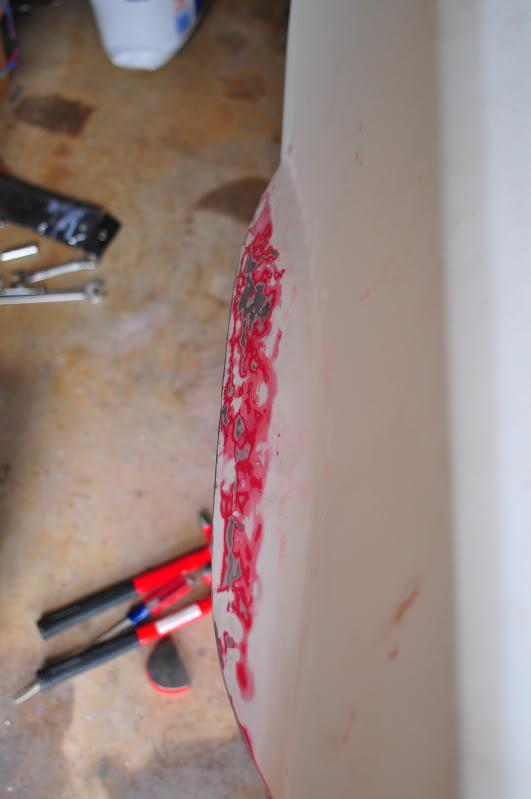
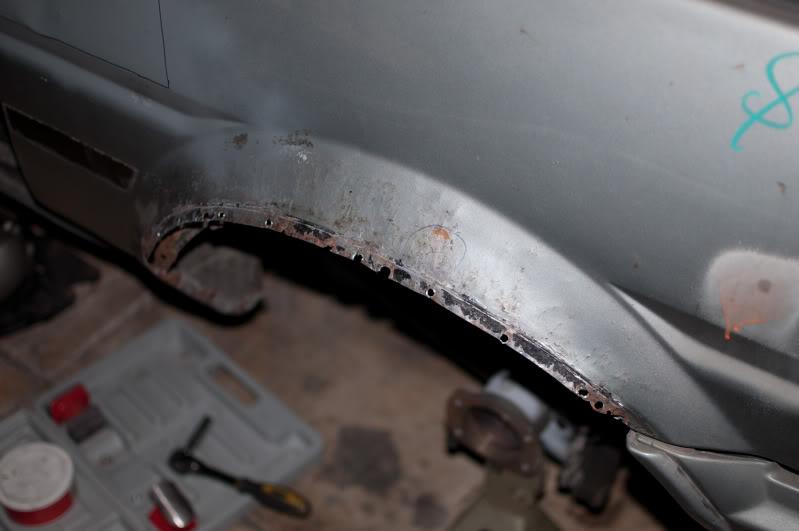
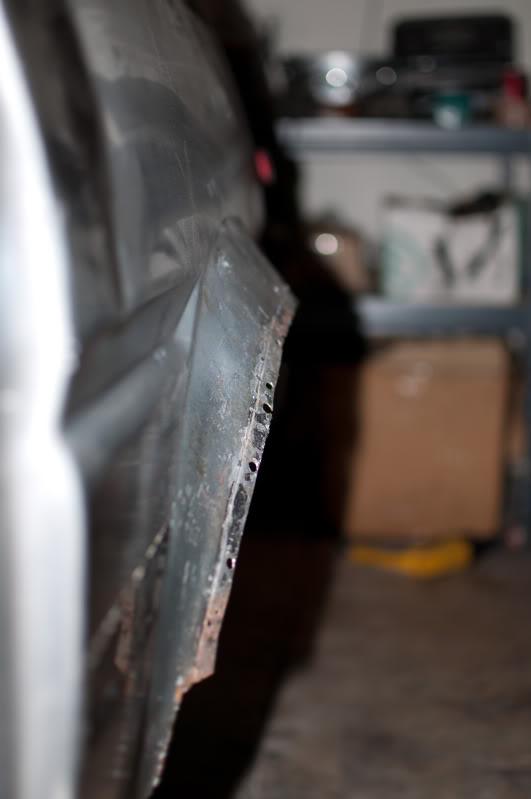
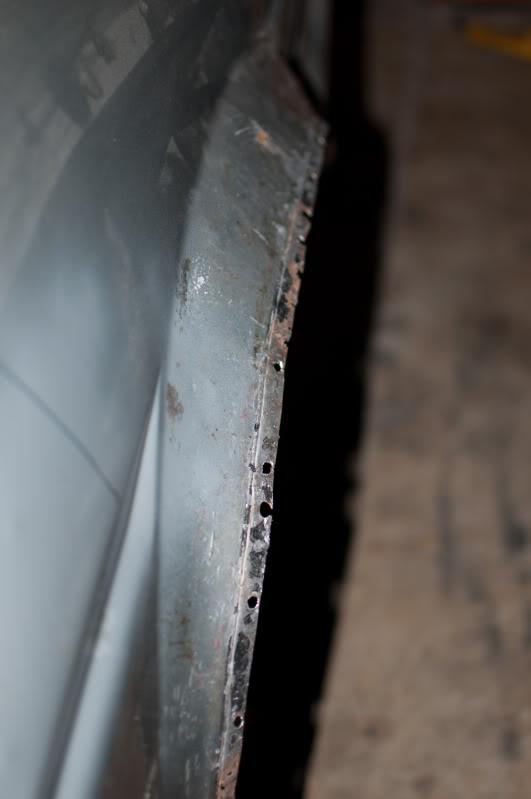
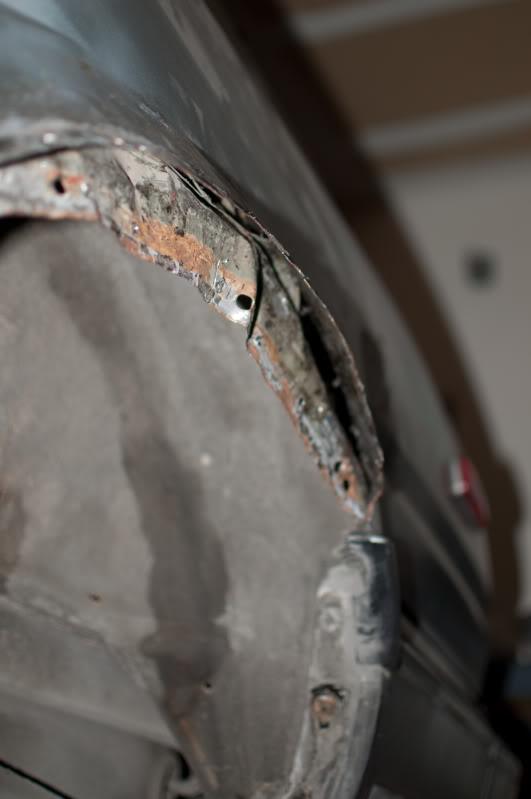
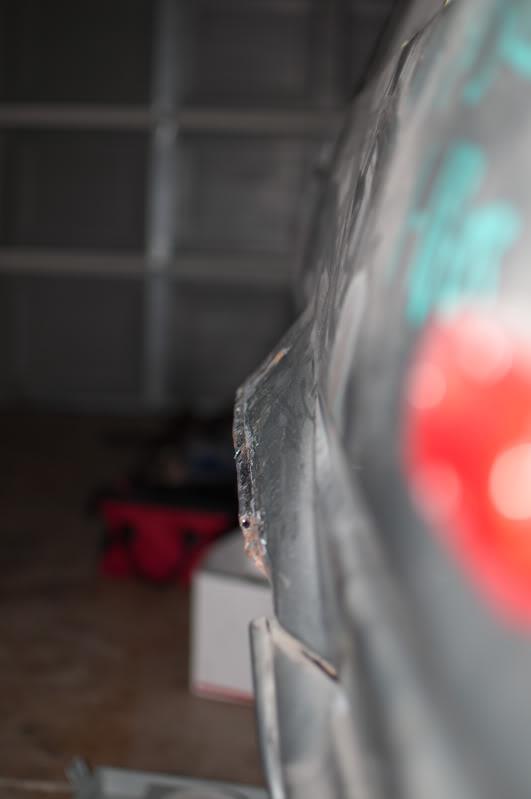
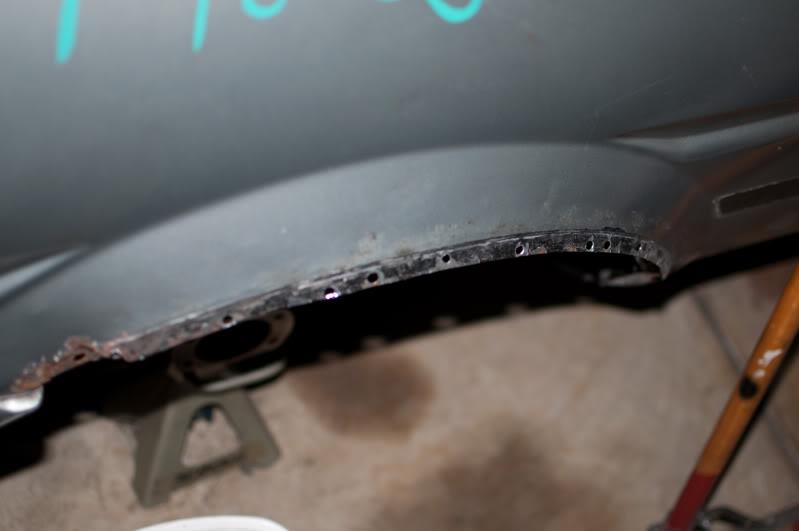
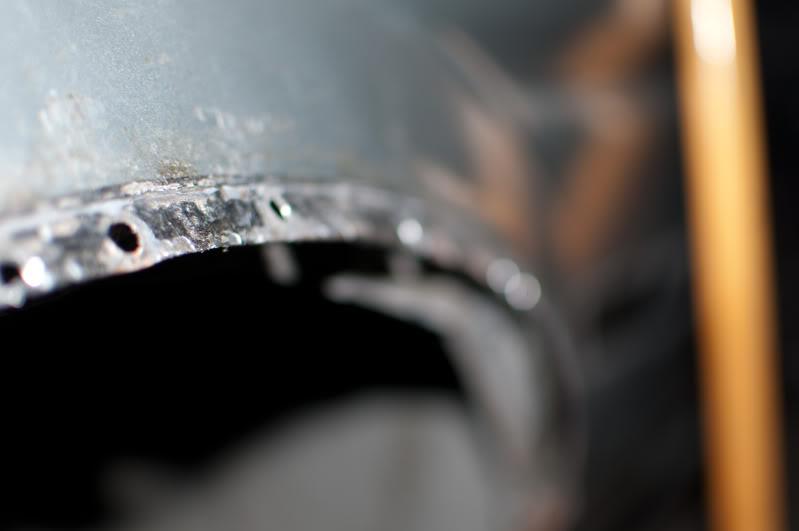
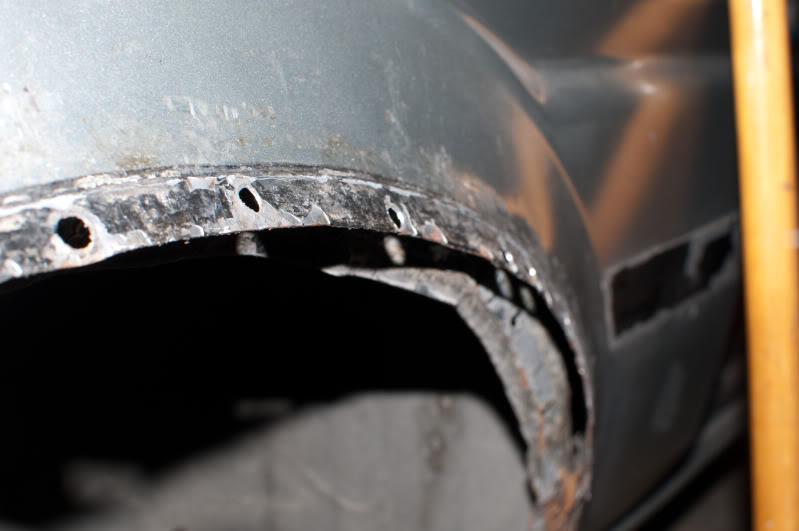
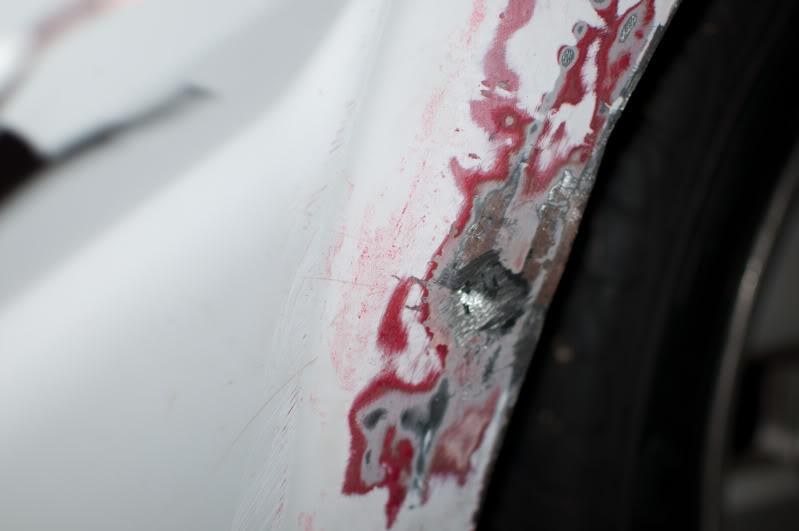
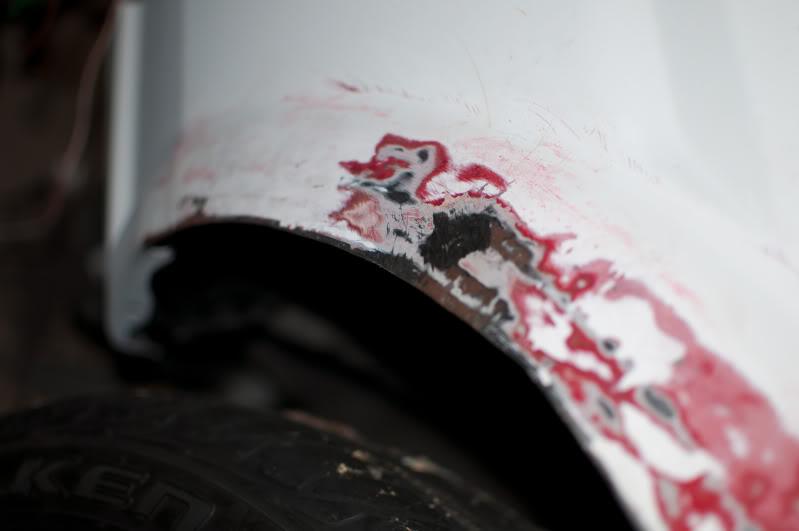
The previous owner of these fenders...or at least one of them...drilled those three holes in the fender in order to help secure bondo to smooth out a dent in the fender. After I cleaned up a bit of the bondo, I stretched the metal a bit and evened out the area so there wasn't an evident dent. Now I just need to weld up those three little holes.
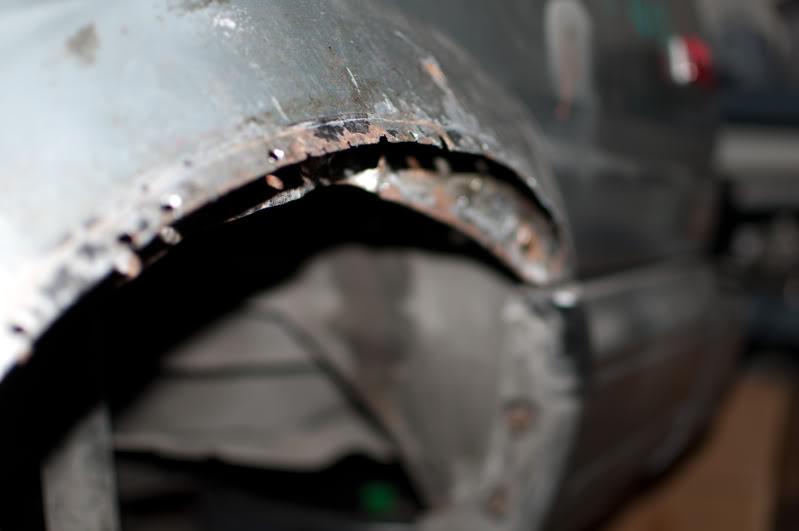
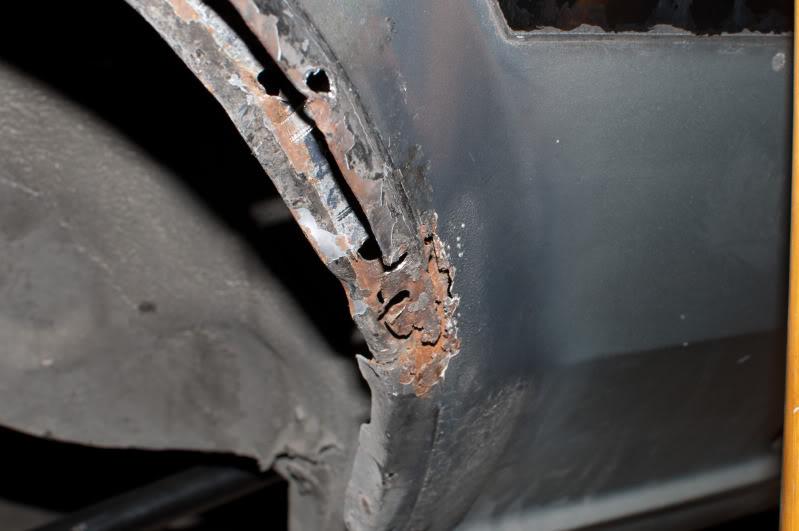
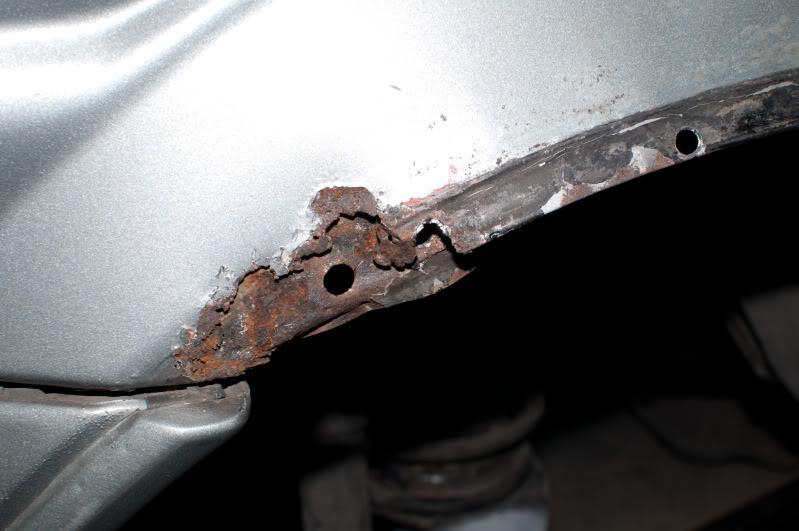
Started to play with the rear fenders just to see what result I could get. I didn't spend too much time on them. I was more interested in finding the location of heavily rusted spots. The rubber edge trim is really a pain when it comes to this. I didn't roll the rear fender lips b/c if I end up putting flares on them, it would get cut anyway.
Driver-side:
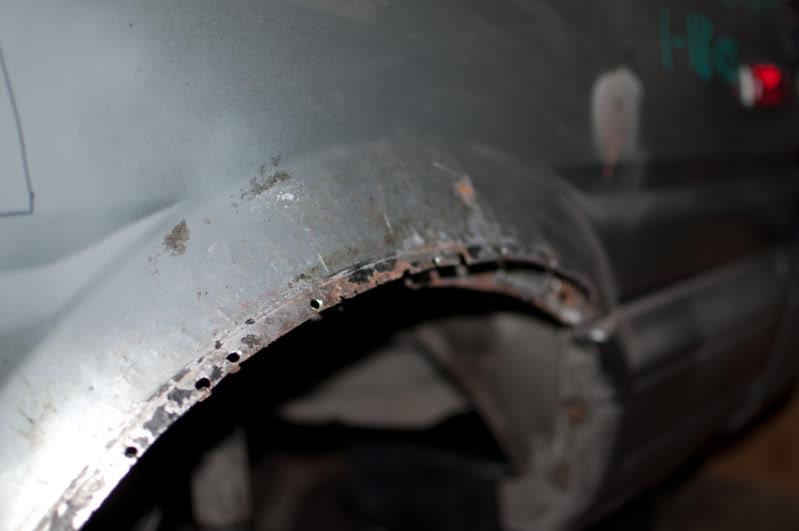

Passenger-side:
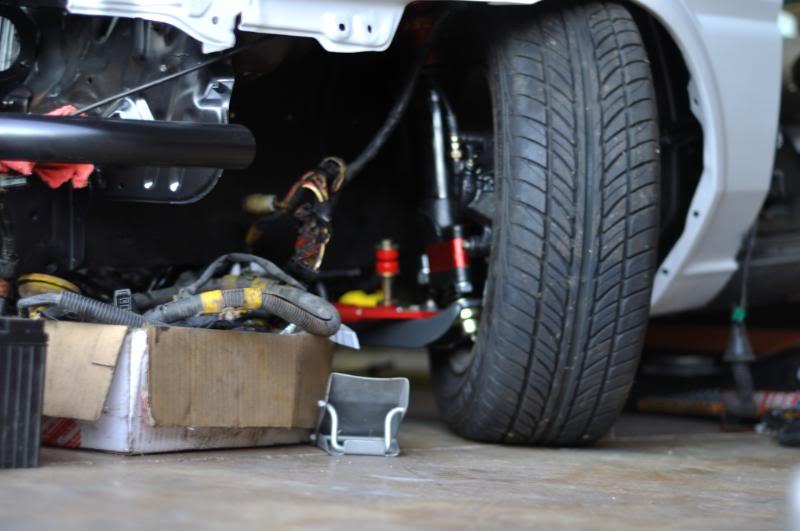
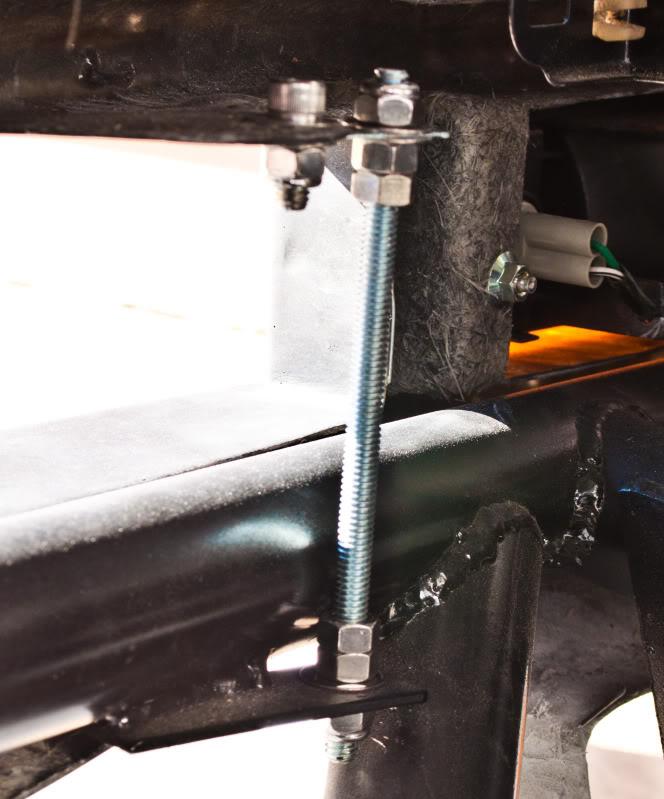
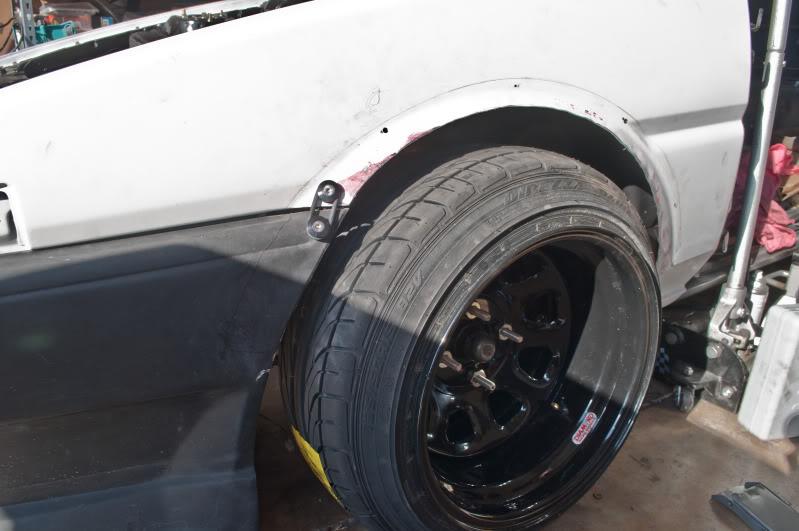
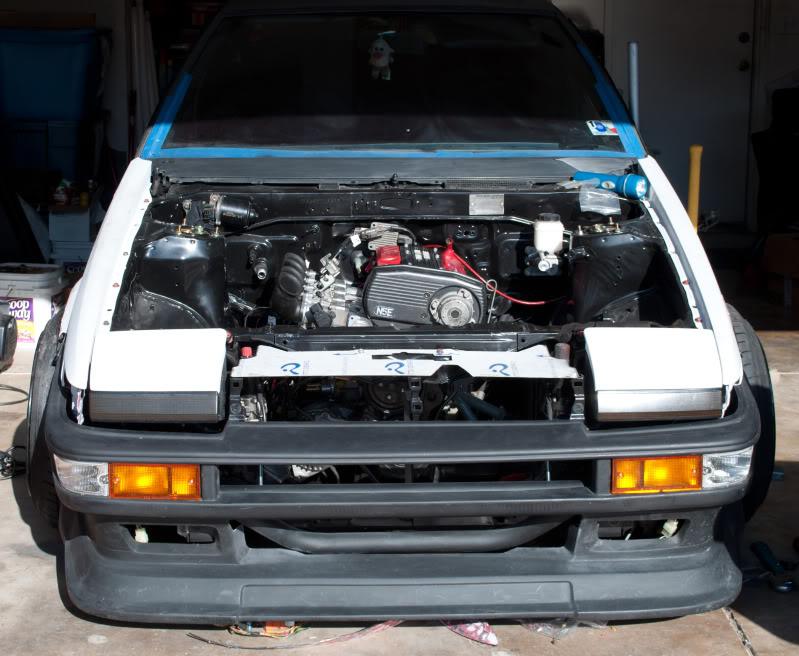
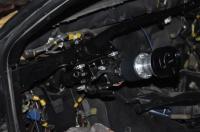
-Front bumper is mounted...at least in the front. I manufactured a pretty sturdy mount out of some threaded rods, thin plates, washers, and nuts. The sides are still loose, but I have a couple ideas on how to support them. I just have to decide on either a combination of them or which one would work best.
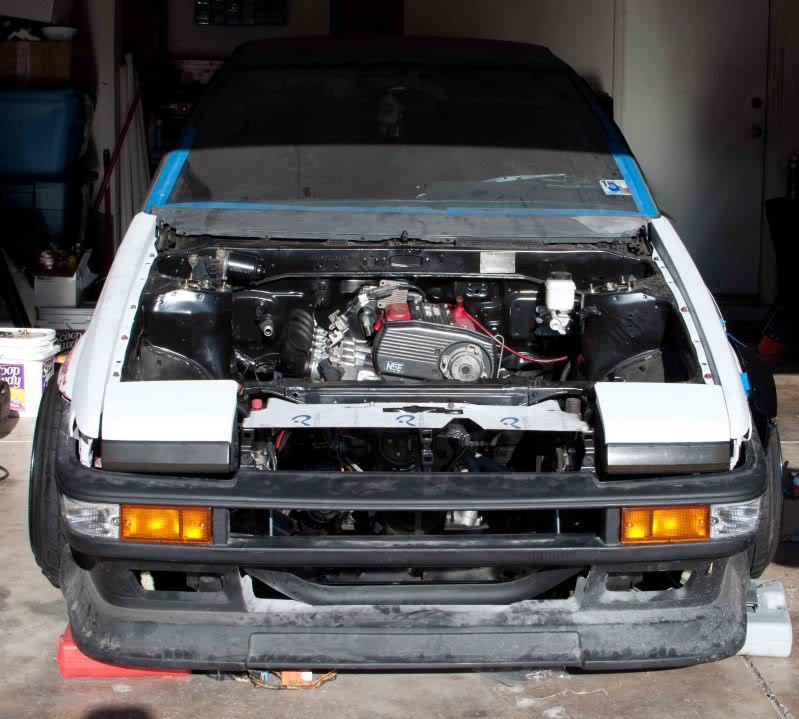
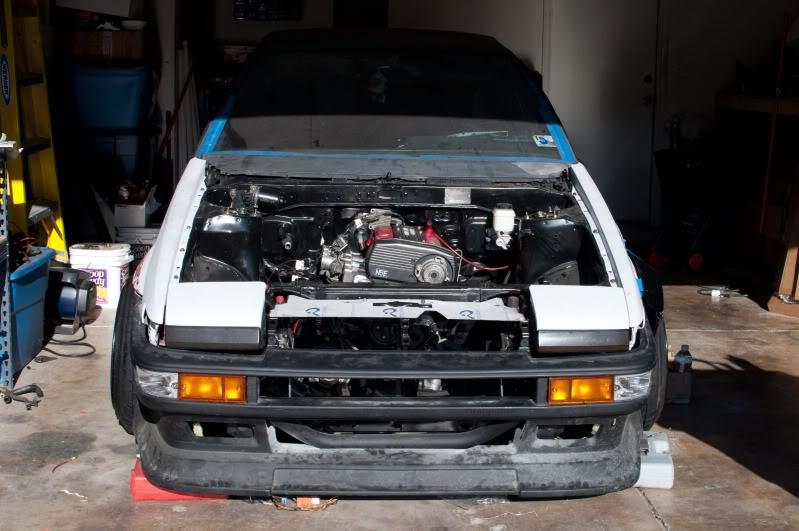
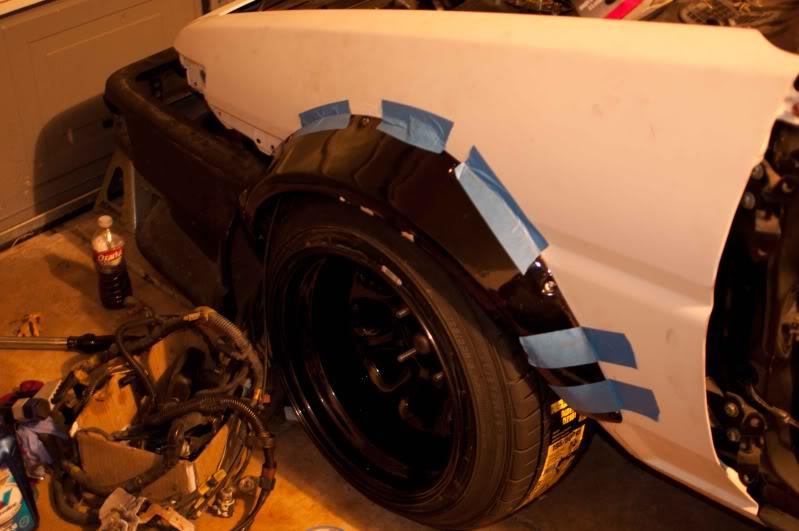
-I started mocking up the flares. I really don't want to cut up my fenders until I absolutely have to. I spent a lot of time on hammering my own stock flares I really can't bring myself to cut them up until I know exactly how I'm going to execute things.
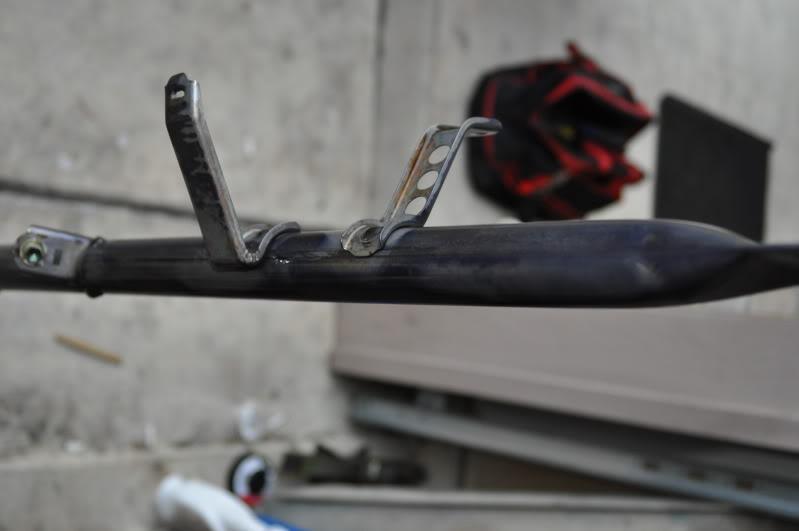
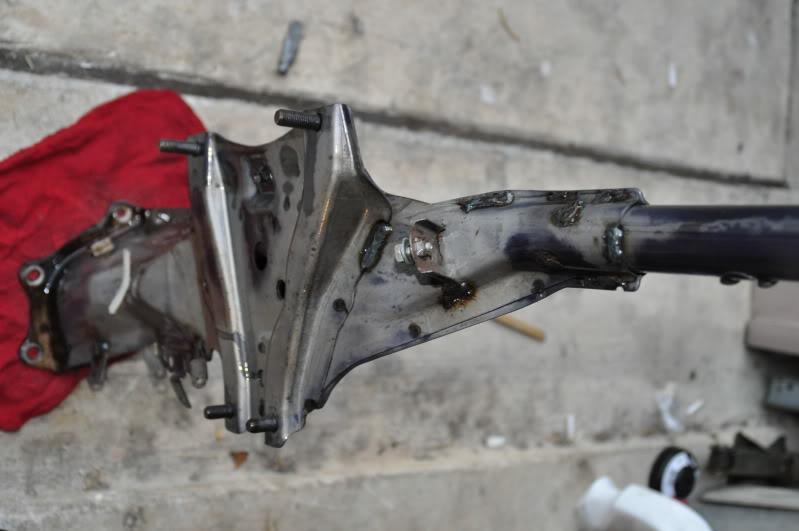
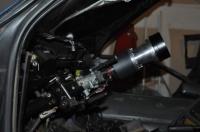
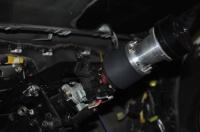
Here is the fastener I made for the front portion of the bumper (rondell bar fastener):([Temporary]
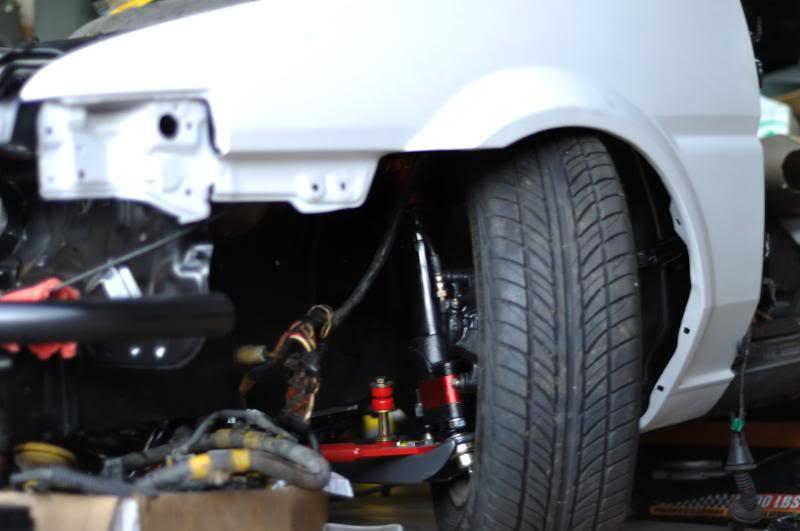
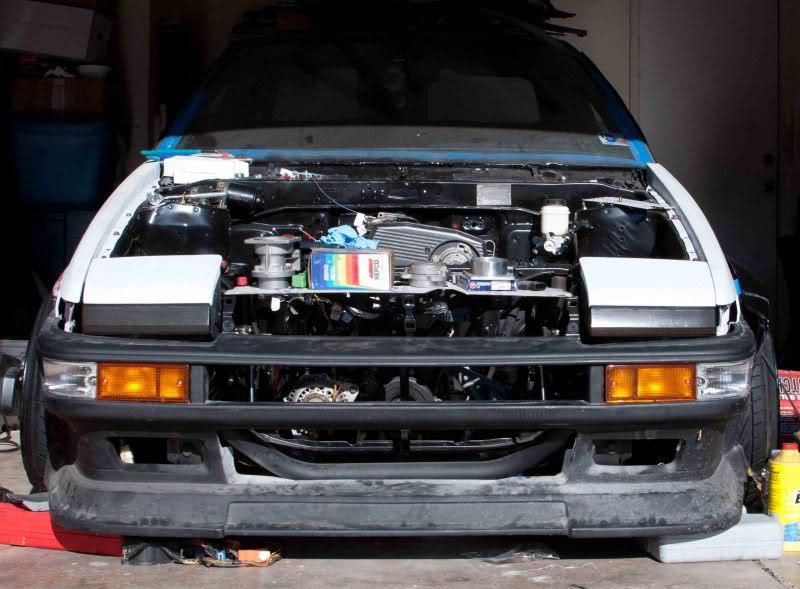
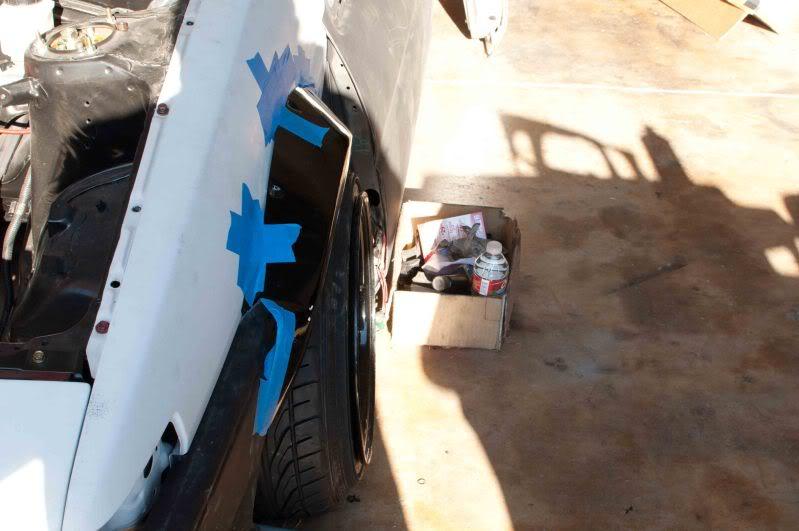
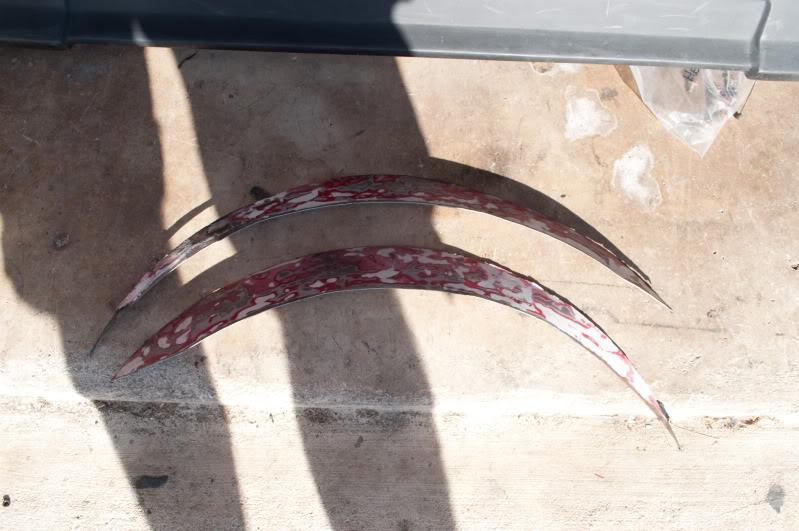
I also started working on setting the fenders up to run the flares. I cut a small portion of the bumper out to try to smooth out the arc of the flares. I also cut a large chunk out of the flare I hammered into the stock fender arches:
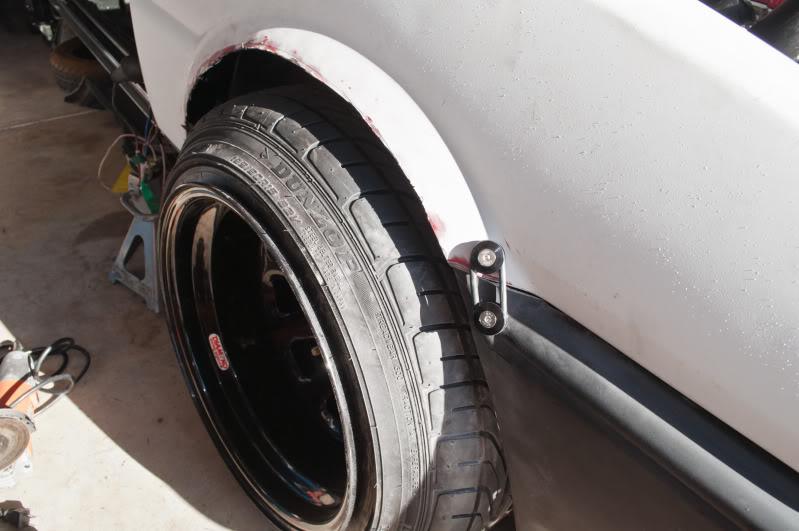
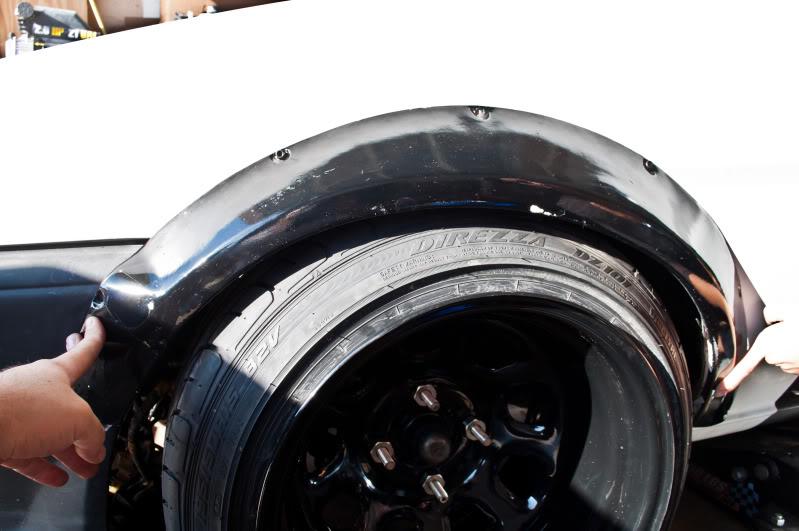
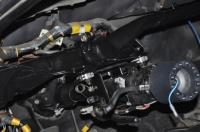
The flares will fit nicely over those quick disconnect pieces too, no problem. Now the bumper is completely supported. I still need to support the lower side edges of the bumper to take the flexibility out of the entire setup:
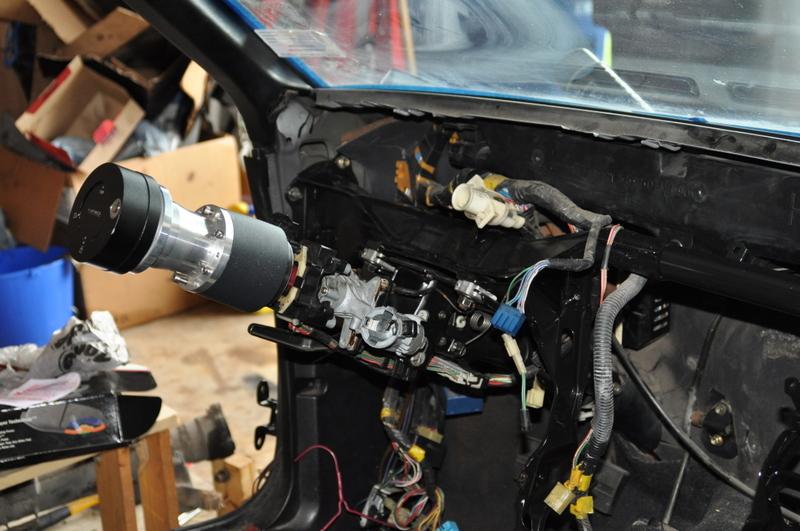
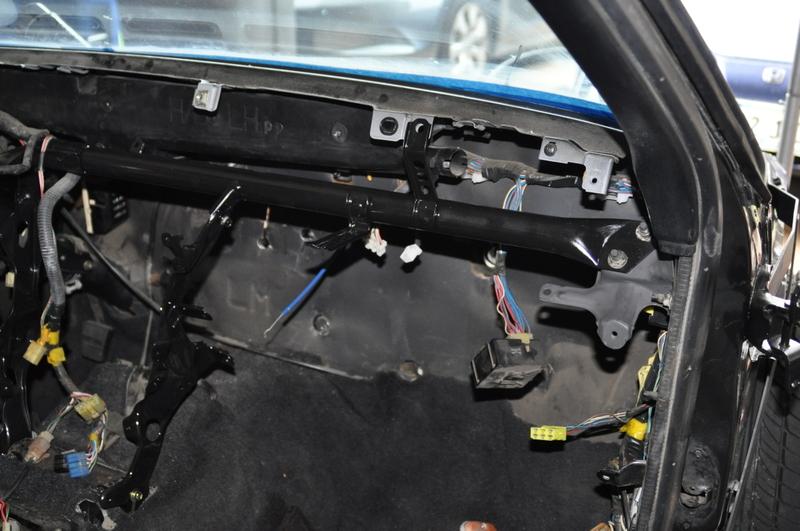
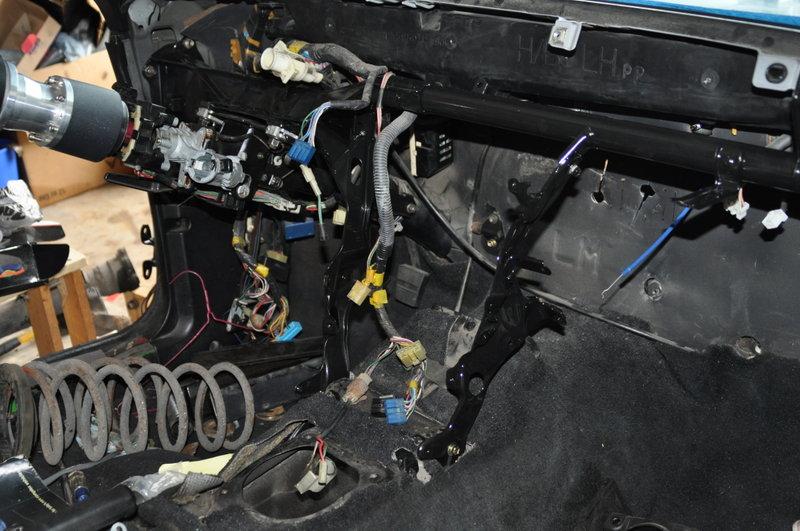
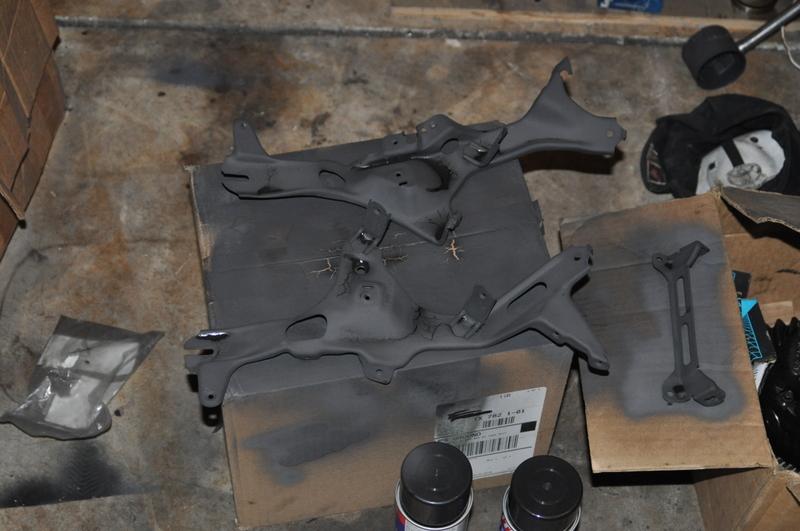
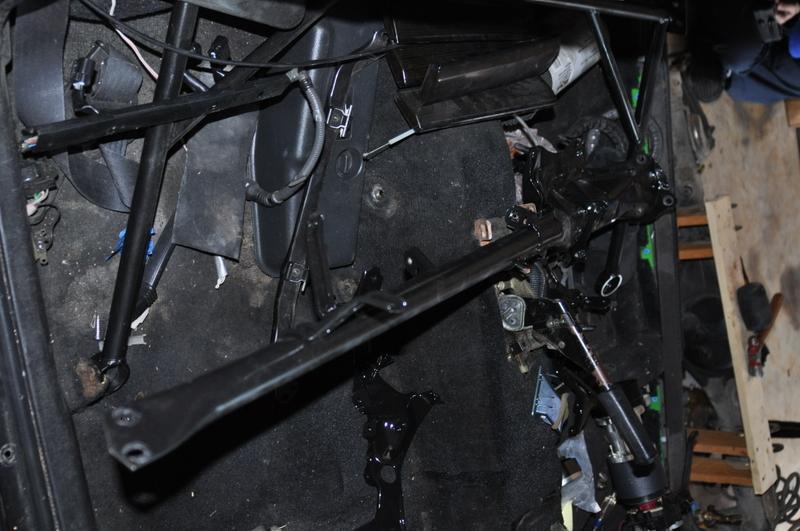
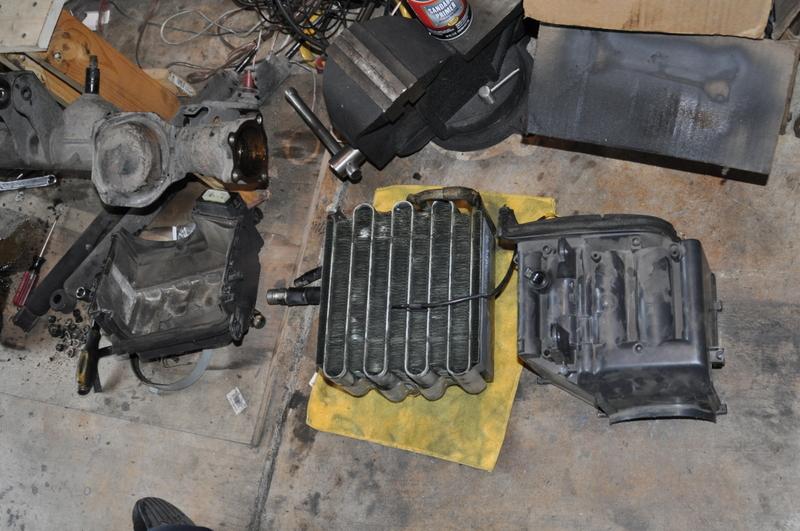
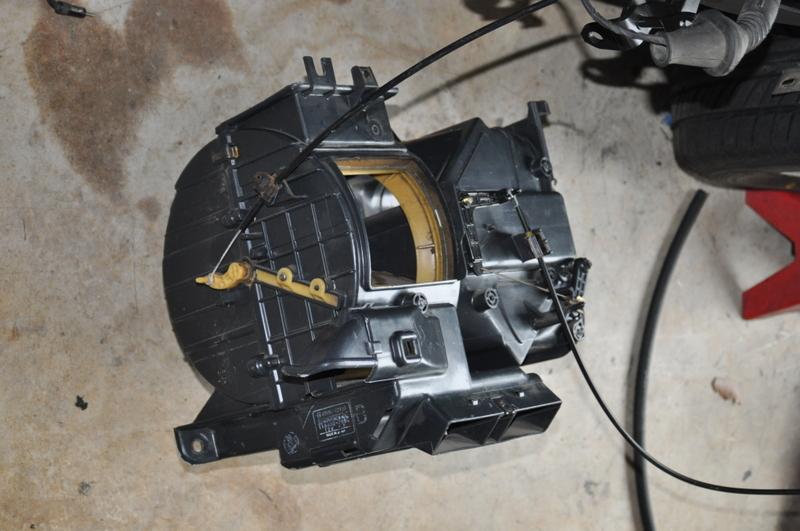
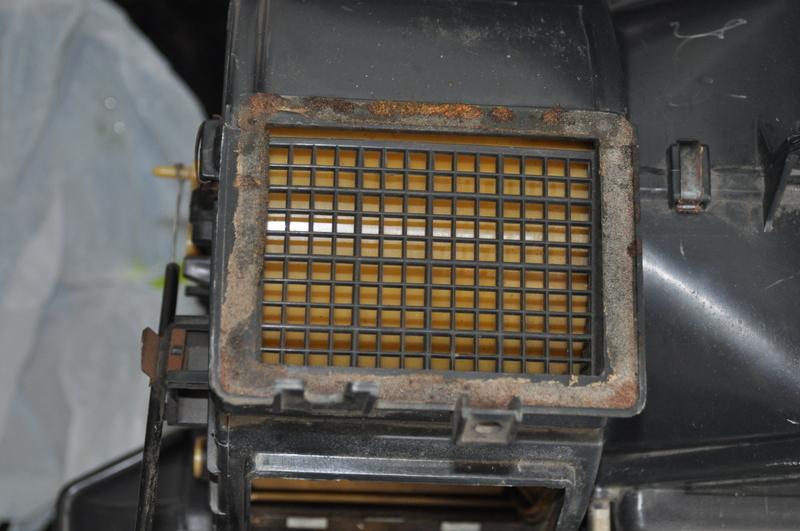
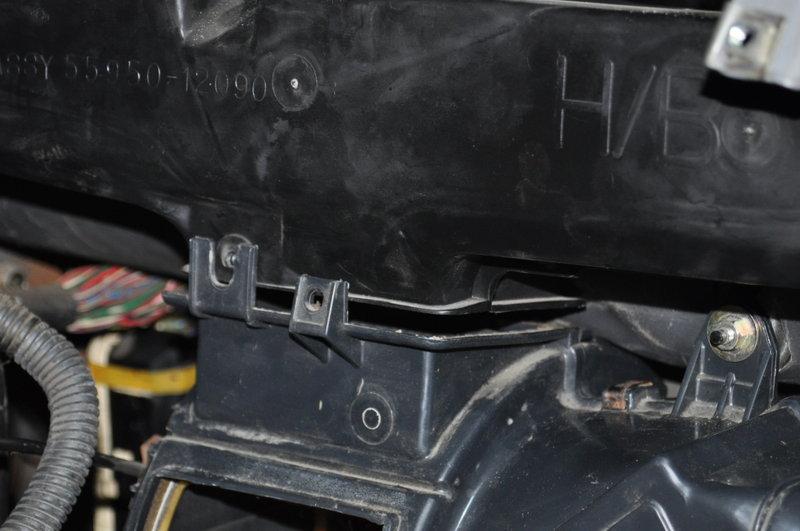
Interior:

Nice build and details!
Posted by Diggymart on 12/12/20 @ 10:25:55 PM