You must be logged in to rate content!
6 minute read

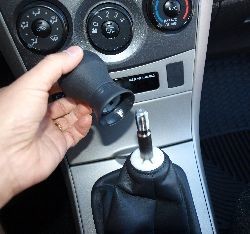
1. Unscrew shifter knob by turning counterclockwise.
2. Press in and lift up around bottom of shifter boot to release plastic retaining ring from base trim plate.
3. Stock black plastic retainer ring and staples will be reused.
4. To separate retainer ring from stock boot, use a needle nose pliers and straighten the metal staple tabs and remove staples.
5. Retaining ring separated.
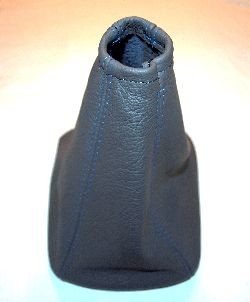
6. Redline Shifter Boot with high quality embossed leather and professional stitching. Note notched cut outs at the bottom of the boot. These notches will allow clearance for the retaining clips on the retaining ring. When attaching the new boot to the retaining ring, line up the notches to the retaining ring clips. They are not symmetrical and will only fit when the boot is in the correct position. The notches that are closest together face the rear of the car and attach to the narrowest side of the retaining ring.
7. Attach the new boot to the retaining ring using the original stock staples or glue (any epoxy-based glue will be fine). For best results, attach the sides first and then do the corners last. Use a small nail or similar object to make small holes in the leather for the staples to pass through. After pushing each staple through the boot and through the original holes in the retaining ring, use the needle nose pliers the bend the staple tabs back down to secure boot.

8. New shifter boot ready for installation.
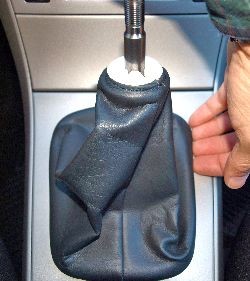
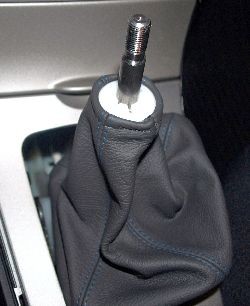
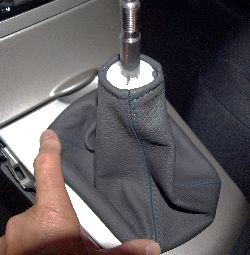
9. Slide new boot over shifter shaft. Position the top of shifter boot just above plastic ring. Do not pull boot over white plastic ring on shaft as in original installation.
10. Snap retaining ring in place on base trim plate. Wider end goes toward the front of the car.
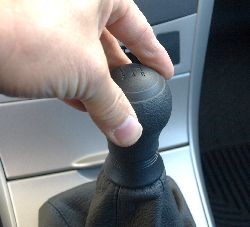
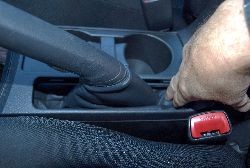
11. Reattach shifter knob by turning clockwise. For best results, tuck top edge of shifter boot up under the cup ring at the bottom of the shifter knob as you tighten.
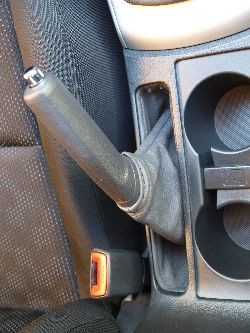
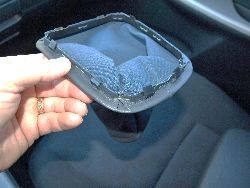
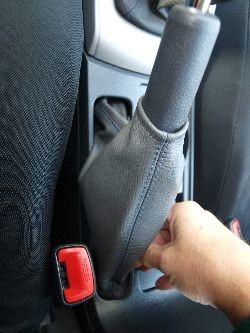
12. Pull the e-brake lever up to engage the emergency brakes. This will provide the clearance needed to remove the boot. The base of the stock boot is held in place by four plastic clips below the surface of the counsel opening, on the left and right side. With your fingers, pull right side of the base of the boot to the left, away from the right side of the counsel to unclip.
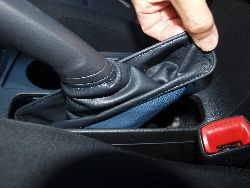
13. Push the base down and toward the right. This will unhook the boot from the clips on the left side. The base should now by free of the clips and down inside the console. The boot base is larger than the opening in the counsel. To remove from the counsel, turn the base slightly sideways and at an angle, pull up through the console opening.
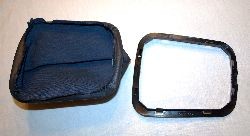
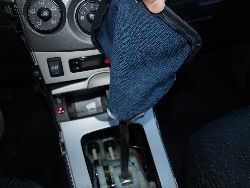
14. Pull the boot over and off the e-brake handle. The stock boot is now removed. Do not discard.
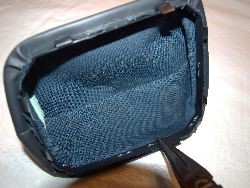
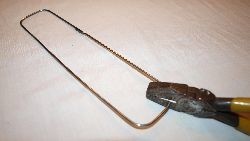
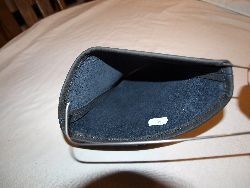
15. The stock boot is fitted with a metal retaining ring sewn into the base. This ring must be reused. To separate the retaining ring from stock boot, use a sharp knife and cut the boot to remove. After the ring is removed, take a wire cutter or hack saw and cut the ring in one corner. Use a metal file to remove any sharp edges from the cut ends of the wire.
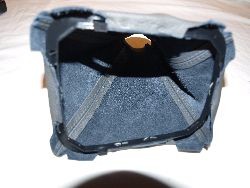
16. The new Redline e-brake boot has a channel sewn into the base to receive the wire retaining ring. Find an opening in this channel and carefully feed the ring all the way around the boot base until the ring is completely inside the channel. If needed, move the ring around inside the channel so the front and back stitched seams are located at the small ends of the rectangle. The boot is now ready for installation.
17. Slide the e-brake boot partially over the e-brake handle. The boot is not symmetrical; it angles slightly toward the front of the car. Reinstall the boot base in the reverse order of removal.

18. Slide it down inside the counsel opening by turning the base slightly and while holding at an angle, lower into the counsel. Then work the base up and into the two clips on the left side of the counsel. Pull the right side of the base up and into the two clips on the right side of the console.
19. Slide the boot further down the e-brake handle until the top of the boot engages in the notch in the handle. Center the stitching front to back.