You must be logged in to rate content!
3 minute read

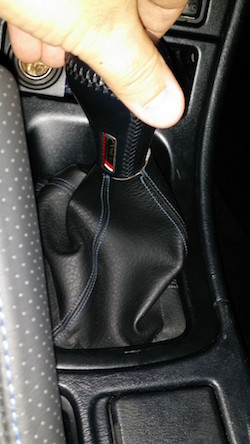
1. Remove shift knob by turning it counter-clockwise.
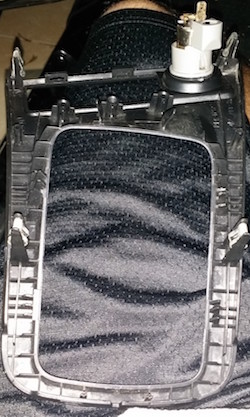
2. Grab shifter surround plastic and gently pull up.
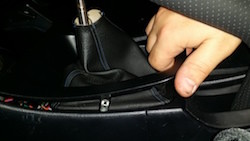
3. Remove shift boot from trim carefully as to not damage plastic retaining pegs. Replace with new shift boot. If not installing any other item, reinstall everything in the reverse order of removal.
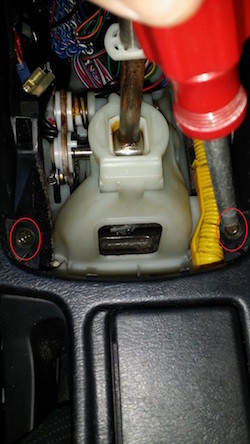
4. Remove (2) Phillips screws circled in red.
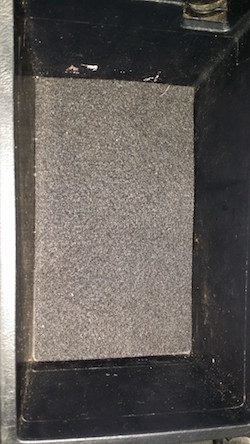
5. Open arm rest and remove cloth cover.
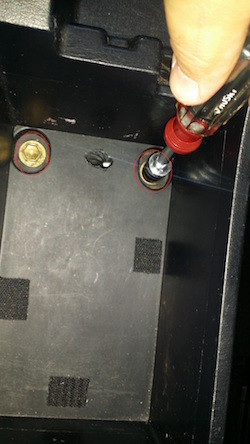
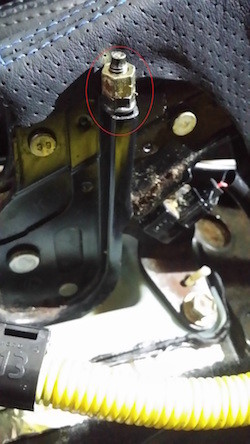
6. Remove (2) 12mm bolts circled in red.
7. Lean console forward to disconnect connector for ash tray light.

8. Lift rear console up and out. Remove (2) 12mm bolts circled in red. Loosen (1) 12mm bolt circled in green.
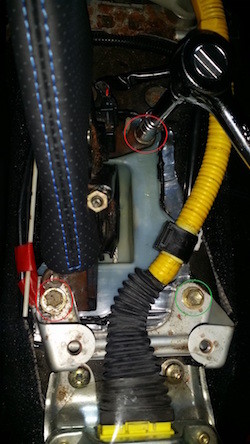
9. With a pair of needle nose pliers depress clip.

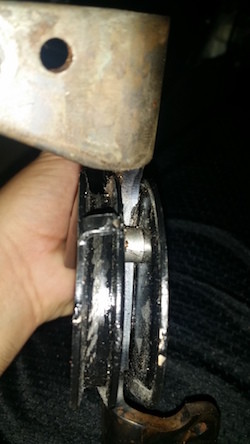
10. Remove (2) 10mm nuts circled in red.
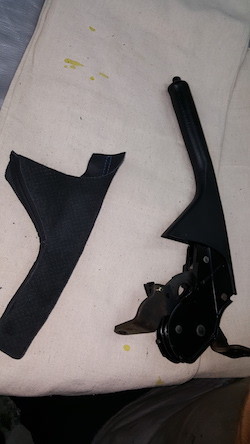
11. Slide the e-brake up slowly while the cable slides down and out of the groove.
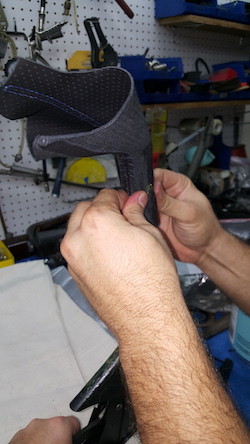
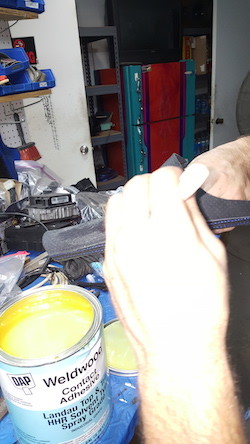
12. Turn e-brake leather cover inside out.
13. Using a brush apply contact adhesive to the e-brake & e-brake leather.
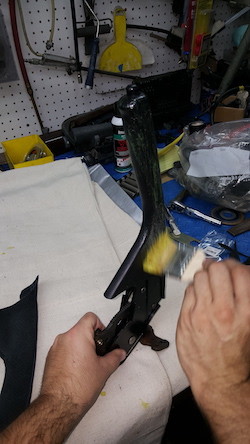
14. Allow to dry to a tacky state (3 – 5 minutes normally but check with the glue you chose for the installation)
15. Ensuring that the stitching is facing the top of the e-brake start “rolling†the e-brake leather cover over the e-brake handle so that the interior (glued portion) of the leather makes contact with the handle. When it is completely installed ensure that you have a straight line with the stitching and apply moderate pressure working your way down towards the base of the handle.
If you are not installing the center console cover, reinstall everything in reverse order of removal.