You must be logged in to rate content!
19 minute read
How to change your clutch and flywheel (Smaay Way)
Compliments of Smaay @ newcelica.org
8-22-2011
Begin with removing the engine plastics. They are held in with push tabs. Push in the middle and the tab pops out.
Jack the front of the car up as high as you can and put jack stands under to support it
Remove the battery, its secured by (2) 10mm nuts and a bracket. Remove the bracket and loosen the terminals. They are also 10mm nuts.
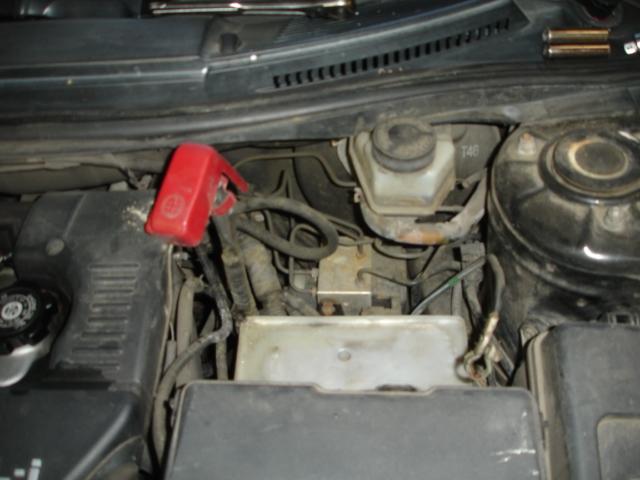
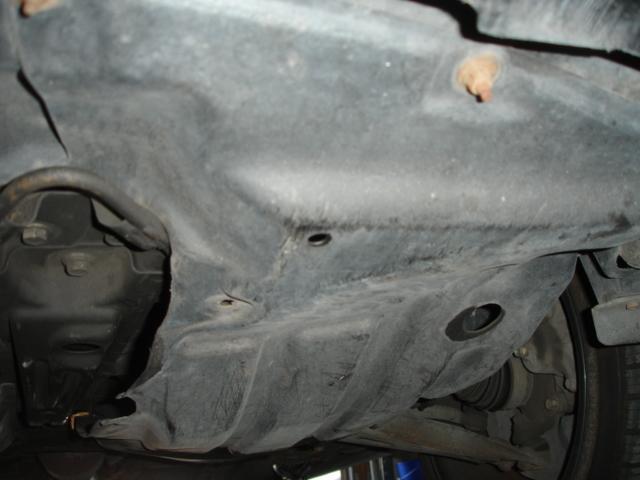
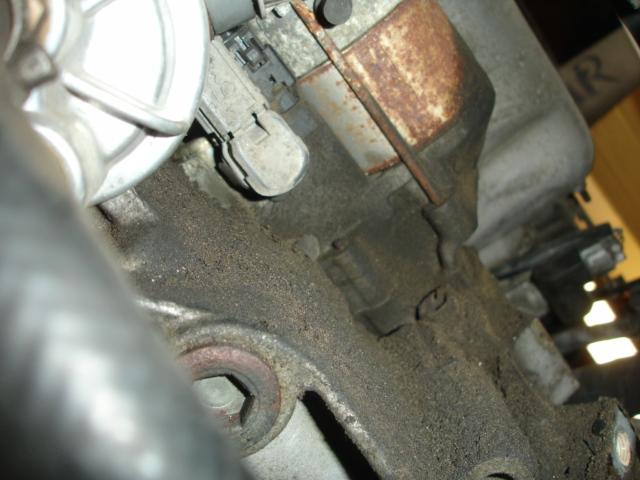
Remove the under engine plastics. They are held on by 10mm bolts and nuts. Some of them are in the wheel well. Just look around and you will see where they need to come out.

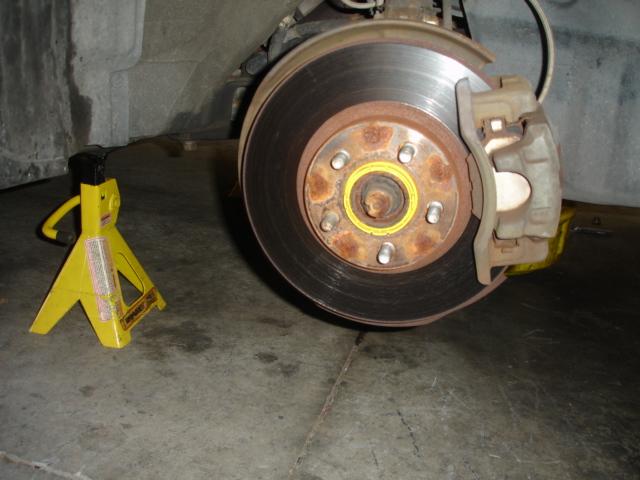
Remove both wheels.
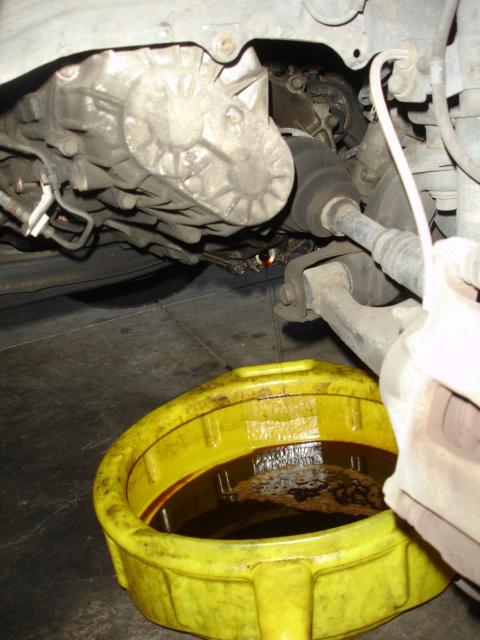
Drain the transmission fluid. The drain plug is a 24mm bolt head.
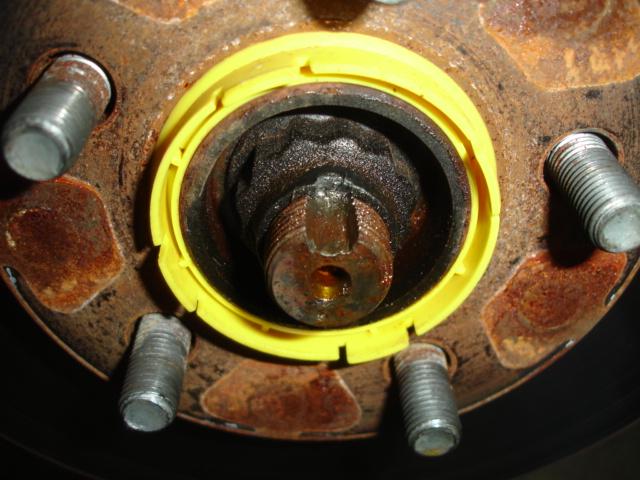
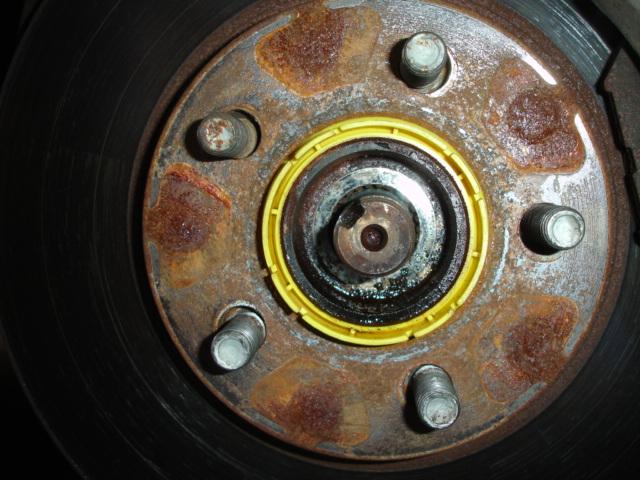
Ok this is a tough part, using a pointed punch, you have to remove this factory indent on the axle nut. If you don’t do it good enough you WILL destroy the threads of the axle. Older gen celicas used a castle nut and cotter pin which IMO is better. But Toyota didn’t listen to my recommendation and went this route.
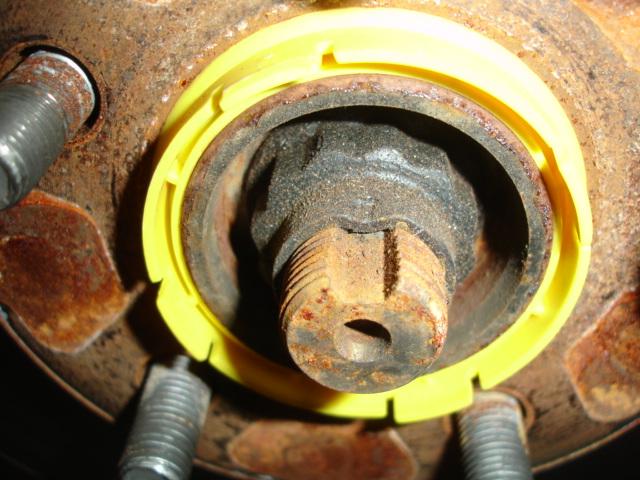
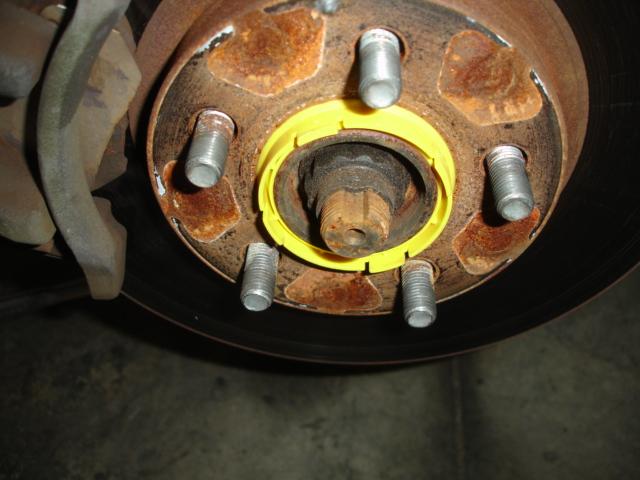
Here you can see the indent taken out.
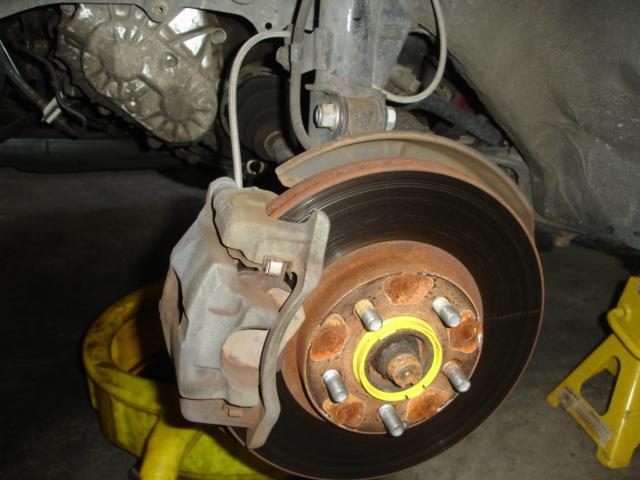
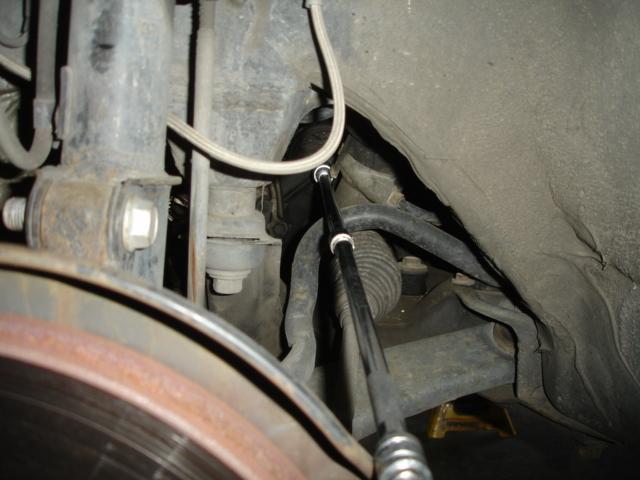
Remove the brake calipers. They are held in by 14mm bolts on the back side. Once you get the bolts out, lift out the calipers and set the brake pads aside.
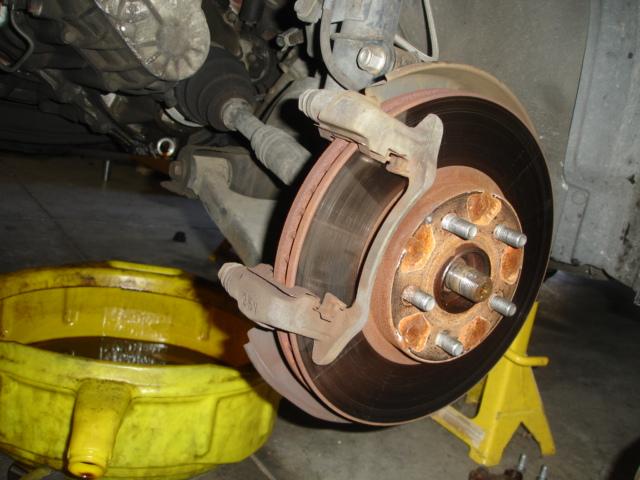
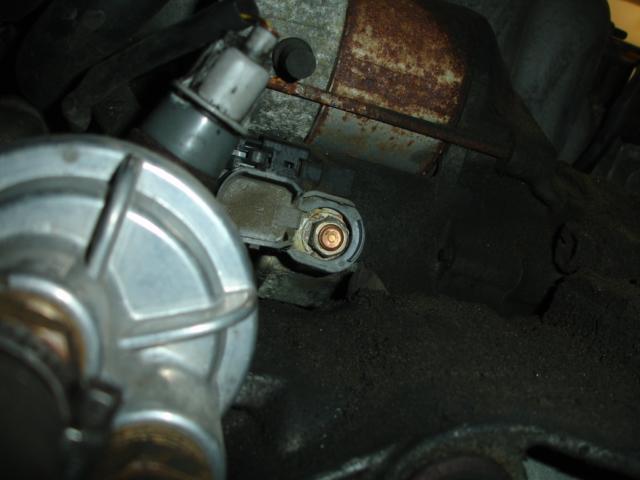
Remove the ABS sensor, its secured by a 10mm bolt.
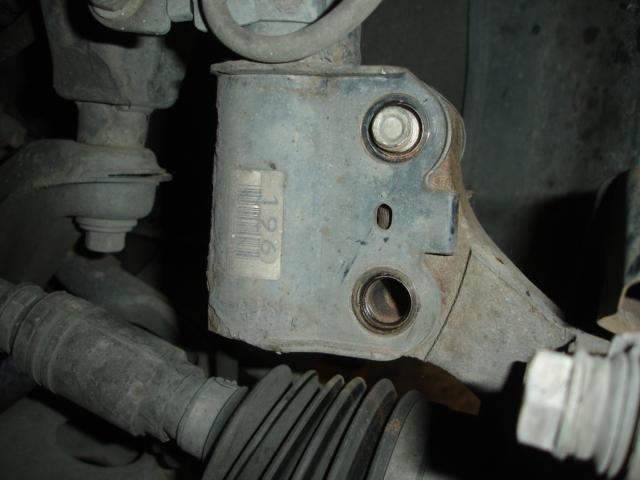
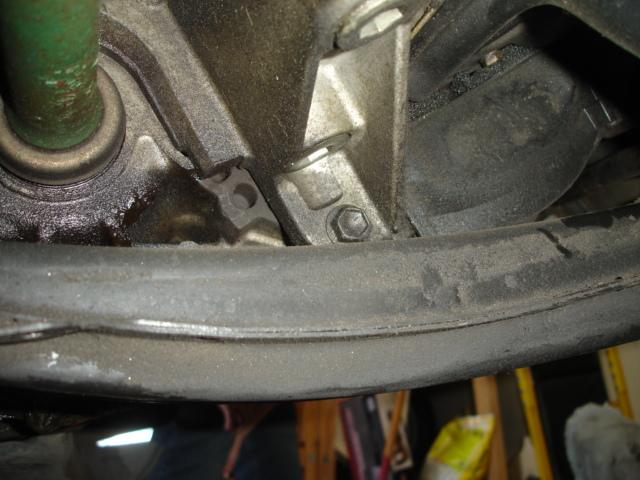
Remove the (2) 19mm bolts securing the hub to the suspension. Leave 1 bolt in to keep the hub pn place for the next step.

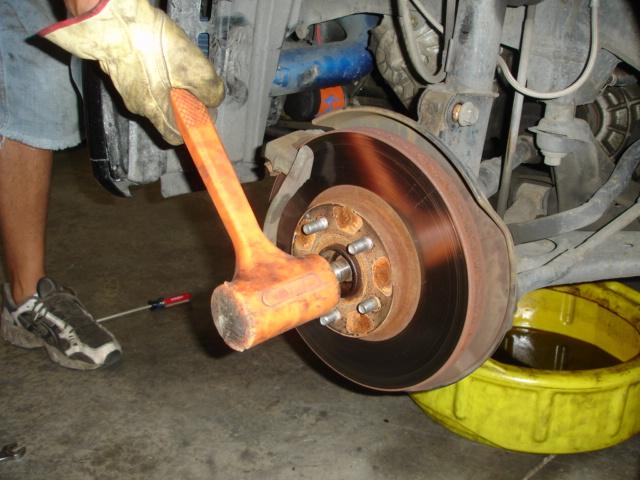
This car came from New Jersey so it had quite a bit of rust and corrosion on it. The axle was seized up in the hub. Give it a good smack with a dead blow hammer and it should work loose.
Watch my video here for how to get the passenger axle out. Take note you can only do this on a GT-S. There is a snap ring inside the CV keeping it together. The GT does not have this and you will pull the axle apart.
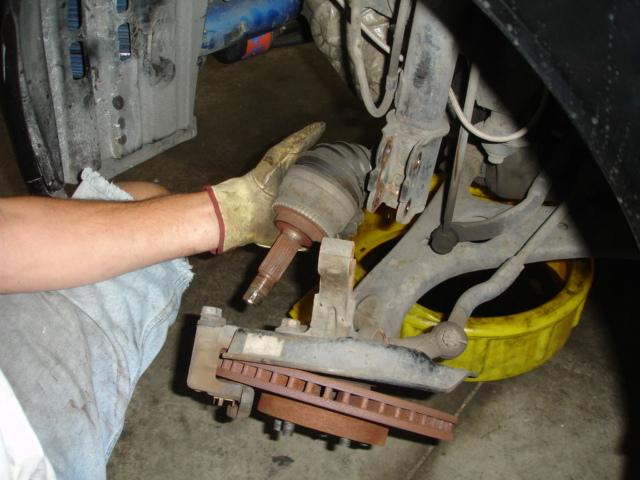
Here is the axle out of the transmission.
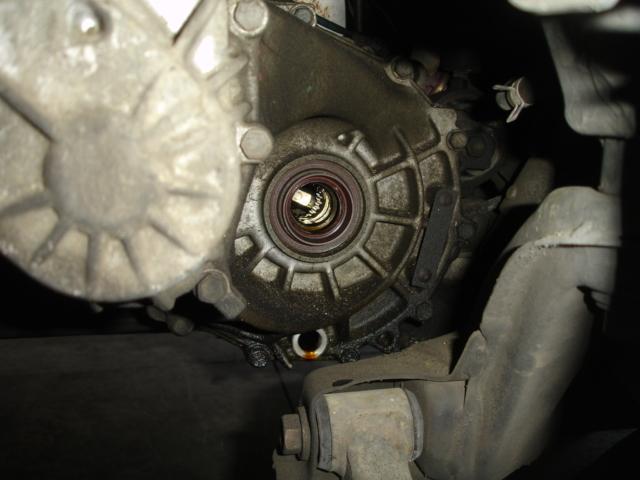
Repeat for the passenger axle, however there is one more step. There is an axle carrier bearing holding it behind the block. It’s held together by (2) 14mm bolts.
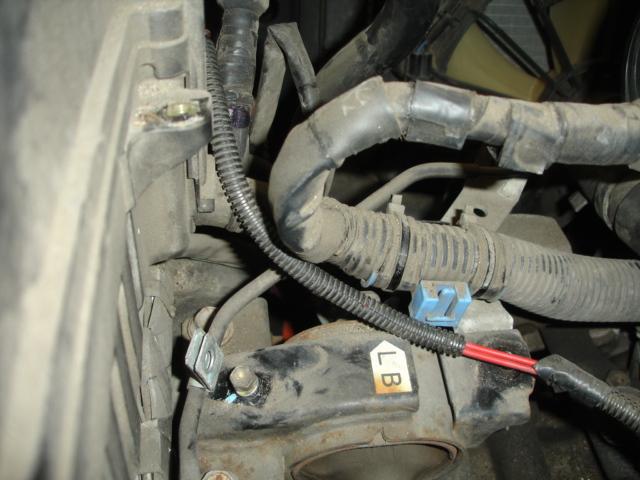
Remove the ECU. It’s located under the plastic cover that says DO NOT REMOVE! The cover is secured by (2) 10mm bolts and some pull tabs.

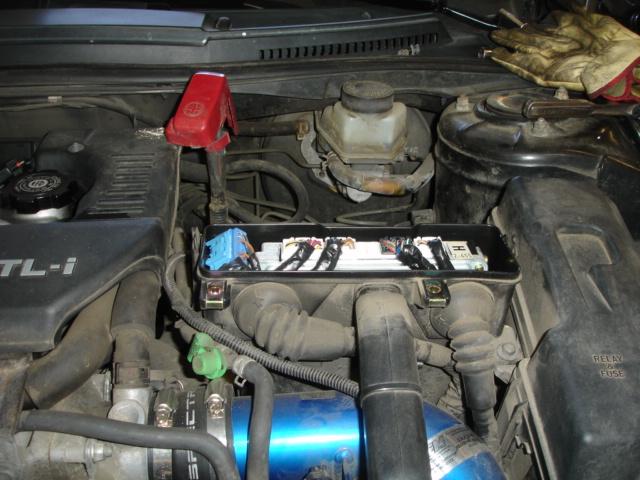
There is a 10mm bolt under the blue ground plug. Pull the plug out and you will see the bolt. Once you have the bolt out, unplug the rest of the ECU connections and pull out the ECU.
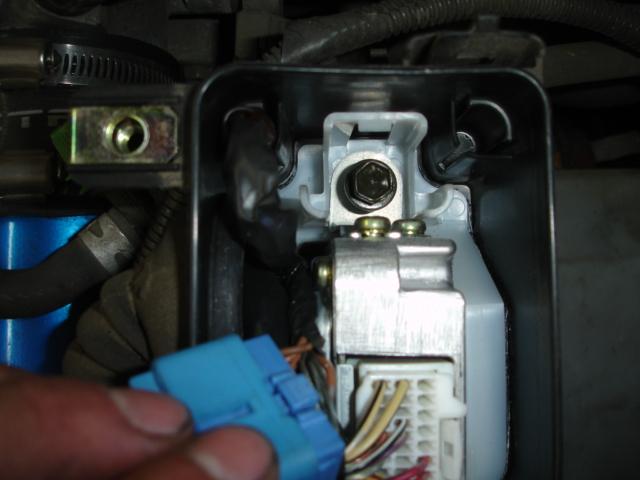
Push on the rubber grommets around the ECU plugs to get them out of the box.


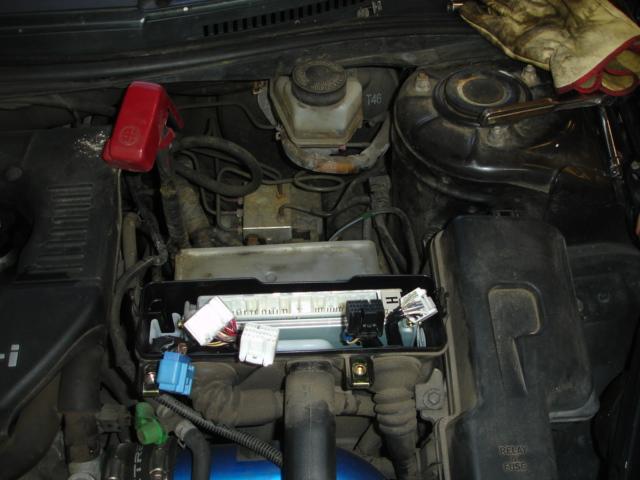
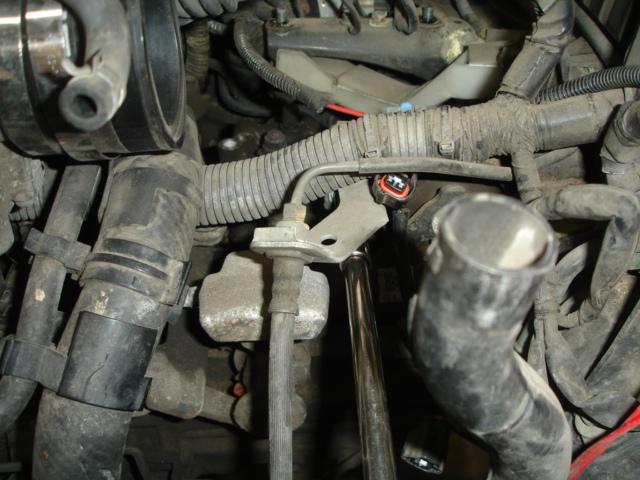
Remove the EVAP line from the VSV and the hard line back at the firewall.
Remove the ECU box. It’s held in by (3) 10mm bolts.
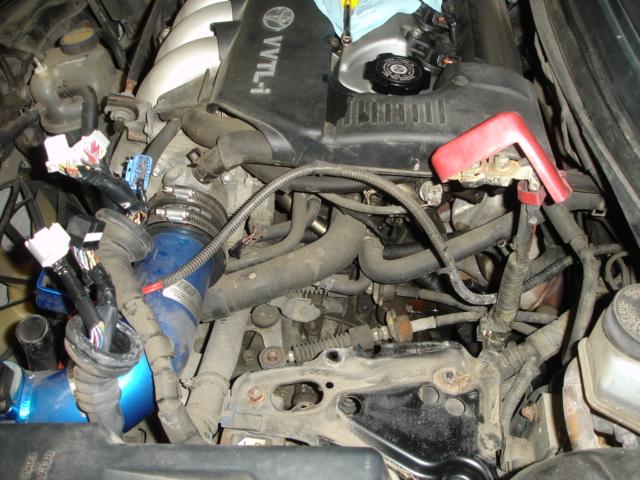
Remove the tray that the battery sat on. It’s secured by (2) 12mm nuts and a 12mm bolt. The positive battery terminal cable is also held on this tray by a cable attachment. Just pull the tab in the center back and the cable slides off.
Remove the (2) grounds bolted to the transmission. They are both 12mm bolts.
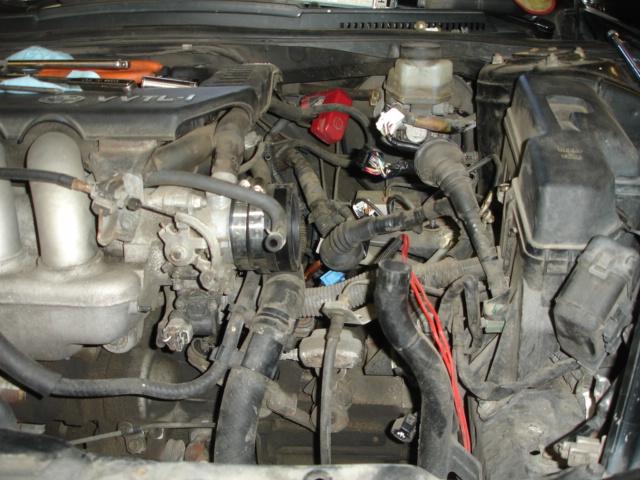
Remove the intake. This could either be a CAI or the stock airbox.
Loosen the front motor mount bolt. It’s the long 14mm bolt and nut going through the front motor mount. Then remove the rear motor mount bolt. It is a 17mm bolt. To reach it, use 3 long extensions and a good breaker bar. Loosening the front bolt makes is easier to rock the engine to pull out the rear bolt.
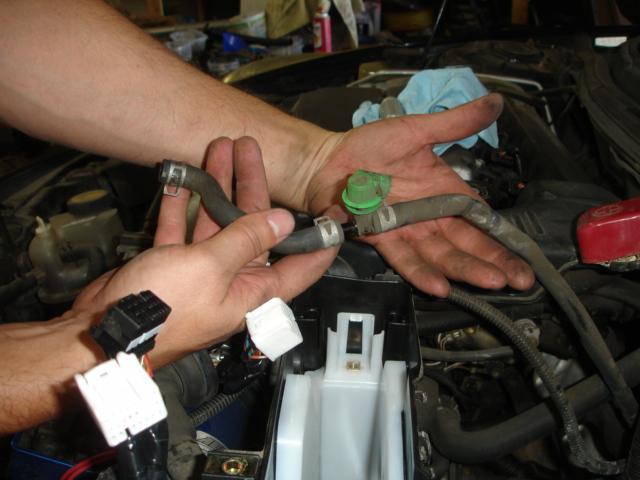
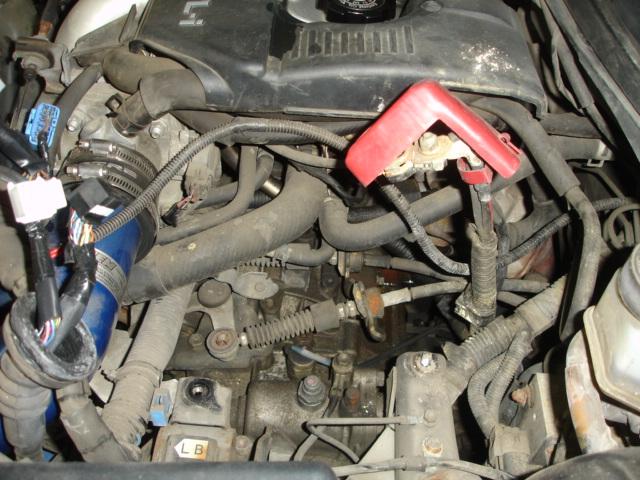
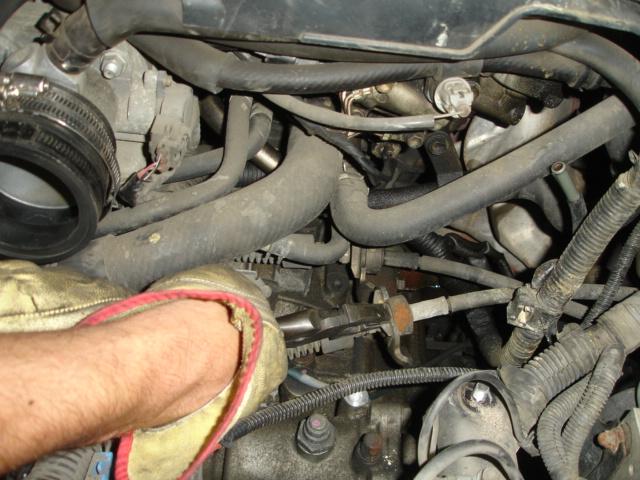
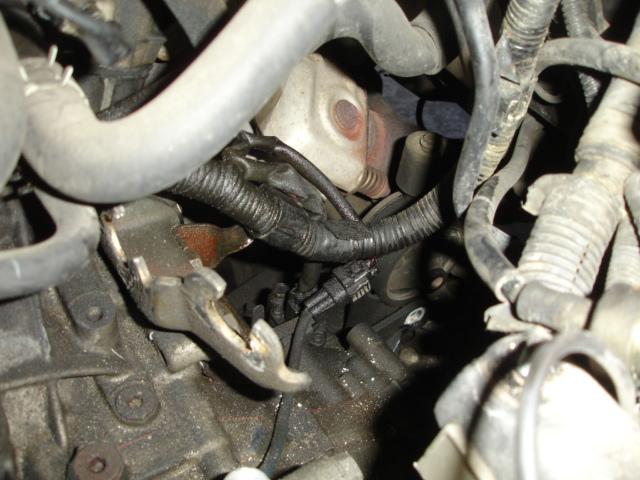
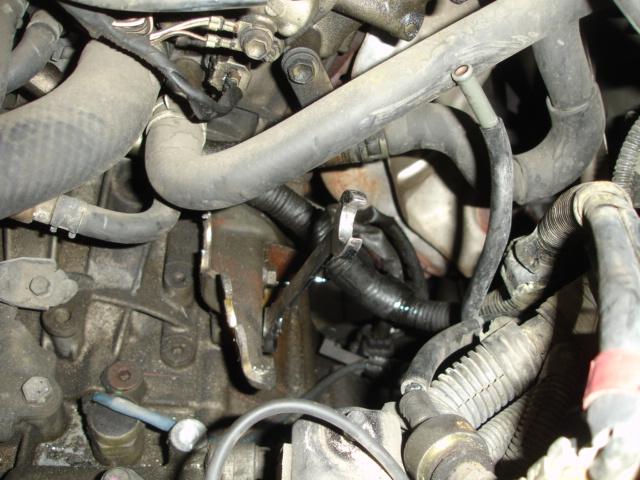
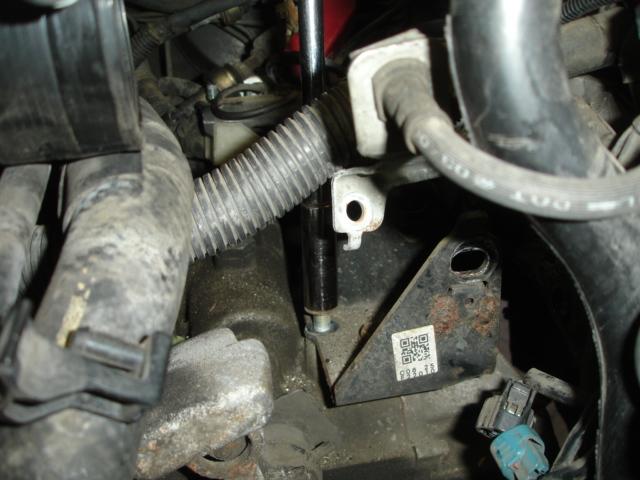
Next remove the 10mm bolts holding the clutch line in place. There is one on top of the drivers motor mount and one on the side of it. There is also one down on the transmission.
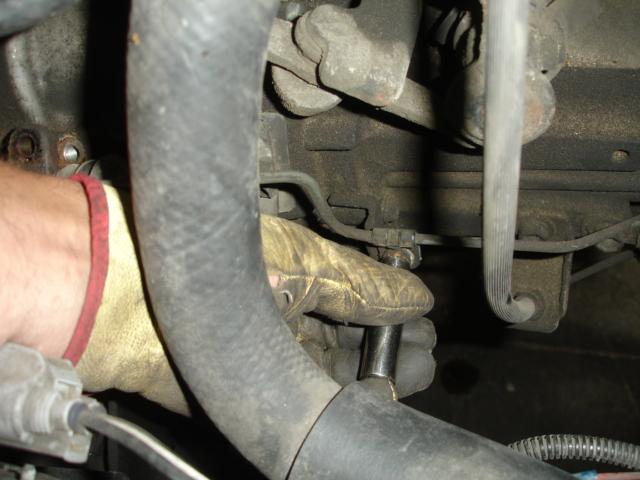
Remove the slave cylinder. First take the 10mm bolt off the clutch line. Then the (2) 12mm bolts on the slave.
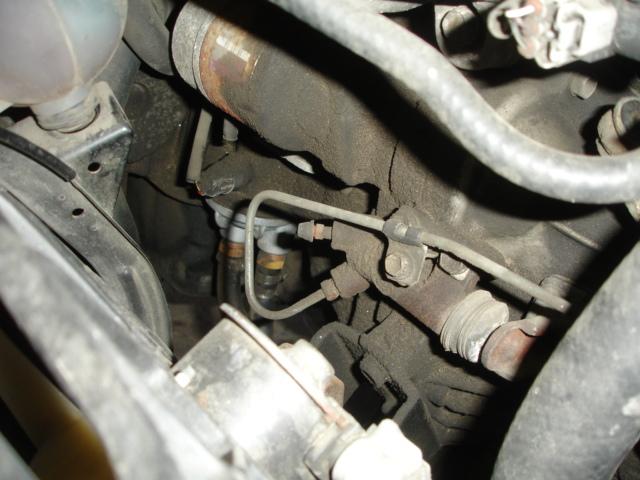
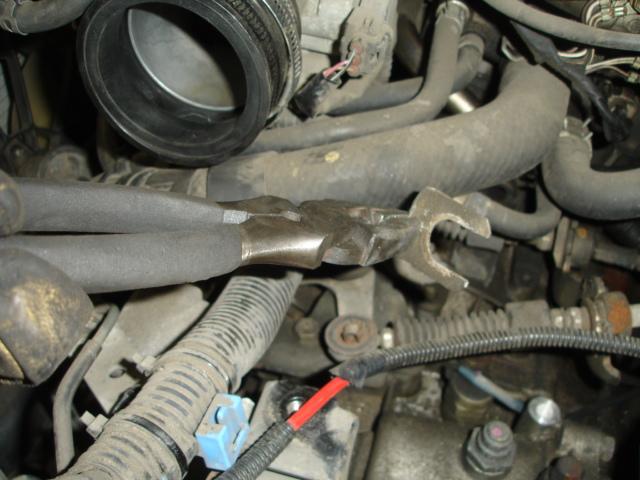
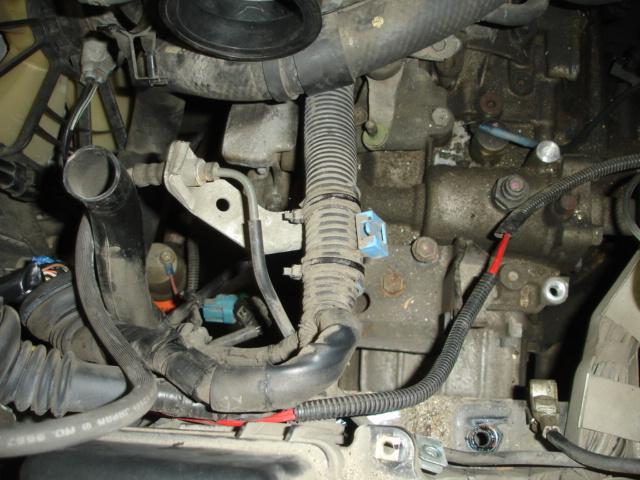
Here you can see the last 10mm bolt holding the clutch line, Just to the right of it are (2) 14mm bolts also holding the clutch line to the transmission. Remove both of them and pull the clutch line out of the way. You do NOT have to open the hydraulic system.
Now remove the front motor mount. First take out the center section. Its secured by (2) 14mm bolts under the center cross member and the large 14mm bolt that was loosened earlier.

Lift the center section up and set it aside. Put the bolts back in it so you don’t lose them.
Now remove the front mount on the transmission. Its held on by (2) 14mm bolts. Once its out set it aside and don’t lose the bolts!
Remove the (2) clips that hold the shifter cables to their mount. These are a real pain to get off. I use some big pliers and rotate the clip till it comes off.
Pull the wire clips that secure the shifter cables to the transmission linkage. Just pull on them, they come off pretty easily.

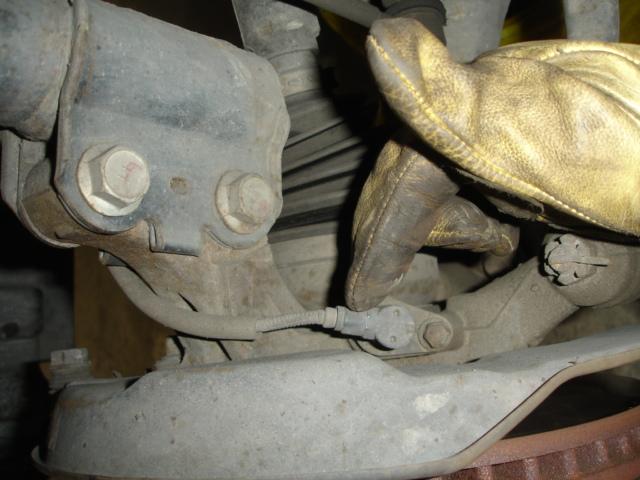
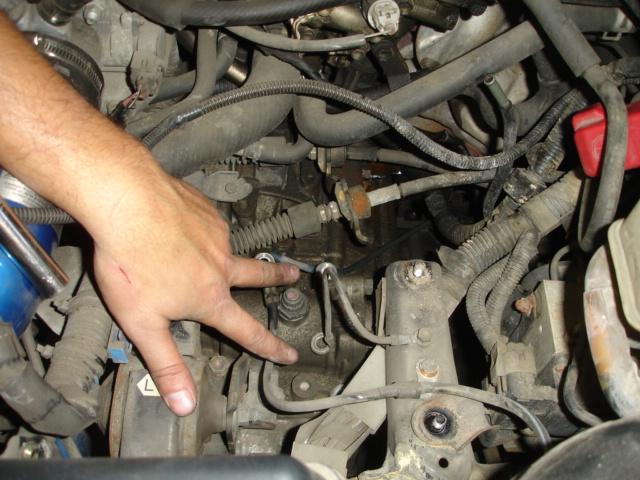
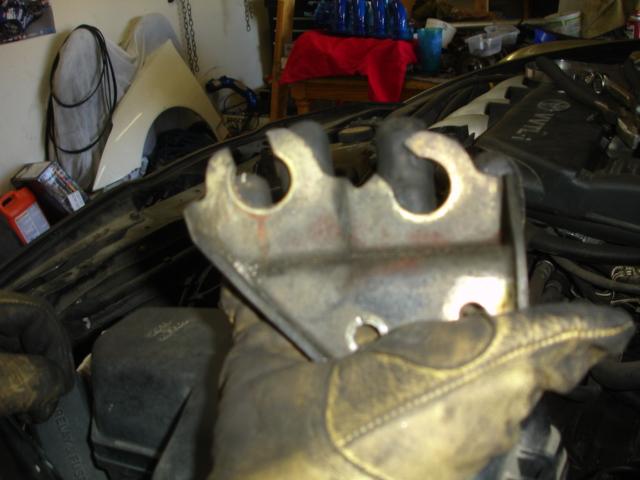
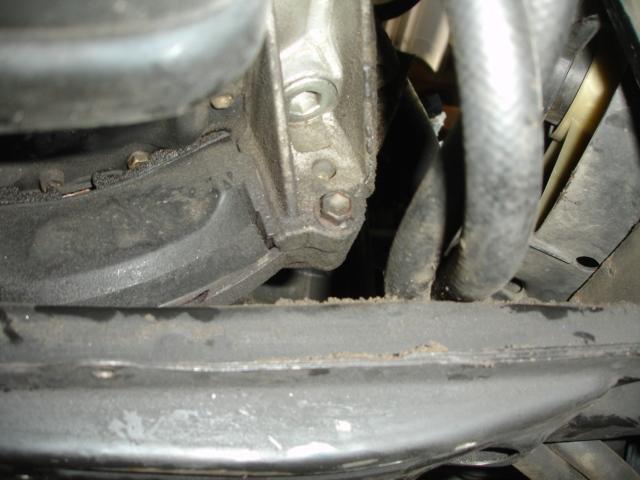
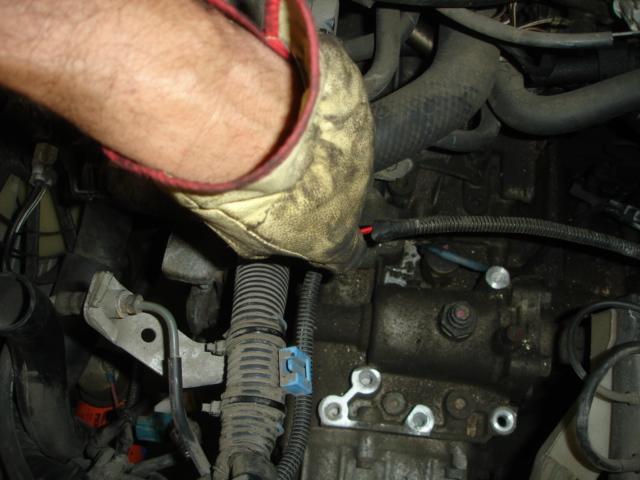
Remove the mount that the cables were clipped to. It’s held on by (2) 14mm bolts. There is also another tab here holding the wiring harness on. Just leave the tab connected to the harness. Reach behind the transmission and remove the speed sensor and the reverse plug. There is also some stupid weight thing on the rear motor mount. Remove it! Trust me its going to help you later. Its held on by a long 10mm bolt.
Remove the (2) 17mm bolts securing the transmission to the engine block. They are on the top of the transmission.
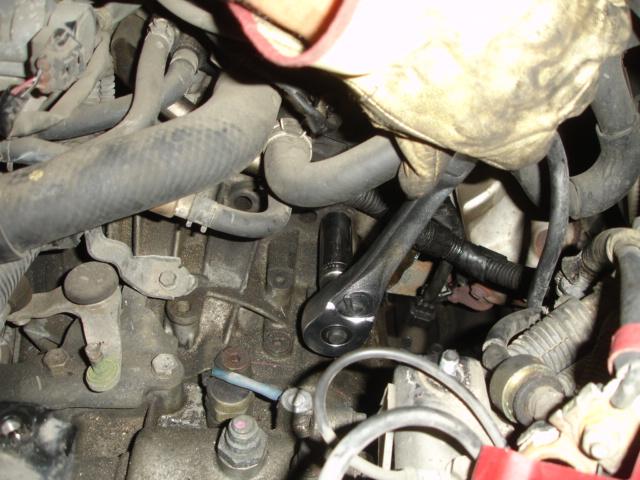
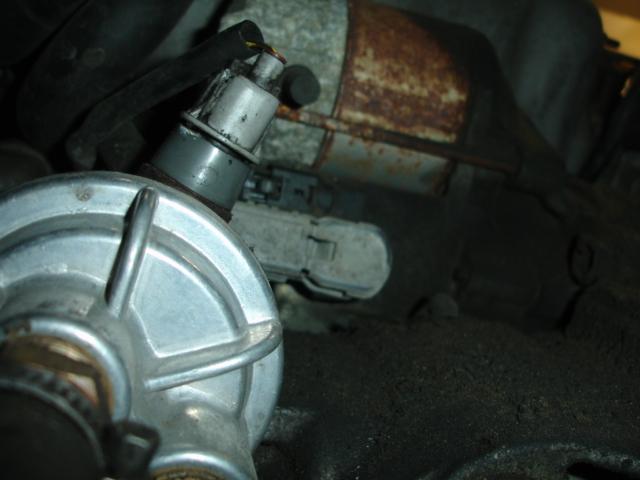
Remove the starter. It’s held on by (2) long 14mm bolts. One bolt is under the 17mm bolt from the last step. The other bolt is under the starter. There is also a 12mm nut that supplies the constant 12V to the starter and the ground plug. Remove both of those first before removing the 14mm bolt on the bottom of the starter.
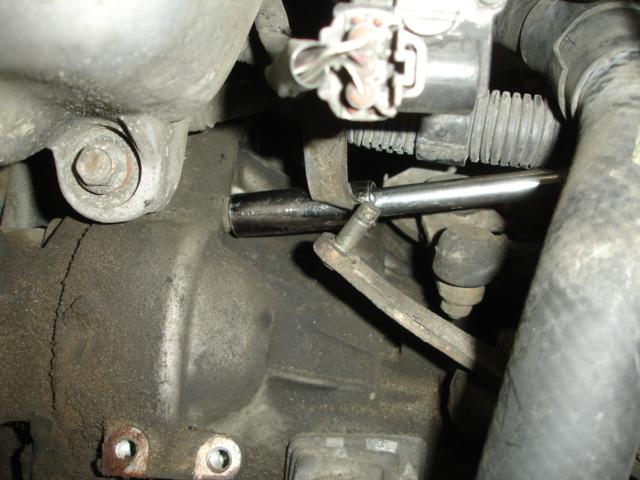
On the bottom of the transmission are the (2) short 14mm bolts that secure the transmission to the engine. Remove both of them.
Put a jack under the transmission to support it while you remove the final motor mount.

There is a long 14mm bolt and nut like the front motor mount. Take that bolt out first. Then the (4) 14mm bolts holding the frame mount.

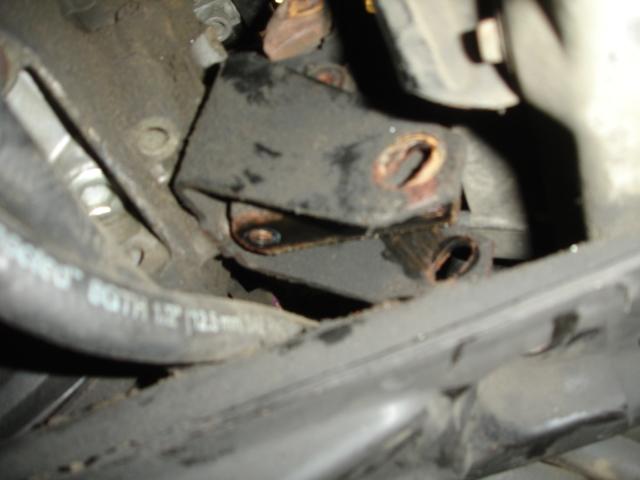
Lift the frame mount out and remove the transmission mount. Its secured by (3) 14mm bolts.
Here is the mount removed
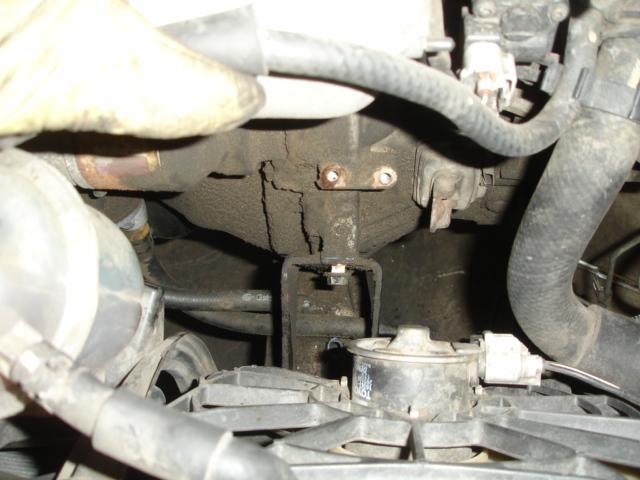
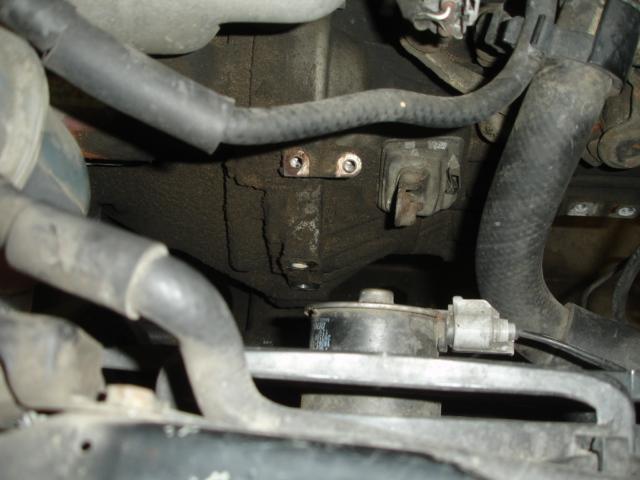
Lower the jack so the engine rests on the center cross member. Then remove the final (2) 14mm bolts on the backside of the transmission. There might be a header support bracket in the way. just remove that first.
Once you have all the bolts out the transmission is ready to come out. Here you need to put on your Hulk shirt because it’s a heavy MF! Wear gloves and lift on the transmission and it will separate from the engine. Just wiggle it out and don’t let if fall on you! Once you got the transmission loose enough, it will rotate on the shaft. Rotate it counter clockwise to get the rear transmission mount around the rear frame mount. This is where it helps when you removed that stupid weight thing. Rotate it up and over and then the trans will come right out.
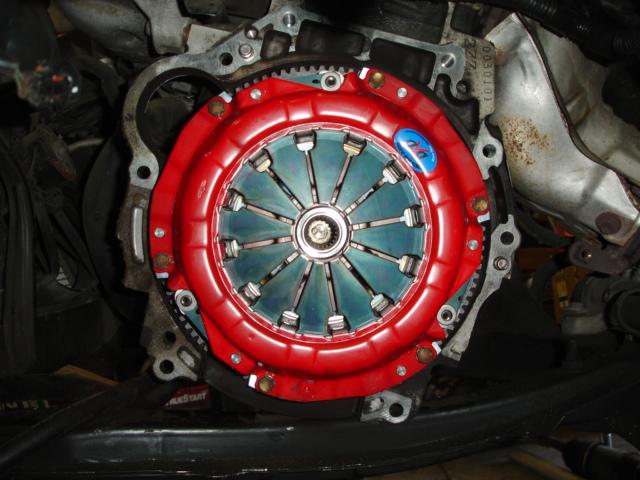
Once it’s out, you will see your clutch!

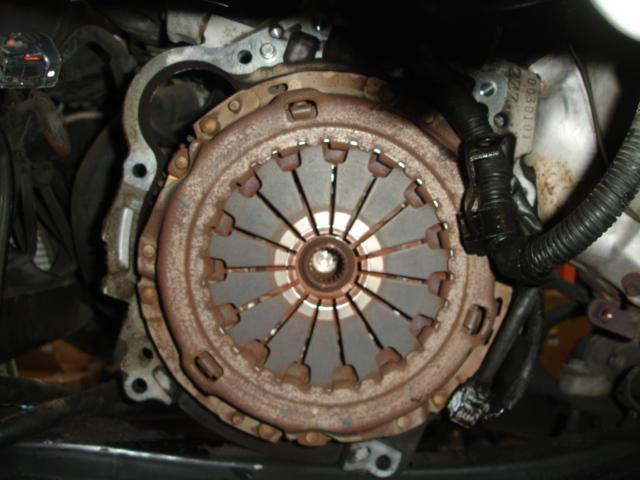
Remove the pressure plate, it’s secured by (6) 12mm bolts. Be careful so the clutch disk does not fall out on your leg, that hurts!!!
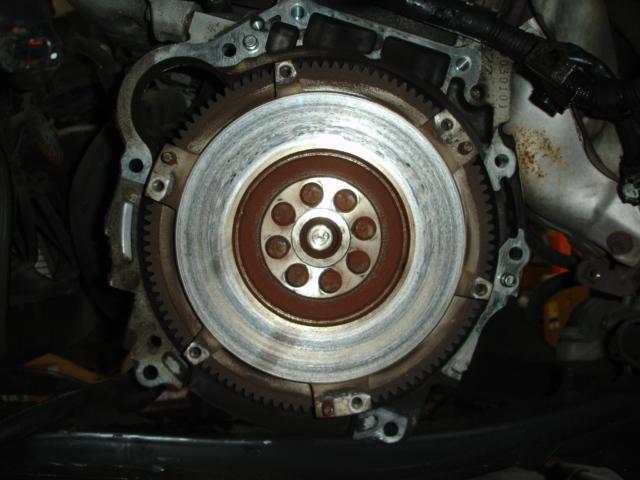
Once the clutch is off you see your flywheel. There are (8) 14mm (12pt) bolts holding it on. you can use an impact gun to take them off.
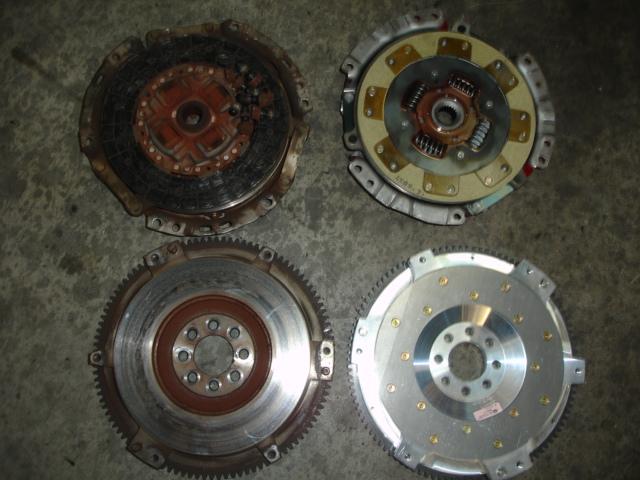
Look at the condition of this disk. Here you can see that it was pretty much done. The grooves have been worn away in some places. This clutch was going to slip any time.
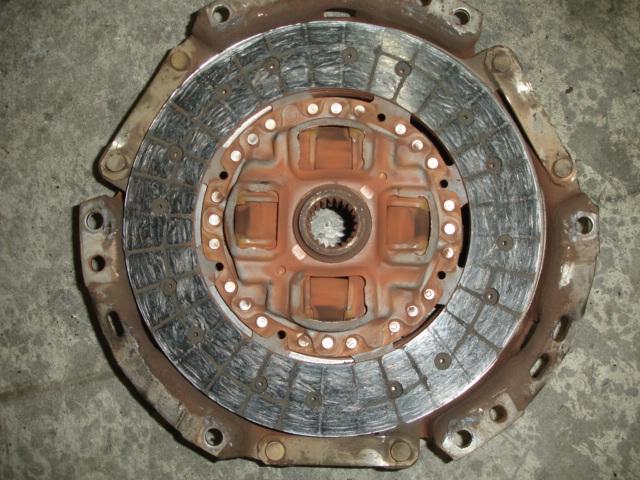
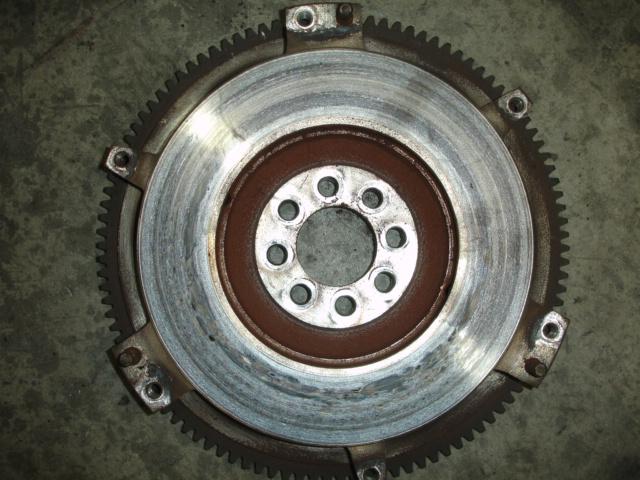
Here is a shot of the old and new clutch and flywheels. This is a Fidanza flywheel and Southbend TZ clutch. An excellent street combination!!!! www.dxdracingclutches.com
Install the new flywheel on the crank. I used new OEM bolts here. Torque the bolts to 36 ft. lbs. Then I put a line on the bolt and on the flywheel.
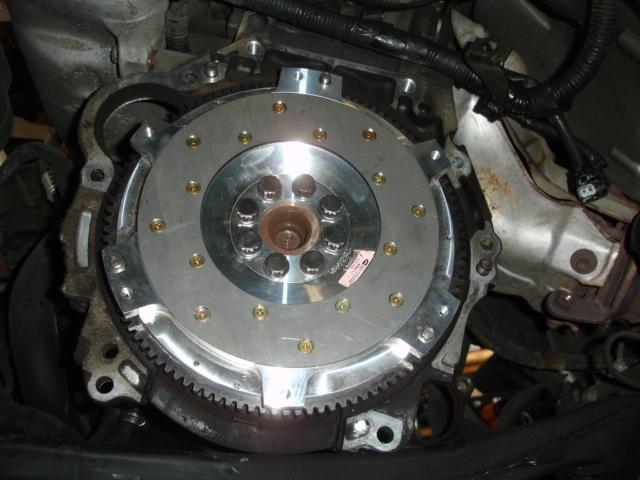
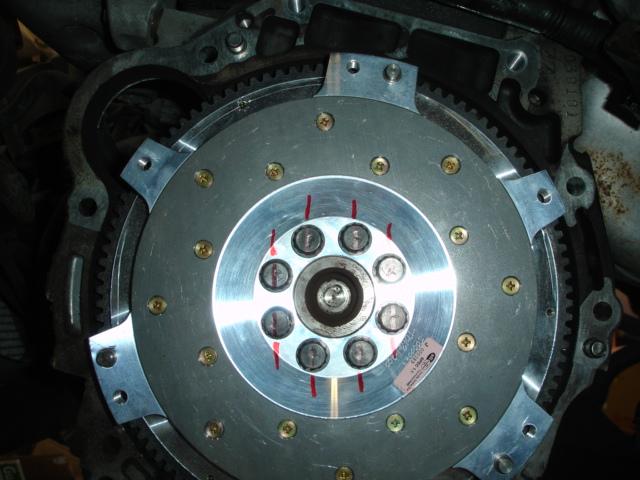
You then have to turn the bolt another 90 degrees. Once the lines are perpendicular, you know you are good.
I highly recommend using ARP bolts! You can get them from Monkeywrench Racing www.monkeywrenchracing.com at a good price and they are cheaper than OEM bolts. Plus you can re-use them. You should not re-use OEM bolts. Torque spec for ARP bolts is 58 ft. lbs. Torque the bolts in a cross pattern.
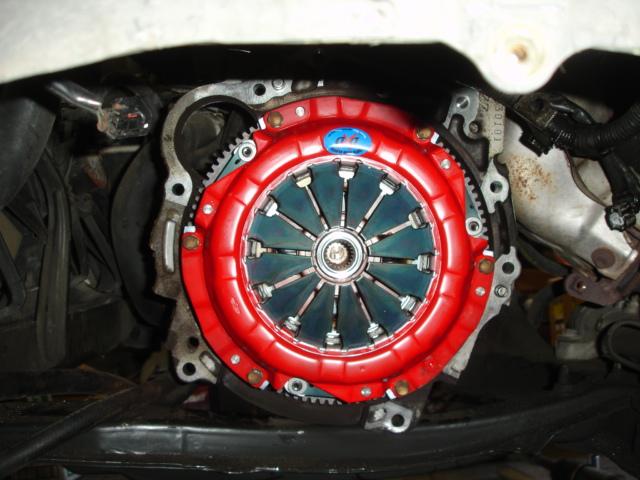
Install the clutch disk and pressure plate. The Southbend kit comes with an alignment tool. While this is handy, I don’t use one. What you have to do is get the disk in place and start the bolts around the pressure plate. Just get the bolts started. Then eyeball the disk so it’s centered in the pressure plate. Once you like where it is, tighten the bolts around the pressure plate. Torque for these bolts is 16 ft. lbs.
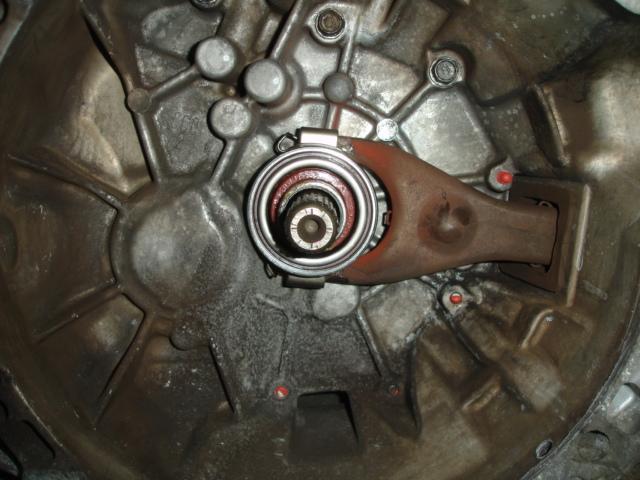
Install the new throw out bearing on the transmission. Clean the collar up good with some break cleaner on a rag. Then apply some high temp grease on the collar. Put the new throw out bearing on the forks and lock it in place.
The rest is just the opposite of removal. Good luck bench pressing that heavy MF back up in the car. It helps if you have a friend or two lifting on the transmission as you guide it in. lift the transmission up and wiggle it until the splines on the input shaft engage the disk. Then rotate the transmission again to get it around that rear frame mount. After that you are golden. Slide the transmission closer to the block and start putting the bolts in.
8-24-2011
the passenger side is held in by the carrier bearing. the drivers side you have to pull it out in a hammering back and forth direction till it pops out....BUT ONLY IF ITS A GTS. if you have a GT you need to use pry bars and rotate the axle to get it to pop out
you unbolted the carrier from the block. you are supposed to unbolt the (2) bolts from the bearing to the carrier.
11-1-2011
dang! i forgot to upload it. ill look for it but its really simple, hold the axle straight and pull it out.
the TO bearing isnt going to go bad overnight, in fact it might last the life of the car, but its always recommended to change.
8-6-2013
I have seen GT with GT-S axles. are they green or black?
can you feel a solid resistance in the axle as you pull on it or does it feel like you will pull the CV apart?
if you feel a resistance then you might be able to do the GT-S hammer action to pop it out.
as for the starter, smack on it with a dead blow hammer, it sounds like its just stuck on the engine block
8-7-2013
oh you are in the UK. the wheel is on the wrong side of the car, lol ha ha ha. ok it sounds like you have the GT-S style axle. yes you are hitting the snap ring at the end of the shaft. but can you keep pulling and feel a second stop in the CV? if you can keep pulling and the CV boot is stretching then stop before you pull the CV apart. if you can feel a second stop then what you do is hold the axle as straight as possible. and just pull it out with a hammering action in and out, it will pop right out.
I took a video of this and never uploaded it. im not sure where it is now ![]()
8-8-2013
i had the same thing happen to me one time. same bolt too, I ended up pulling the engine out and grinding flat sides on the bolt so i could get a big wrench on it.
pulling the engine was 30 minutes of more work after all the work to get the transmission off. drain the coolant, unplug the harness, unbolt the exhaust, and passenger engine mount. thats really it.
8-17-2013
one bolt threads through the starter and block into the transmission. the other bolt though the trans and block and threads into the starter