You must be logged in to rate content!
20 minute read
How to remove engine from car (Smaay way)
Compliments of Smaay @ http://www.newcelica.org
10-25-2010
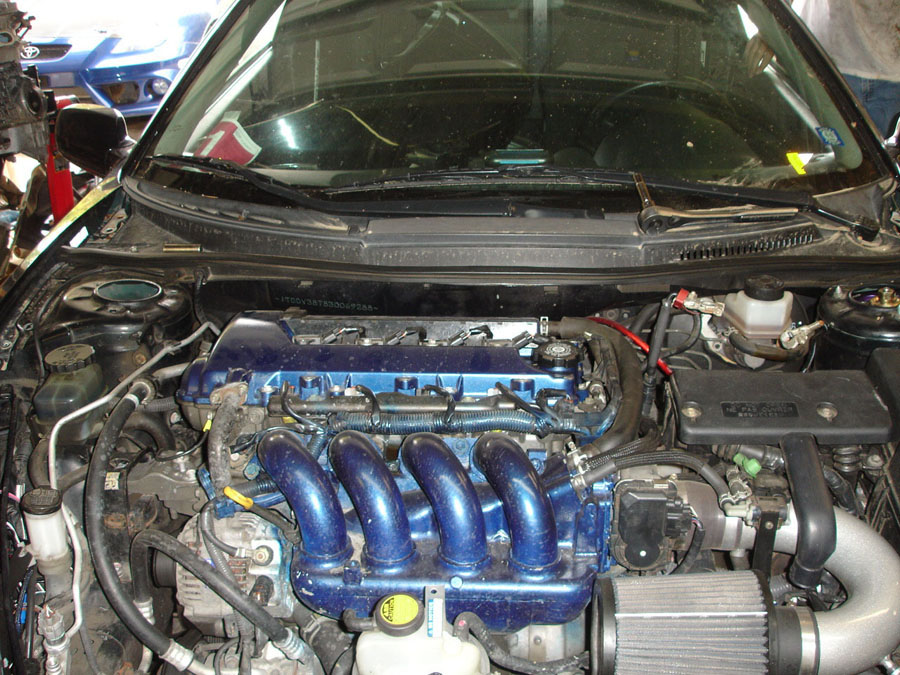
Ok let’s start with taking off the engine plastics and the hood. In this case we also have to remove the strut bar
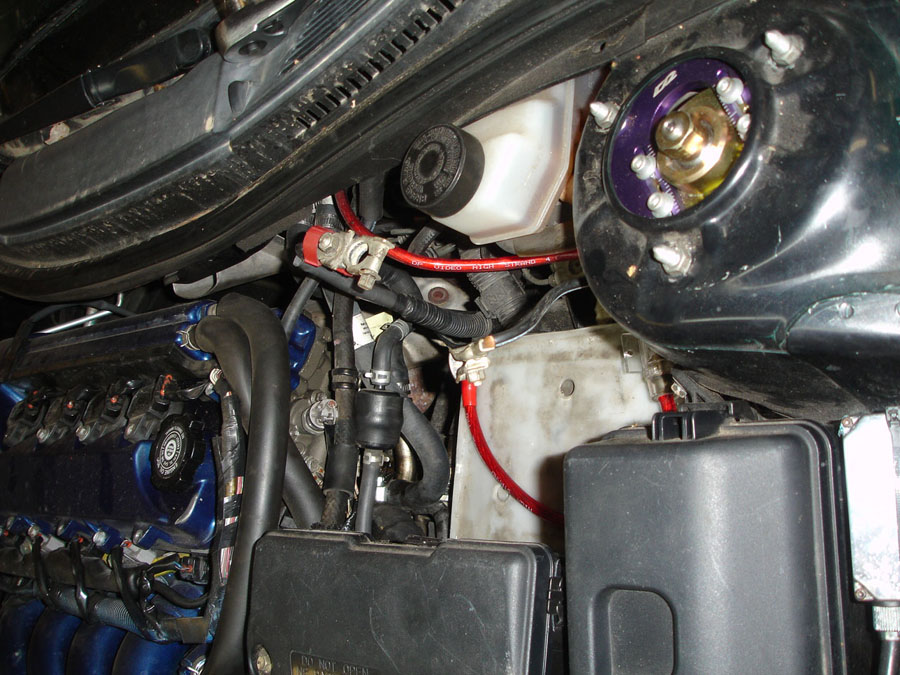
Remove the battery
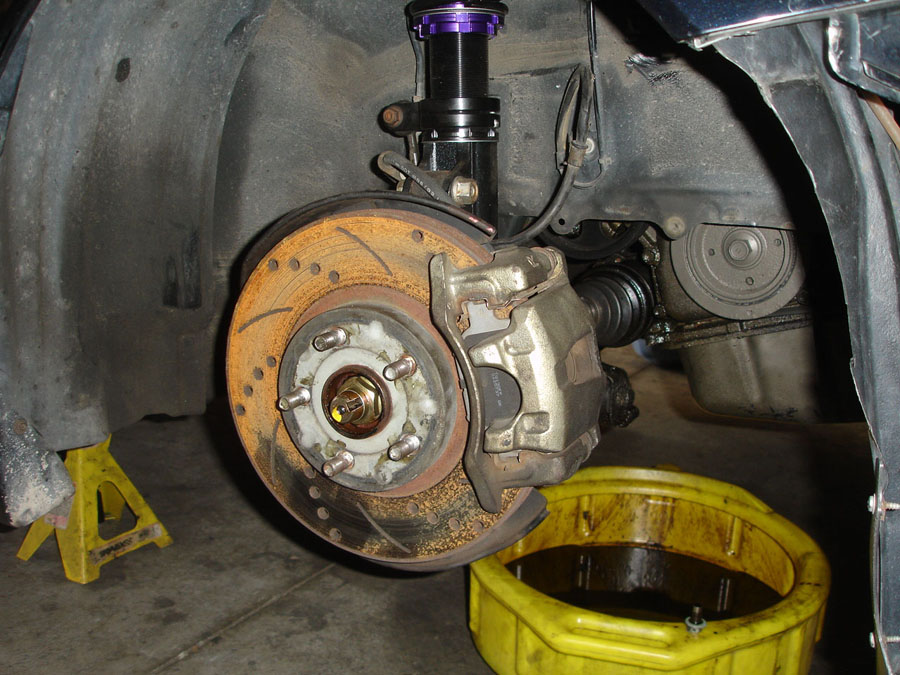
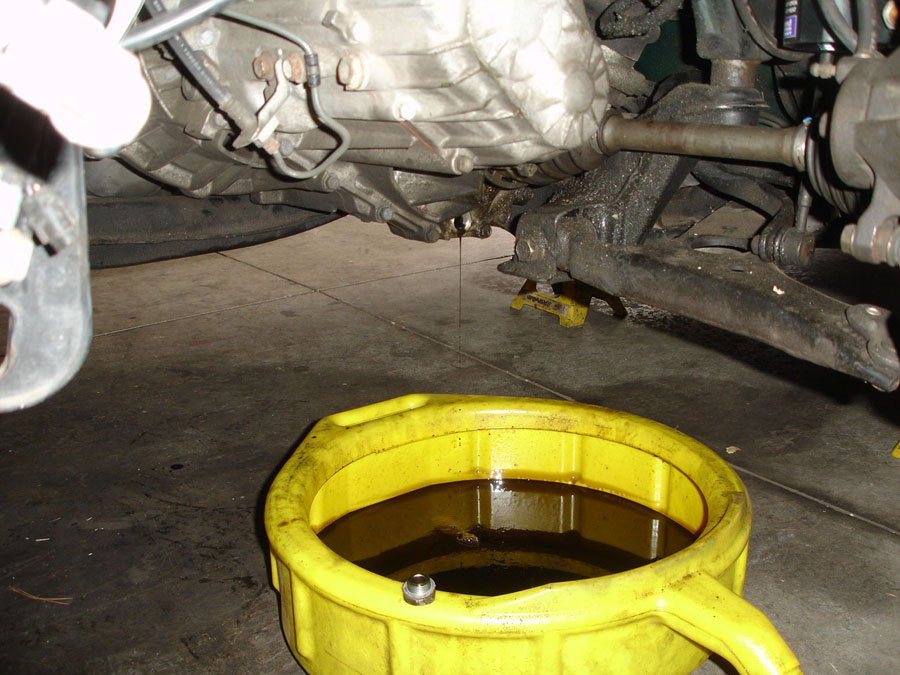
Take the wheels off and drain the engine and transmission oil
Next is take off the axle nut, this is an aftermarket nut, the OEM nut is a 30MM 12pt. make sure you take the detent out of the nut or you will tear up the threads.

Remove the (2) 19MM nuts holding the hub to the strut
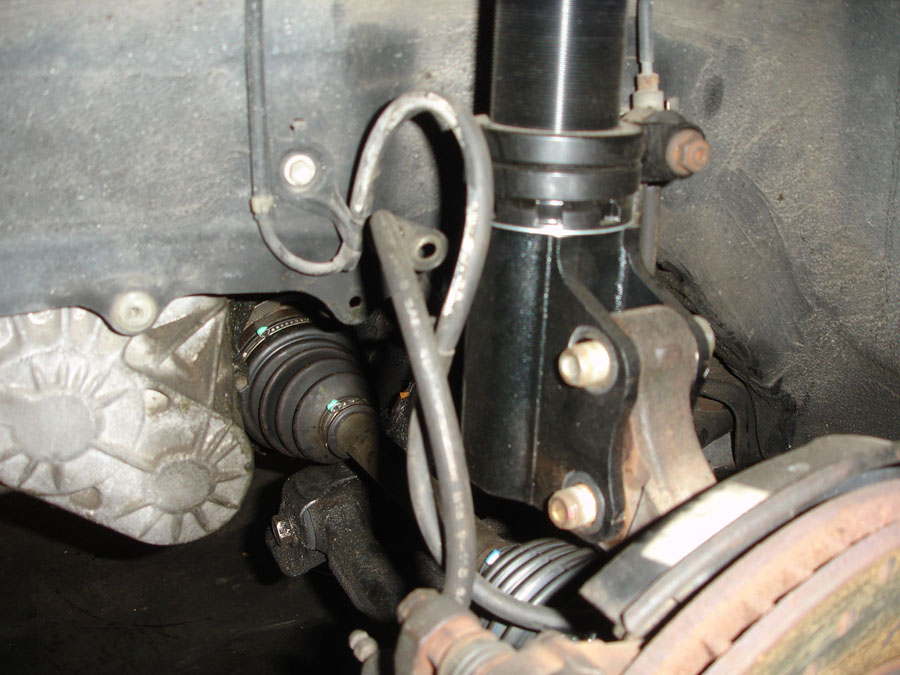
Remove the ABS sensor if you have one, it’s a 10MM bolt
Check the cable, notice this one has been rubbed against by something

Pull the axle out of the hub, if its stuck, whack the axle with a dead blow hammer, it will pop out. Hold the axle as straight as possible and pull it towards you in a back and forth action. It will pop out.
*note: this is for the GT-S axles, the GT axles do not have an internal snap ring holding the CV together and it will come apart. It will need to be tried out of the transmission
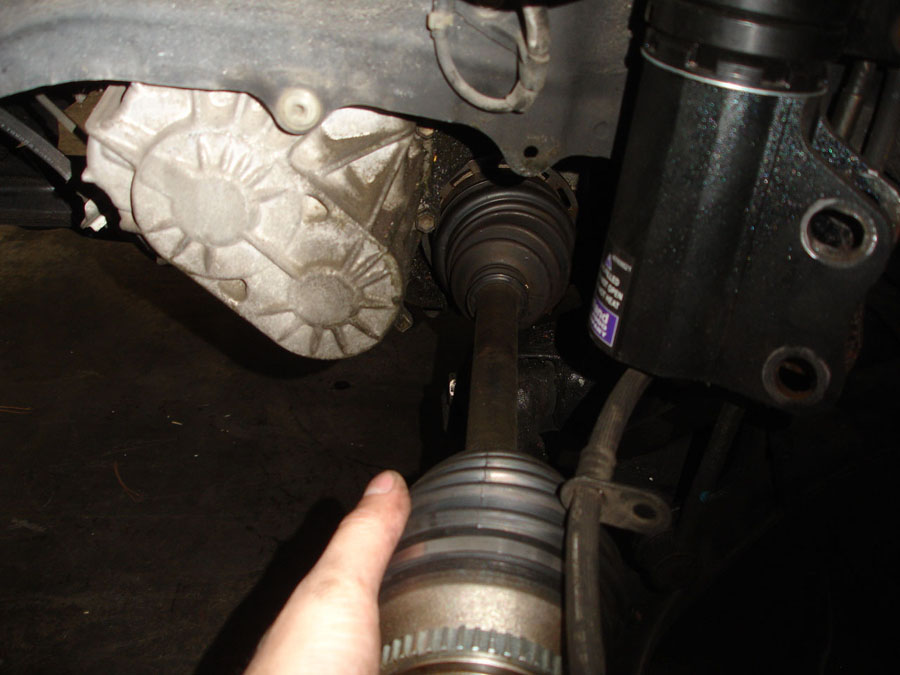
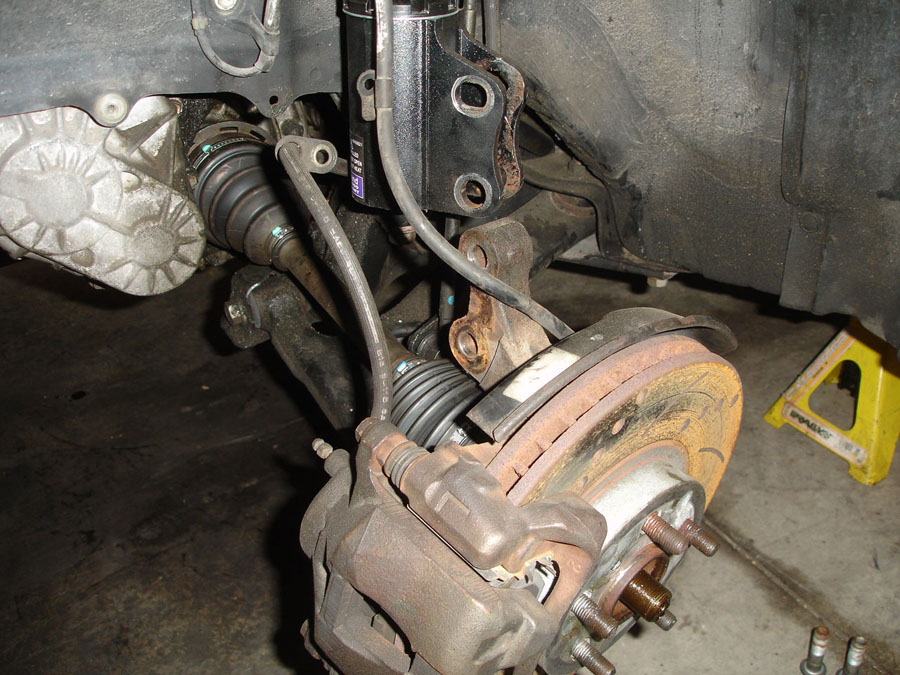
Repeat for the passenger side, when you get ready to pull the axle out, you need to get under the car and remove the (2) 14MM bolts holding the axle to the support bearing
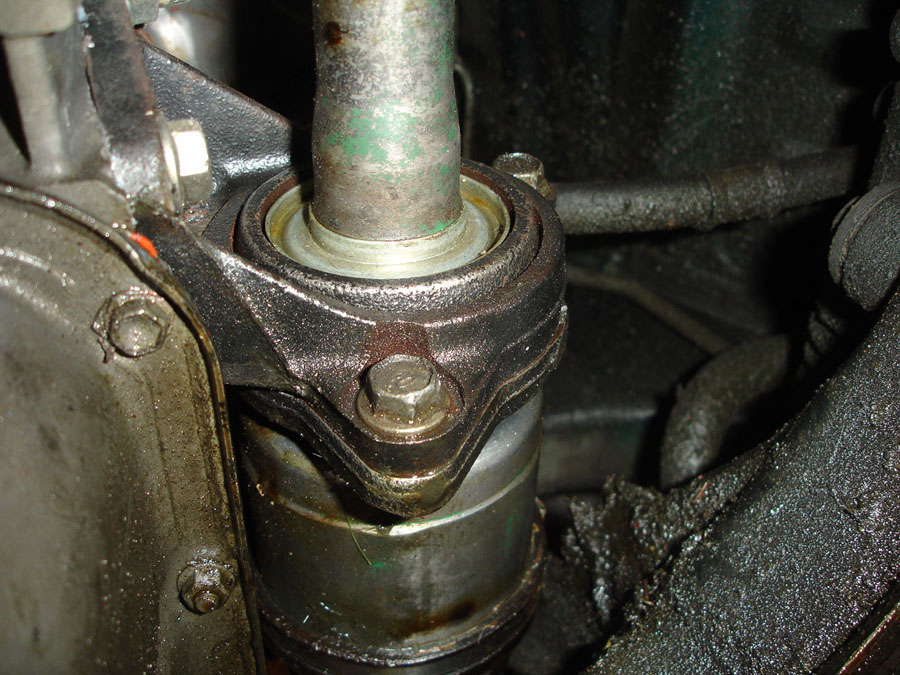
Pic of the passenger side axle removed
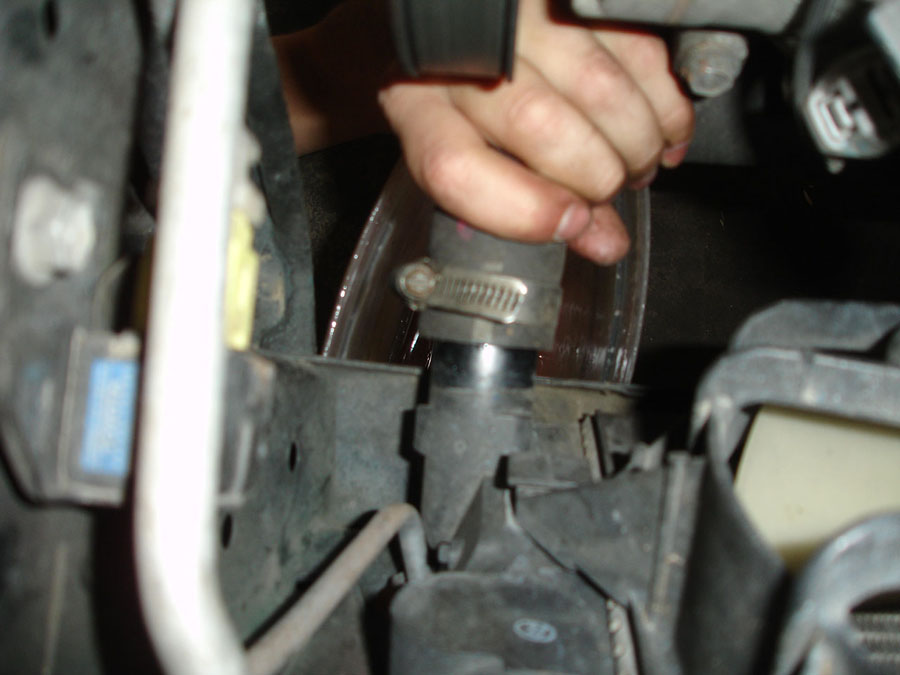
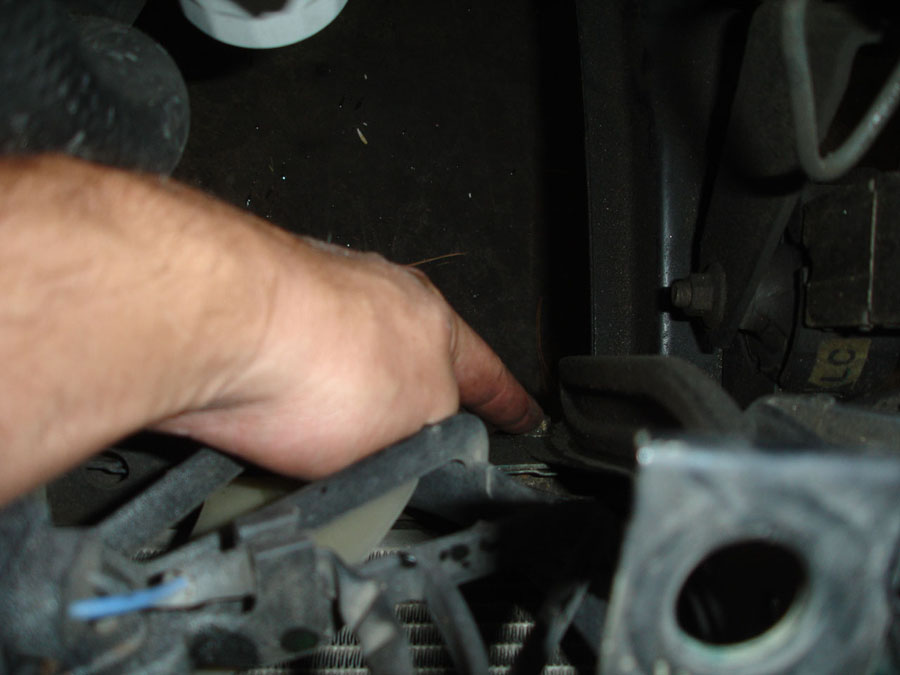
Next we will drain the coolant. Look down the passenger side of the radiator, you want to loosen this clamp and pull off the hose. Put a bucket underneath because coolant is going to come pouring out. This is a worm clamp, not the factory clamp
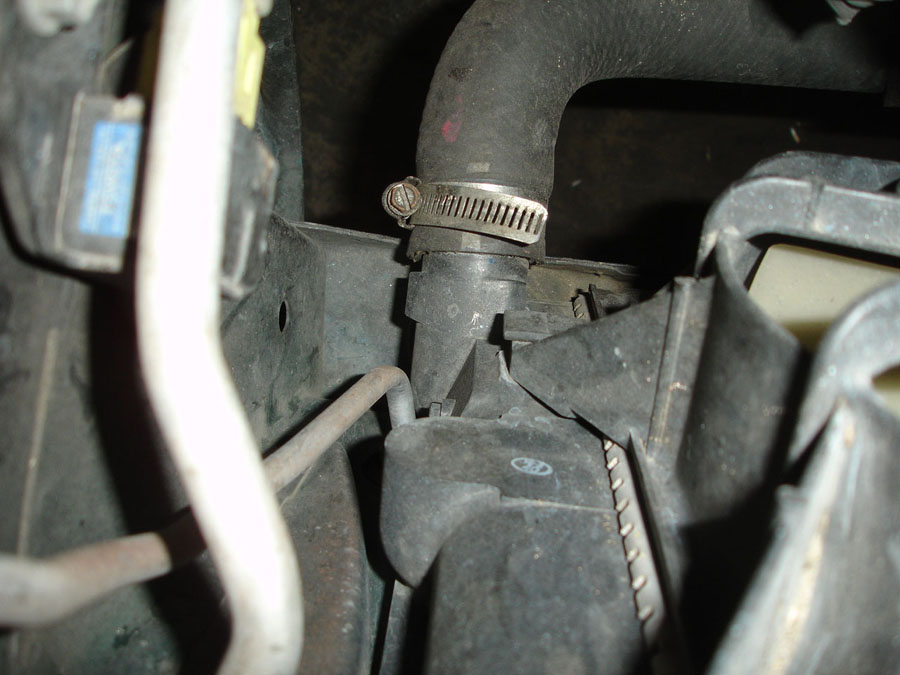
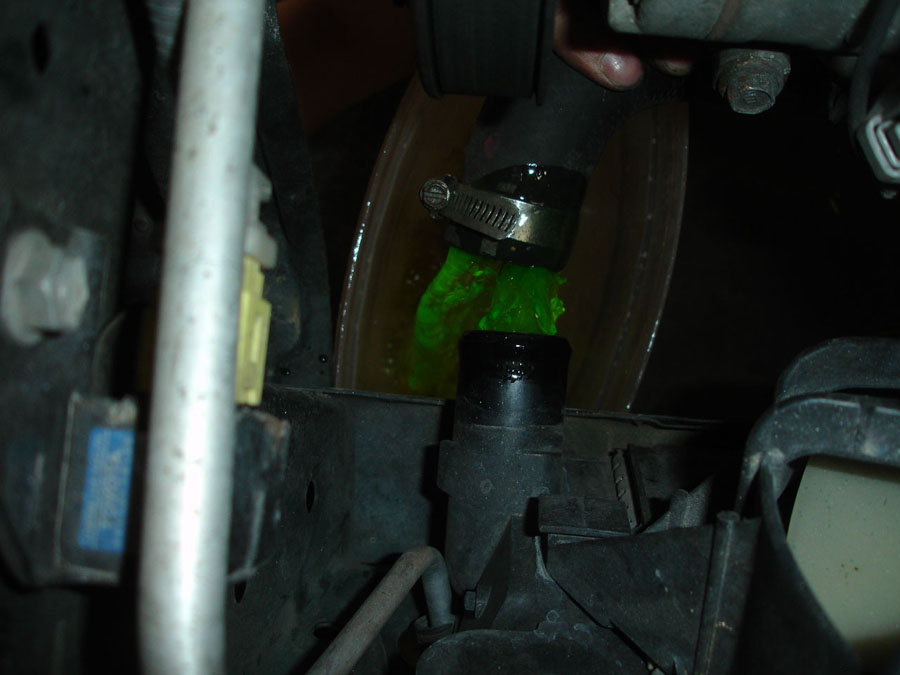
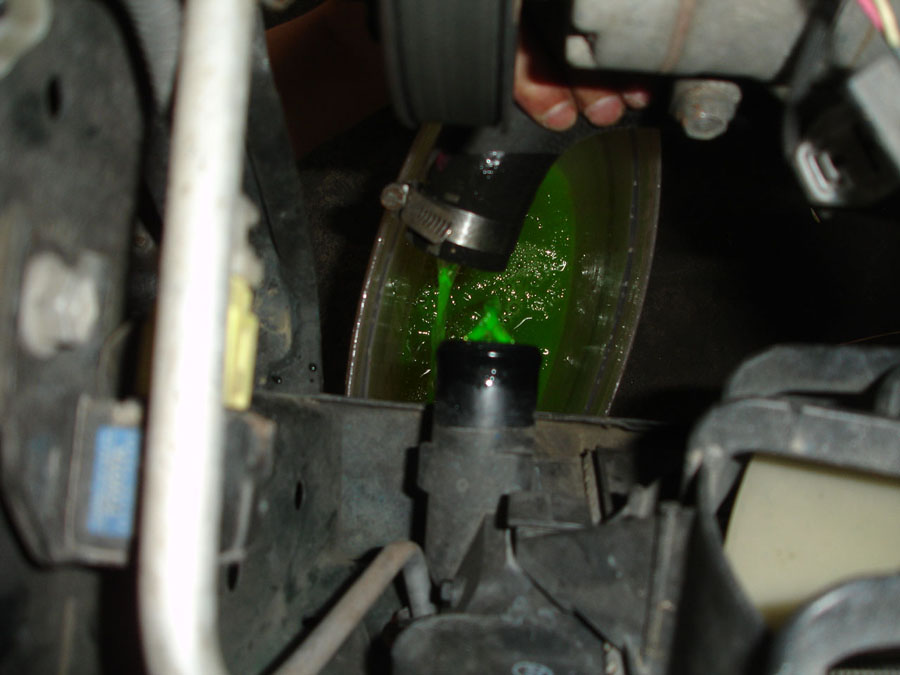
Notice the green coolant…VERY BAD! Toyota Red coolant should only be used!
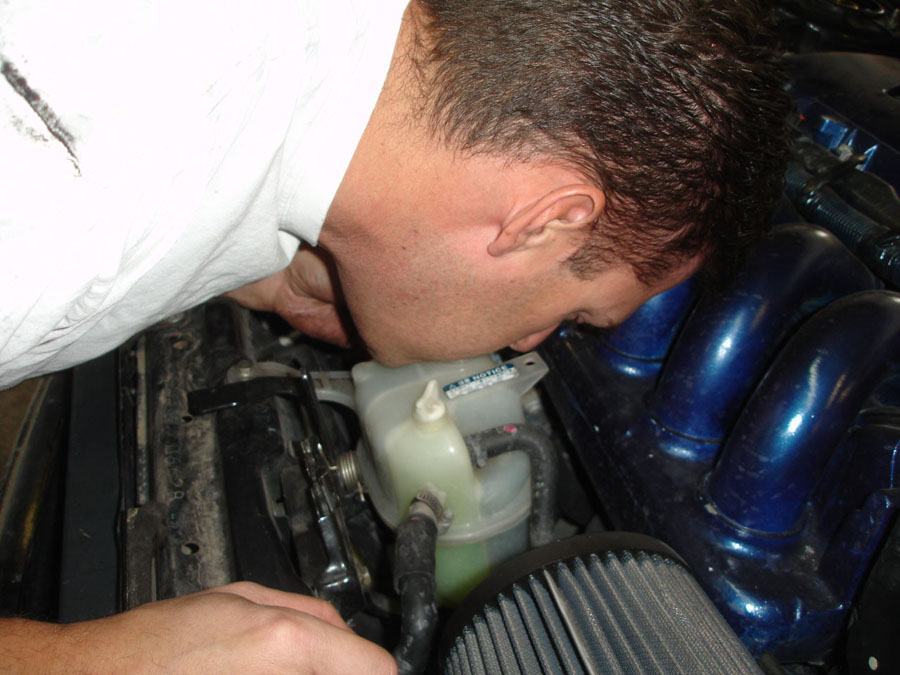
I do not recommend this procedure for amateurs, but essentially I give the cooling system a “blowjob” blowing into the reservoir helps push out the coolant hopefully into your bucket, not all over the floor.
Next we remove the serpentine belt. This is the nut shaped part that you want to put leverage on.
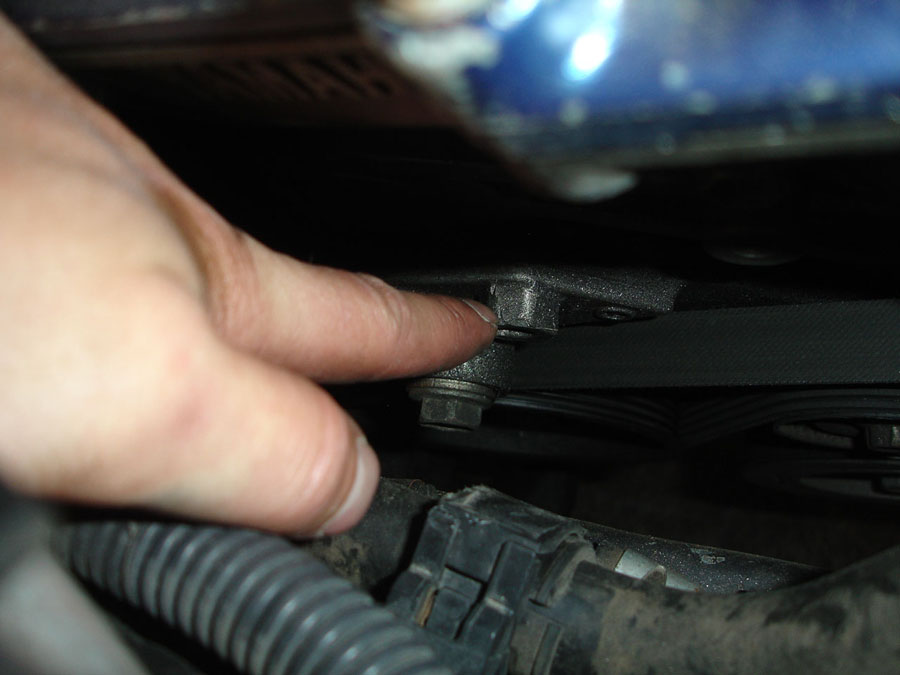
This is the wrench on the belt tensioner
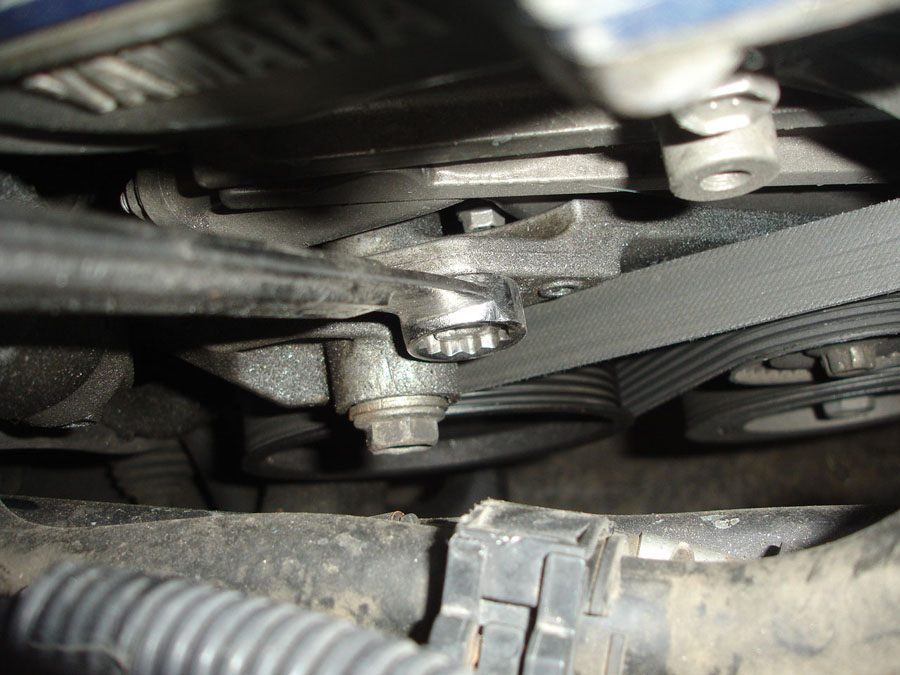
Doubling up on wrenches allows for more torque
Unfortunately this belt tensioner has been totally stripped so I had to cut the belt off, It was due for a changing anyway
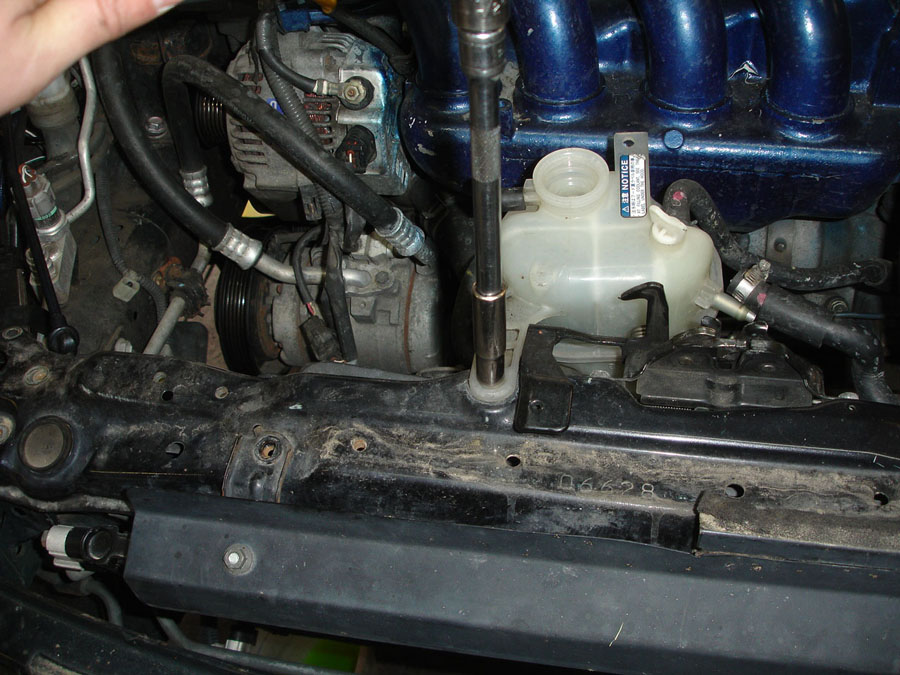
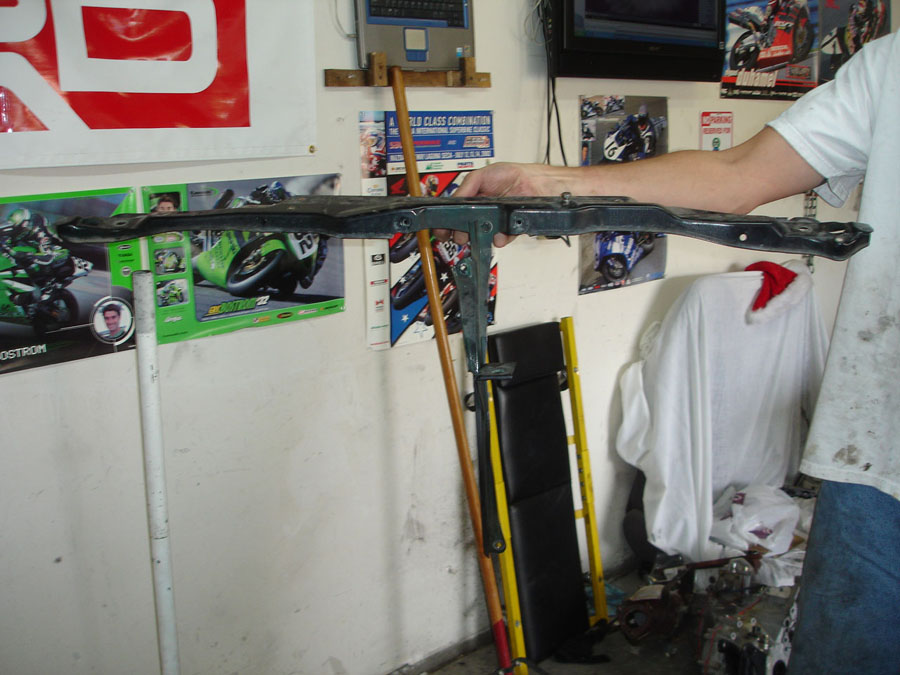
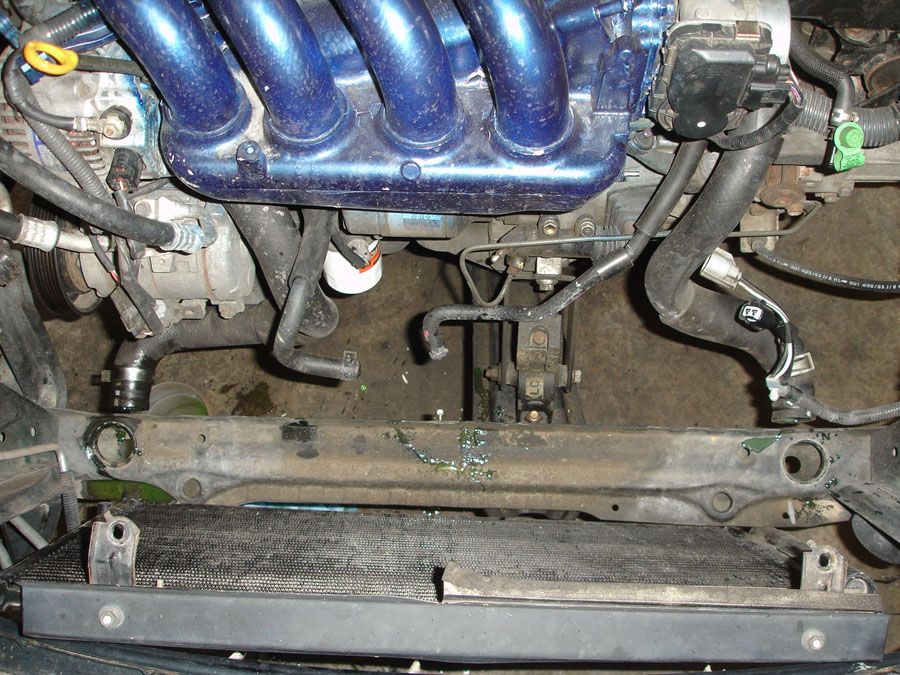
With the coolant hopefully drained, we can remove the radiator. Start by removing the radiator support beam.


Remove the coolant reservoir.
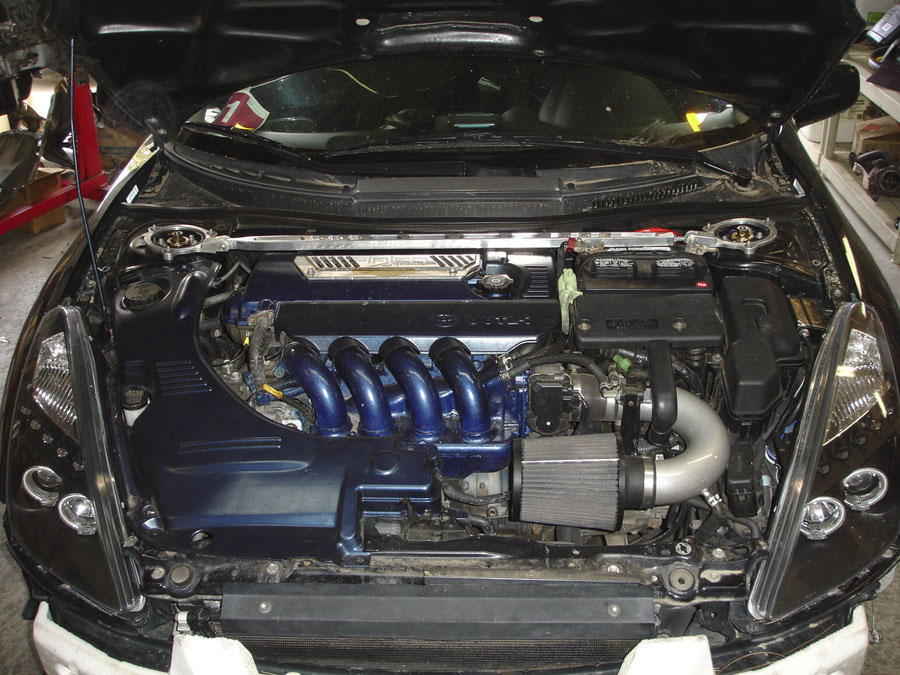
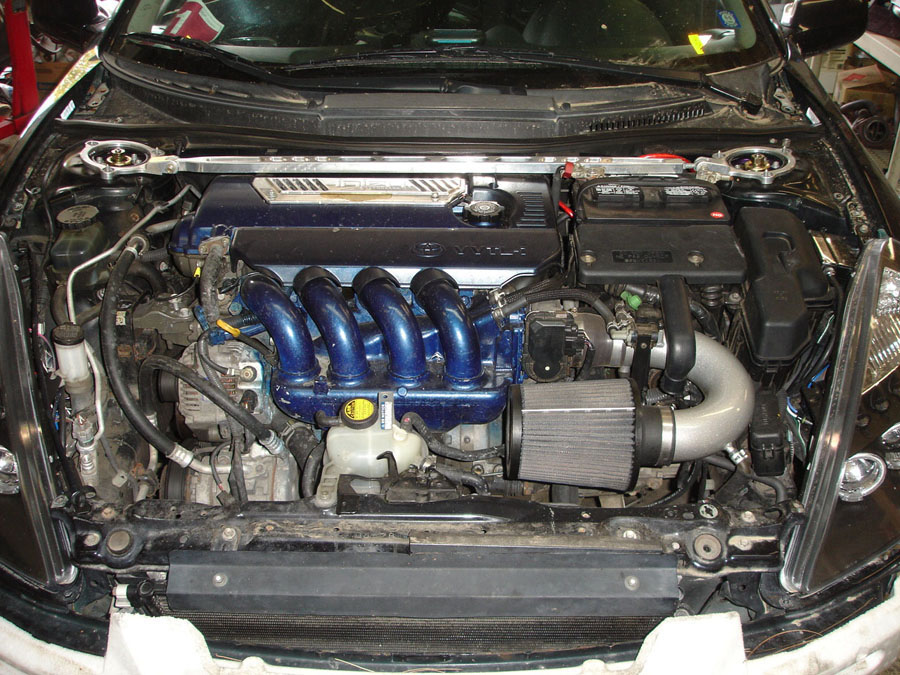
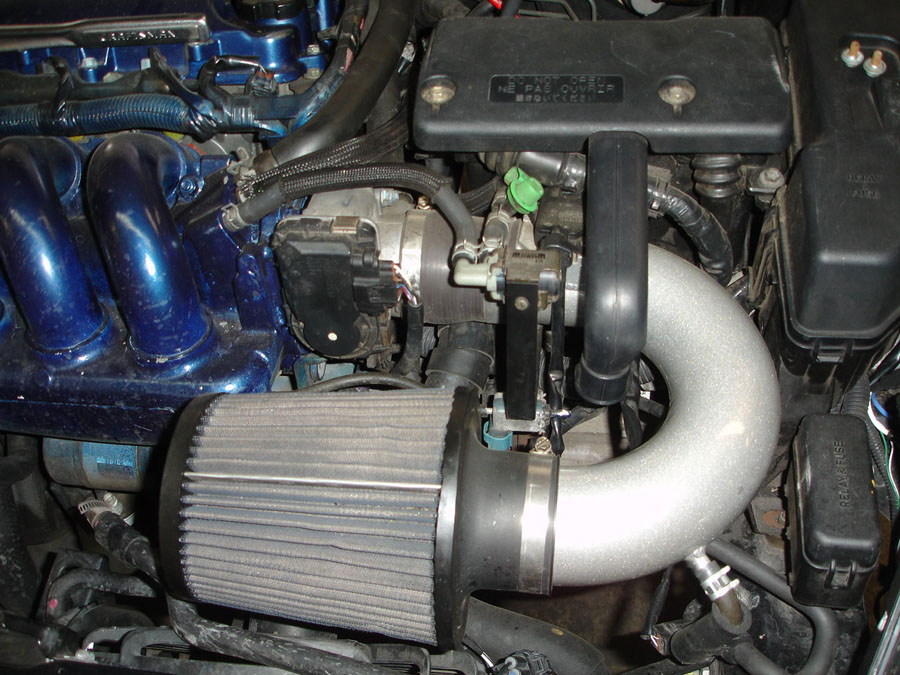
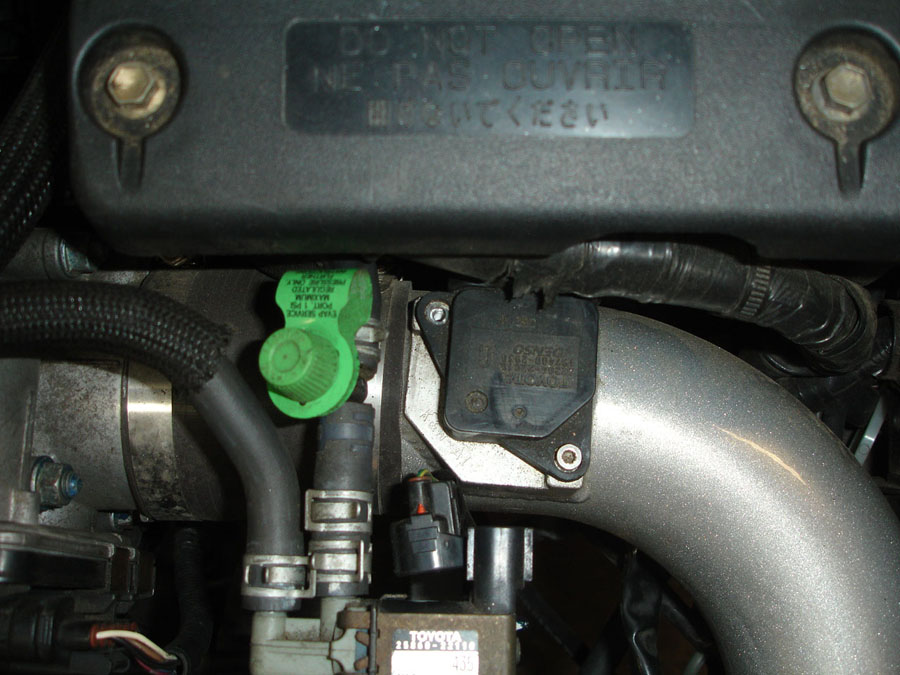
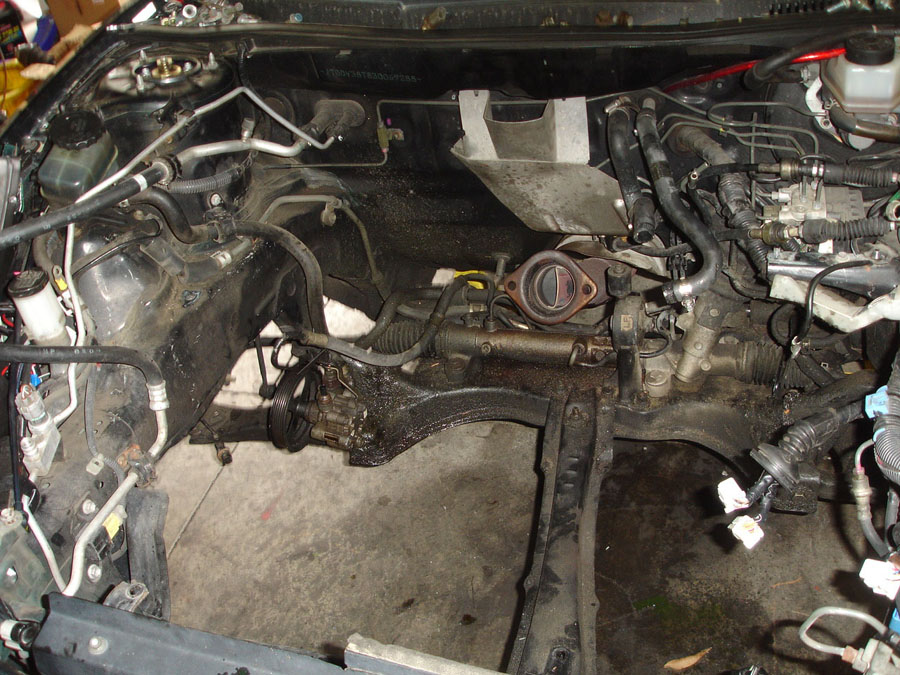
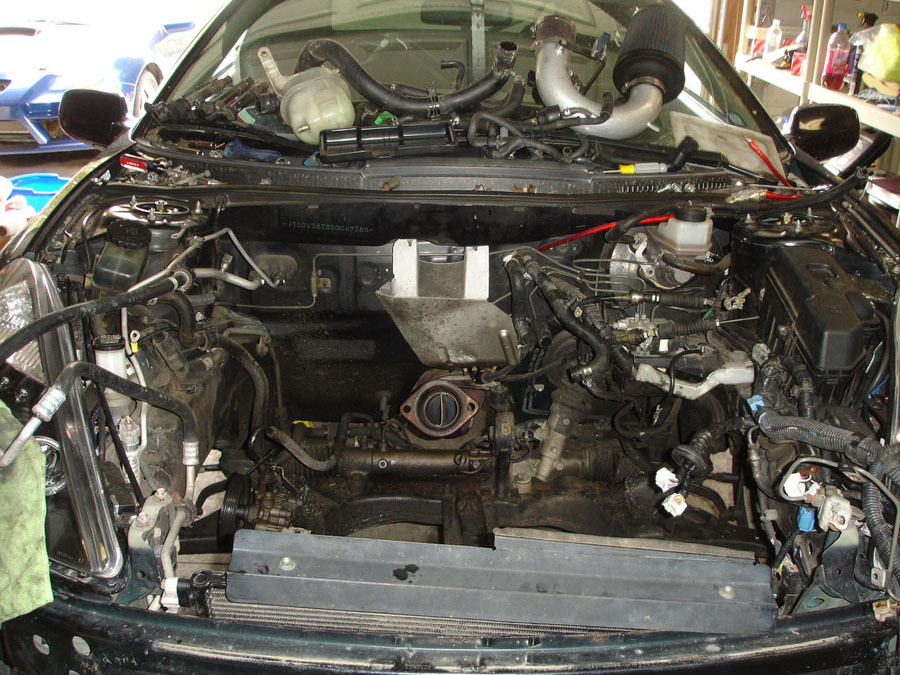
Remove the intake, here a short ram is installed. Unplug any VSVs and the MAF sensor, loosen the clamp around the throttle body, and remove the hoses to the VSV and intake manifold.
Remove the hood latch, its held on by (3) 10MM bolts
The last bolt is way down low, it’s a 10MM bolt
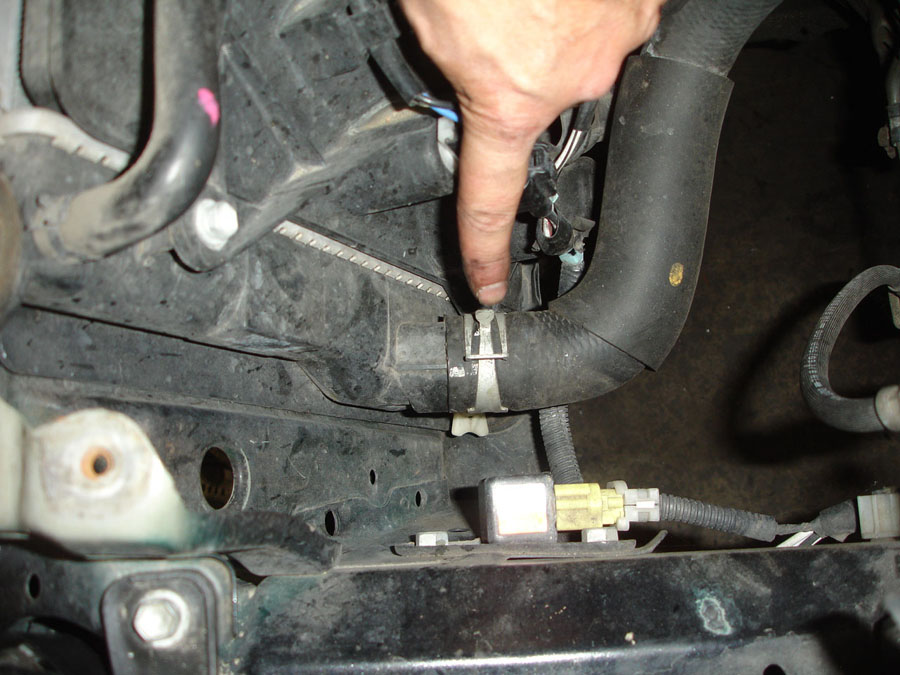
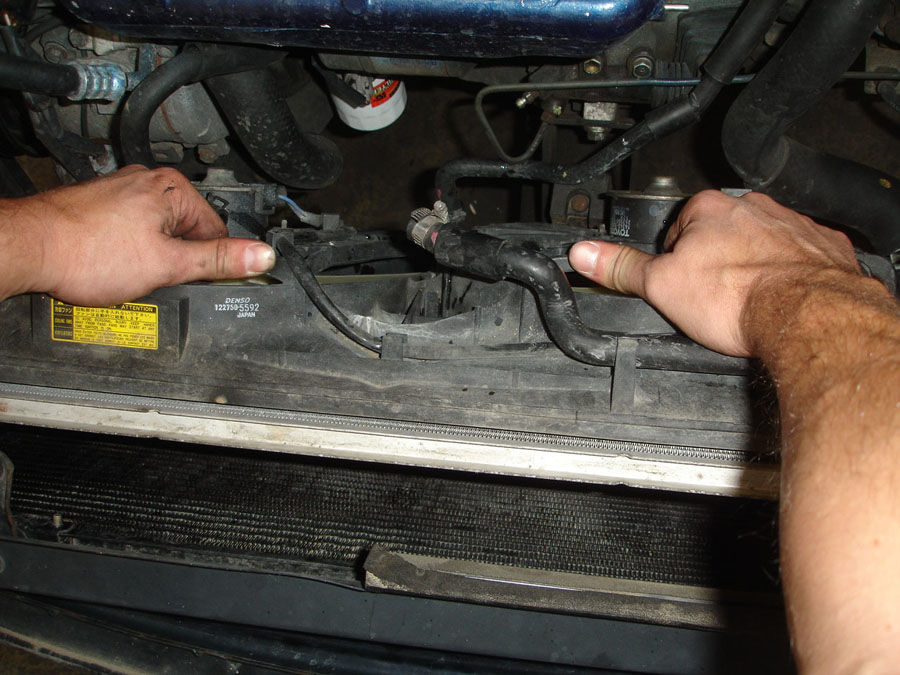
Remove the drivers side radiator hose, here you can see what the OEM clamps look like
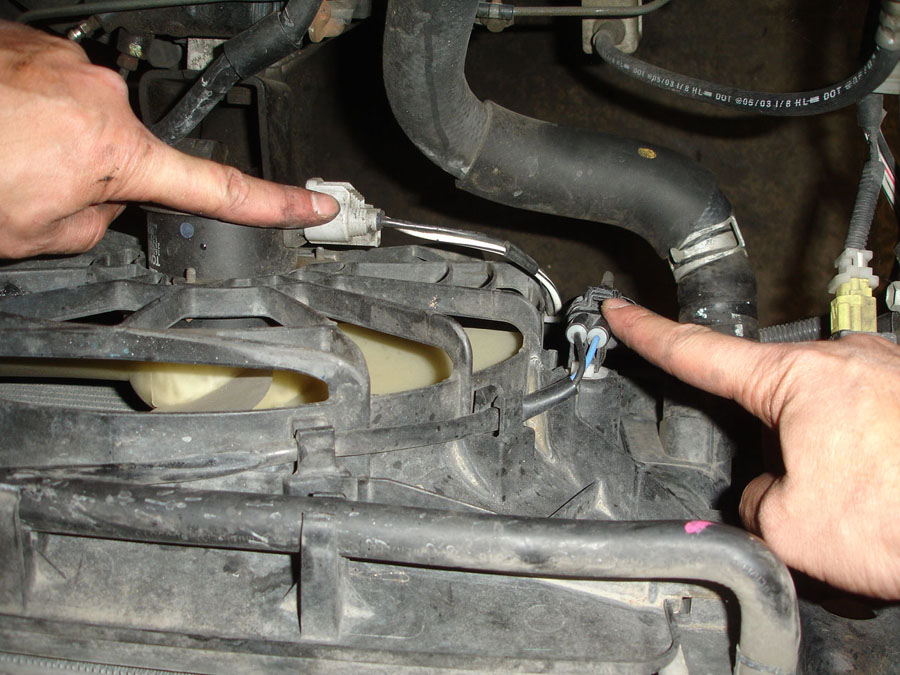
Unplug the (2) radiator fan plugs
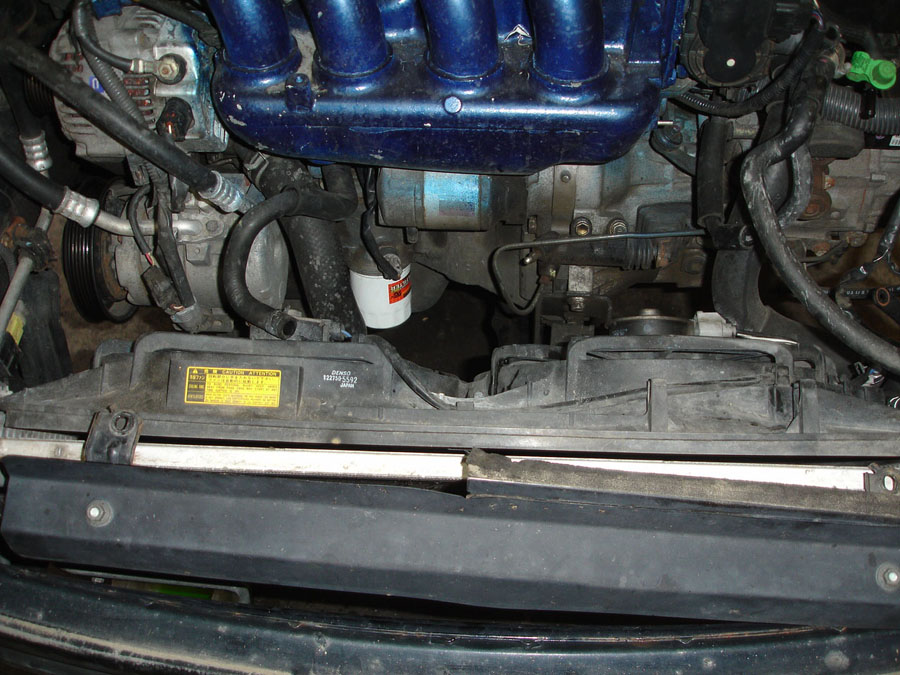
Carefully pull radiator out of the engine bay
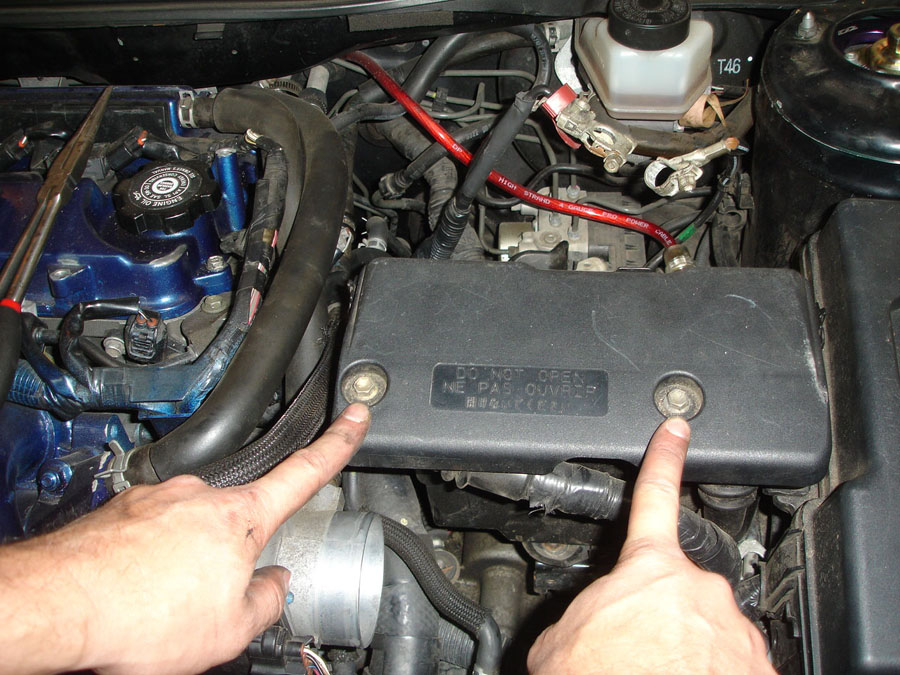
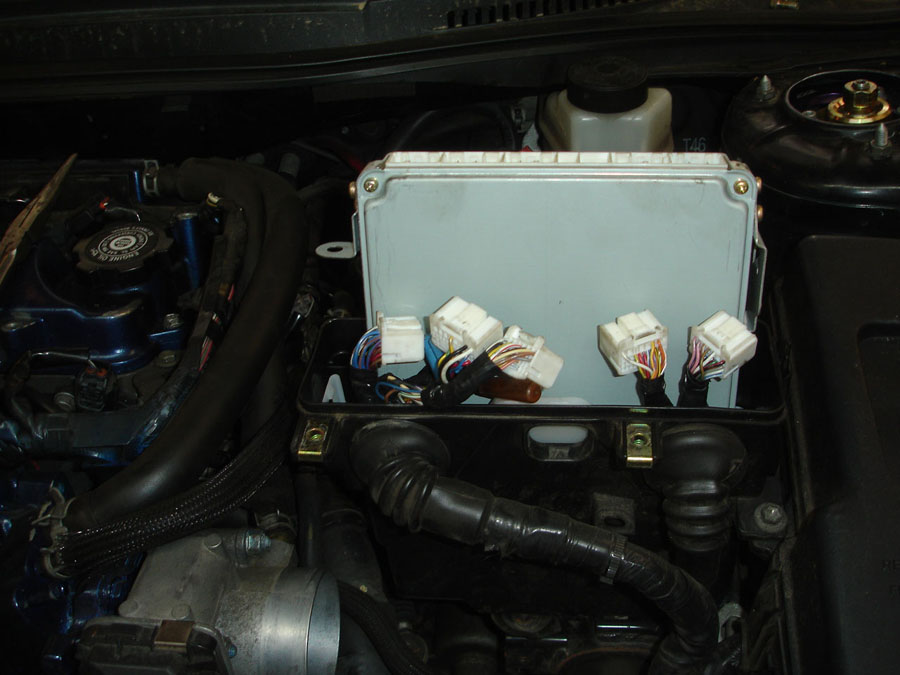
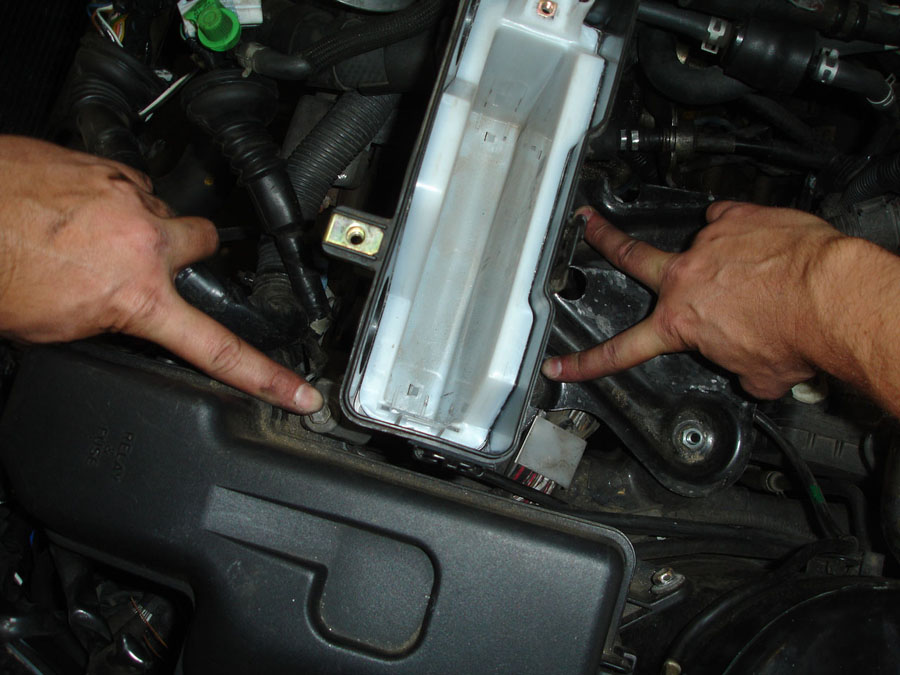
Next we will remove the ECU and the ECU box. Remove the (2) 10MM bolts on the cover.
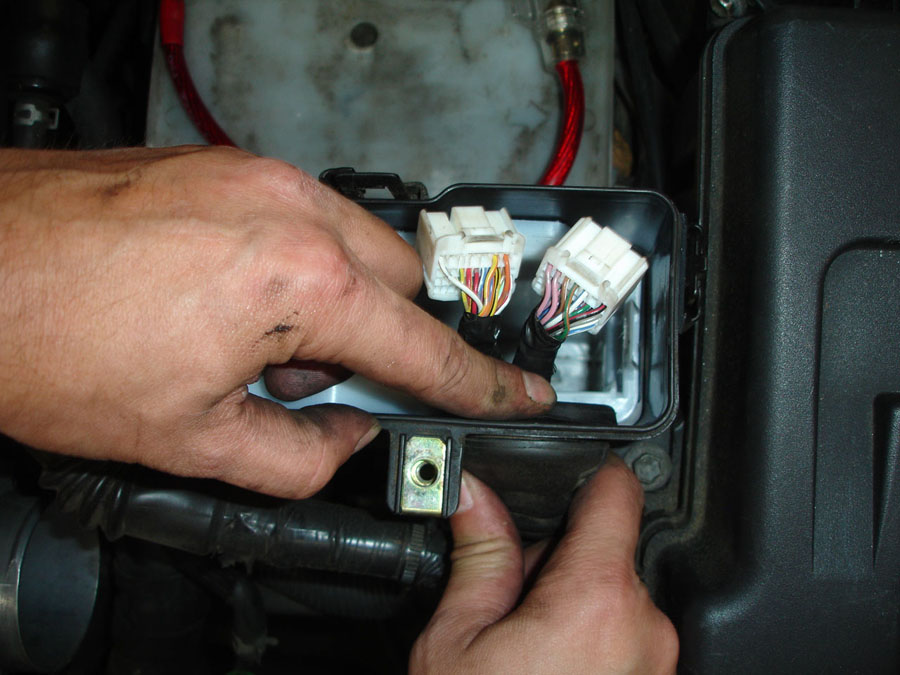
Unplug the ECU connections and carefully lift out the ECU. The blue plug has a single 10MM bolt holding the ECU in, you have to remove that and pup the tab on the right side.
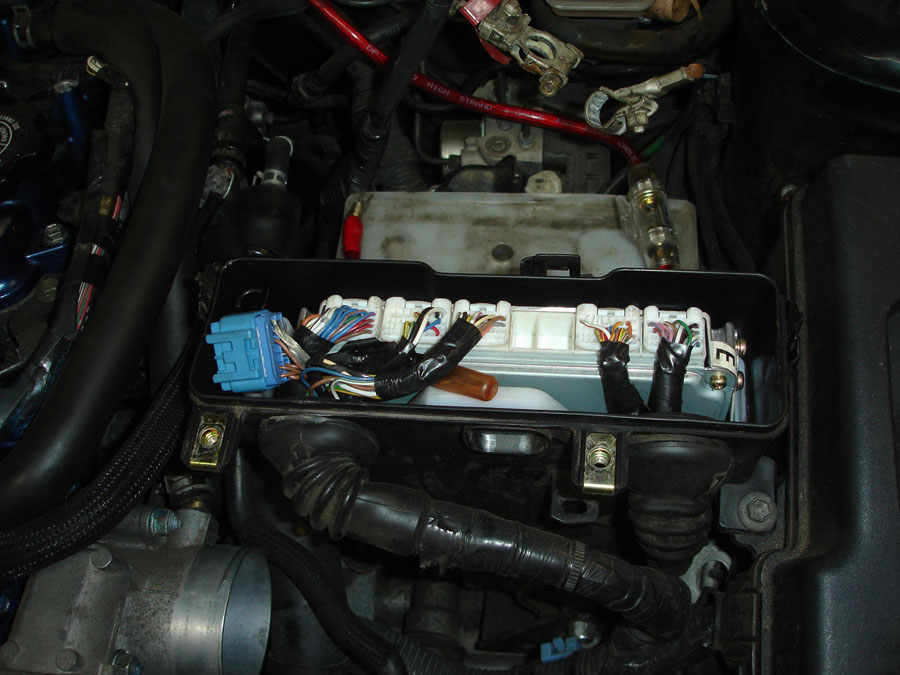
Push down on the rubber grommet and pull the ECU wires out of the box.
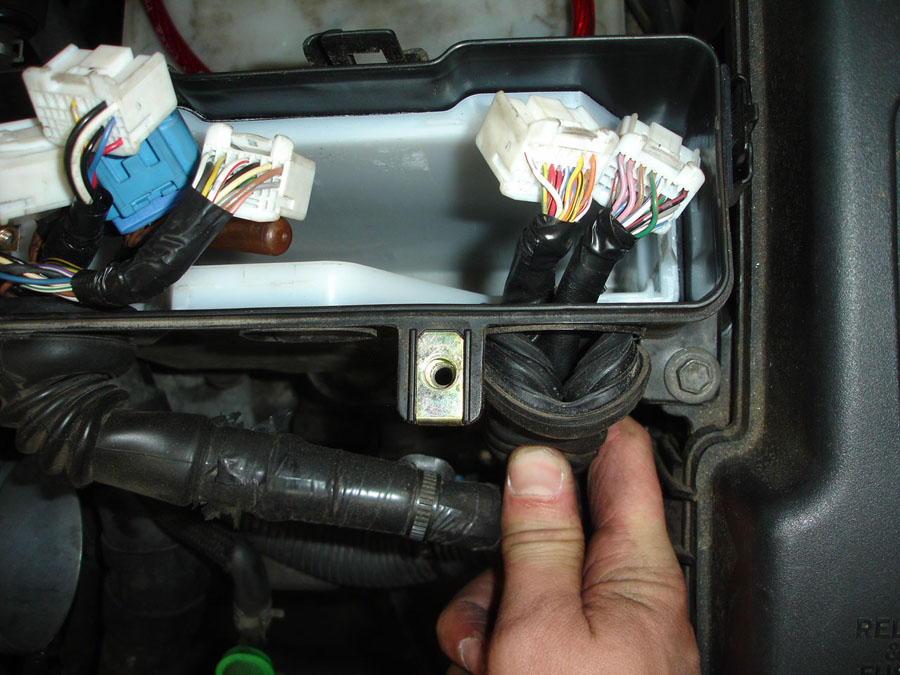
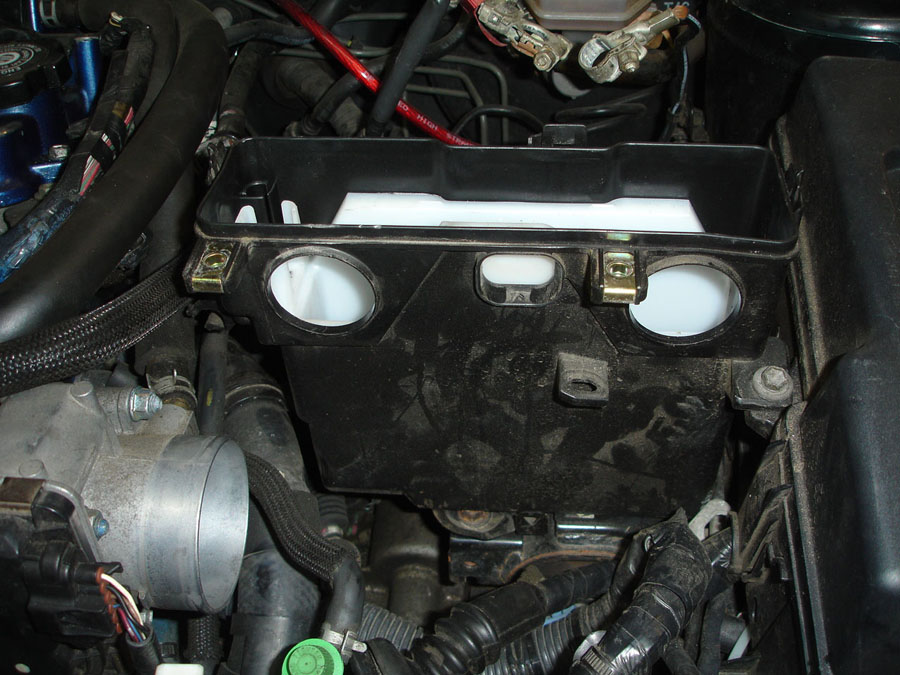
Remove the (3) 10MM bolts holding the box in place
Remove the battery tray, there are (2) 12MM nuts and (1) 12MM bolt holding it down.

Remove the EVAP line if you haven’t already done so.
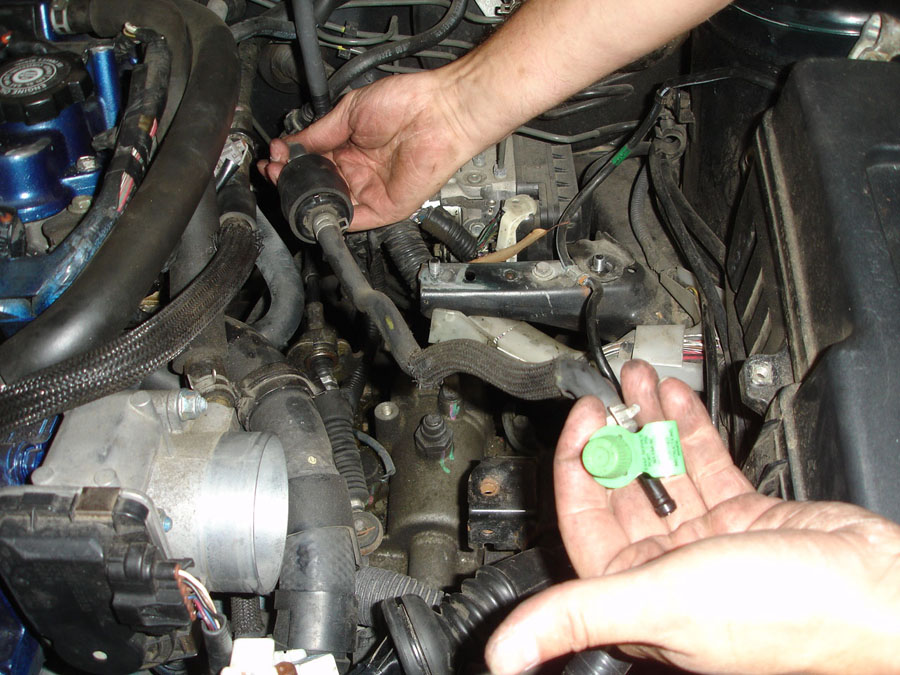
Remove the breather line on the throttle body and unplug the DBW control.
*Note: this is on an 03+ GT-S, earlier models do not have DBW and will not have the electrical plug and the breather line will be on top of the throttle body
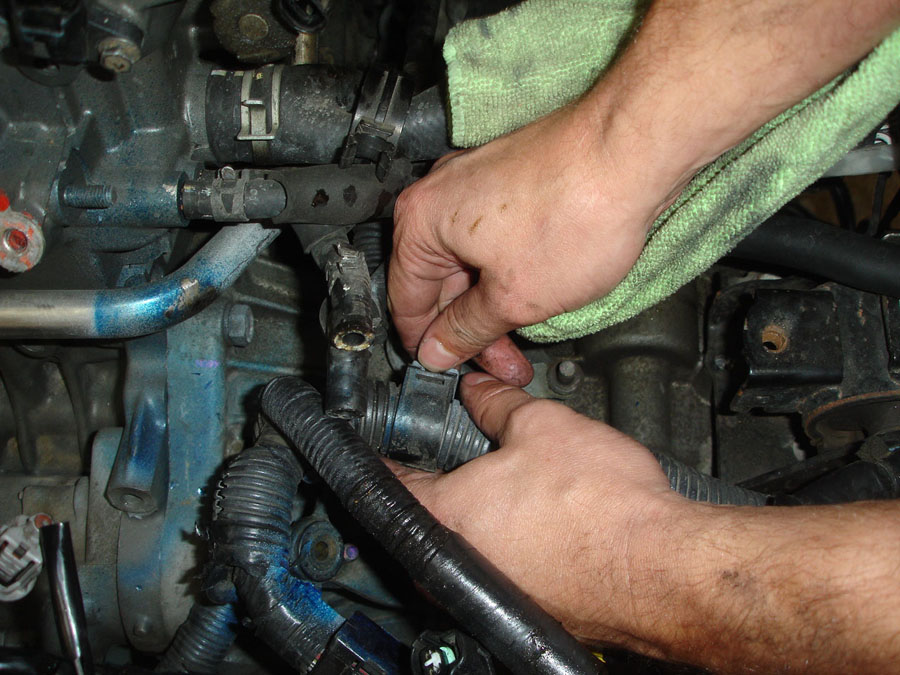
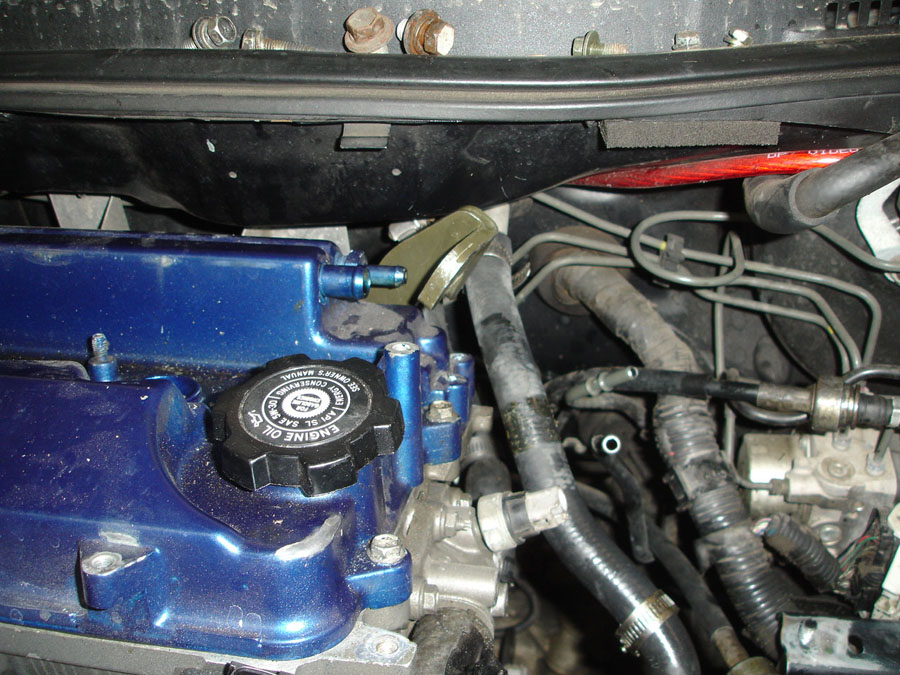
Remove the remaining breather lines from the intake manifold and valve cover.
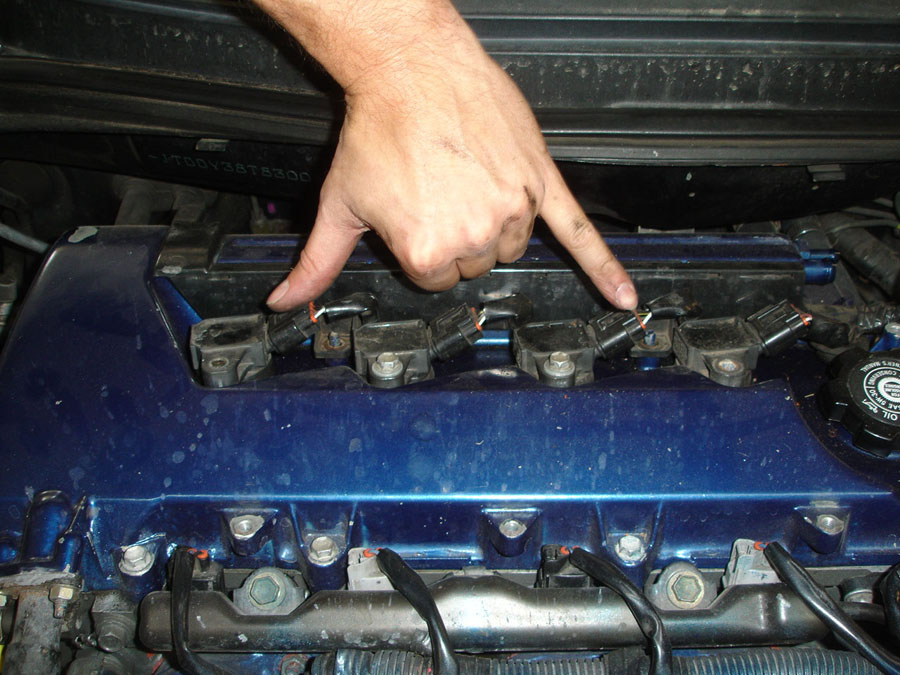
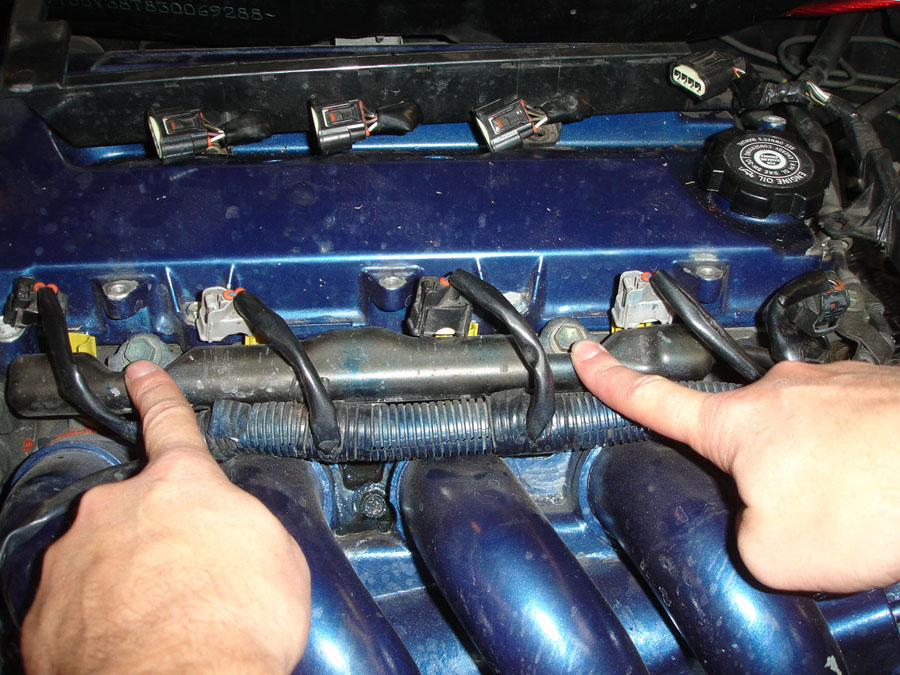
Remove the (4) coils, they are secured by 10MM bolts.

Unplug the injectors, there are (4) of them.

Unplug the VVT OCV
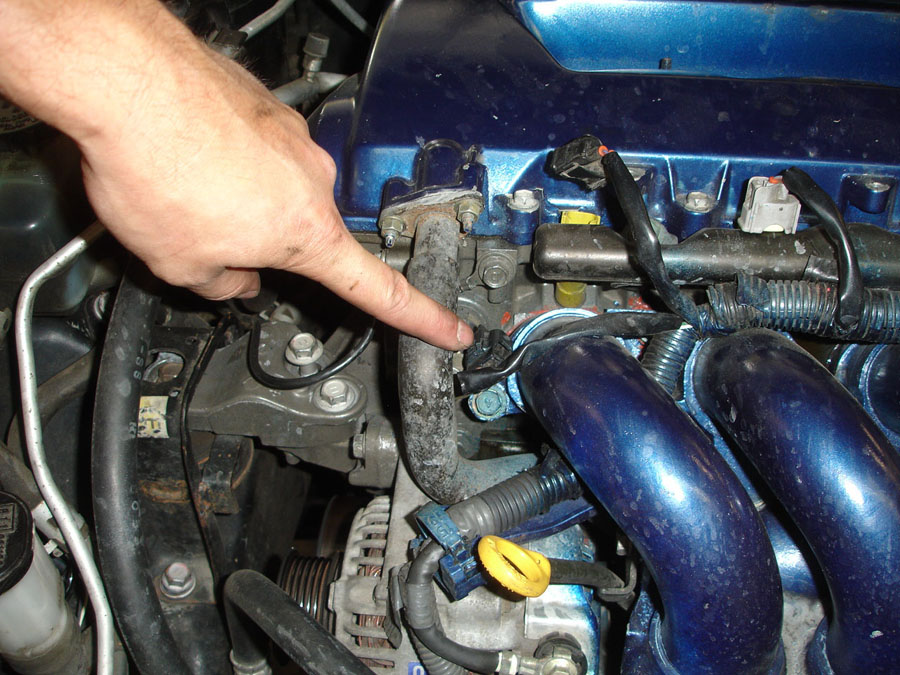
Unplug the CAM position sensor
Unplug the Lift OCV and oil pressure sensor. Unbolt the ECU grounds that are bolted the Lift actuator
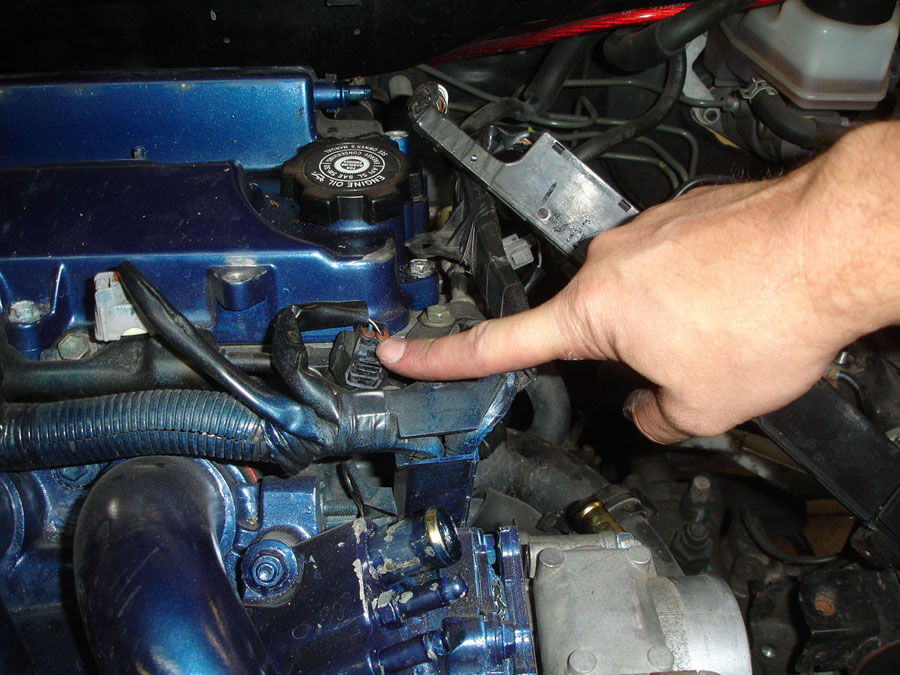
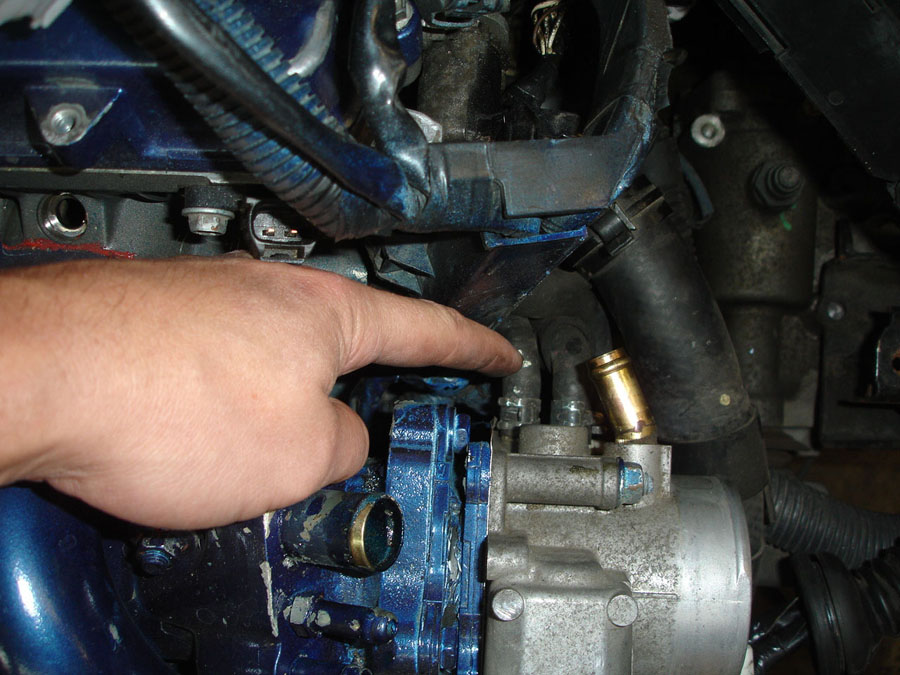
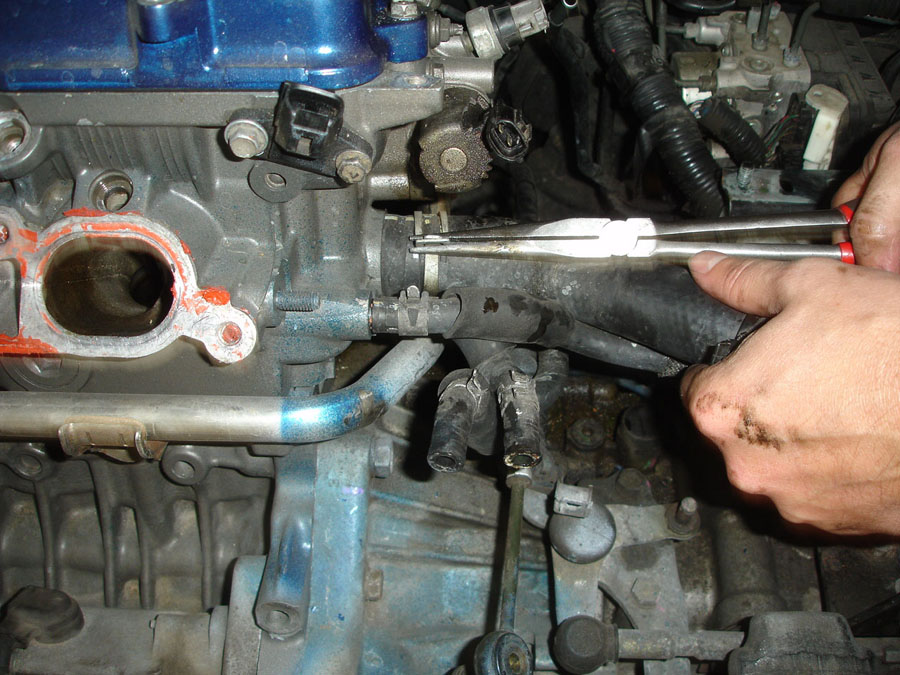
Unplug the water temp sensor
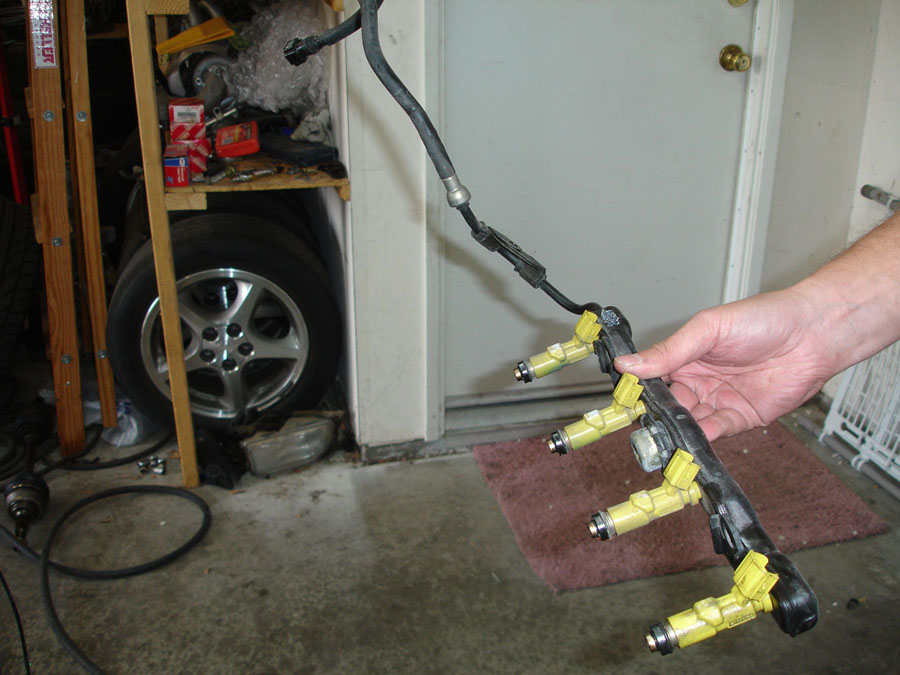
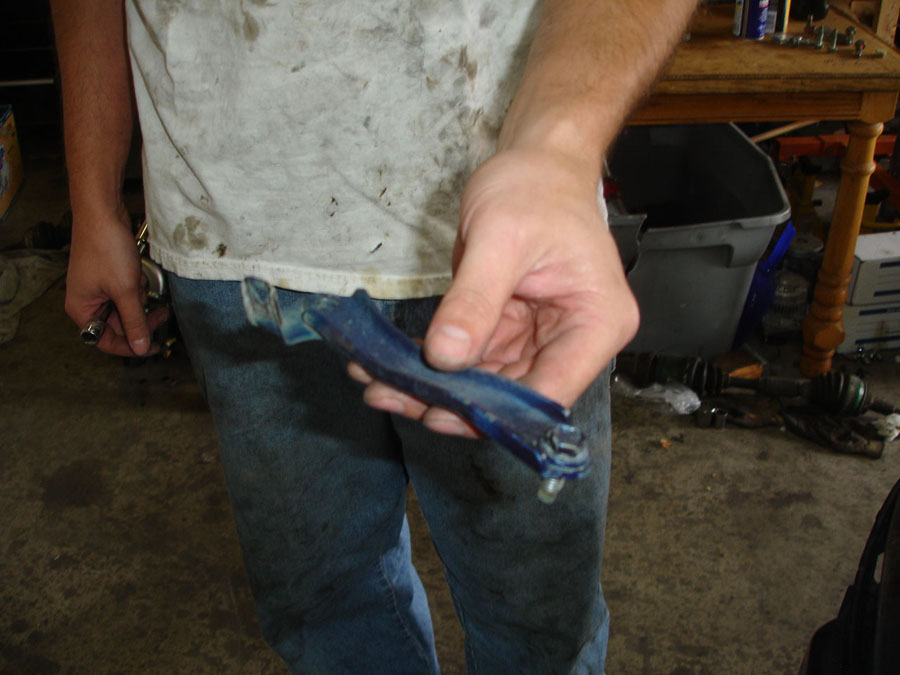
Remove the fuel rail, its secured by (2) 12MM bolts and a 10MM bolt on the head.
Unplug the fuel rail feed line, you have to pinch this connector and pull it off the hard line that runs back to the tank.
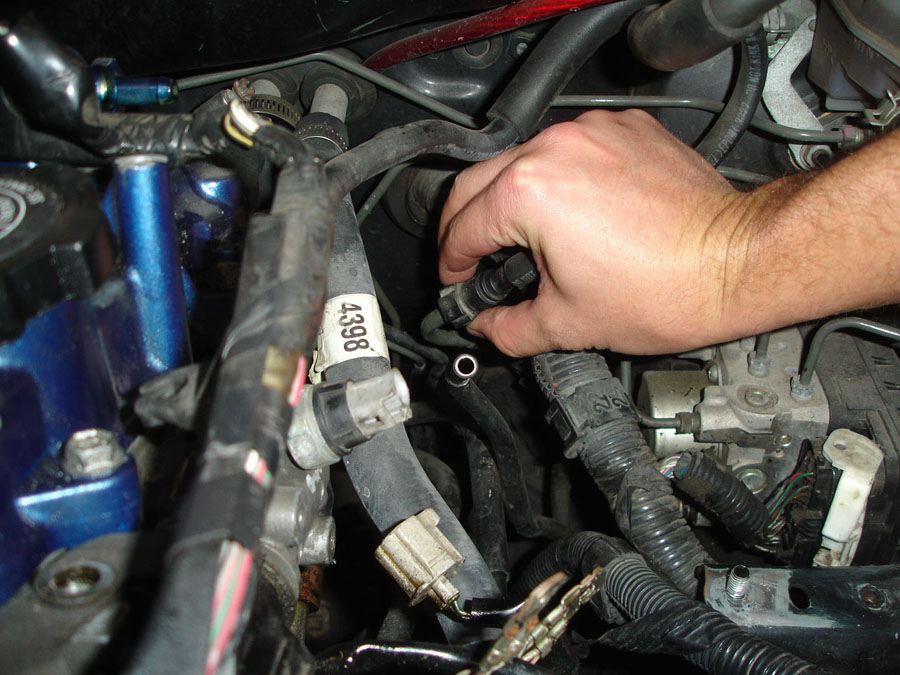
Off comes the rail

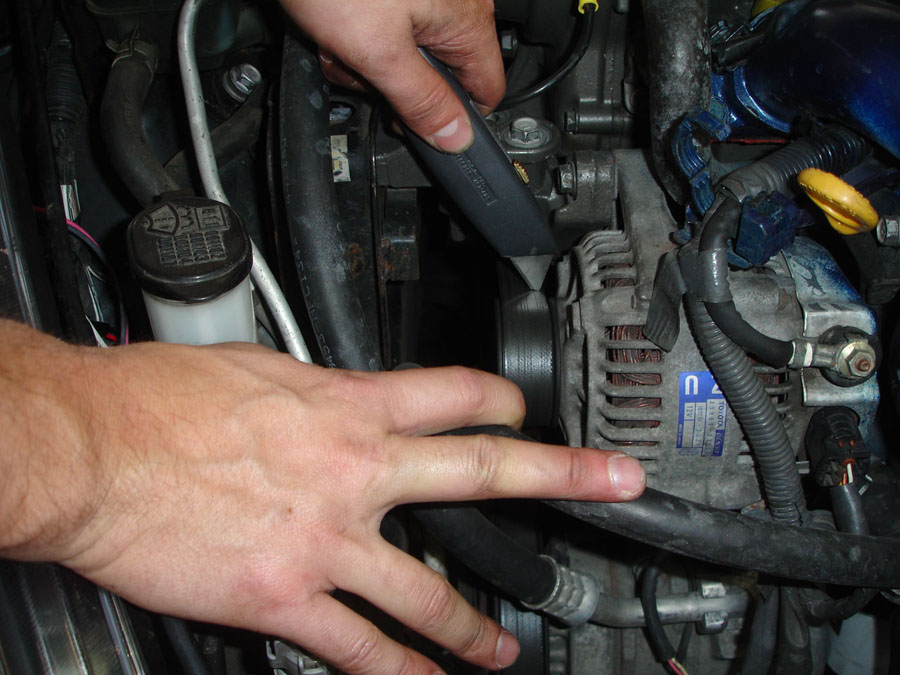
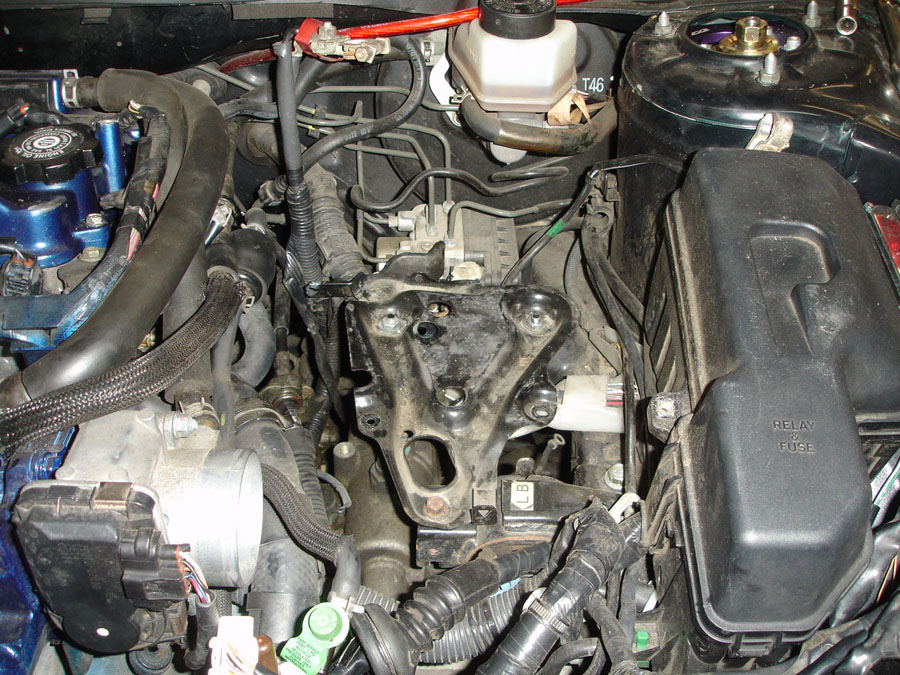
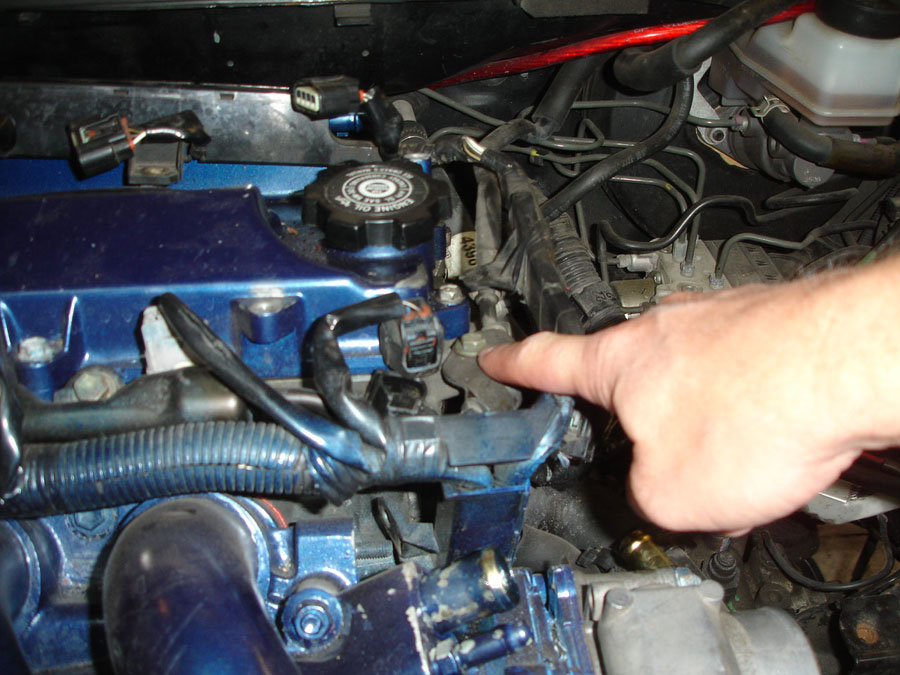
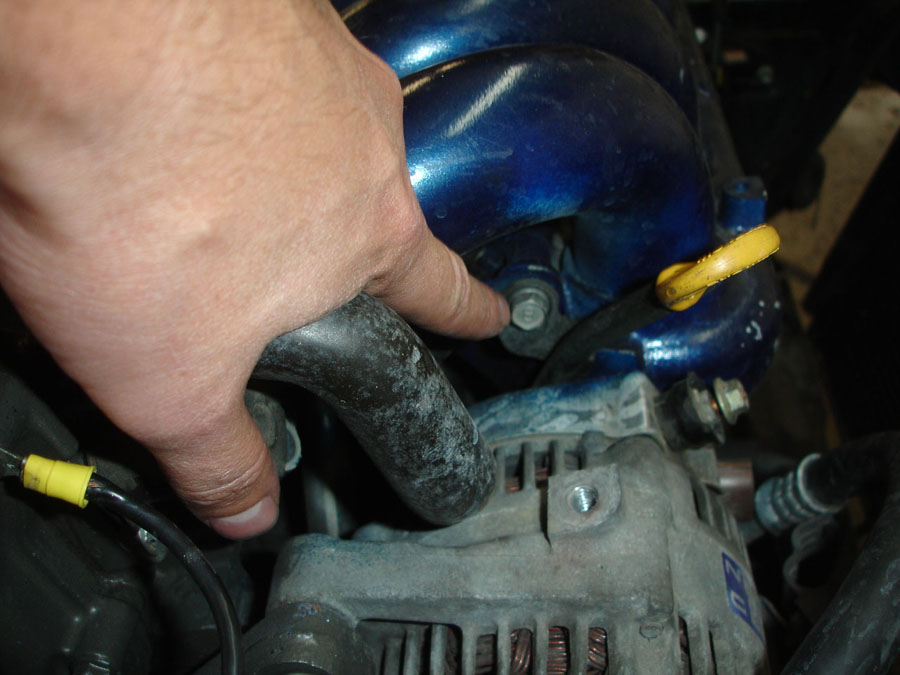
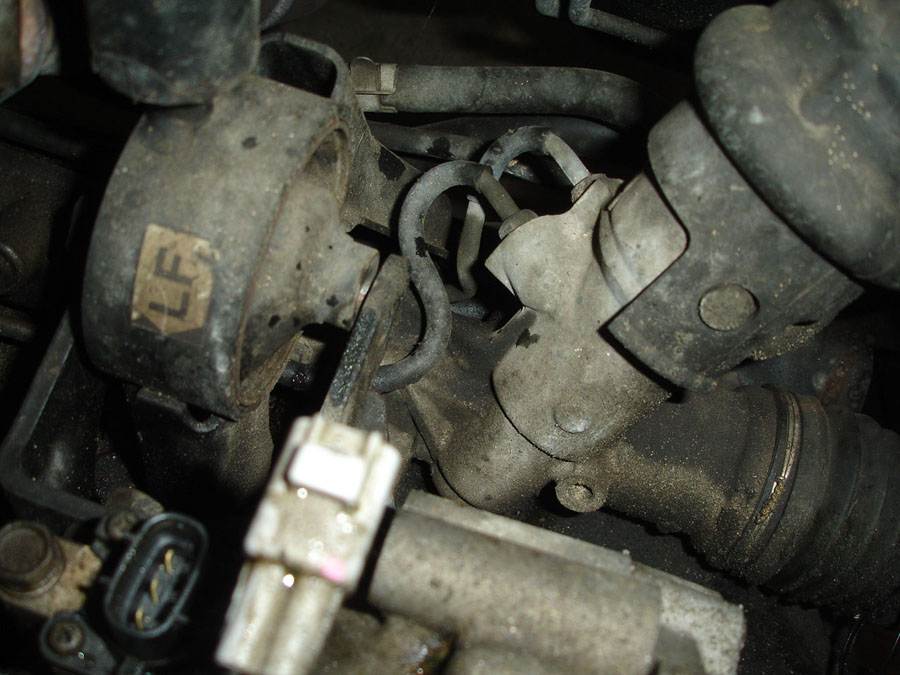
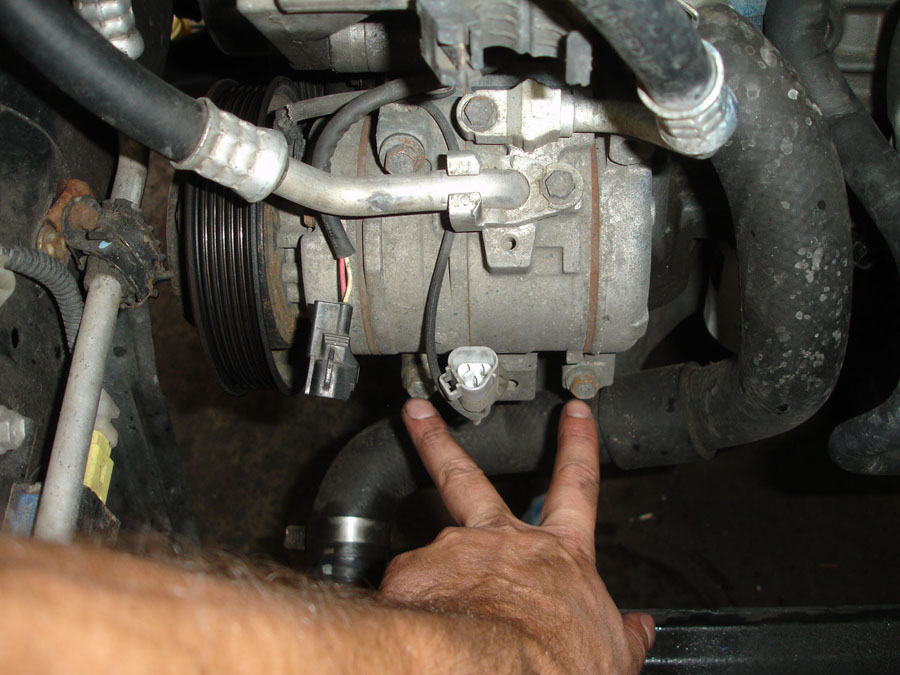
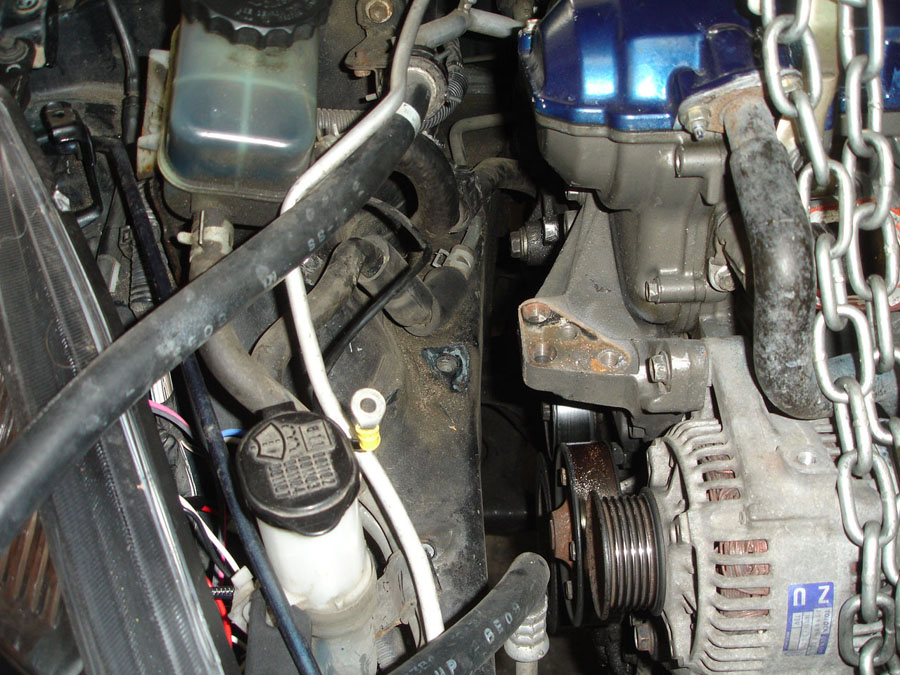
Remove the 10MM nut on the alternator, unplug the connection just below, and unplug the AC compressor.
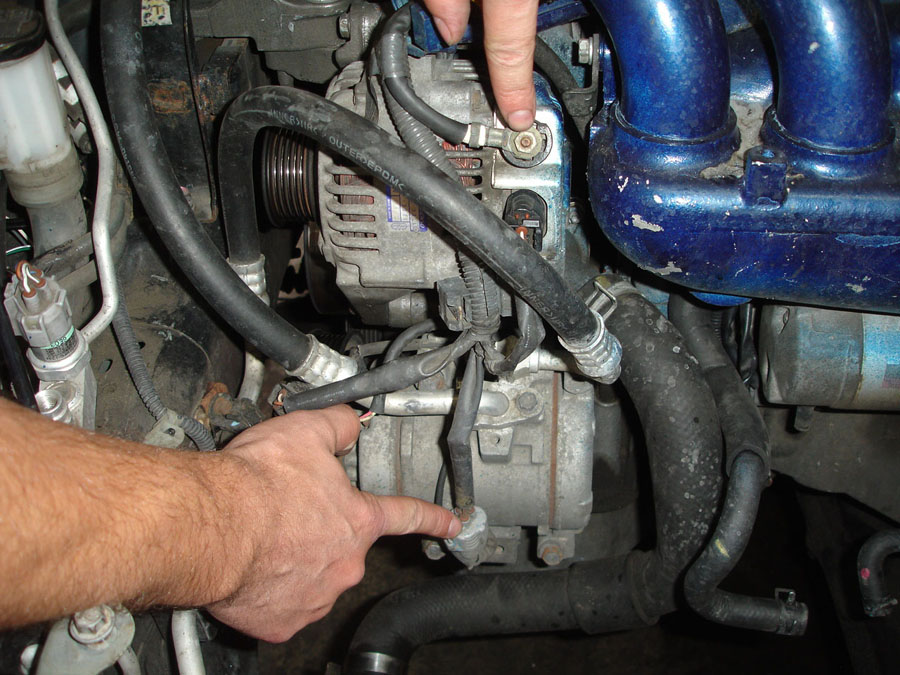
There are also 2 connections between the alternator and intake manifold, they are for the crank position sensor and knock sensor. Unplug those too. Then lift and remove the wire harness out of the way. On the 03+ feed the harness through the runners.
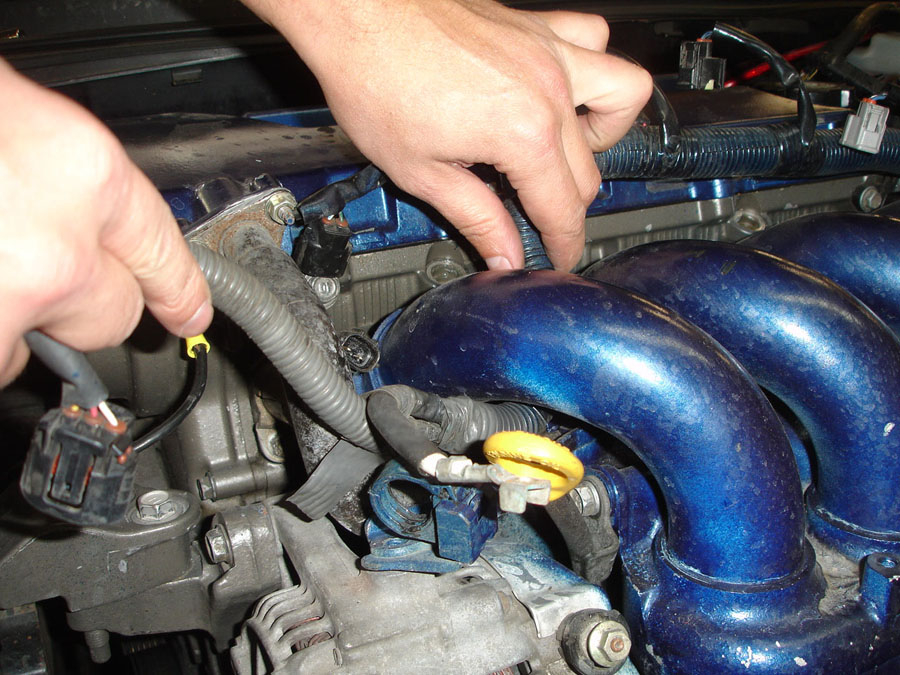
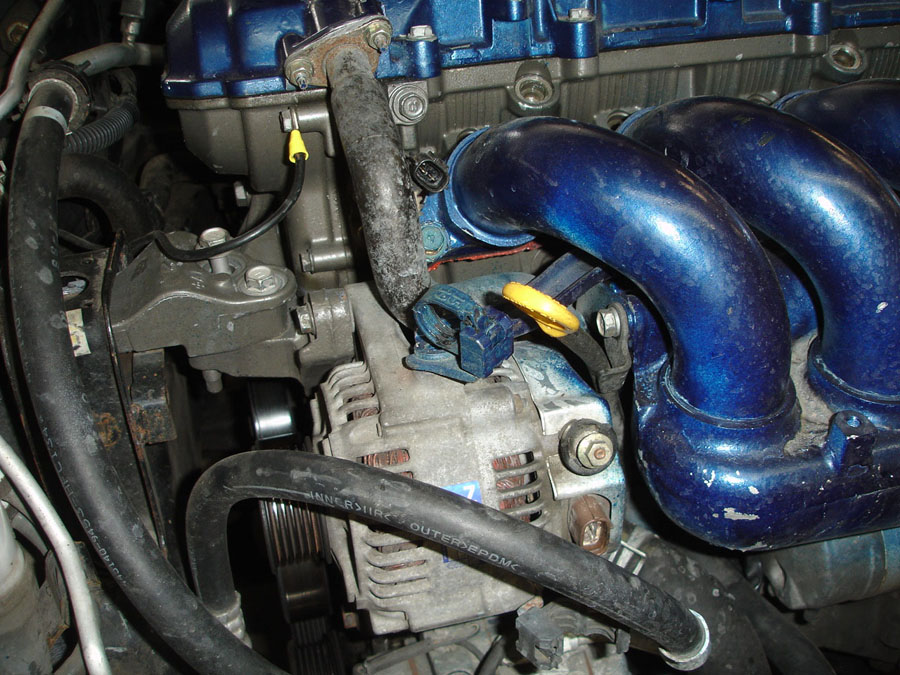
Remove the bracket holding the alternator to the intake manifold
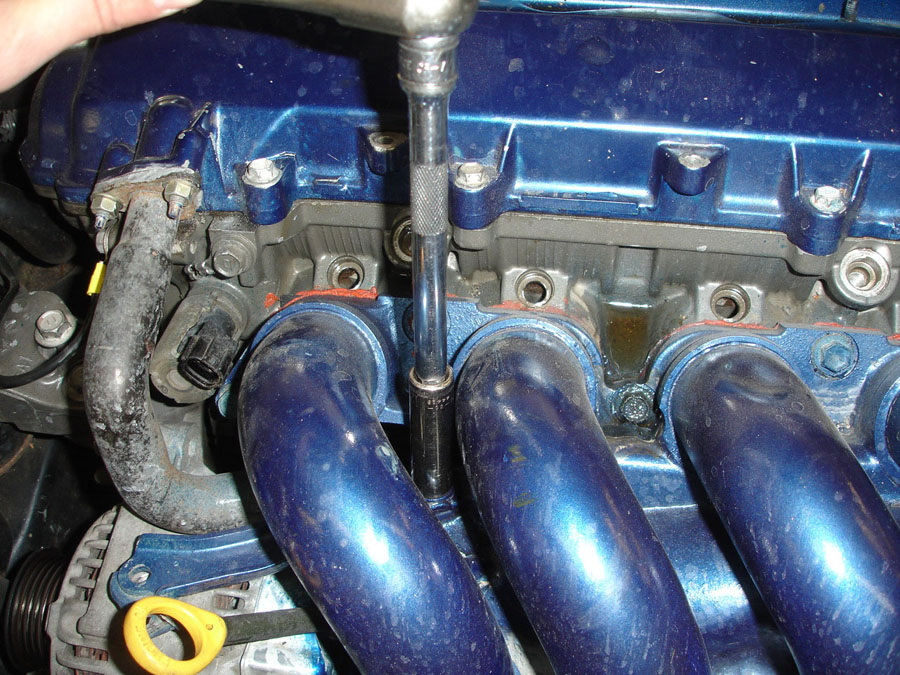
Remove the fasteners from the top of the intake manifold and large bolt underneath.
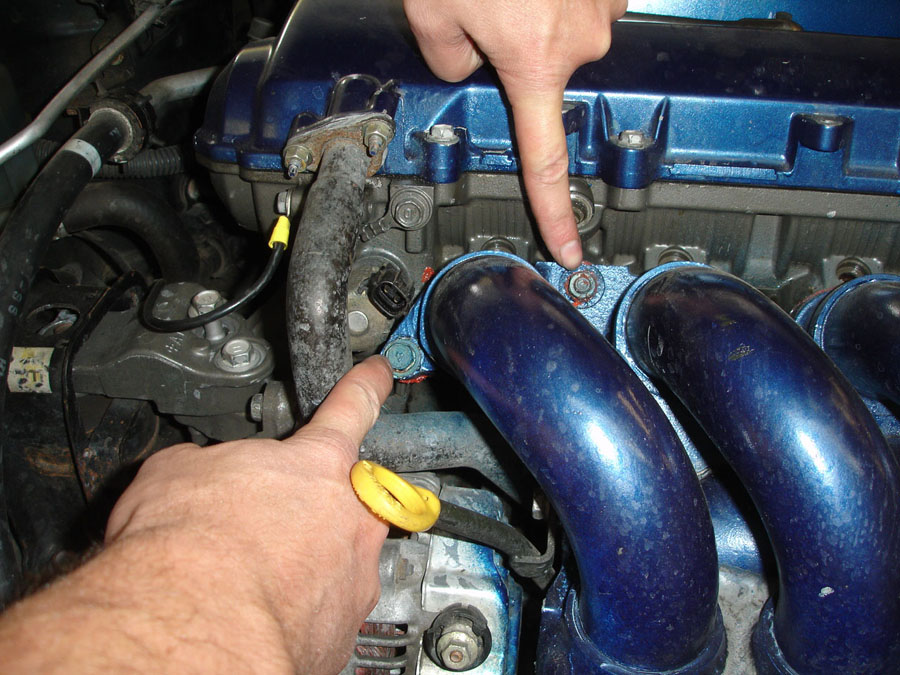
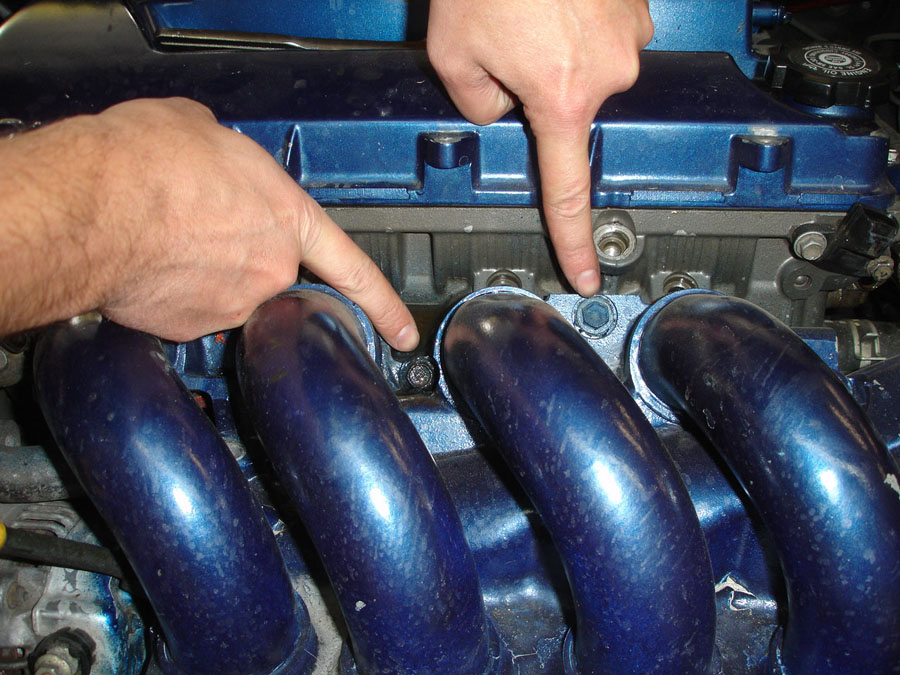
Remove the 12MM bolt holding the oil dipstick tube to the intake manifold
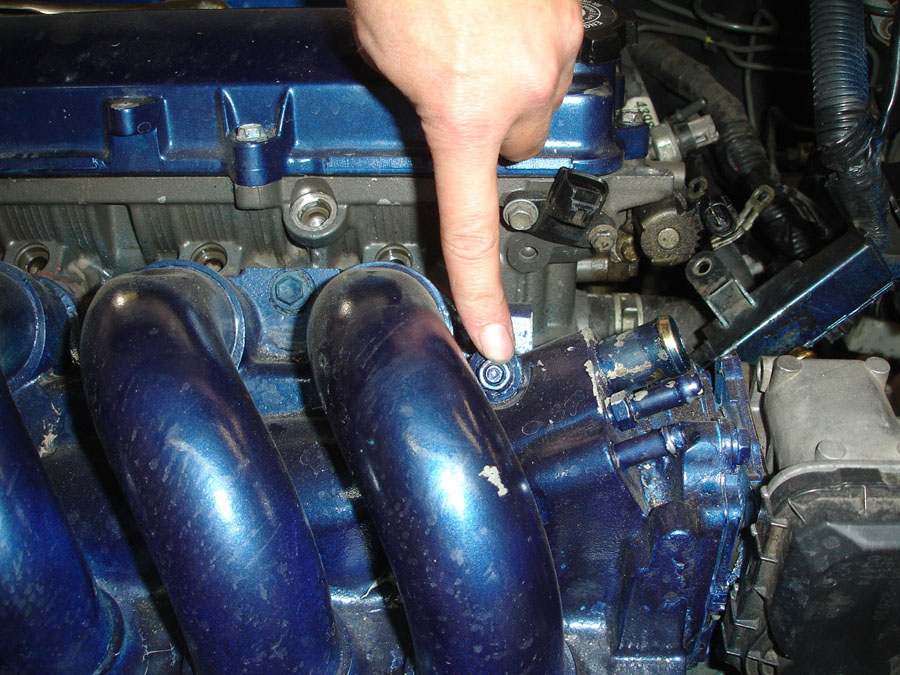
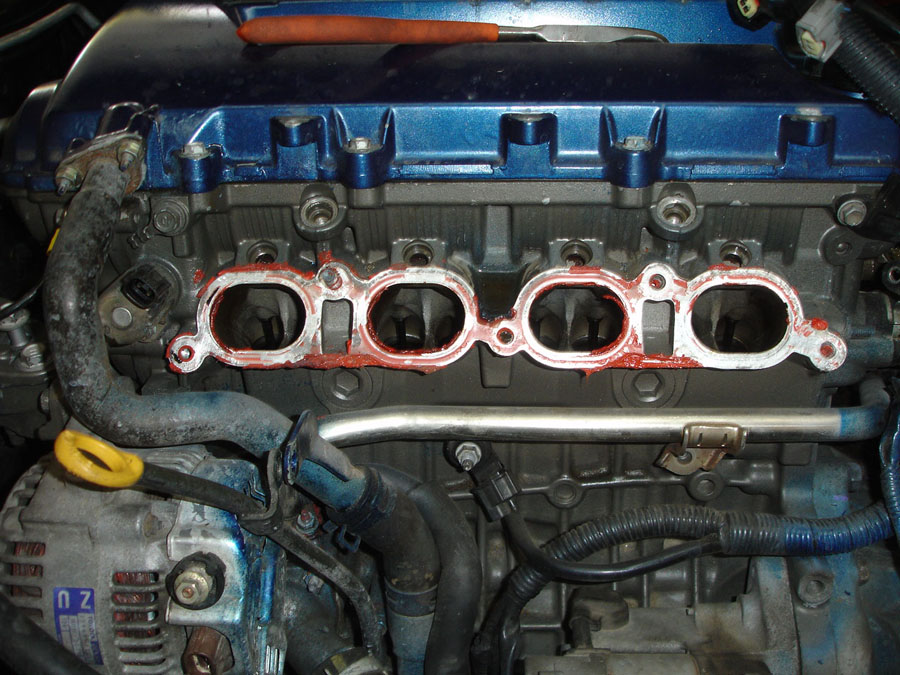
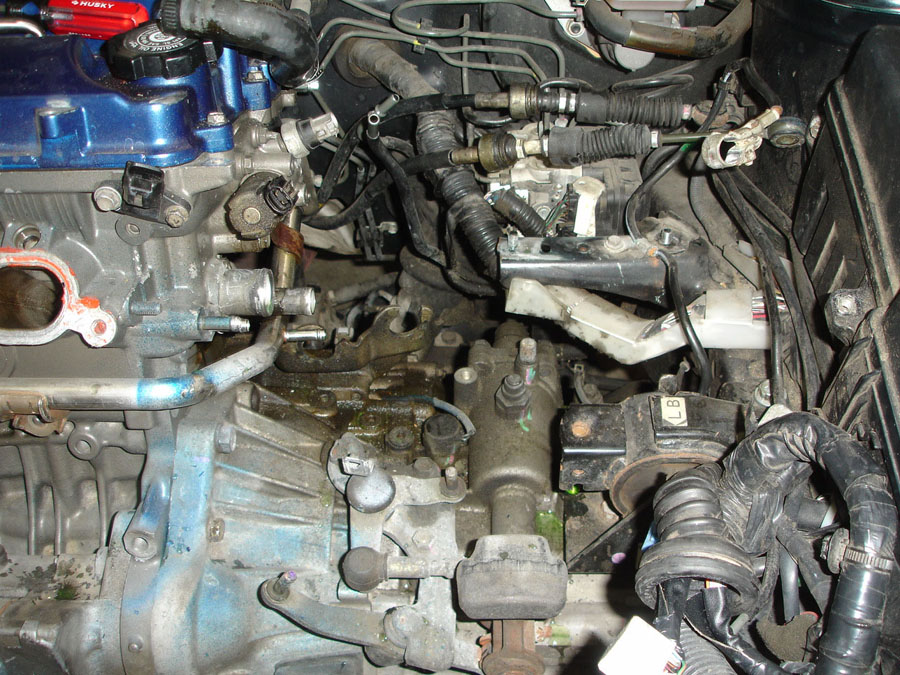
Carefully lift off the intake manifold
This is what you should see, look at all that orange silicone, which should not be there, it can cause more problems then help.
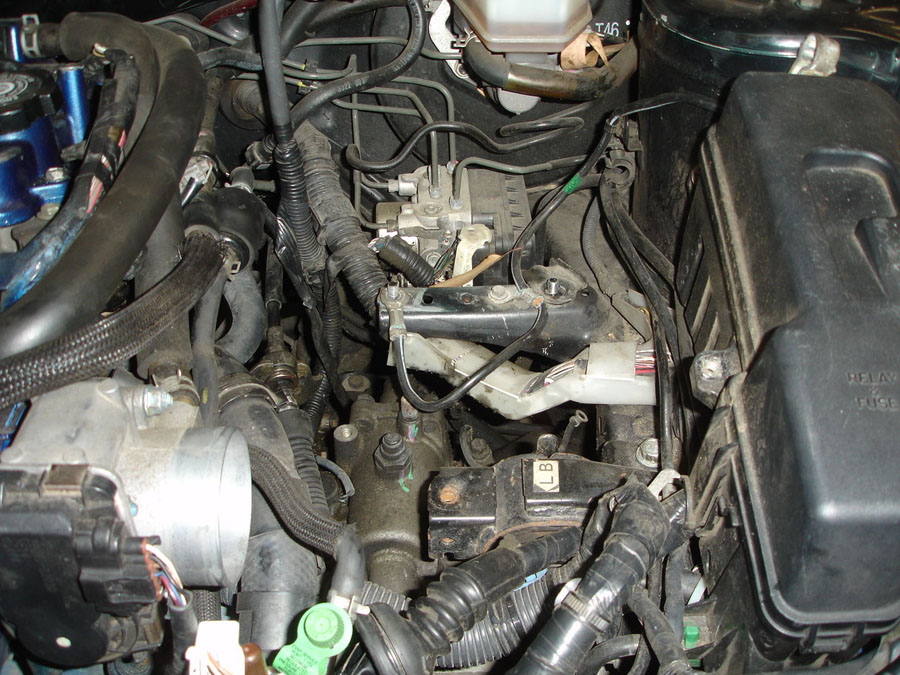
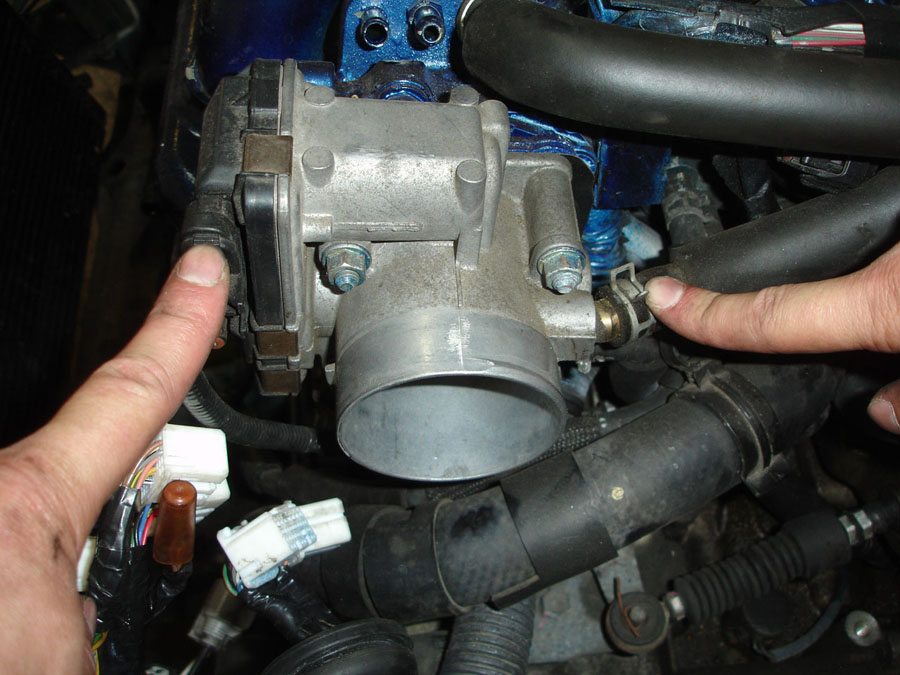
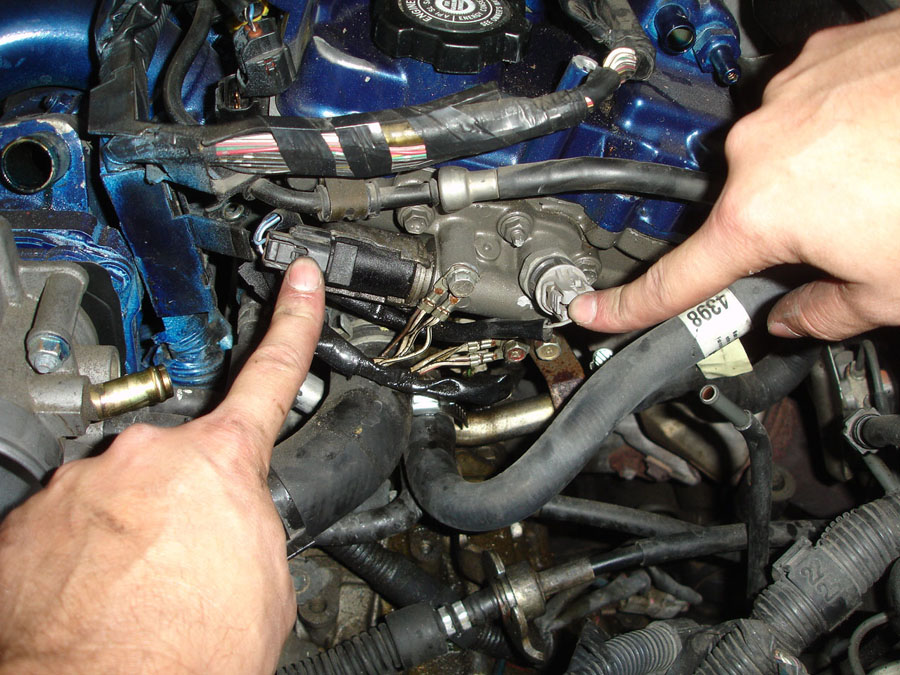
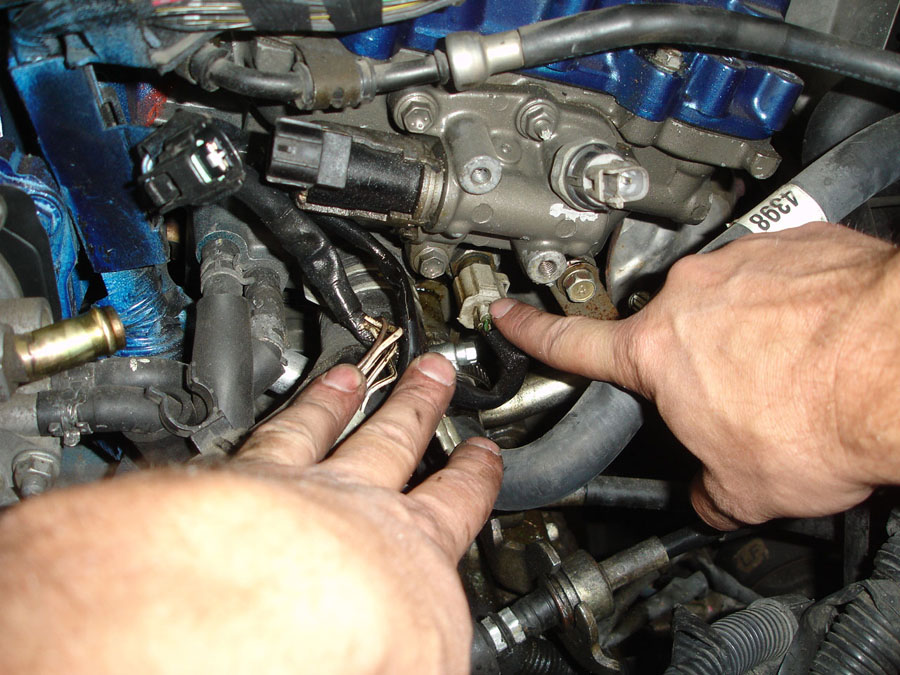
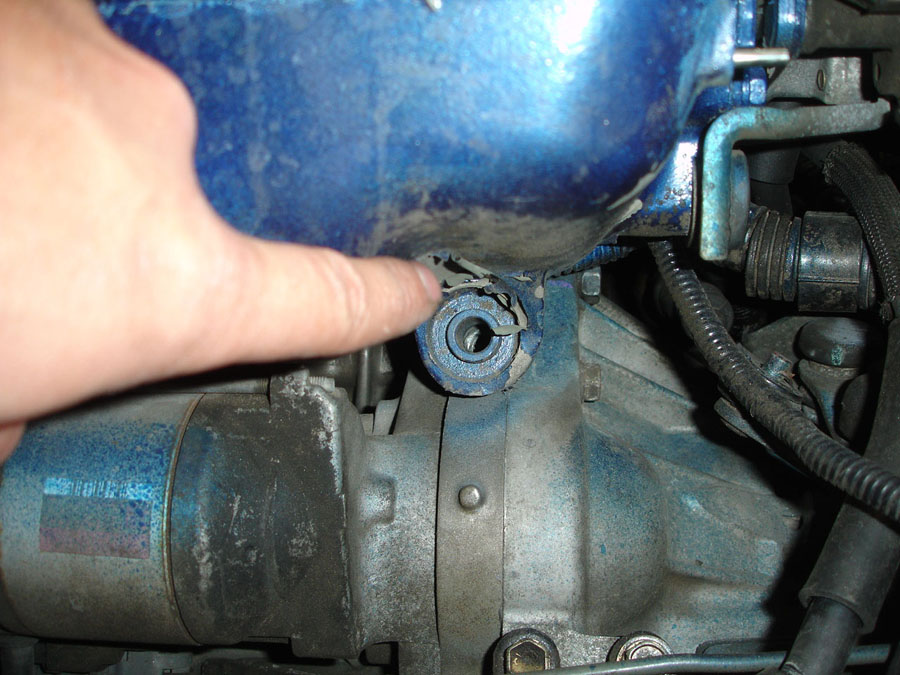
Unplug the knock sensor and engine oil pressure sensor
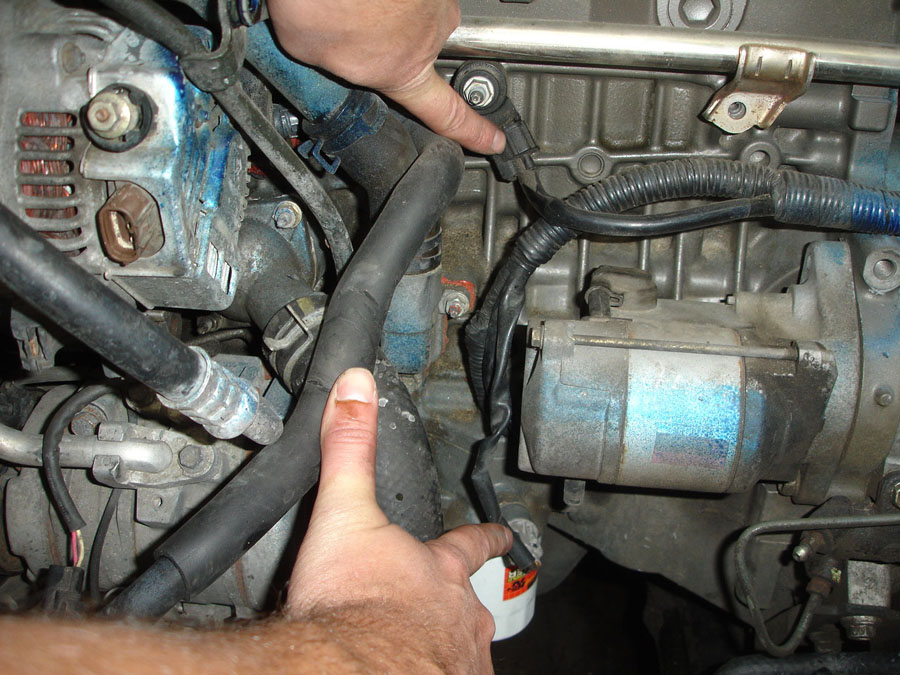
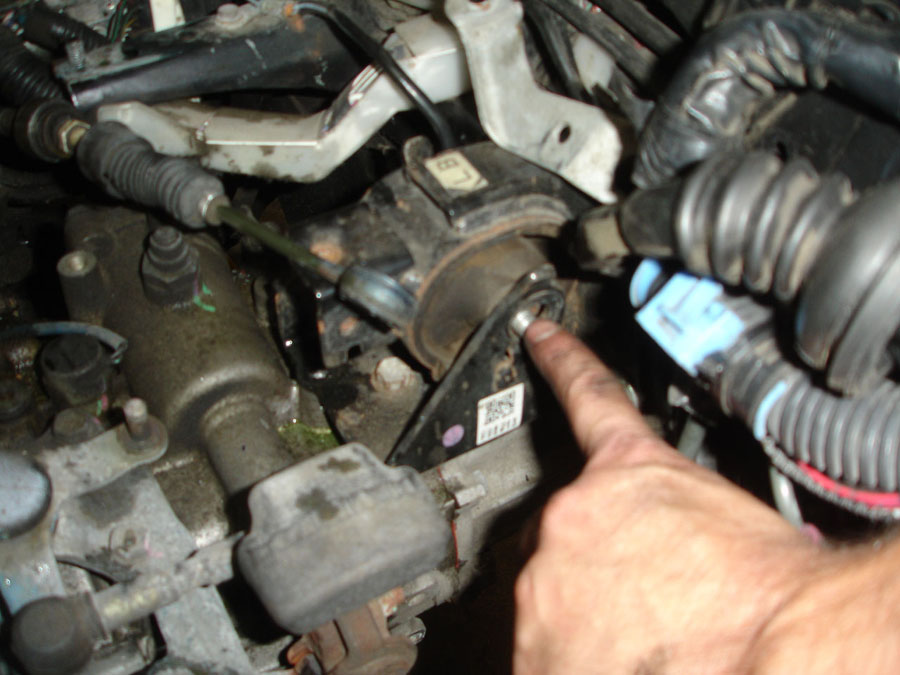
Get underneath the car and remove the starter connections. There is a single 12MM bolt and the plug next to it.

Remove the moon clips that hold the shifter cables in place.
Remove the shift cables from the linkage. There should be a cotter pin here not a micky mouse wire bent to hold it in place.
Reach back behind the tranny and unplug the reverse sensor and speed sensor.
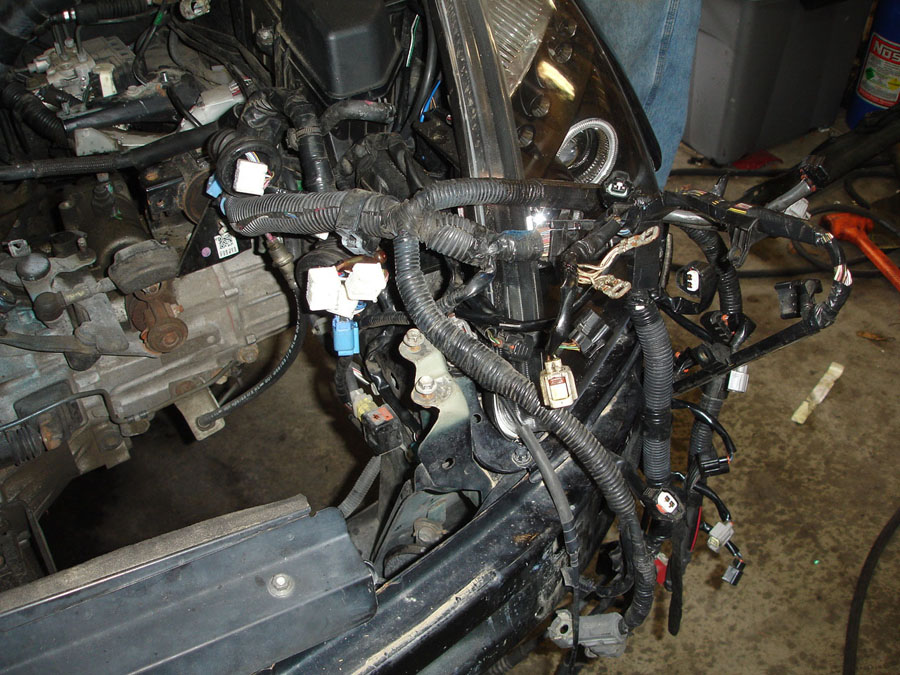
Remove the harness clips from the engine, move the harness out of the way.
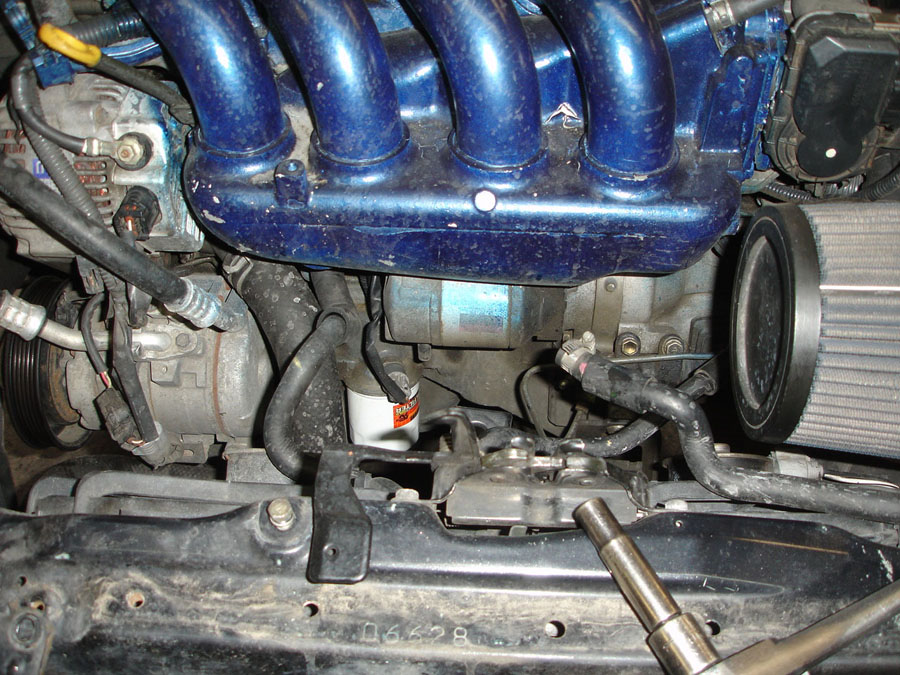
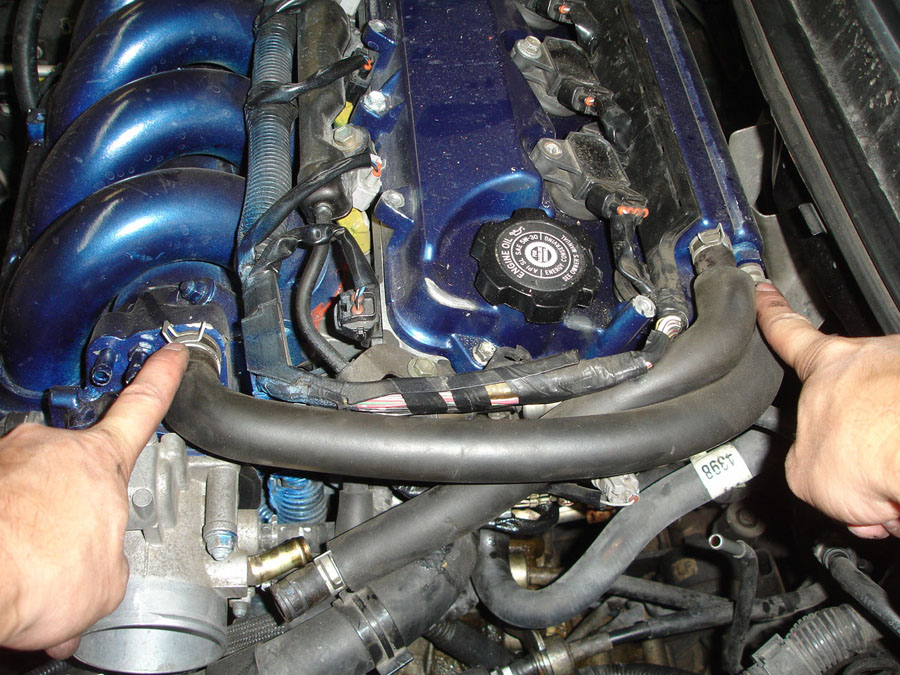
Remove any remaining coolant hoses
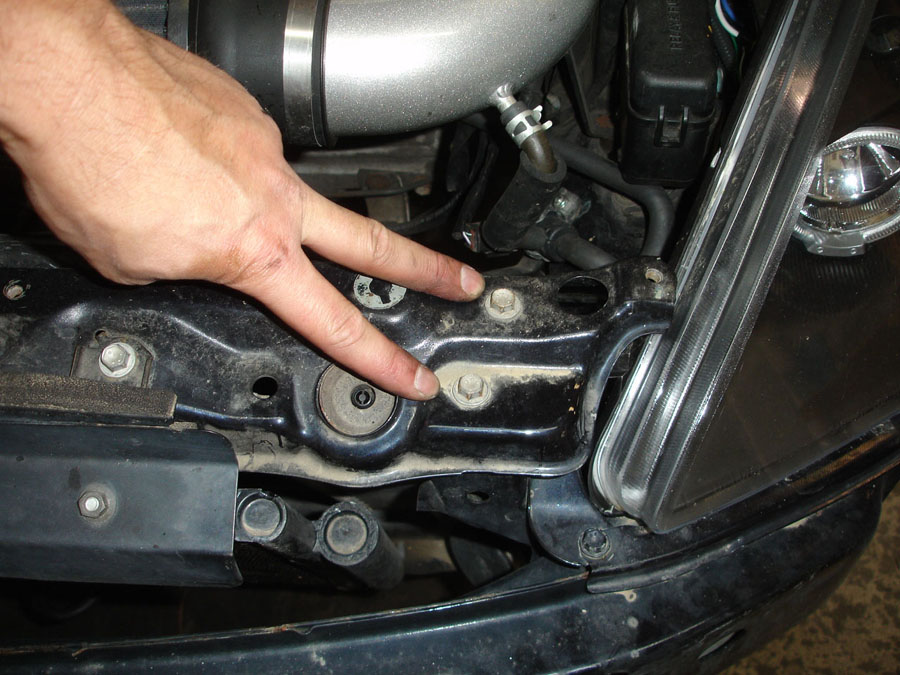
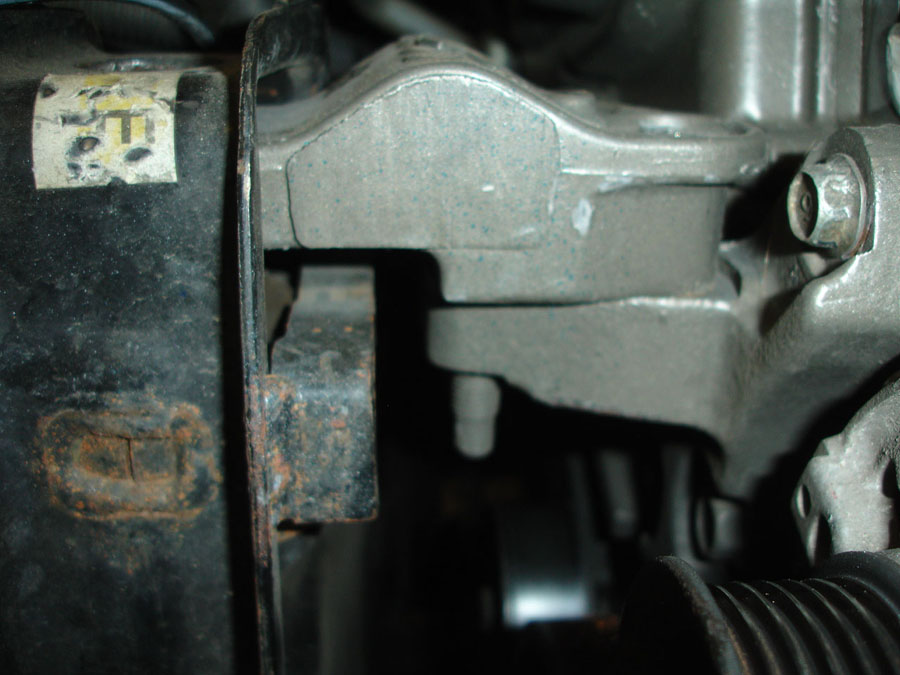
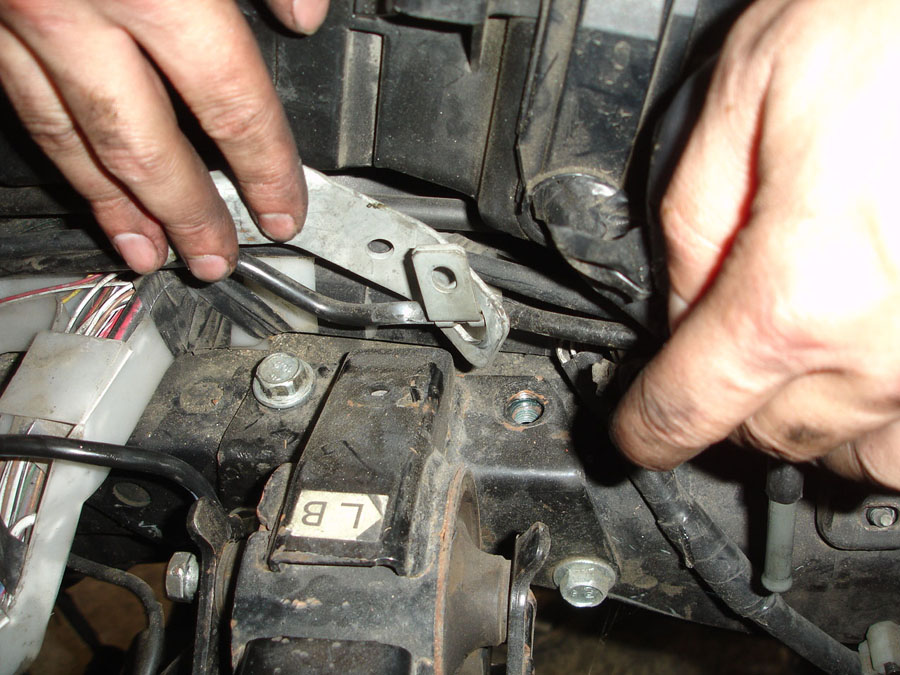
Looking through the driver’s side wheel well, remove the rear motor mount bolt. It’s a 17MM head
Remove the (2) bolts on top of the passenger motor mount.
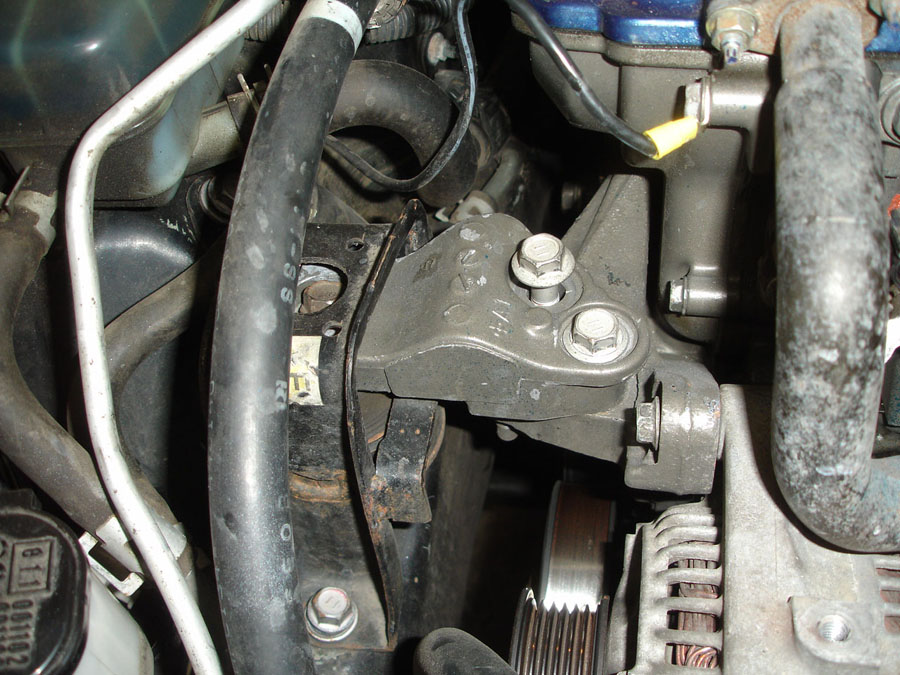
Remove the (3) bolts holding the passenger motor mount to the body of the car. This poor bolt is stripped out ?
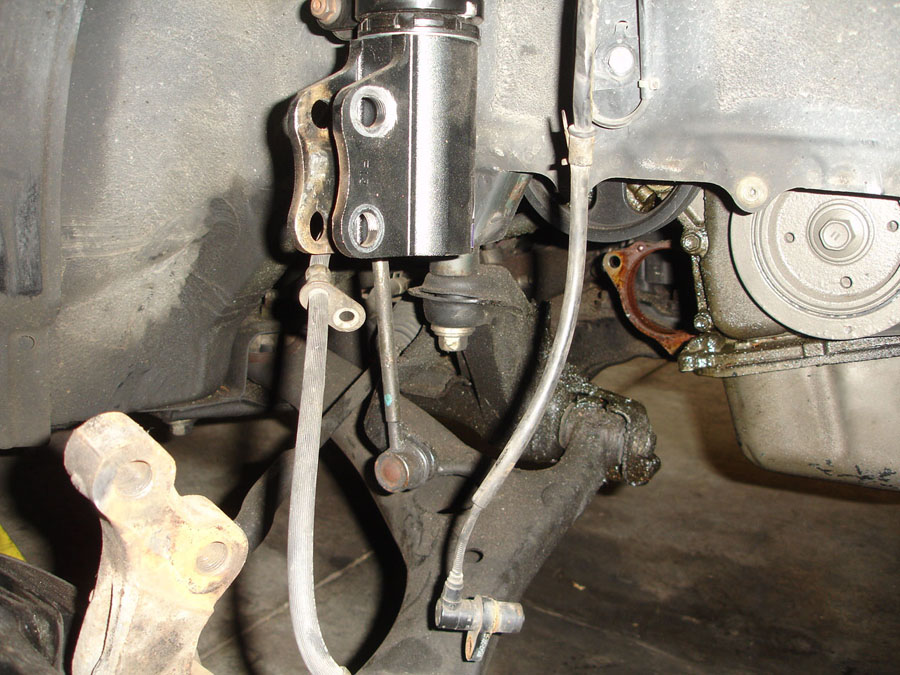
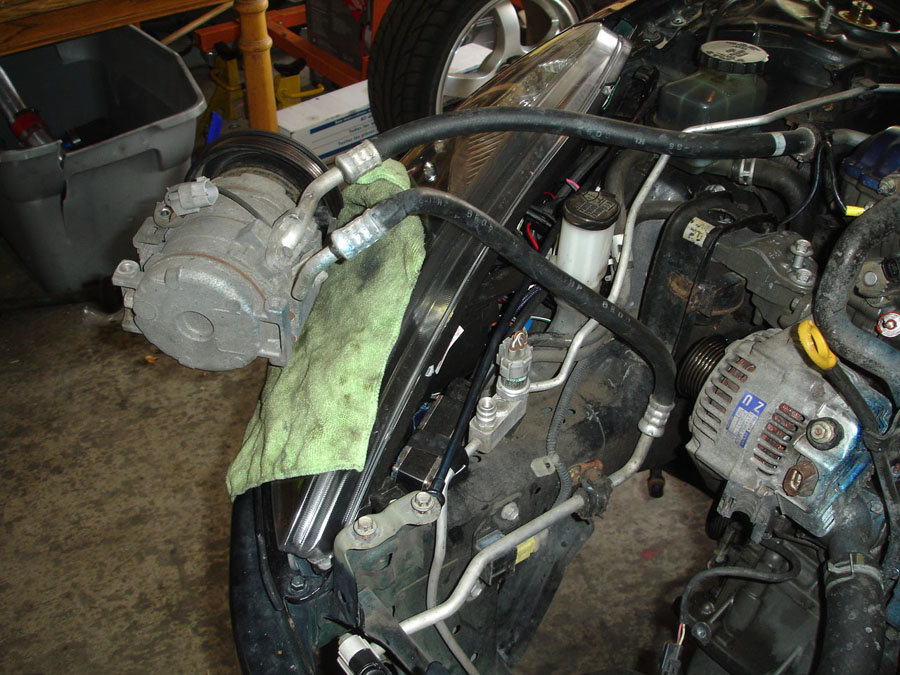
Next we will remove the AC compressor, there are (3) total 12MM bolts. 2 on the bottom and 1 right behind the hard line. The 2 on the bottom are easy, the one behind the hard line requires a wrench, ratchet wrenches work best here.
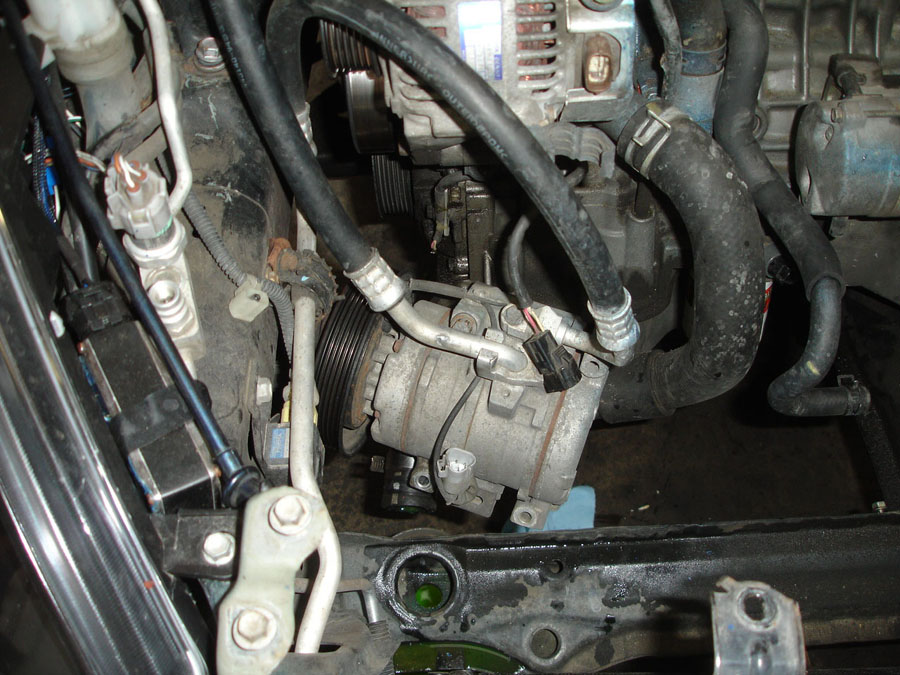
Put a rag under the headlight and rest the compressor out of the way
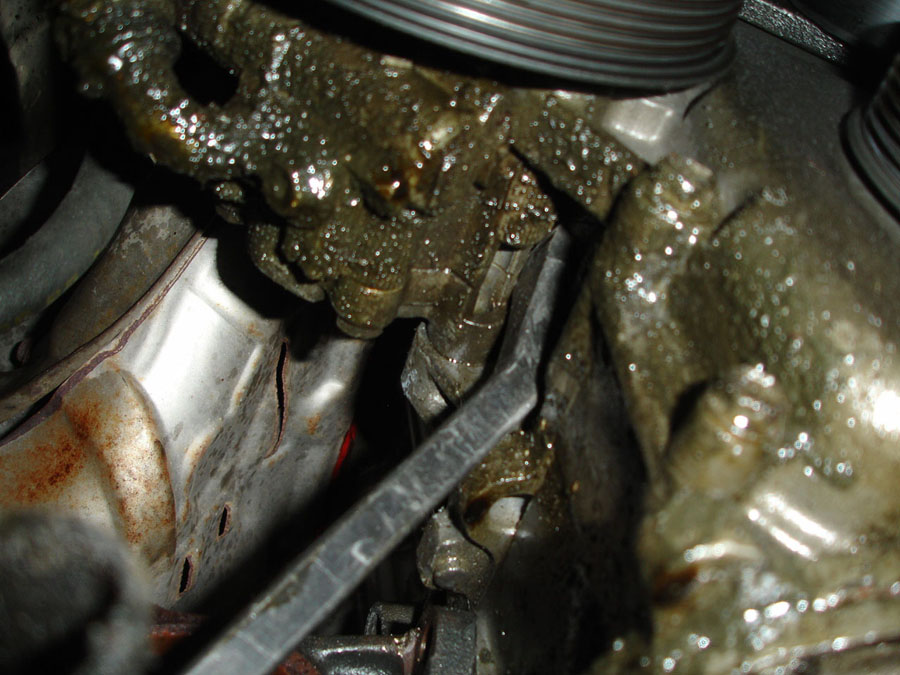
Next step is the clutch slave cylinder. There are (2) 12MM bolts holding it on the tranny and (2) 14MM bolts holding it lower on the tranny. There might also be some clips holding it by 10MM bolts.
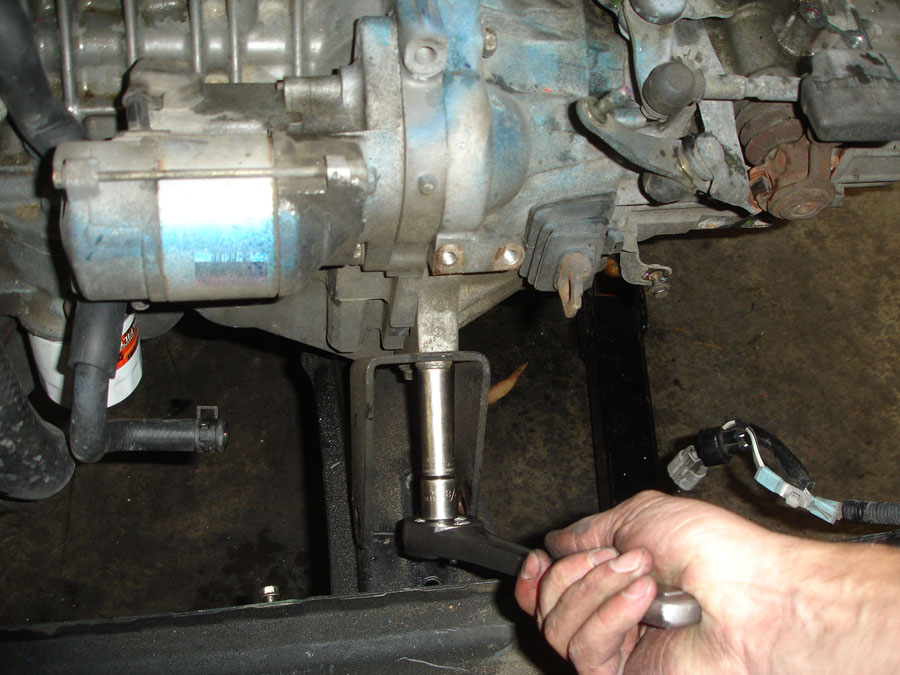
Unbolt the front motor mount and remove it. the long bolt is 14MM and there are (2) 14MM bolts holding it underneath the center beam.

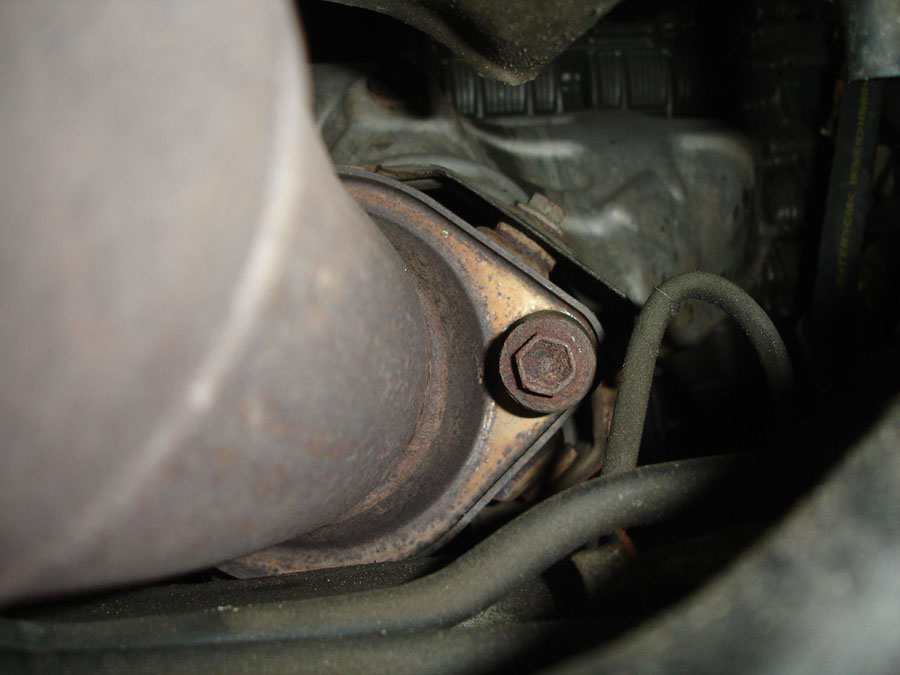
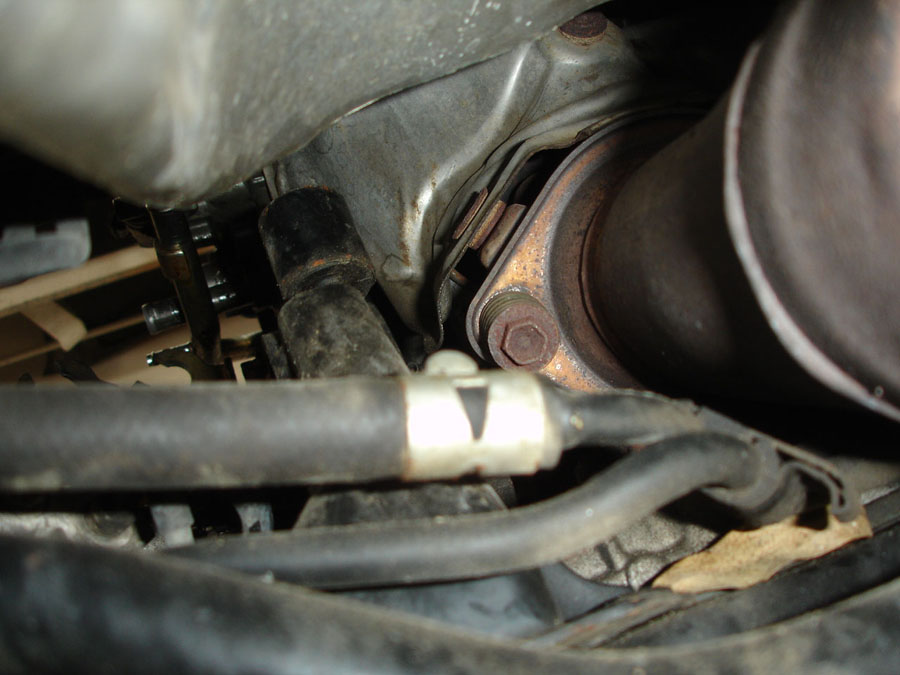
Unbolt the header from the downpipe. It will help to spray some PB Blaster or WD40 on the bolts and threads to loosen things up.
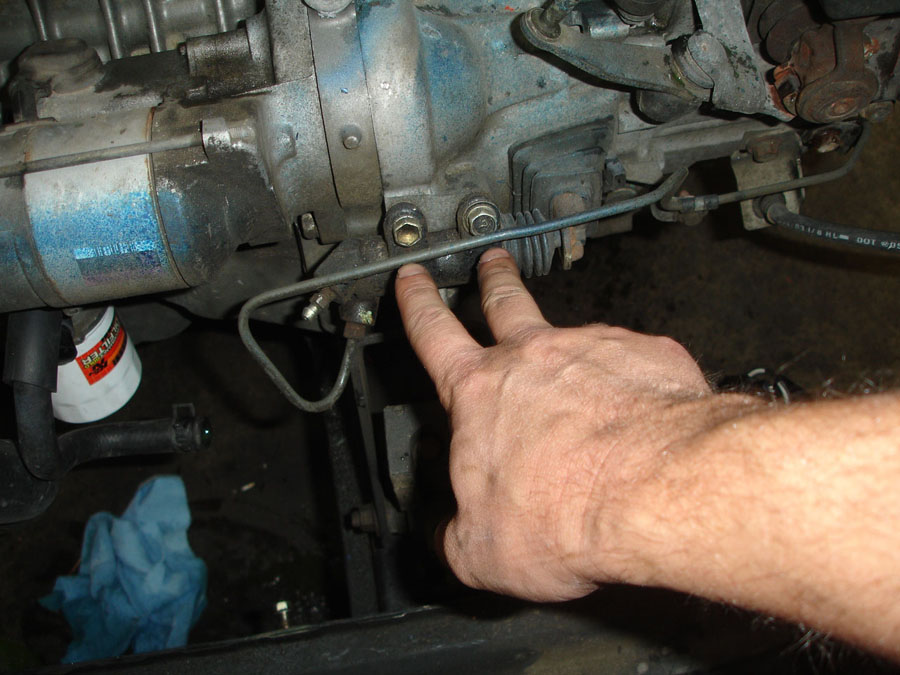
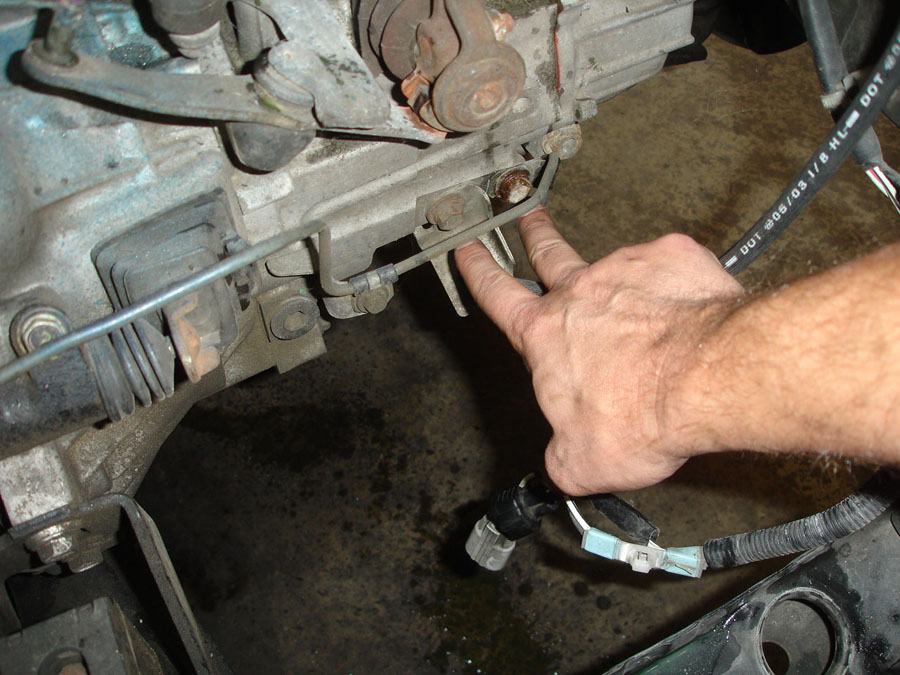
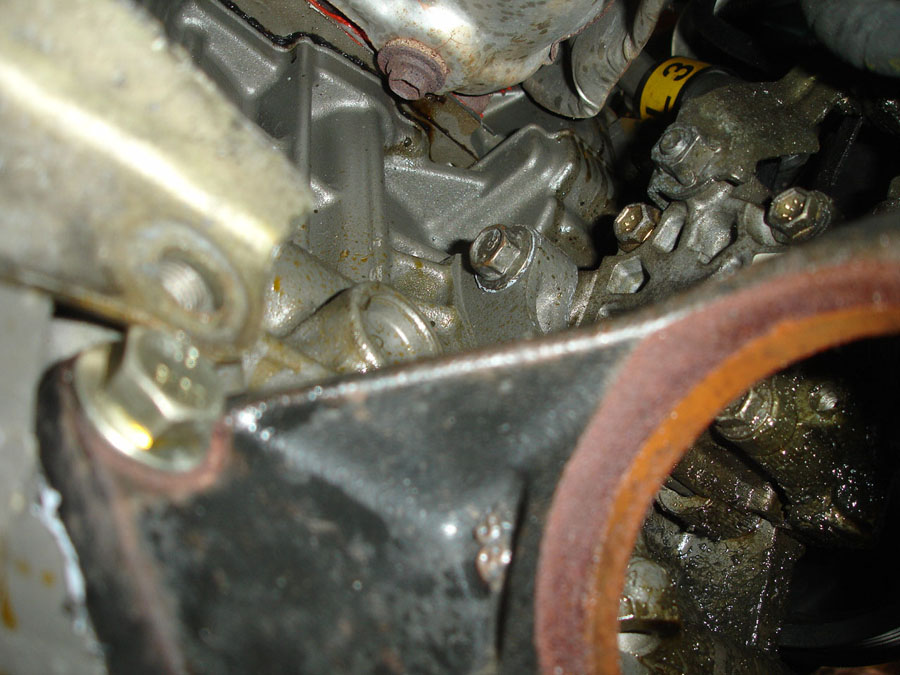
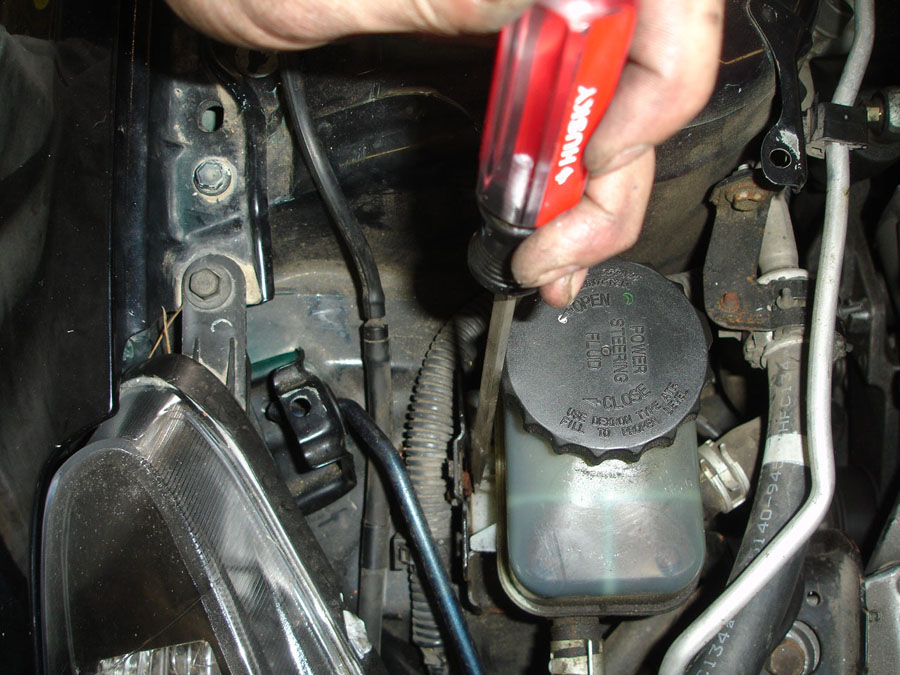
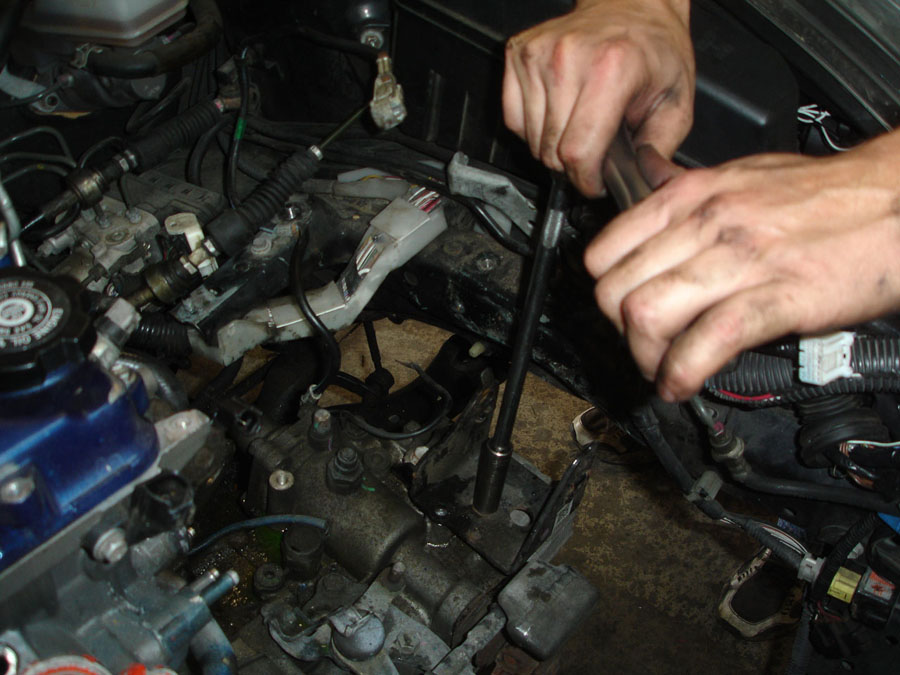
Unbolt the Power Steering pump from the block, its held on by (2) 14MM bolts. There are (2) nuts that can be reached through the pulley.
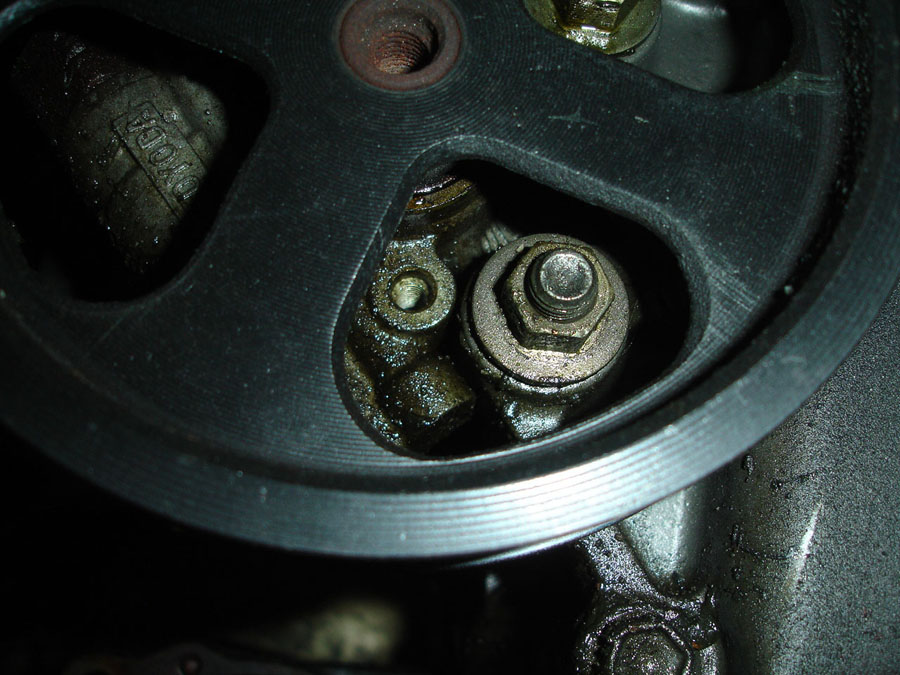
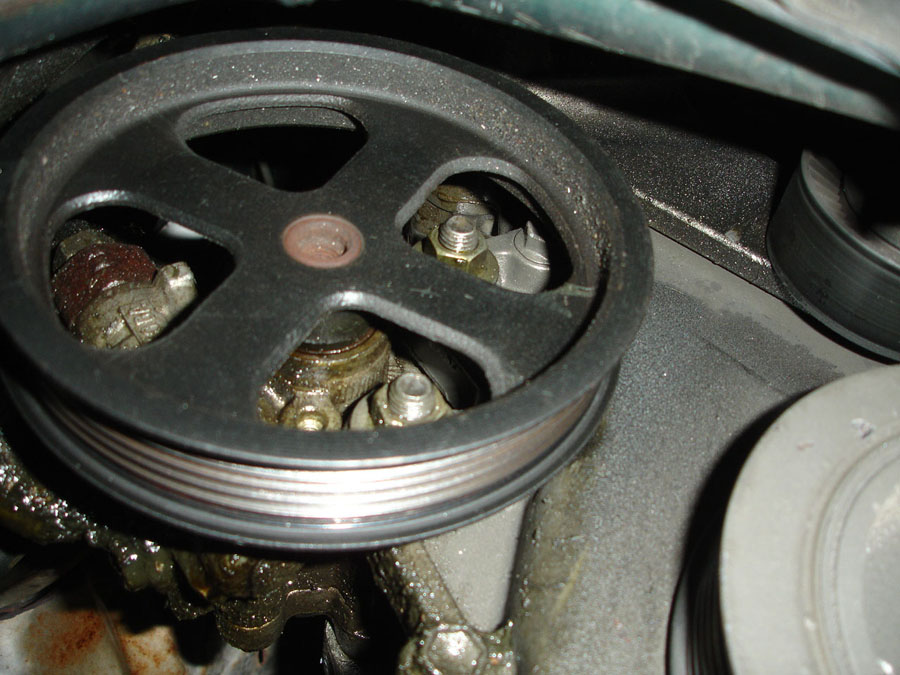
Once bolts are removed, use a pry bar under the pump and move the pump away from the block.
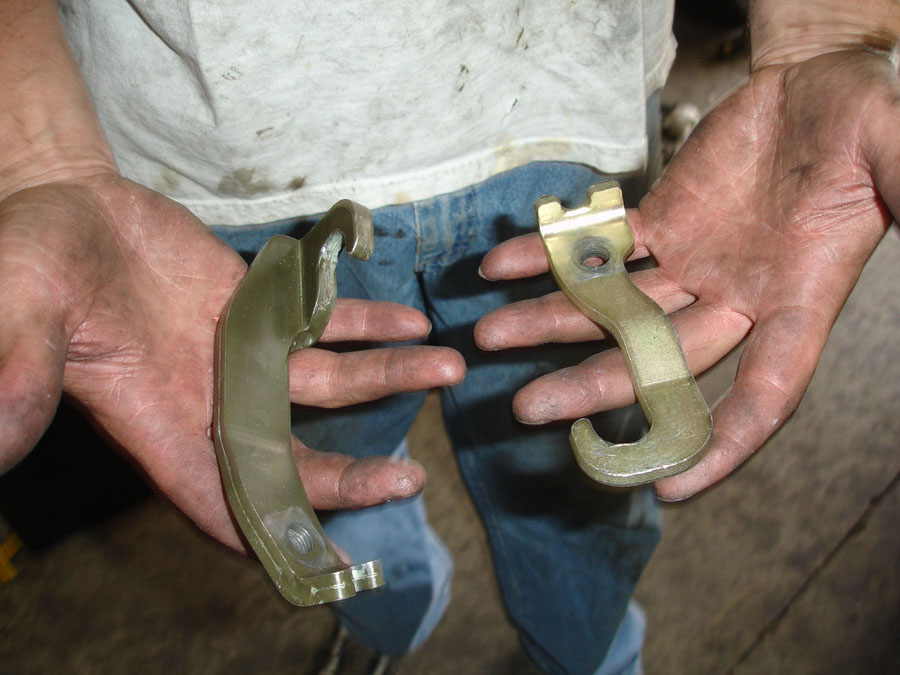
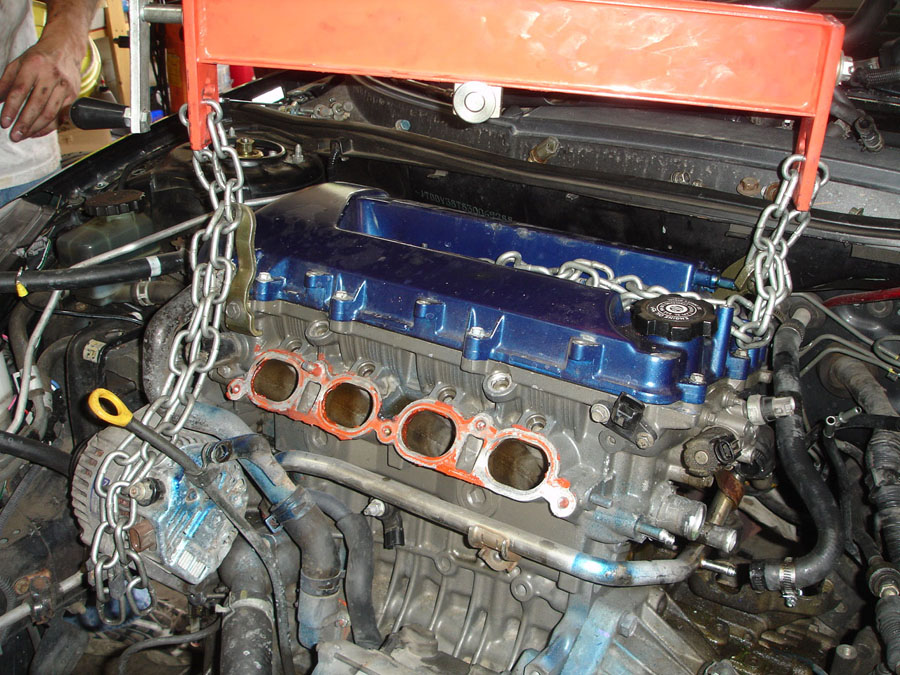
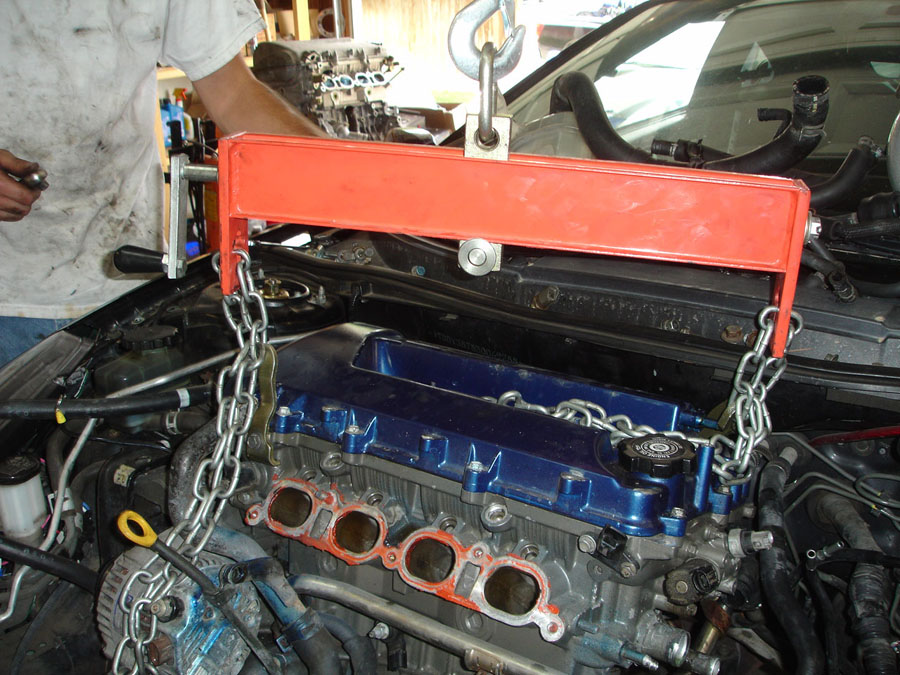
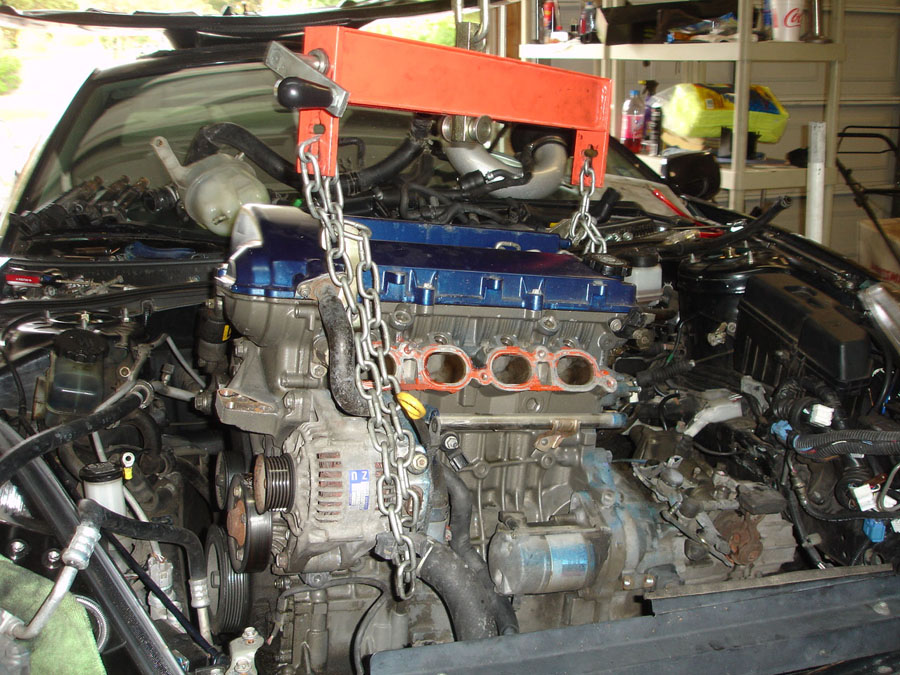
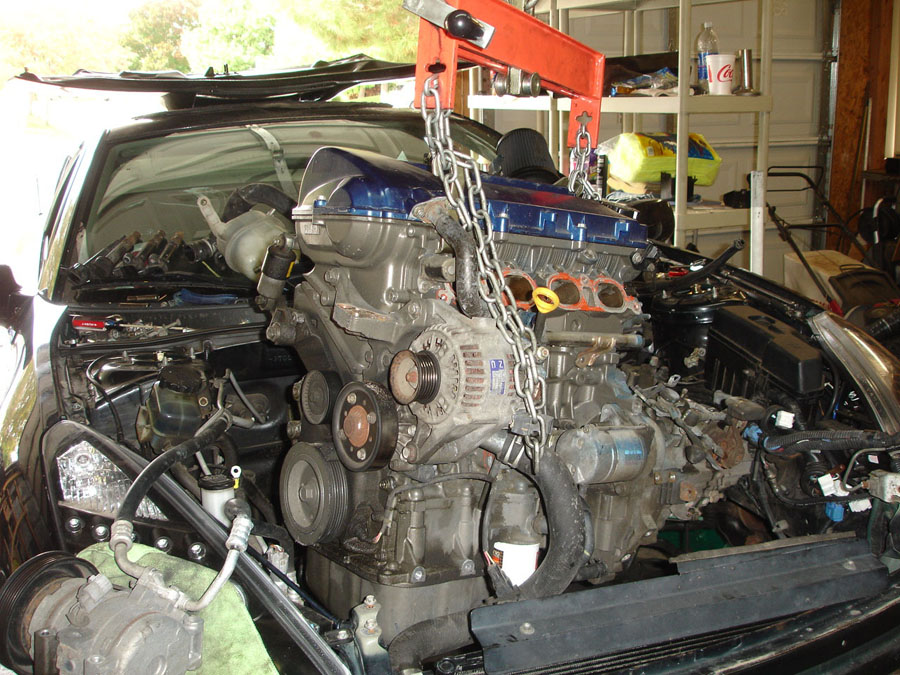
Using engine removal tools, mount on engine and hook up engine lift.
12282-88600 is the funny looking one on the left
12281-88600 is the other,
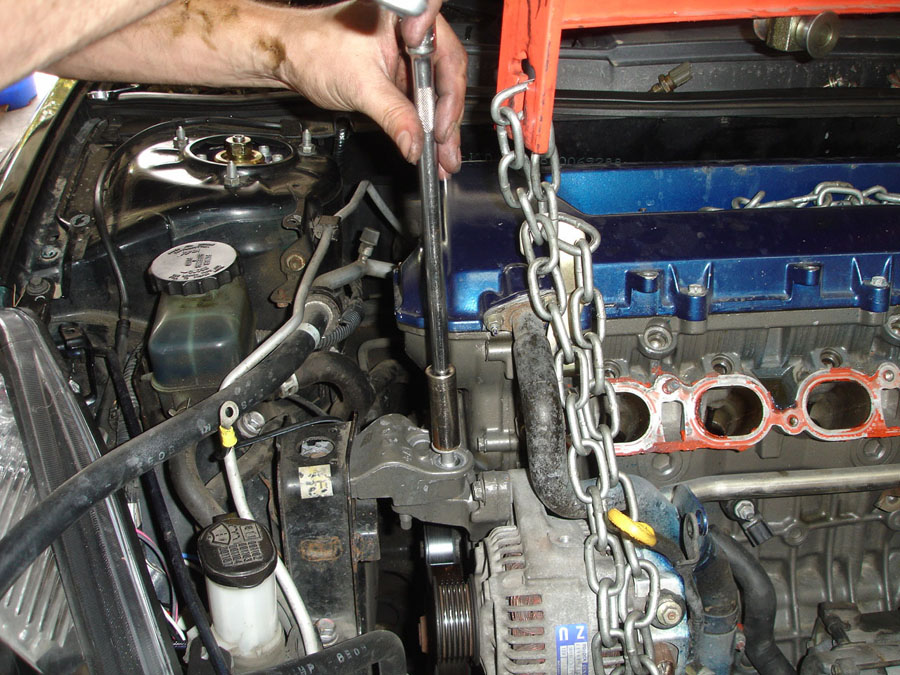
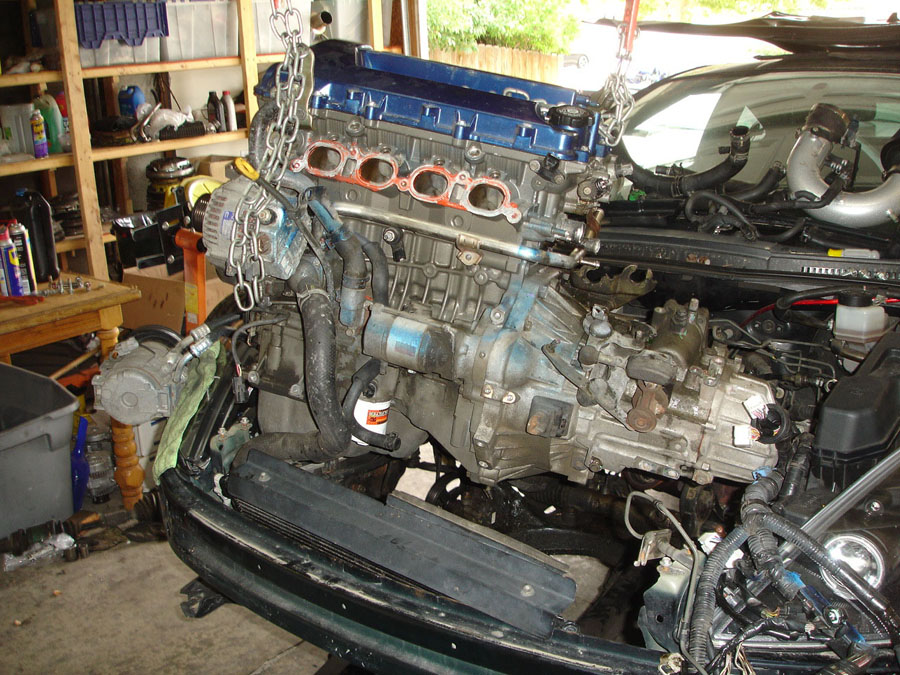
Remove remaining bolts on the passenger motor mount, there are (2) 14MM nuts on the bottom that you have to get from under the car. Then remove passenger motor mount.

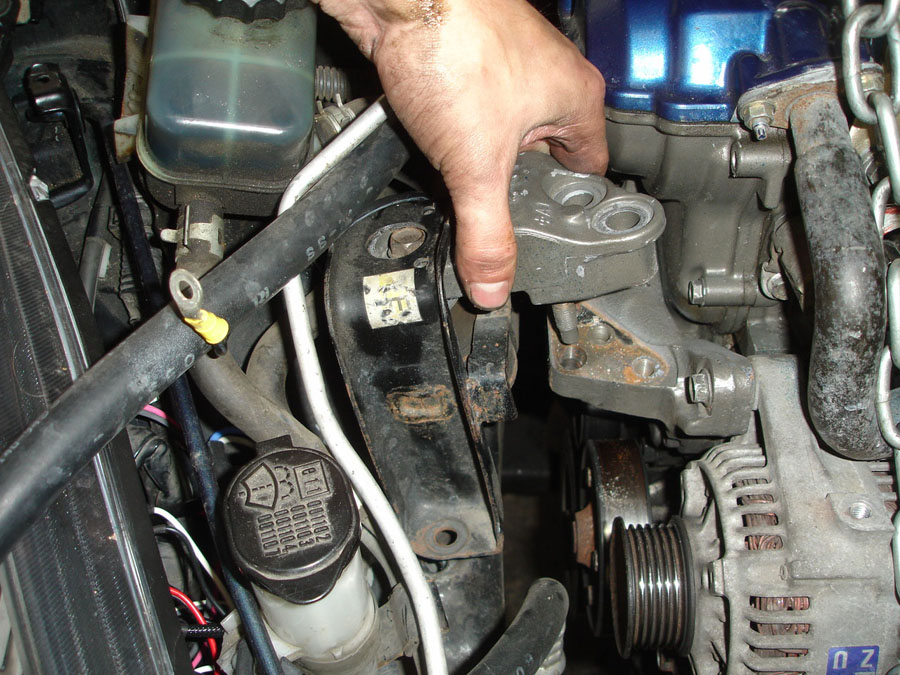
Remove the drivers side motor mount.
Remove the front bracket for the front motor mount
Carefully lift engine out of car.

DONE!