You must be logged in to rate content!
8 minute read
How to tear down an engine (Smaay Way)
Compliments of Smaay @ newcelica.org
10-26-2010
Start by removing the axle bearing carrier. It’s secured by (3) 14MM bolts.
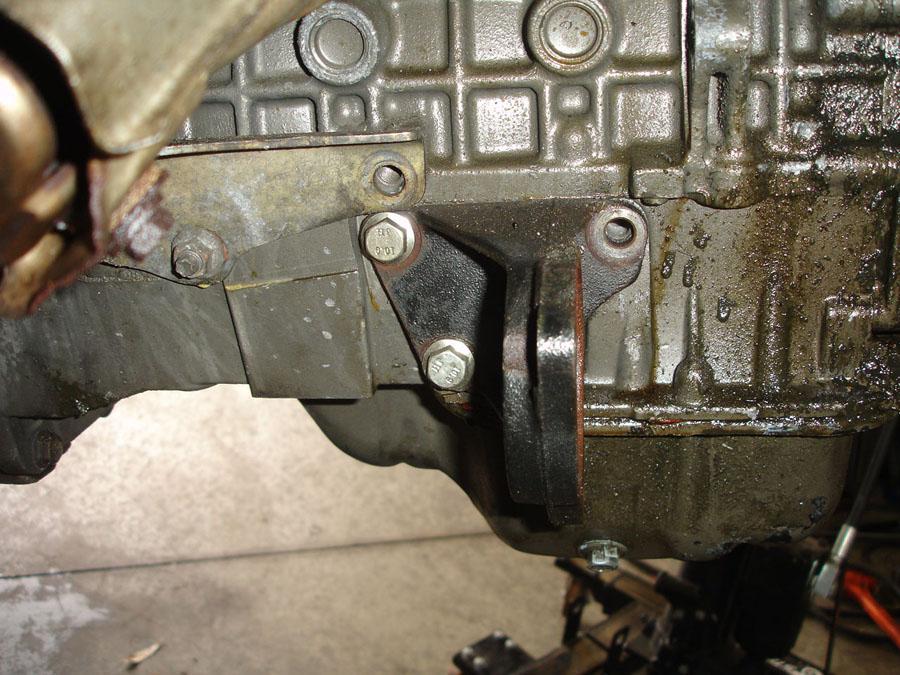
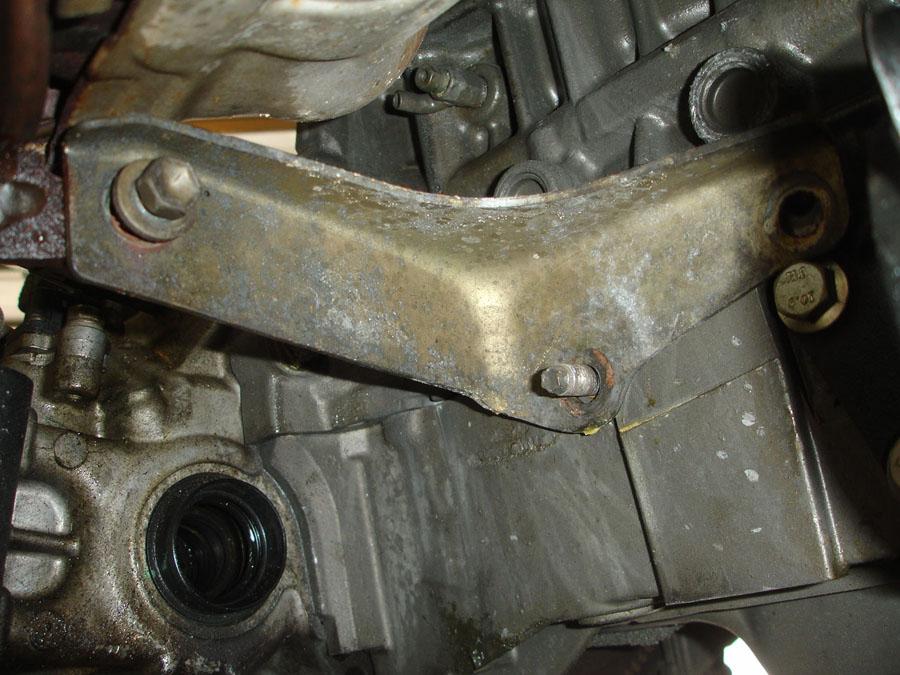
Remove the header support bar. Its held on by (2) 14MM bolts and (1) 14MM nut
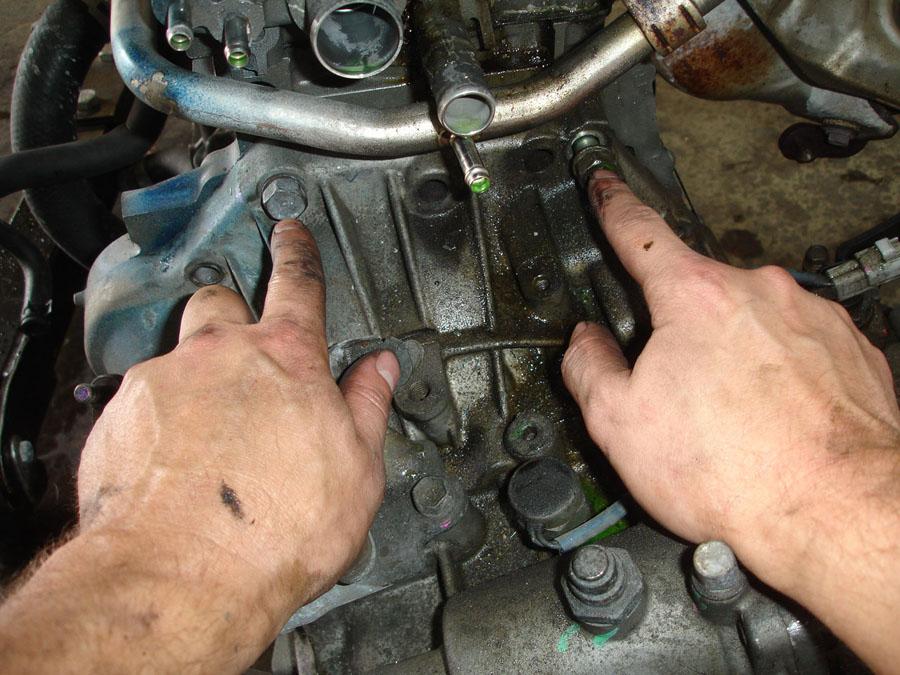
Remove the (8) bolts securing the transmission to the block. Start with the (2) 14MM bolts with washers right by the VIN plate.

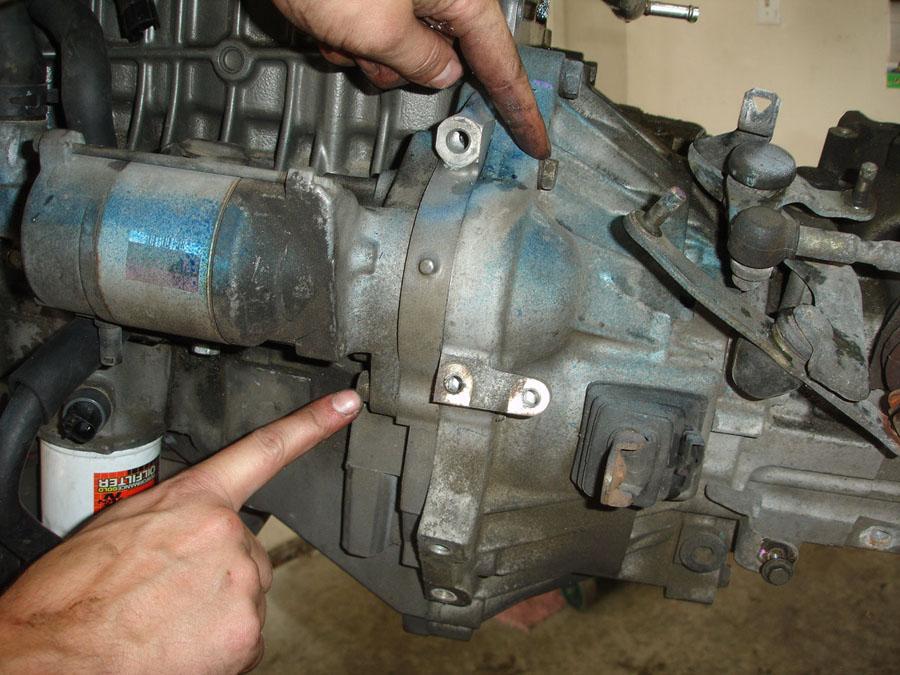
Next remove the (2) short 14MM bolts under the transmission
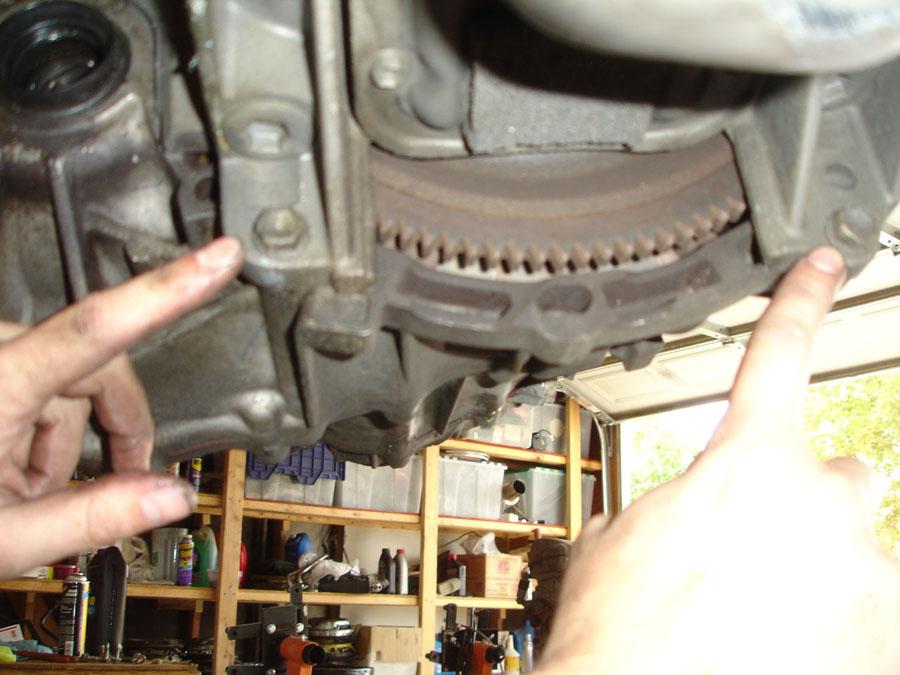
Remove the (2) starter bolts, one is on each side of the starter
Finally remove the larger 17MM bolts on top of the tranny
Wiggle the transmission and it will separate from the block
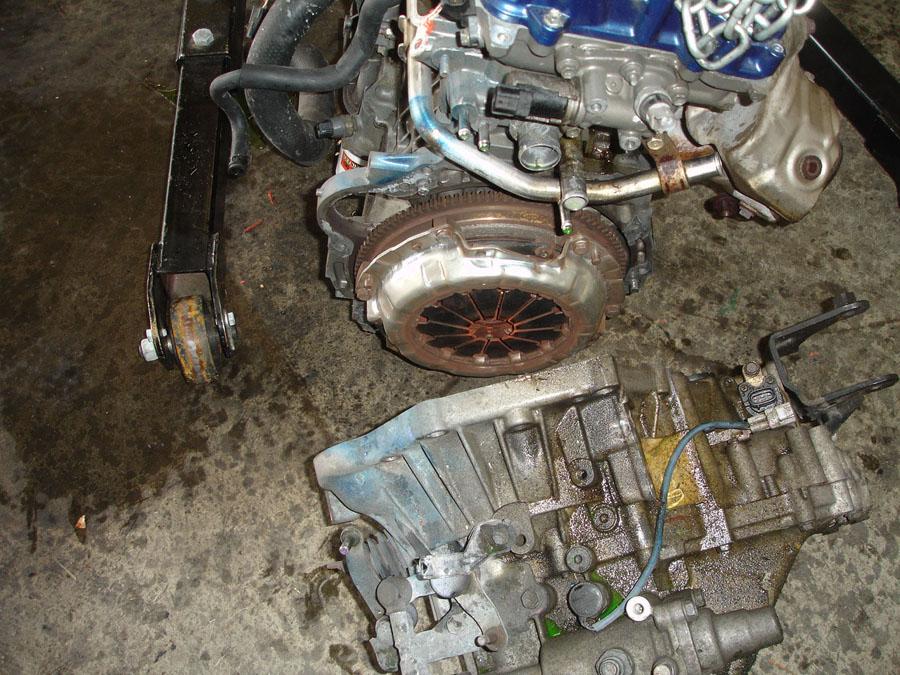
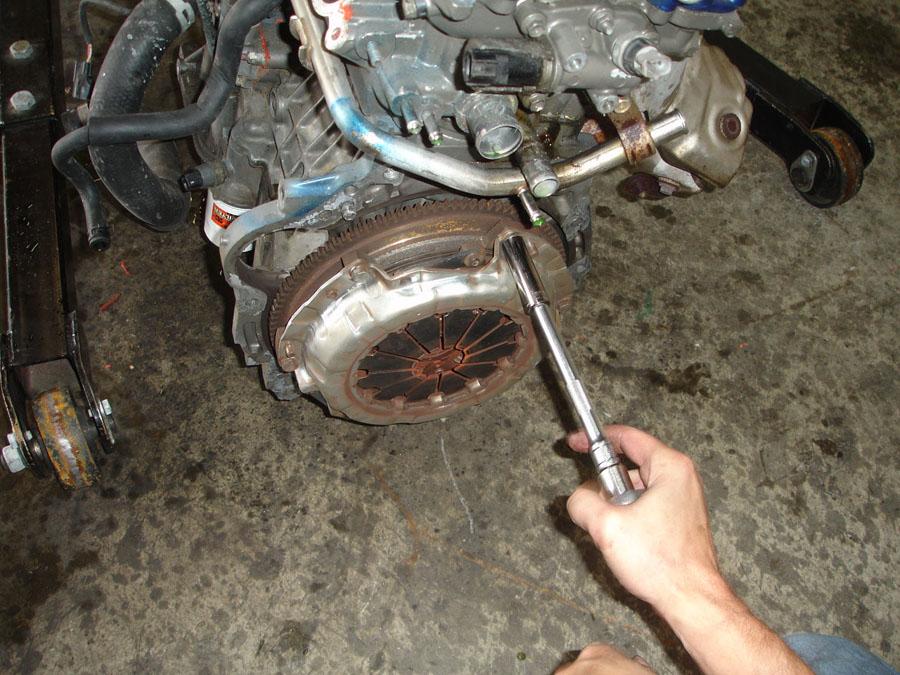
Remove the (6) 12MM bolts securing the pressure plate to the flywheel, be careful not to let the clutch disk fall and get damaged
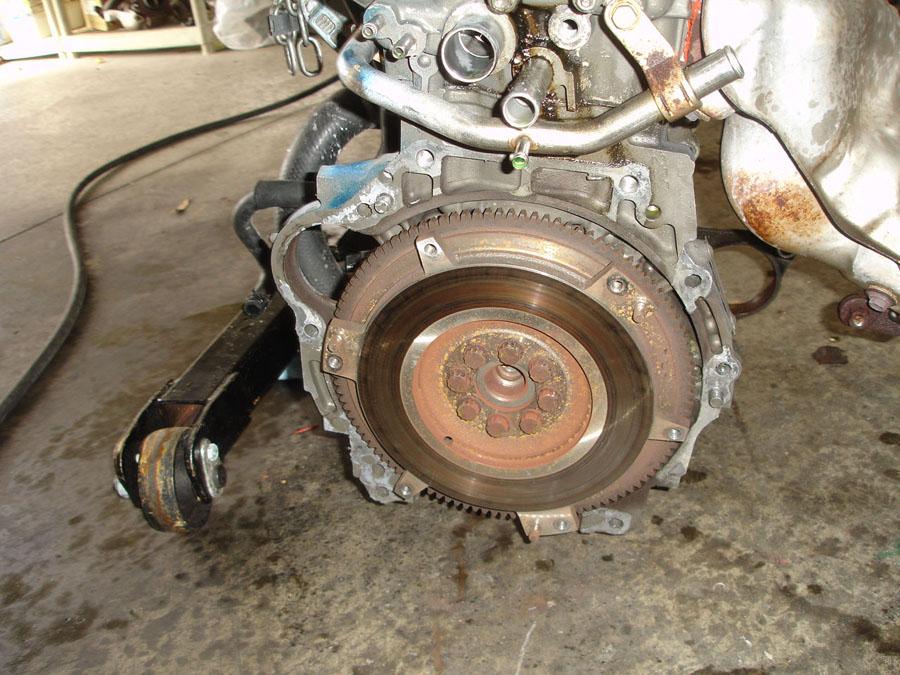
Here is the bare flywheel, its secured by (8) 14MM 12pt bolts. After removing them they should be thrown away. I have re-used them before with no issues but it is not recommended. ARP bolts for the 4A-GE are a much better replacement and can be obtained from MWR or other retailers.
Remove the alternator if it hasn’t already been done, Its secured by a 12MM bolt up top and a 14MM bolt below.
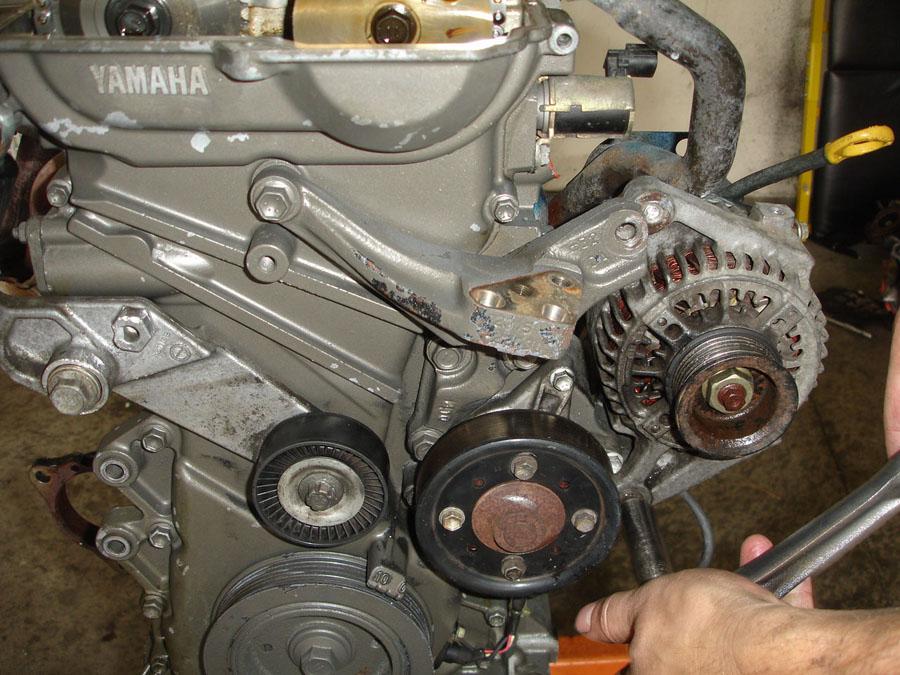
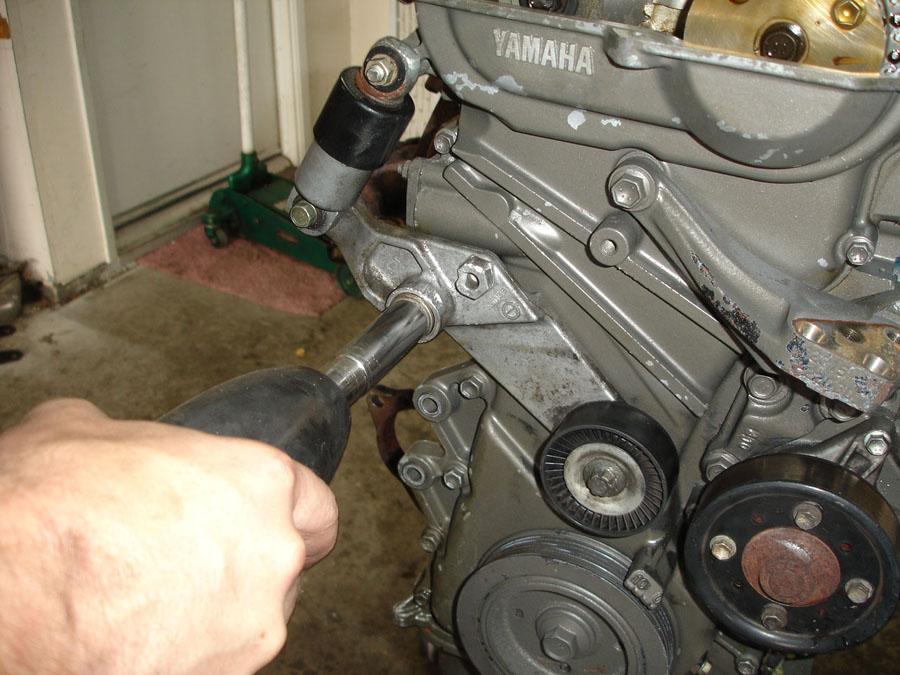
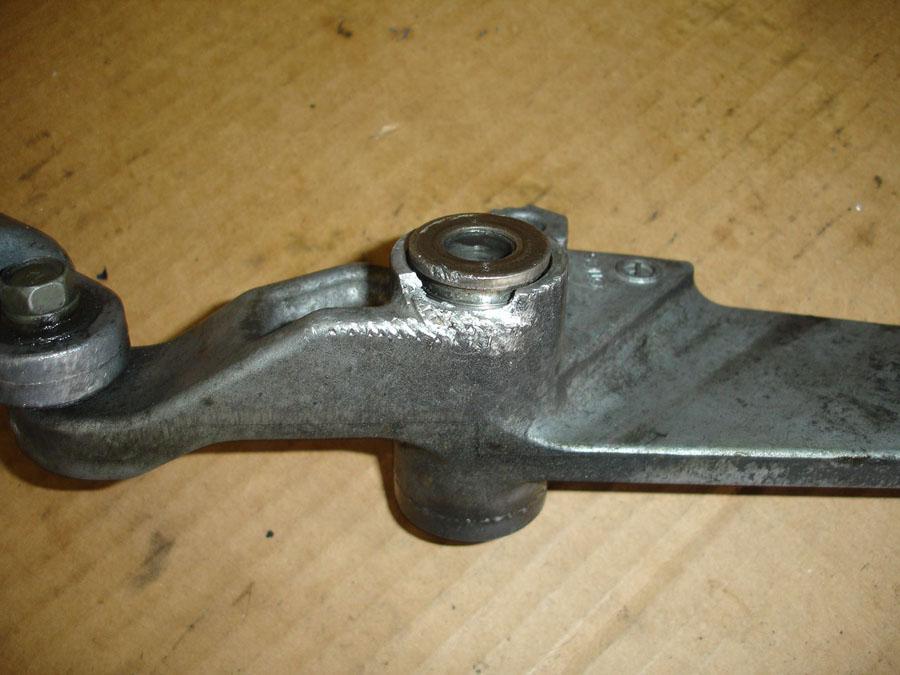
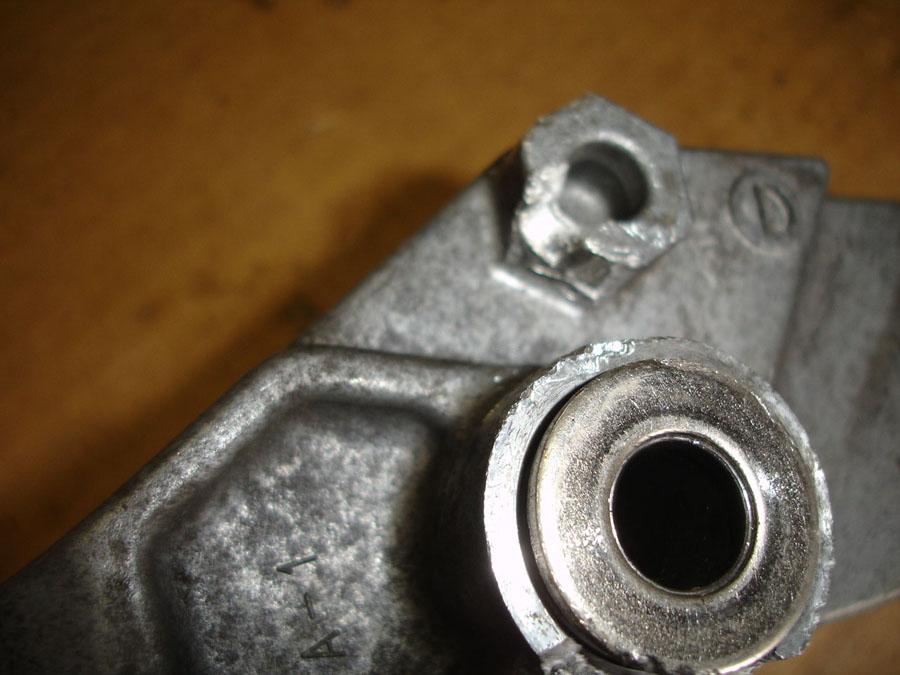
Remove the serpentine belt tensioner, its secured by a large 17MM bolt. Check it out for damage like the torque nut is stripped, replace if necessary like in this case

Remove the (4) 10MM bolts holding the pulley wheel to the water pump
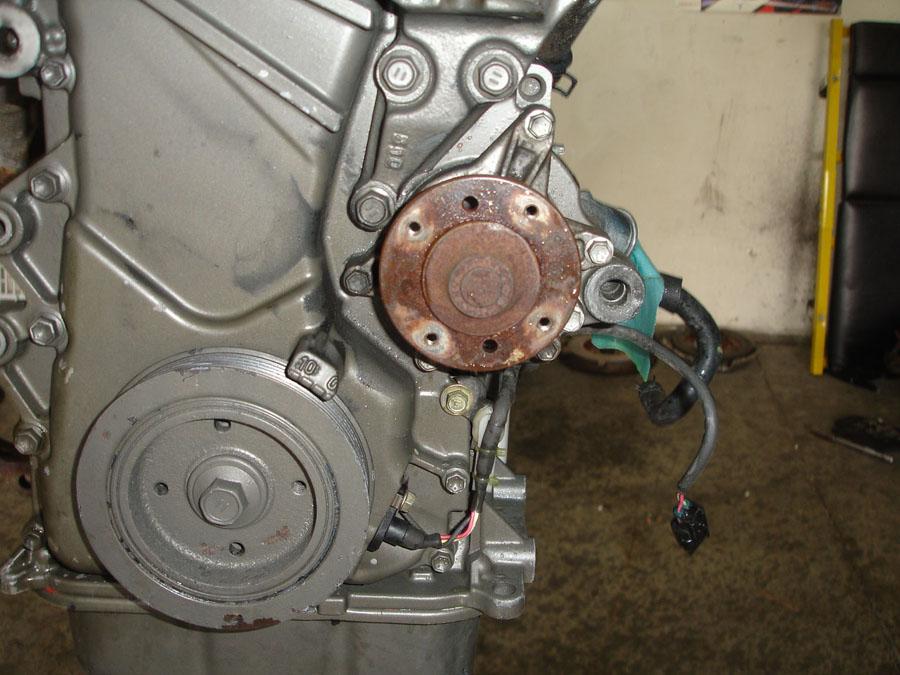
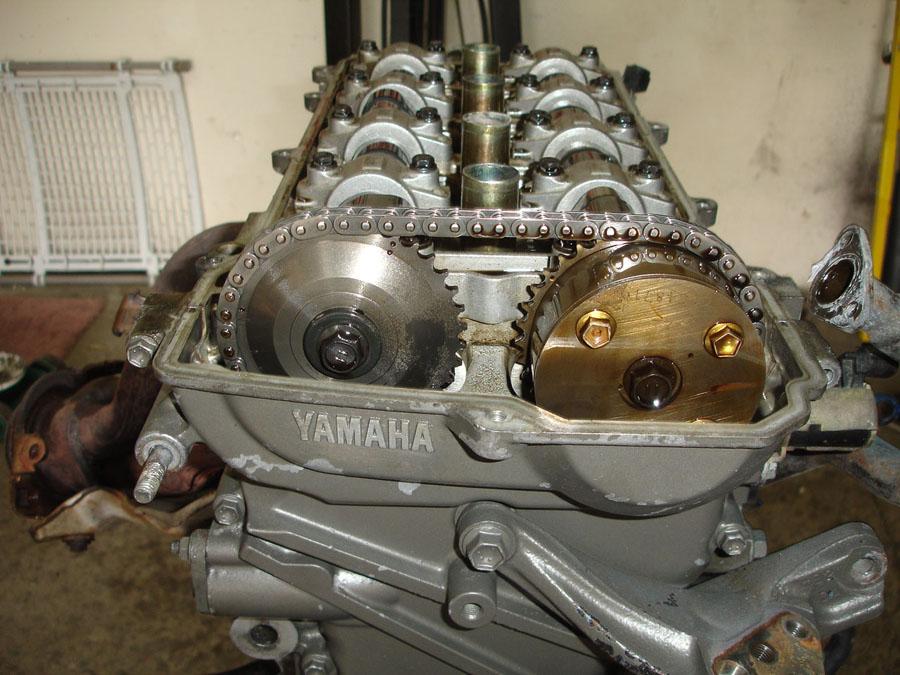
Here is a picture of the cam gears, I'm not familiar with this exhaust gear, if anyone can identify it, please PM me
Remove the water pump. Its secured by (5) 10MM bolts, pay attention, some are longer than others, remember where they went!
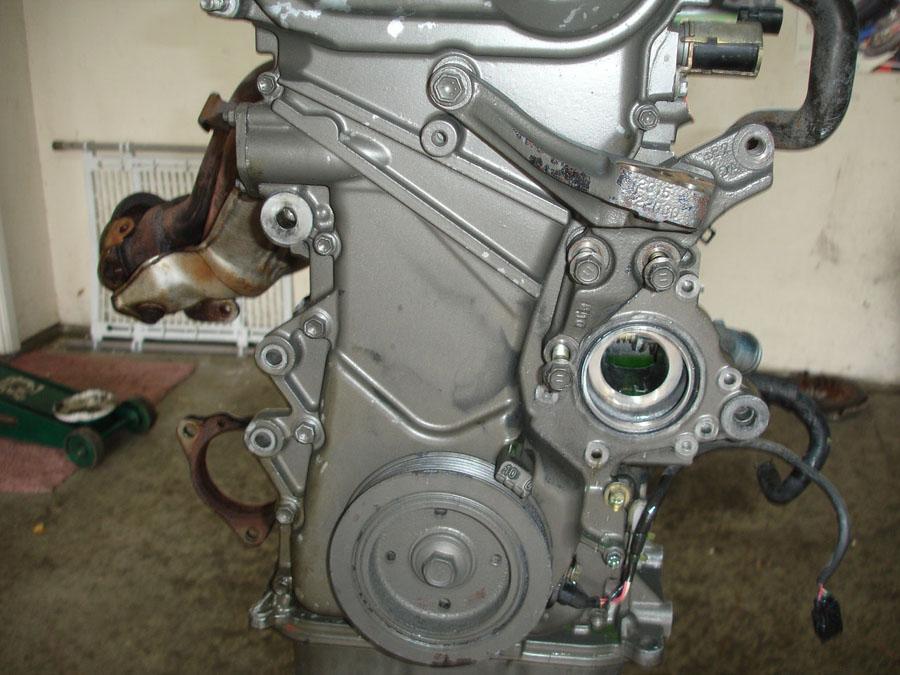
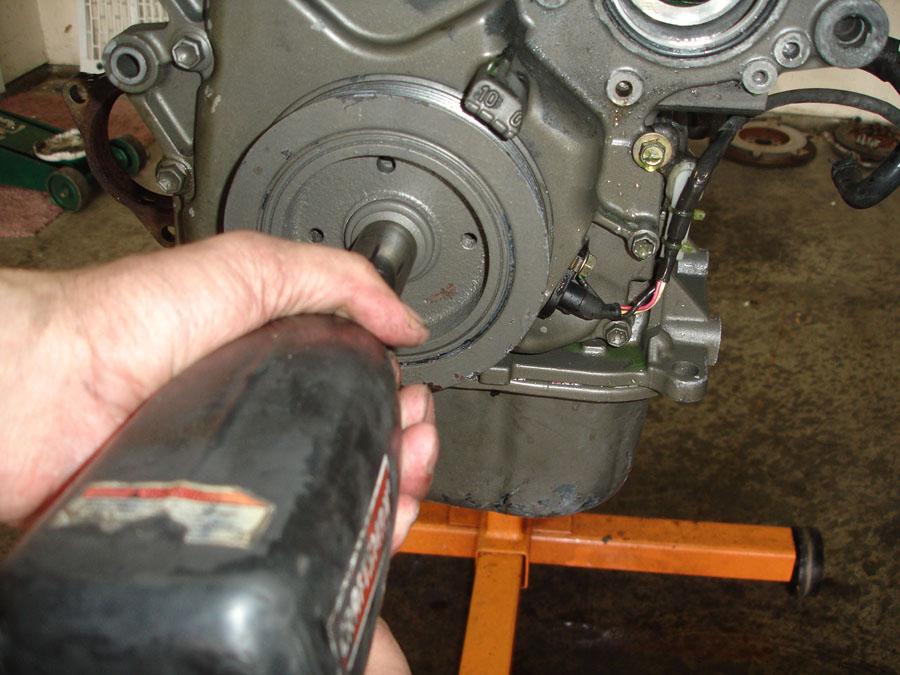
Remove the crank pulley bolt, It’s a 19MM
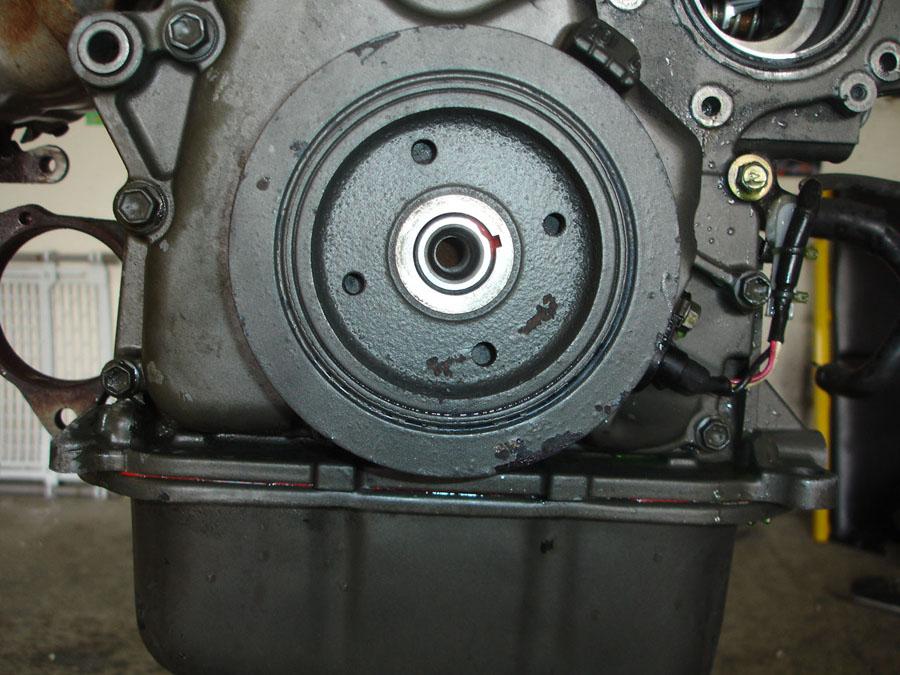
More orange silicone, BAD!
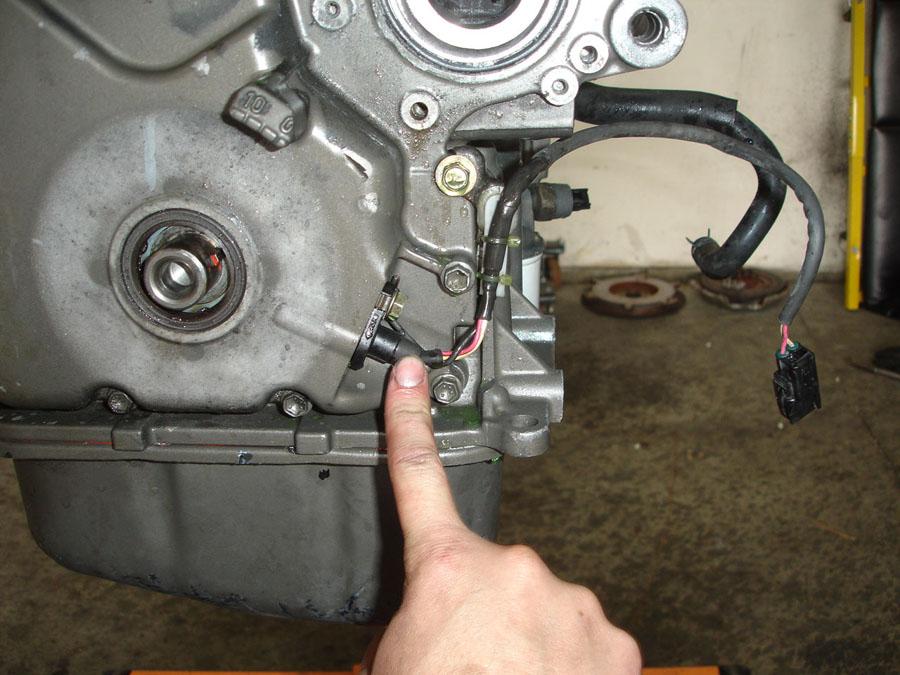
Remove the crank position sensor, it has a 10MM bolt holding it in and another 10MM bolt holding the wiring
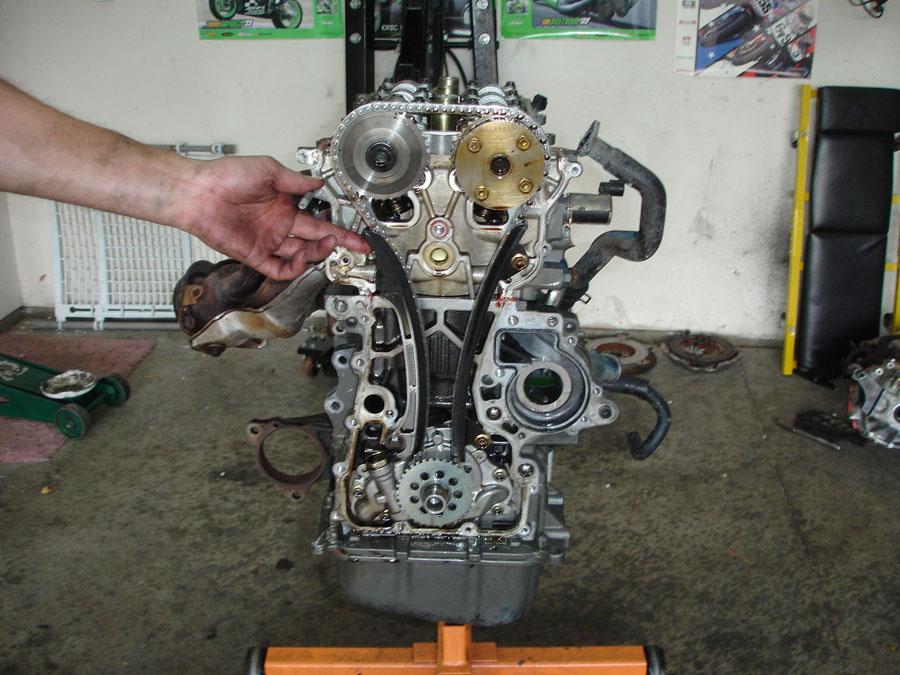
Remove the timing chain tensioner. (2) 10MM nuts hold it down.
Sorry I didn’t get a picture, but remove the remaining 10MM bolts and the (3) 12 MM bolts around the timing cover and pull it away from the block. This is what you will see.
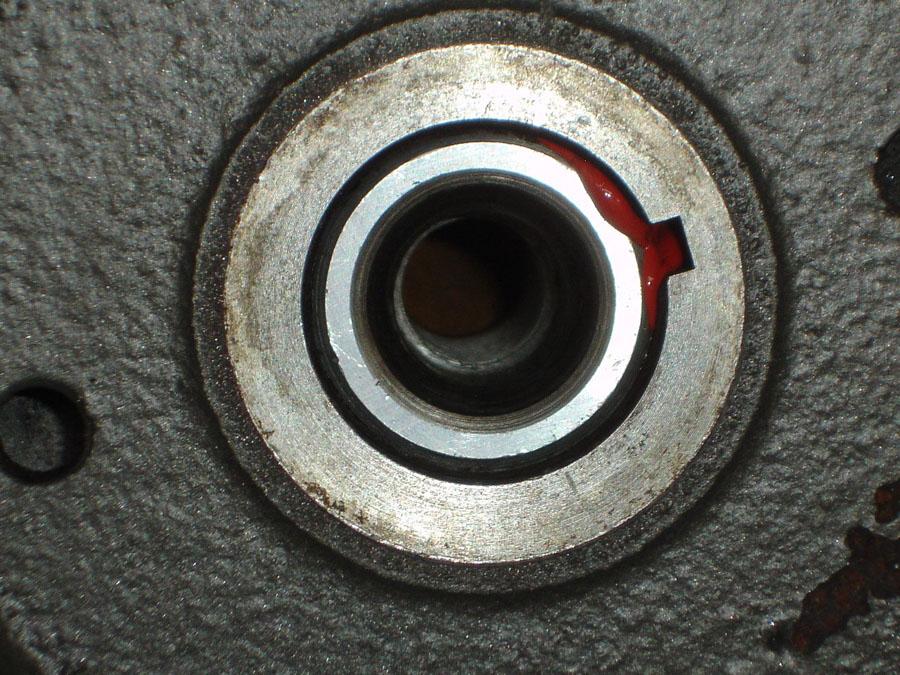
Remove the crank position sensor tooth gear. Remember that the F is facing out on assembly!
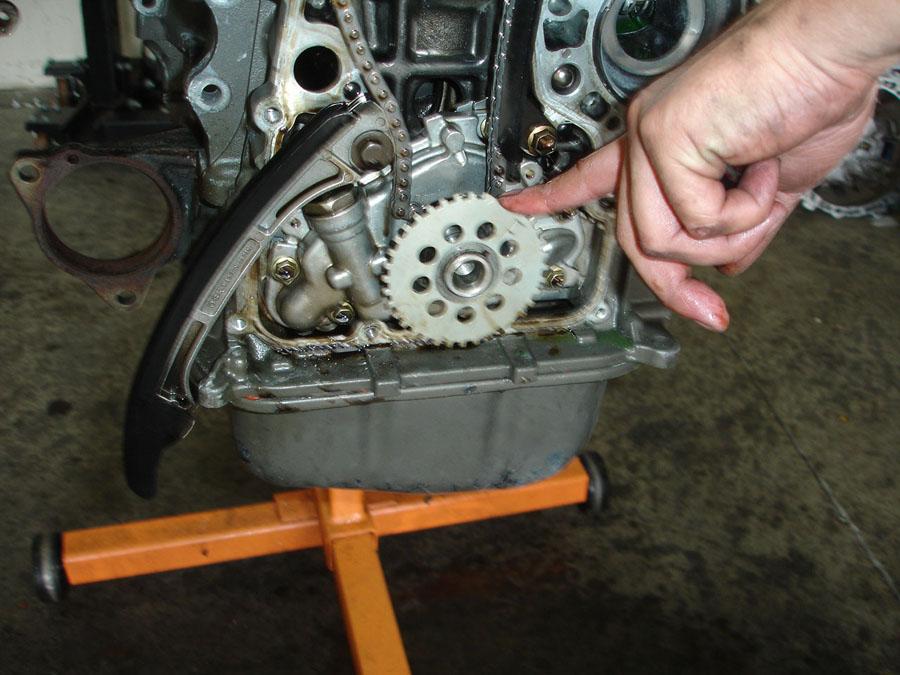
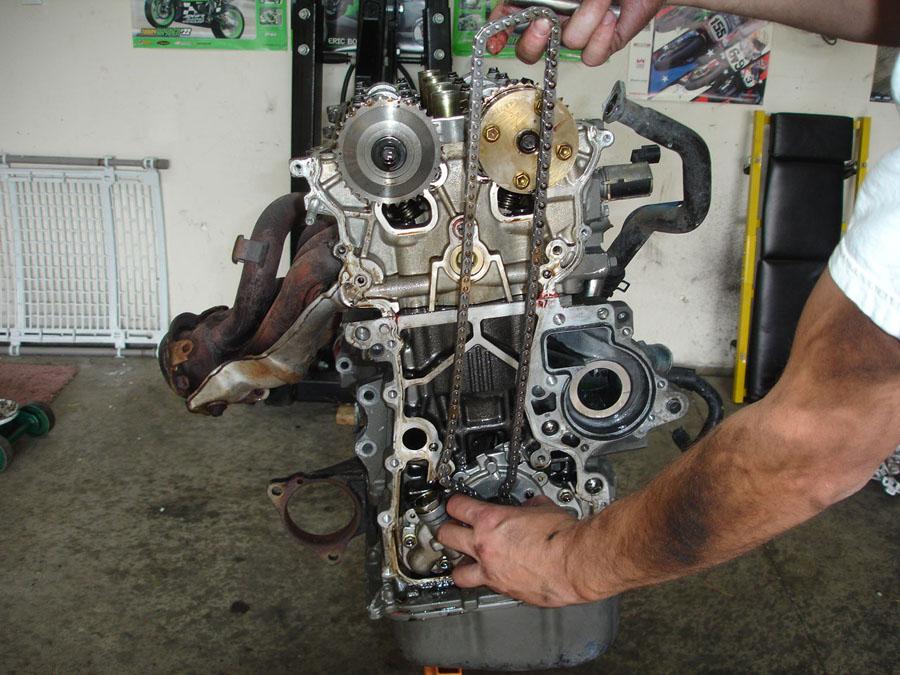
Remove timing chain by sliding the chain gear on the crank out around the oil pump.
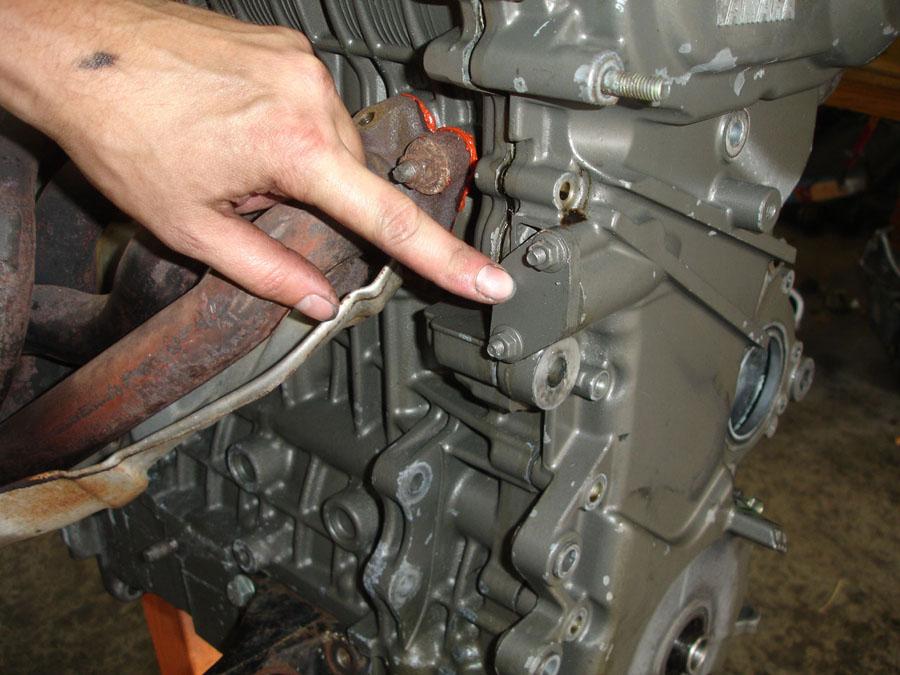
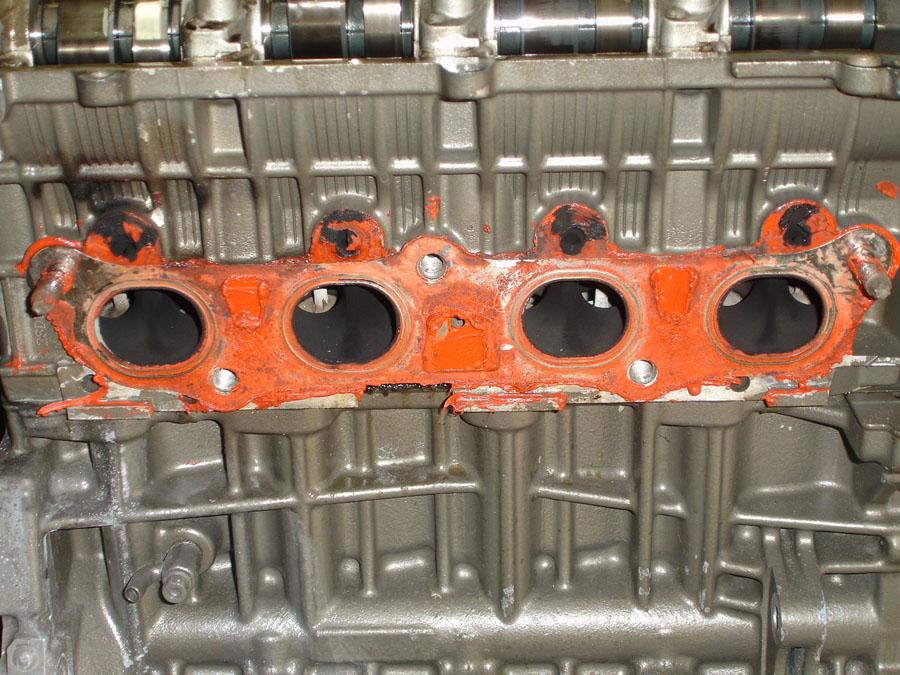
Remove the exhaust manifold (header) if it has not already been done. It’s secured by (3) 14MM bolts, and (2) 14MM nuts. You should NOT see all this orange crap!!!!!!
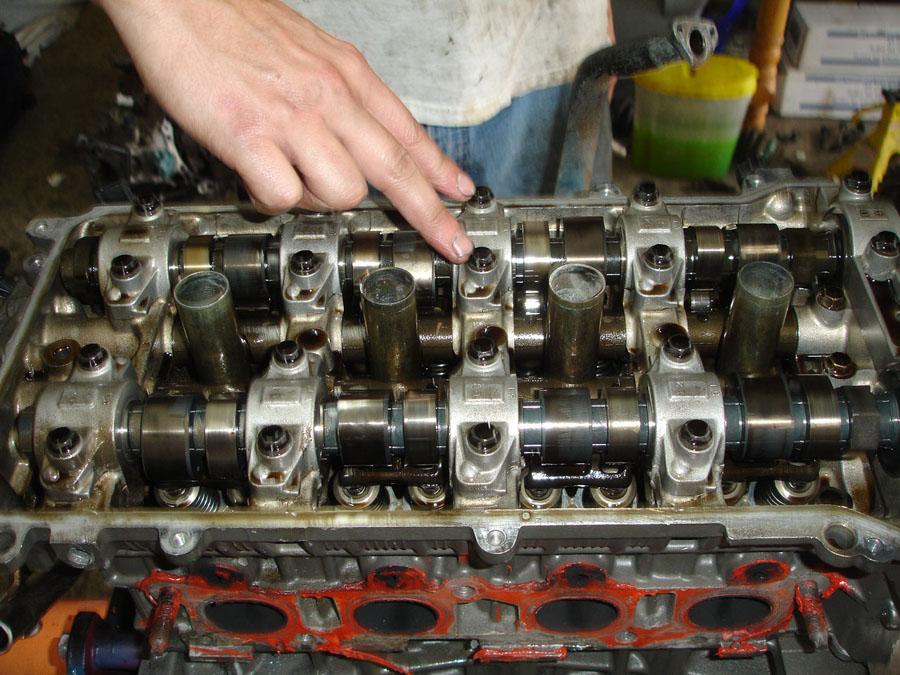
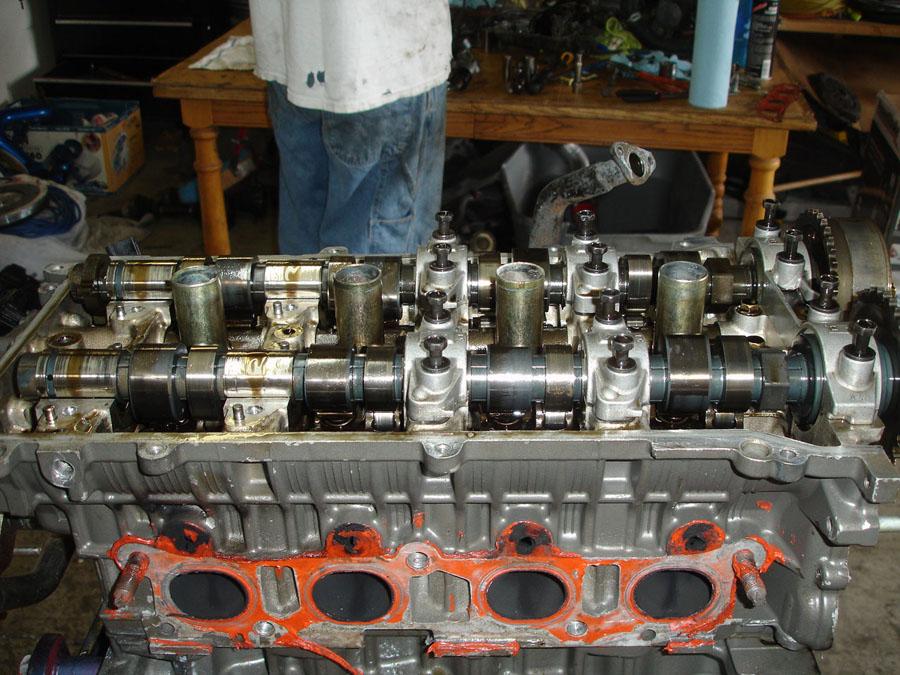
Start removing the cam caps, they are 10MM bolts. The caps are labeled so you can’t put them in the wrong place. Look at how they are marked.
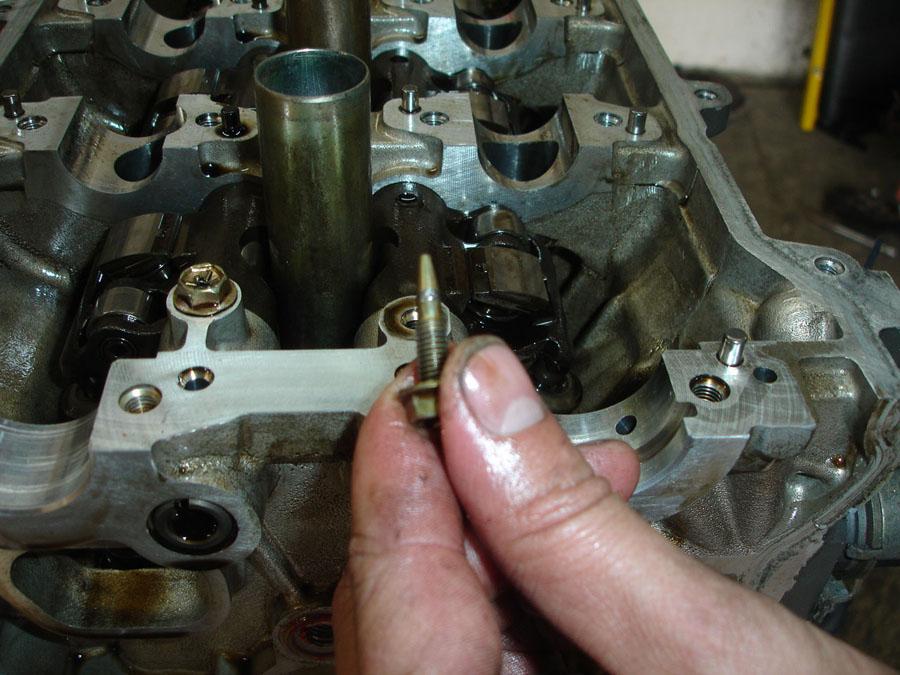
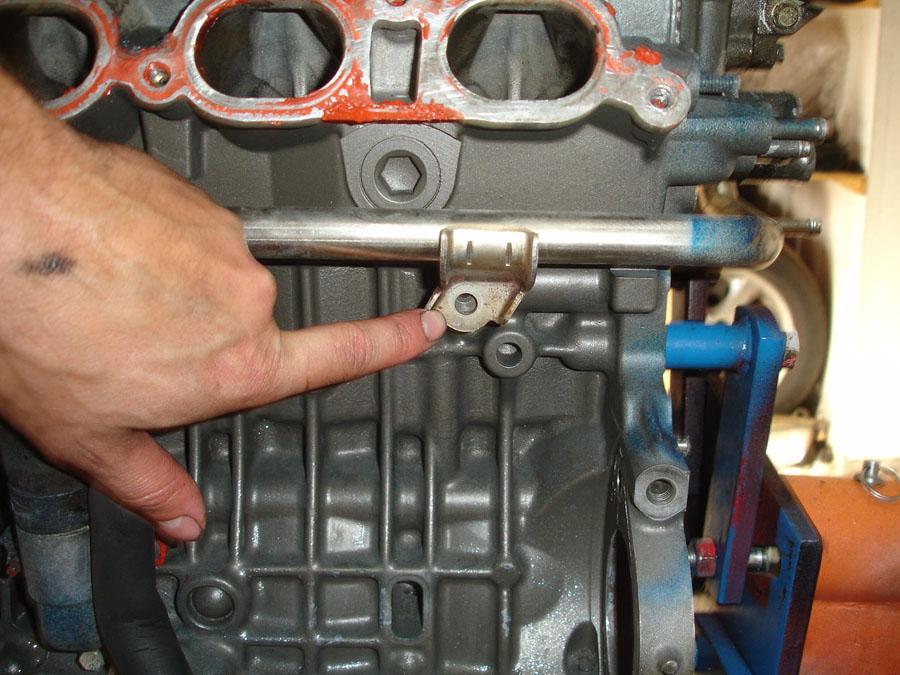
Inspect lift bolts, this is the intake that usually breaks. Here you can see the wear on it. This is the newer style lift bolt.
Remove the water pipe from the front of the block, its held on by a 10MM bolt in the front and a 12MM bolt on the side of the head.
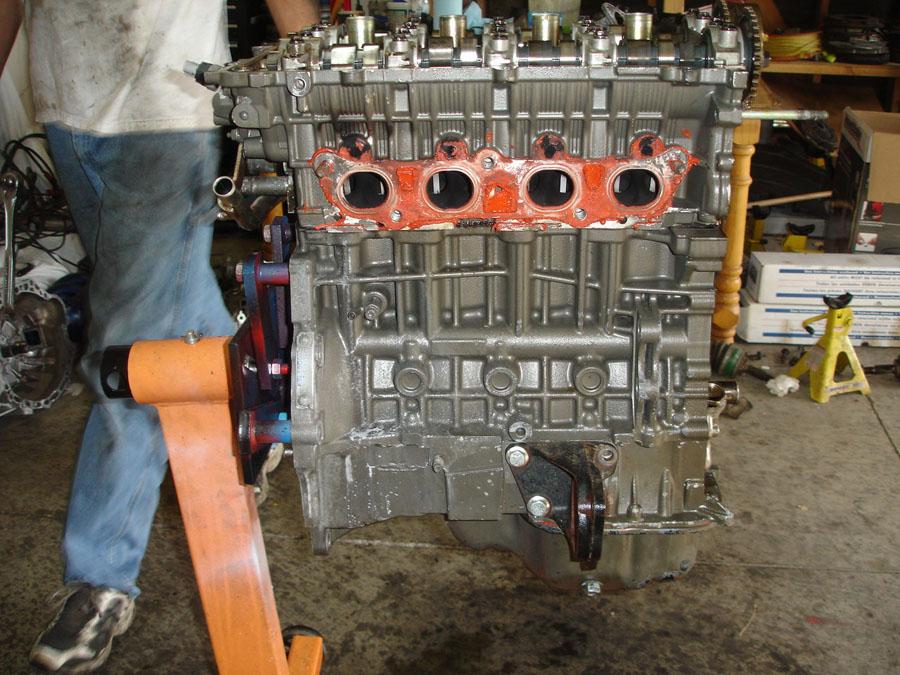
Again I forgot to take a pic, but once the cam caps are removed, lift out the cams. The head bolts are in the holes under the cams. You need a special 12MM 12pt tool to remove the bolts. Start with the middle 2 bolts and work outward in a cross pattern. Once all (10) bolts are removed, lift off the head.
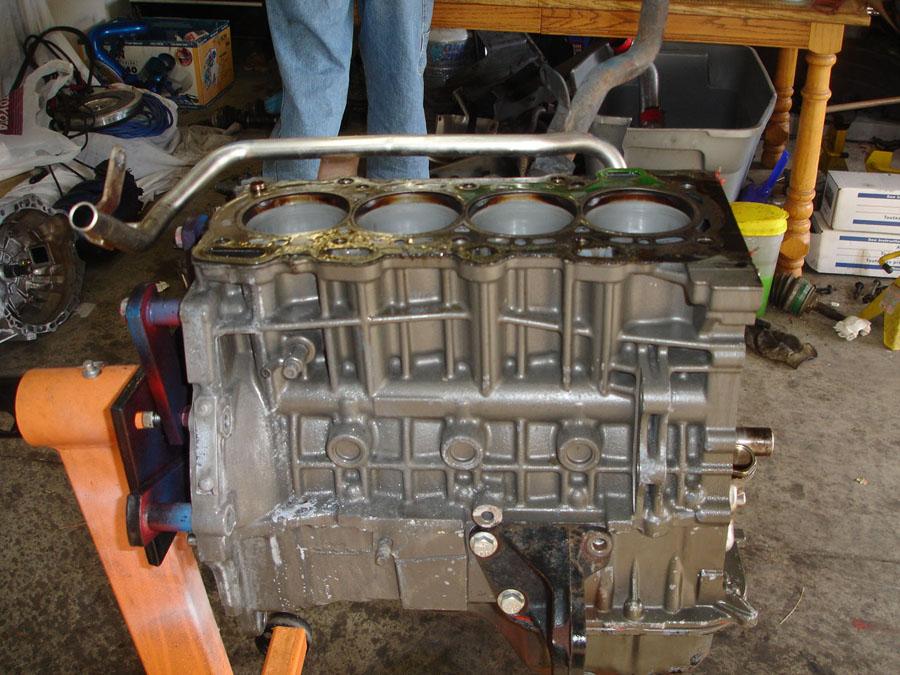
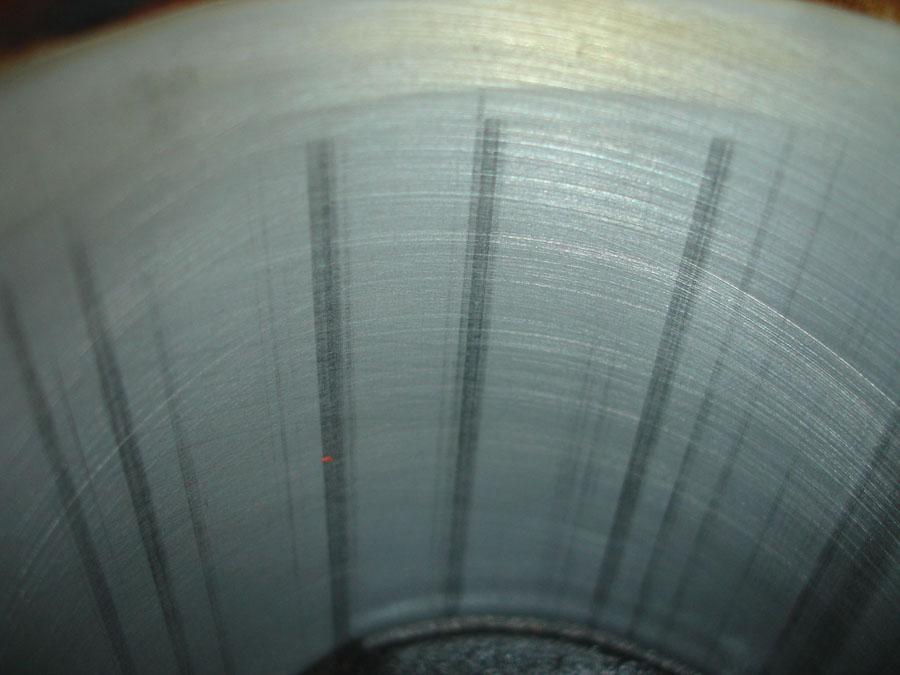
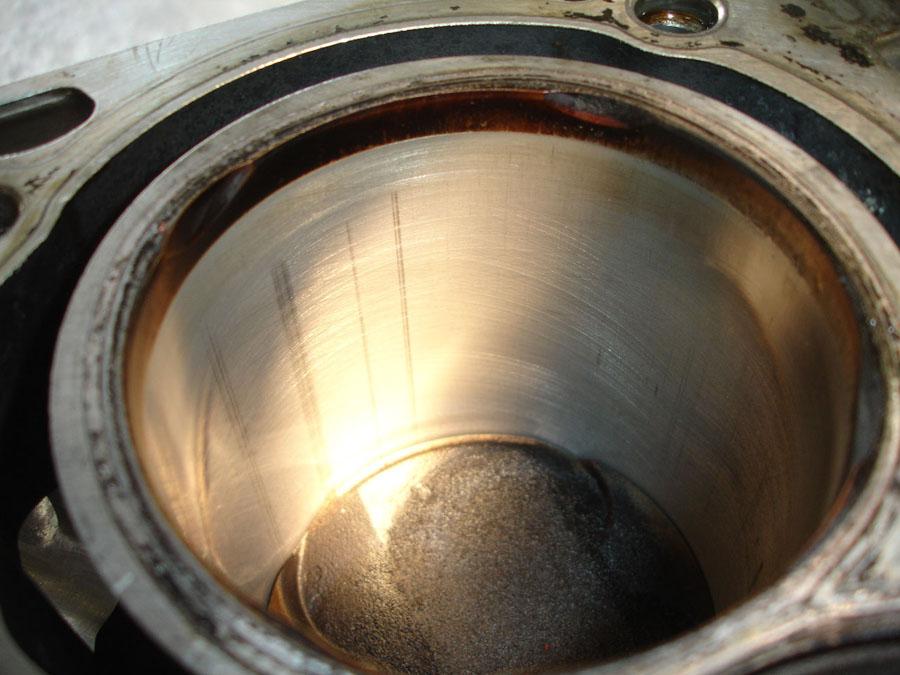
Check out these cylinder walls!!!! This is a 2ZZ-GE and is NEVER to be honed! This poor individual had a shop assemble this engine, no wonder it burns oil! While honing the cylinder is common practice on MOST engines, it’s not done on the 2ZZ-GE. The pistons, rings, and cylinders are all TOAST! This block must be sleeved to be salvaged, Fortunately that’s the plan and a turbo will be going on with new pistons.

10-16-2012
no they are not the same block. the 1ZZ has an iron insert or liner in the cytlinder. the 2ZZ is a treated cylinder wall. if you hone it you damage that surface and the engine will burn oil