You must be logged in to rate content!
10 minute read
Need to replace your Shortblock? Here's how
Compliments of Smaay @ newcelica.org
10-3-2011
This thread is for those that need to replace their shortblock due to excessive oil burning and or damage like spun bearings.
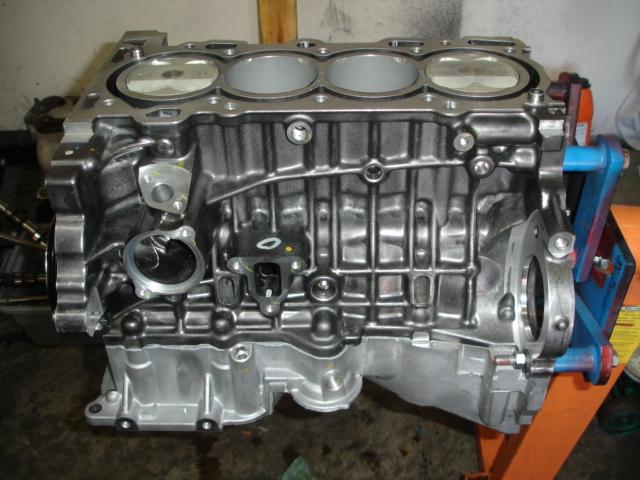
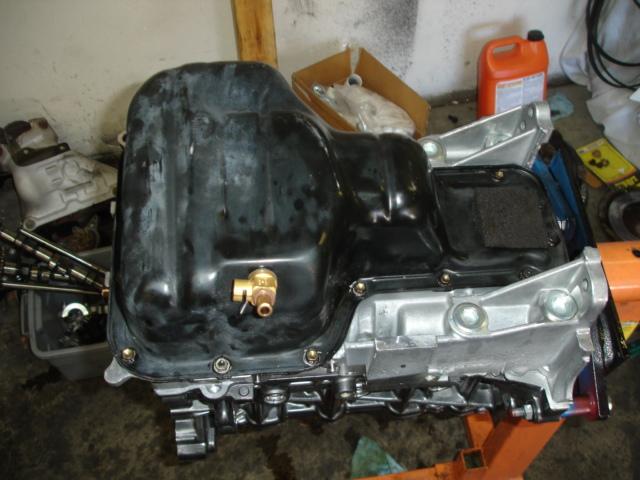
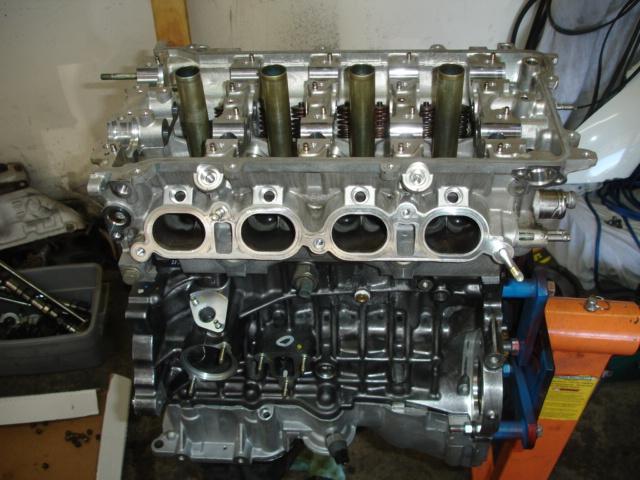
Here is the new shortblock from Toyota. Cost has gone up quite a bit. i used to get these for about 1600 but now they list for 2100.
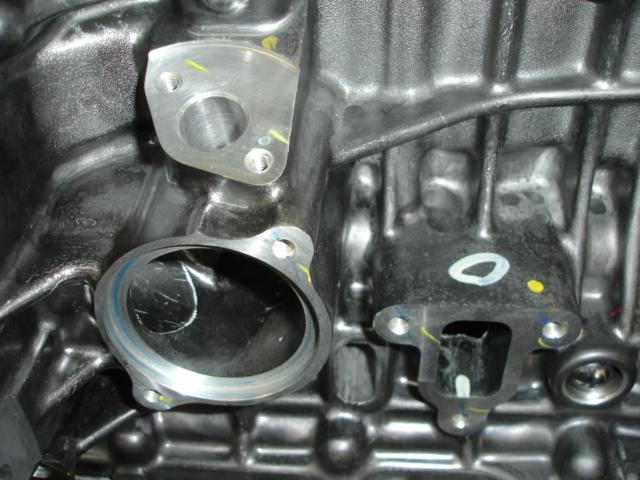
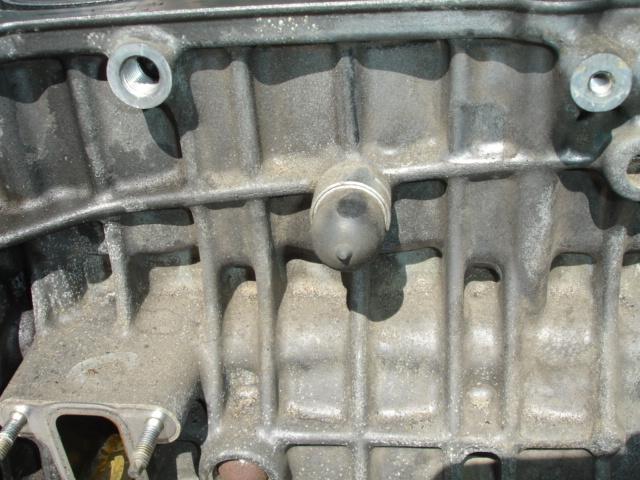
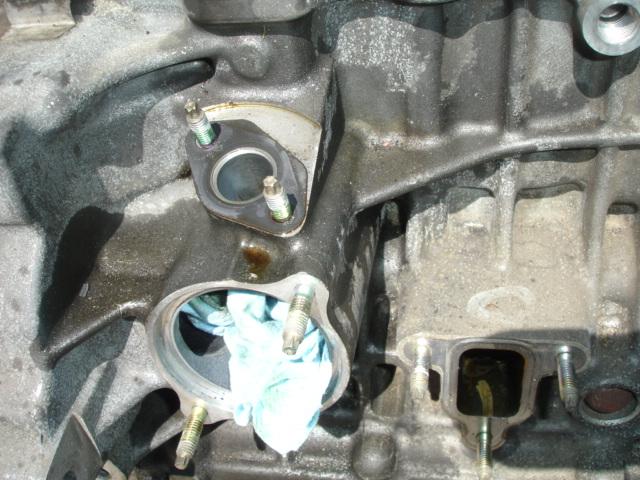
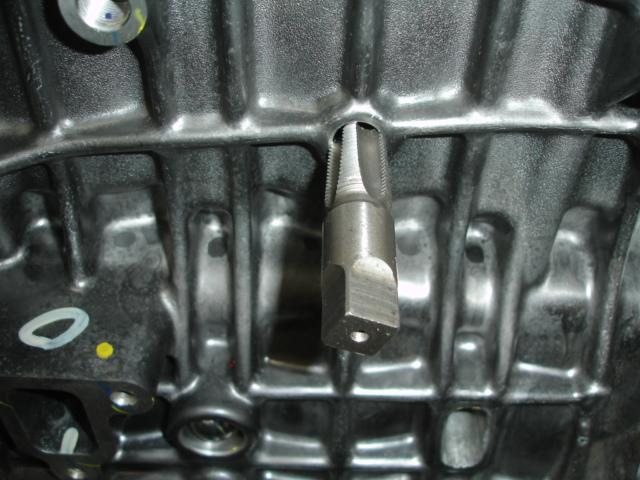
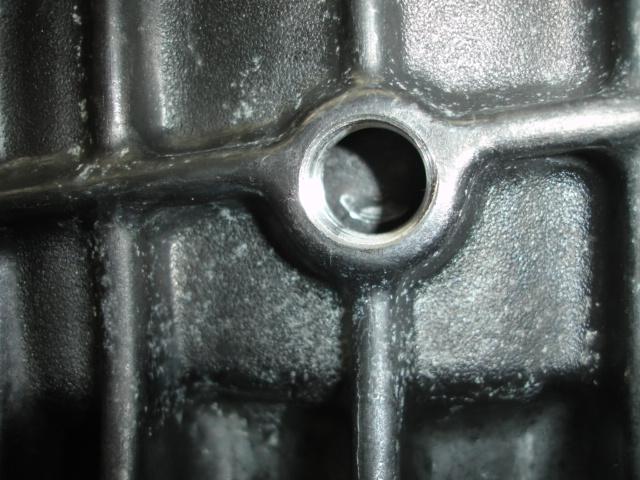
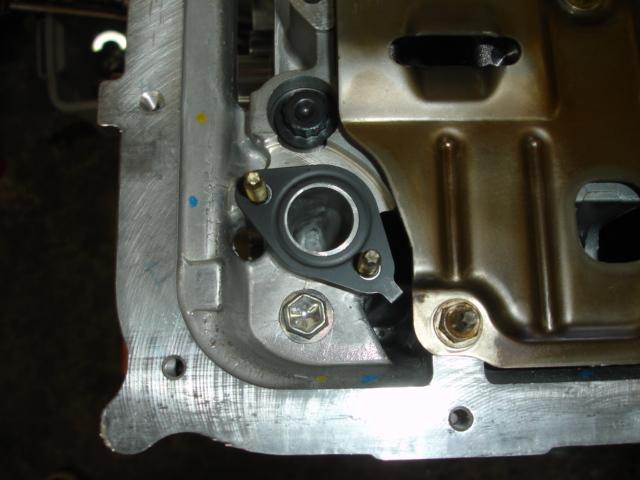
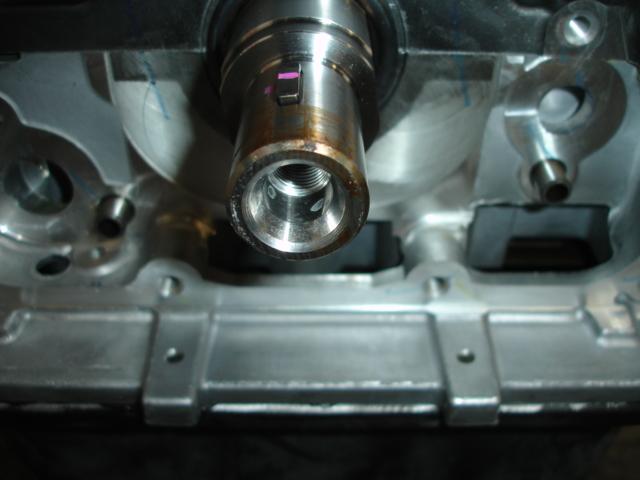
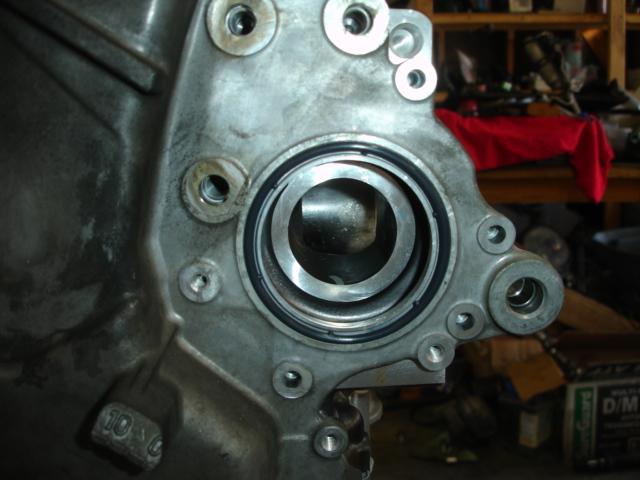
Now there are some things that need to be done to the new block to make it ready for installation. First off on the front you see what looks like a 1/2 inch hole. This is where a steel hose sticks out and has a rubber nipple cap on your legacy block. This hole will need to be tapped and plugged.
Next is all the small studs for the water pipe, thermostat, and oil breather. use a 4mm socket to remove them from your old block and install on he new block
Here you can see the rubber cap and the studs on the old block.
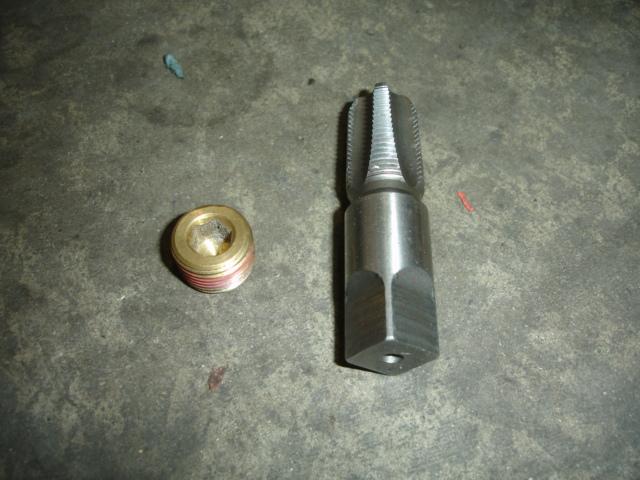
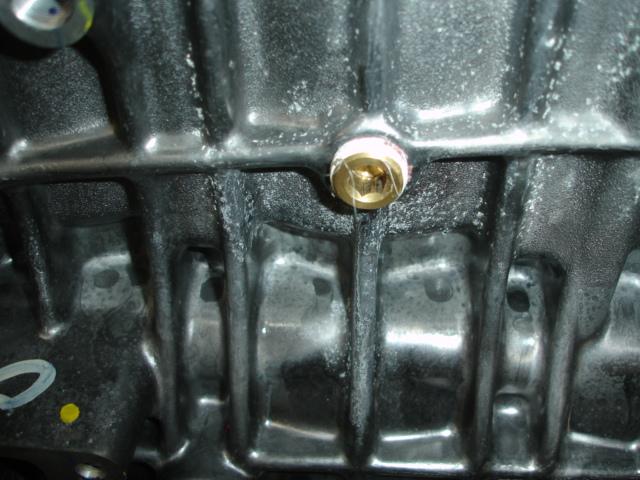
Here is the Tap and plug. Now here is goof on my part, i cant remember if i used a 1/4 npt or 5/16 npt plug.
New threads in the hole
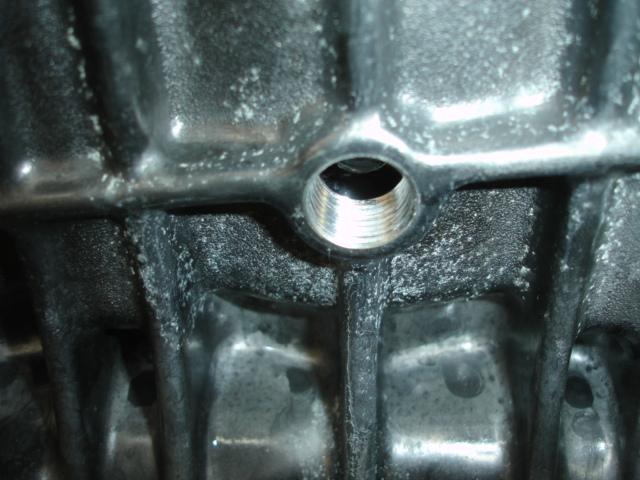
Tighten the plug in so its fairly tight.
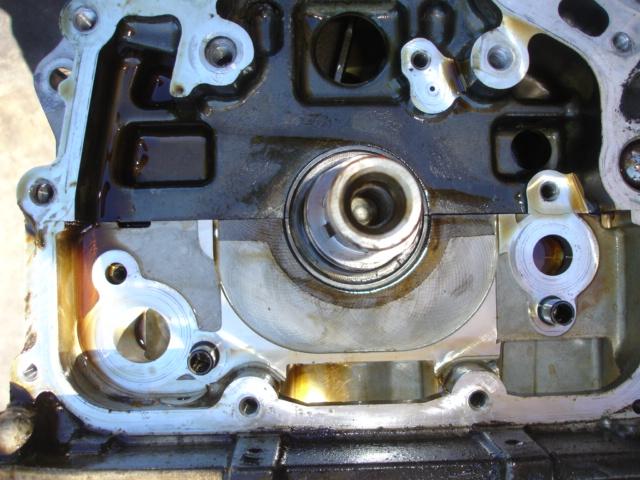
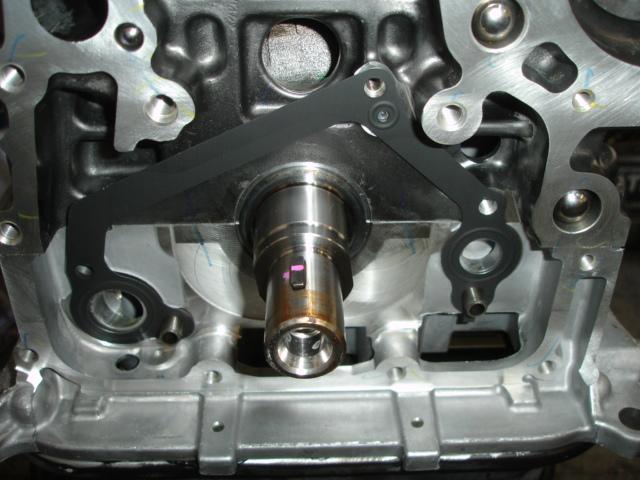
Next part that needs to be transferred is the alignment dowels for the oil pump. Just use some channel lock pliers and twist them out. vice grips will also do the job.
Next get the studs off the windage tray and oil pickup. use the same 4mm socket as used earlier.
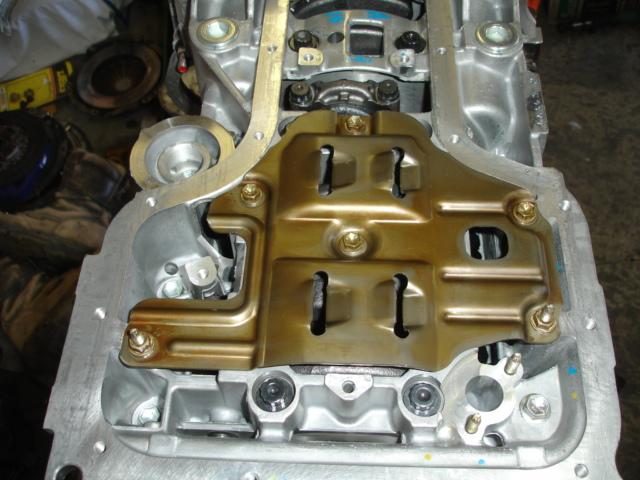
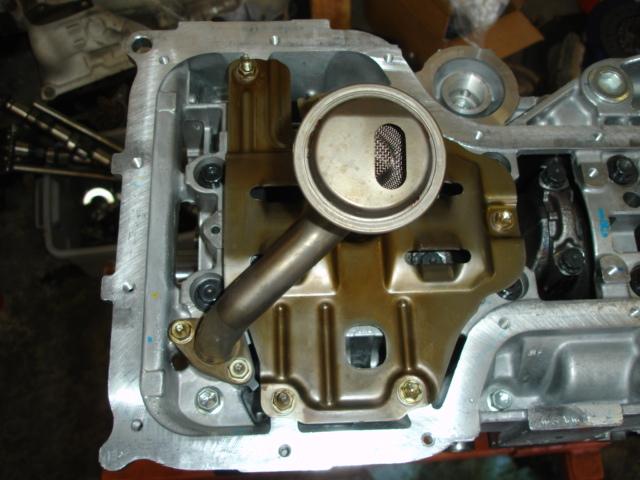
Install the new gasket for the oil pickup and then install the pickup.
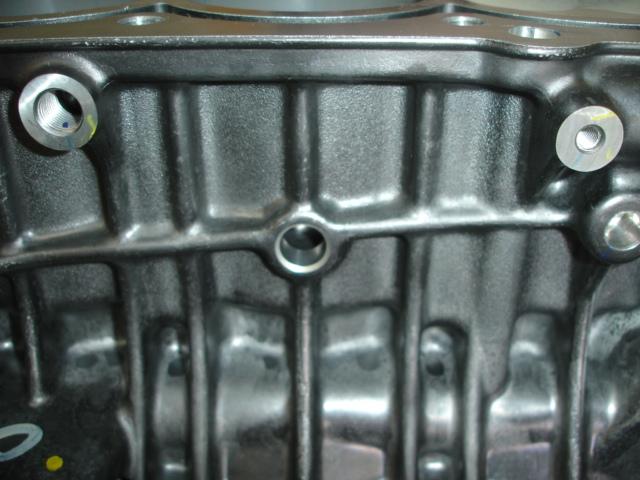
Using the same channel locks carefully take out the small studs around the oil pan and transfer them over to the new block. Then using toyota FIPG install the oil pan onto the new block.
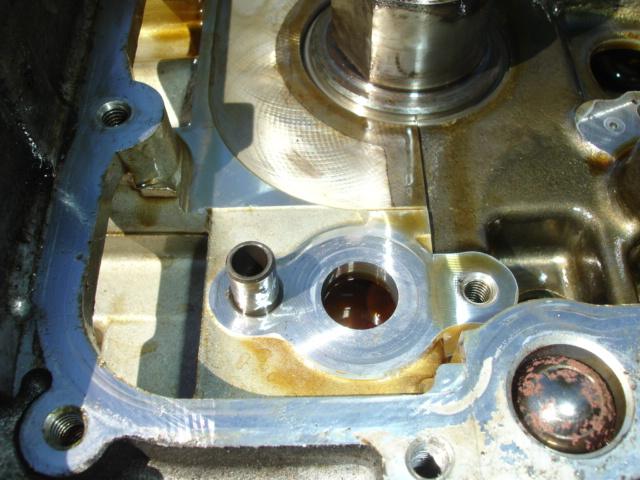
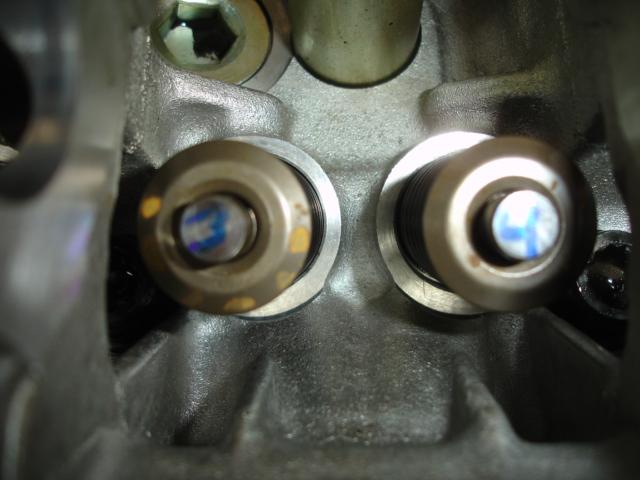
Here are the oil pump alignment dowels installed into the new block
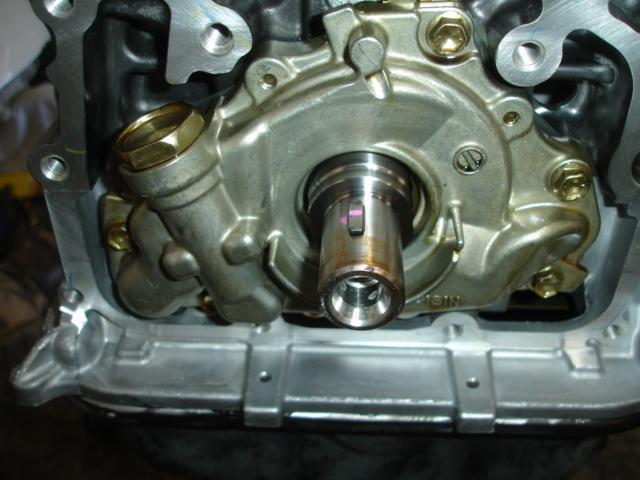
Install the oil pump gasket and the oil pump
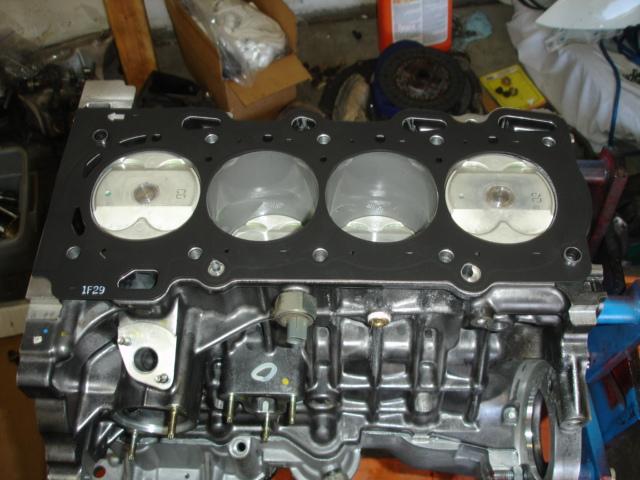
Here is the head gasket on the new block, you can also see the knock sensor and the oil pressure sensor.
set the head on the block and torque it according to spec. If you are using stock head bolts you torque them to 25lbs starting from the center and cris crossing outward. Then in the same pattern turn the bolt 90 degrees more. Then repeat so you actually turned them 180 degrees.
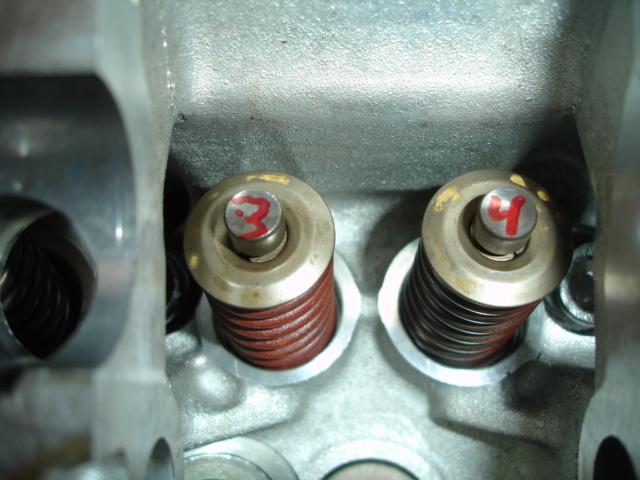
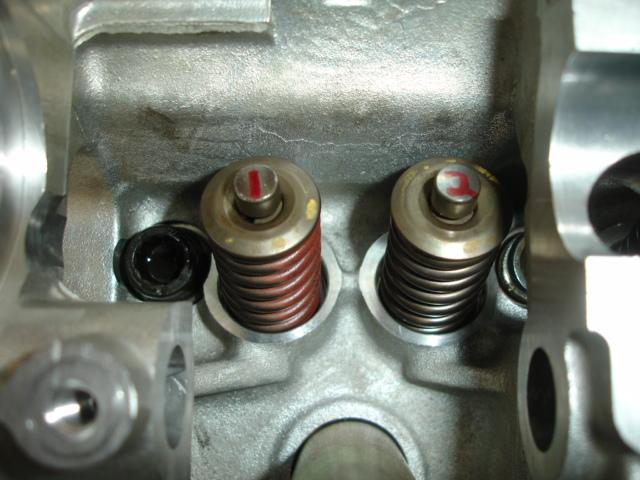
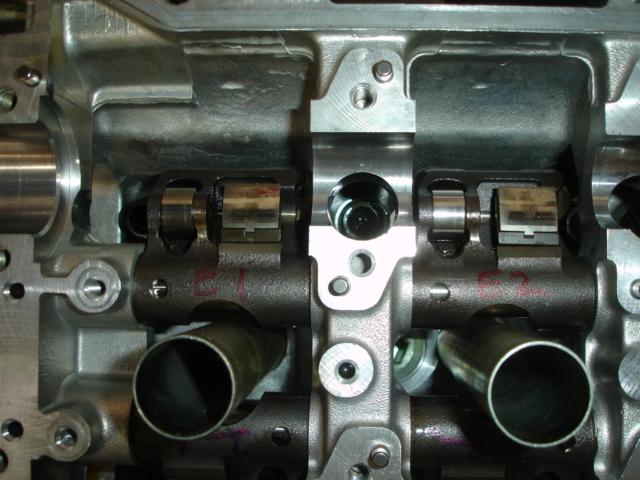
When i took this head off before i cleaned it i numbered all the shims and rockers so i know where they were.
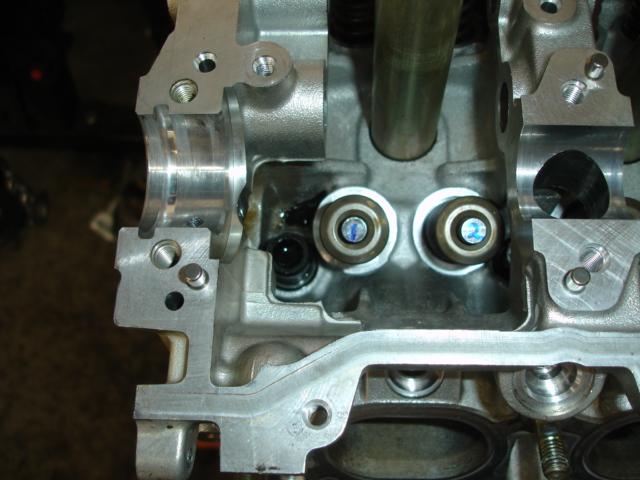
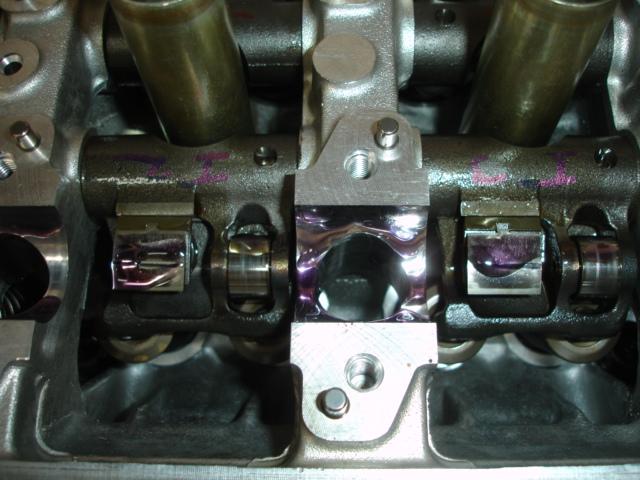
Make sure you installed the correct shaft for intake or exhaust it is possible to mix them up. Here you can see where i had to also fix a broken lift bolt on the intake side
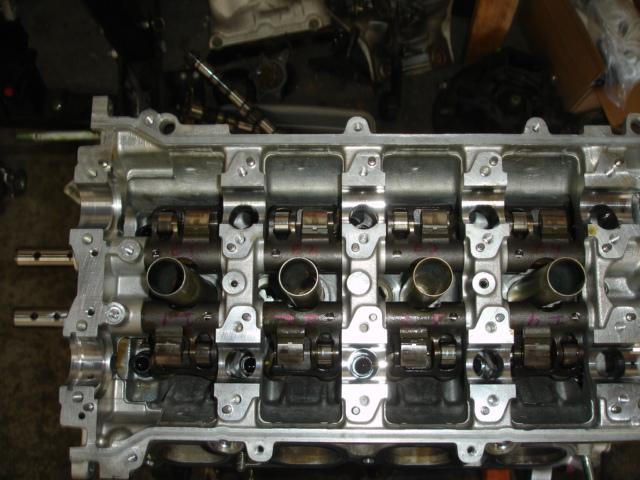
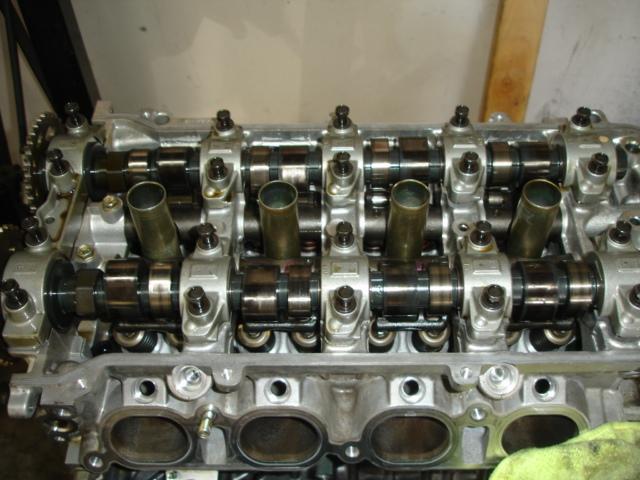
Apply a generous amount of assembly lube and install the cams. Torque the caps to 15 lbs.
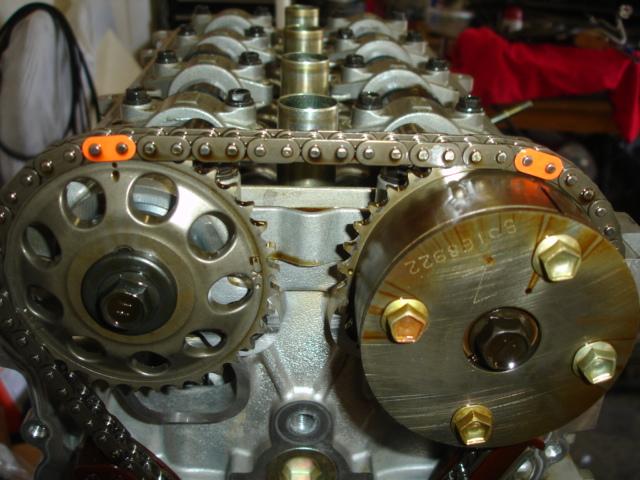
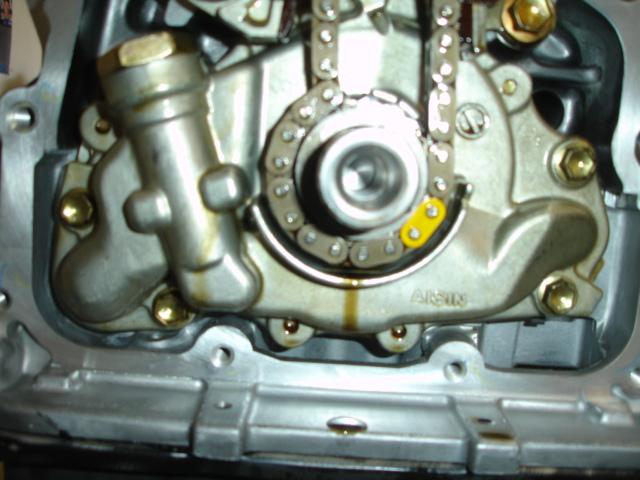
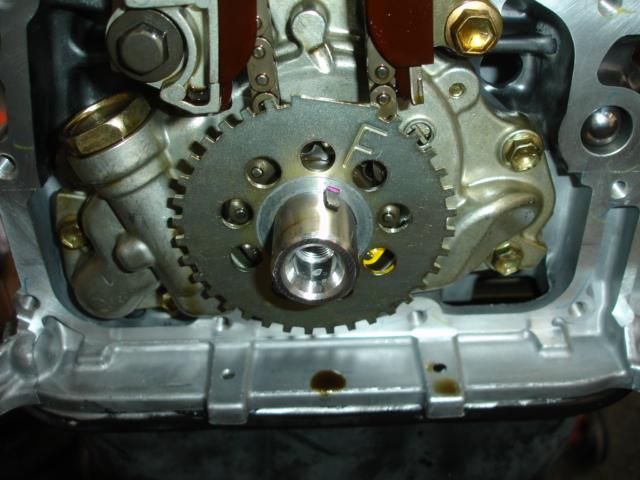
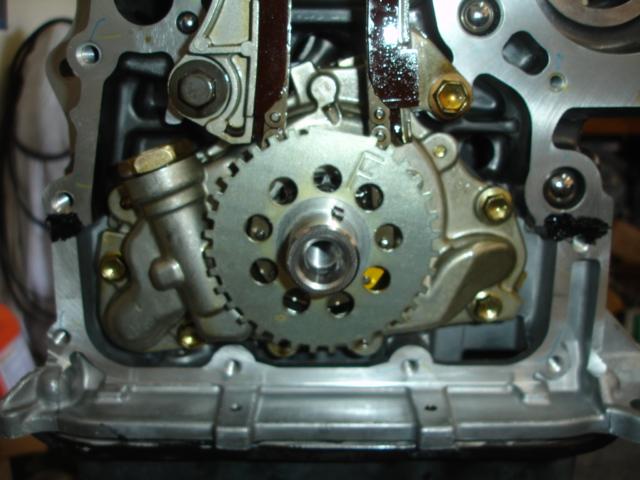
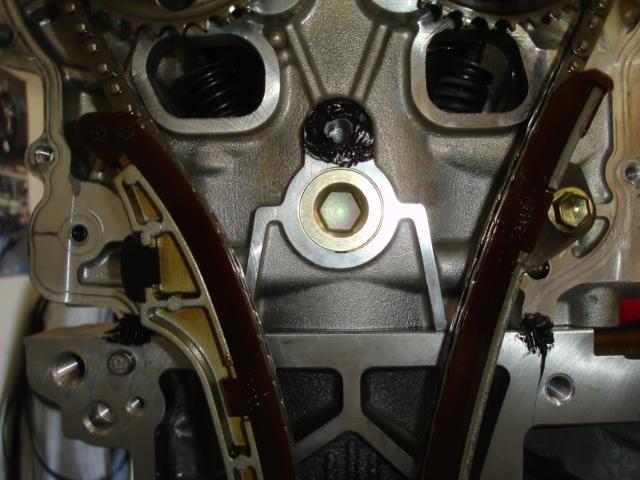
Make sure you set up the timing. the orange links line up on the cam gears and the yellow link is on the dot of the cam sprocket. Take notice that the lobes of the cams are pointing upward towards each other in a 1 and 11 o'clock position.

install the timing indicator so that the F is facing out.
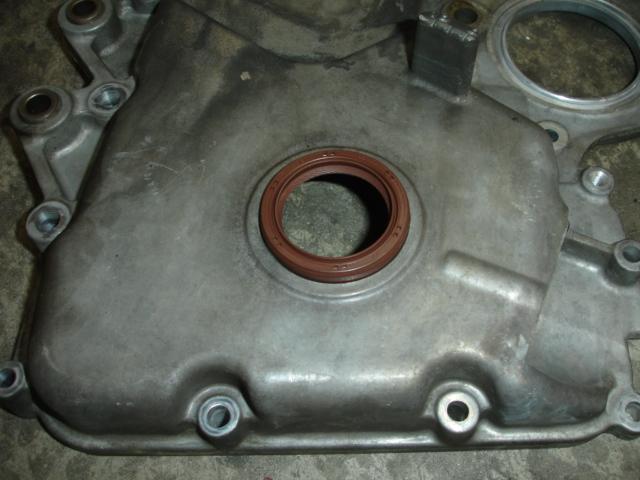
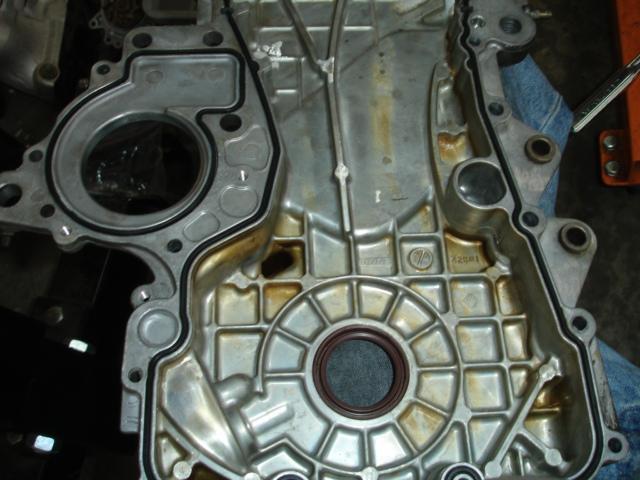
replace the front main seal and gaskets into the timing cover
Apply a bit of FIPG on the spots where the block mates with the head and girdle and around the bolt hole in the head. You can see the block spots in these 2 pictures
install the bolts around the timing cover. Install the new water pump gasket and water pump
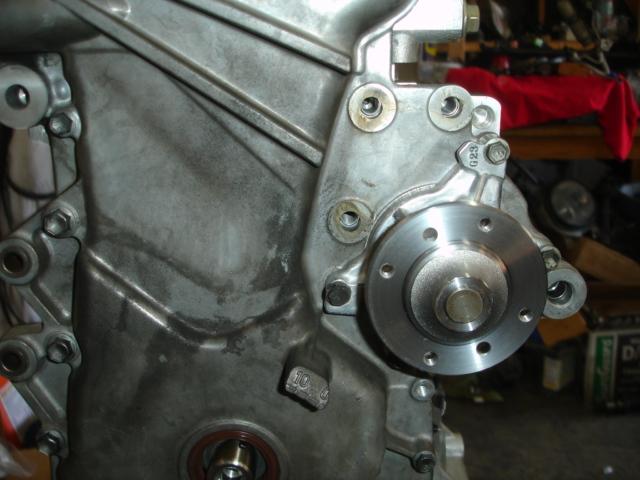
Install the engine mount bracket, belt tensioner and pulley on the water pump

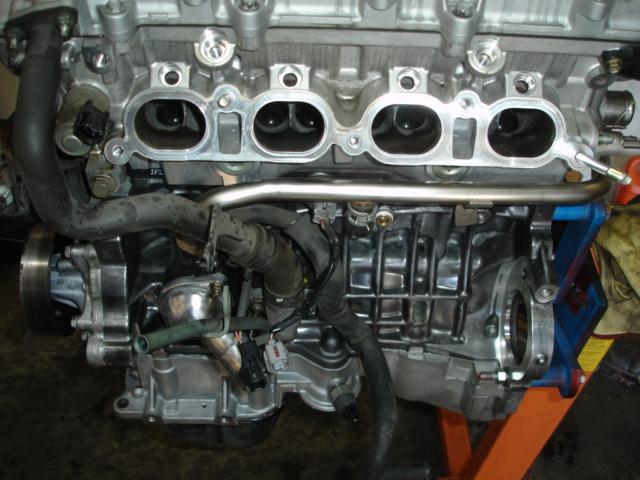
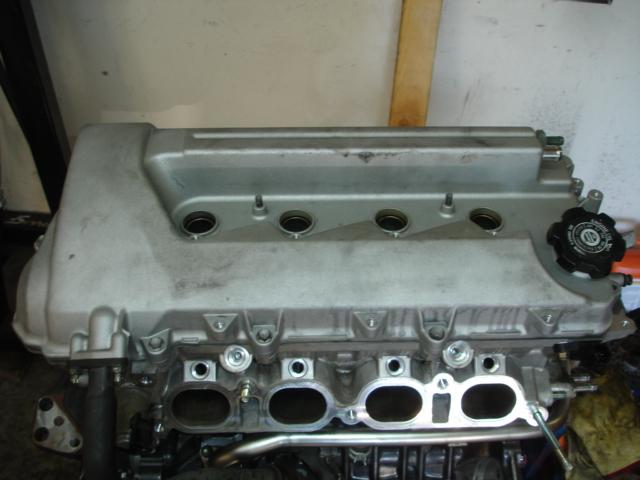
Install the oil breather tube, valve cover, hard water line, and thermostat and cover
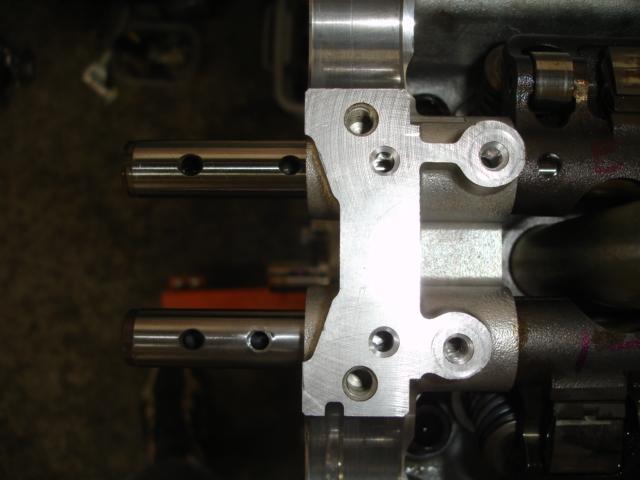
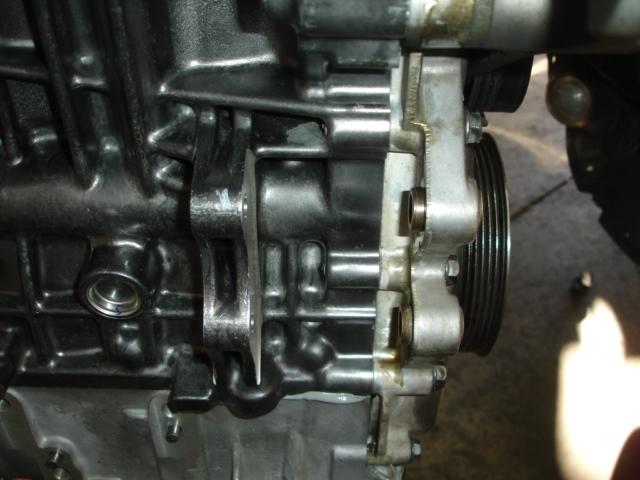
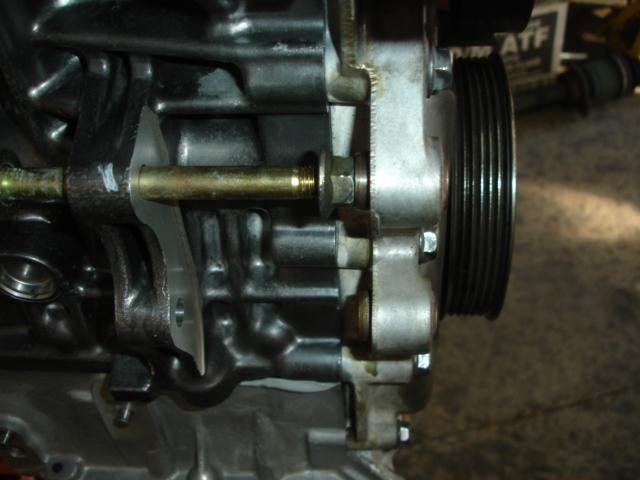
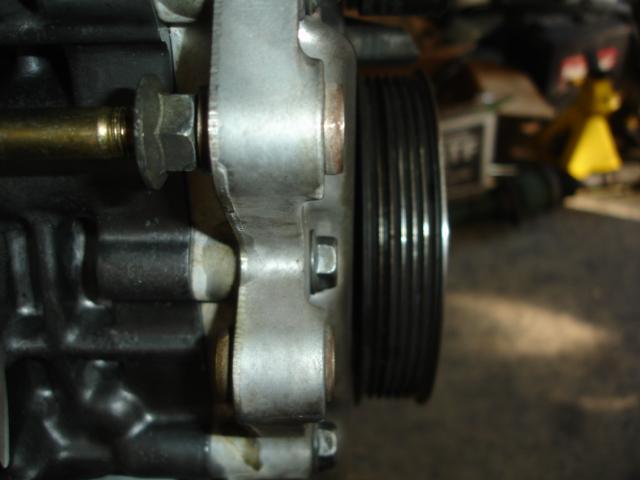
Now for the power steering pump. Here you can see the drift spacers i call them. if you dont tap these back out it will be a real PITA trying to get the power steering pump in.
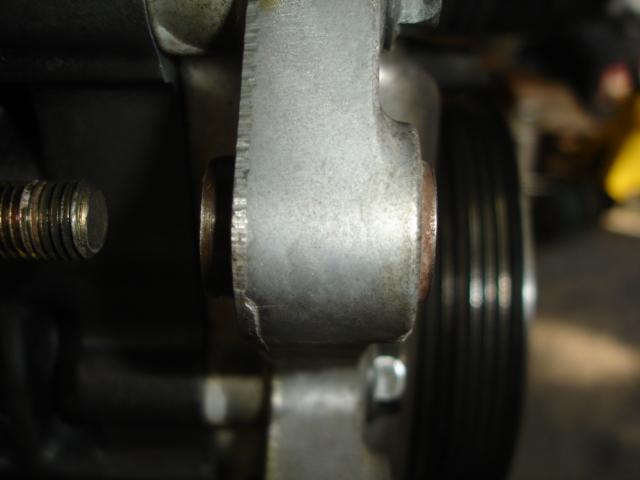
So what you do is take one of the bolts and put the nut on it like this
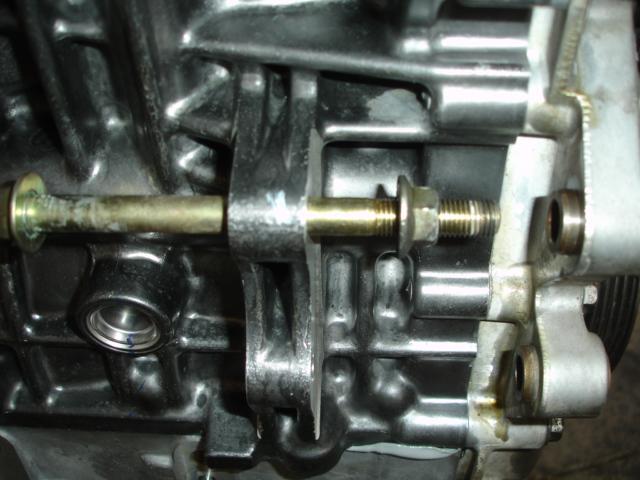
Then give is a good smack or two with a hammer to push out the drift spacer.
Unfortunately I forgot to take a picture, but the last part that needs to be transferred over is the block drain fitting. This is on the backside of the block. Once you have done that, its just install the clutch and flywheel, mount the transmission and exhaust manifold. Then you are ready to drop back into the car.
3-19-2012
this is a 2ZZ. you didnt notice the rockers? or the tiny shims on the valves? 1ZZ's dont have either of those