You must be logged in to rate content!
5 minute read

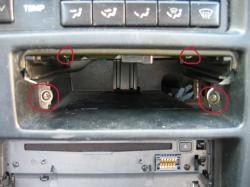
1. Give yourself space to work. Make sure to slide the seat all the way back and tilt the steering wheel up as far as it will go. Remove the ash tray from the holder. Pull the tray as far as it will go out, then press down on the little metal lever at the center to release it. Remove the four screws behind ashtray. You can leave the ashtray holder/brackets in place (easier) or remove them.
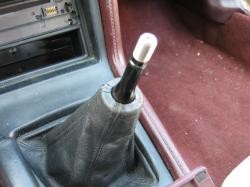
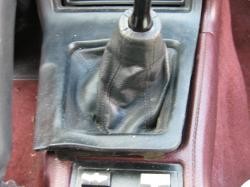
2. Remove the shift knob with a swift and strong counter clockwise twist. If you have never removed it before it might require significant force to loosen.
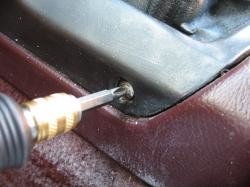
3. Remove screw from black trim panel located on the driver's side, near the emergency brake handle rest.
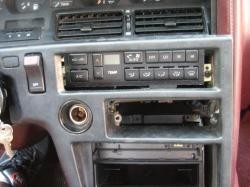
4. The black trim panel around the ashtray and radio is connected to the dashboard with several snap in type fasteners. It is quite flexible and will come out with ease when you pull it. Use your fingers or a flat screw driver wrapped with masking tape to pry it loose.
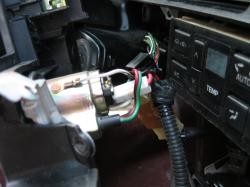
5. There will be several wires still attached to the panel when it comes loose. Disconnect the cables from the rear of the hazard lights, cigarette lighter, and headlight washer switch (if your vehicle is equipped with it).
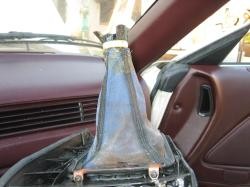
6. Slide the black trim panel completely free of the dash and up over and off the shift stick.
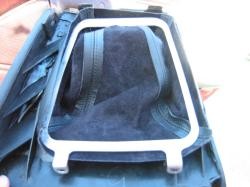
7. Flip it over and you will notice a metal plate holding down the shift boot. Remove the two screws from the plate. The bottom of boot is glued to the metal plate. Remove the boot and clean off the old glue from the bracket. I gave mine a nice polishing with 120 grit sandpaper
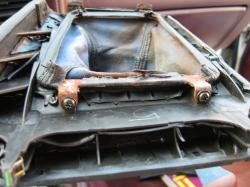
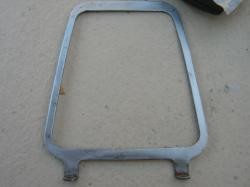
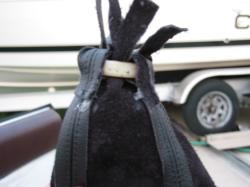
8. Turn the factory boot inside out and notice how there are slits in the top of the boot that are glued over the plastic ring. Lift the slits and remove the plastic ring.
9. Although you don't need to clean the bracket, it makes me wince to the thought of leaving that nasty rust next to the new leather boot - that's why I worked with sandpaper until it looked like this.
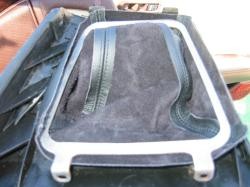
10. Flip the new boot inside out and place next to the factory boot. Using a very sharp knife, try to make slits in the top of the new boot to match the factory slits. Wrap the slits over the plastic ring. Make sure only the strips should be wrapped around the ring, like the old boot had it. Use super glue or hot glue gun (I used the latter) to glue the slits over the plastic ring. Let dry.
11. Glue the bottom of boot to the metal plate like the factory boot was. Let dry.
14. Reassembly is the reverse order of removal. As for the ebrake boot, slide the old one off the emergency brake handle. Slide on the new boot, line it up and attach the velcro strip at rear of boot. That's all.
CONGRATULATIONS - YOU HAVE SUCCESSFULLY INSTALLED YOUR NEW LEATHER BOOTS!
Useful tip
You have installed a product made out of genuine leather. As you know, to maintain a leather product in good condition, you should take care of it. We suggest occasionally (every 4-6 week for example) applying some leather conditioner/UV protector to keep your leather from drying up in the sun and cracking.
Redline Automotive Accessories Corp. will not be held liable for any labor, incidental or consequential damages of any kind. Proceed at your own risk.