You must be logged in to rate content!
27 minute(s) of a 56 minute read
1-7-2021
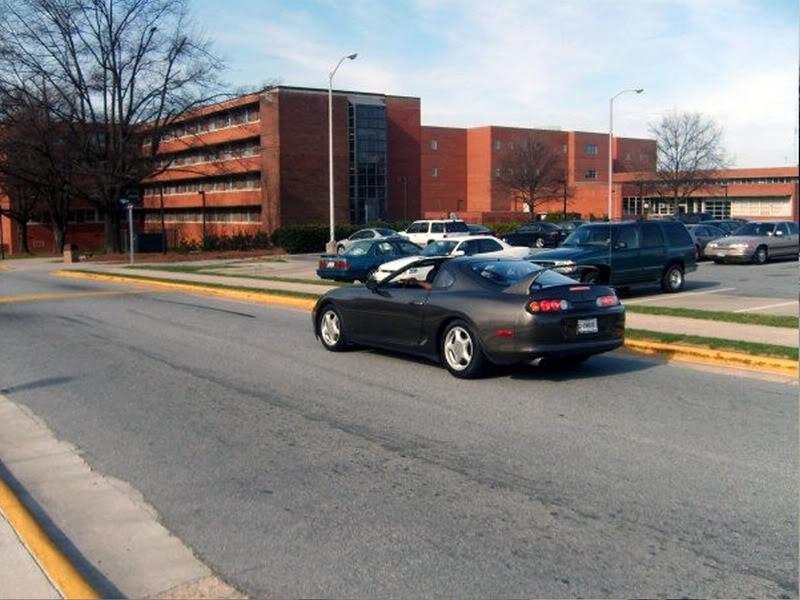
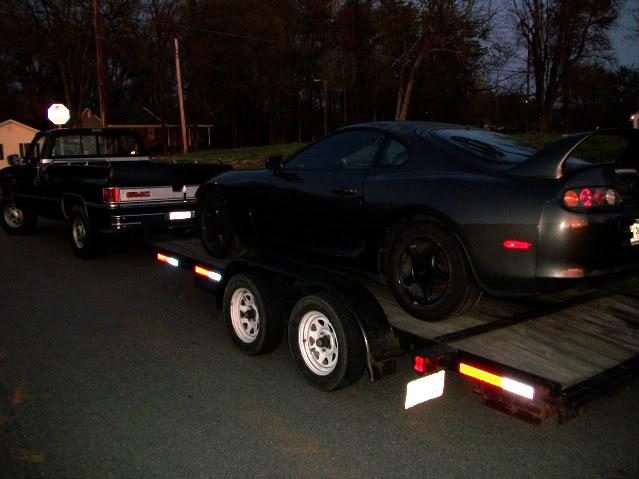
1995 Supra NA to TT(aristo) then T swap, 4l80e and more
Compliments of Dljohns6 @ www.supraforums.com
Description - Bought the car from Tampa Feb.08 Needing paint and still does but after boost ...(More below)
Make:Toyota
Model:Supra
Year:1995
Engine:2jzgte

2yrs and 10months of "Is it turbo?" "why did you buy an NA?" "When are you going to buy a turbo?" "NA & Auto!" has got me to this point, other than the fact I never had plans of keeping it NA ...
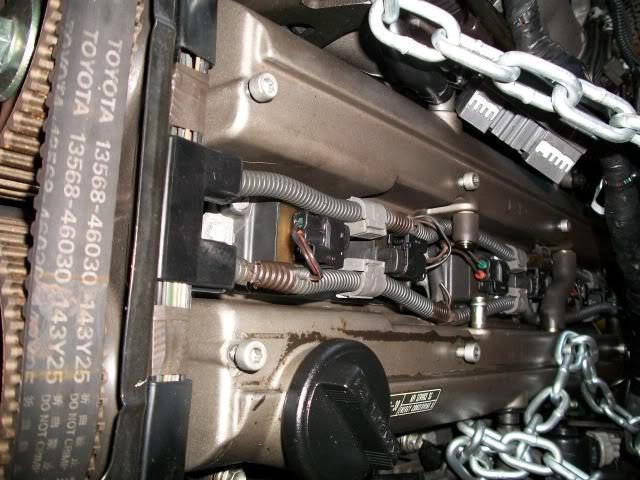
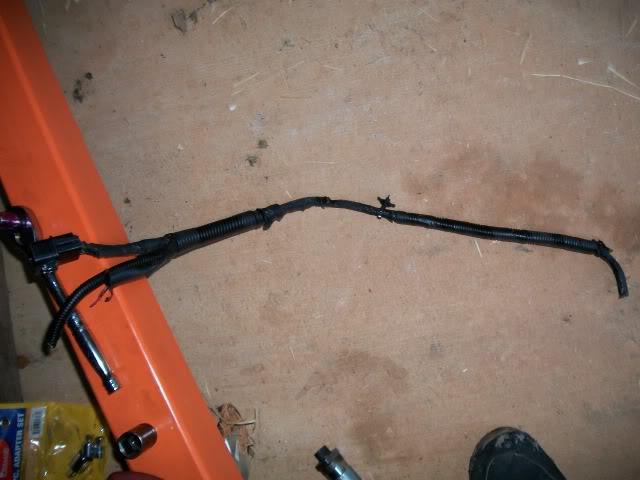
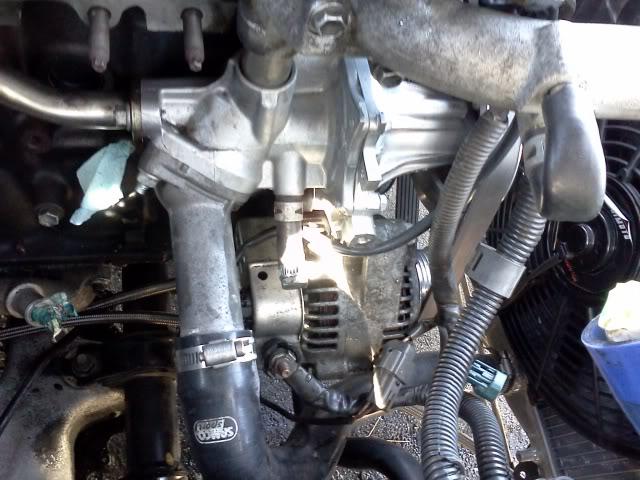
Anyone know where to get that little hose that crosses over the spark plugs that connects the valve covers?
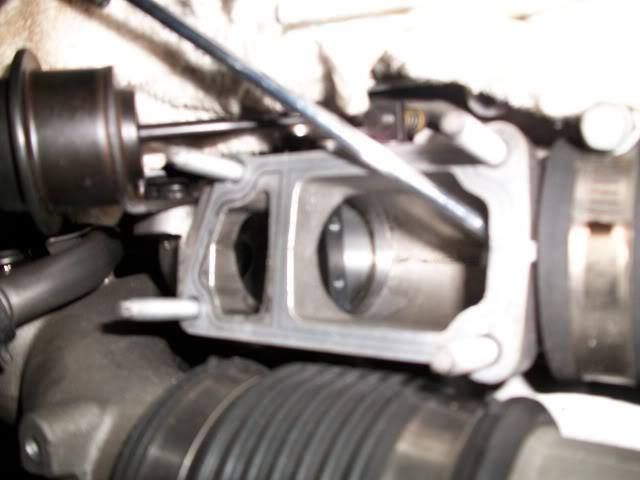
WHAT IS THIS?
MODS TO BE DONE
MTR's TTC secret sauce mods .... pics http://www.supraforums.com/forum/sho...t=secret+sauce
How to make a a340 last (HAS ANYONE SHIMMED AN ARISTO TRANNY?) .... http://www.supraforums.com/forum/sho...cooler+install
PI 3200 stall Converter
ANY POINTERS, SUGGESTIONS PLEASE POST .... NO "you should do a 5spd 6spd swap though" thanks
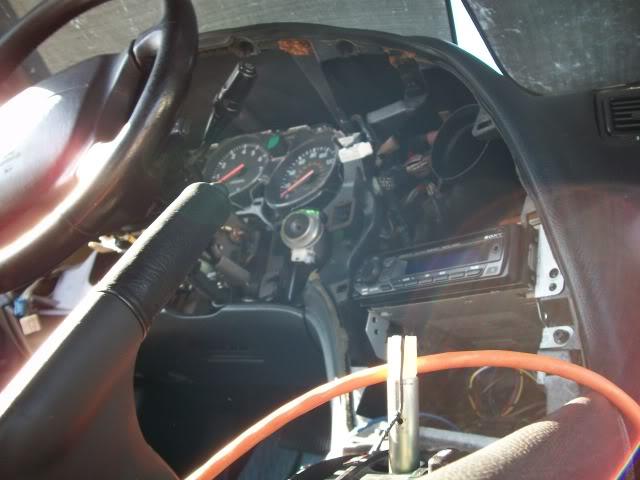
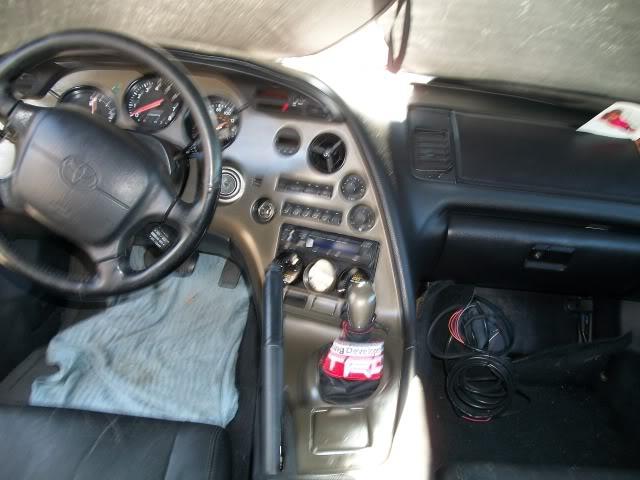
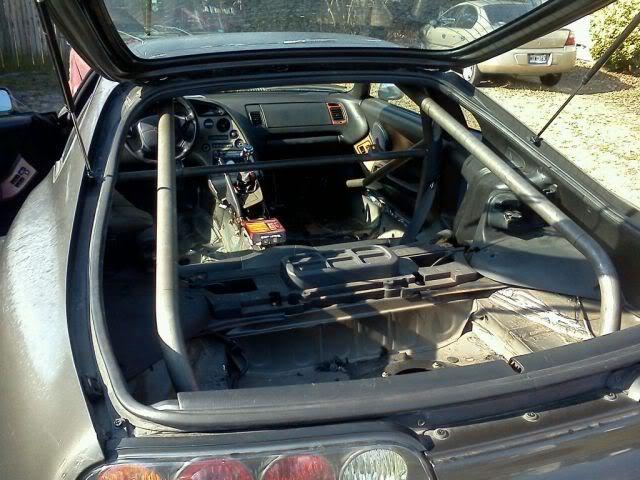
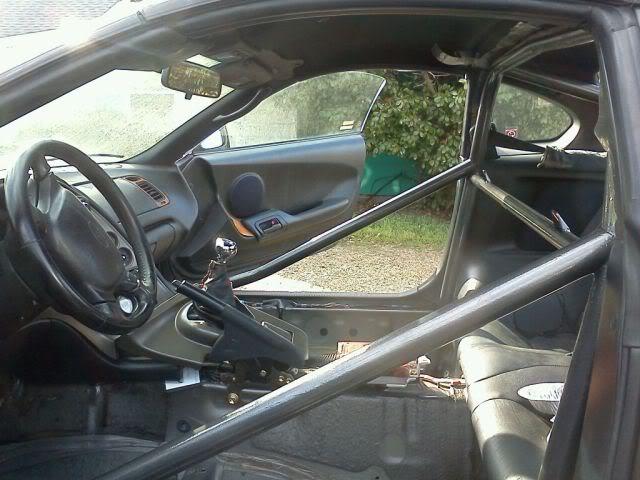
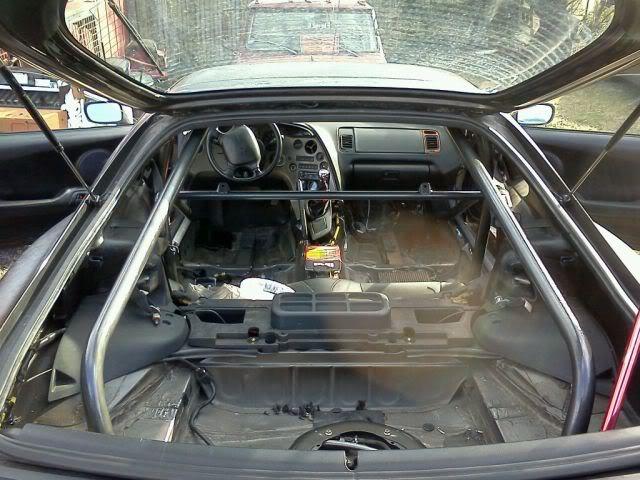
little progression photos for dash

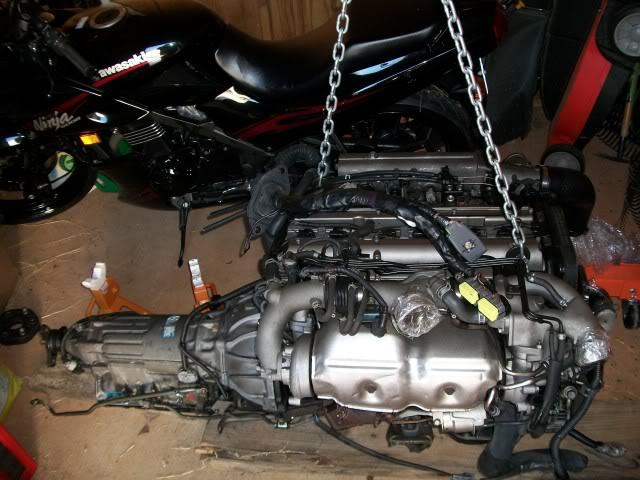
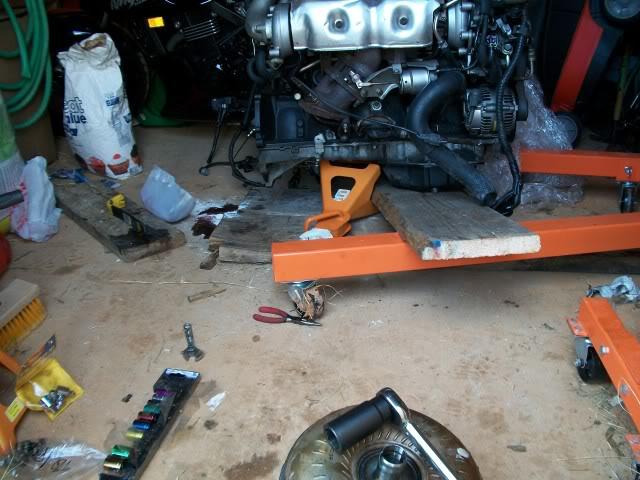
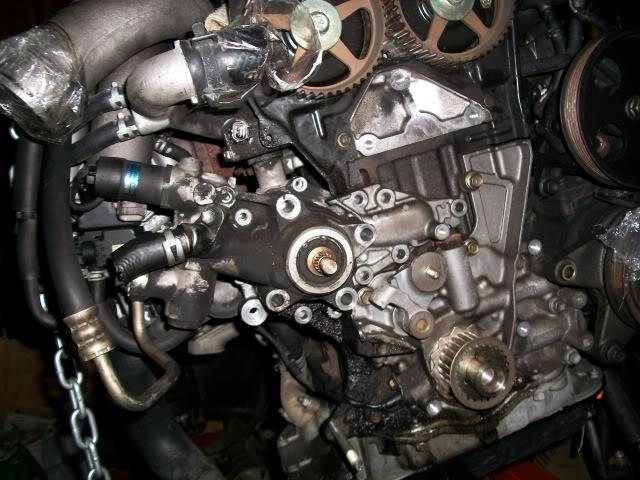
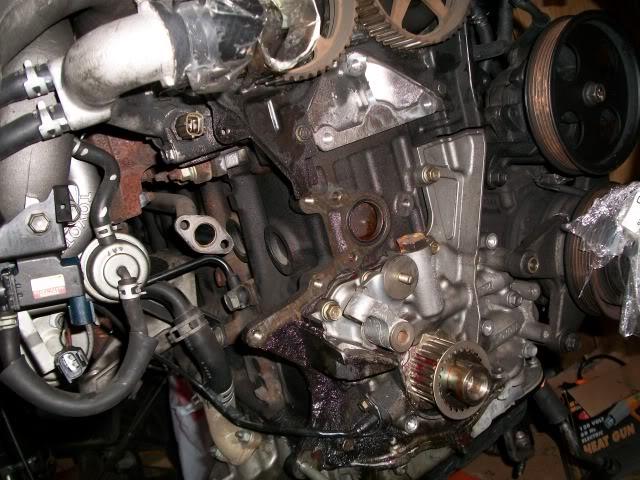
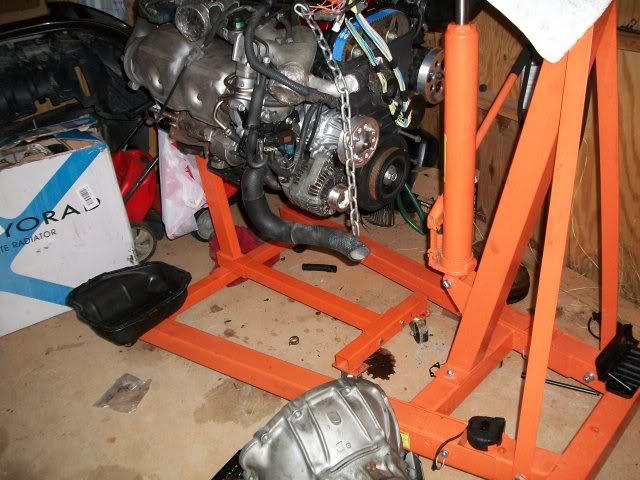
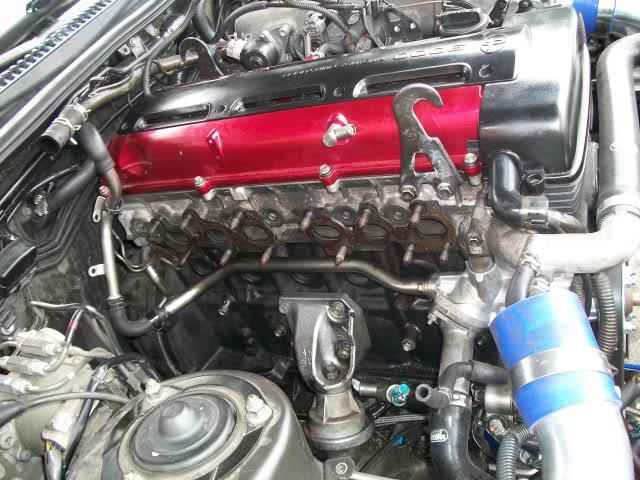
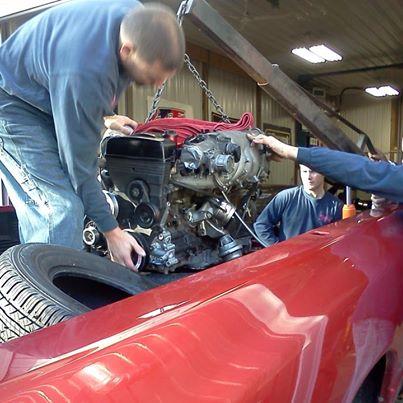
Back to the engine
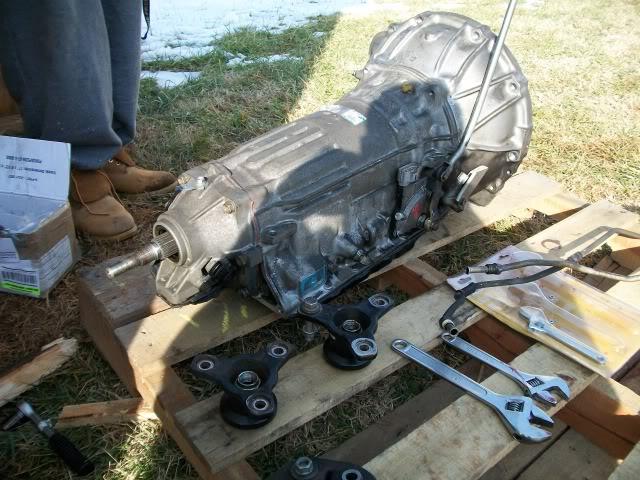
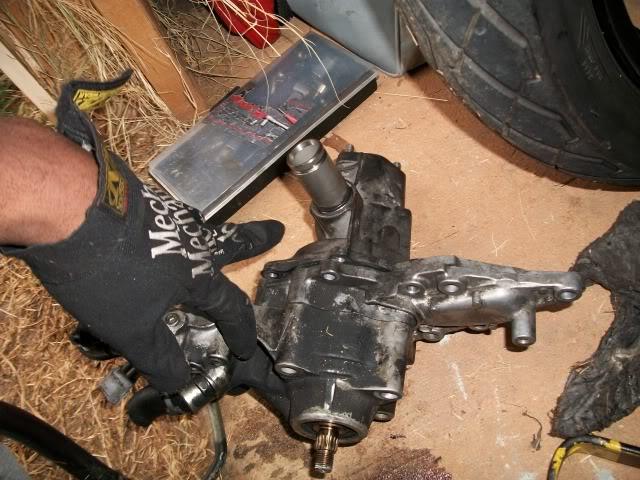
Pulled trans and TC
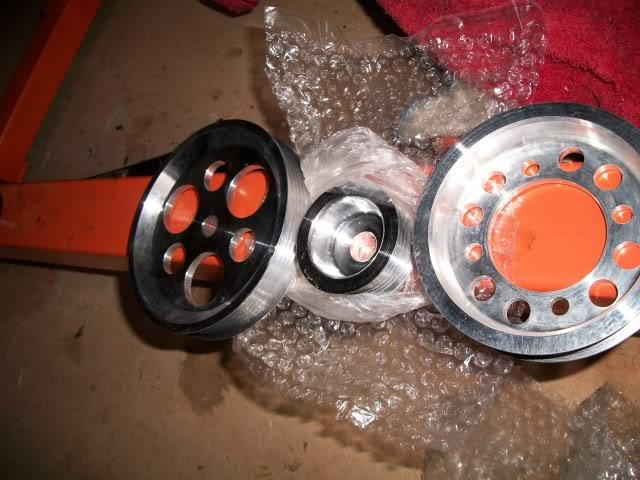
switched the connections to the drive shaft from aristo(right) to sc400(left), also pulled off the cooler lines
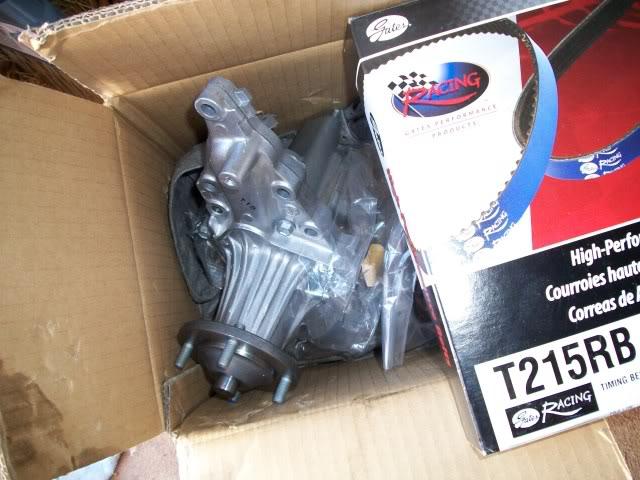
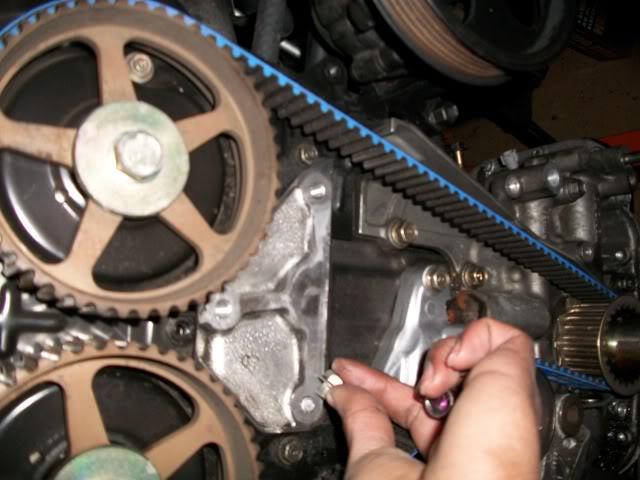
UPDATE : discovered a crack in my valve cover and have yet to get my crank bolt off (so if you have the (sst) tool please let me borrow it) gotta install timing belt and water pump (Courtesy of Curt at Elmhurst)
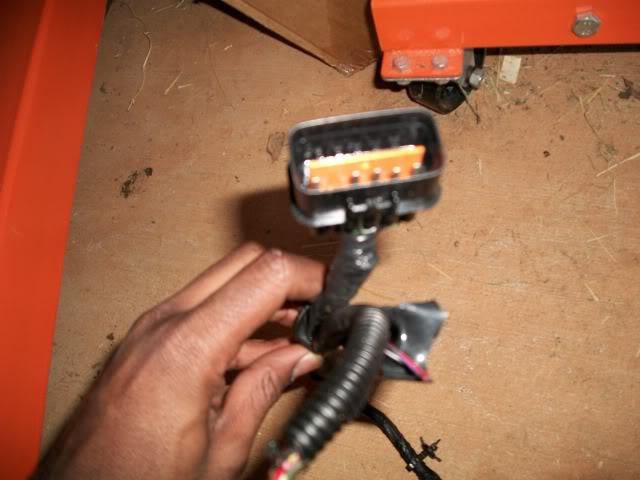
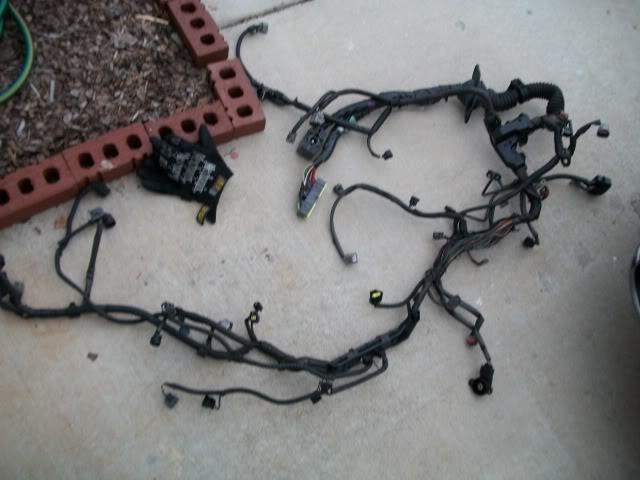
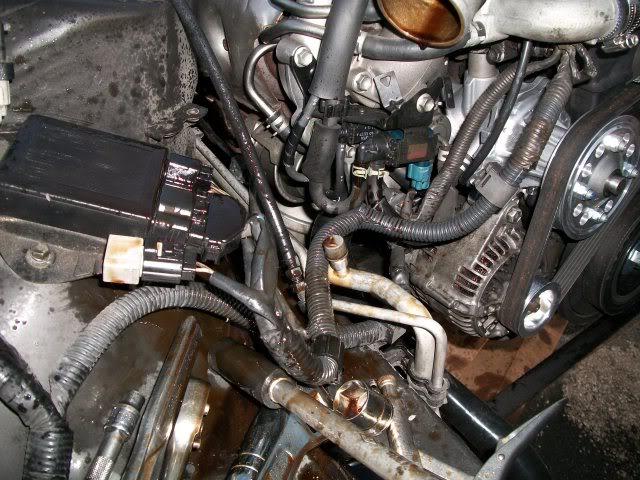
Pulled harness
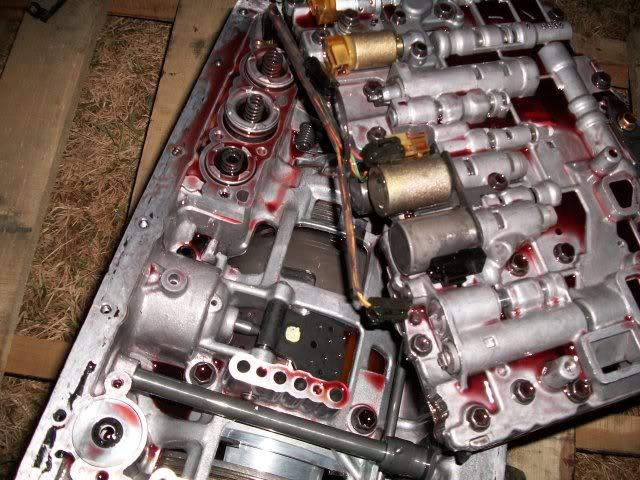
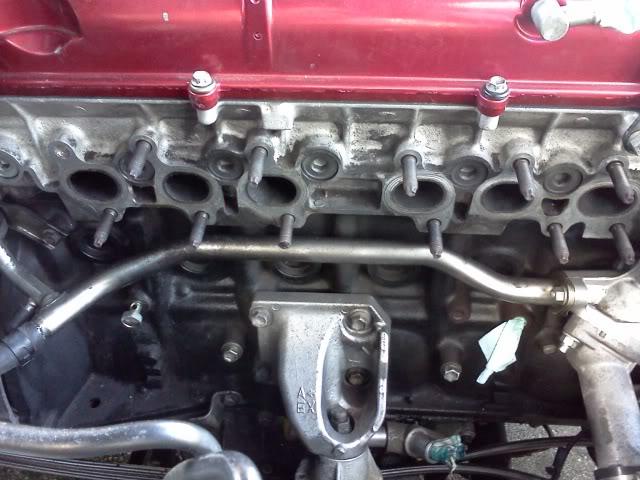
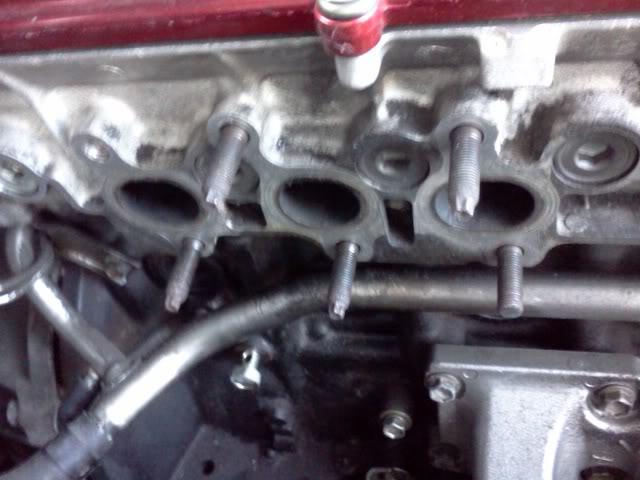
pulled valve covers intake side had a crack

Some of my buddy Matt's work
So after many FAILed attempts to remove the crank bolt, I've bought the tool for the job from here (http://www.etooldirect.com/catalogse...q=schley+64300) for $55.94 shipped after using the $10 off coupon 'super' or 'TJS' .... let you guys know how it goes once its here ...
Update(pics later): One twisted small breaker bar drive, one 150 ft.lb torque wrench ratcheting mechanism failure, 4ft pipe over 25" breaker bar and three ppl trying their hearts out the crank bolt broke free ...... Priceless ... Big thanks to levirolla an Joe, they fought right along with me
The sonafabitchshitcuntfucker crank bolt
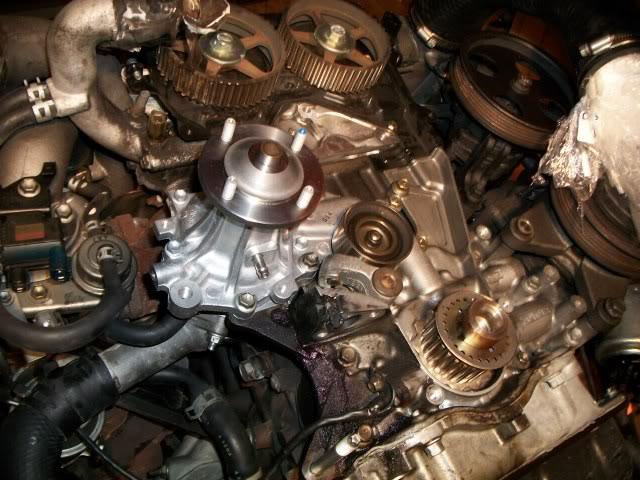
pulled belt started unbolting H20 pump

pulled idler pulley
Water pump gone
Old pump
This was a bit of a bitch to pull out
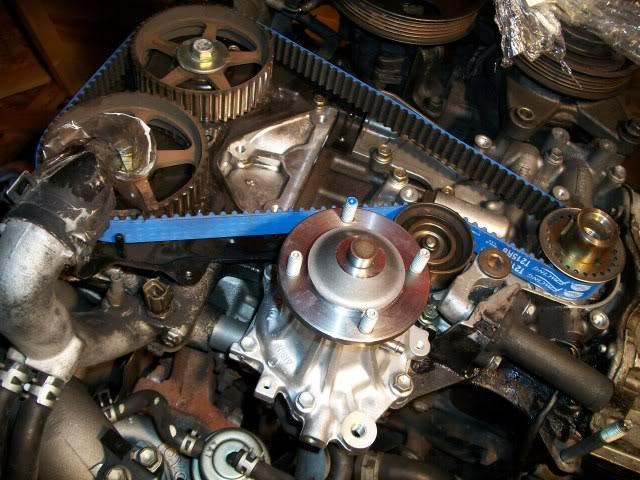
New H2O pump on and idler pulley (guess its tight enough as I couldn't see a way to tighten it, the idler pulley that is)
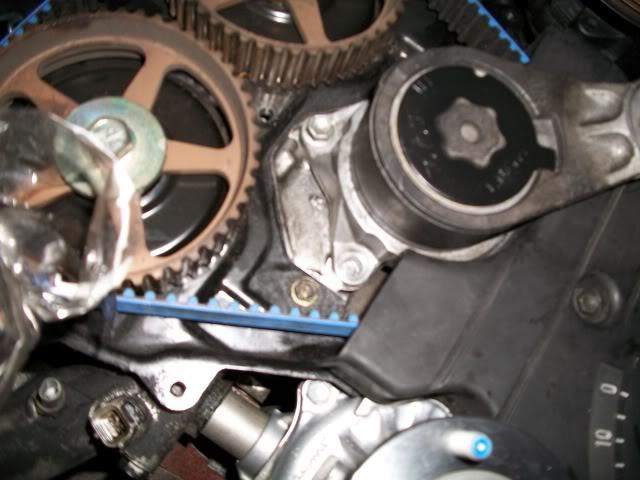
Timing belt and tensioner back on
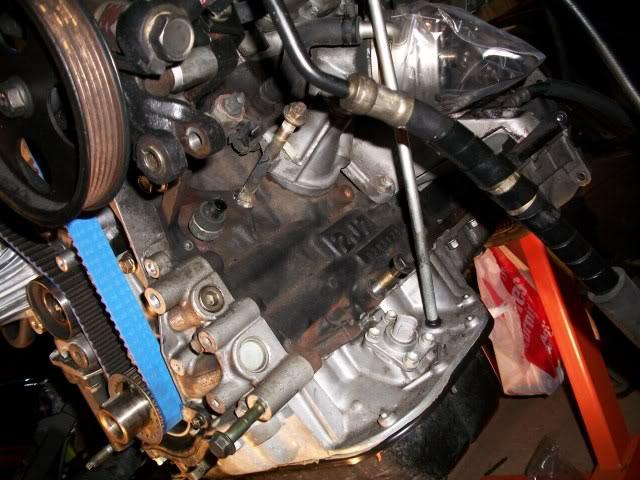
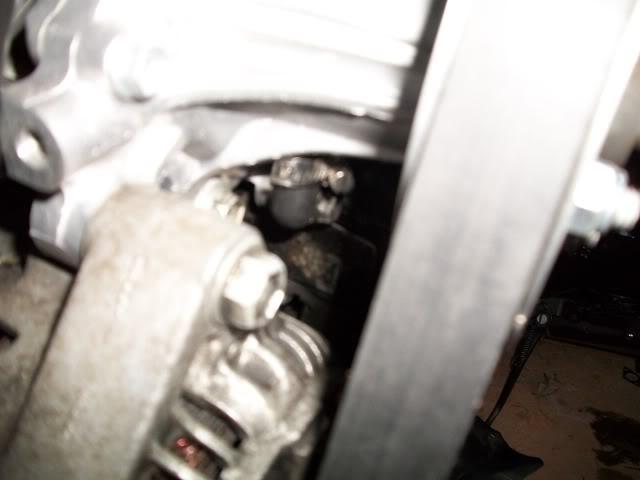
Pulled AC compressor
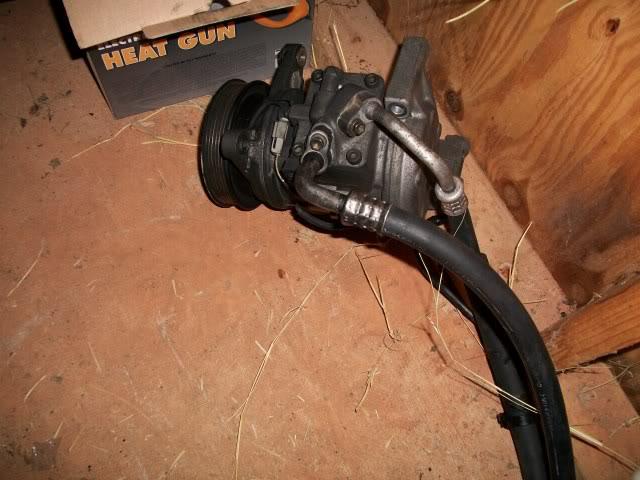
AC compressor
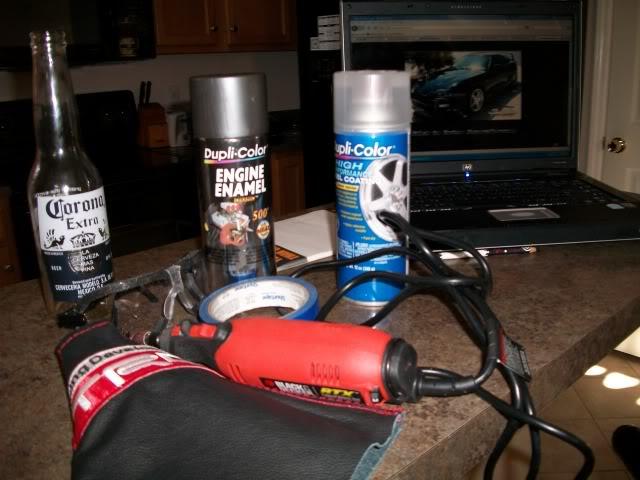
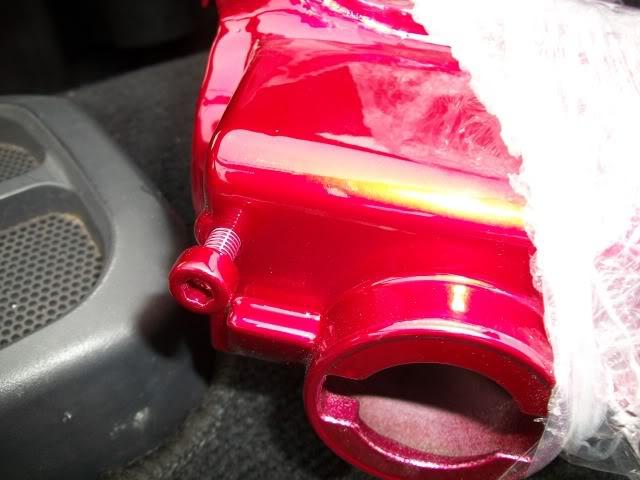
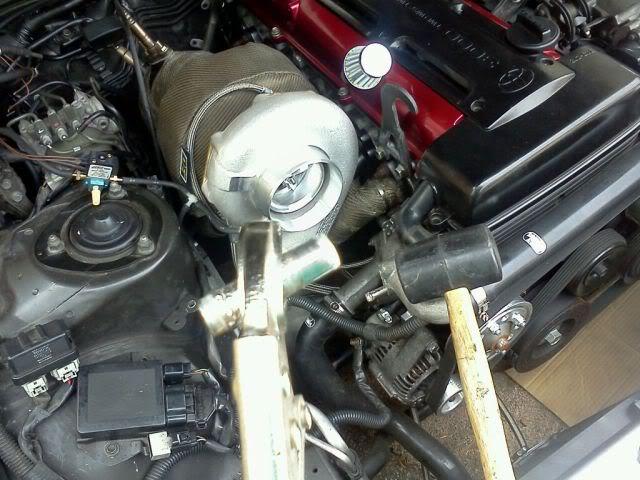
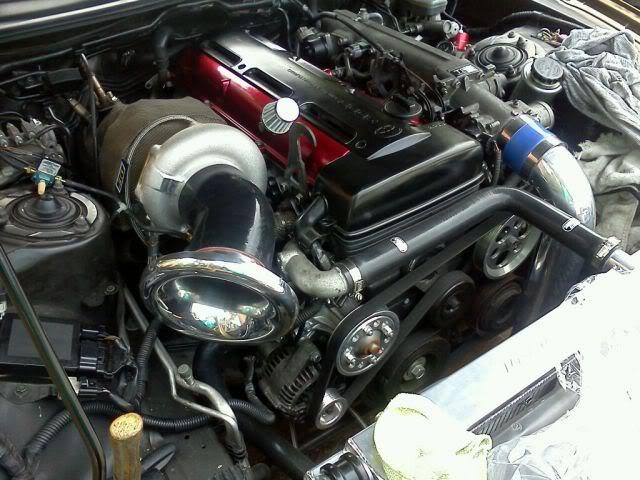
SNEAK PEAK AT SOME POWDER COATED GOODNESS
Powder Done by Smart Tek in Greensboro Braided lines Done by Alliance in Greensboro
GREAT people at both Establishments
Small up date day ended bad this time
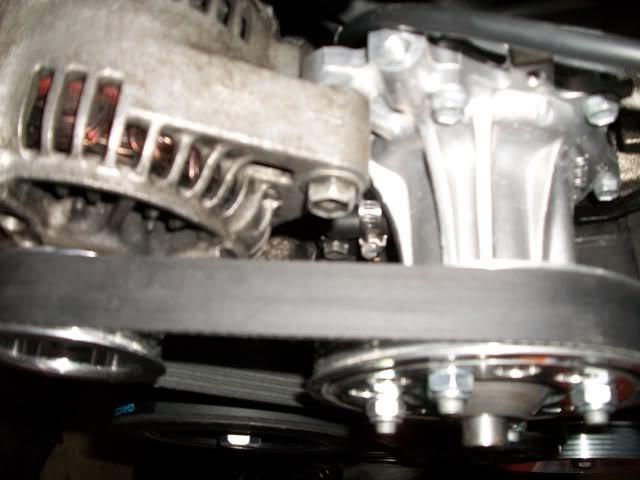
Started with some goods from Aaron at driftmotion (How do you get the alternator pulley off?)
Started good with ttc mod accessed butterfly
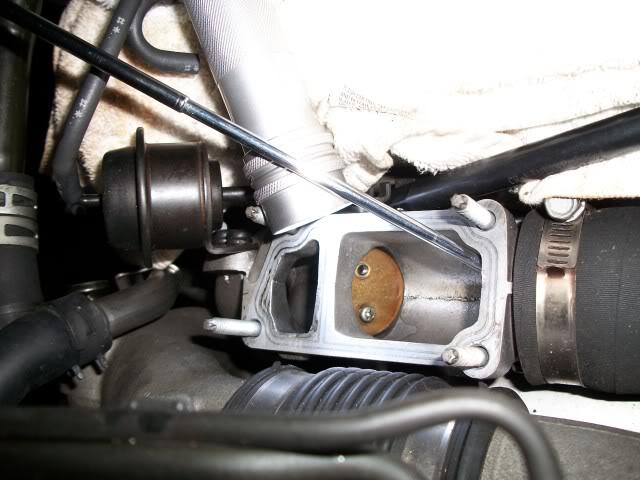
Unscrewed butterfly, with magnet just in case a screw or bit got away
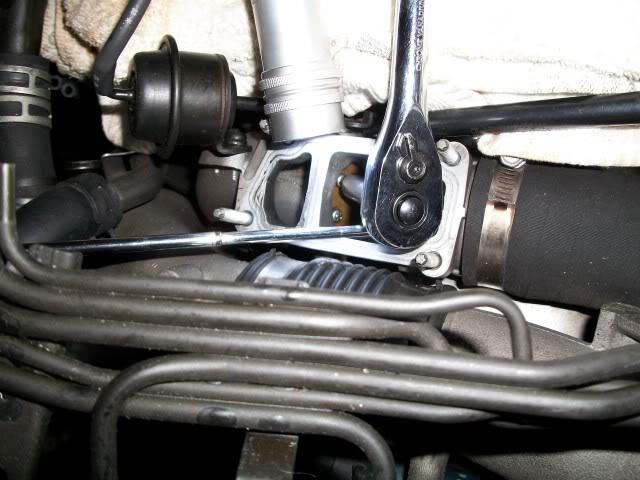
butter fly gone and reinstall
It was when I went to put the drive belt tensioner on that $H!7 happened, the bolt just snapped pretty sure the other 2 were the same and torqued to the same spec.
Til Next week
Update just waiting on Harness and rear sump oil pan ... QUESTION: what are you guys plugging up the second hole on the tt water pump with or how to cap it off?(I believe it turned out to be a "weep" hole or unused still capped it though no fluid)
So the day started well ... but of course this is My luck we're talking about
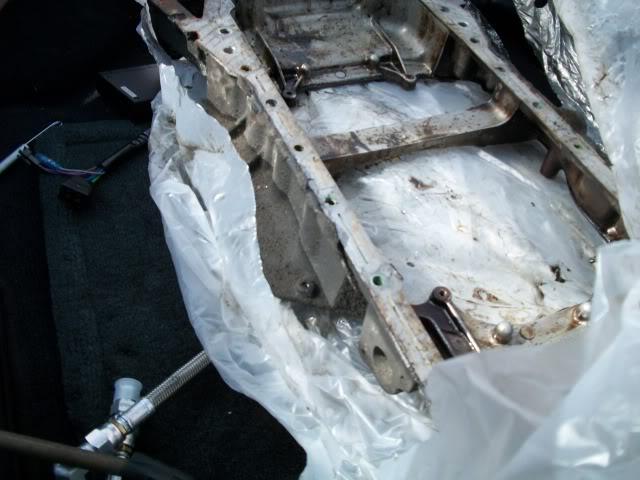
Had the rear sump pan tapped
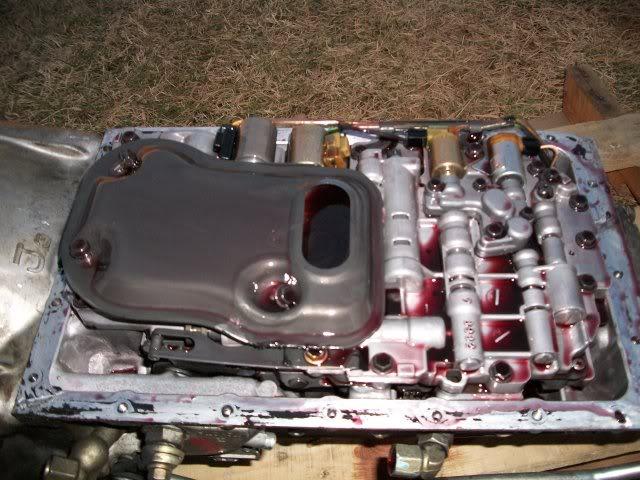
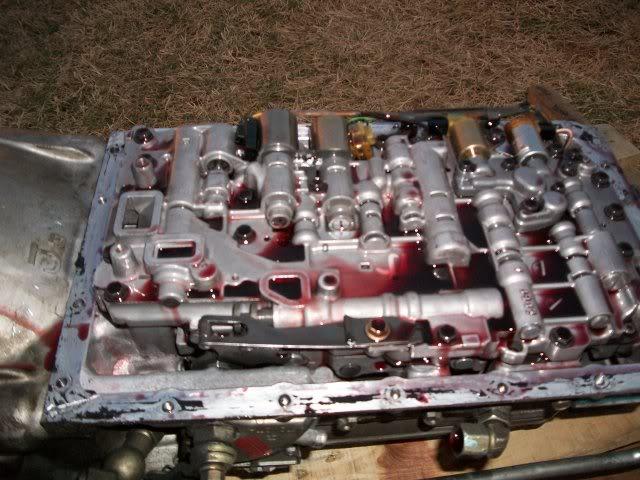
Dr.tweak worked his magic

Took off frnt sump pan

Shimmed accumulators
Installed rear sump pan
then ..... WTF ..... happens
Ok so its out and as you can see my luck has sent snow

More of my screwed up luck
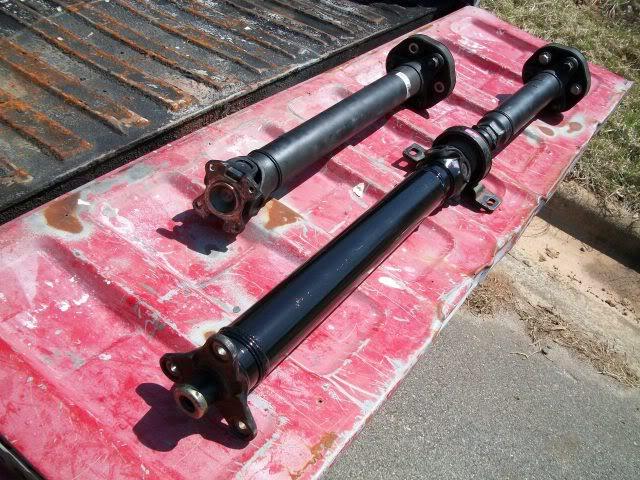
The one at the bottom (sc400 shaft) is supposed to replace the upper mkiv shaft ? WTF sc400 shaft does not work maybe I was sent the wrong one ... will see anyone that knows this swap chime in I'm stuck.
Update: the rest of the drive shaft is being shipped, I sent Dr. tweak my aristo harness and NA harness he fixed all the broken clips and made it PnP with the body wiring, for the water pump I got a small hose clamp from Lowes and bought some nipple looking hose caps from advance auto parts hopefully it securely seals, we'll see.
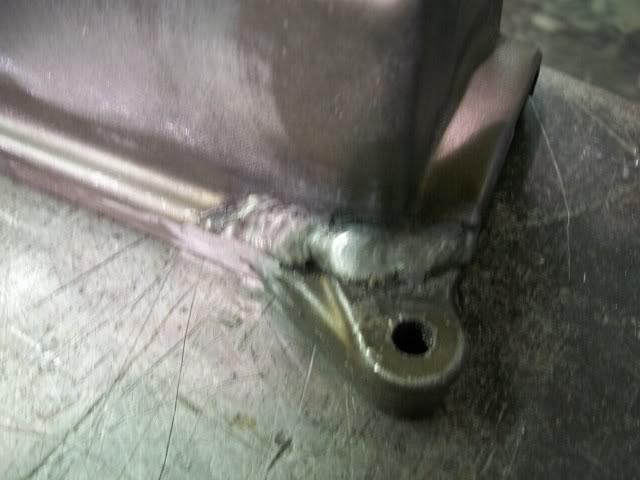
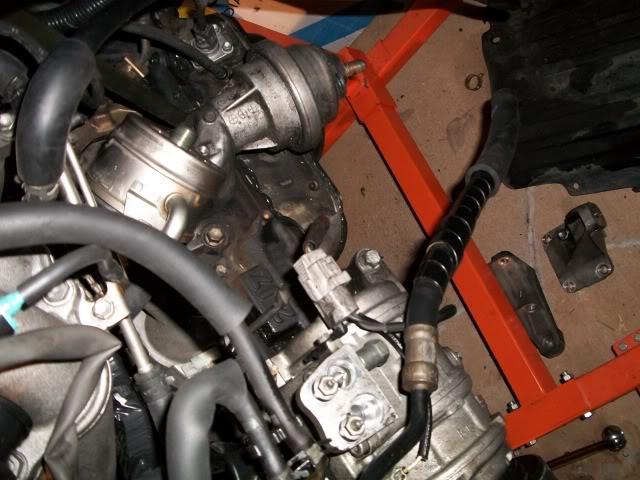
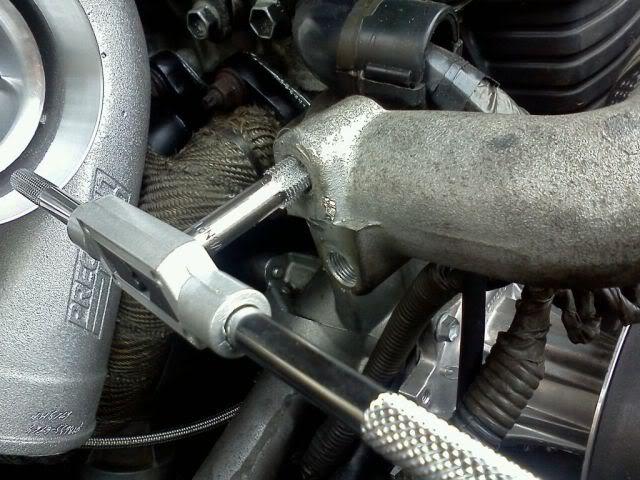
right now I'm stuck at the motor mounts, do I just take off the lower portion or the part on the side of the block? bout to research a bit.
youll need to take the entire motor mount bracket off the GE block and swap it onto the GTE
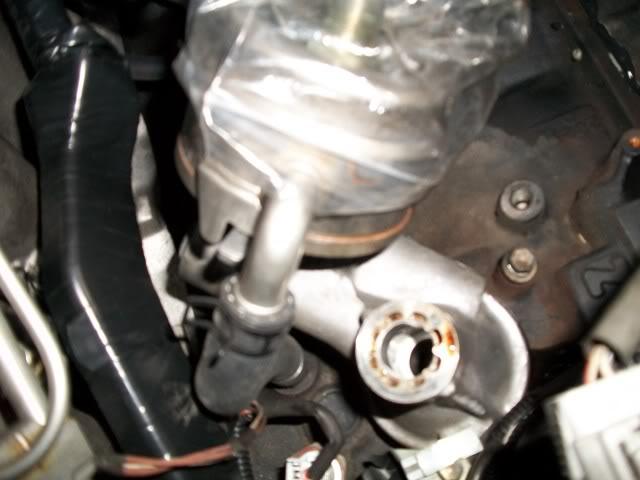
Tried to get a pic of how I capped off the water pump
with these
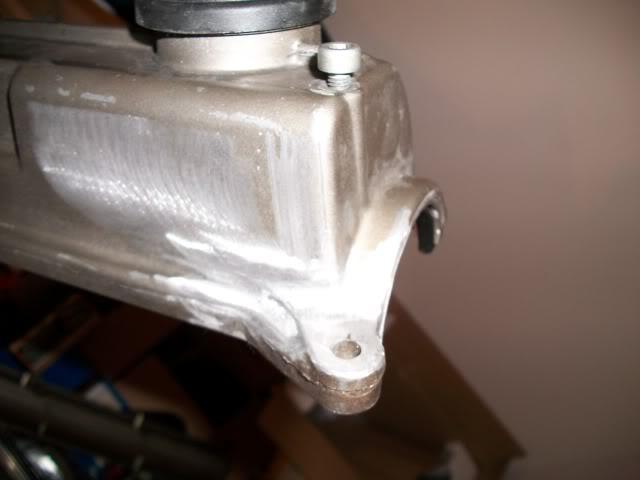
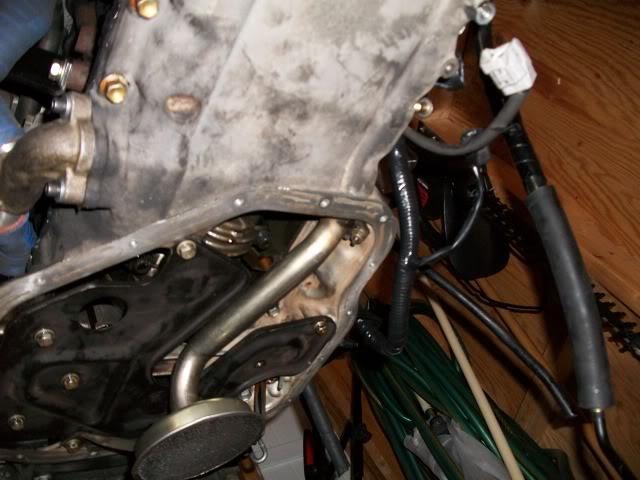
You have to pull this out of where you connect the oil filter to gain access to mount brackets

remove this part of the exhaust to gain access to mount brackets
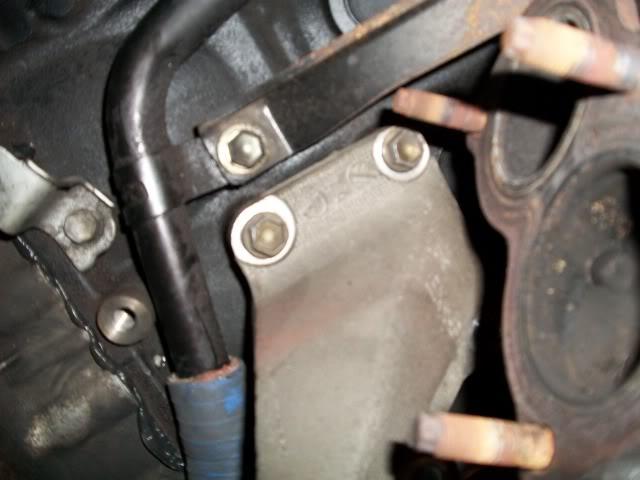
done with mounts
(yep)
BIGZAVS: iirc thats just the weep hole, and it really doesnt need to be capped up
So nothing would have come out of there? Aah we'll see (UPDATE ENGINES IN CAR pics soon.
Engine spins but not firing at all any ideas?
More rain of course still dont know what the problem could be
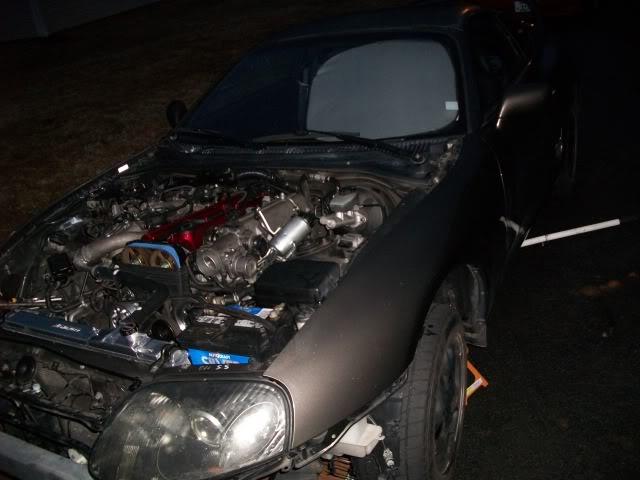
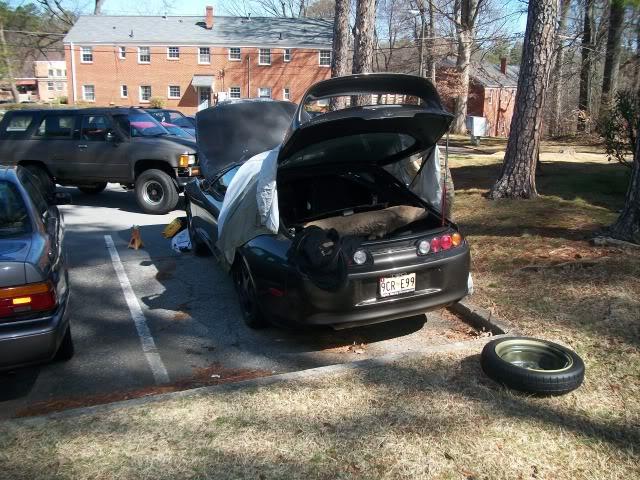
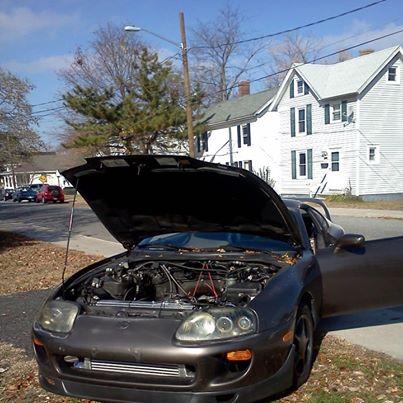
So after wiring the fuel pump to the battery Engine fired up .... YESSSSSSSSSSSSSSSSS
Dentguy: DAMN!!! you are hardcore doing an engine swap on the side of the road. Nice
LUke94: ^ indeed, congrats on getting it to fire, love the anthracite
So update today while I wasn't working on the car I was at lamborghini (talkin' sh!t lol jk)
Back on task I'll take more in depth pics (tomoro ... maybe) but its pretty simple.
I attached a wire to the green wire on the fuel pump and attached it to the + positive terminal of the battery cutting it on, then turn the key "vrooom" ,..... if you screwed with your idle positioner thingy like I did it may pulse or act funny and NOT go to 1000rpm or so then drop as it warms up,(my car may have also pulsed do to oil deprivation due to leak and not feeding the intake because the intercooler isn't installed) (I didn't allow my car to warm up I have a oil leak and no coolant or fans just wanted her to fire and she did spiting oil ... awesome )
Since I am an amateur and only have ideas of what to do, safety first (extinguisher ... it was out side the car with me during troubleshoot) I had thoughts of electric spark and then boom when smelling the gasoline ...

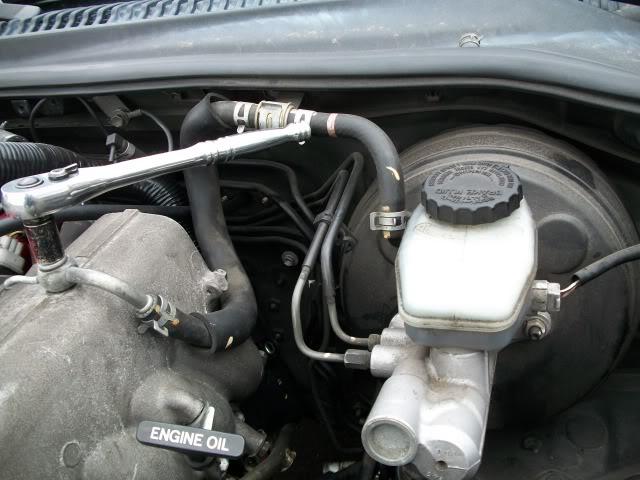
The END ... now have to add fluids, seal oil leak, sc400 driveshaft test, install new fuel pump, IC, Fan
ALSO THAT WHOLE HEATER CORE HOSE STUFF AND TUCKING THE HARNESS A BIT SOMEHOW
The sc400 driveshaft is not PnP, too long! Have it shortened
UPDATE AND PIC REQUEST
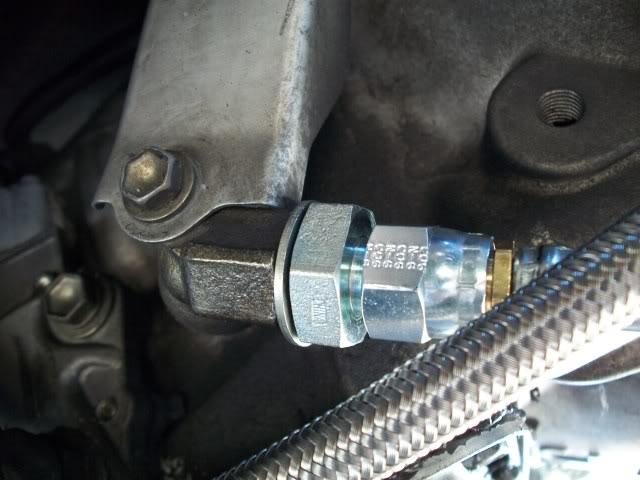
Banjo bolt
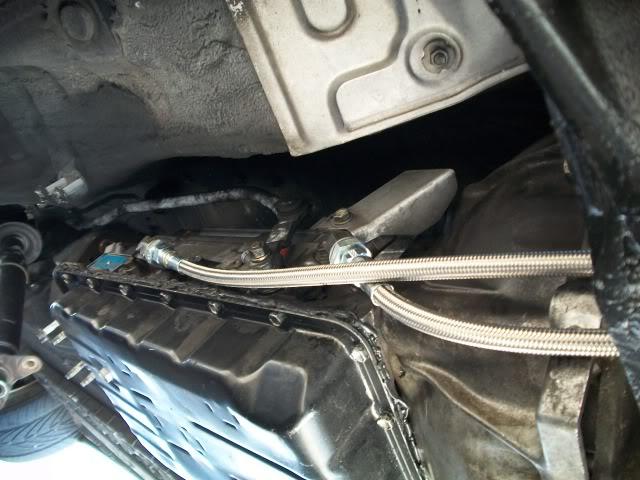
transcooler lines
Driveshaft shortened (edit) take your own measurement
If your in North Carolina have Niced Up Motorsports handle it they also figured out my TPS screw up, hell I've gone to them for all my Supra needs and questions.
Now WHY is my car running like $#!7 Someone please let me know, watch the video
(EDIT) This was the TPS foul up Niced up motorsports help correct
After troubleshooting problems with Dr.Tweak yesterday afternoon, I finally got the car to provide a code 13, which is cam or/and crank position sensor, Since I want to drive the car quicker than I could fix either problem I sent her away to be completed at NICED UP MOTORSPORTS, but the hardest parts are done ... so I'll be heading to the shop today.
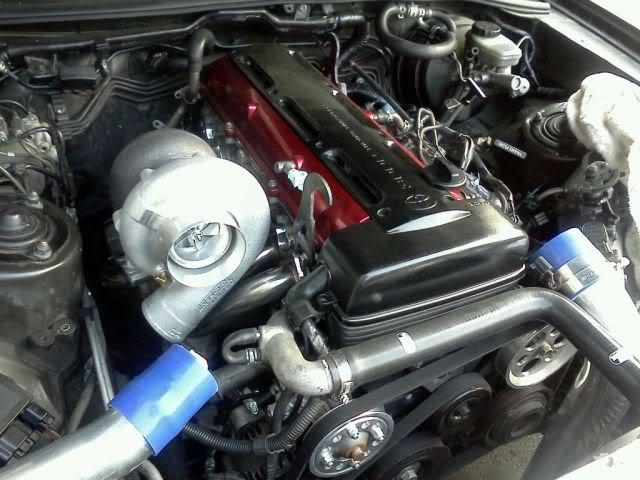
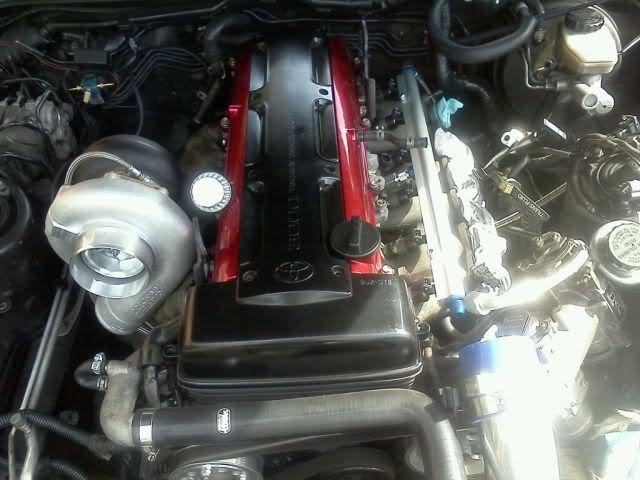
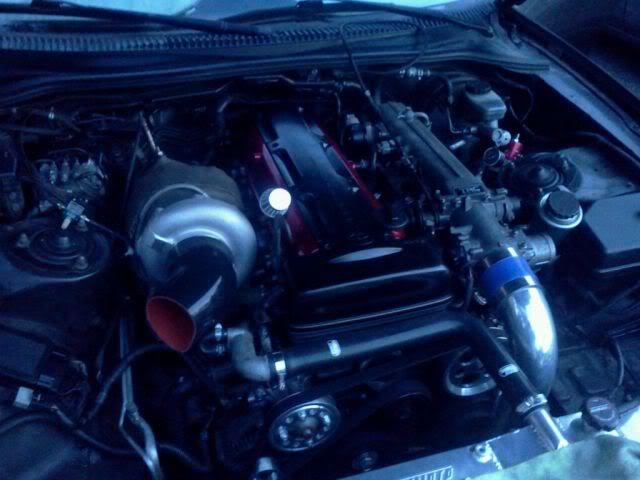
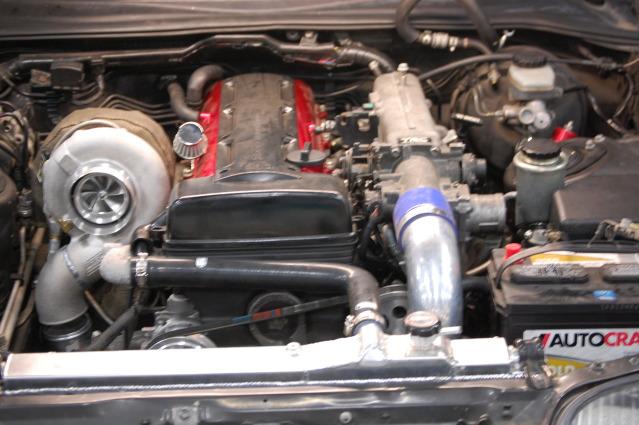
No bust ... saw 4lbs .. thats boost thru blown turbos, it will warm up soon and work on the beast will begin ... again ... Ebay mani + billet 67 or 6265 + 4"dp/mp + pte wastegate and new boost controller ... already have fuel side just have to install
It has begun ... AGAIN
Pic of the beater(4rnr) and the supra
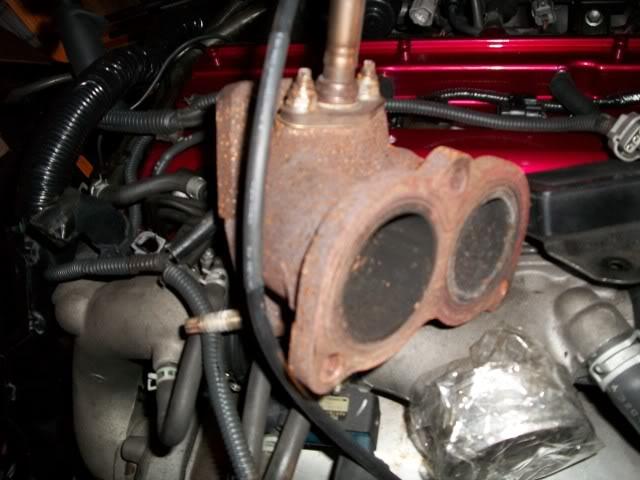
Pulling the stock twins
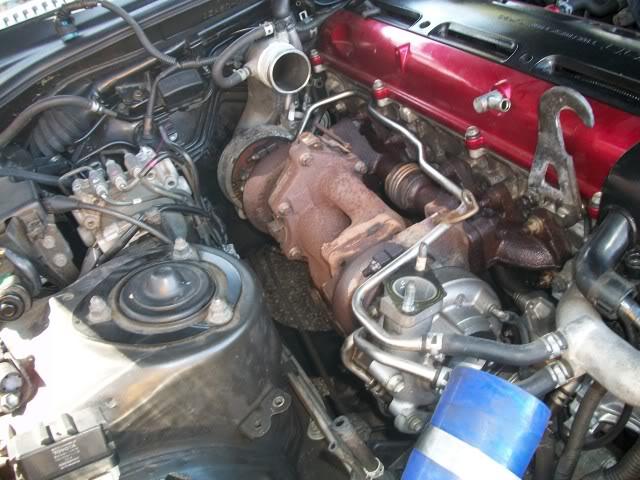
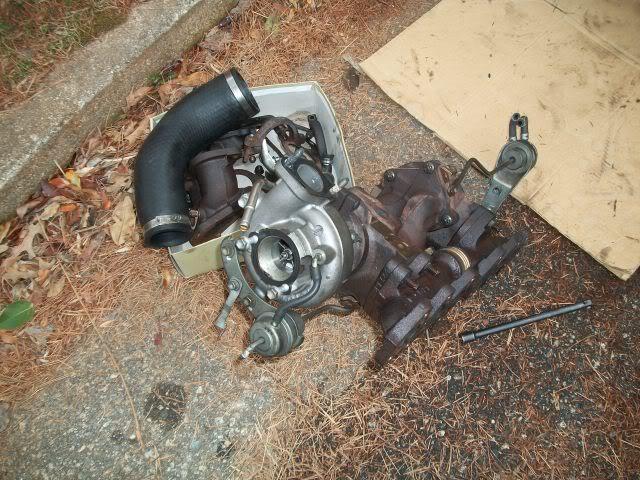
Those things were heavy as hell but finally gone after pain, sweat, tears, but luckily no blood = win
then the intake side for fuel
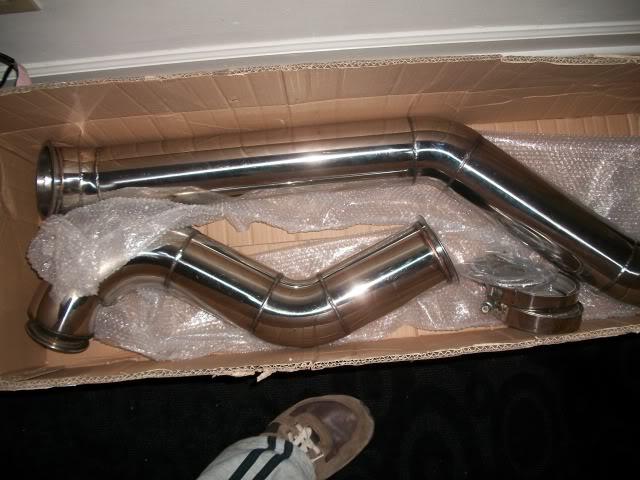
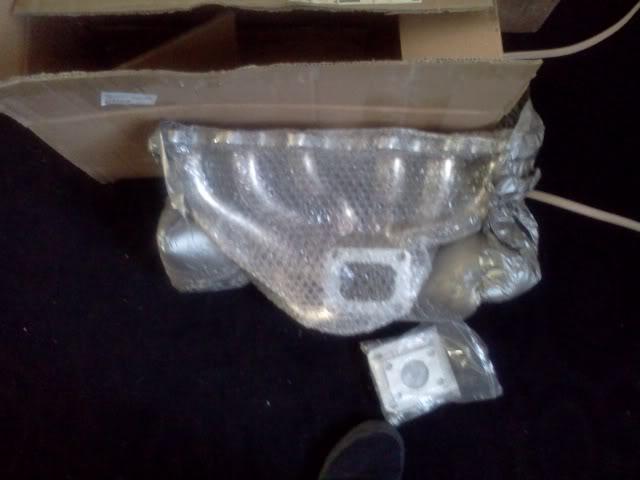
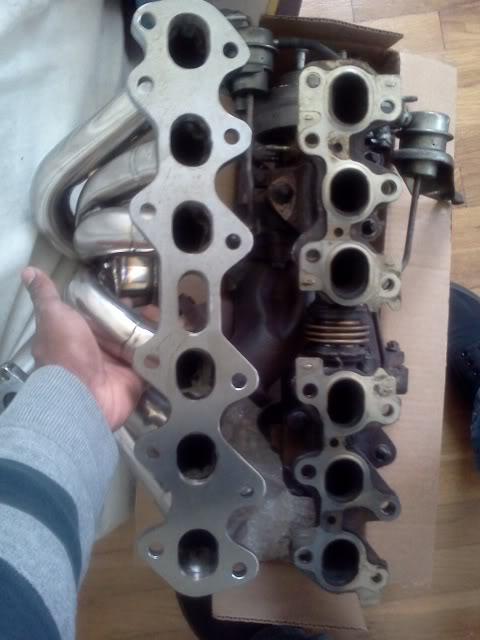
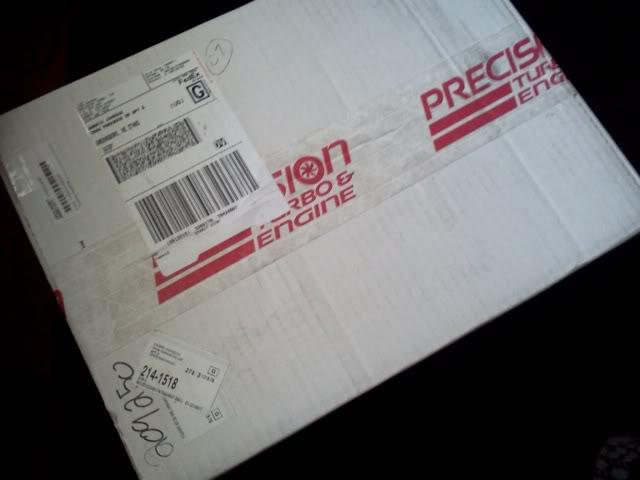
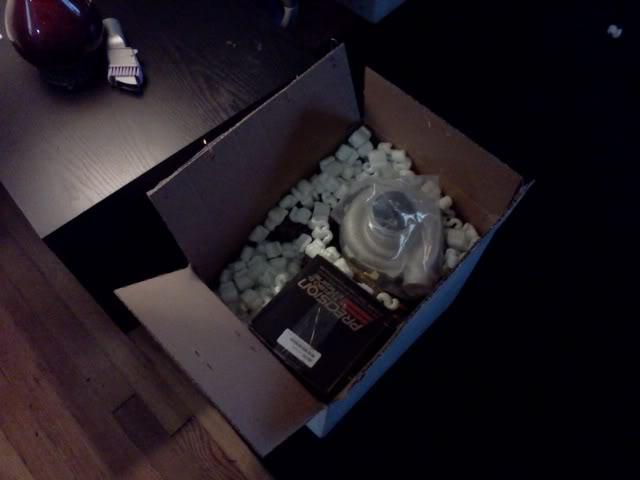
 Parts
Parts
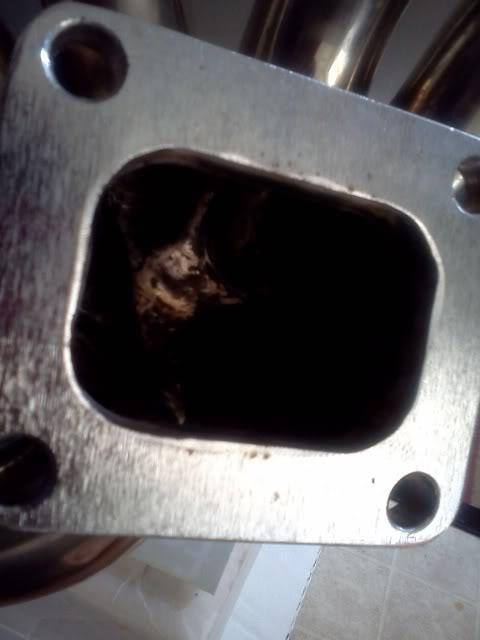
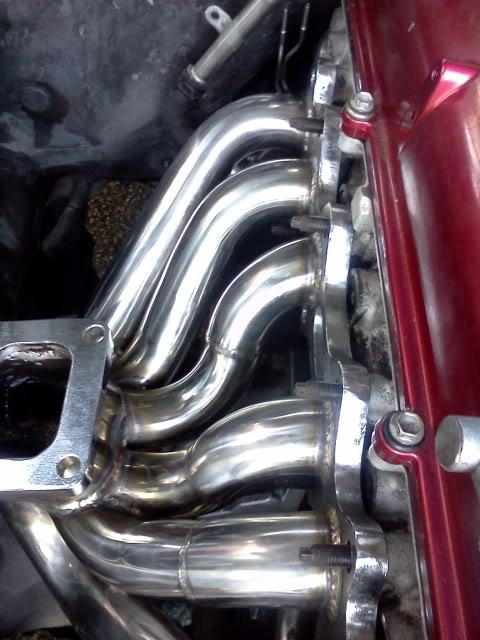
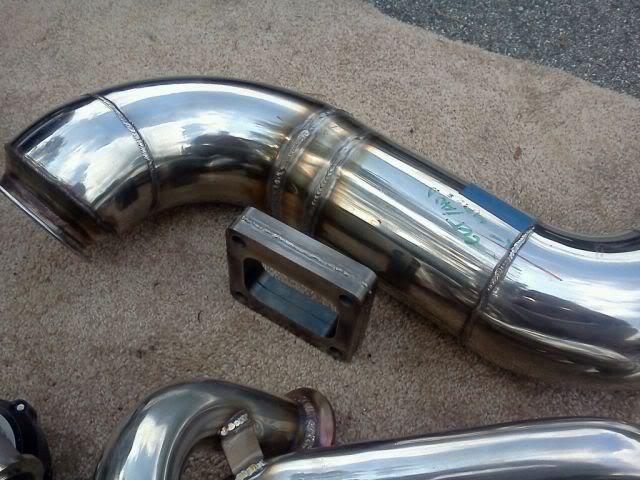
SSautochrome/xspower manifold came in looks like they removed the slag on the inside for me but the holes in each tube may not be wide enough.
capped coolant

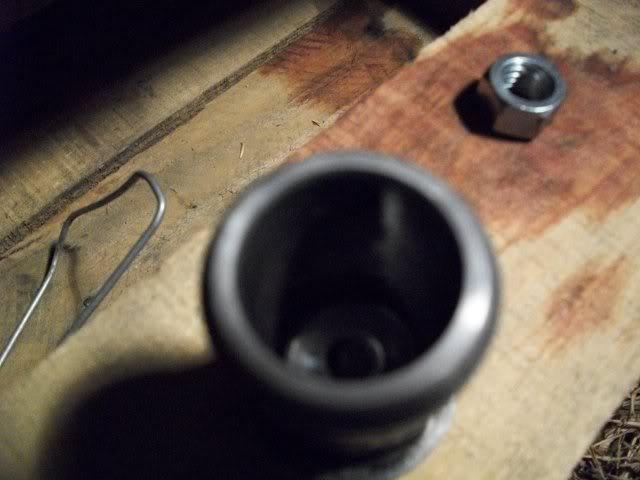
cut the 'nipple' or end of a stud (bottom 3rd from left to right) and removed stud for the manifold to sit flush, that stud will go into its hole once sitting against the block.
viola!
(4/6/11)
Oo Oh!
RATS!!! wrong turbo .60A/R wtf MVPmotorsports
(4/15/11)
OH oh ....WTF wrong turbo again! billet 6765E is not a 6765HP ...
SO I finally get the correct turbo and its too big for the manifold seen here
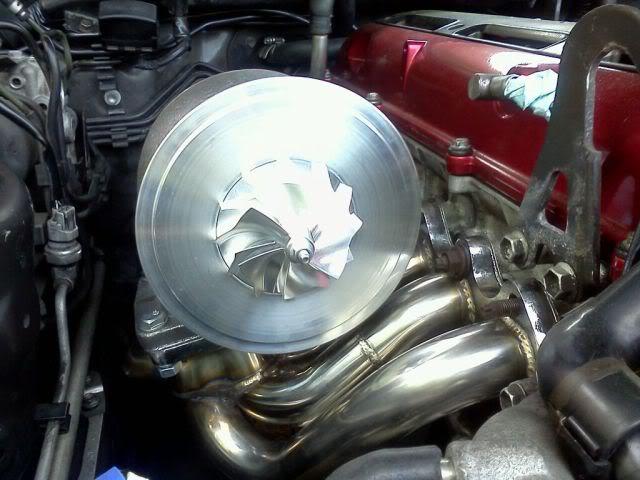
and here
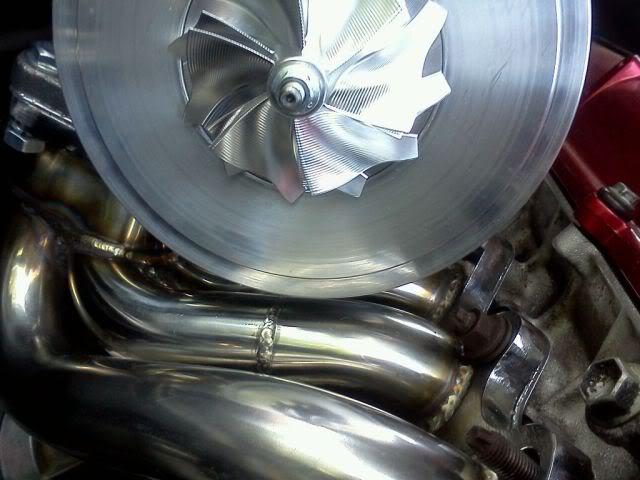
two .5" spacers later the compressor housing now fits
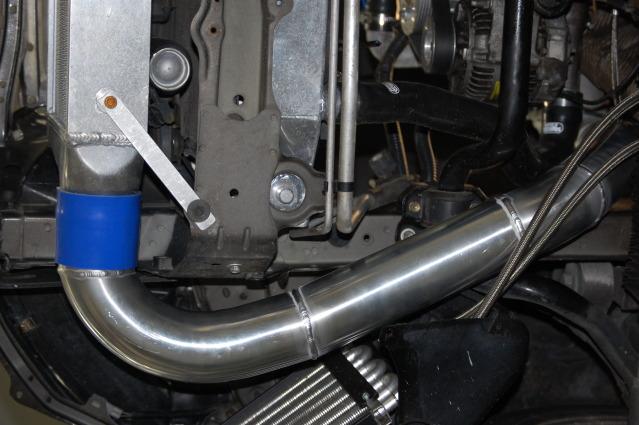
This did give me a chance to mock everything of course the 4" dp/mp has to be extended a bit and vband wg flange welded done by Primetime here in Greensboro,NC they are very reasonable and I've heard good things so hopefully when those things are back I can measure out feed and return line
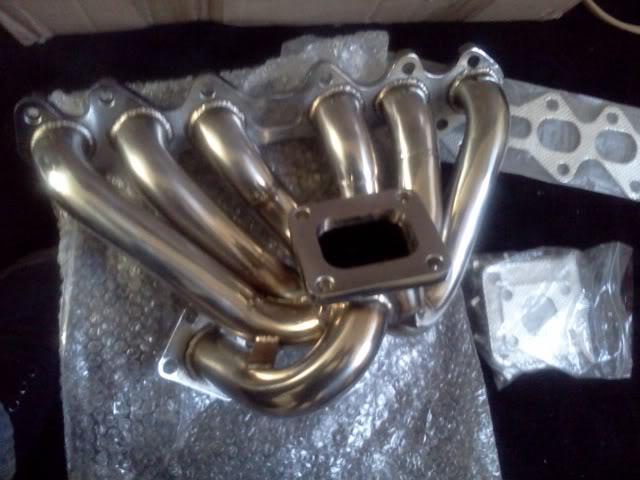
Got the manifold in today Prime Time Race Cars did an awesome job and they are very reasonable if your local and need some work done, they are now working on the exhaust hope I measured right
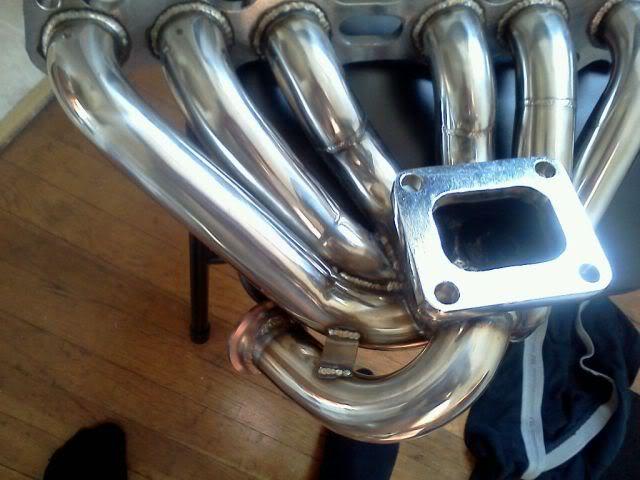
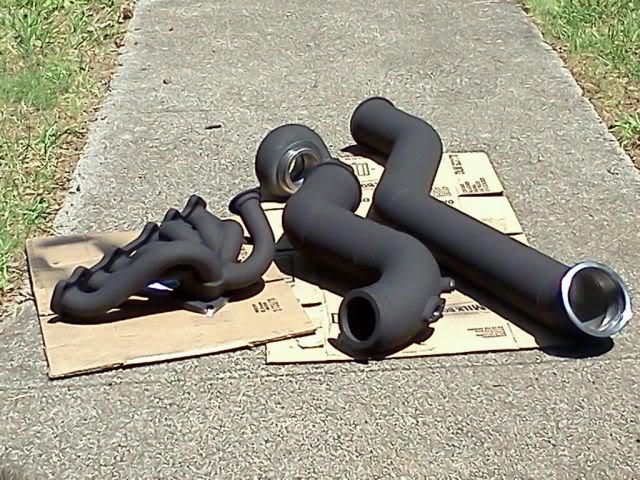
The welds
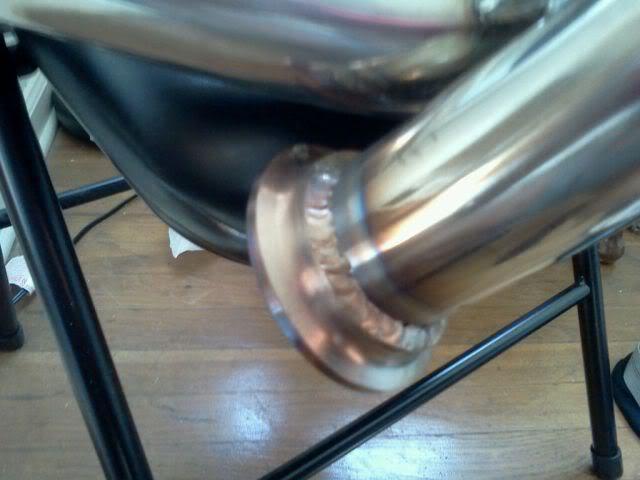
All the Prime Time Race car welds before I paint & titanium wrap them.
Now everything fits, just have to head down to Alliance hose and fittings to do the feed and return line , then put it together and tow it to Prime Time for the turbo side intercooler pipe, Start it try to tune it enough to get to the dyno or just tow it ... IT'LL BE JUNE! ... I hope
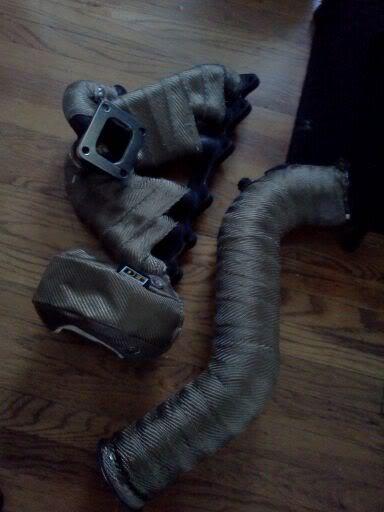
VHT coated, seeing how well it cures in the sun,we will see. This wasnt for looks as it will be heat wraped just an extra step against rust and heat
Definitely finish off that wrap with the high temp spray coating. I did the same process on my bike and it made a huge difference. If you ever take the heat wrap off though, you will find that the VHT paint will most likely have come off the pipe.
Not sure how well I did it but I only had 50ft, figured the vht would come off especially with as little as I put on, but moving on ... here it is with my matching turbo shield next I'll seal it with some of that spray as soon as I get some.
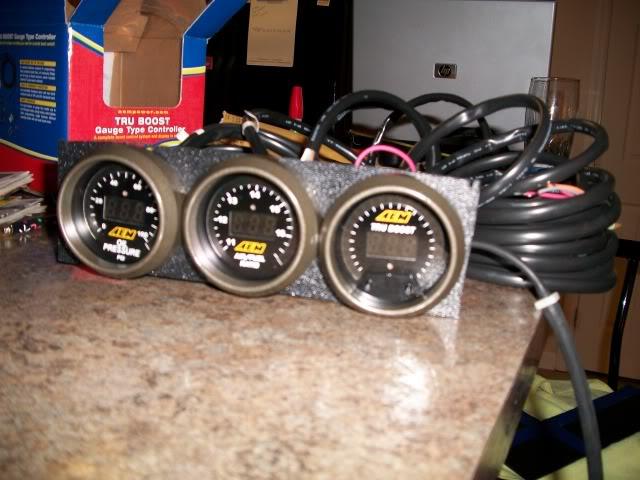
Update only things left to do are fuel line, put intake manifold back on, figure out stock o2 sensor bung(stud hole is positioned incorrectly), Exhaust side IC piping, Tial BOV install, and aem tru boost or other gauge type controller + AEM FIC,
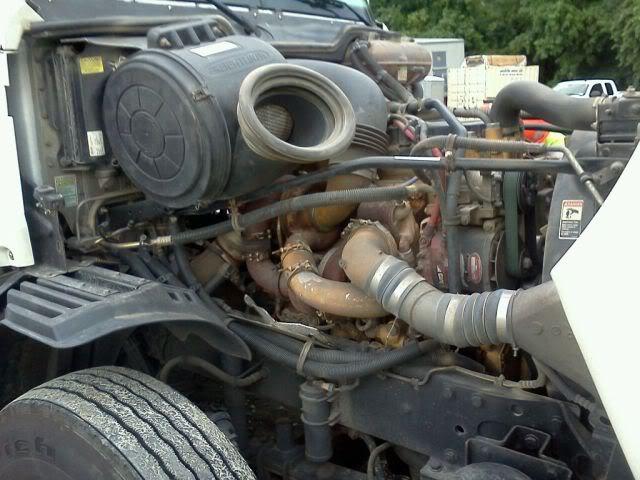
This was at the job site with the hood up as if the driver was going to work on it, I noticed the compound turbo setup and snapped a quick pic with my phone. (Freightliner)
Fuel system installed and intake back on, all that is left is to tighten everything and have the turbo side IC piping done and bov welded. PLEASE ANY START UP TIPS LET ME KNOW,haven't turned the key in so long that I'm kinda afraid lol, but the day is coming, this is how I left it tonight ....
Searching now, but whats the best way to remove these things in order to tap the holes and plug them so they are out the way?

Well after searching I concluded that the easiest way was to apply heat and yank them out NO DRILLING necessary, then tap the hole with a 1/8 npt tap and find some plugs I'd use some teflon tape to make sure of a complete seal ... So, this is what i used .. (pics)
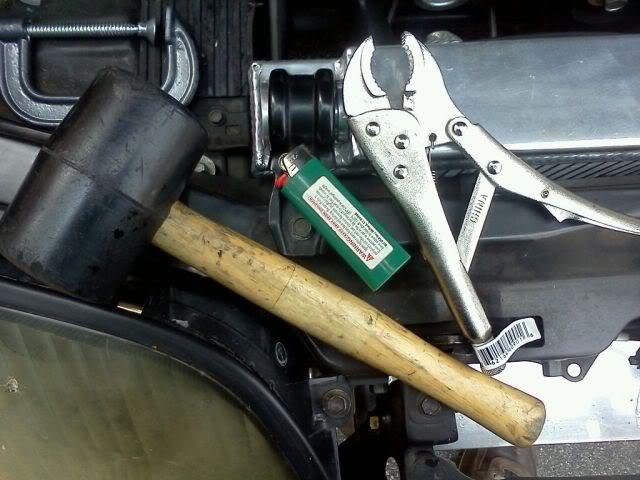
Heat it up, one guy said he used a torch but this lighter did the trick, make sure its good and hot holding close to the water neck itself,(I think I heard the sealant sizzle inside that means its ready) hurry put the vice grips on good and securely and tap/gently massage it on out of there
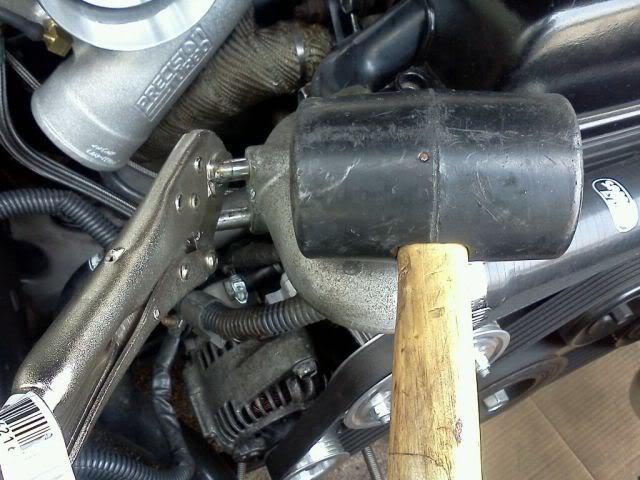
Viola!
Then tap it slips in a bit of the way but it will begin to thread
Then put some hex 1/8 npt plugs in, that sit flush, then bam an example of the clearance haven't went to get the caps
Now I just gotta make that stack red
What I did over the 4th of July
Nice and clear thanks to Jermaine and Steven for the help
Just a quick Update: for my power goals street 550+ race730+ may never be SEEN on the dyno through the 4l80e
Decided against the a340e transmission or having it built and decided to have a 4l80e built and using a ATF sfi approved flywheel and block adapter for the th400. Though it says th400, both the transmissions go behind some of the same power plants so I figured it would work, emailed ATF just in case they said yes it would work.
found my 4l80e for $160 (lucky, but thats how much there worth there GM and in everything *exaggerating but not rare*
4l80e built ($150 labor)
mild rebuild kit (tci kit $296 +34element sprag $79) http://www.summitracing.com/parts/TRG-4L80E-3/
some say a 800hp limit with a full manual shift kit alone, but I'll have that as well (transgo 4l80e-3 $232.95).
ATF install kit /flywheel&block adp. $900 +$69s/h http://www.atfspeed.com/store/index....&cPath=120_131
Arp 6spd Flywheel bolts $45
Quicksilver shifter w/linkage $189.95 http://www.summitracing.com/parts/BMM-80683/
revmax 850hp tc $760
Lokar dipstick $77
energy suspension transmission mount $28, http://www.amazon.com/Energy-Suspens.../dp/B000CNAXDO
new chromoly driveshaft (www.accubiltonline.com) $355.52+$55s/h approx:40 5/8" from trans seal to rearend 3bolt flange
(My dads old 7sec nova had their drive shaft on it, never failed!)
Diff Adapter 3-Bolt to 4-Bolt $169.41 http://store.driftmotion.com/static/...termk4gssc.php
misc s/h+$26.
Total not including install $3594 approx. Still under SP's $7500 kit that is not sfi approved fwiw
Update/edit: So I ditched the AEM FIC (made 520hp then limp mode) would have worked had I had a speed signal and a manual ecu would have been a plus, because as the stock ecu pulls timing for shift points the FIC was limited in this area of tuning so a Haltec PS2000 PnP ecu was installed (Car then made 558.1hp 537tq). As for a speedo ...... I have an app for that .. LOL .. at least for the time being, car (Ok ok and guns) broke me so maybe more electronics later .
Time for some ET Streets!
Gap filling pictures
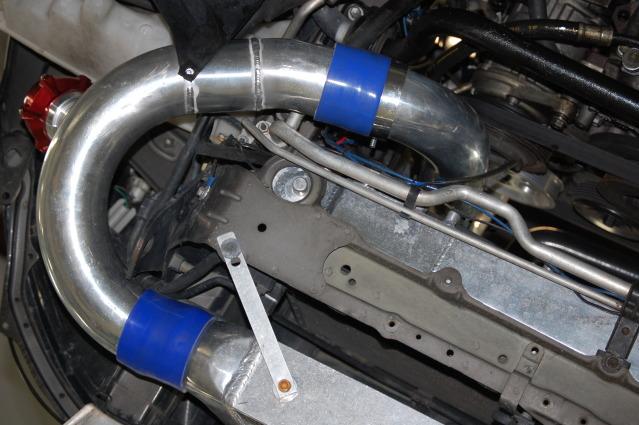
HDi intercooler fit snug 2-3" sections were added to loosen things up, the passenger side was made from 3" piping sold separately.
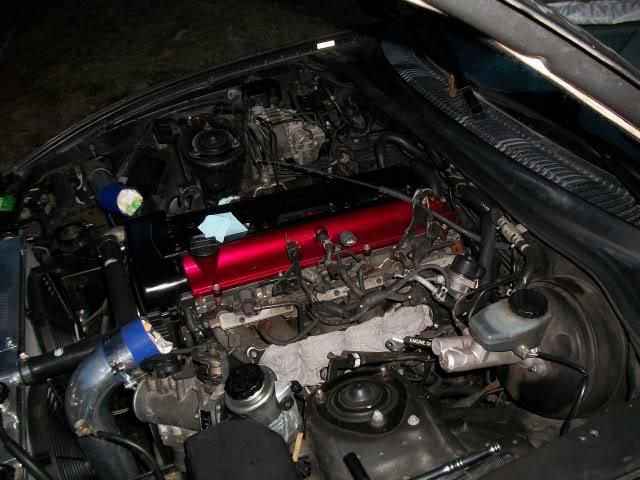
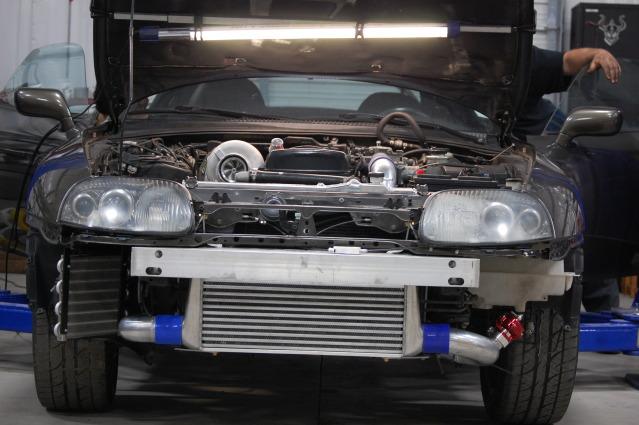
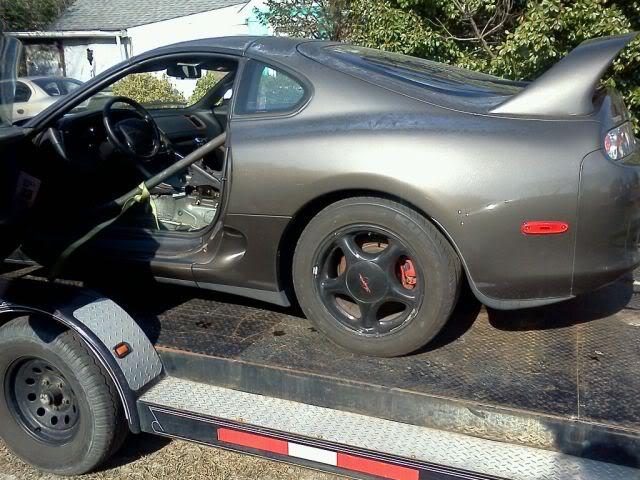
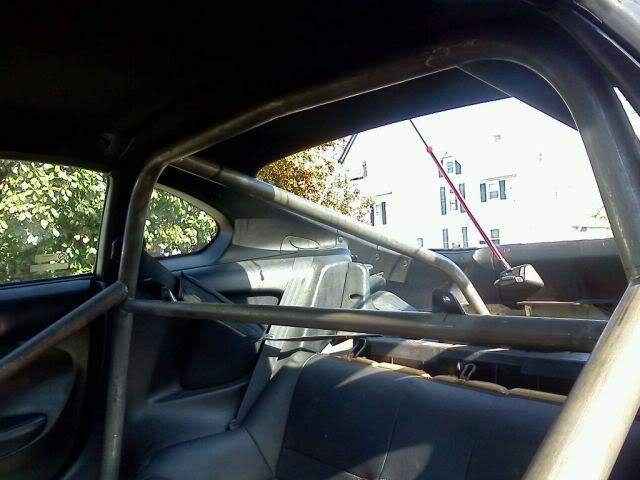
Still needs paint, DR's, Susp., I'm sure I'm missing something else. The car is currently down because I had 2 cracked (stock cast) pistons.
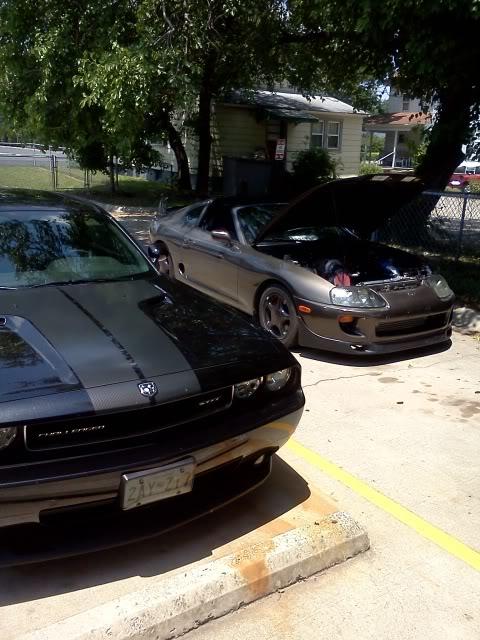
Me'n'Dad
*Update* Car is back under the knife after cracking two pistons (where the rings are held). Lucky me no head damage or cylinder wall damage occurred. (Majestics tune cough heard they've since got a new tuner.)
UPDATE: Ever since driving it to MD from NC stock bottom end and cracking two pistons its been there ever since.
Thanksgiving: Went back to MD/DE and picked up the 2jz from Drummond Race Cars then did all I could before the festivities, all thats left are PS and AC.

MOre PhotOs
Before paint (Rustoleum Hammered Black)
After
Almost time for a race fuel tune


I do have seat covers
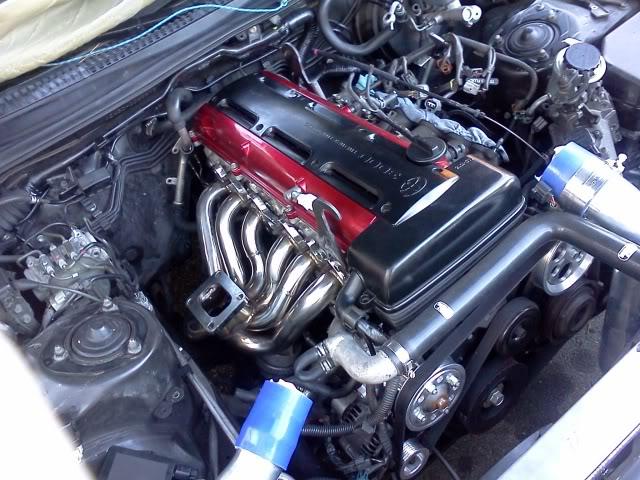
NEW numbers coming soon! Here are the old numbers with "unsafe" tune. Next pic should be of a c16 tune! 558/537

Years later ... still needs fine tuning... pulls pretty strong though ... time slips will do the talking
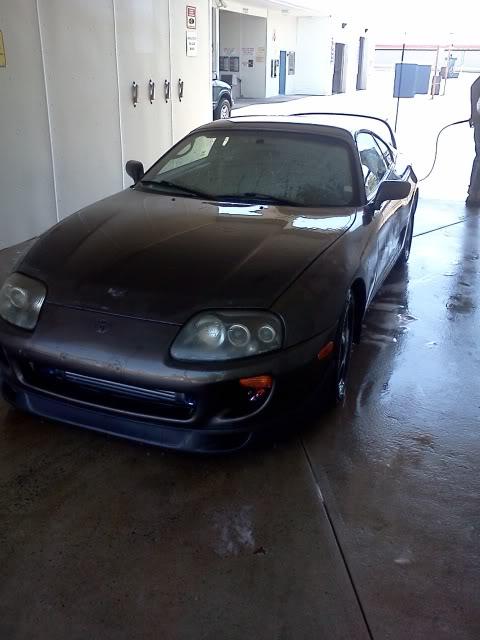
Photo update
15x10 with 7.5bs Roll fenders (pictured with unneeded 3/8" spacer it will cut your tire ... ask me how I know)

I did grind these down just to sleep easier


Tire size is a 275 wheels 15x10 7.5 BS

Car still needs tuning with two step I plan to take it to Sean Ivey/iveytune.com or pfsupercars.com during the off season ... Quickest pass was a 12.xx@120mph when I did get some seat time in. (as of Jan. 2014)
Comments
Very exciting read. What's happening with that Supra. You dodging the finish? Lol
Posted by Arussto on 11/4/18 @ 12:23:55 PM
Great detail so far!
Posted by Diggymart on 9/10/19 @ 12:48:14 PM