You must be logged in to rate content!
7 minute read
My Auto -> R154 Swap (big pics)
Compliments of gmacrae @ www.supraforums.com
7-1-2007
Well I finished my TT auto -> R154 conversion a couple weeks ago and its all running real nice.
The gearbox i got is a remote shift R154 from a JZX90 Chaser (1jz-gte). It had aparently only done 60,000kms, but i wanted the few usual R154 weaknesses sorted before i put it in.
A friend of mine stripped it to bits and installed a replacement 1st gear thrust washer made of EN39B (very tough shit), carburised and cryo-treated. The shift forks/rods were also cryo'd, and the stock bearing cover plate was carburised and cryo'd. He replaced a few main bearings in the gearbox just incase, and assembled/shimmed everything to the tight end of toyotas specs. Didnt replace any synchros as they looked brand new. Ended up with a really nice gearbox that should take any abuse i can throw at it.
There are a few reasons I wanted to use an R154 box. Firstly, the r154's ratios are nicely suited to the 3.77 TT auto diff. 5th gear at 100km/h is about 2150rpm - perfect IMO. If i used the getrag box i'd have to use the 6spd diff also. This combined with the price of a getrag box would make the whole swap about twice as costly. With the mods I've had done to the R154 it will be a very tough gearbox and will handle more power than I ever plan to make (small single eventually - bpu at the moment). The gearbox mods cost me around NZ$500 all up.
The interior stripped:
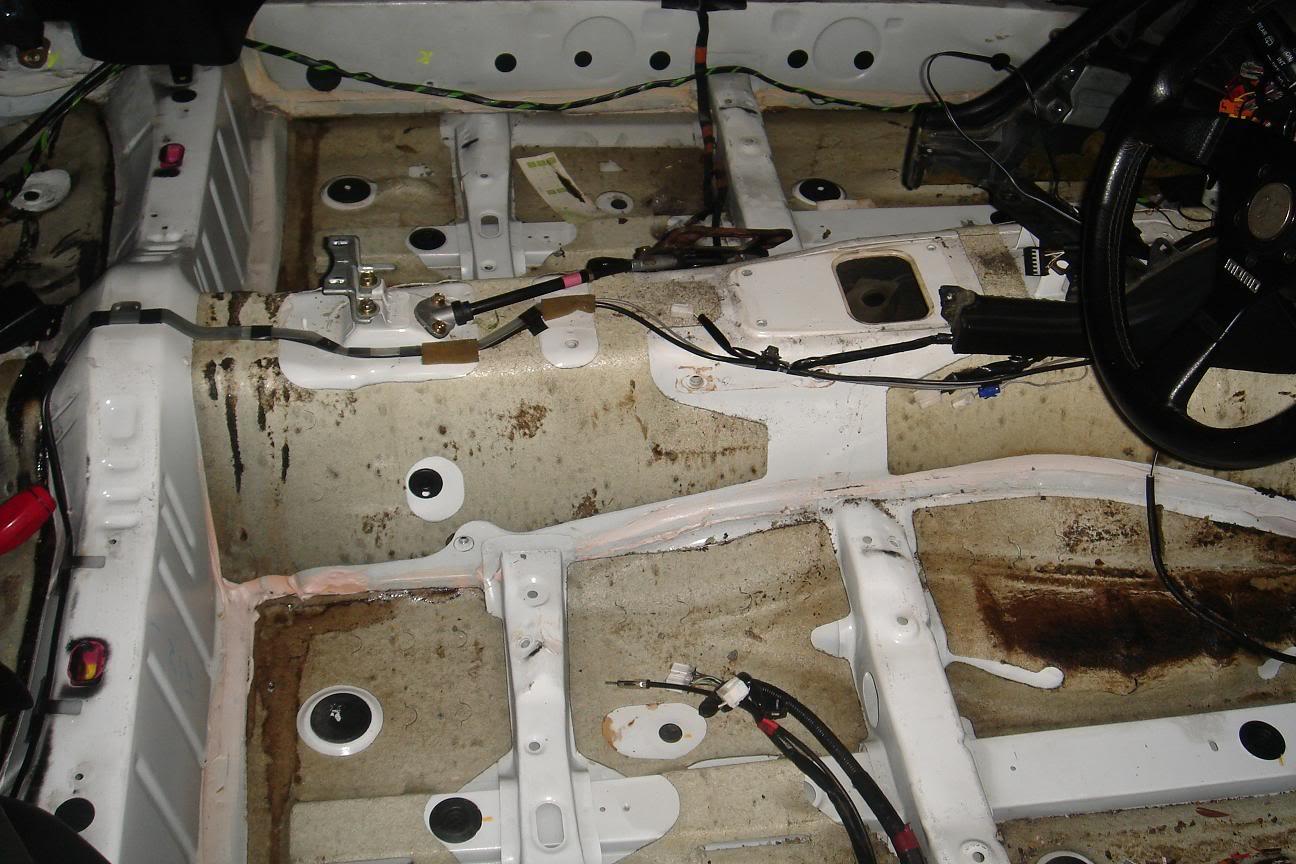
After removing the auto tunnel piece. I ground out the spot welds to leave the tunnel as un-touched as possible and stripped the area back:
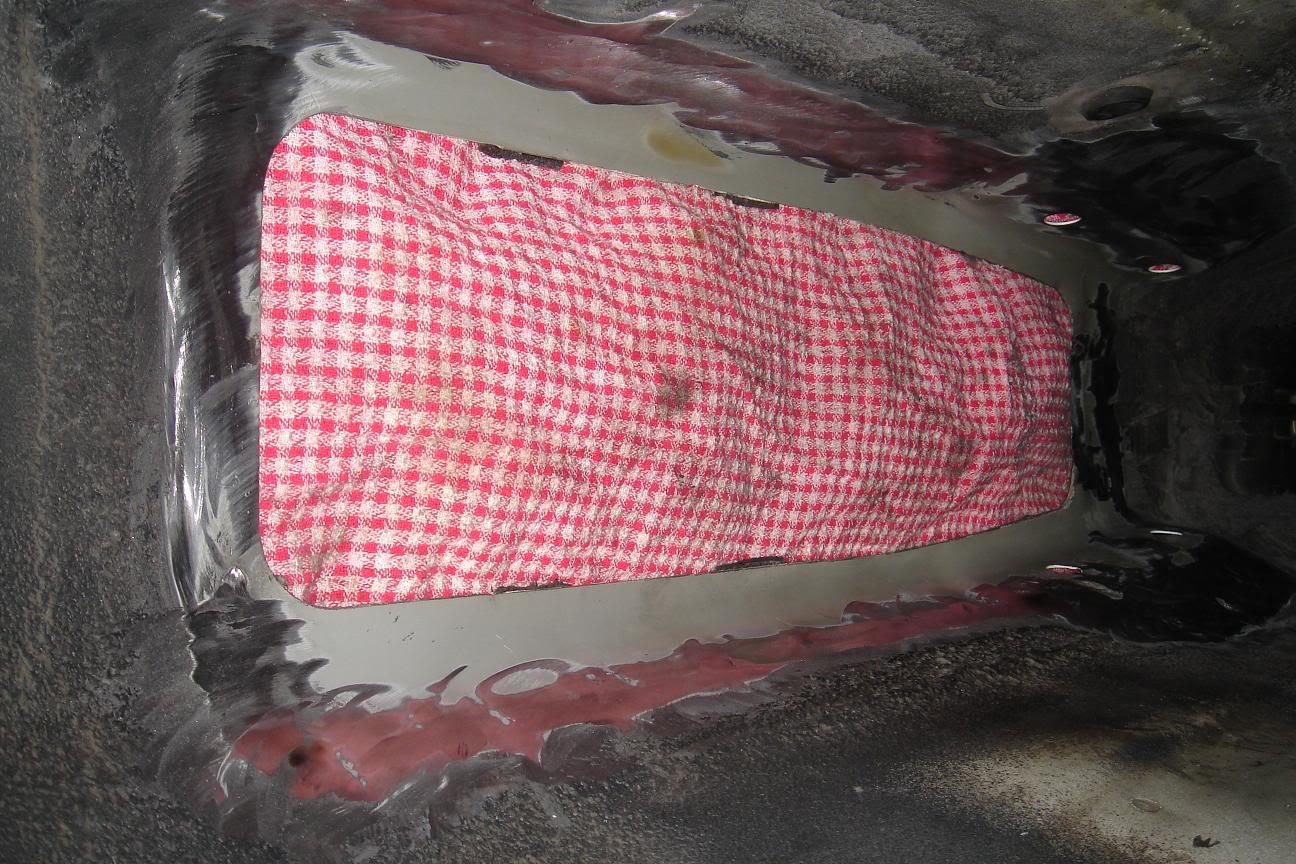
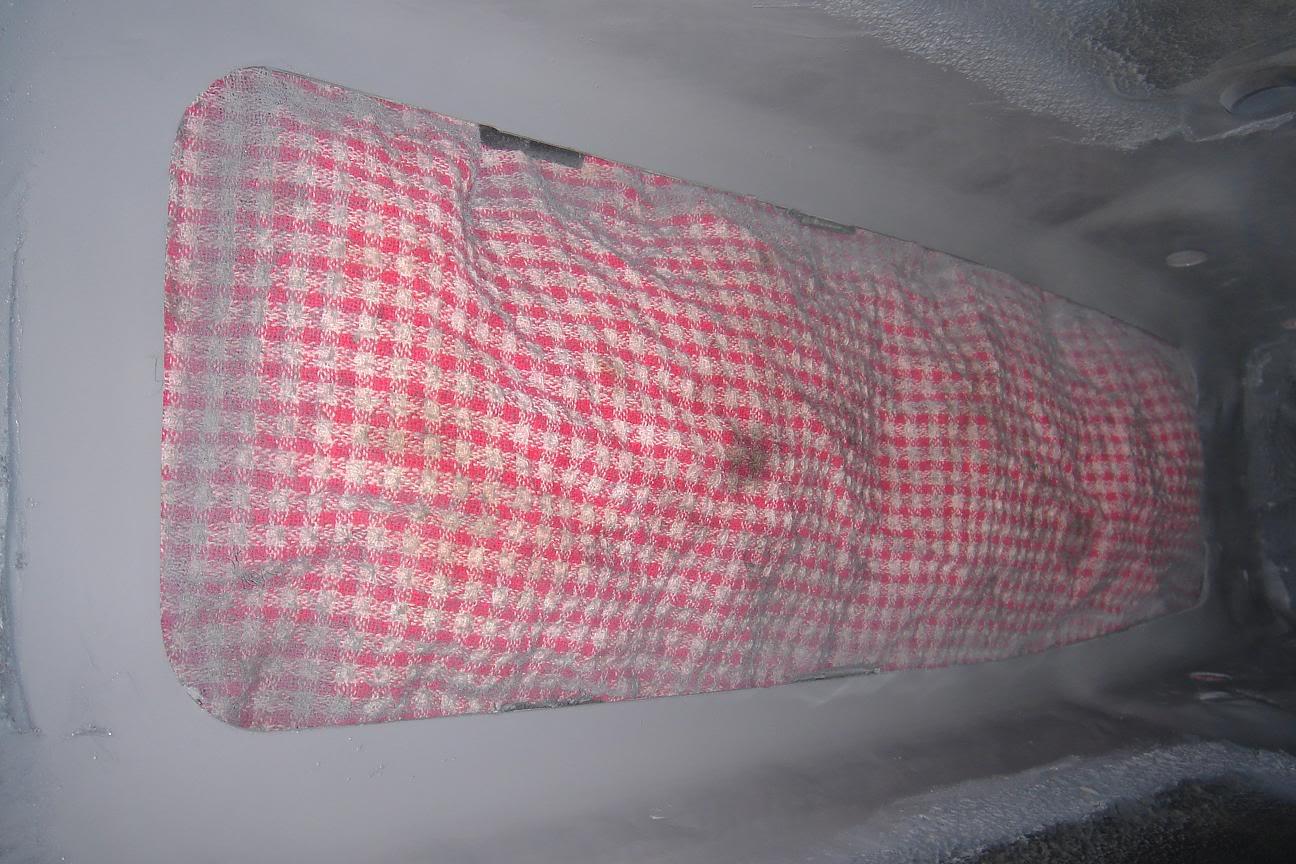
Area primed before the new tunnel piece goes in:
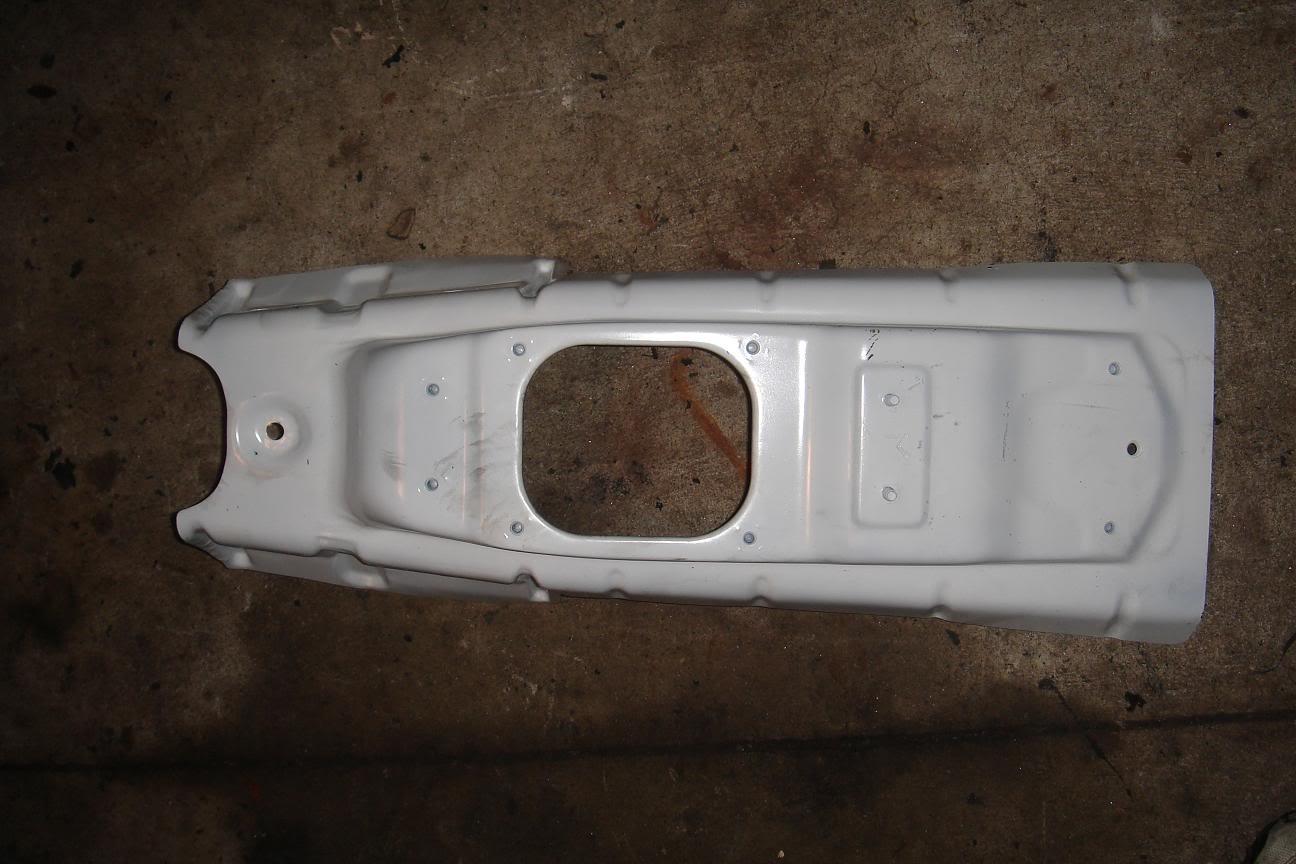
New tunnel piece painted white:
New tunnel piece stuck in (LOTS of urethane body sealer) and bolted thru handbrake holes either side:
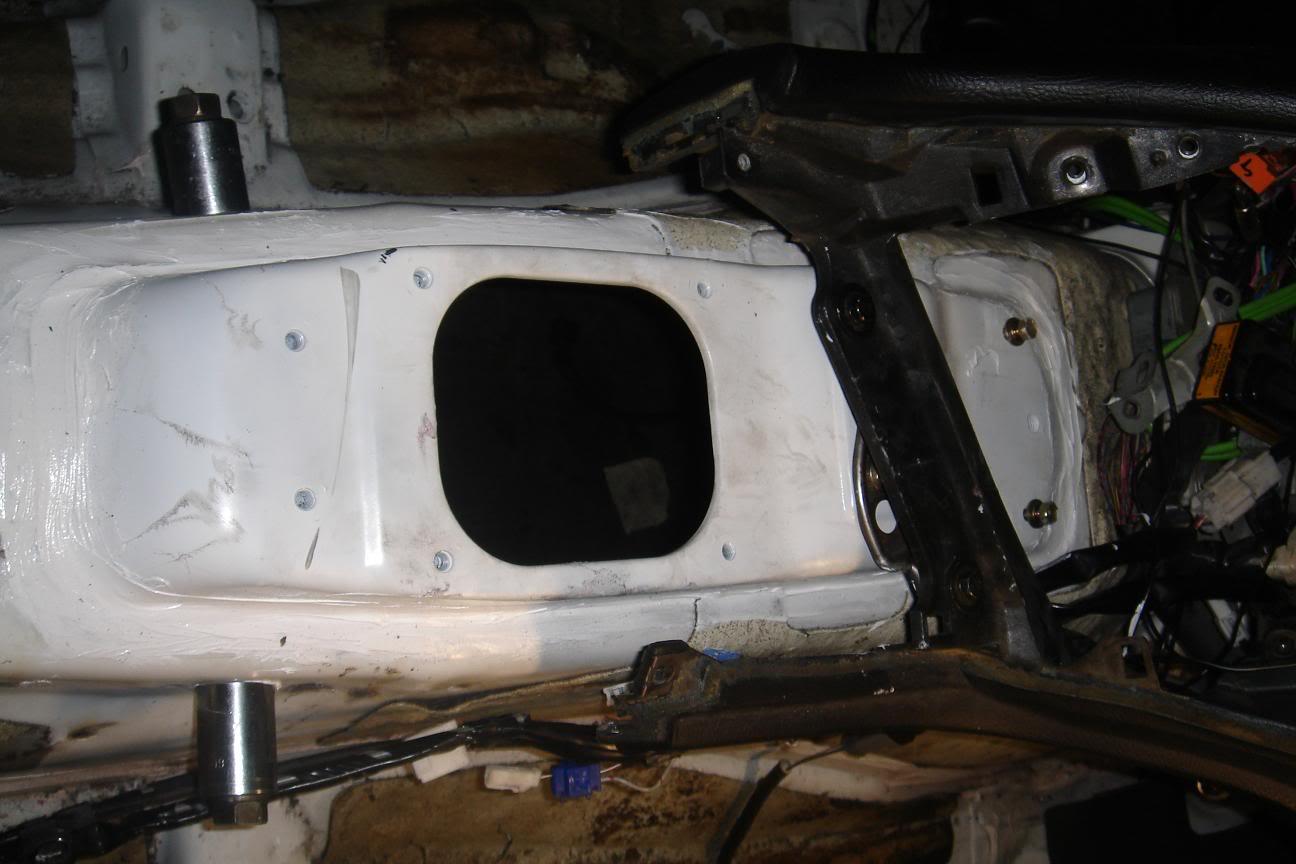
Tar/Undersealed the new tunnel (undersealer in a can, brilliant stuff):
Auto loom stripped, can see the 3pin speedo sensor (fits the r154 without modification). Can also see the reverse switch i wired with a 2pin connector to the YELLOW and BLACK/RED wires (thanks mkiv.com).
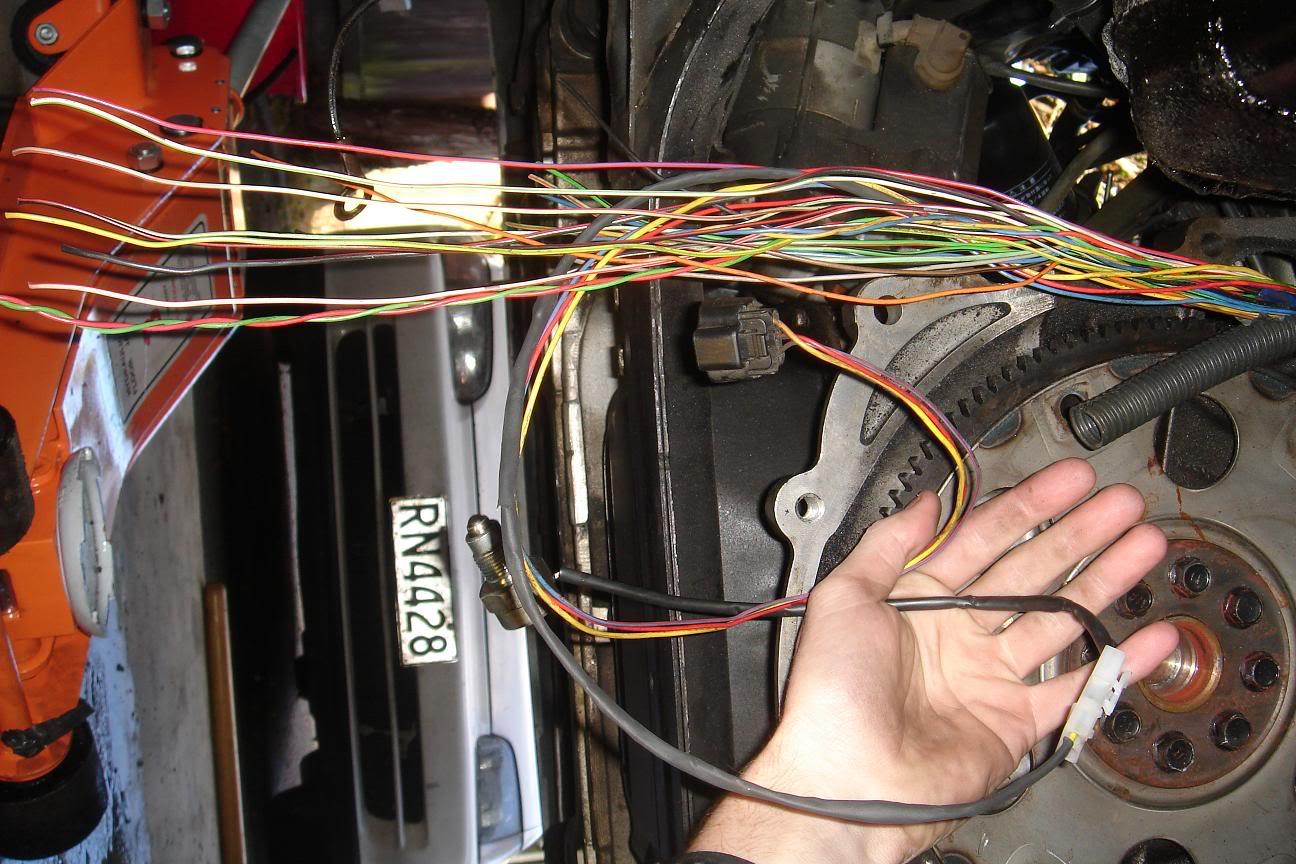
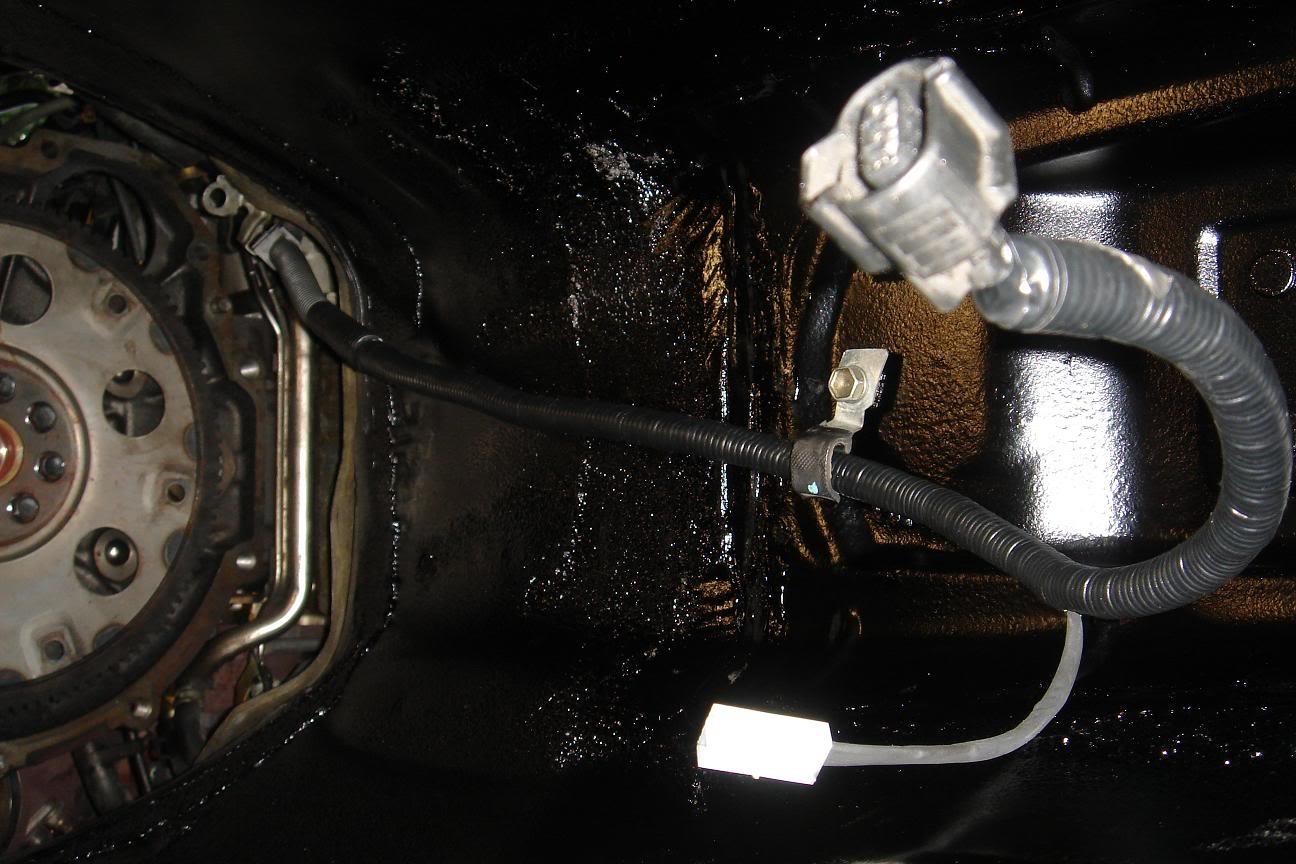
All old auto plugs cut off, wires all cut at slightly different length so nothing can short, new loom cover, BLACK and BLACK/WHITE wires shorted inside (neutral/clutch start inhibitor - thanks Willjs7 and Lyndsay Sarchet). Speedo sensor and reverse sensor are only plugs there now:
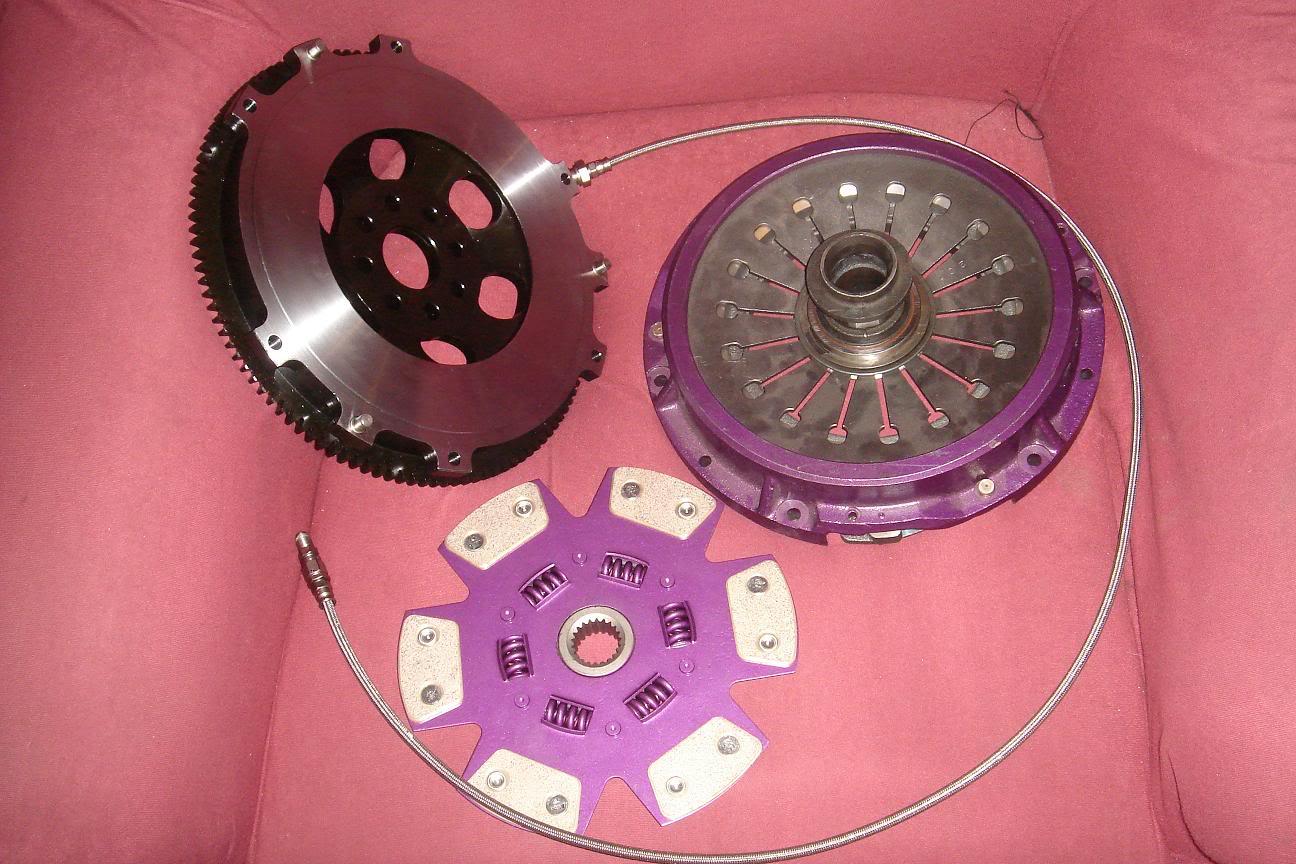
All this is to fit JZA70 1JZ supra basically, Chromoly flywheel (4.2kg). Clutch is a completely rebuilt stock cover, 3200lb spring, 6puck cerametallic sprung disc, new braided clutch line - 1250mm incl fittings:
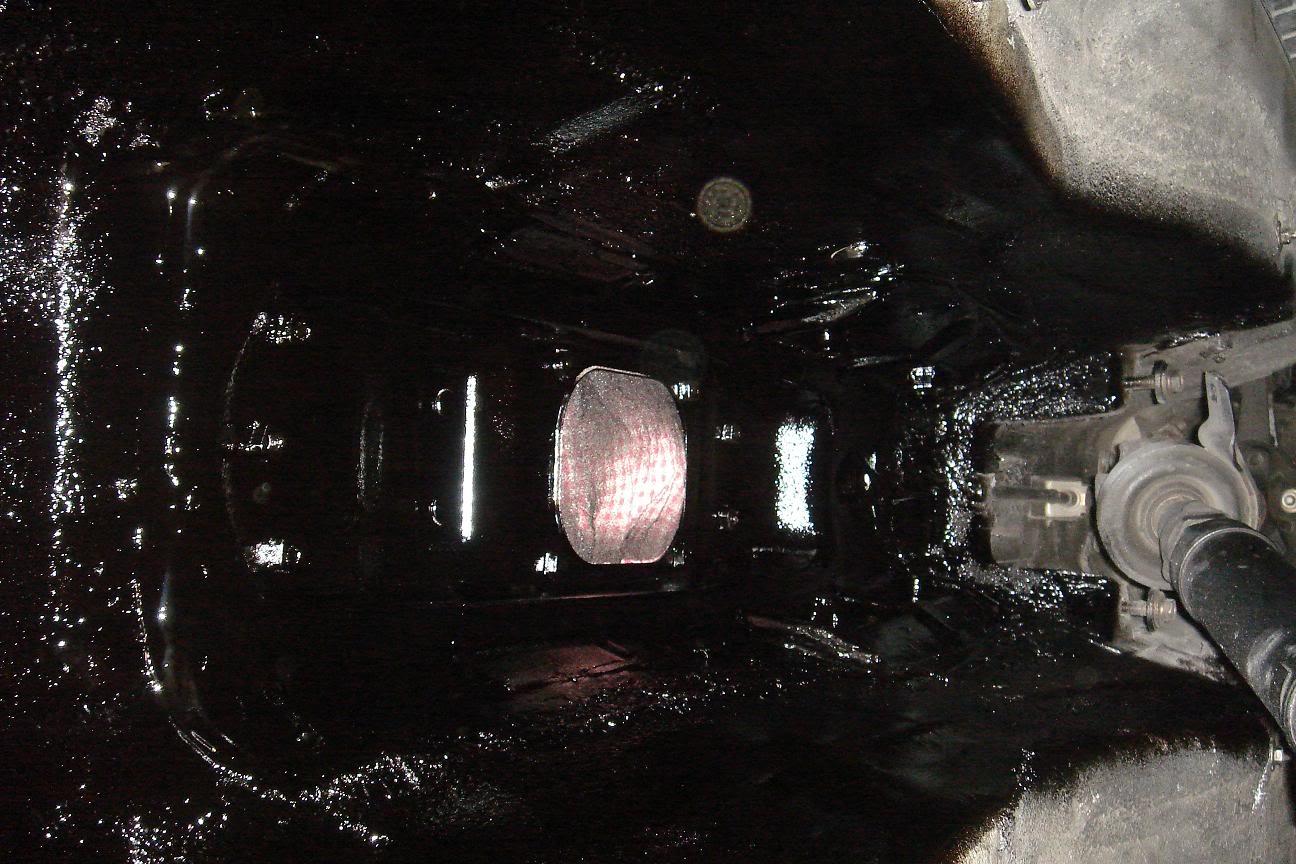
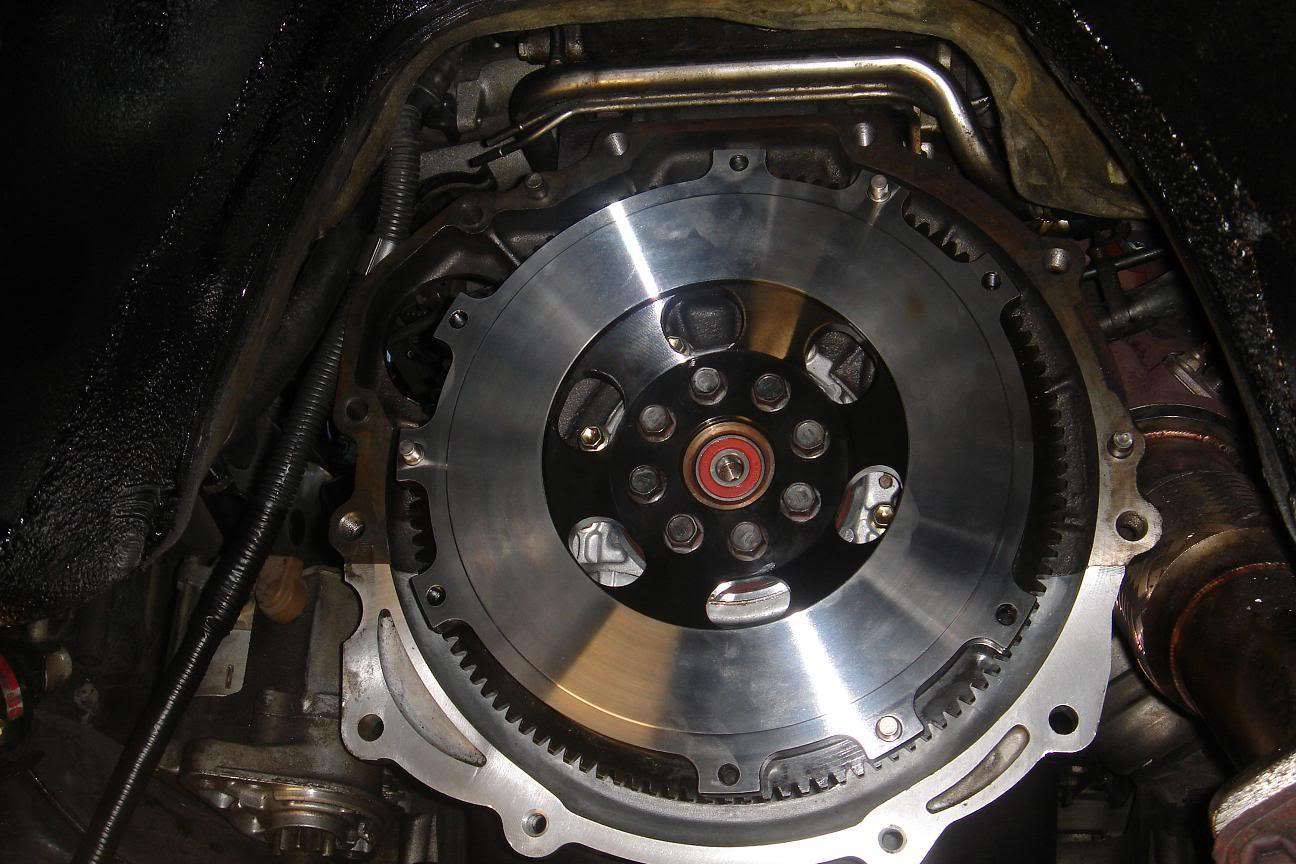
Flywheel bolted up, new spigot bearing in:
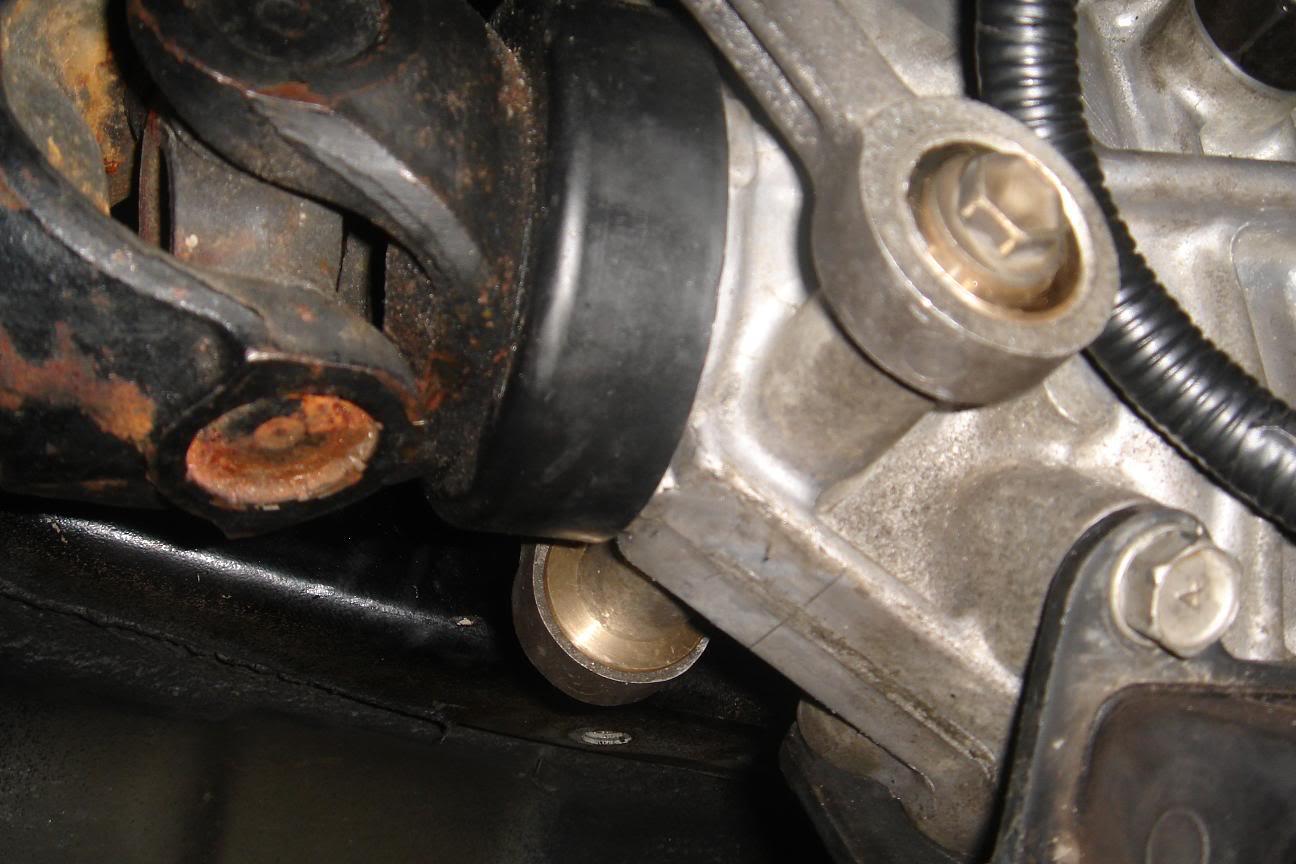
New brass shifter mount bushes... AWESOME! These make the shifter so precise, totally worth doing - i assume the MVP ones will fit this shifter, might want to check tho. Ignore old universal - didnt use this:
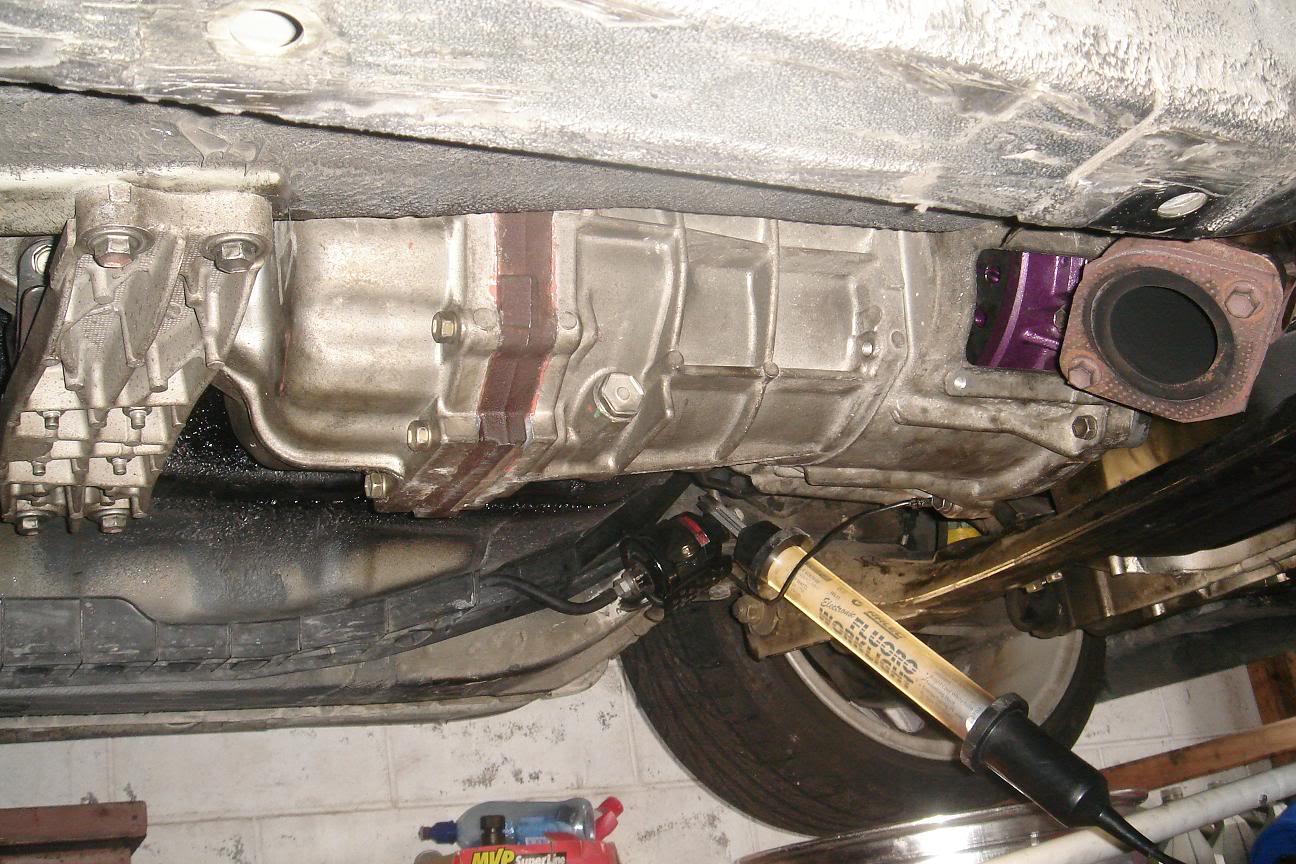
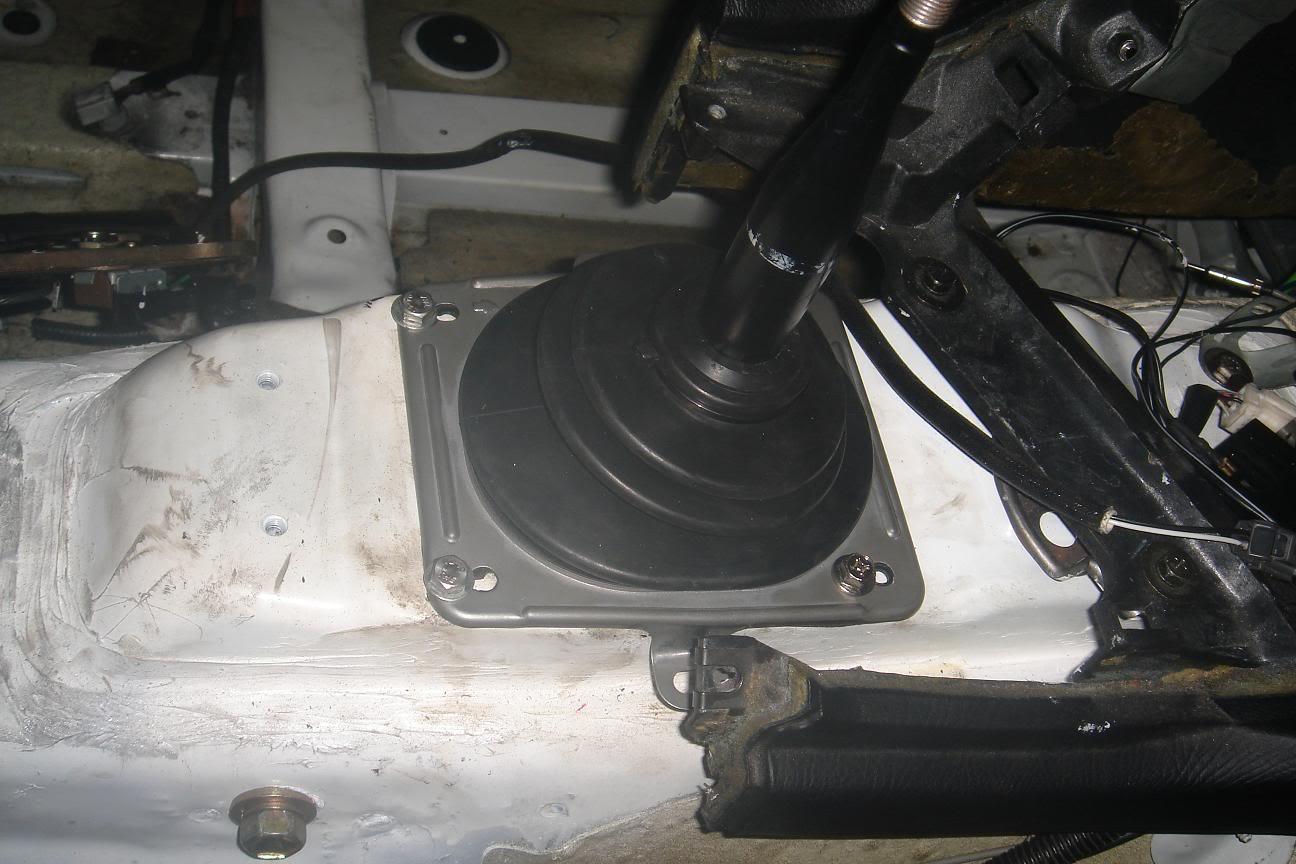
R154 remote shift in the new 6speed tunnel hole, about 10mm forward of centre:

Gearbox mounted using the crossmember from the Chaser that came with the box:
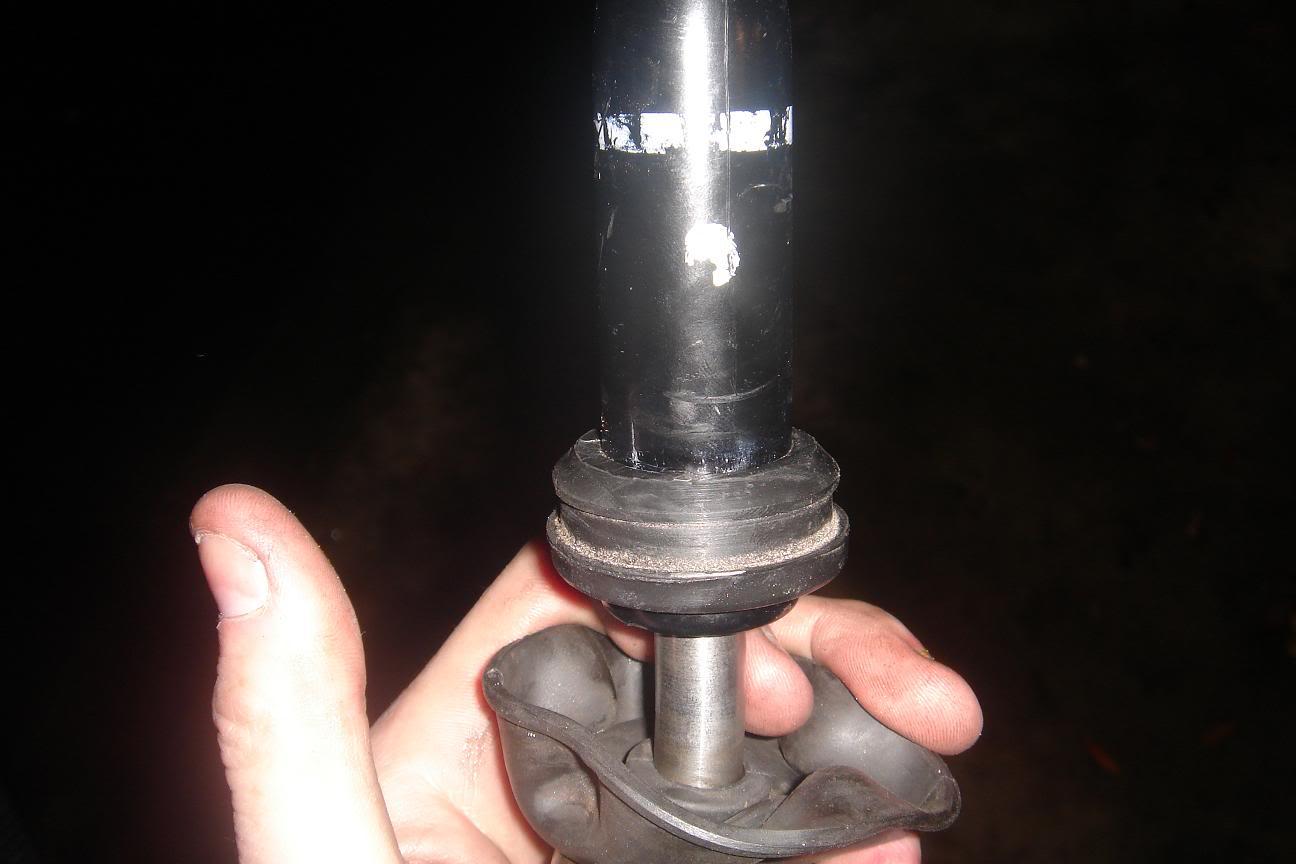
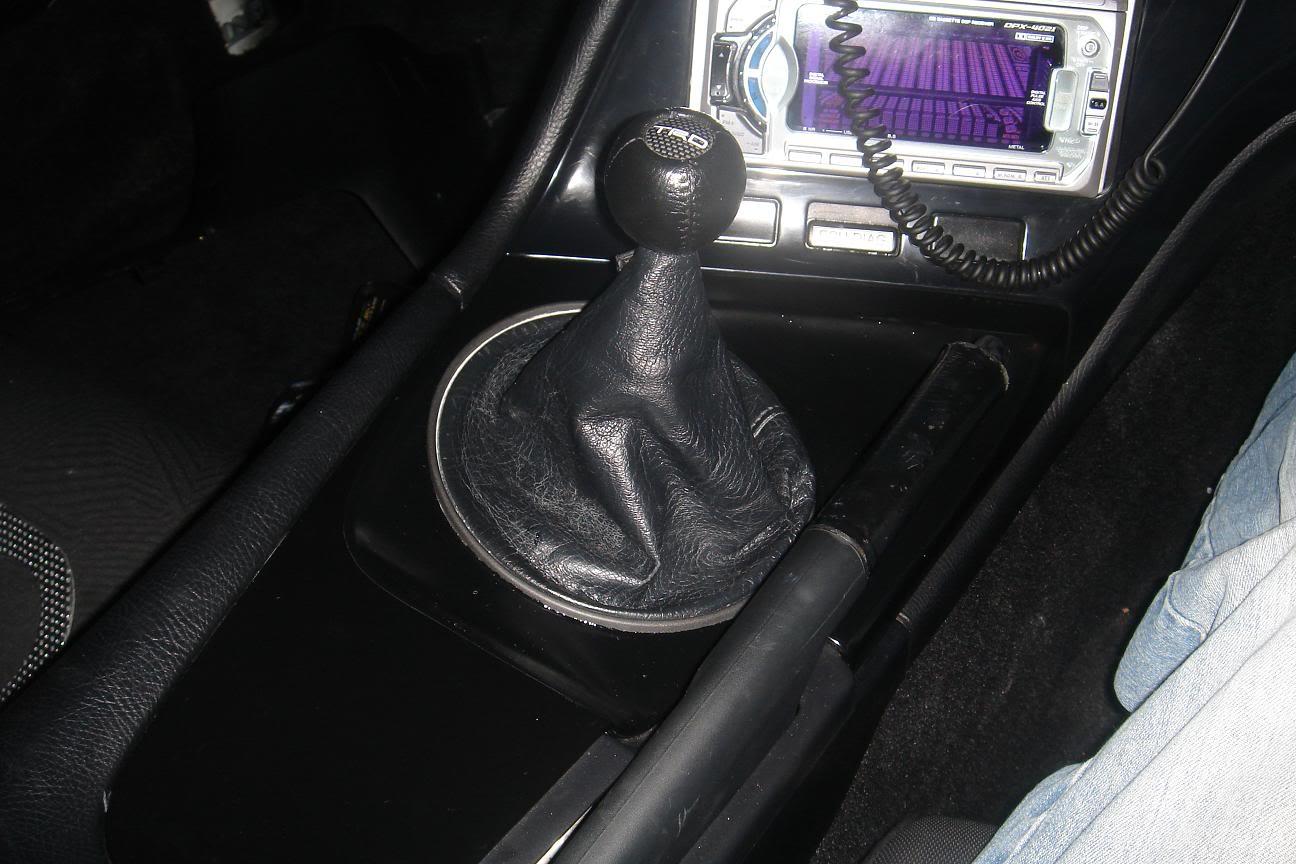
Found this piece of a grommet or something to fit around the bottom of the shifter to make a snug fit on the 6speed rubber boot:
Shifter mounted:
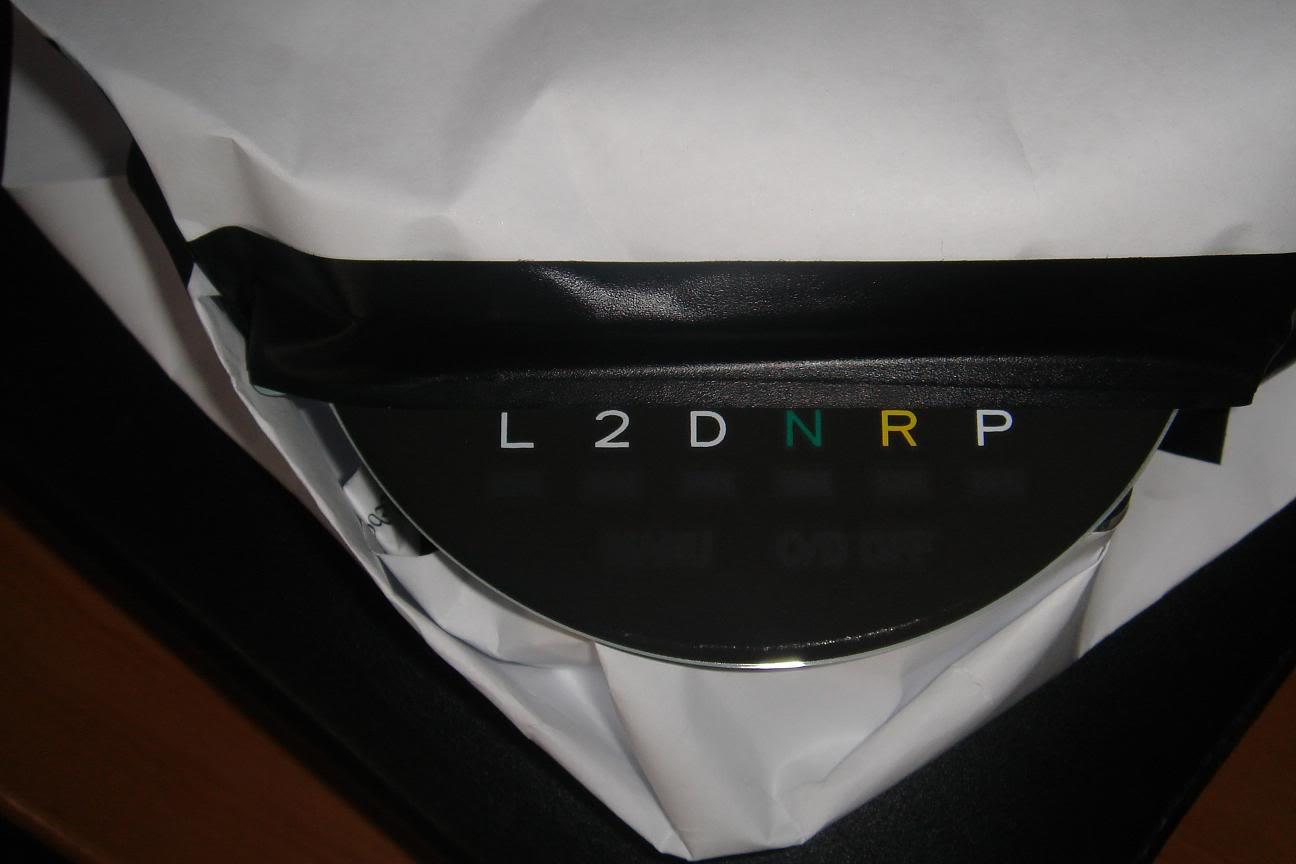
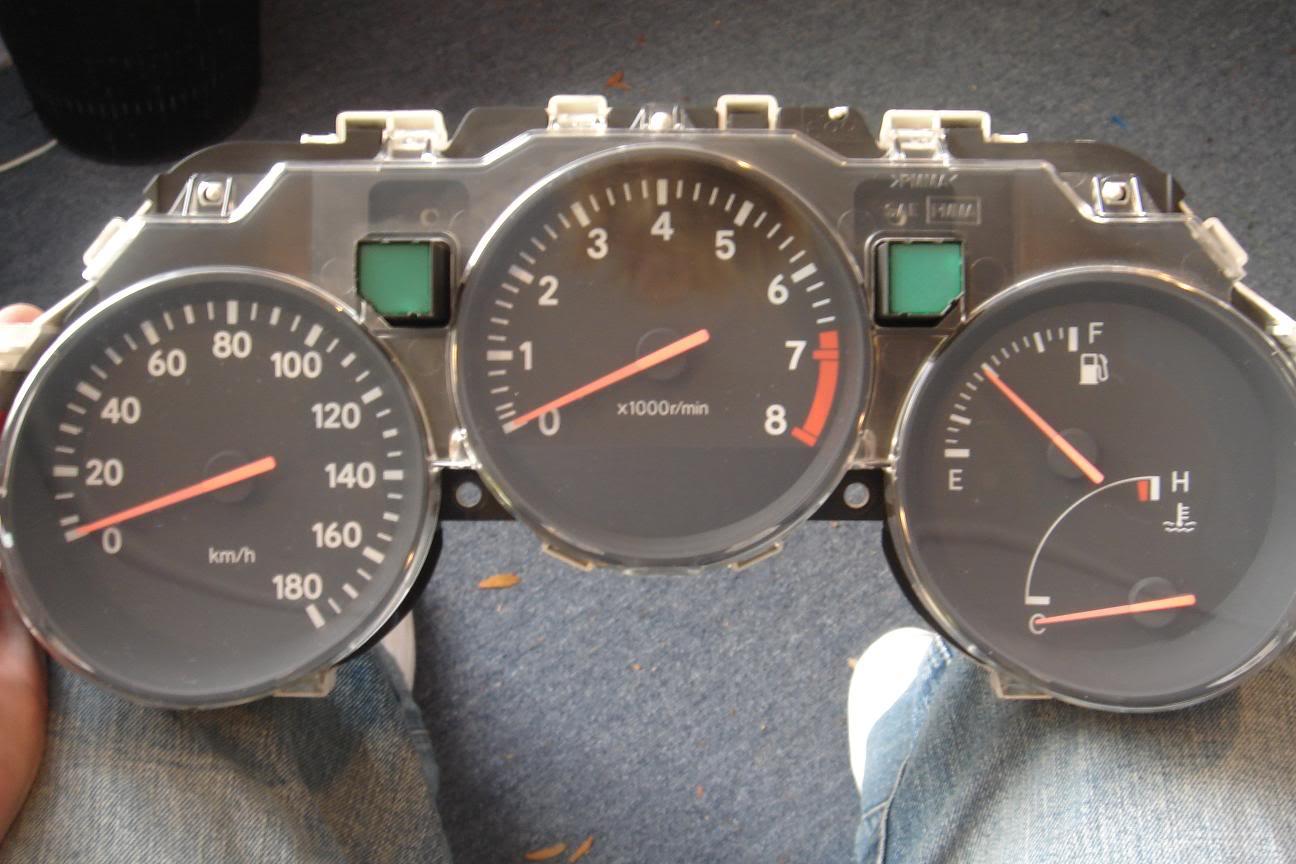
Auto tach, bulbs for PRND21, O/D, MANU removed (bulb holders put back in though:
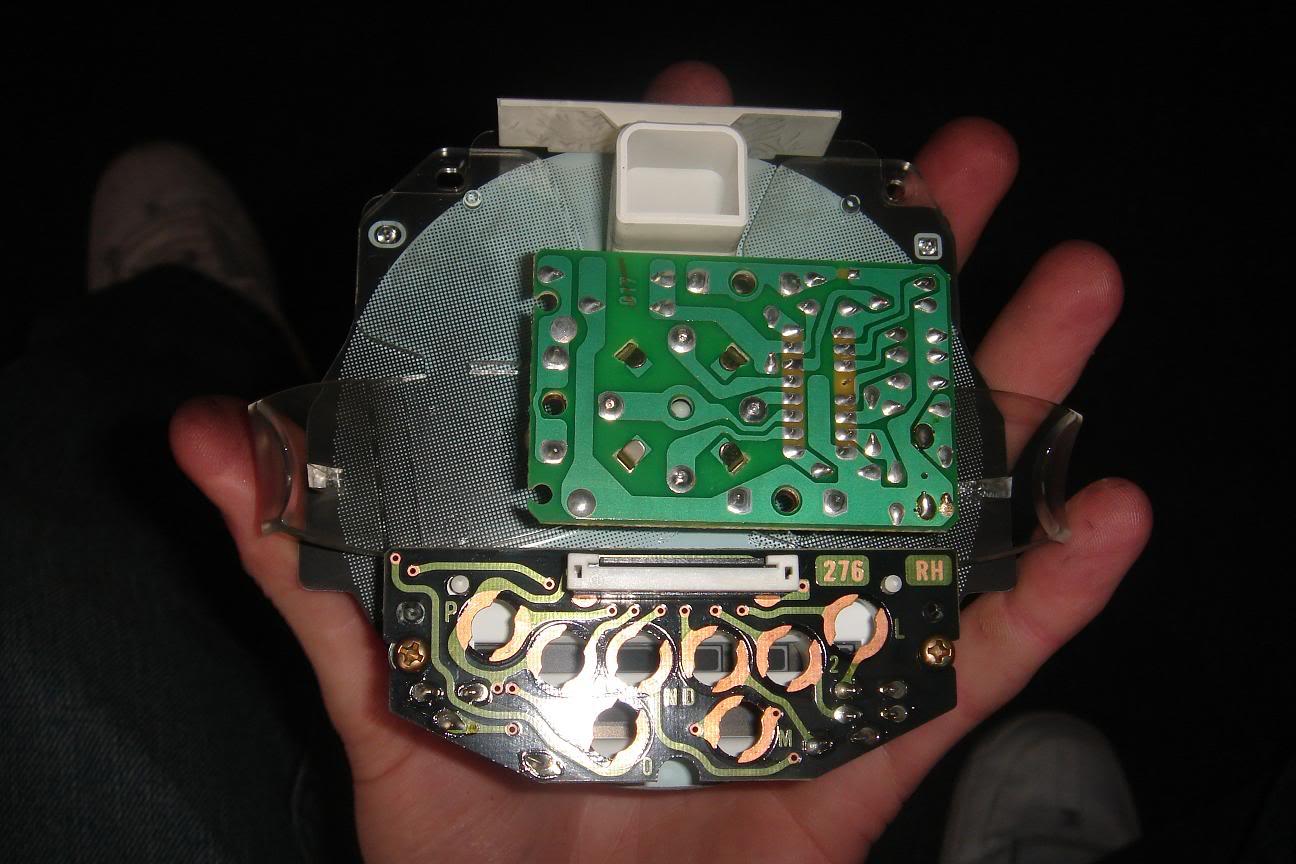
Tacho masked up, then painted over with matte black:
Cluster:
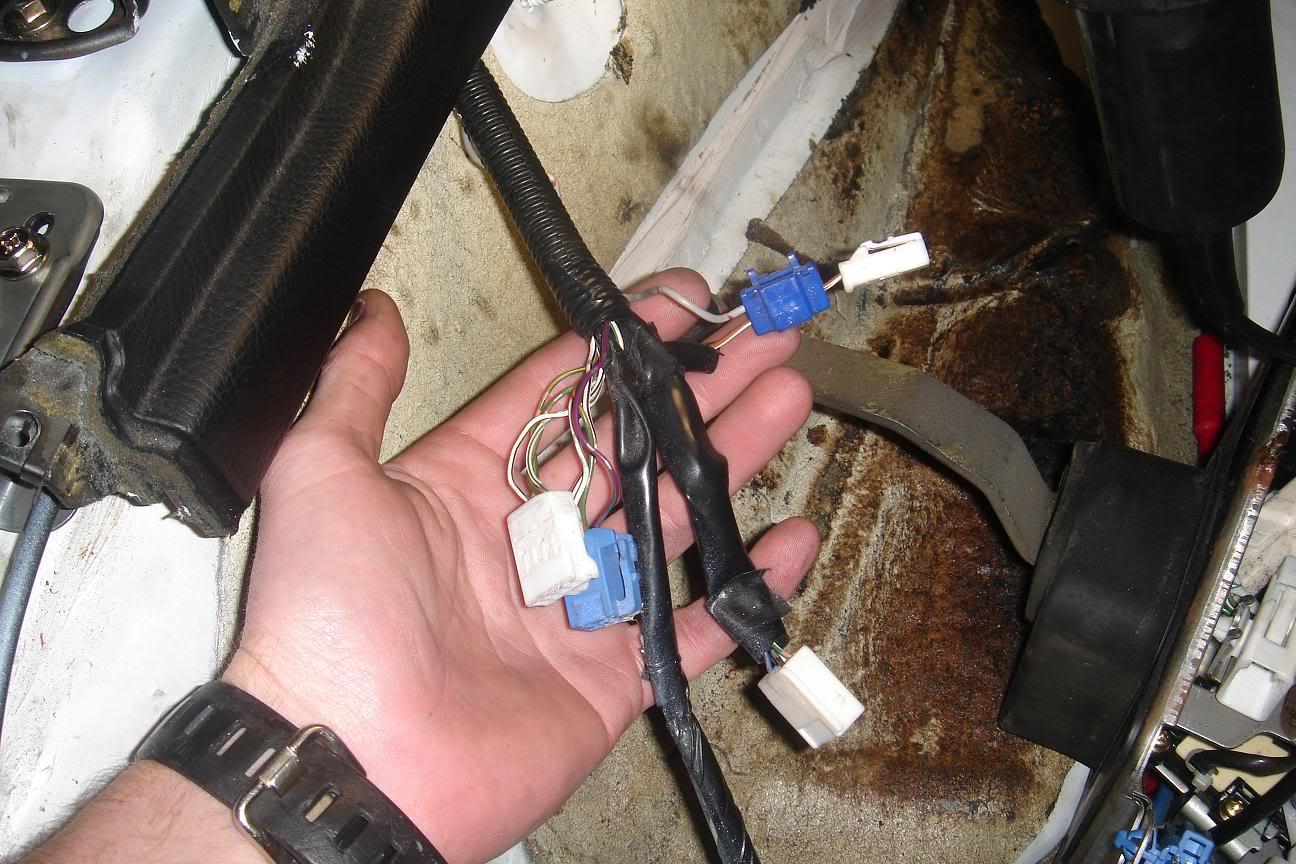
Loom to auto shifter, the 3 lower plugs got removed and tidied into loom, top one is for handbrake sensor:
Shifter:
The only thing i didnt get pics of is the driveshaft - Ill try explain. The stock auto driveshaft is the right length, but needs the r154 yoke on the stock universal joint. There are a few ways of doing this, but i ended up using a new yoke and universal. This makes the front section of driveshaft floating between the centre spline and the gearbox yoke. Its fine if it floats back/forward a bit (good thing aparently). But you just need to make sure the yoke cant float forward enough to damage the gearbox rear seal. The dust/tangle shields over the front yoke might also need to be trimmed down a bit. I wound a bolt into the thread in the output shaft to stop the DS moving too far forward to keep the shields away from each other. I also put a short spring inside the yoke to push against the output shaft. Hope that makes sense.
I also used a manual ECU.
One thing that caught me out, i bolted the clutch up to the flywheel expecting to be able to then mount the gearbox.... NOPE, not enough room in the tunnel. the clutch has to be sat on the input shaft and then bolted up thru the access holes in the bellhousing once the gearbox is on. I guess the getrag clutch setup is the same deal?
Anyway, its a big job, but fairly easy if you just take your time and be patient. DEFINITELY worth doing, the car feels stronger though its running about 2psi less boost (less load/mass).
Let me know if you've got any questions, Cheers