You must be logged in to rate content!
8 minute read
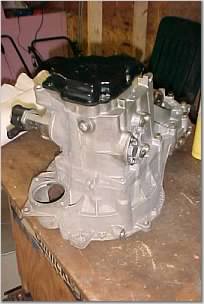
DIY Tearing a VW 02A/O2A/02J/O2J Transmission Down to its Sub Assemblies
I have at least 2 of these to do... Done 020 without any probs or major special tools so this looks relatively easy
jeres a gallery on swapping an 02A in an A2 in case anybody wants'needs that: http://www.hotdub.com/pictures/thumbnails.php?album=35
BTW loaded all the pix on my hardrive... just in case!! and here's a link to the component teardown by Pashat:
http://forums.vwvortex.com/zerothread?id=2907820Good Stuff in that link
here is a link to my photo album with the full size pictures: http://share.shutterfly.com/share/re...943663045f5585
Step 1: remove tranny oil before beginning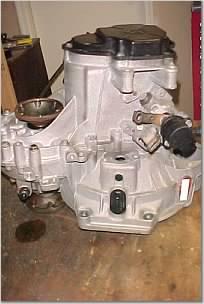
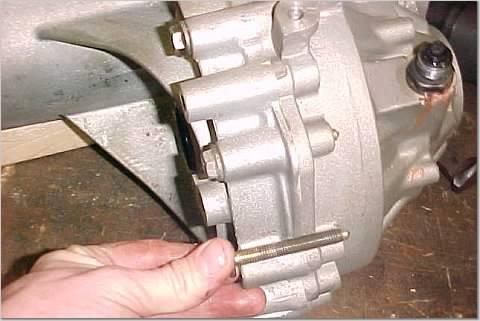
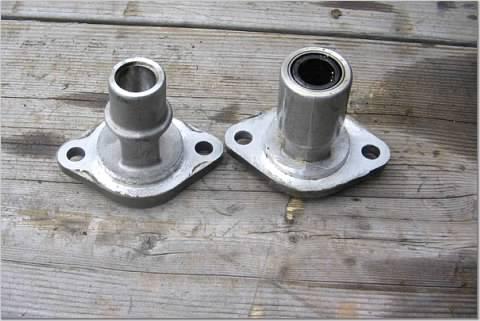
Step 2: remove output flanges with bolt from tranny case(threaded all the down shaft)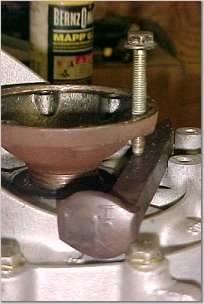
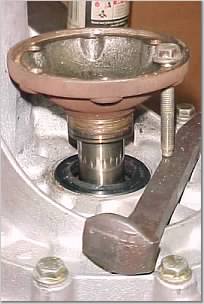
Step 3 remove shift tower and bottom cap/guide. remove 13mm bolts and then heat the area around the sealant with a torch(propane) and then smack with a piece of wood and hammer the cap and shift tower from the side to spin them. There are indents on the cap and tower to do this
It should be noted that when switching shift towers that there are differances to note. The G60 and later VR6 shift towers have differnt thickness shafts and when swapping them you need to swap out the bottom cap/guide:
Step 4: Remove all the 13mm bolts and nuts inside the bell housing area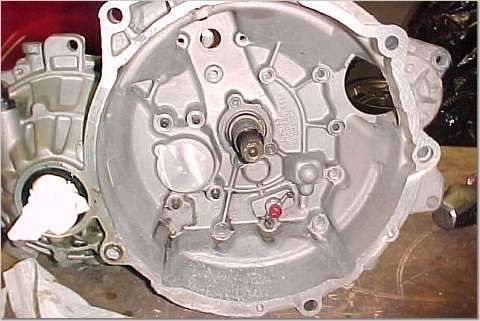
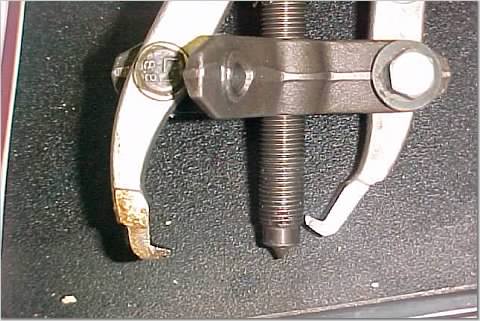
Step 5: remove the 5th gear cover. and then you will need to remove the 5th gear syncro/hub assebmly with a gear puller. then you will need to pull the 5th gear off. Make certain you do not press on the end of the shaft directly. I screw in an allen bolt to center the gear puller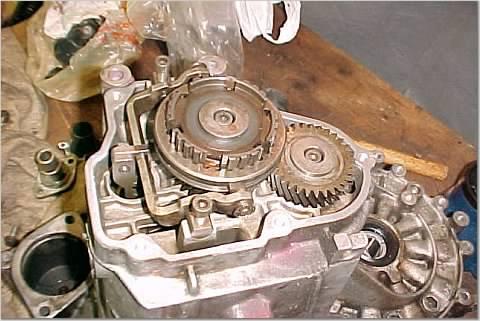

I have had to grind the prongs on the gear puller to fit between the case and the 5th gear. This one is from sears and I have not chipped a tooth yet on 5th gear but I've seen a VW tech chip some teeth before using the actual VW tool
Pulling the 5th gear: I pulled my DZSL SLC's 5th gear last night and it was easy but I've done it several times now. Last night I modified my craftsman gear puller a little more and I think I have made it very simple to do everytime now. Also I will add that I applied heat with a heat gun for a few minutes after I had the gear puller in place and ready to crank away.
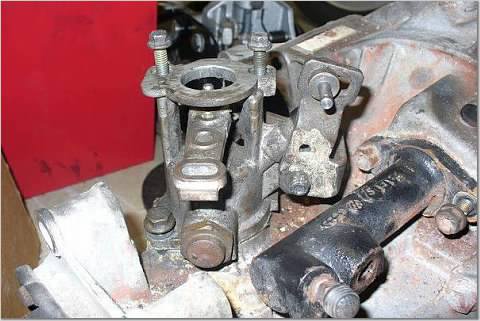
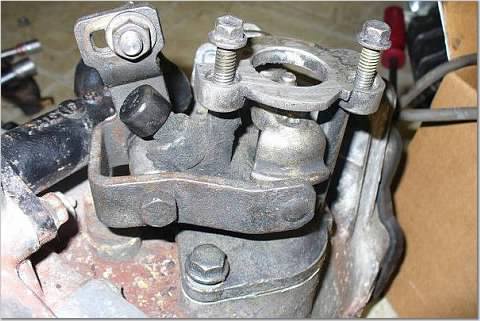
Step 6: remove the shift linkage pivot points 2 on top and 2 on the bottom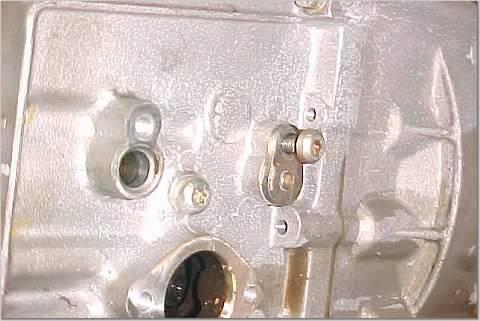
Step 7 remove the reverse bolts. the 1st is on the bottom almost in between the linkage pivot points and the other it inside the 5th gear end case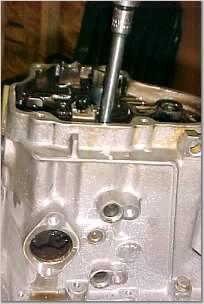
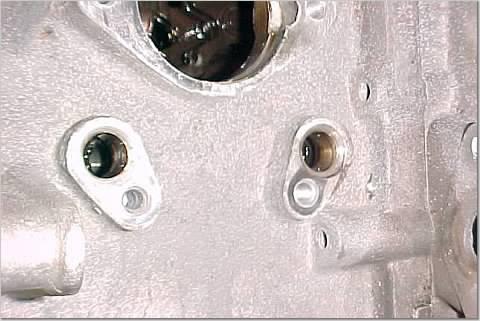
Step 8 remove all the 13mm bolts on the differential end of the case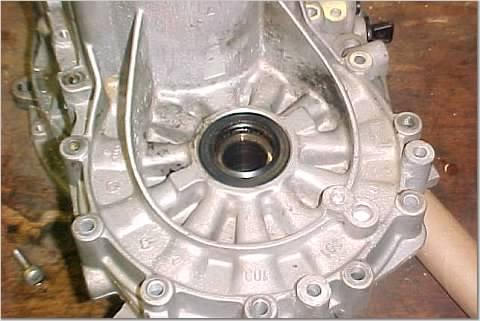
Step 9 take a block of wood and hammer and separate the case halfs and lift the case off
Step 10:Lift away the sfift linkage assembly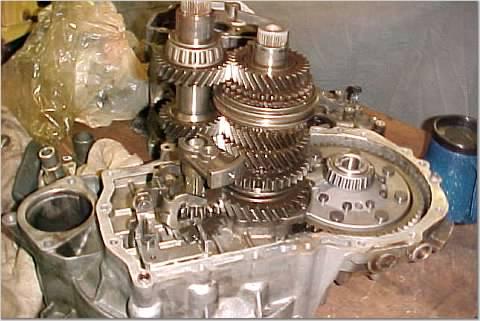
Step 11:Unbolt the reverse linkage and remove the reverse shaft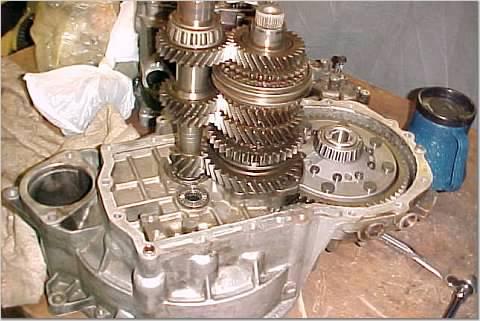
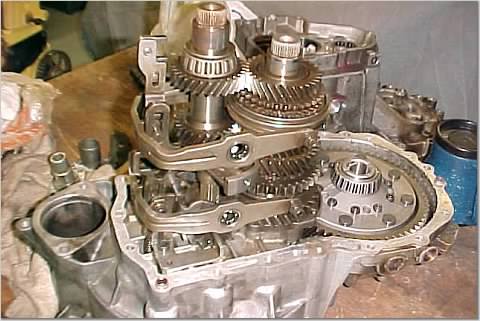
Step 12: lift out the input shaft
Step 13 lift out the pinion shaft and now the diff and now you have completed taking your tranny apart or at least down to the sub assemblies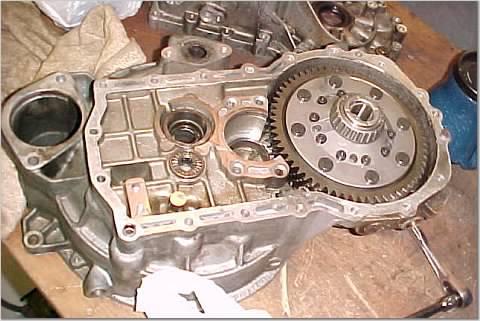
Drilling out rivot heads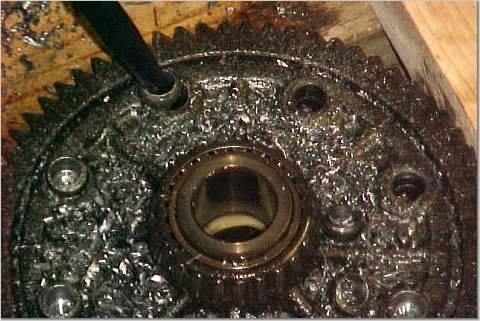
now pounding them out (I should have just used an air hammer. I've done this twice now and not thought of it until a tech recomended it
3rd gear syncro is destroyed and the syncronizer hub dropped a catch(dog)
the left overs of the 3rd gear syncro and hub
This is not enough info to properly install a LSD because there is shimming/back spacing involved due to the installation of new bearings and races but it should give you an idea of what is involved. I'm a little concerned about showing hwat I did as I don't want to be hounded with questions but I guess I'm a glutten for punishment