You must be logged in to rate content!
5 minute read

1. Remove the shift knob. Simply screw it off anti-clockwise.
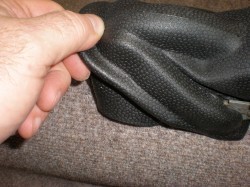
2. Remove the rubber shift boot by pulling upwards until the boot unseats from the groove it sits in, then pull it completely off the shaft. (Note: The boot can be left in place if so desired. Removal is optional.)
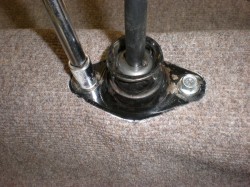
3. If your vehicle is using aftermarket carpeting with a rubber grommet that covers the two shifter mounting bolts, use a razor knife or "Exacto" knife and cut the grommet to expose the two mounting bolts. (On standard carpeting the bolts are exposed.)
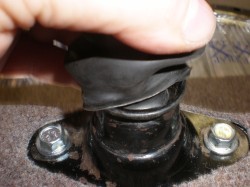
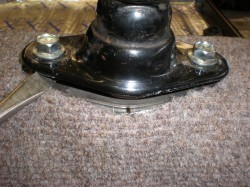
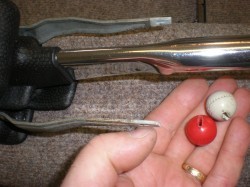
Using a 12mm six-point shallow 3/8" drive socket and a ten to twelve inch wobble drive extension attached to a 3/8" rachet wrench, loosen two bolts several turns. Do not remove them completely!
4. The spring under the shifter will raise the retaining plate as you loosen the bolts. Allow the plate to raise about 1/4".
Clean the plate and area underneath it with a shop rag and cleaner to make certain the area is clean and you do not get grease on the new shift boot.
5. Open the top of the new RedLine boot by pulling the velcro flaps apart, and slide the boot over the shifter shaft until the bottom opening of the boot is level with the top of the floor pan and has gone past the bottom of the retaining plate.
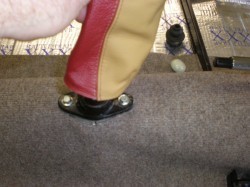
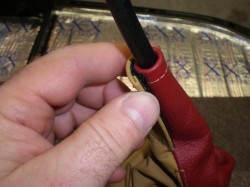
6. Using a clean dull flat blade screwdriver or similar tool, carefully push the bottom edges of the new boot underneath the retaining plate on all sides. You do not need to put a lot of leather underneath the plate. About 1/8" to 1/4" overlap of the retainer plate over the boot edging is sufficient.
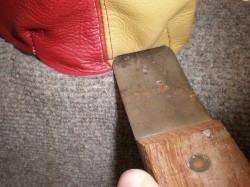
7. Tuck it all over it's perimeter

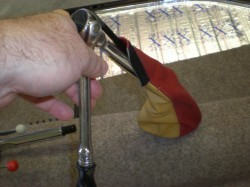
8. Using the 12mm six-point shallow 3/8" drive socket and a ten to twelve inch wobble drive extension attached to a 3/8" rachet wrench, go through the opening at the top of the boot and tighten down the two bolts for the retainer plate.
9. Close the velcro flap at the top of the shift boot and slide it down the shift shaft to the desired location to get the desired appearance you want from the boot. You can tighten or loosen the flaps of the boot if needed.
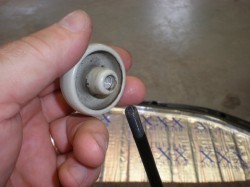
10. Remove the ball knobs of the heater levers.
11. Carefully pull the existing factory boot up from underneath the carpeting. There is a vinyl lip on the boot that the carpeting lays on top of. Slide the boot up the brake lever shaft and off the shaft. Save the boot for reference.
Clean the lever shaft and the heater levers and the area where the boot flanges were, thoroughly, to prevent dirt or grease from getting on the new custom boot.
If you are not eliminating the heater levers, using the old boot as a template and a sharp razor knife or "Exacto" knife, carefully cut two slits into the new boot for the heater levers. ( Note: Only make the cuts as long as the original openings in the stock boot.)
Slide the new boot over the e-brake lever and down the lever into the final position, carefully feeding the heater levers through the slits you created.
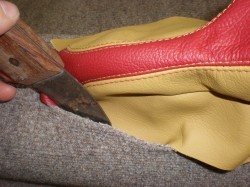
12. Using a clean dull flat blade screwdriver or similar tool, carefully push the bottom flange edges of the new boot underneath the carpeting to hold it in place as the original boot was. Reinstall the two previously removed ball knobs.
ENJOY YOUR NEW LEATHER BOOTS!
Useful tip
You have installed a product made out of genuine leather. As you know, to maintain a leather product in good condition, you should take care of it. We suggest occasionally (every 4-6 week for example) applying some leather conditioner/UV protector to keep your leather from drying up in the sun and cracking.
Redline Automotive Accessories Corp. will not be held liable for any labor, incidental or consequential damages of any kind. Proceed at your own risk.