You must be logged in to rate content!
7 minute(s) of a 122 minute read
9-18-2006
if i ever were to impart wisdom within this thread, it would be this:
"never strip an entire floorpan with just a 4.5" angle grinder, ever"
I estimate I have about 40 hours or more in stripping the floor. I used a combination of paint stripper and a wire wheel on the grinder. I found if you apply the stripper and let it set for about 20 minutes, wipe up the excess, then immediately use the grinder, it works best. Wear a mask, gloves, long sleeves, respirator, and full face shield too, cause the grinder flings metal wires like a monkey with poo.
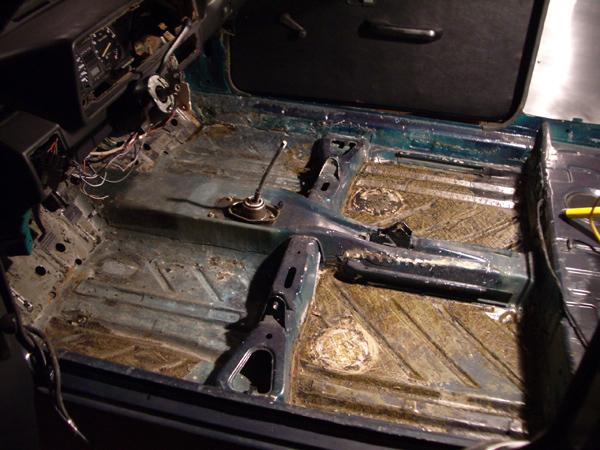
stripped:


Once it was all stripped I used the POR-15 system to clean, prep, and apply the POR. I highly recommend reading all the instructions a few times, and using all their products. Overall it was a very easy process. I applied it with a nice brush, wearing a respirator too.
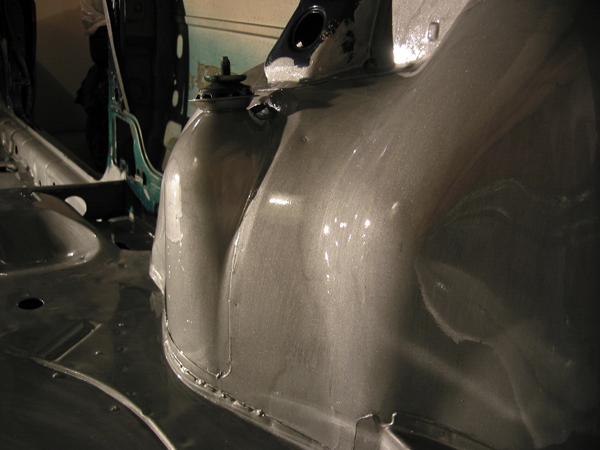
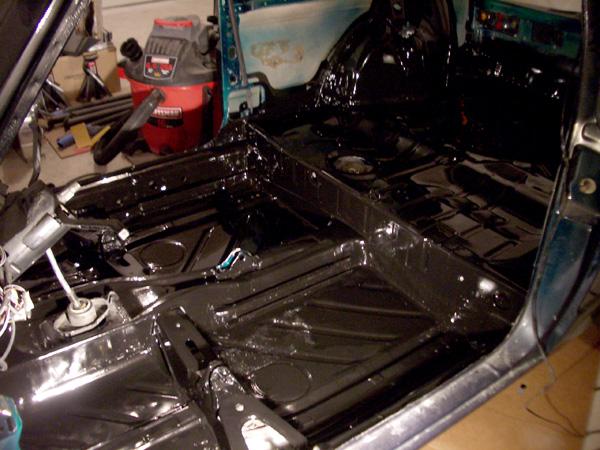
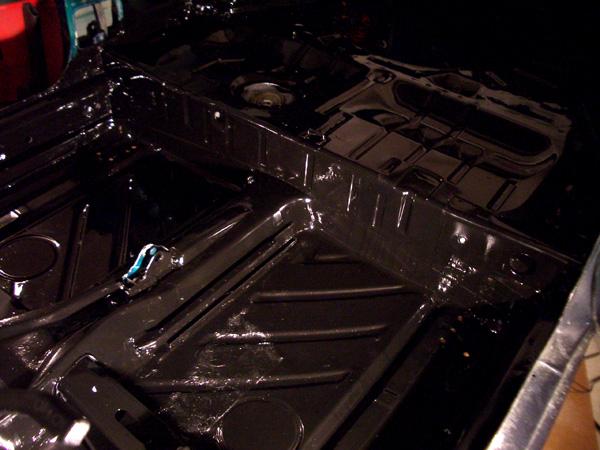
Tonight I am going to paint over this with some UV safe POR-15 'chassis coat' black paint/resin. Im doing the entire interior of the car so its all uniform.
POR-15 applied (still a little wet in the pics, it levels itself out nicely as it dries so there are no brush marks)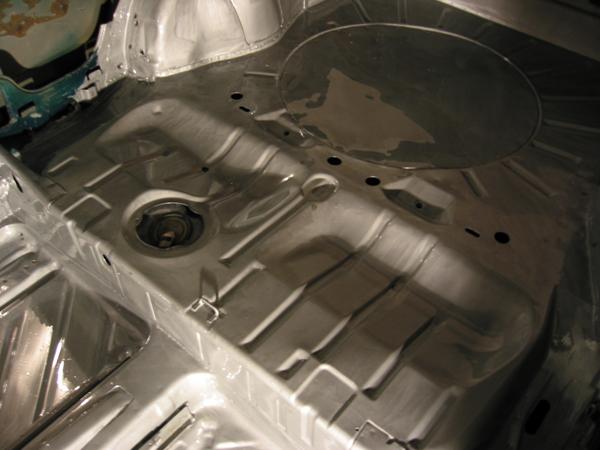


check out this before and after, sweet!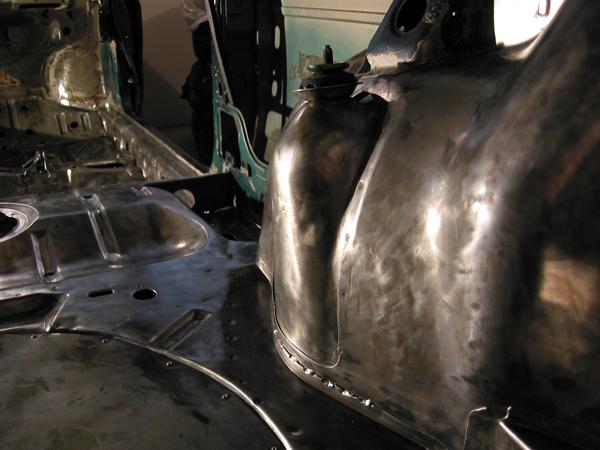
Now, to tackle the underside/suspension/brakes/fuel tank, etc etc etc...
9/19/2006
yar, 'chassis black' paint applied.
It looks shinier in these photos than it does once it fully dries, its more of a semi-gloss.
Sorry for the bad lighting.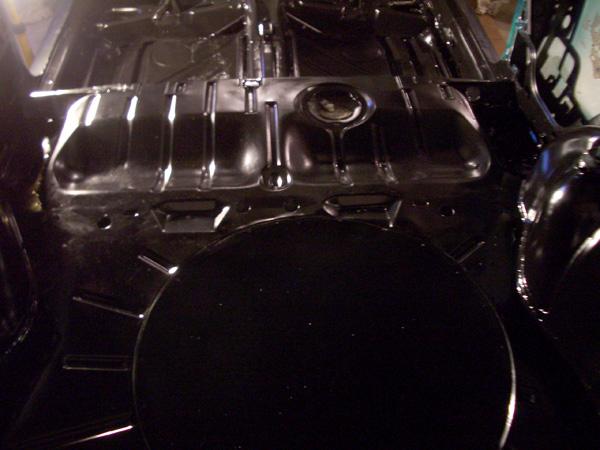
and just a reminder of what it used to look like
1/11/2007
I have been getting bored of the car being so 'normal' and 'sitting on all four wheels', so I made a ghetto wooden car rotisserie.
Last night Mr.Matt and I finished it up and pulled the engine. oh man.
I picked up the hoist from detvw, but forgot to grab a couple essential parts... so we had to use a tow strap to lift the engine.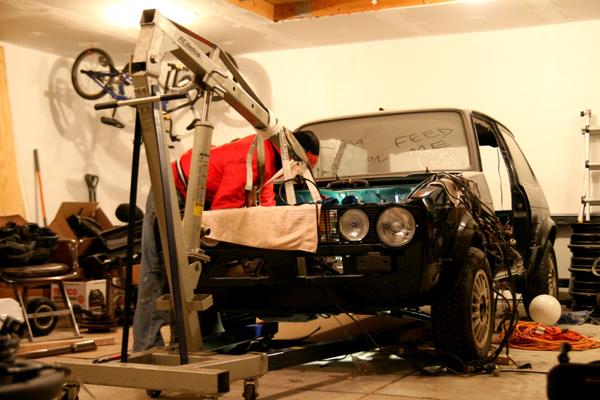
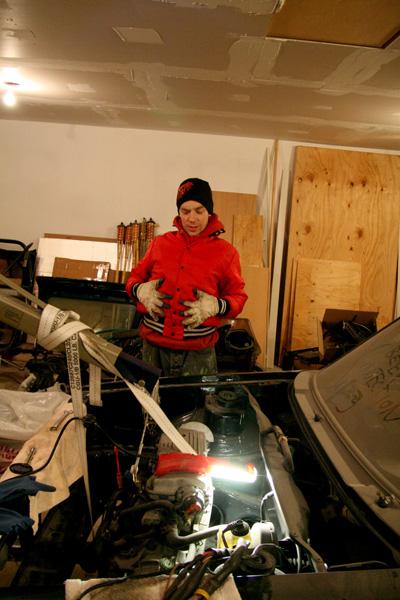
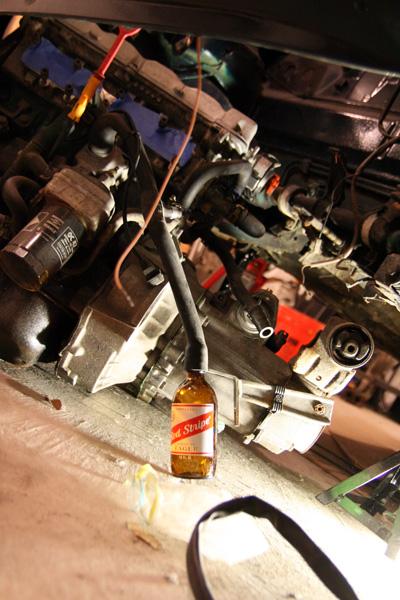
After struggling with a couple transmission mount bolts, we decided to drop the engine/trans out the bottom of the car. It wasn't that hard, especially with a couple red stripes around to help...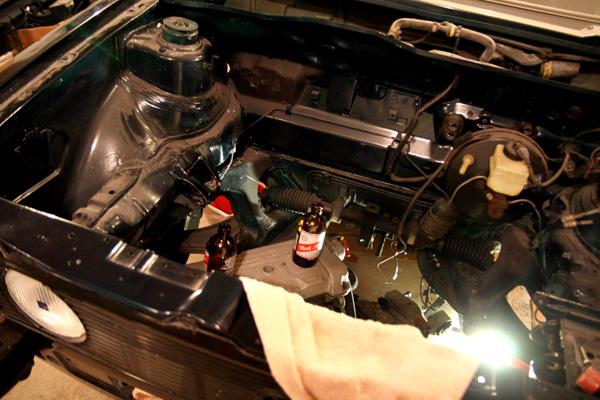
Using some 'schematics' and 'stuff' I found from random sources on the vortex, I built a car rotisserie out of 3/4" plywood, 2x6's, and a buncha screws. The rotisserie attaches to the bumper struts via some 3/8" bolts (which i got in 3", shoulda been 3.5"). I have more pictures and a design in illustrator with parts listed if anyone is interested.
Here it is bolted to the front of the car, I'm taking off the back wheels: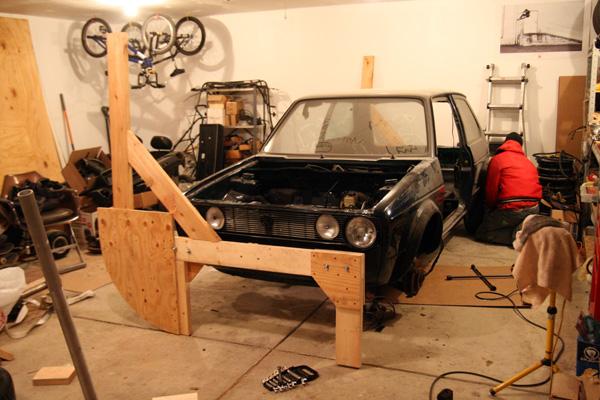
After a few nervous thoughts and some more red stripe, matt and I bolted up the rear rotisserie, and tipped the bitch on it's side: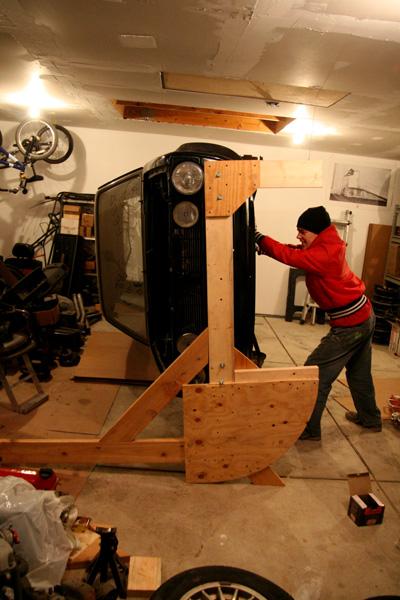
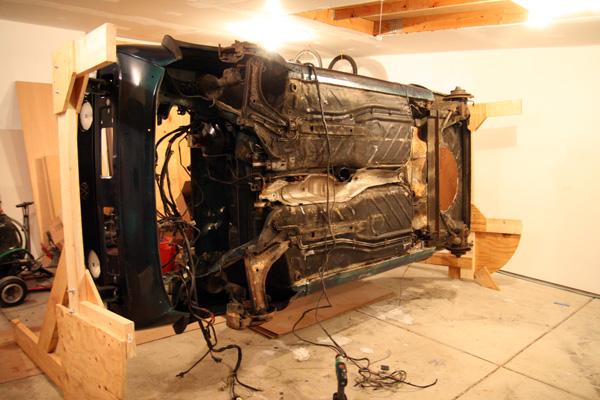
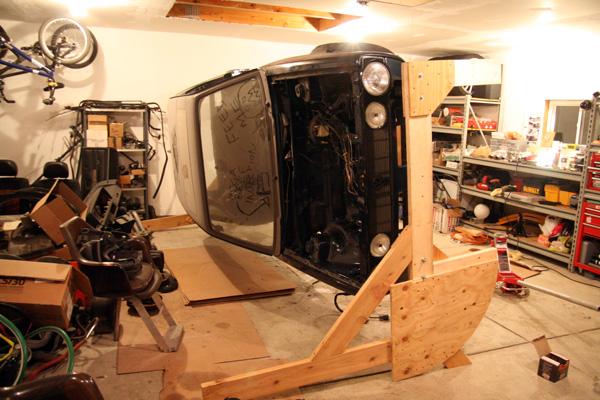
It makes me slightly nervous seeing it tipped like this, but oh well, it's probably ok... ha. Stephanie calls it the 'death rotisserie'.
I'm going to remove everything from the underside of the car, and spot repair anything on the floors that need love.
Big thanks again to Matt for his help, JohnnyB for the truck, and brian for the cherry picker... steph too i guess for putting up with this random shit 
4/17/2007
It has been a while since I've posted an update. I have been keeping busy, mainly planning, gathering parts, and cleaning up existing parts.
I am picking up an aba block within the next week or so, then taking immediately to the machine shop. It will get cleaned and a few things done to it, most notably getting bored .020 over. I will then be dropping these bad boys in there.
Wiseco forged abf 11:1 pistons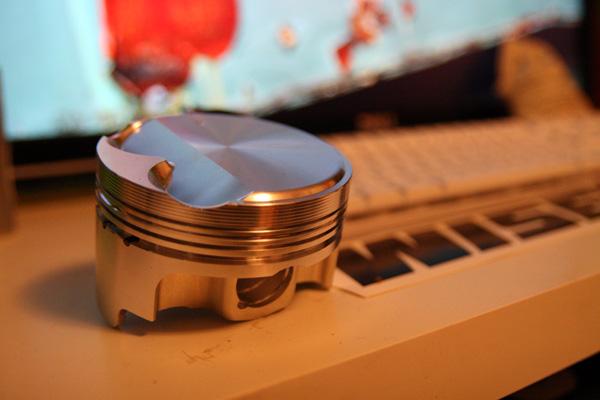
Further engine updates to follow soon.
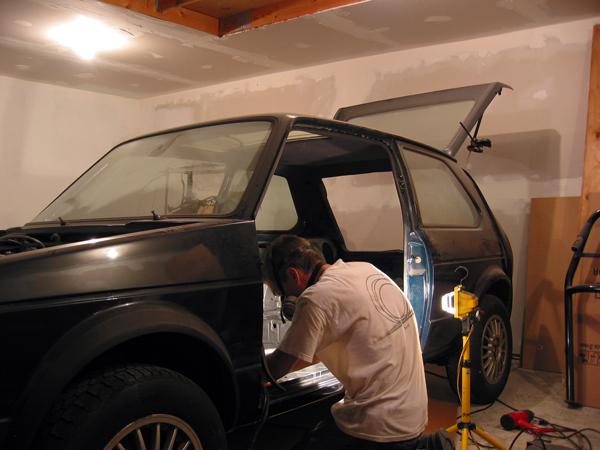
The majority of my garage time lately has been spent wrangling a wire cup. I've been stripping parts of all sizes, from caliper carriers to steering rack brackets to the entire freaking bottom of the car. Let me just say that the 'death rotisserie' has earned it's keep. 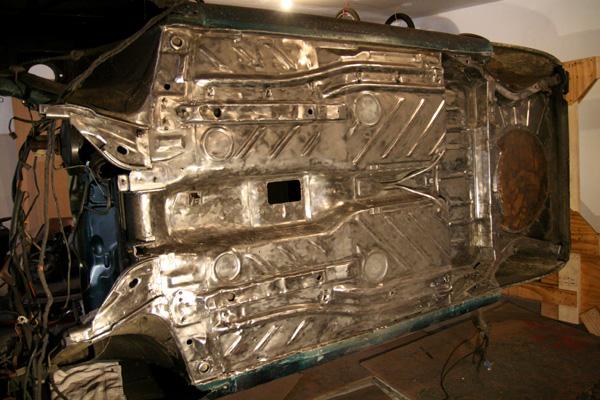
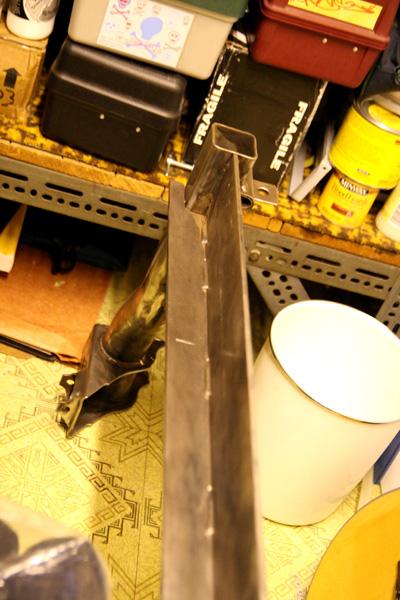
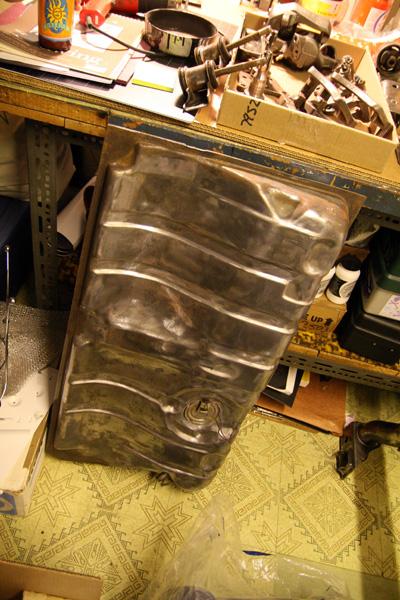
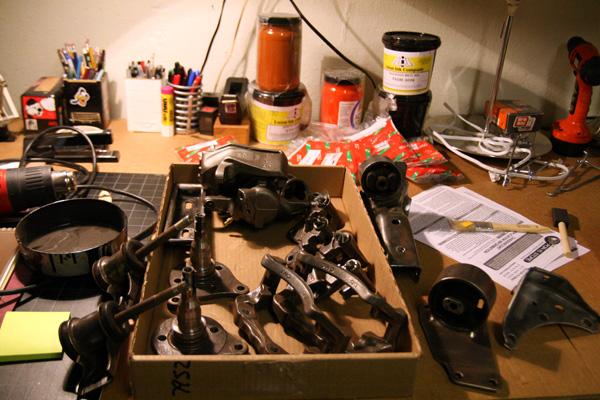
Thanks to matt for his continued help and for taking tonights pictures.
Tonight was sponsored by the letter 'A', pitbulls, and Oberon.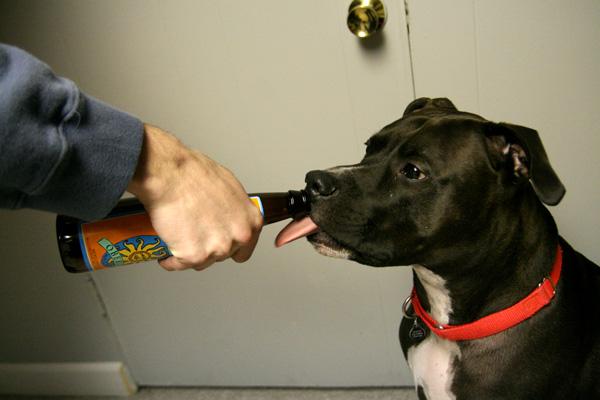
Cool!
Posted by Diggymart on 4/6/20 @ 3:33:02 PM