You must be logged in to rate content!
10 minute(s) of a 122 minute read
5-29-2007
I swear I'm still working on this...
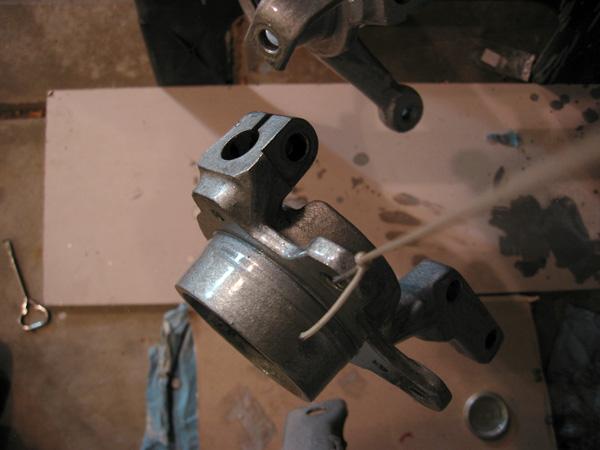
I have been stripping parts, lots of parts. This weekend I finished cleaning up the parts I needed to, and coated them in por-15. I'm fairly happy with how they turned out, a bit 'thick' in places, but not bad.
I'm sanding down minor drips and giving them the final coat with Por-15 Chassis Coat black over lunch today.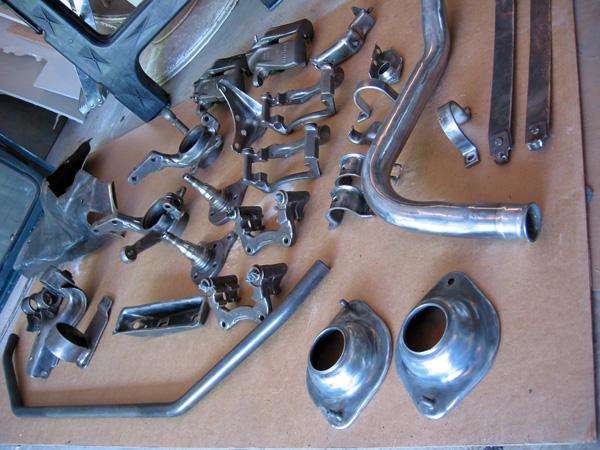
Matt has also been helping me with something else for the back of the car. We've gotta finish welding up a bit back there, then the entire underside of the car is getting the Por treatment.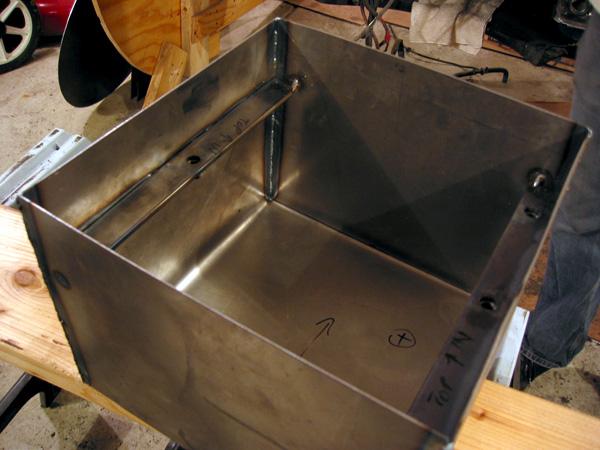
6/17/2007
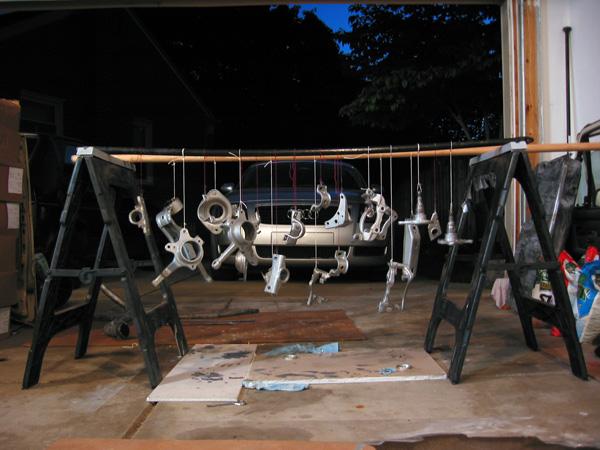
I swear this is the last Por-15 update you'll have to see (I'm happy too).
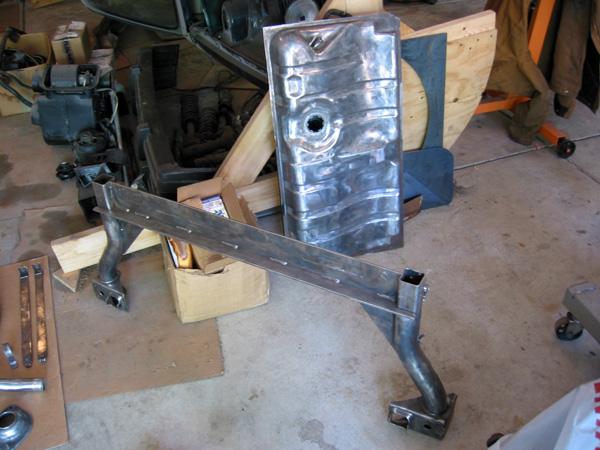
The wonderful Matt (d-bot) helped me weld up a new spare wheel well/supa custom battery box. I'm very happy with the results, and I think it will be a nice small touch to the car. The box appears to be hanging very low, but we measured my beater rabbit, and the box will not hang below the rear beam.
I then did the regular 2 coat silver por-15. This time I used a different topcoat they sell, called Hard Nose. It is a 2-part epoxy-ish type paint that takes 4 days to cure. It's supposed to be impervious to rocks 'n junk, and never chip. It smells like death and supposedly kills babies. I probably should have worn a respirator, but who's to say.
I'm very happy this is finished, I can't wait to start running new fuel/brake lines and reassembling all of my refreshed suspension and brake components.
Thanks again to Matt who is always there to lend a hand and hang out. 

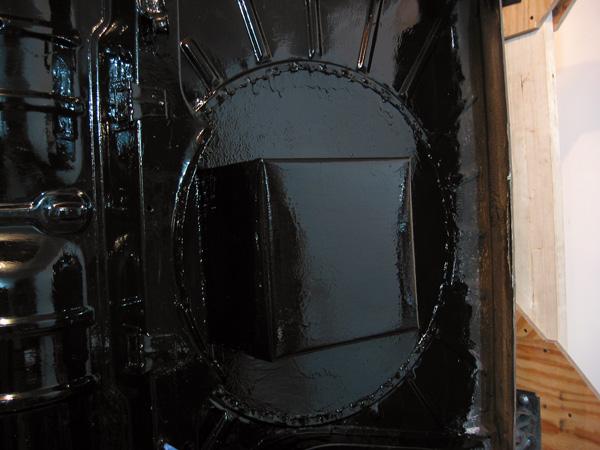
Oh yeah, and most underbody parts will be topcoated in spray rubberized underbody paint. I figured the por-15 will protect them from rust, and the rubberized spray will ward off small rocks.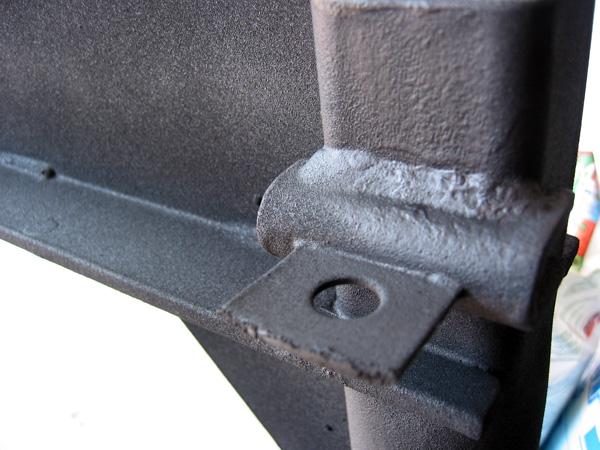
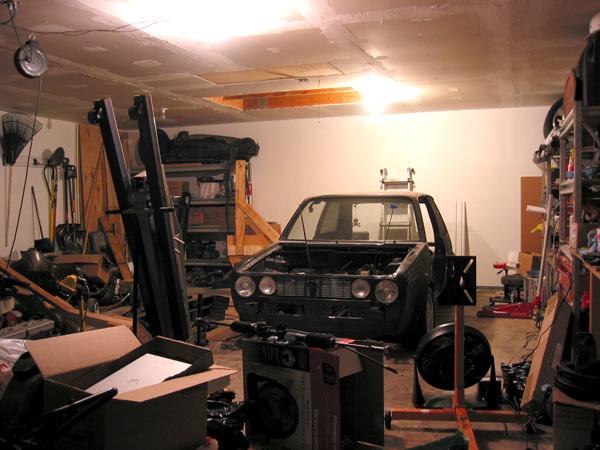
assembly pics are next to come.
8/12/2007
First and foremost I would like to thank Matt, Micah, Victor, and Raven for coming over yesterday and helping me out. They hung out with me all day and we bolted stuff together for about 8.5 hours straight. I can't thank them enough.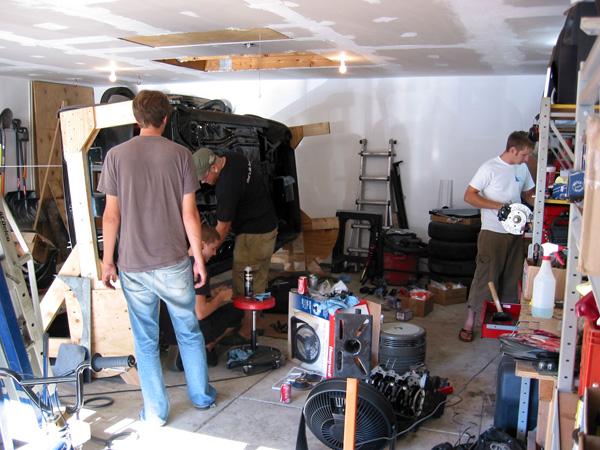
We assembled the trailing arm with brakes (9.4 drilled/slotted brembos) with Hawk HPS pads, Shine 'race' rear sway bar, and refinished 28mm scirocco rear sway bar. All the hardware and bushings were either new OEM or refinished. I need to thank Mike from SEA for helping me out on a very large and tedious OEM parts order, he is THE guy to go to for parts.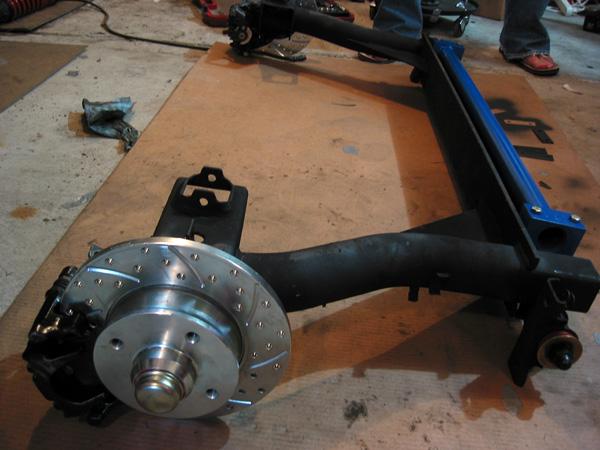
We also bolted together the front suspension, brakes (10.1 drilled/slotted brembos) with Hawk HPS pads, seam welded control arms, new ball joints, and refinished old-style strut top mounts with poly. H&R coils were thrown on front and rear, and cranked down almost all the way for good measure.
The refinished gas tank was slapped on before we bolted up the trailing arm. I also bent new brake and fuel lines the other week. They are a pain in the ass, even with the proper tools. I bought 304 stainless lines, 3/16 and 5/16. They are badass, but a pain to work with. I will never bend 5/16 SS again. They still need a bit of final fitment work and flaring until they are finished, but the hard work is over with.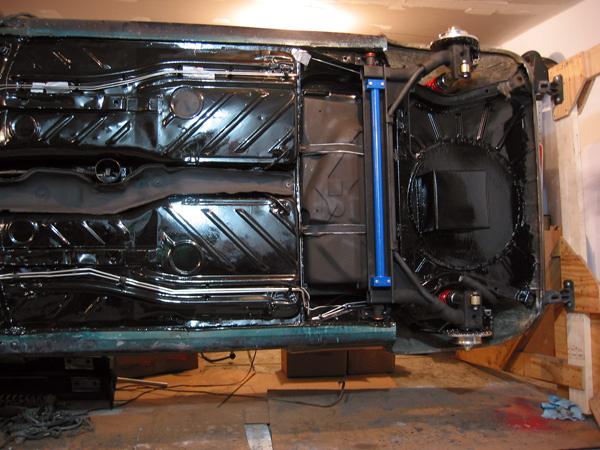
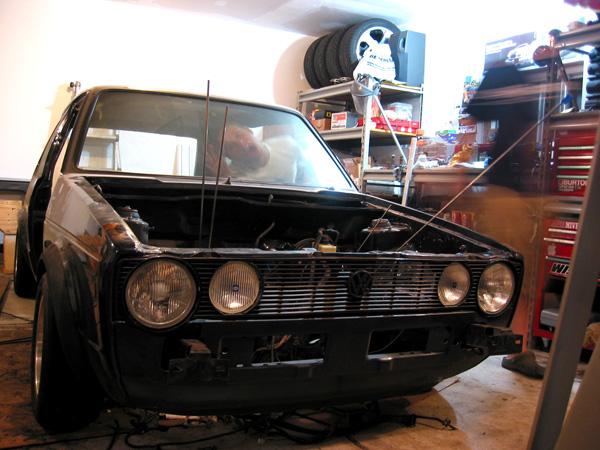
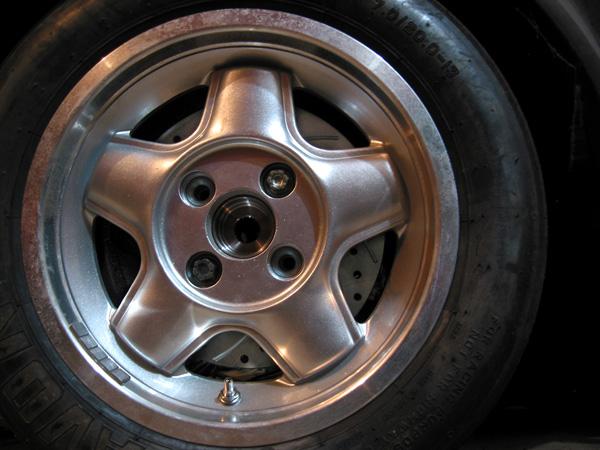
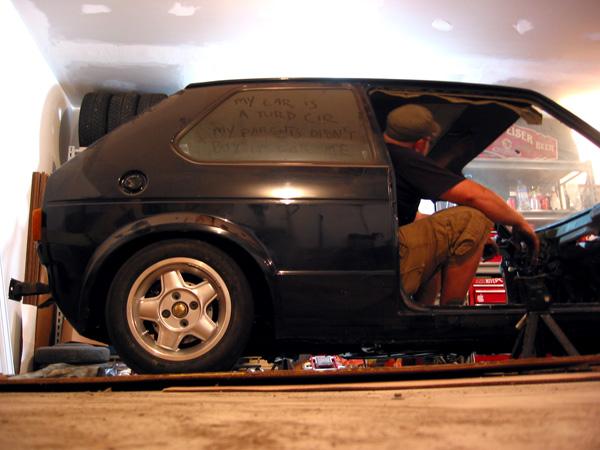
We tipped the car back down very slowly. It went super smooth with the 5 of us muscle-bound 90lb'ers. I think Micah did it all himself, we were just there as support. The uber light wheels were literally tossed to each person and bolted on. The rotisserie was removed and voila! The car is back on all fours, finally.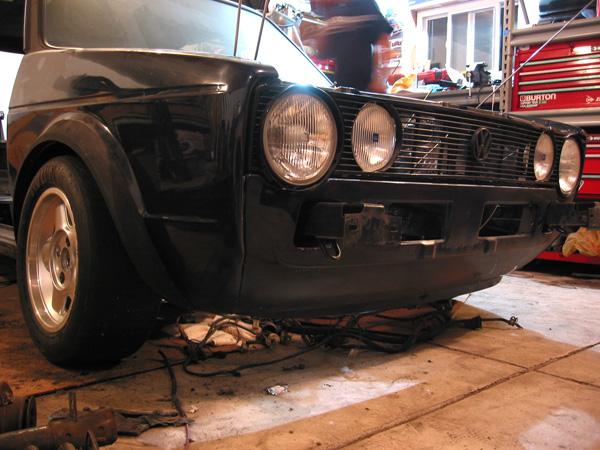
11/28/2007
flow
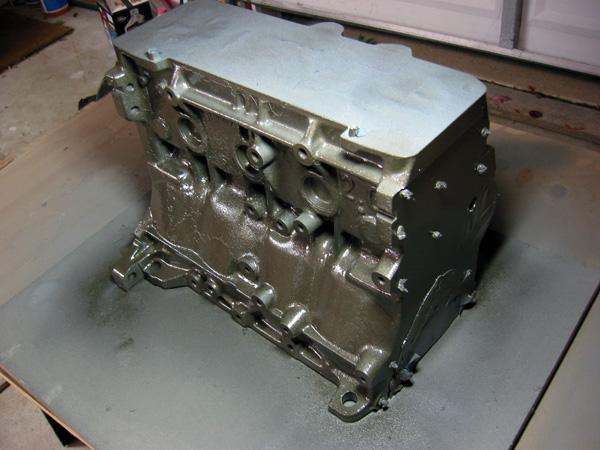
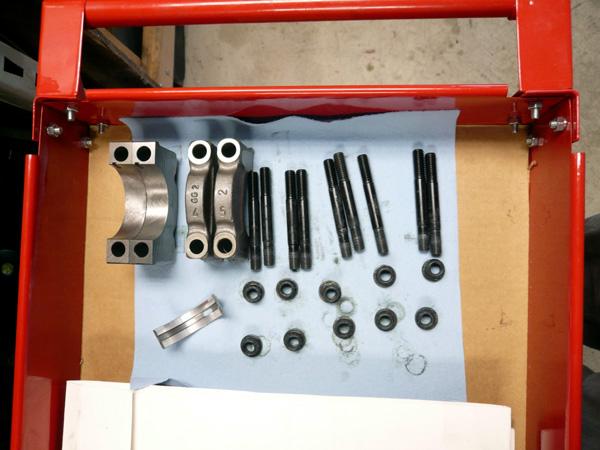
punched out .020 over, line honed, arp headstuds and crank studs, polished crank, balanced, clean, etc etc
1/8/2008
Mr. Geoff (scideraddo or something like that) came over for a couple hours on sunday to help me measure my crank bearing clearance. I had a lot of fun and learned a ton from Geoff. These measurement tools are amazing, the accuracy blows my mind.
Pending thickness, I'm getting the bearings and piston skirts coated at Champion Performance this week. After I get those back we're going to start building the motor!
Just a few pictures to keep you guys happy...

geoff cursing at my OG torque wrench 
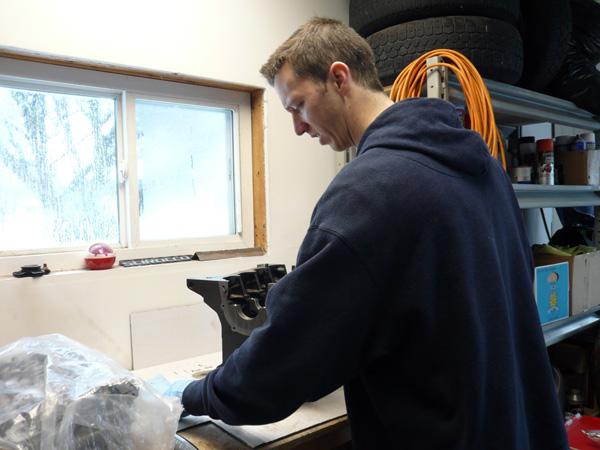
2/18/2008
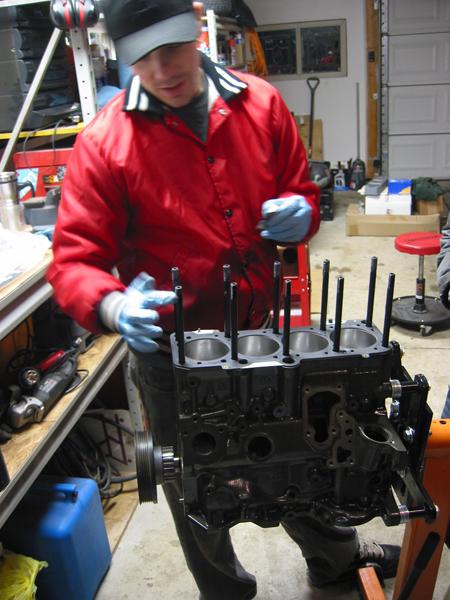
It's amazing how much fun you can have working in the garage with some friends. Matt and Geoff came over yesterday to help build my motor. Let me back up a few steps.
I've been reading a lot of stuff online and in actual books about motor building. I've also been fortunate enough to have all you guys and Matt and Geoff to answer questions and tell me what I'm doing right/wrong.
I dropped off my pistons, main bearings and rod bearings to Champion Performance to get coated in some crazy kevlar stuff they use in race engines. It might be overkill, but it was cheap enough and it gives me piece of mind. Plus it's a sweet matte black and looks badass! Just kidding. Sorta.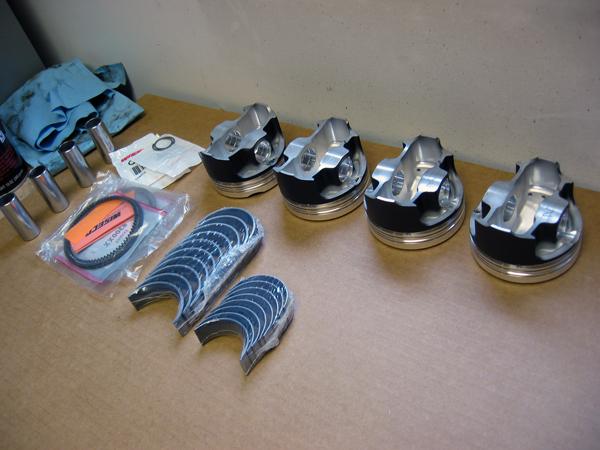
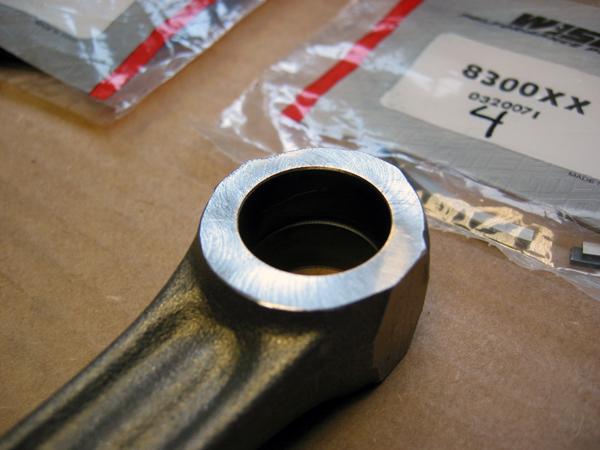
Last week we were working on the motor and tried to put the rod end into the piston. Surprise, it didn't fit! I don't know if wiseco messed up the design or if the ABF rods are slightly narrower, but they were just too chunky to work. Geoff was nice enough to take care of me and mill .0040" off each side of the rod end so they'd fit. Thanks Geoff 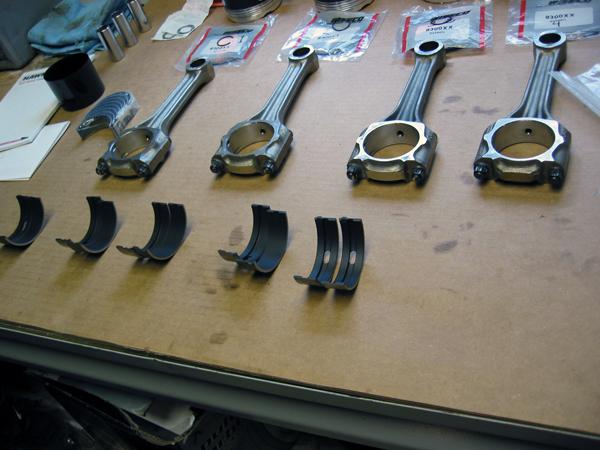
Pretty crank bearings.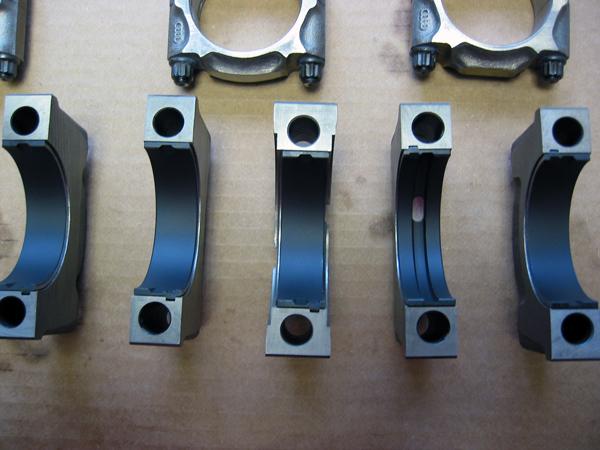
Matt lent his sweet plastic bike tube hammering skills to beat a wrist pin into submission.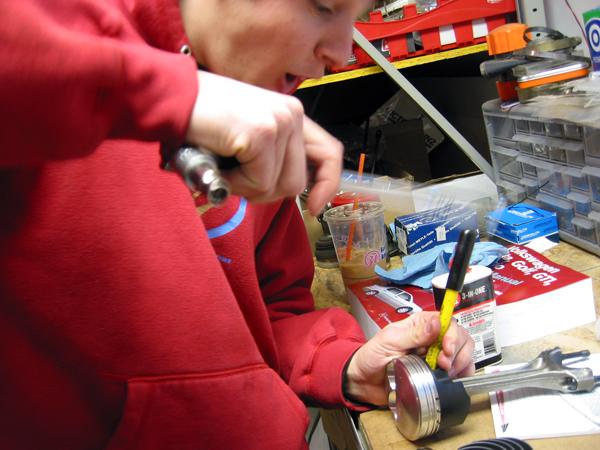
Installing a piston.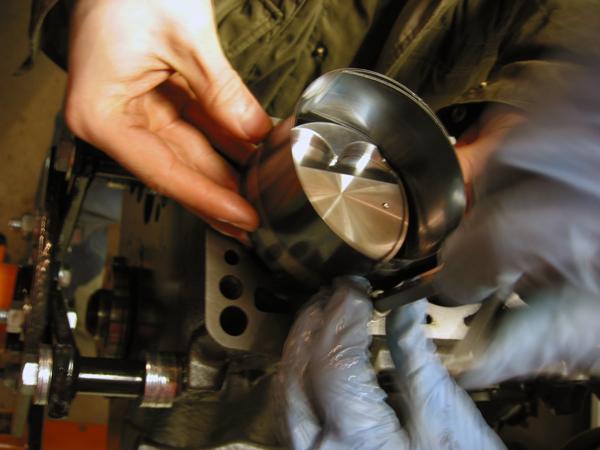
Oh, yeah, it's pretty. Check out the dome on that piston! 11:1 compression ratio, mmmmhmmm.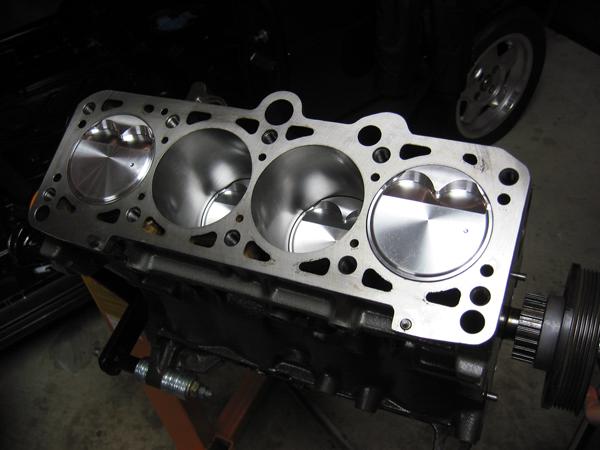
Geoff Rood endorses this motor. Just say yes.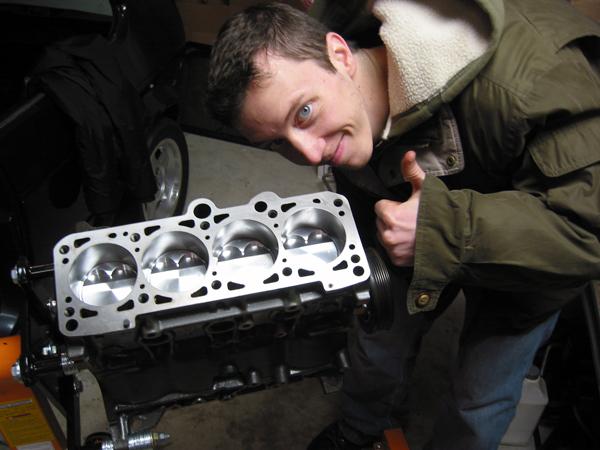
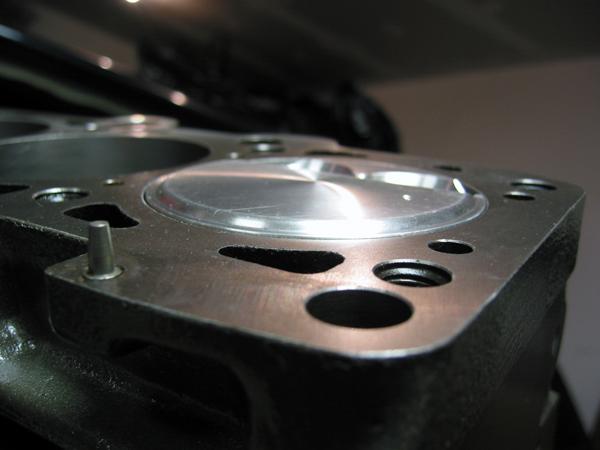
Look at that head, mmmm hot damn it's clean.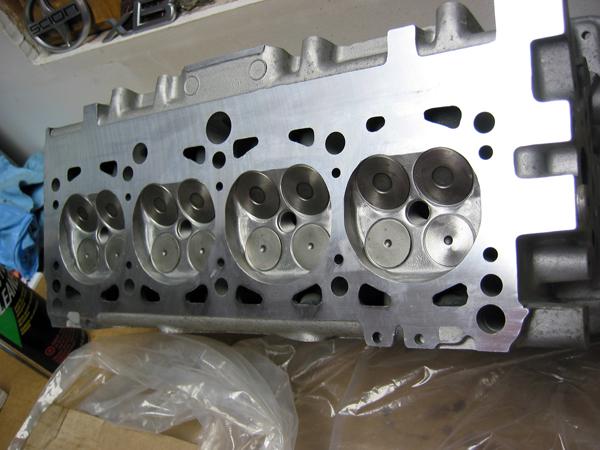

When installing head studs, use a shitload of moly. Caution, do not get moly all over your hands and coat when tipping the motor. Re-apply moly liberally to smudged areas.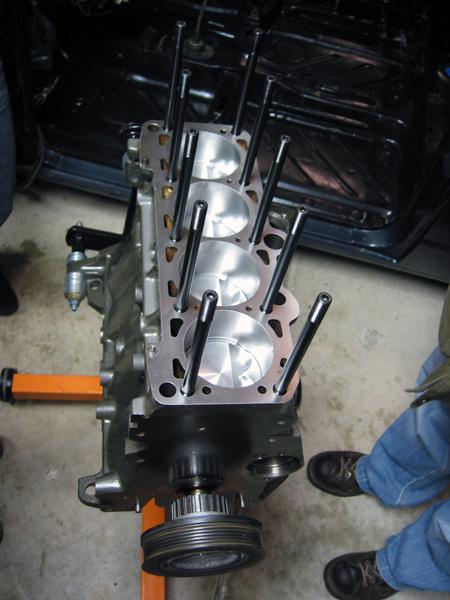
Bam.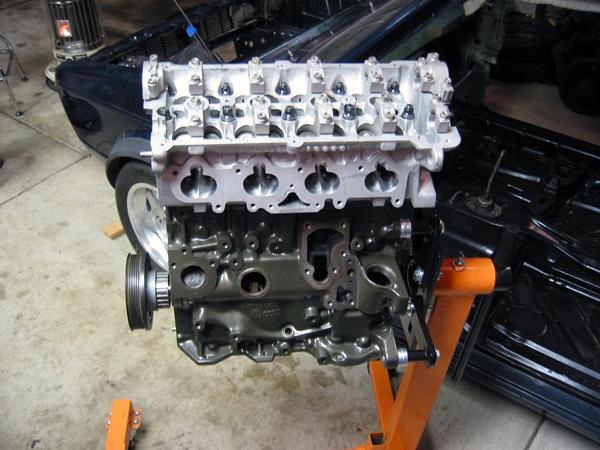
Cool!
Posted by Diggymart on 4/6/20 @ 3:33:02 PM