You must be logged in to rate content!
5 minute(s) of a 27 minute read
4-1-2020
So ive had her driving for a week or so and ran into a couple issues. I replaced all the mechanical shift linkage with new bushings and selector rods. The long selector rods clip broke (cheap Chinese aftermarket) so the shift linkage has gained a lot of play. I found a decent oil leak coming out from the head gasket, removing head today to find what size gasket it is (guessing its a 2 or 3 notch). Overall it would run fine however when I would come to a stop or in the process of slowing down the engine would bogg and die, I read a lot of forums and they discussed mainly impending injector failure or head gasket leak (hope the new head gasket solves the issue). Anyway hopefully in a week or so Ill have her up and running again with a new head gasket, ill post and update then.

-Had to show support for my bros site
2/26/14
So last night me and my buddy got the head off. Bently manual is pretty vague on removing the head lol, did all the preceding steps till my buddy stopping by and there were two allens holding the belt shield to the head. Both were corroded beyond belief, but thanks to my buddy and his nice snap-on tools we broke them loose after bout 25 min. The head gasket was definitely done (turned to be a 3 notch), the belt was fairly worn and the tensioner was not working properly. New parts were ordered in the morning and I hope to post more pics when I head back to the garage in a couple days
2/28/14
The parts came in today, looking forward to putting them in sunday or Monday.
Parts include:
Head gasket (hydraulic 3)
Upper head gasket and seals
Timing belt
Tensioner pulley
Head bolts
Cam lock
Injector locking pin
Dial gauge
Hylomar thread sealant
Clutch alignment tool (for b3 Passat)
3/4/14
So today is the big day! Im in class waiting to get out to head to garage. Im gonna take ALOT of pictures and post them up later tonight, ill try to as well post the steps on replacing the head back on and timing the engine.
So I got there and did some work. Ended up not being able to put head on, spent most of the time cleaning off the leftover gasket with a brillow pad. Started with it around a fender tool and ended up using most of the time a sanding sponge with it wrapped around it
Before picture of head
-Need more brillow pad to make surface 100% clean
Comparing old gasket to new
-Pretty worn out, the main seal wasn't even there! lol as well the lifted blue part of the gasket has been burned away
So I read this interesting DIY on how to properly install your new head gasket. I took the old head bolts and cut off the heads with a sawzall. Then I took my angle grinder and cut a notch so I could later remove them with a screw driver. So all in all your suppose to use your old head bolts like "studs" and once the head is on remove them and replace with new head bolts one by one. This in turn will give you perfect gasket placement.
-Removing bolt heads
-Grinding out notches
-End result
So this is where I pretty much got today. Spent 2 hrs just rubbing at the head, got about half of the block ready for the gasket. I plan on heading back on Friday to hopefully put the head back on and do timing. Ill update with more pics then.
3/5/14
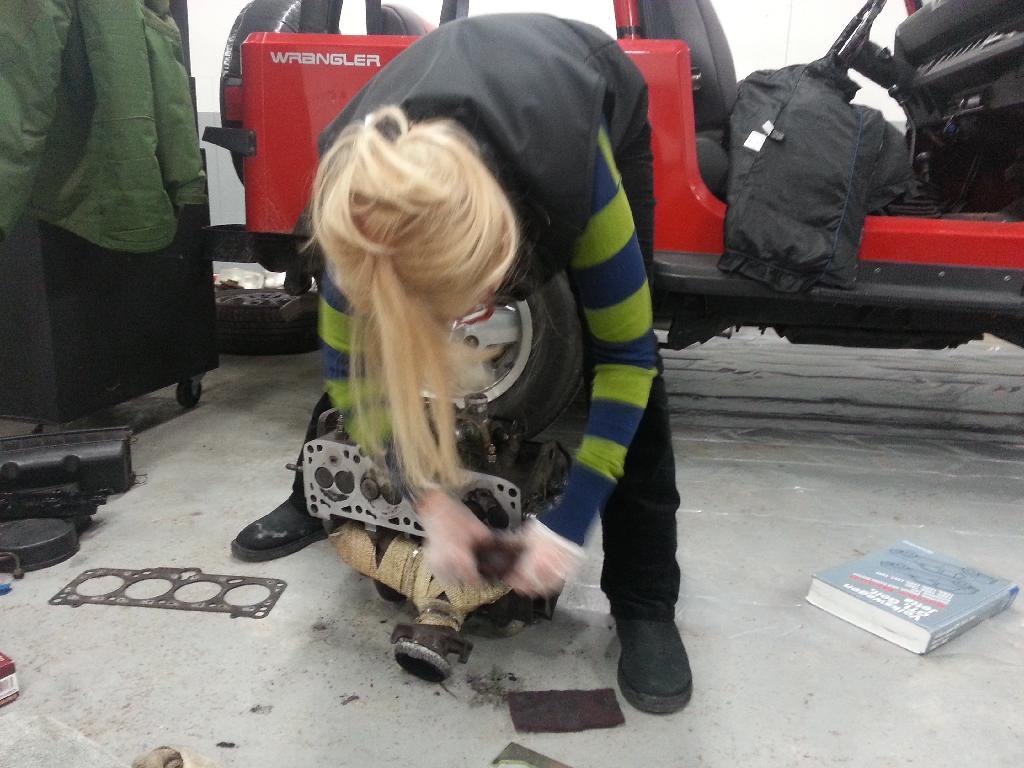
So today I got the head on! I bought some new brillow pads and had a special helper Overall it went smooth, I had to remove the intake manifold cause the old head bolts used as studs created a clearance issue when reinstalling the head.
My special helper (my mama)
The head is now clean!
Now a shot of the block, got it clean and now installing the old head bolts I cut.

The dizzle!
Posted by miatamatt on 1/6/19 @ 5:36:13 AM