You must be logged in to rate content!
12 minute(s) of a 341 minute read
9-22-2009
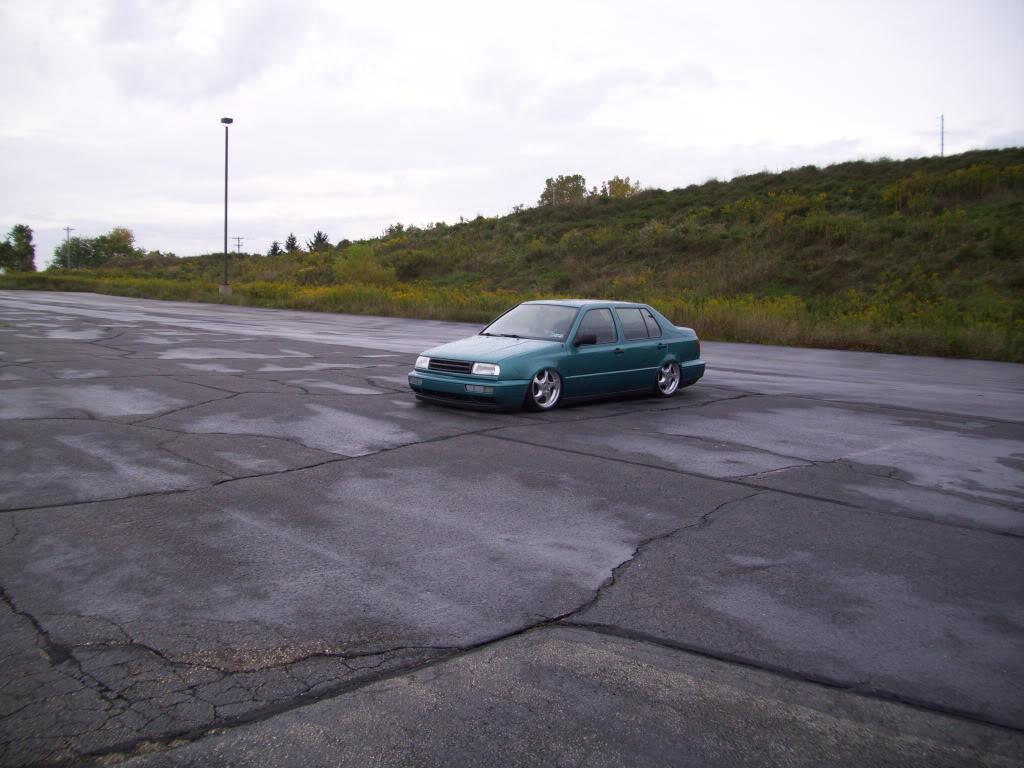
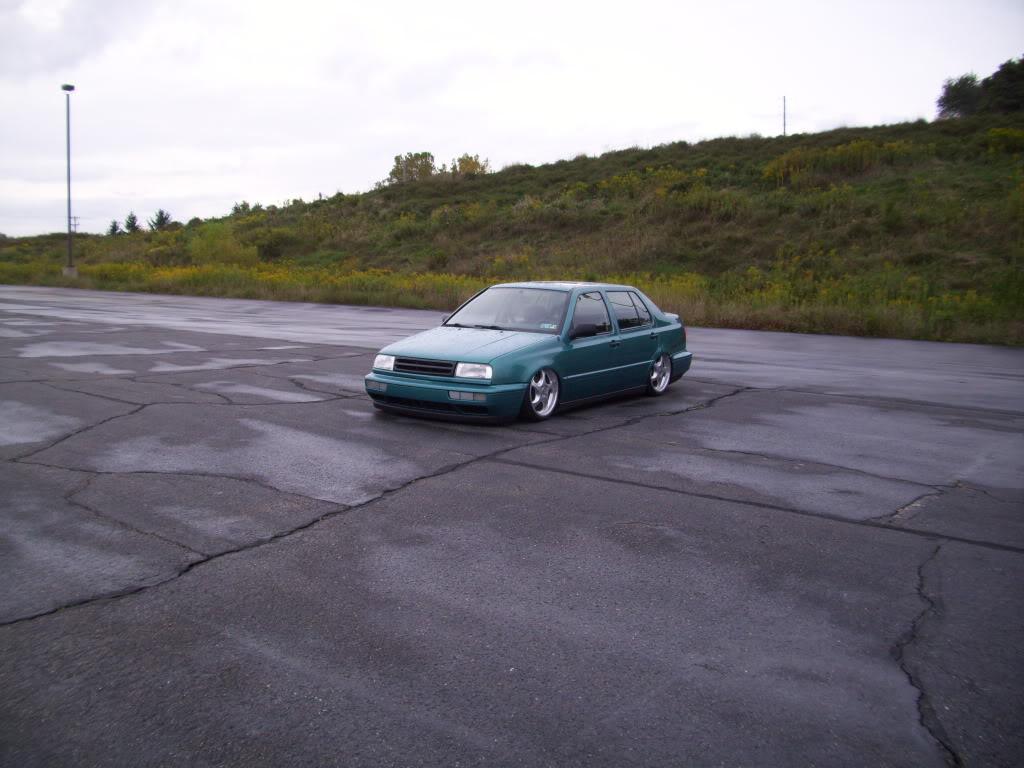
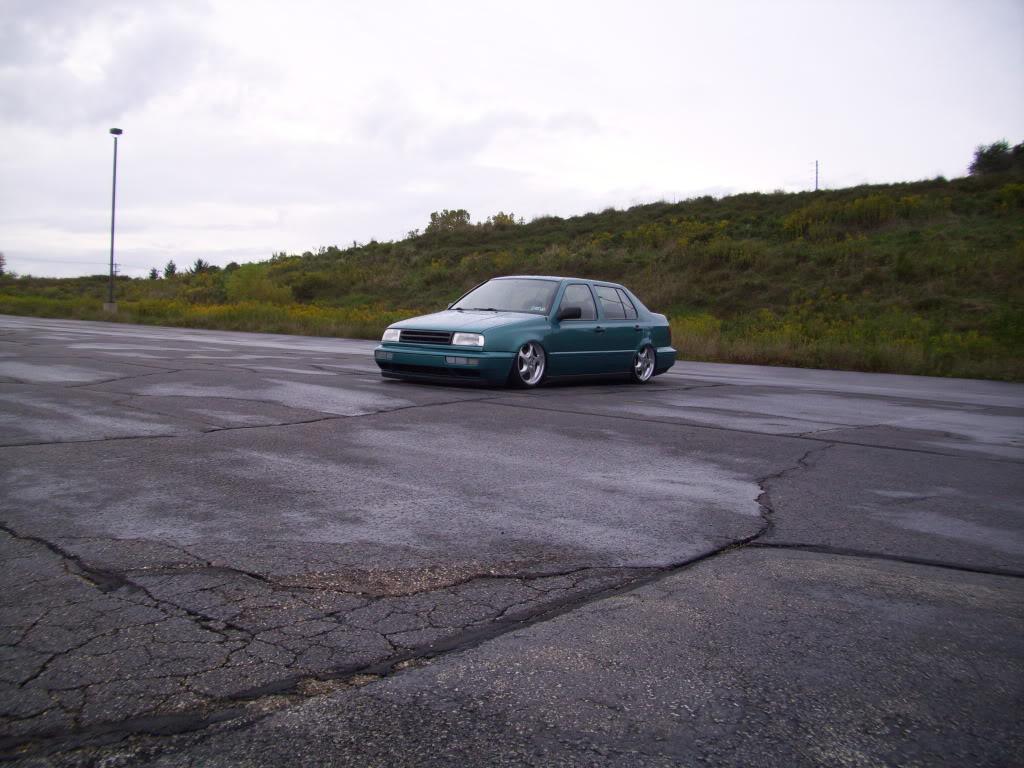
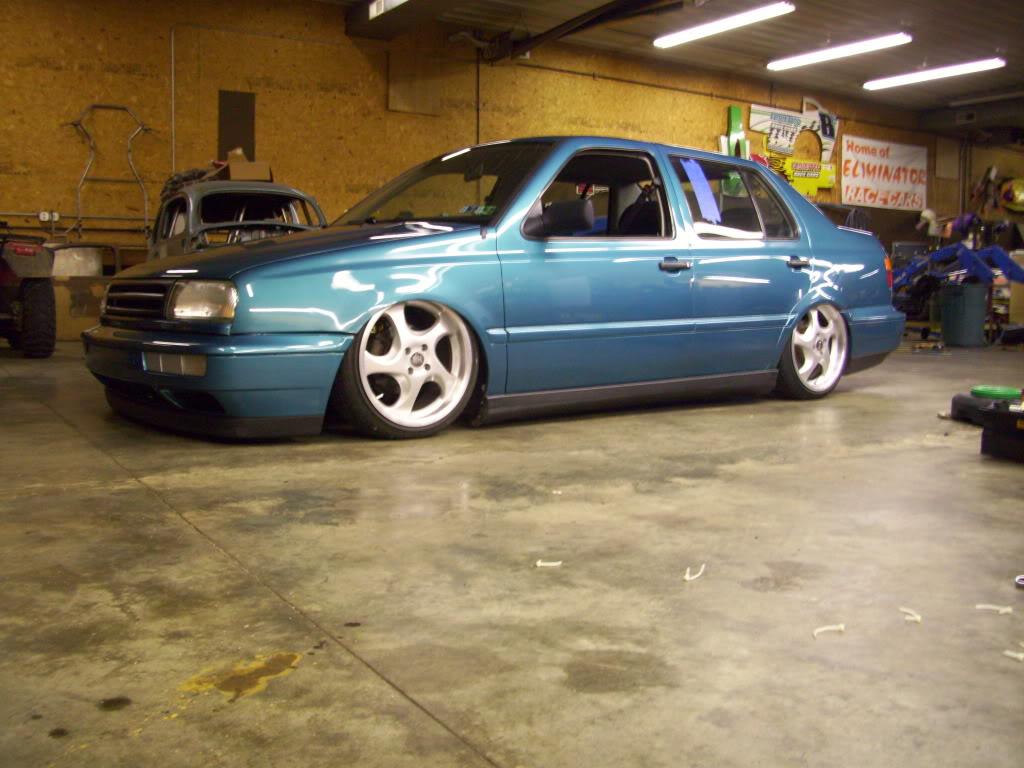
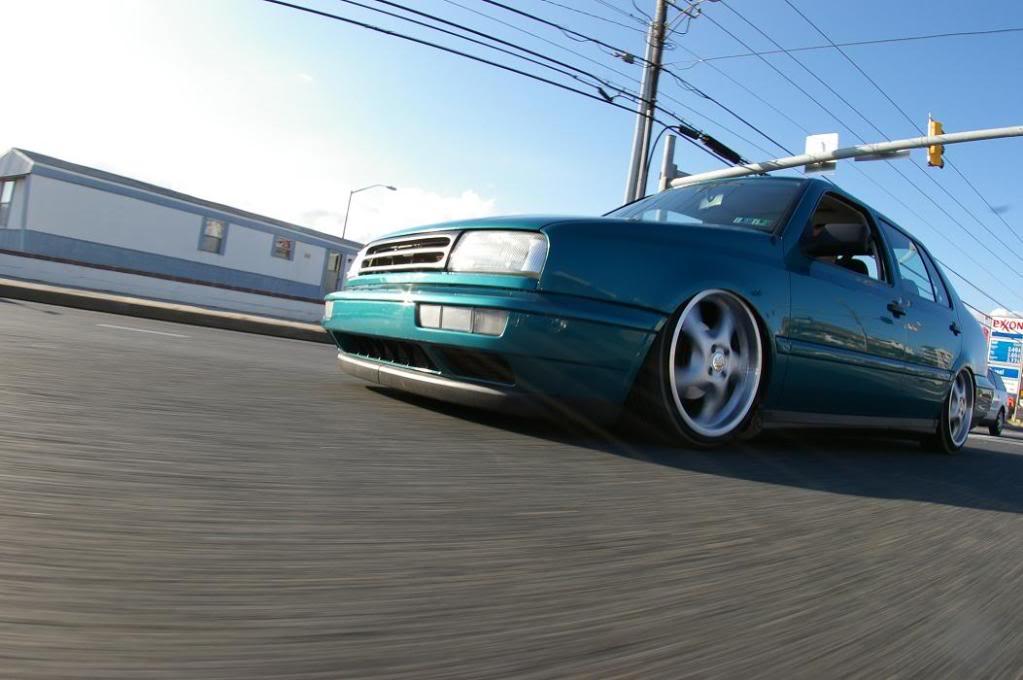
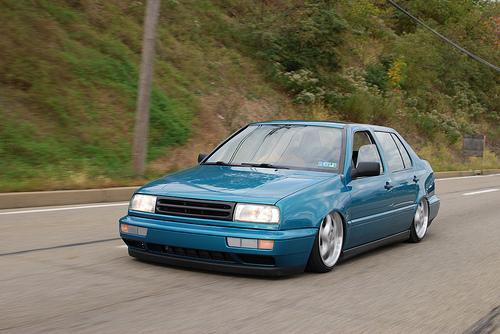
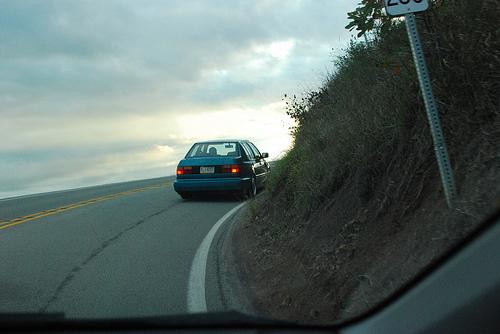
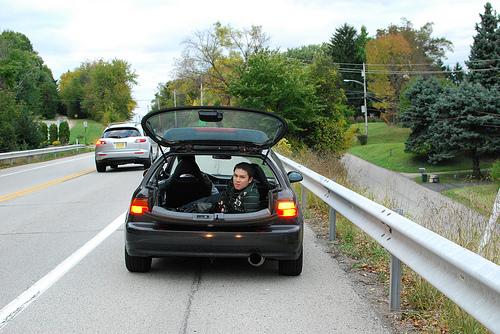
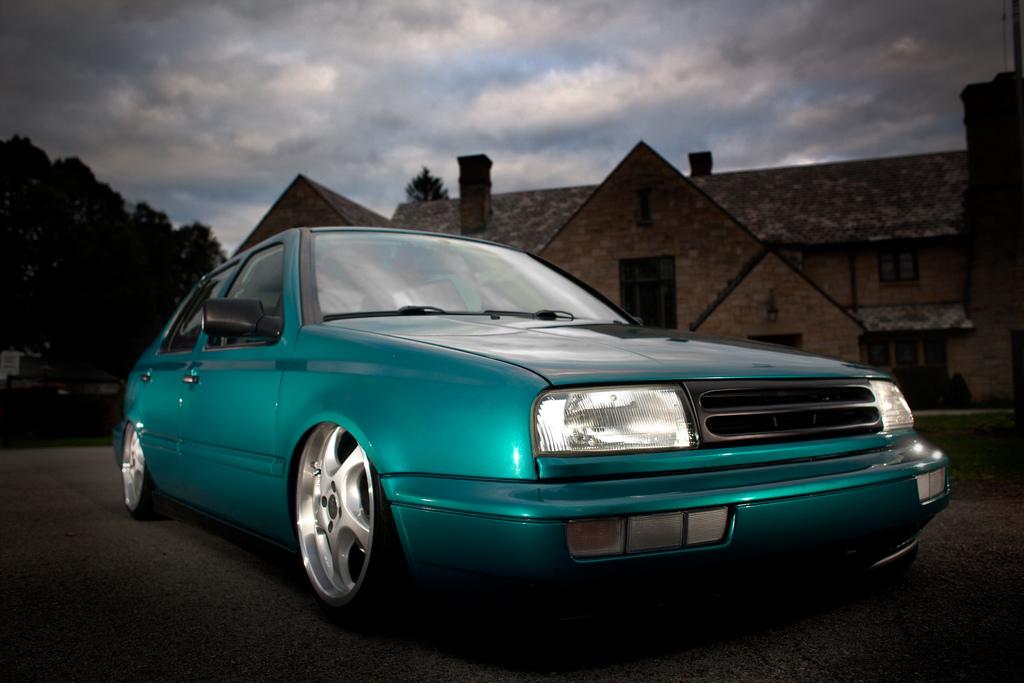
So Monday, Sept 21, I drove the car in to work and took these pictures in the back parking lot.
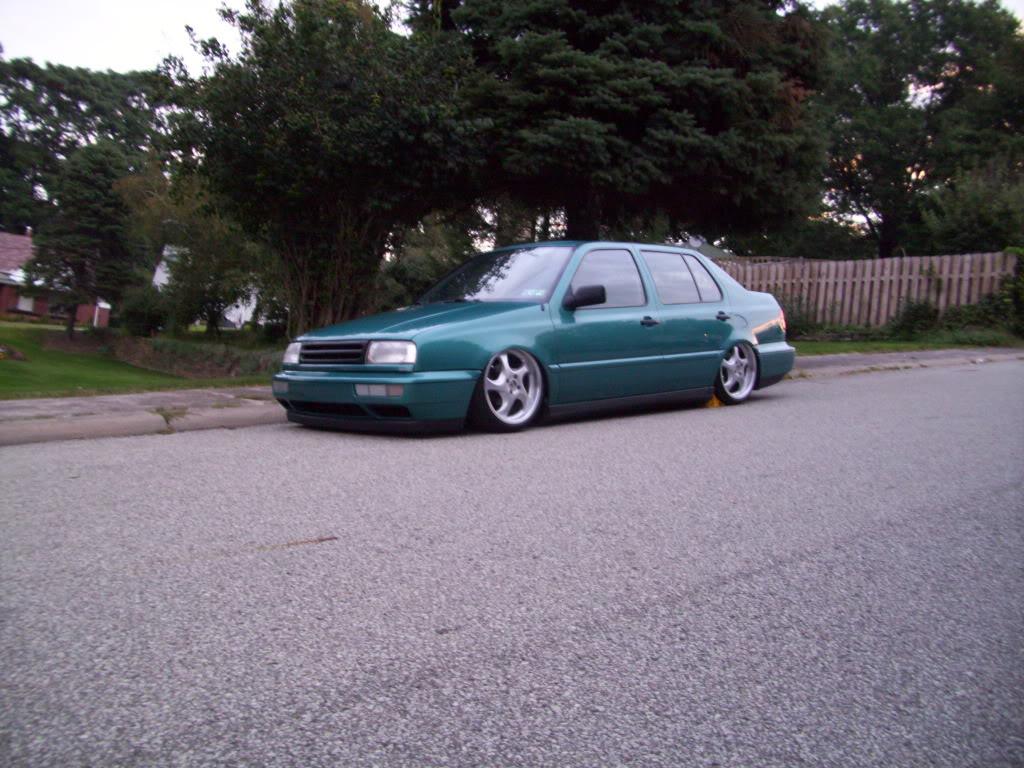
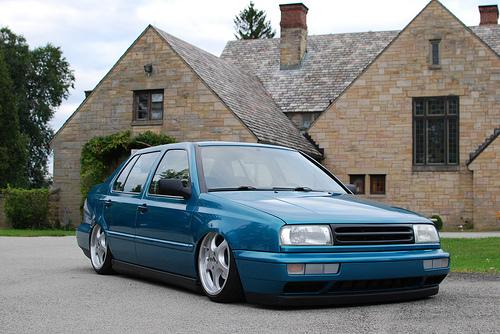
At the house on my steep hill.
In person, the rear camber looked pretty good. In pictures, like these, I needed much more negative camber out back to correct the stance. I didnt' realize this until Tuesday evening when I uploaded these pics. I was leaving Friday for H2O. Crap.
Anyway, back to Tuesday evening.
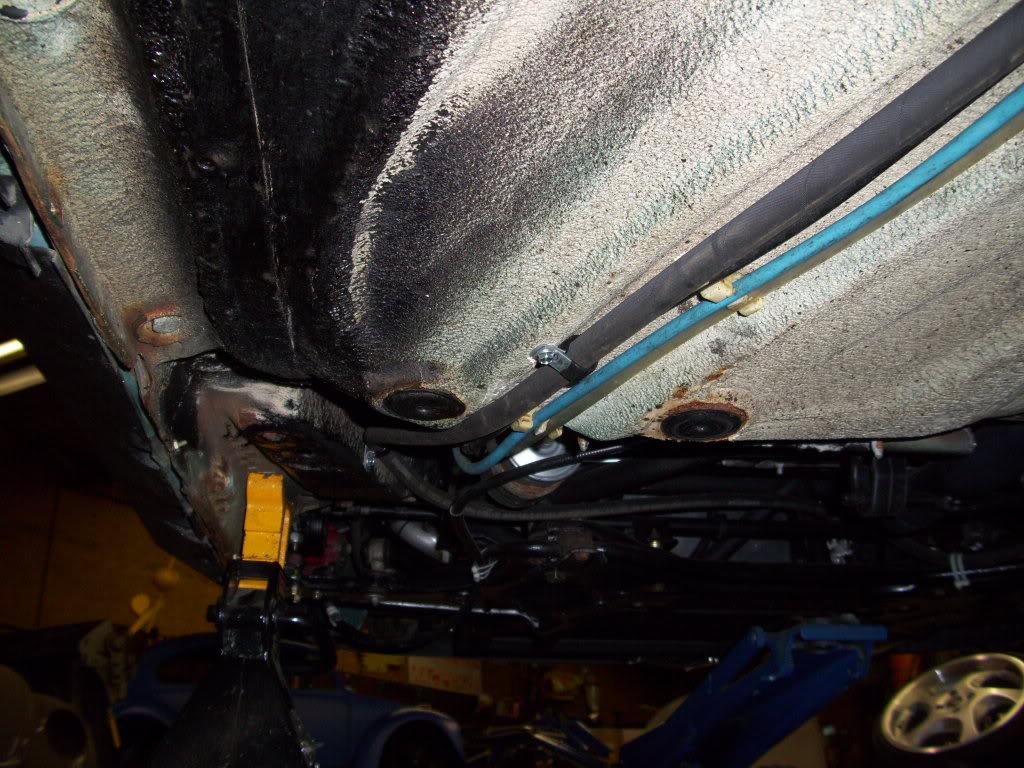
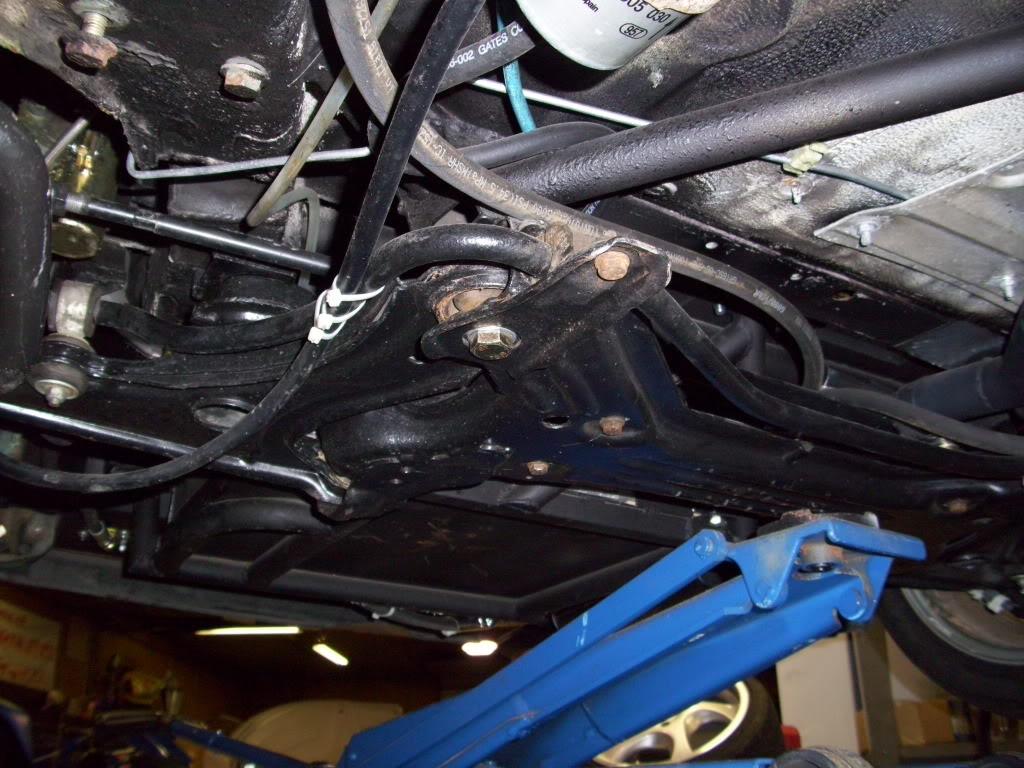
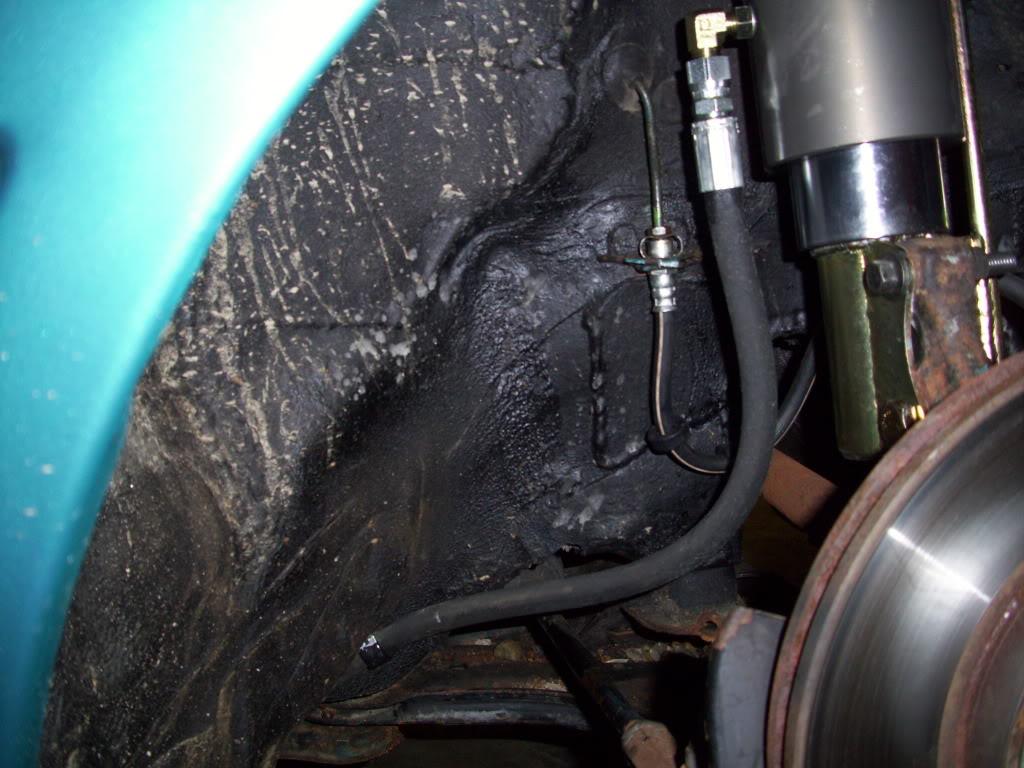
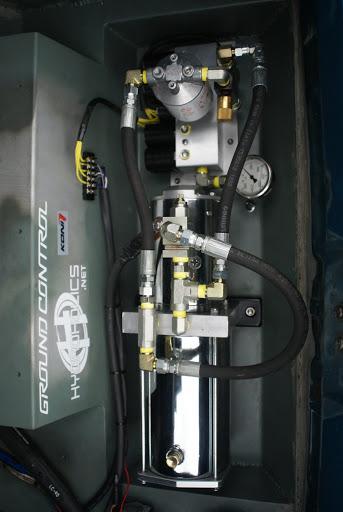
I got the hydraulic hoses all rounted and clamped in place. Insulated zinc-plated steel clamps and self-tapping screws. I did use some zip ties around the brake lines only to keep from putting too many screws through the floor. Don't mind the rust, it's a Northeastern '94

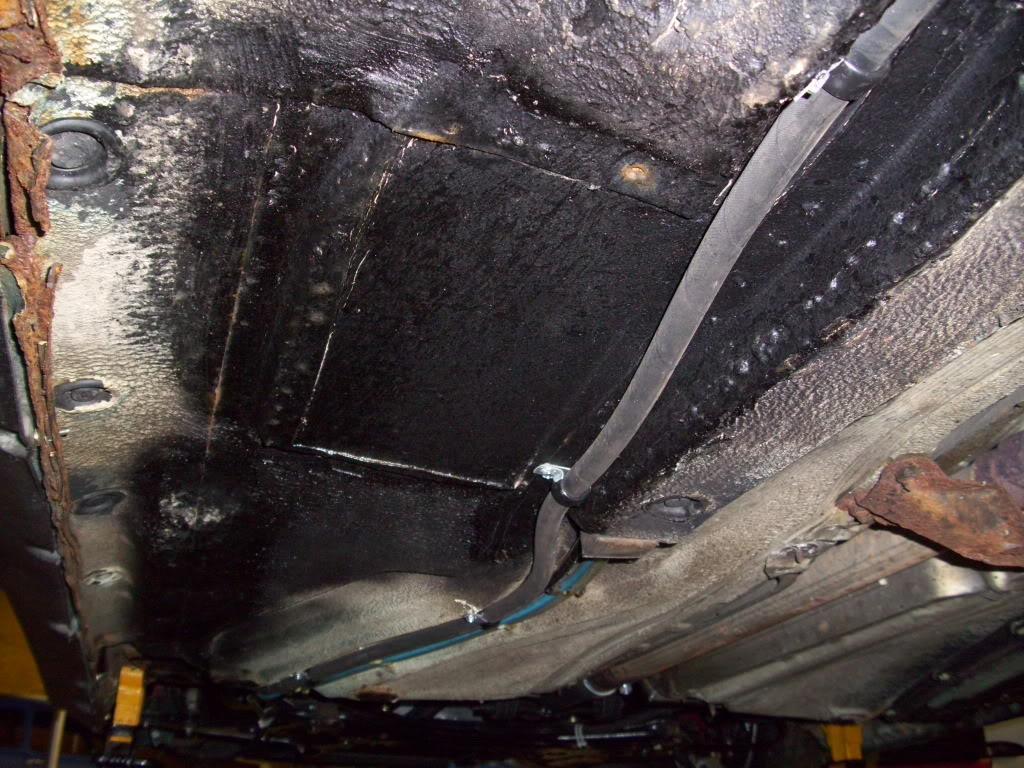
Rear cylinder routing
Front routing.
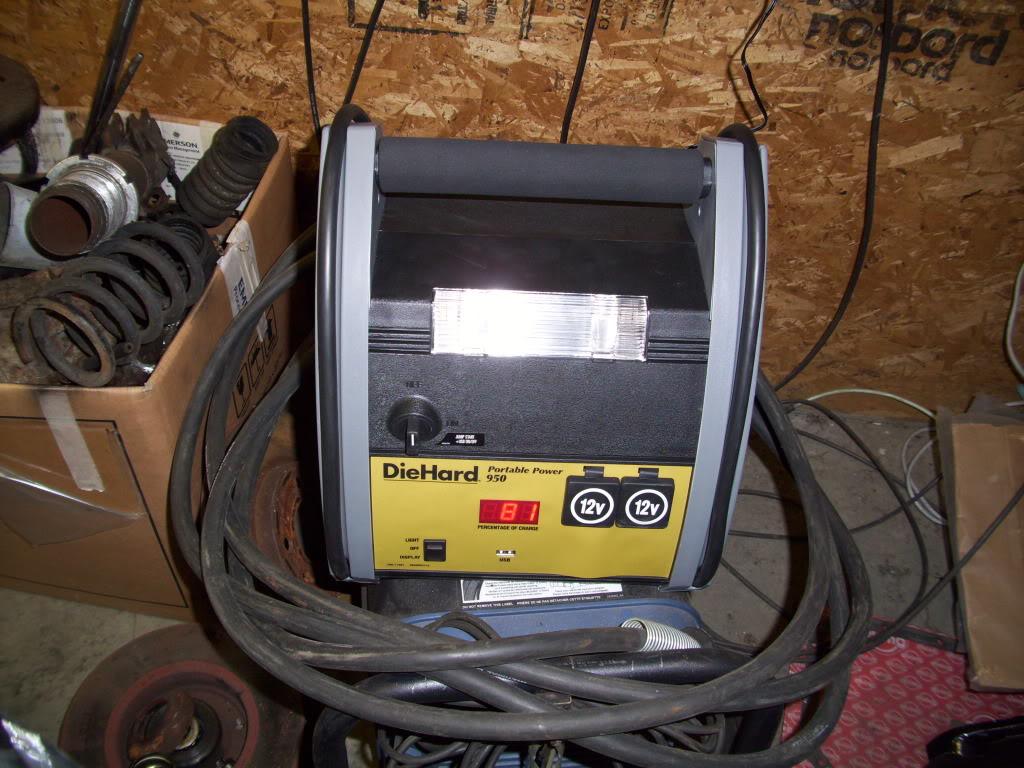
I bought a battery charger/starter just in case I ran into any trouble on the way to H2O
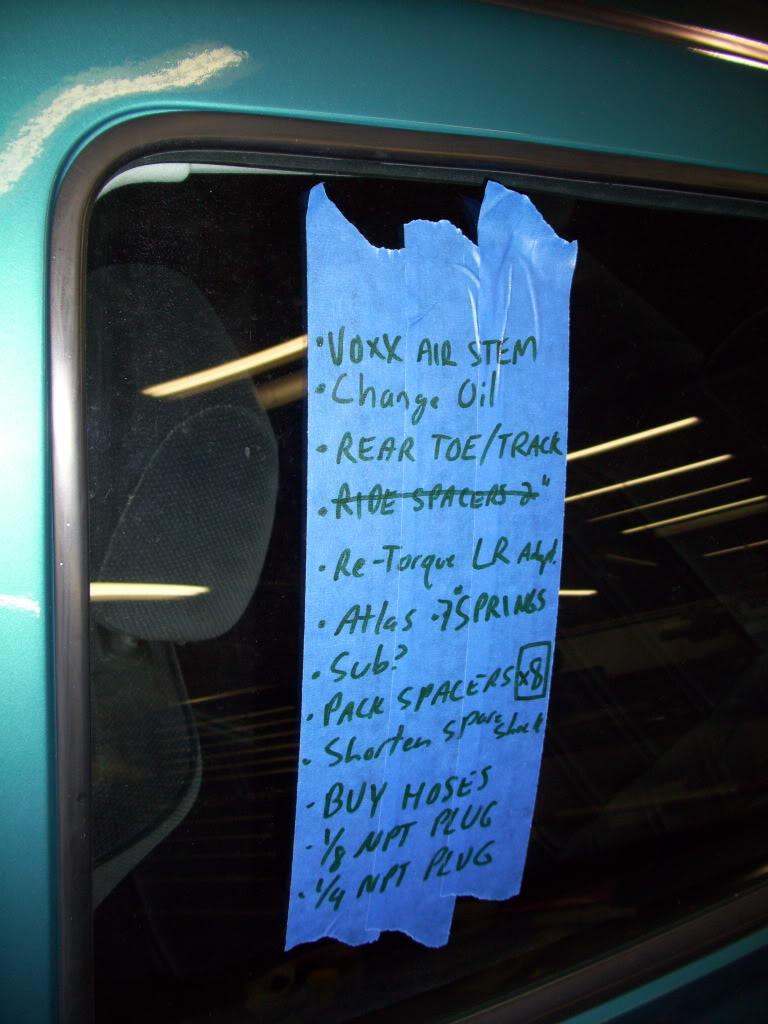
Makin' a list, checkin' it twice.
September 23, 2009
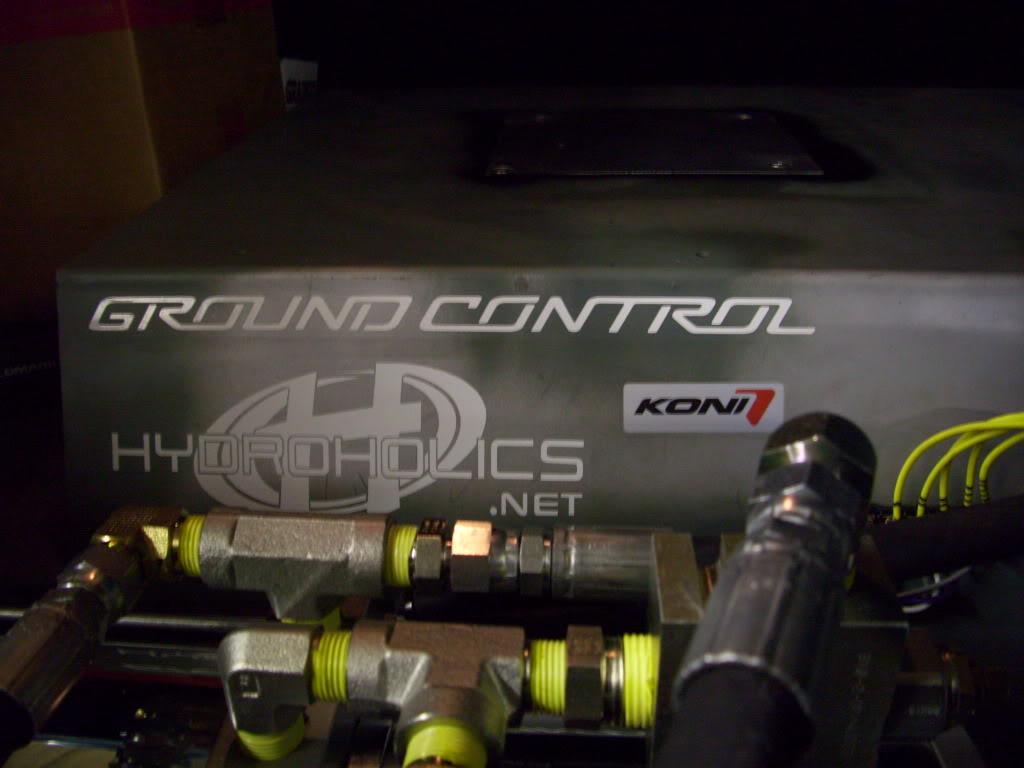
Installed some stickers. 20+ horsepower.
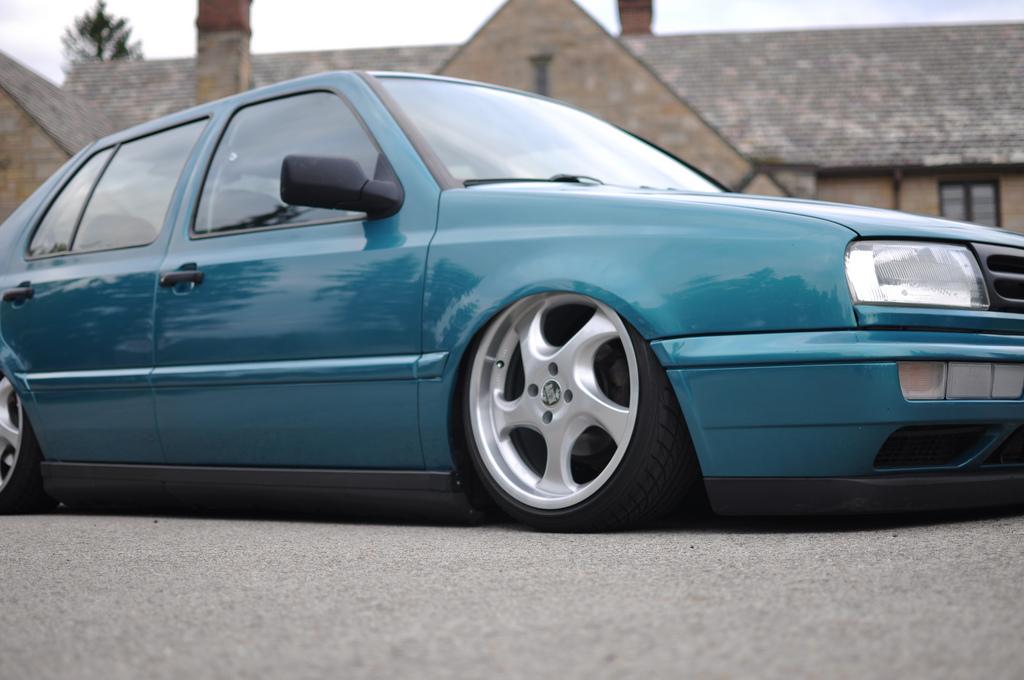
For those that missed: Hydroholics made the hydraulic pump and manifold. They were super helpful through the whole process and make quality stuff The springs and front camber plates are from Ground Control. I've been real impressed with their designs. I'm using Koni shocks on all 4 corners. I chose this combination of stickers in case anyone saw the trunk without me around. No single car, to date, had used components from all 3 of these companies. Keep 'em guessing
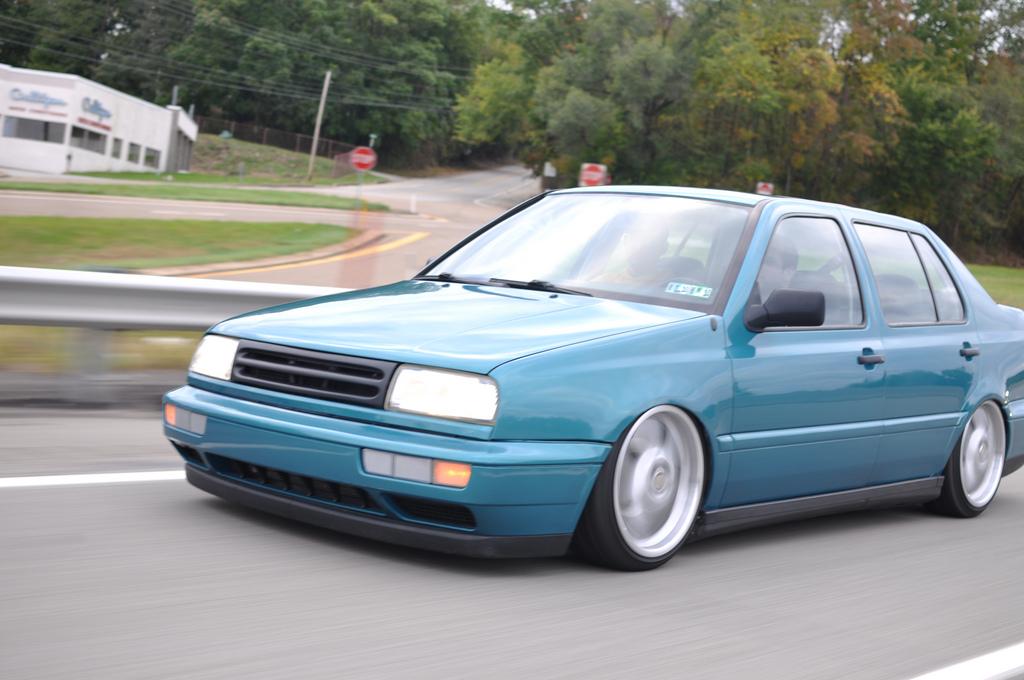
I fixed the rear camber and got the alignment all straightened out at ride height. At ride height, I am running -2º of camber at each corner and parallel toe all around. When it's down, the front toe is still parallel, about -1.75º camber all around, and still quite a bit of toe-in at the rear until I get my new rack made.
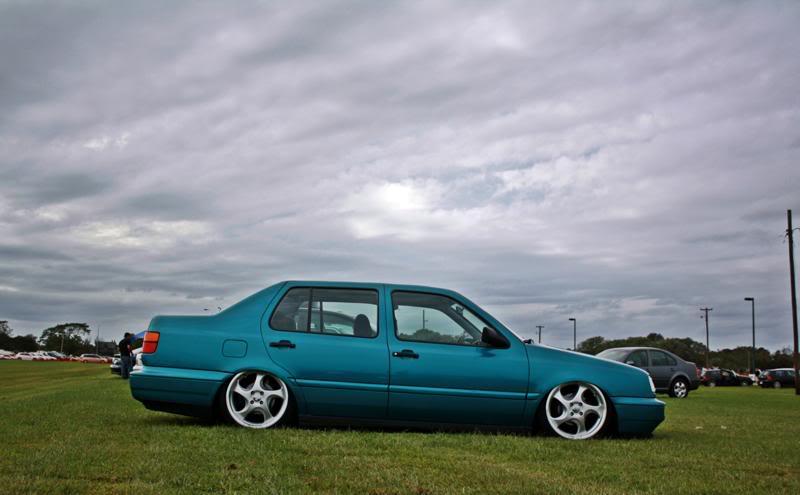
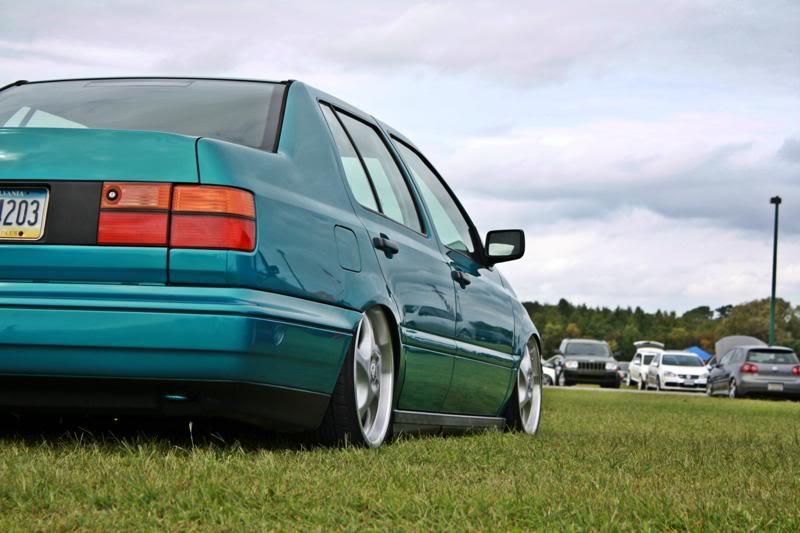
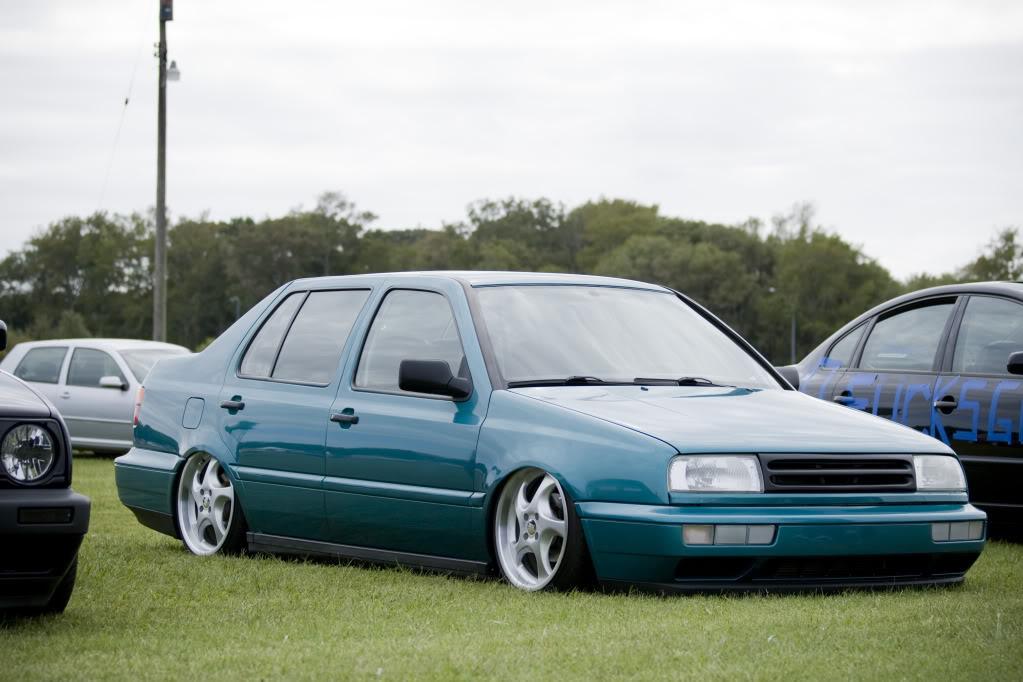
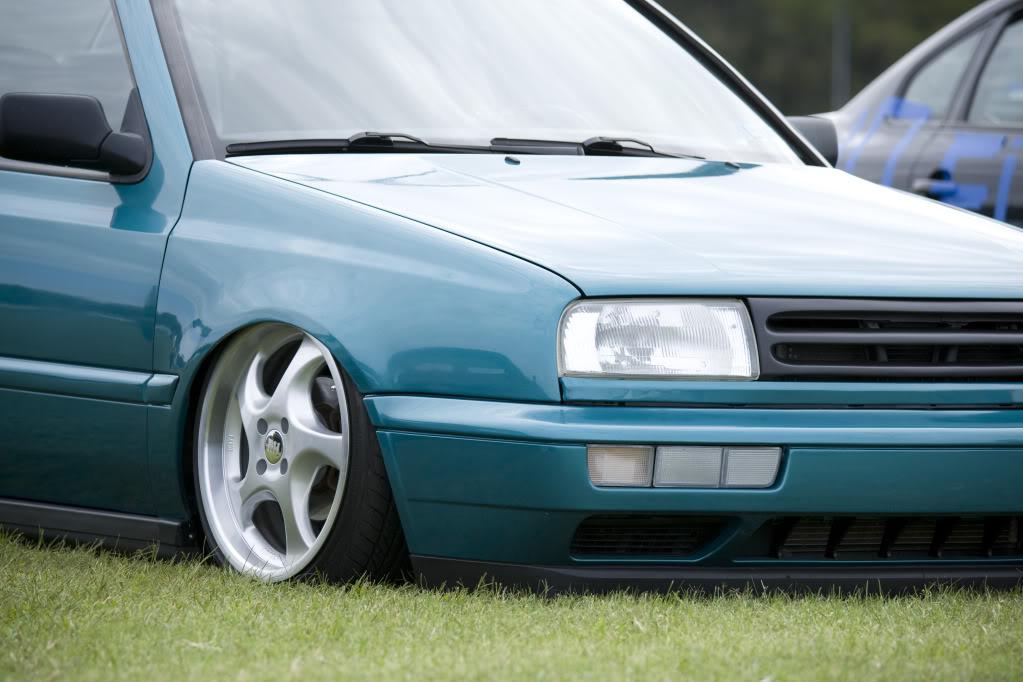
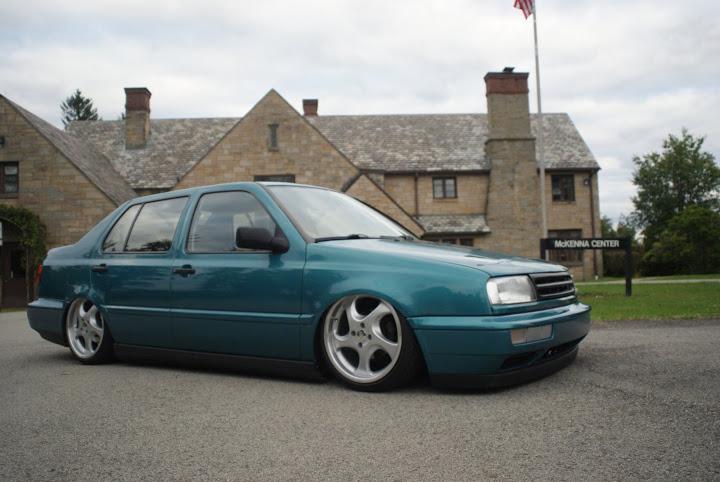
This is hard to capture photographically, but here is the final stance.
up:
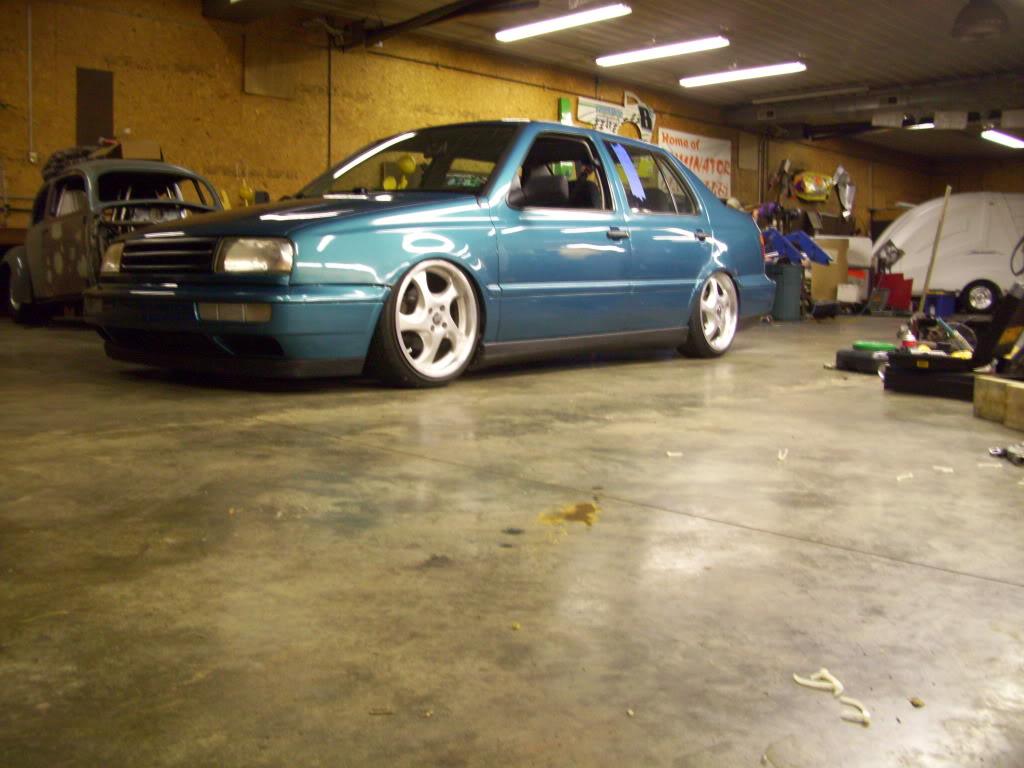
Down
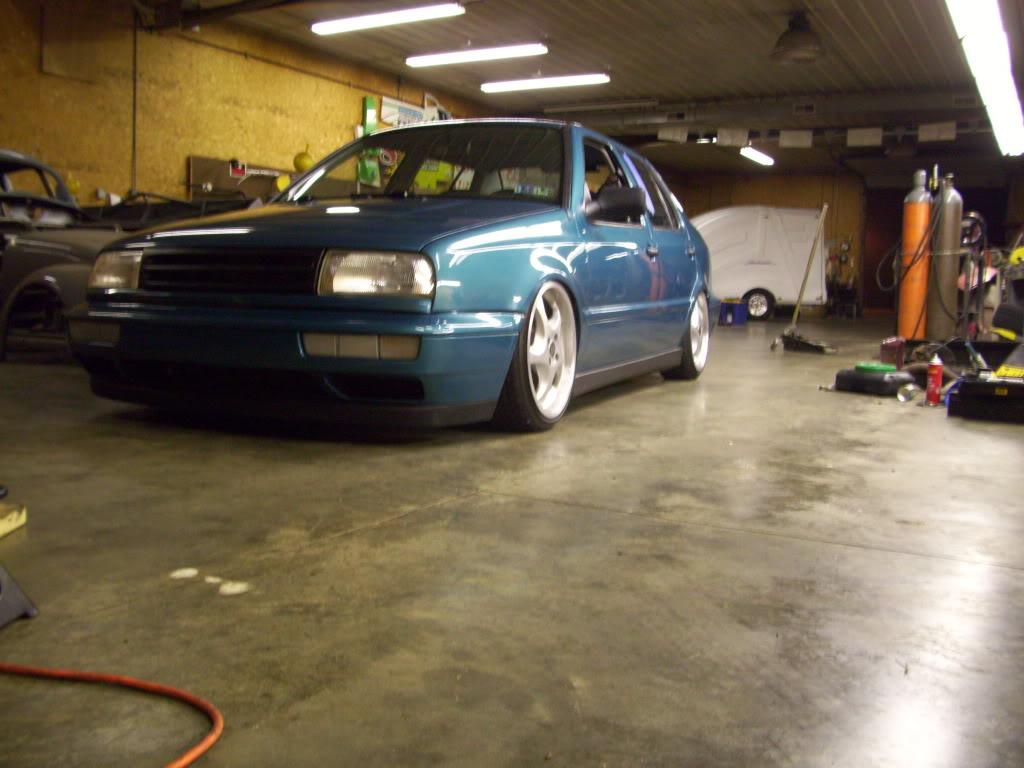
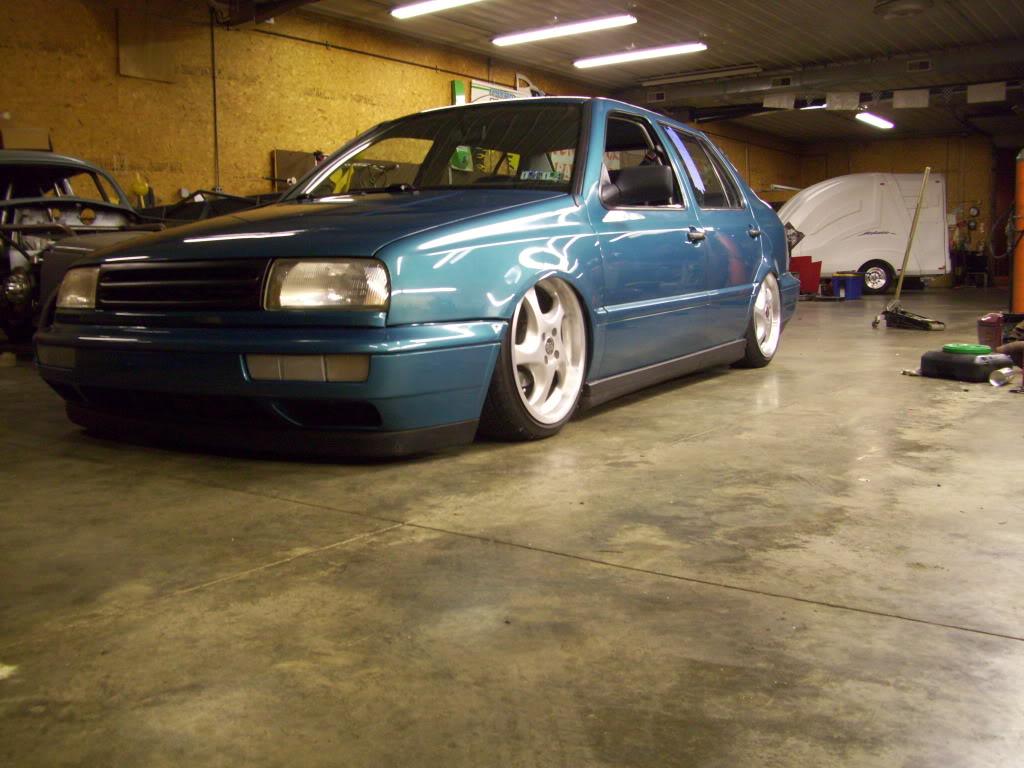
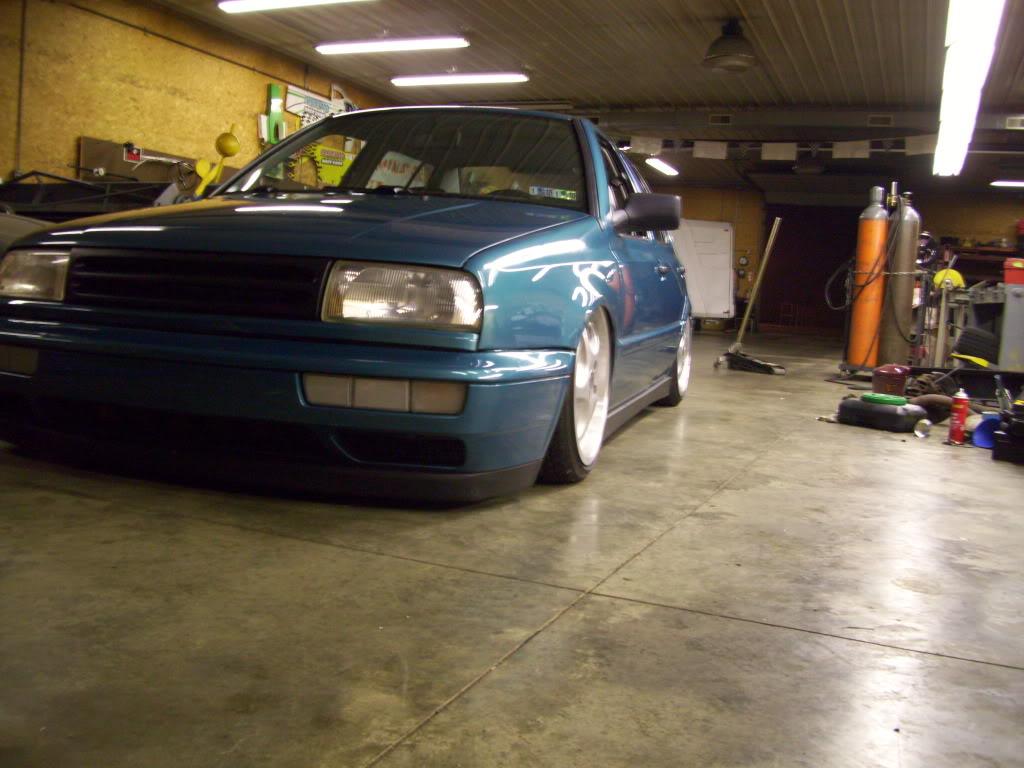
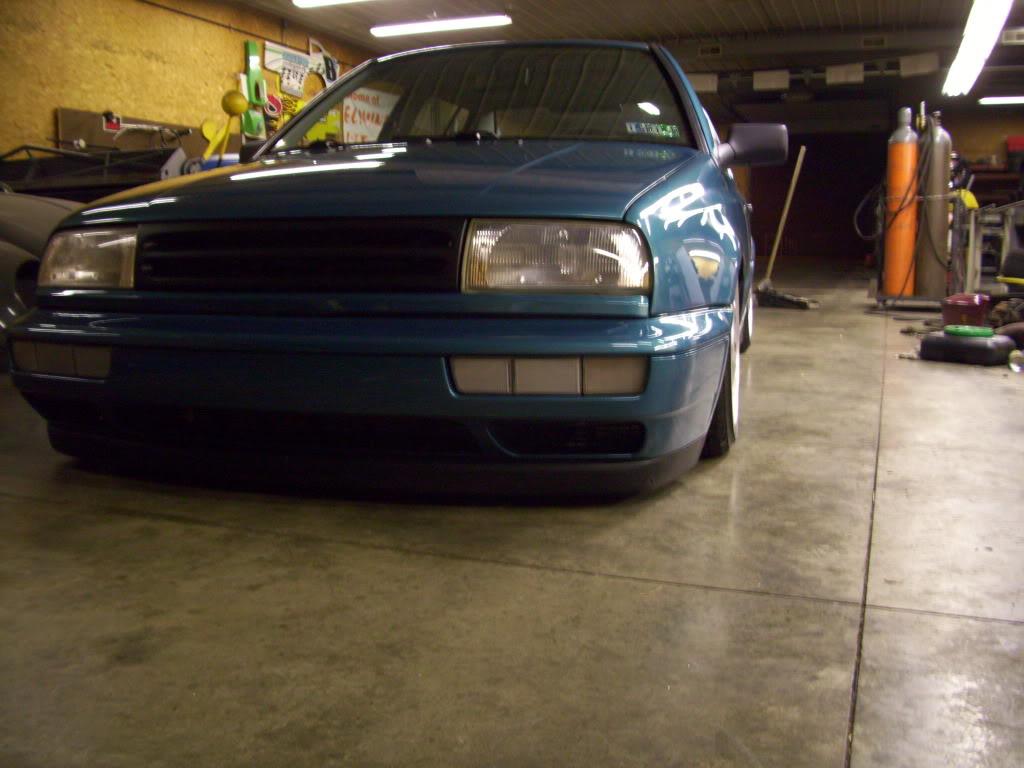
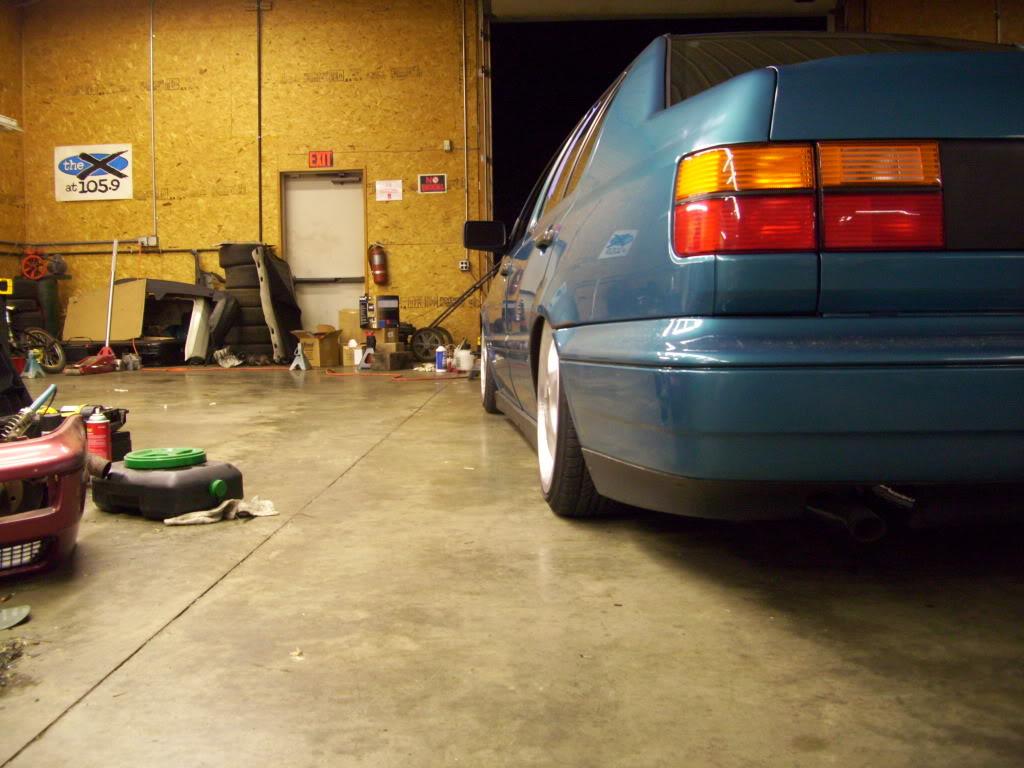
Not 100%, but that's as good as it's gonna get!!!
September 25, 2009
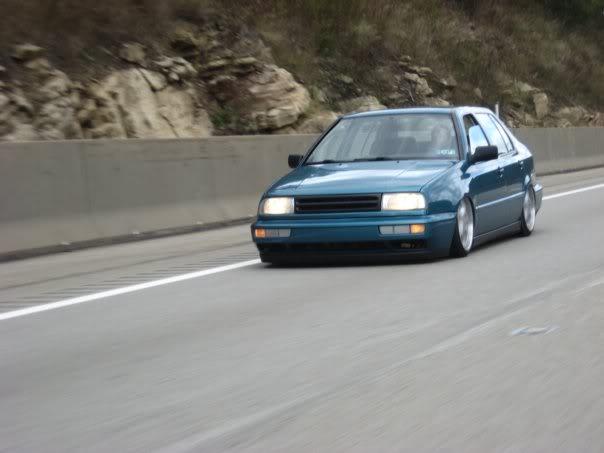
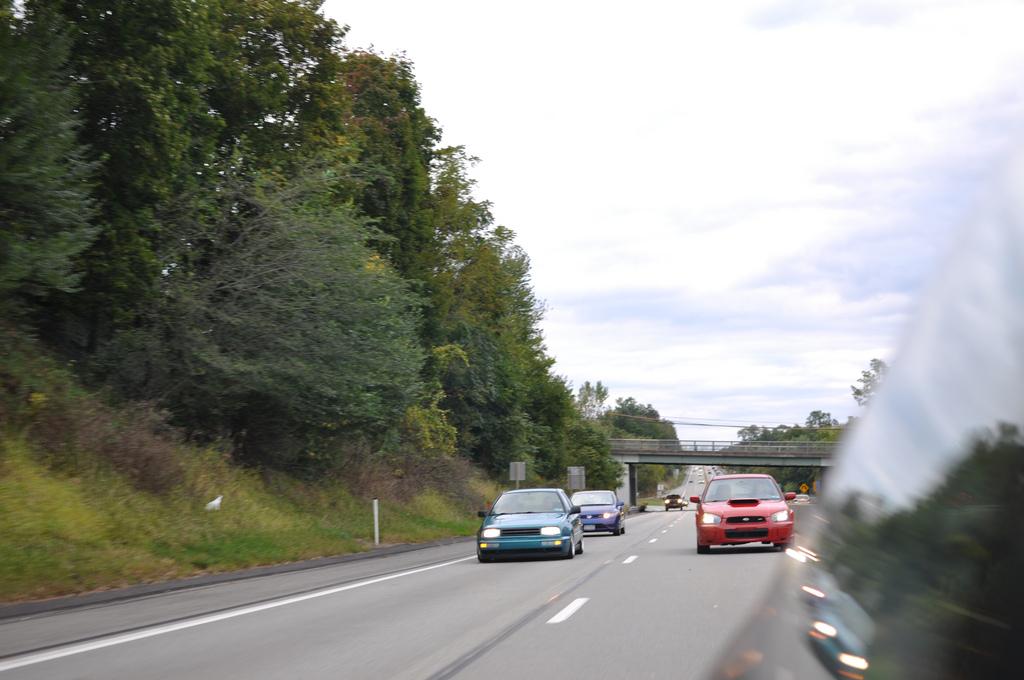
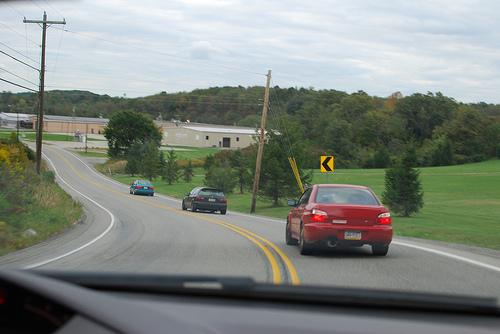
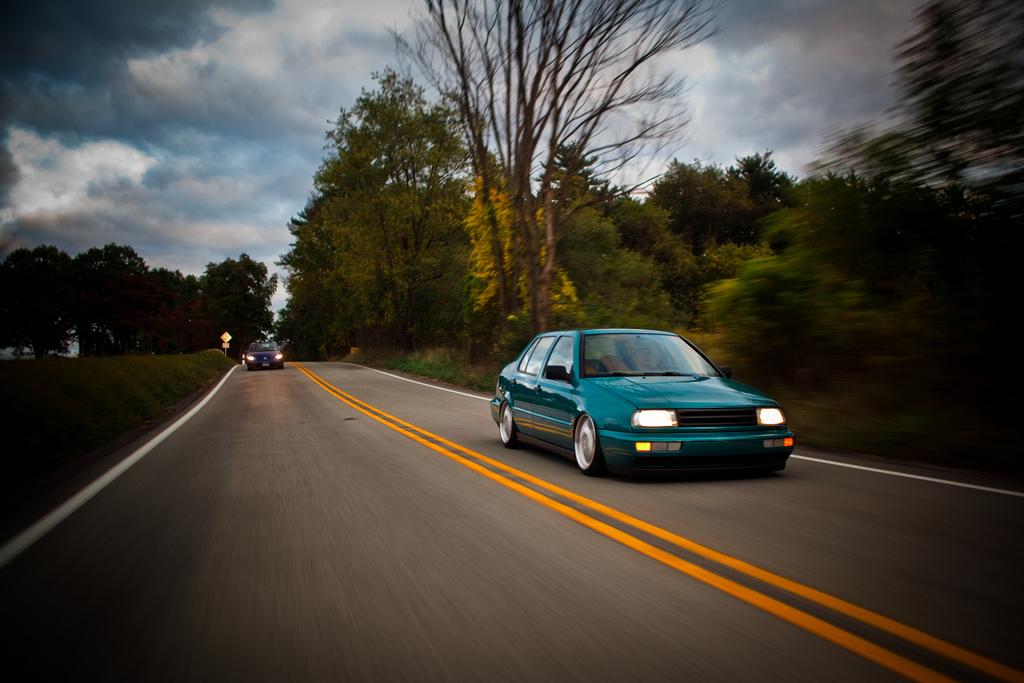
On the road.
H2O is less than 12 hours away.
Got on the PA turnpike, headed East.
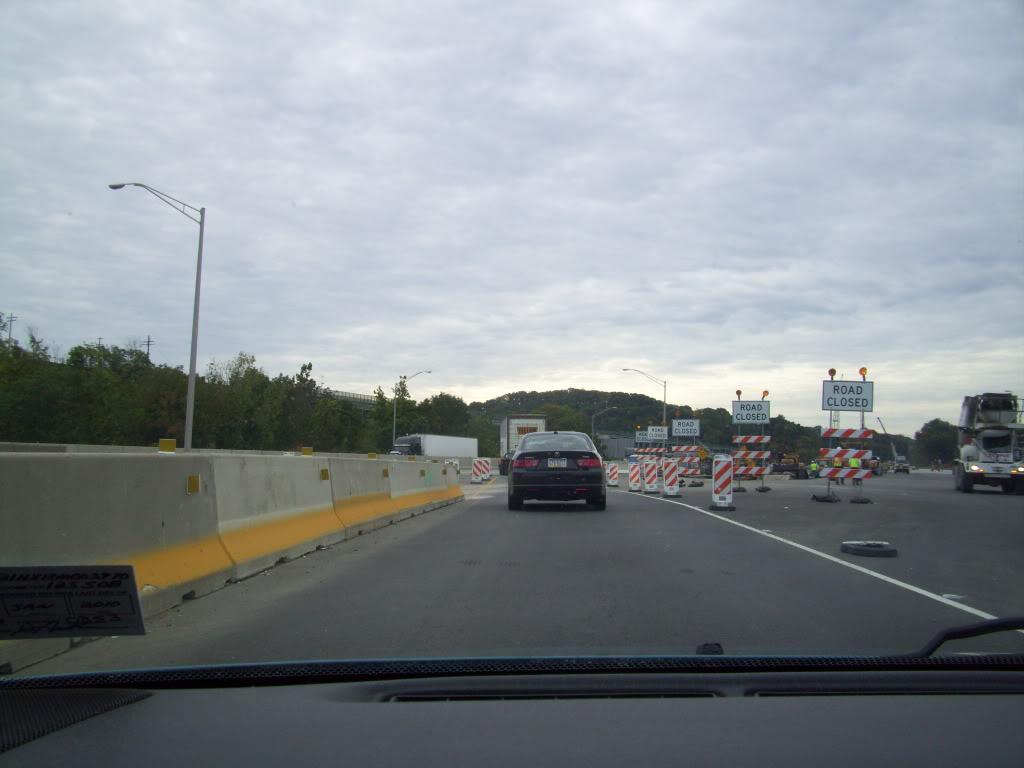
Next stop: Baltimore, for dinner at my Uncles.
Next Next stop: H2O International 2009 Can't F**king wait!!
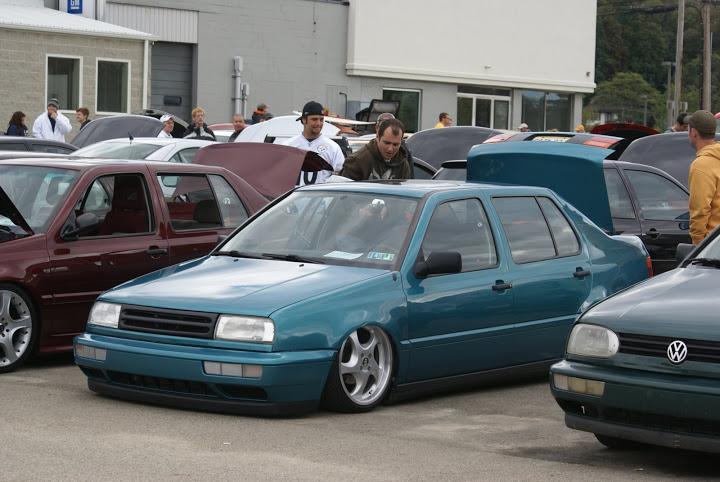
H2O.
Absolute awesome time. I met a ton of awesome people, explained the suspension about 1000 times, ate some good food, saw a lot of amazing cars, met more awesome people.... I can't type enough words to describe how perfect the weekend was. It felt so good to drive the car, to get it out in the open. Two long years of cutting, welding, machining, and planning had finally reached the climax.
Thanks to Livinzlyfe for these pics:
And Neb
Shannon Hamilton snapped this pic of the car all the way up. This is the driving height. +1.5" above ground
ric Juers (forget your screenname) took some pics with me and Paul Wall. I have to thank Paul, he's known about this from the beginning. I remember him listening to my crazy ideas, and always encouraged me to just go for it. He was also cool about keeping it quiet, no matter how many pics I showed. He finally got to see it in the metal! Thanks man
Eric also snapped some rollers on the strip. Thanks man!
I dragged the hell out of the car all weekend! I built this thing to drag and lay on the floor, and boy I did!!
Limbo contest at Air Affair:
Brent, OnelowCabriO, shot this vid on 37th street by the Castle. Thanks man!
http://s455.photobucket.com/user/afa..._0464.flv.html
Thanks to everyone I met at H2O for all the good words; It was great to meet you all! It was an awesome weekend.
I drove home Monday morning, with New2 and his buddy and his buddy's girlfriend. He snapped this final rolling shot just before we parted ways outside of Pittsburgh.
Zero problems all the way there; all the way back; the whole time there. 900 miles without an issue; luck was on my side!
I'll be adding more finished pics in the next few days, but until then, this concludes the build of my Jetta.
Thanks for listening
-Anthony
October 07, 2009
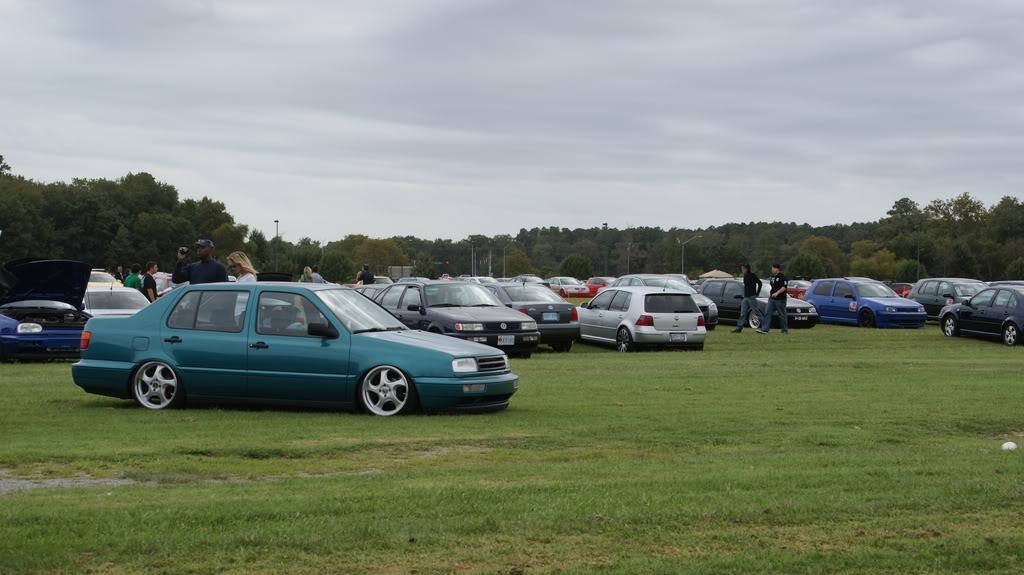
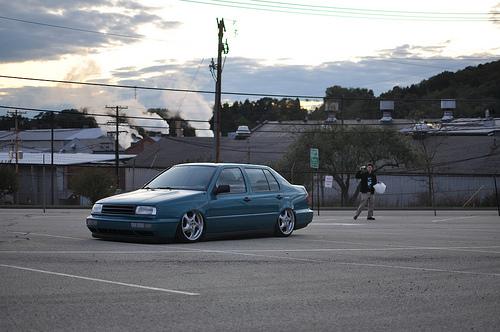
I went to a local show this weekend, Oktoberfest, and a few of my friends came out. They're all really into photography and have some nice equipment, so I figured I would share some of their pics.
Jimmy shot these after the show
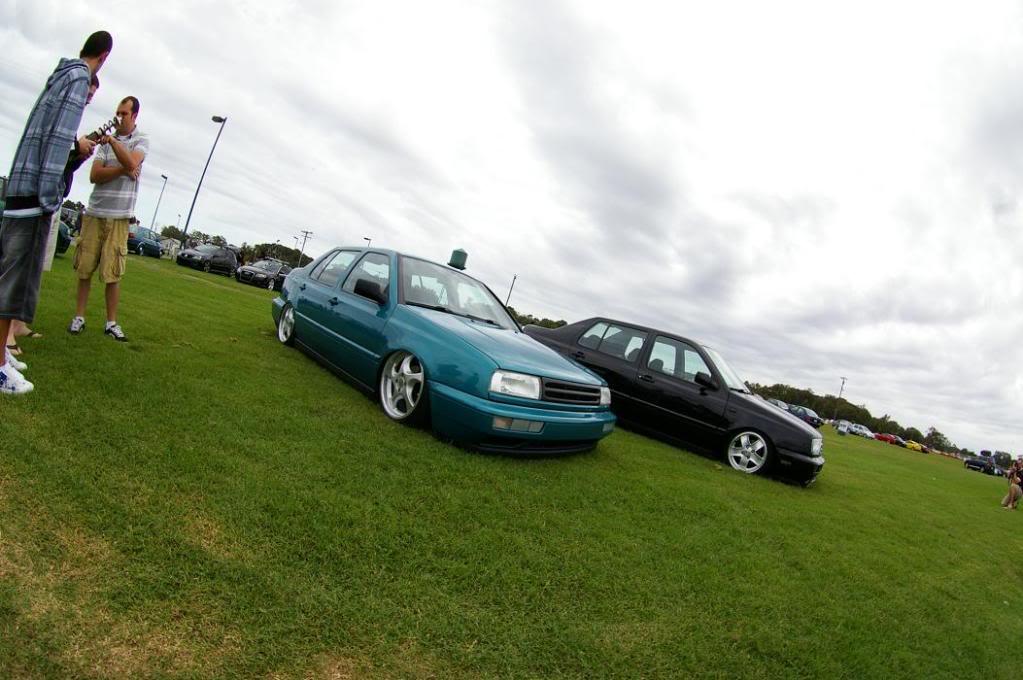
We found this cool location to do a few photos. Papparazi in full effect
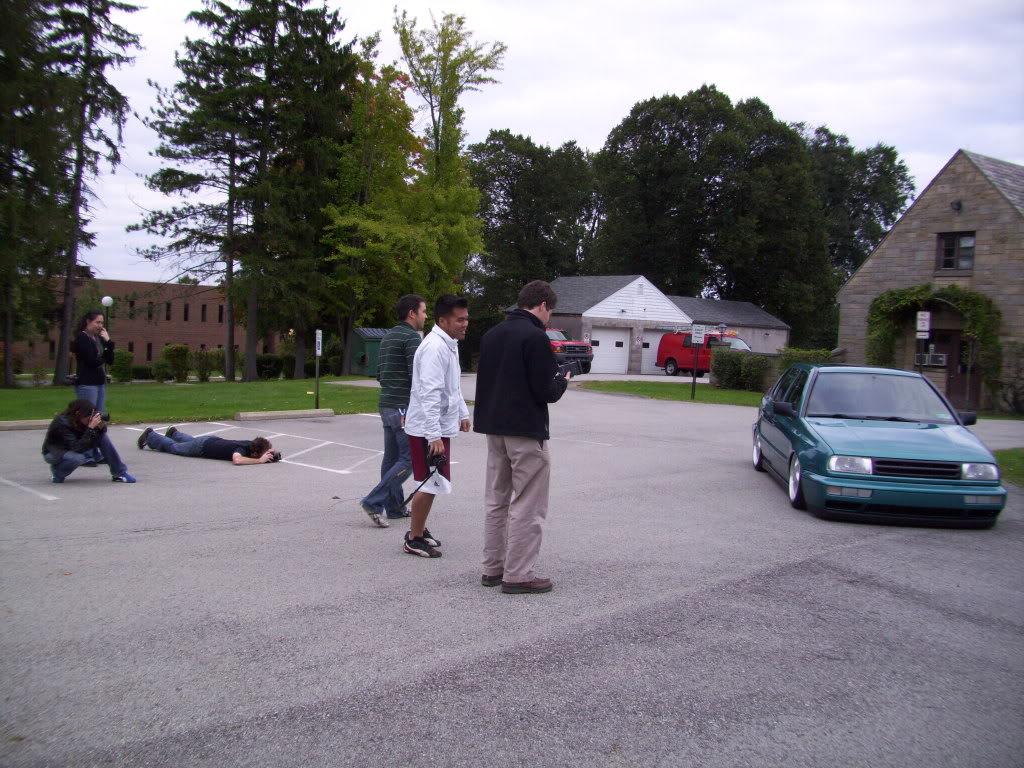
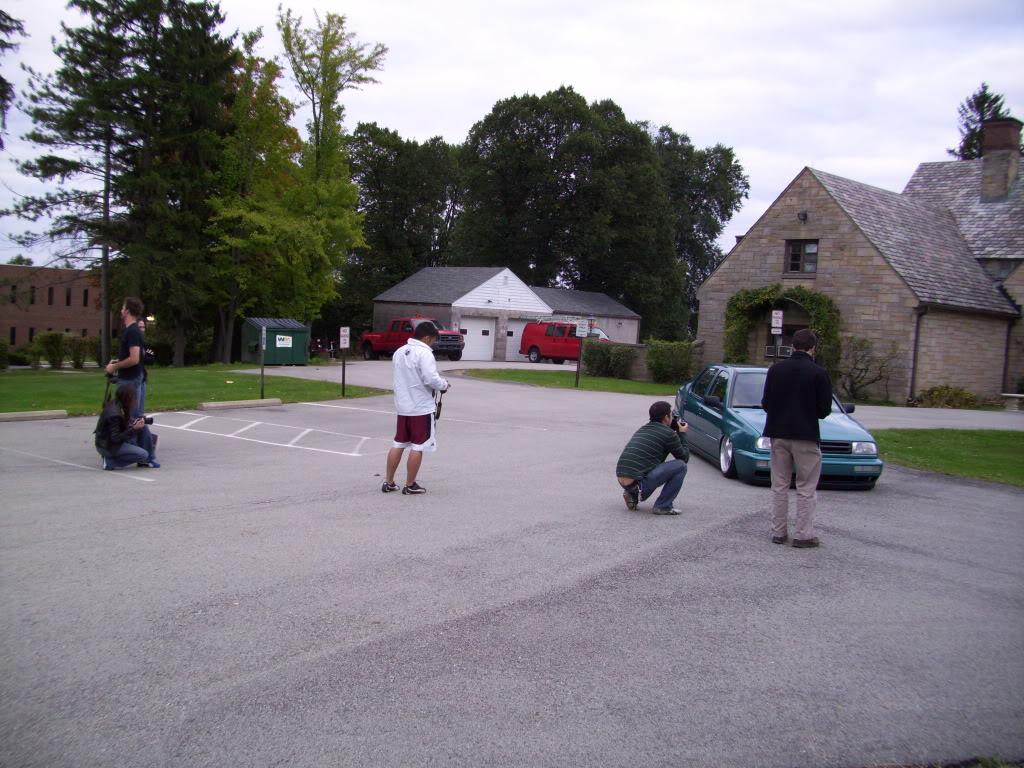

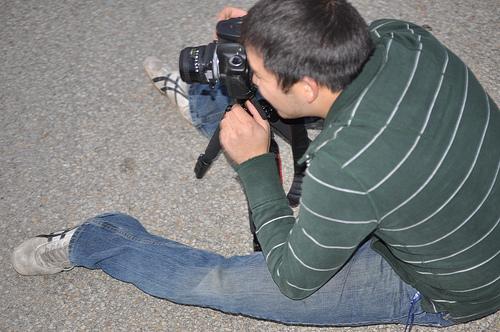
Ian, the master at work.
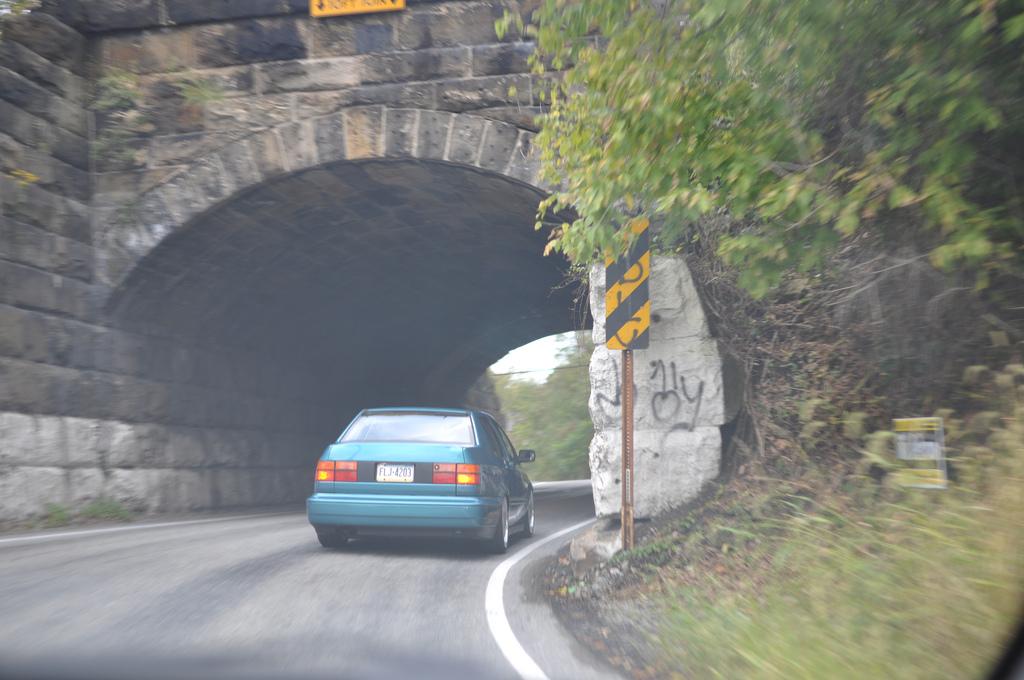
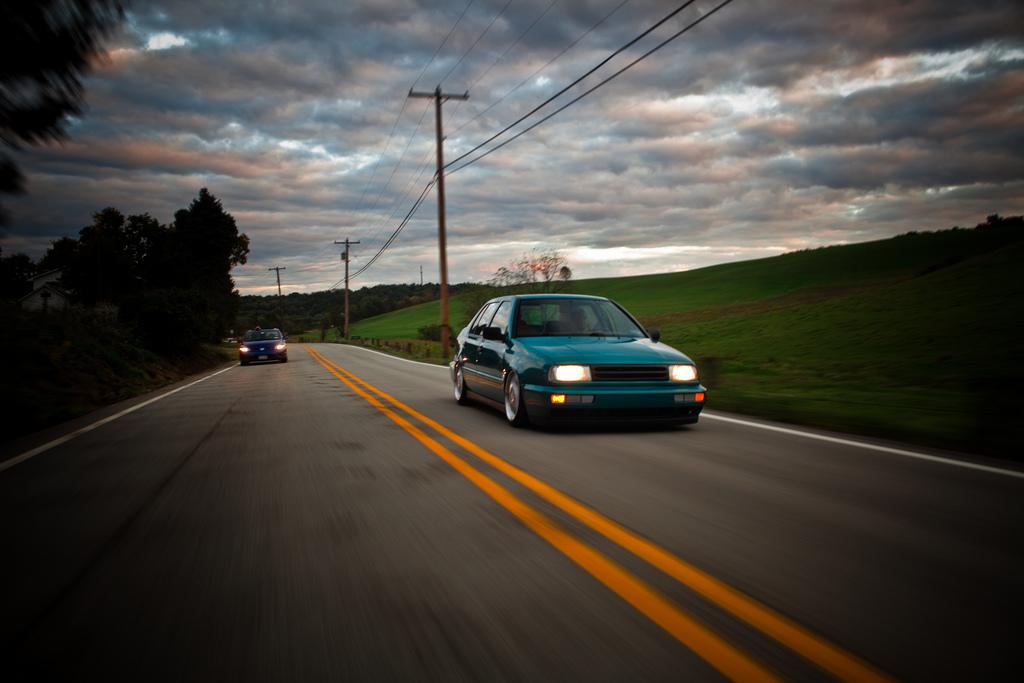
Rolling again, courtesy of Nicole
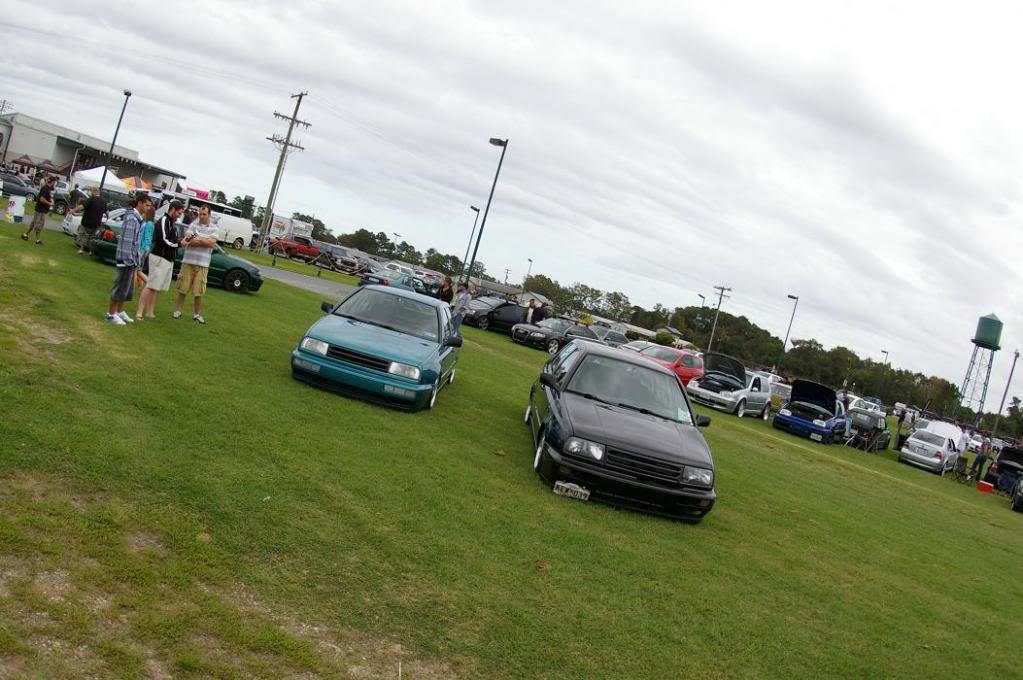
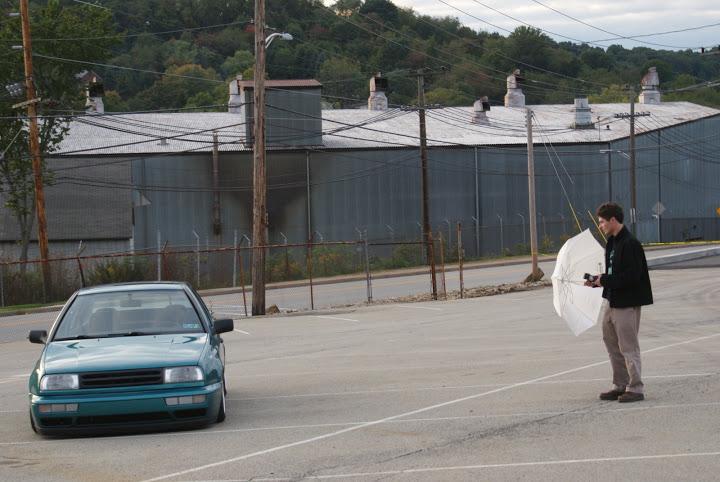
Found another sweet location. This is Hugh working the flash for Ian.
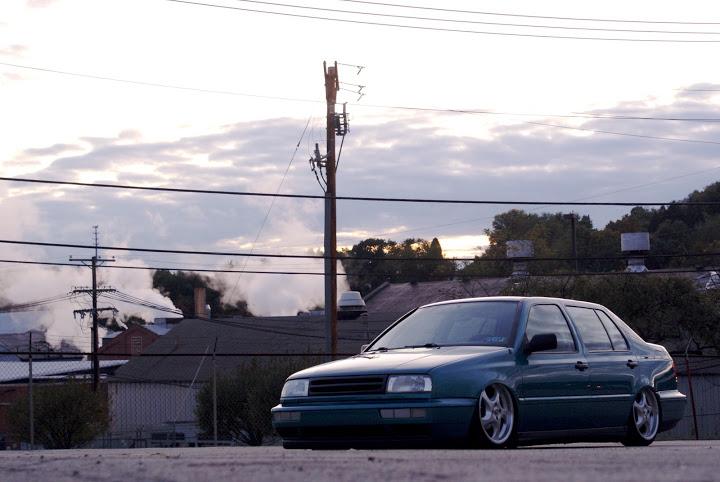
Ian, ready for some rolling shots
Ian's photos.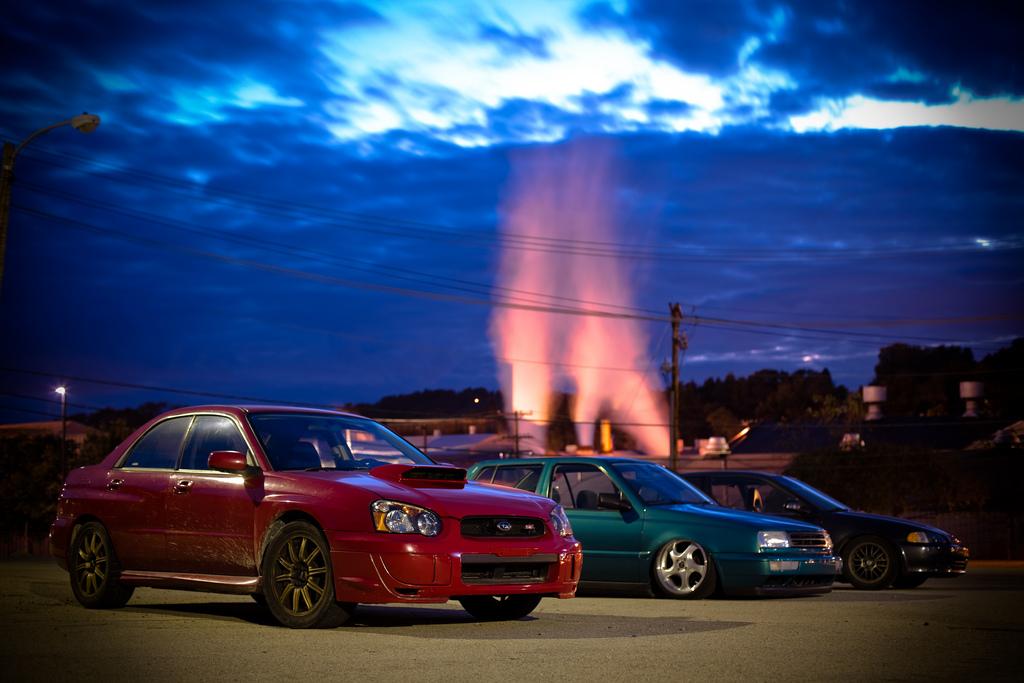
October 17, 2009
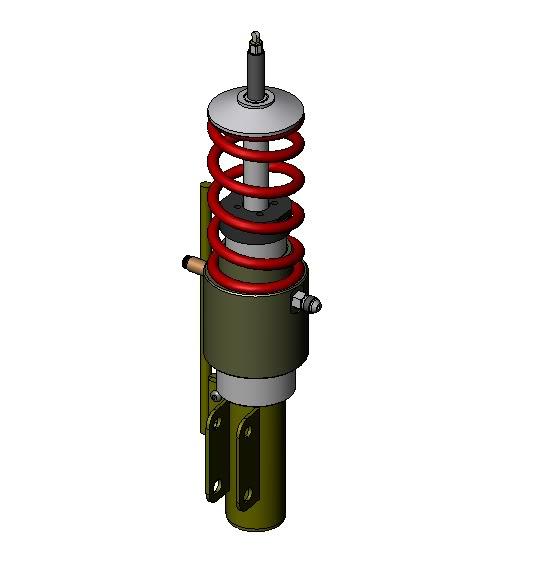
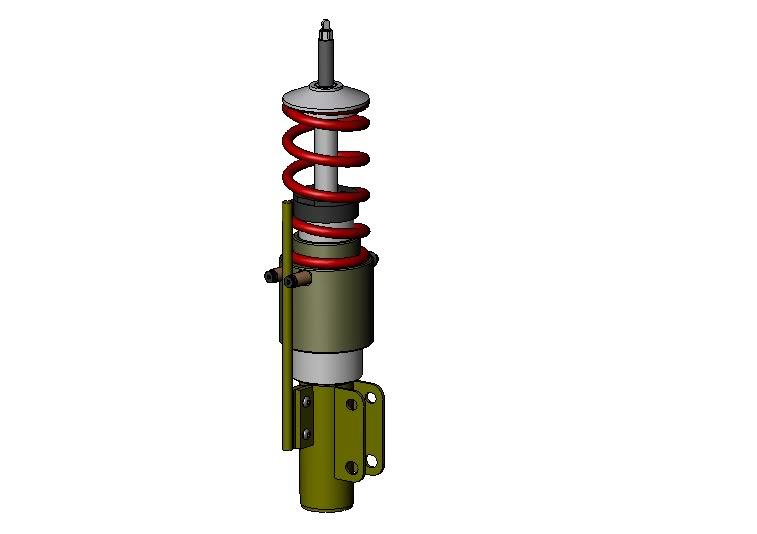
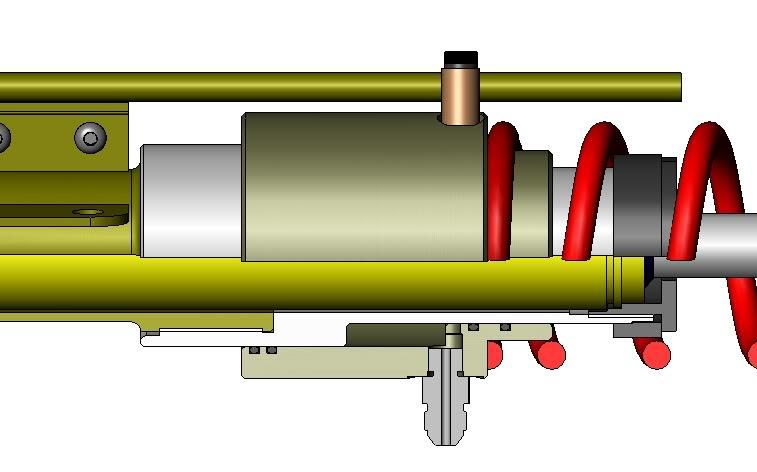
As promised, here are some 3D model views of the assembly. The cutaway views show a little bit more about how it works. The Koni housing is the yellow part, I didn't model the internals of it so it's left uncut in the cutaway views.
Here is the full assembly; this is a rear strut. All views are shown at about half travel.
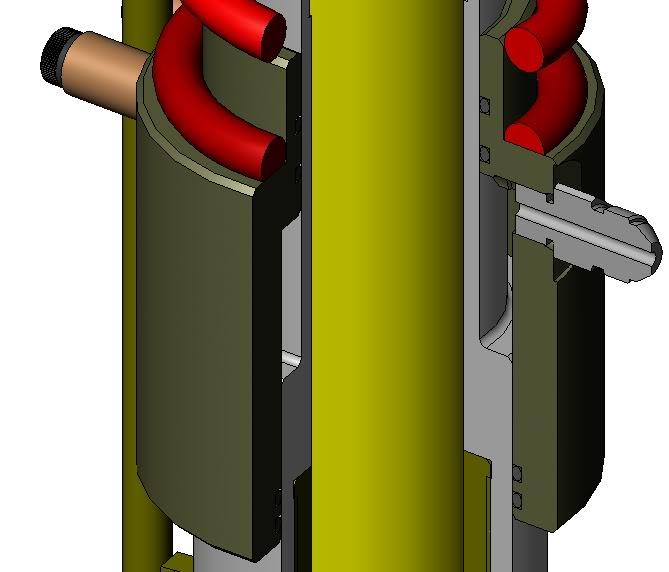
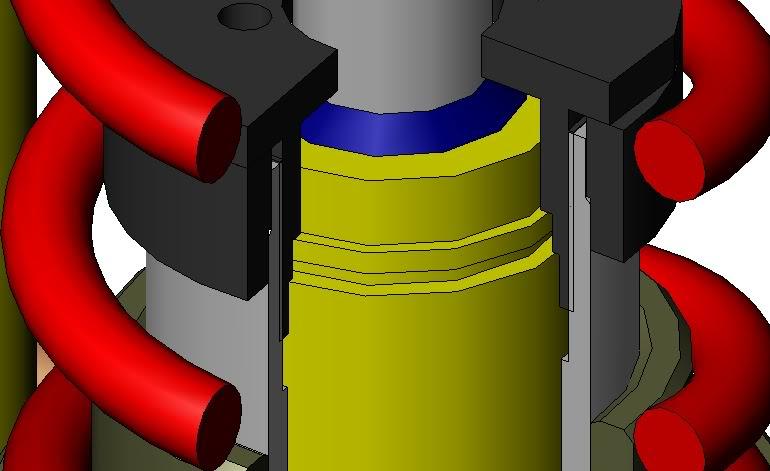
Cutaway view. This shows the seals and hydraulic fluid inlet, as well as the assembly of each piece.

Here is a closeup of the seals and their location. There are 4 o-rings; 2 are necessary for sealing then the other 2 are just there as backup. There are dozens of different ways to seal hydraulic cylinders, and I have a dozen reasons for choosing this exact configuration, which I'm not sure I want to share right now. If anyone really wants to know, feel free to ask.
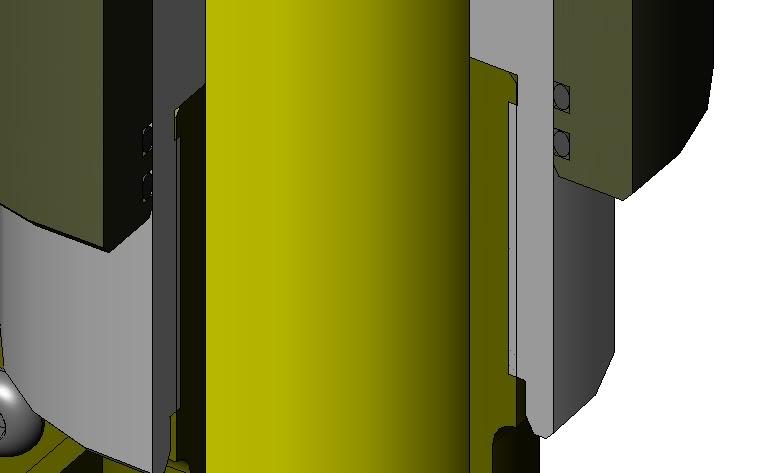
Here is a closeup of the threaded cap that holds the insert down into the housing.
Here is a closeup of the lower threads, where the lower half of the strut screws into the cylinder. This was done to create a modular design. The piston and hydraulic assembly could be used in any coil-over-shock car just by remaking the lower half with whatever mounts are necessary. This was originally done because I wanted to use the same hydraulic parts on all 4 corners, and the original plan was to have strut front and shock rear - the stock configuration.
Here is a little better view of the hydraulic fitting inlet. This also gives an idea of how the piston actually works with the stepped bore. This creates a donut-shaped piston so it can be hollow and fit around the shock.
Nice build! Great photos and detail ????
Posted by Diggymart on 4/23/19 @ 12:52:48 PM