You must be logged in to rate content!
5 minute read
Air Intake Installation (ABD Stage 1 & 2) - CC
Compliments of MagyarCC @ www.vwvortex.com
Alright boys,
Here was my morning project detailed for you, by me!
Enjoy!
Step 1
Gather all your tools. Main tools you'll need, triple square bit, allen wrench (1/8th I believe), flat head and phillips head bits, wrenches and patience!
Step 2
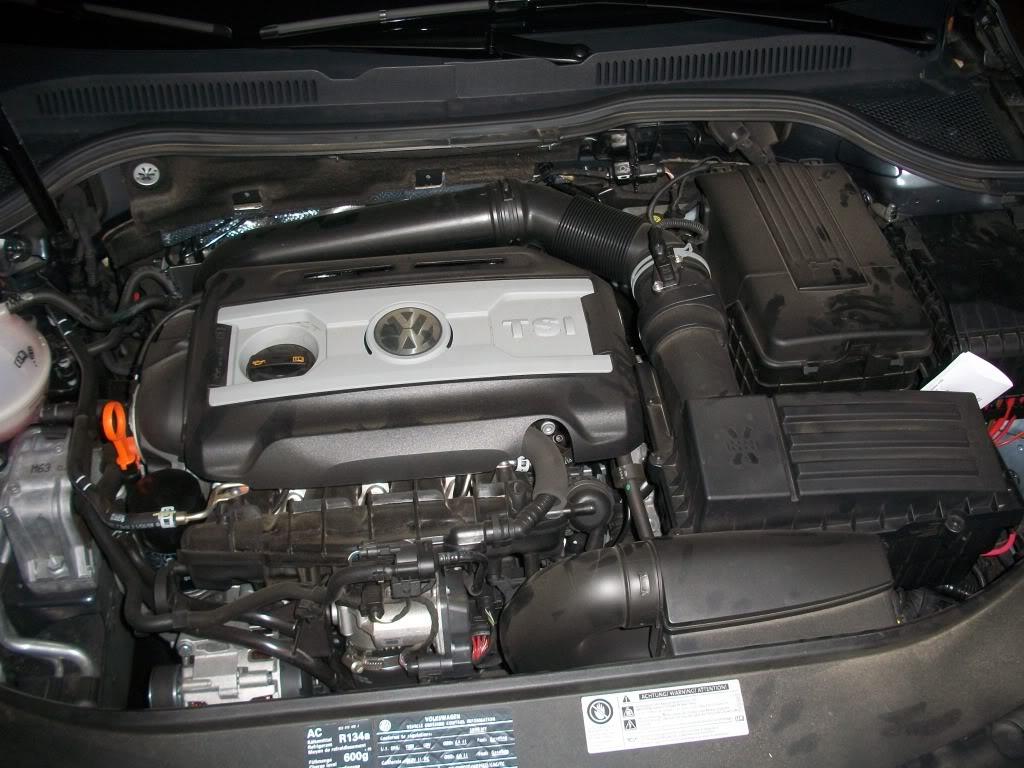
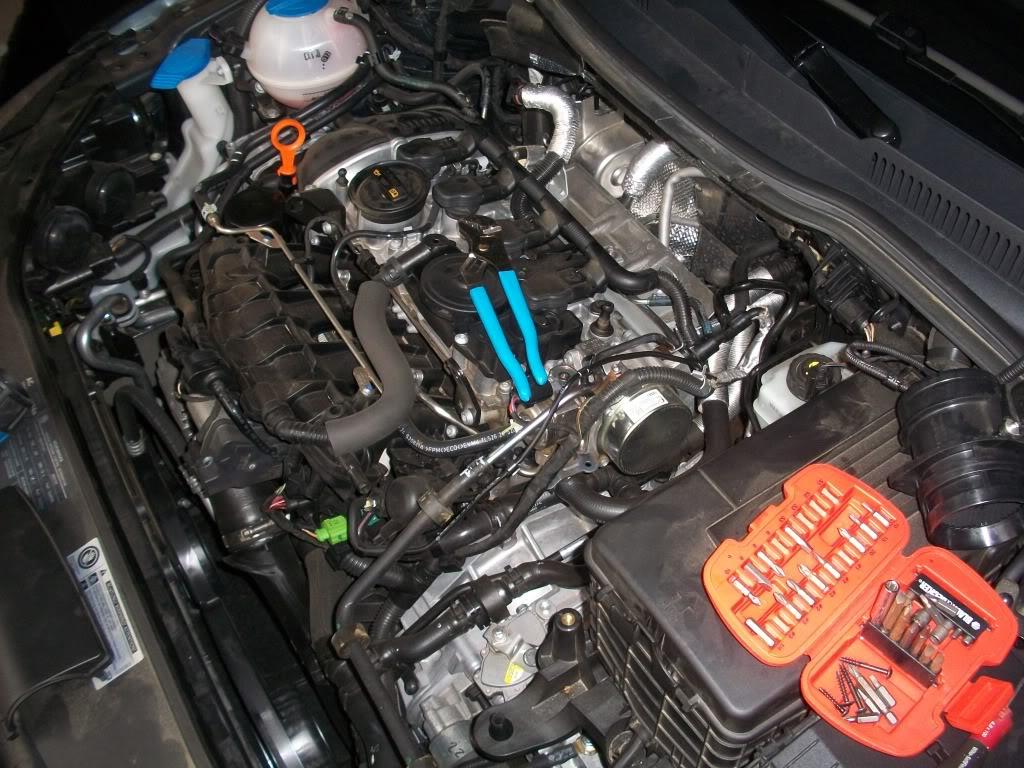
Remove the old intake. This involves essentially piece by piece, removing the intake at all bolt point. The toughest is the back piping that holds the OEM piping to the engine, this is held on by what I think is a 1/8 allen wrench bolt. After the first turn, you can handle this by hand.
The intake box isn't too bad, there are a few strange rubber pinch holds, that need to be massaged out of place. Don't forget to remove the ram air plastic piece attached to the front of the engine compartment.
Youl will also need to remove and keep in place, the air sensor module. After removal position it in the same direction on top of the engine so you can reinstall correctly.
The OEM piping is easy to remove, realize if you are at this point, you've commited to the job! YIKES!
One thing I would suggest as you do this, TAKE LOTS OF PICTURES AS YOU GO! This was a life saver as I was able to refer back to the pictures for reference!
Laslty, if you fear your intake system won't fit, I suggest keeping track of where the 100+ bolts and screws come from by taping them to the OEM intake system!
Step 3
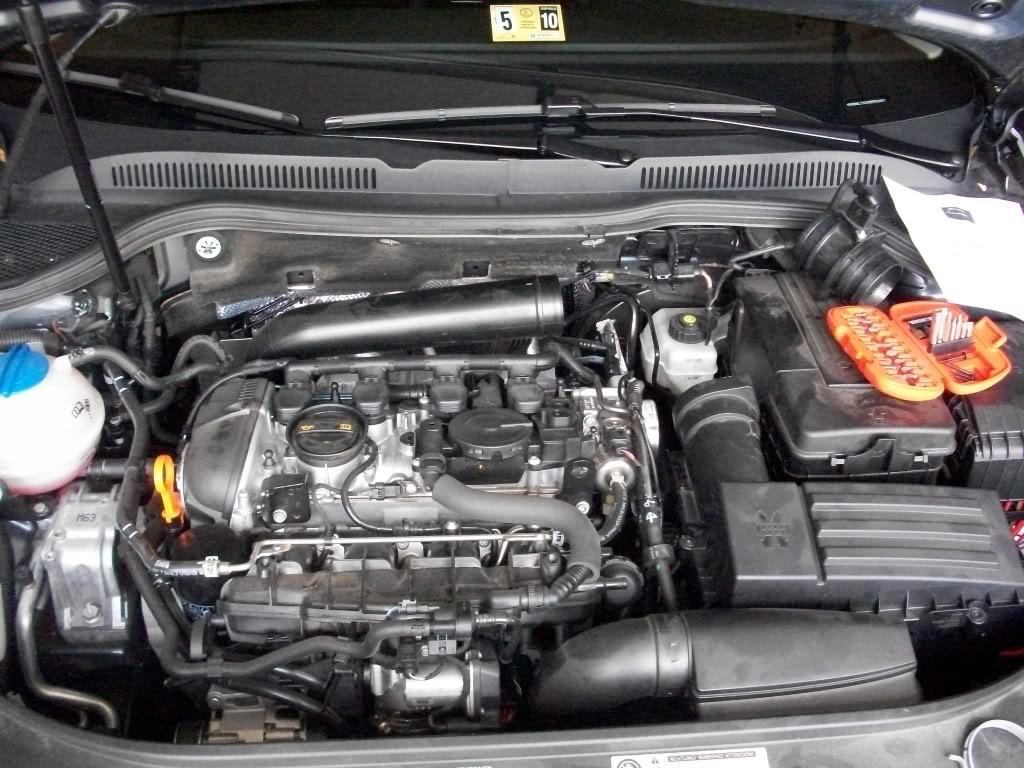
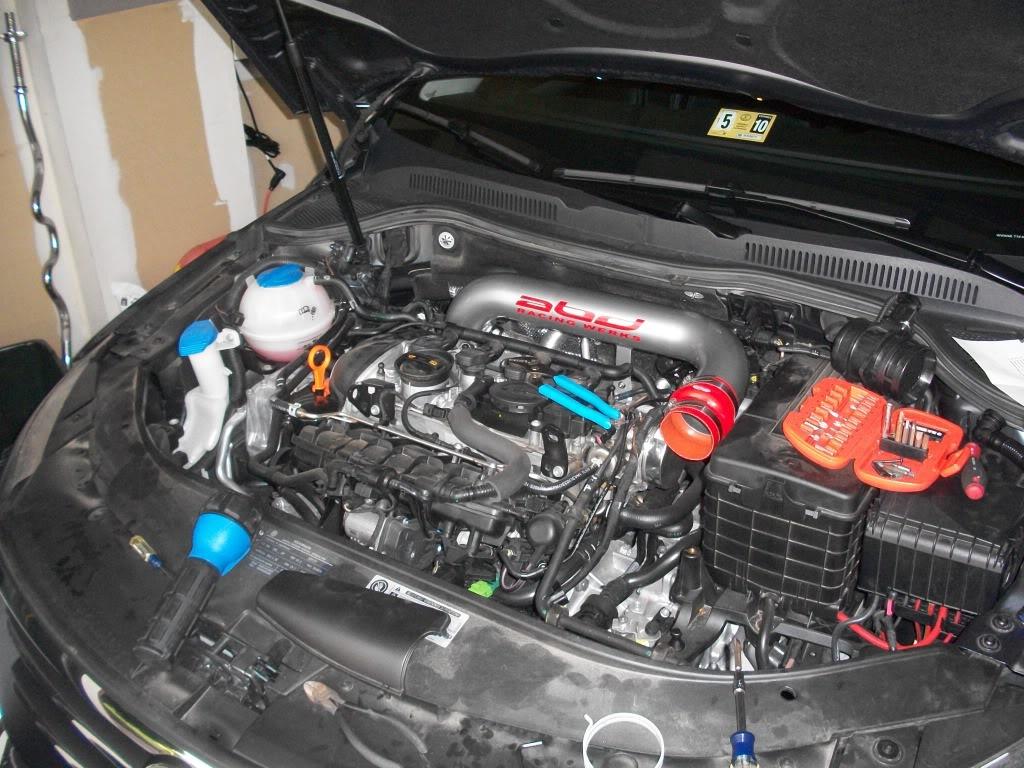
Install the back piping on the ABD intake (Stage 1) The rear engine bolt, I gave up on trying to reverse engineer it back into place and replaced it with a bolt and nut with washers. I'm not sure what VW was thinking putting an unknown bolt (can't see it because it faces away from you) on the CC. I took a picture of it to figure out what I was dealing with and then tried multiple sized allen wrenches before what I recall 1/8 fitting! The back piping is the easiest part of this.
Install the black cap provided in the packaging over the massive open air induct on the stage 2 (front) piping. This is apparantly there for the CA vehicles emmisions requirements, but the cap cancels this out!)
Step 4
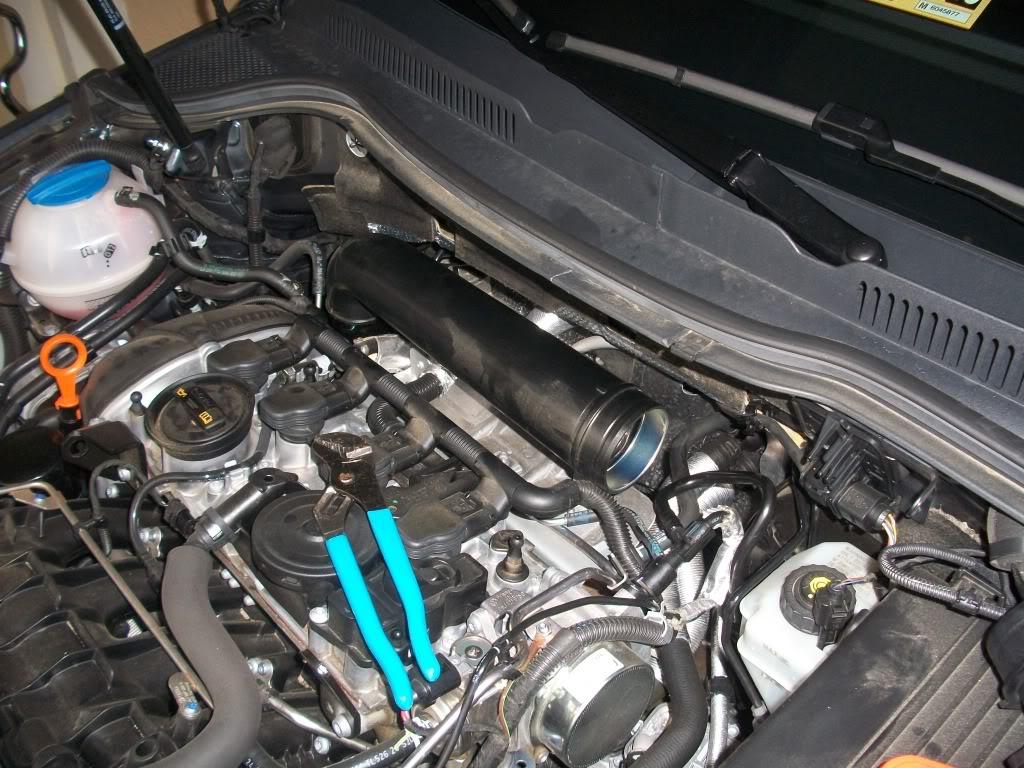
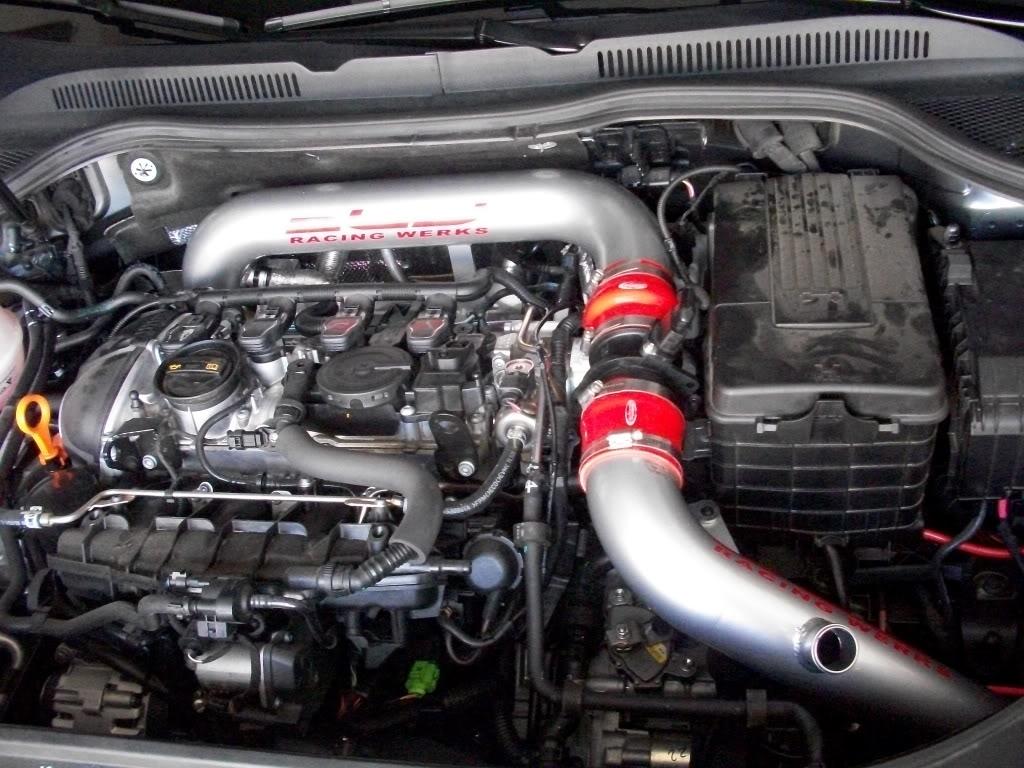
Wind down the stage 2 piping through the opening behind the tail light. Easy! Attach the Air sensor module to the stage 2 first! BITCH! This was SO tight I was grunting more than if I were at the gym! Next, fit the air sensor module on to the rear abd piping (stage 1) and tighten everything up!
Step 5
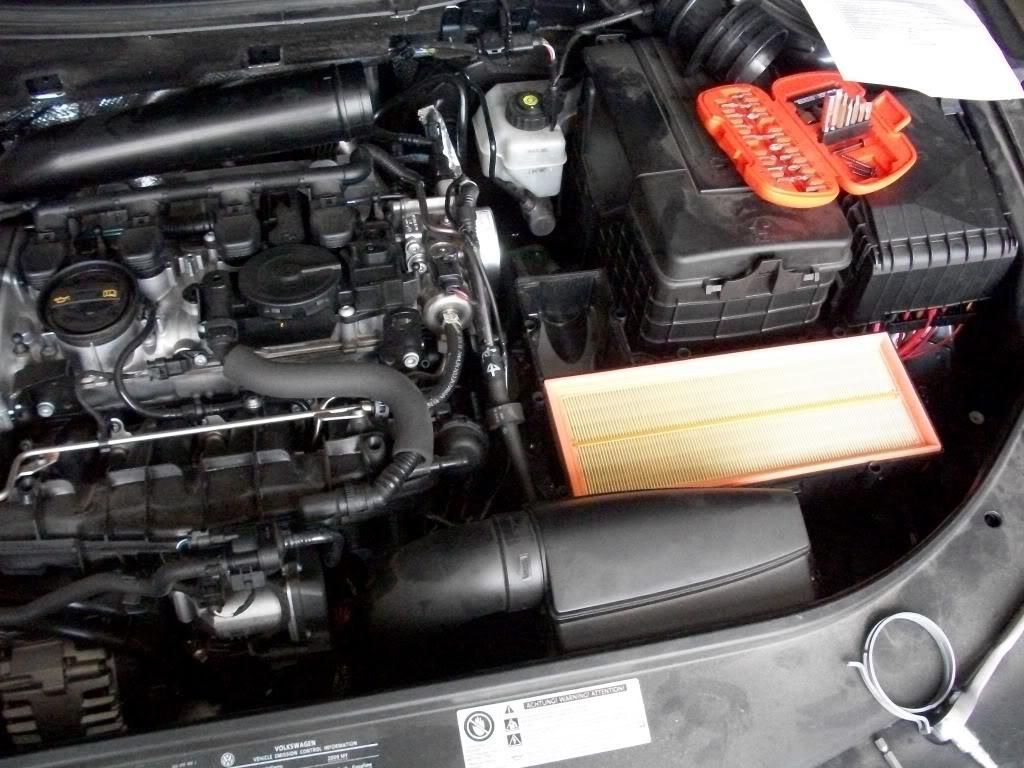
Jack the car up and for safety, I put a jack stand underneith just in case. Remove the 6 star nuts and squeeze the K&N filter up to fit the end of the bear piping. Take the screw out of the fog light grill, and pull the grill out. Tighten the screw piping holder on the K&N filter, and you're good. Reinstall the cover, and place screws back into place. Reinstall fog light cover (or dremel out the fog light cover to allow for air flow, you're call, I did this, but it turned out not so pretty.) There will be a left over pipe that looks important (this drove me nuts!) At first I thought it was supposed to install into the massive inlet, but nope! it is actually a hose that was attached to the bottom of the OEM air intake box to allow for moisture runoff! You will know it when you see it. It has a blue flap valve at the other end. (I spent 2 hours! trying to figure out where this went!)
Step 6
You can now fasten the stage 2 piping down to the existing nut receiver, you'll see the piping holder extends to it perfectly!
Check all your screws to ensure they are tight. And you're done!
Below are pictures I took along the way!