You must be logged in to rate content!
4 minute read
Lower Chrome Grill install – Phaeton
Compliments of MichaelGa @ www.vwvortex.com
Today I took a shot at installing the lower grill update from the 2008 Facelift. It was pretty simple.
First step was to clean the lower bumper and I used paint cleaning clay. Really takes off all the grime, tar that builds up. Made sure the surface was silky smooth and clean. I used automotive double sided tape by 3M to secure it. Here are the parts.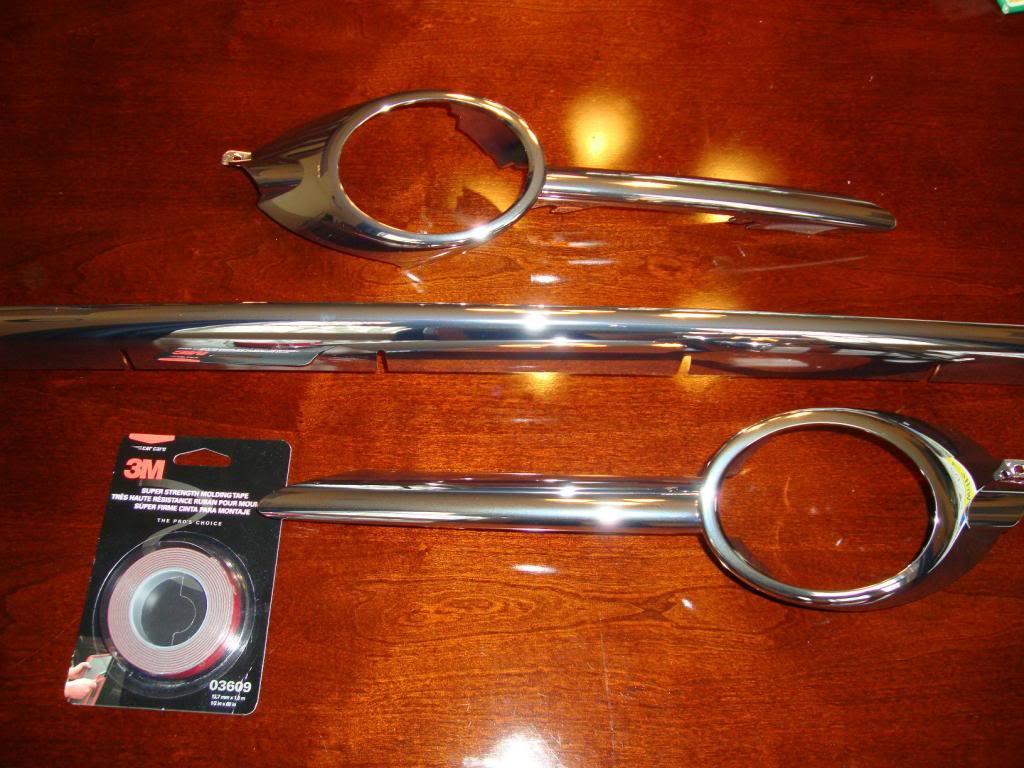
The first step is to remove the Philips screw on the corner, it will be easier to unsnap the tabs. Besides the screw, there are 3 tabs that hold the entire piece in place.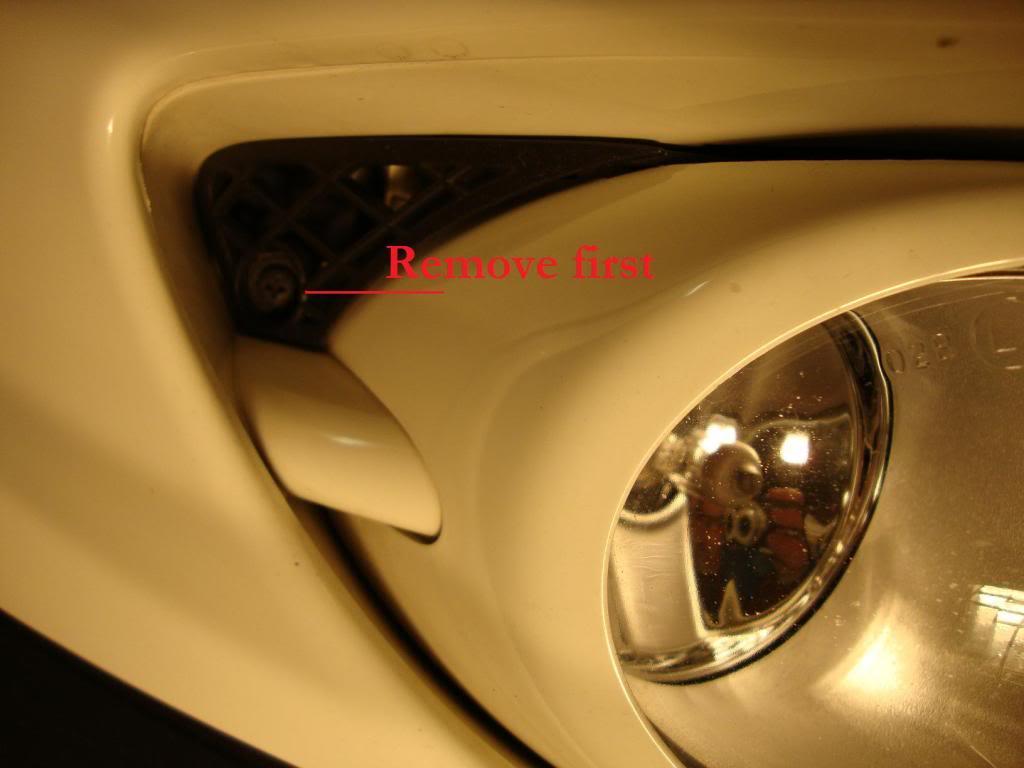
Then push on tabs A, there are two of them and pull outward. You can't remove it all the way without now pushing in tab B. Best to do this with a screw driver. Insert through the black mesh and push on it slightly. The entire unit should now pop out.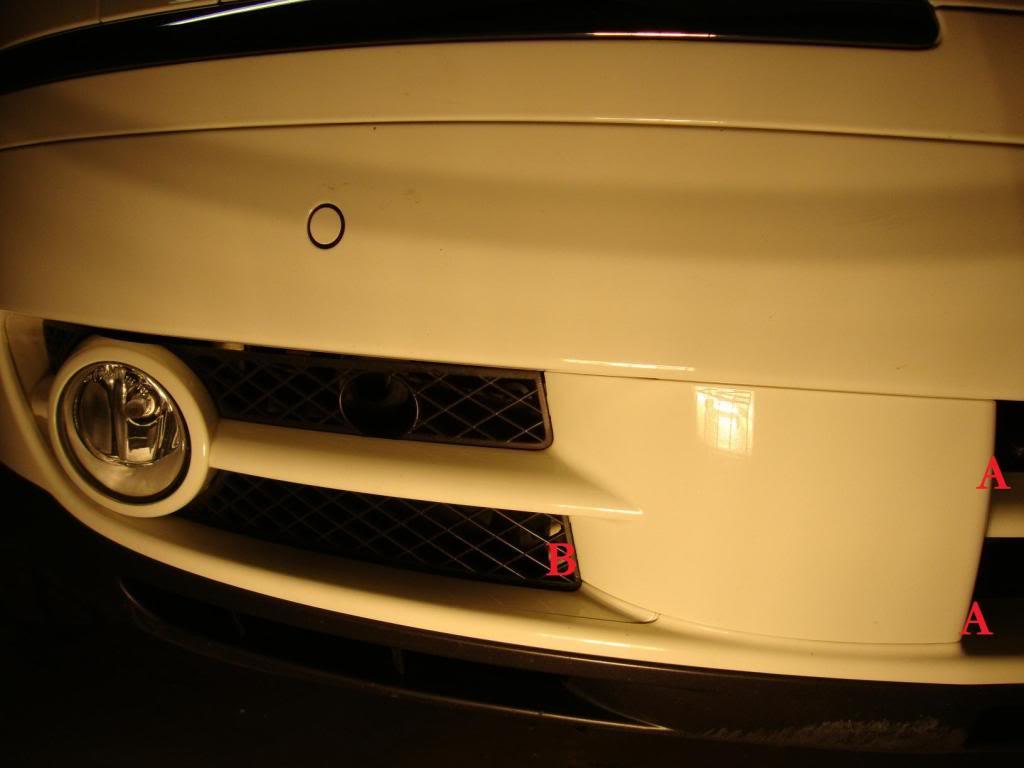
Here is another view of tabs A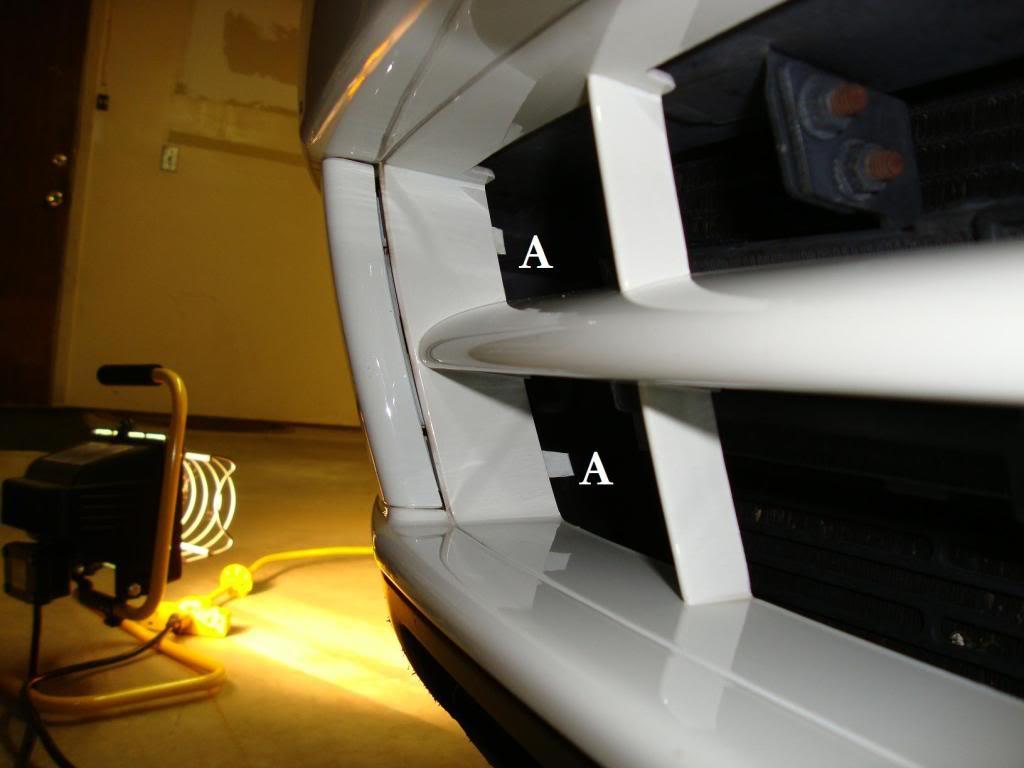
The unit removed. You do have to remove the black mesh to complete the job. More clips to unsnap but these are easy. You'll have to snap this back into place once the chrome part is on.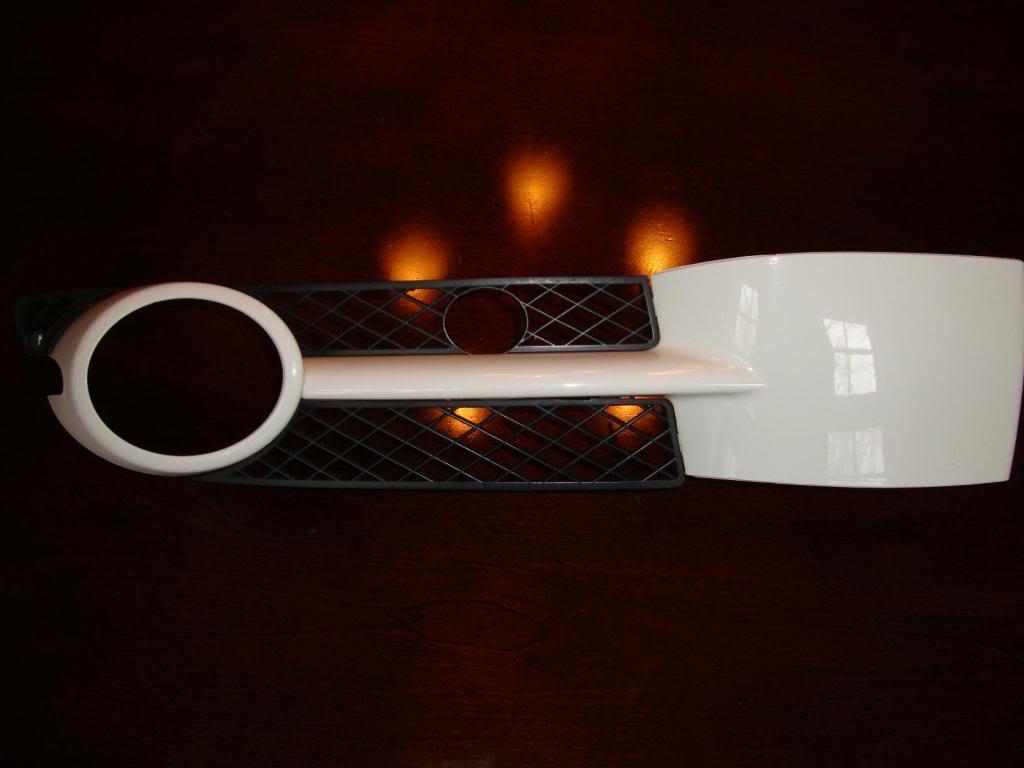
This is what is looks like from behind and the 3 long tabs
This was the most painful part. You have to cut away the fog light part from the rest of the lower grill. You have now reach the point of no return! This must be done in order for the chrome part to fit. It won't just fit over the original housing, it must be discarded.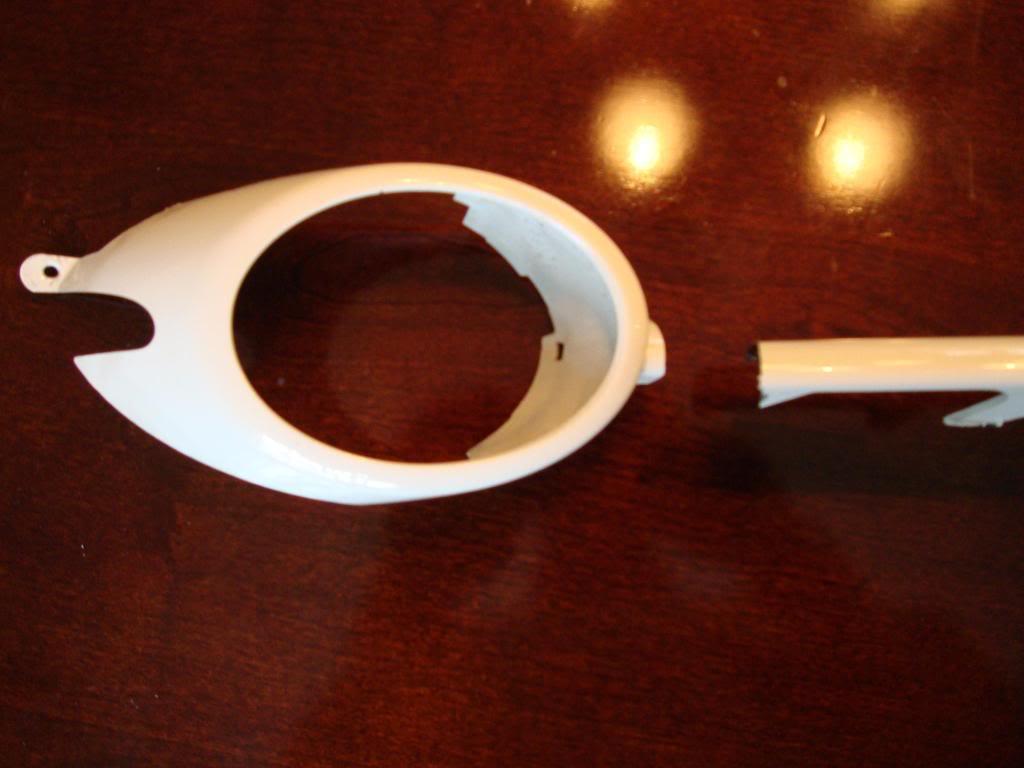
Now to install. This is the center piece. I used 3 strips of the tape.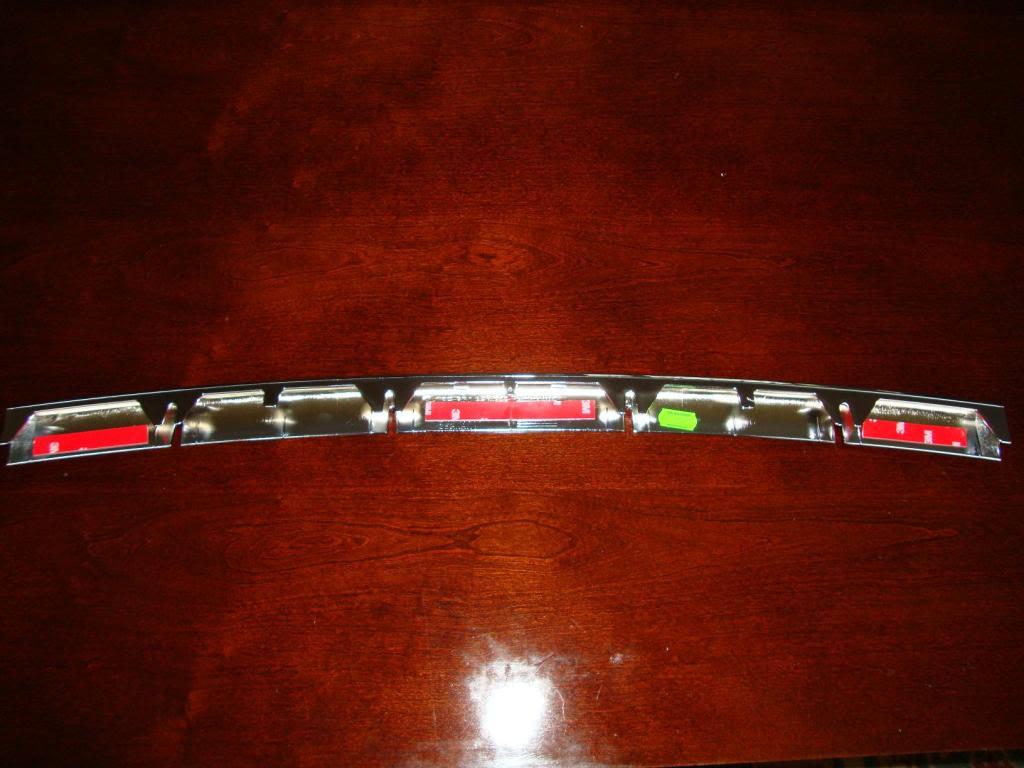
The finished product. For this part I only used 2 strips of tape. Don't forget to replace the screw. You're done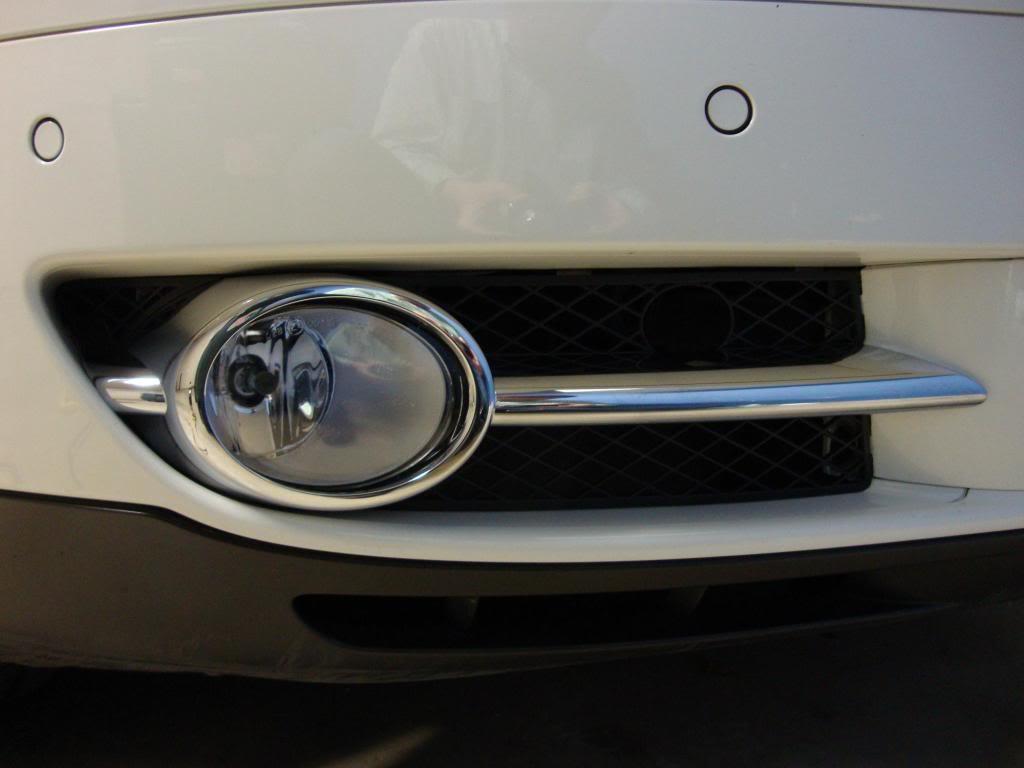
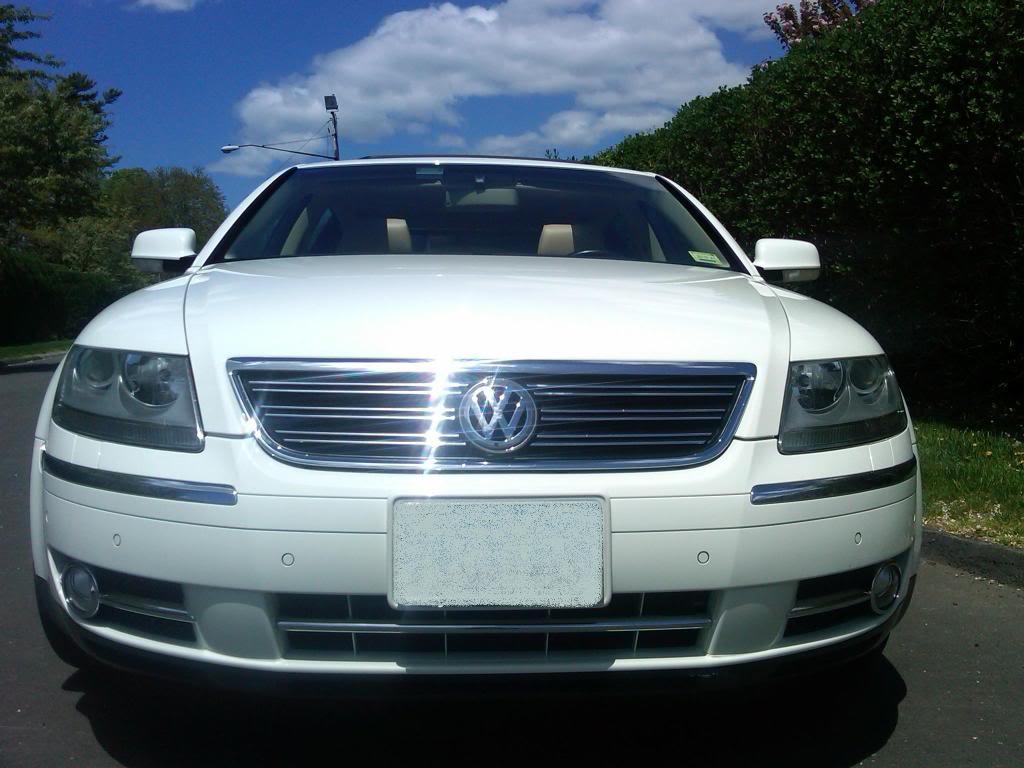
The corners took about 15 minutes to do. The middle part about 2 minutes. I would say this was a pretty easy upgrade and gives the Phaeton a nice touch, looks especially nice on darker colors I think, but looks good on any!