You must be logged in to rate content!
10 minute read
Replacing A/C evaporator and expansion valve - Tech Note awaits!
Compliments of bigtavo @ vwvortex.com
5-17-2009
A few weeks back I took my car to an A/C specialist to try and get my A/C working again.
The good news was that the compressor is fine. The bad news, was that the evaporator was leaking badly and would need to be replaced. He figured that while your at it you might as well change the expansion valve and drier. His estimate to do the work was $1700 . He based the bulk of his quote on the amount of labor to remove the dash and heater box which he estimated at 8-10 hours plus parts. That wasn't going to happen, so I asked the question "Was it time to bag the A/C?" The consensus was no, the job was not that bad and with a little help (I always need help!) it could be tackled in an afternoon. So thanks to Timbo, Advanced Auto Parts (with his discount) and German Auto Parts, I was able to gather all new parts (Evaporator core, expansion valve, drier, recharge kit and the all important R134a o-ring kit from GAP, all for under $200. Well today was the day and thanks to Paul (sciroccos4life), we went at it.
First things first, we consulted Bentley and found no real help doing the job. In fact, senor Bentley spends virtually no ink or trees on the A/C system. It did discuss how to remove the heater core which at least gave us a look at the job of getting at the heater box. Once we set out, our goal was to to get the heater box out without removing the dash.
So, on with the show....
Time to start removing stuff.
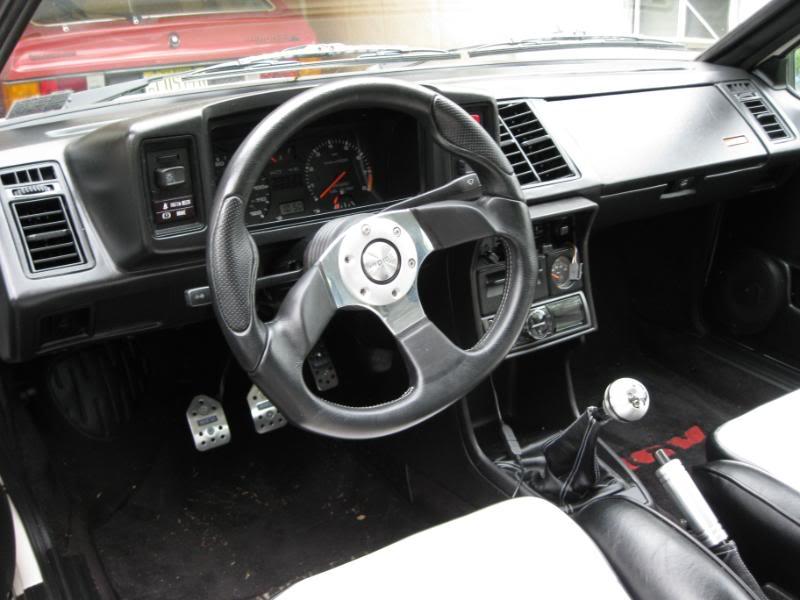
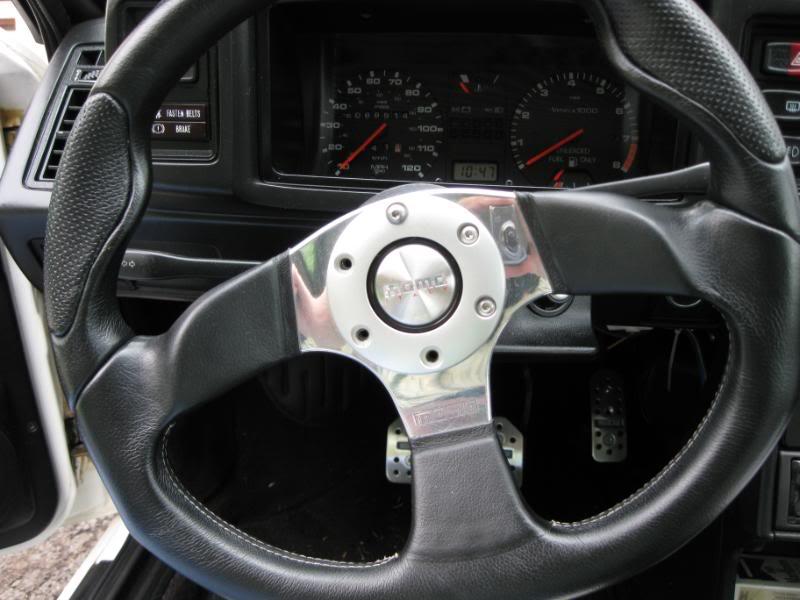
Steering wheel was easy, just six hexes
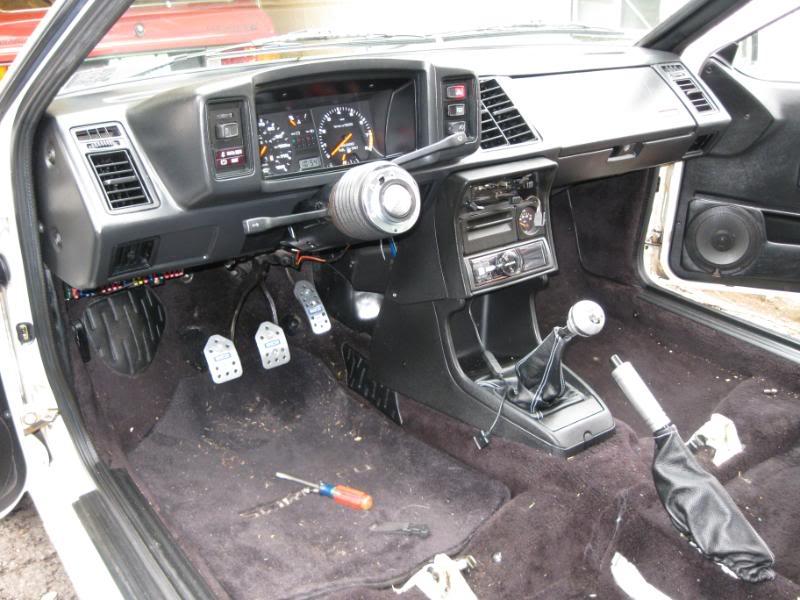
With the front seats out and no wheel
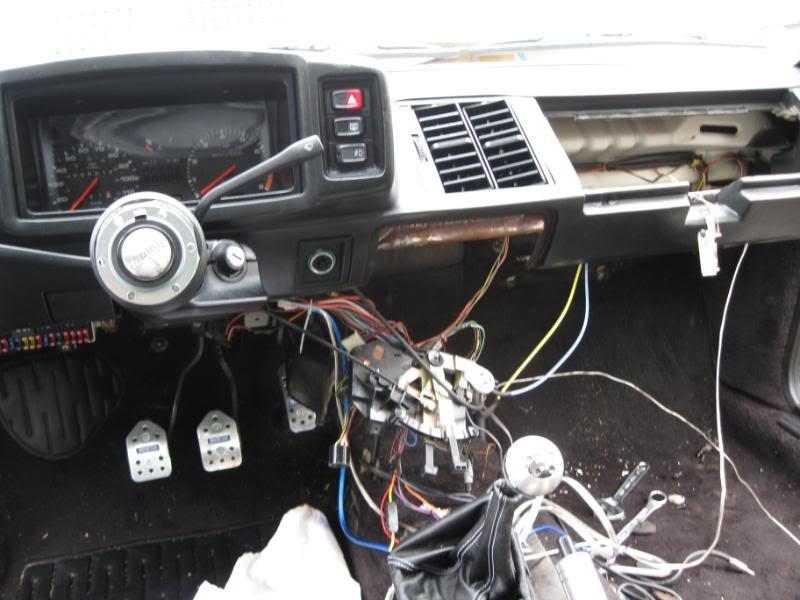
After pulling the radio and center console you can see the offending heater box tucked in the middle, under the dash.
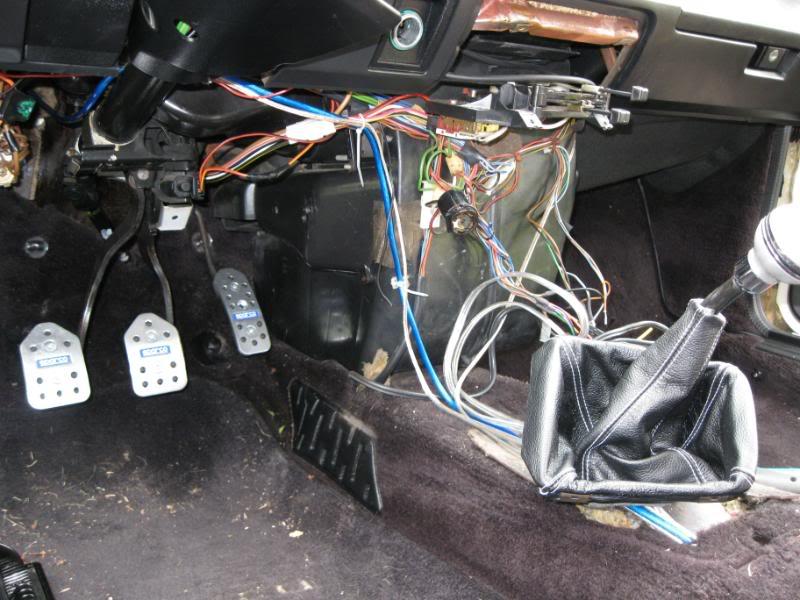
Next on the driver's side we needed to disconnect the two hoses that connect the heater core to the cooling system. The kind engineers at VW felt it was necessary to fish the hoses through the cover instead of just a cutout. PITA!
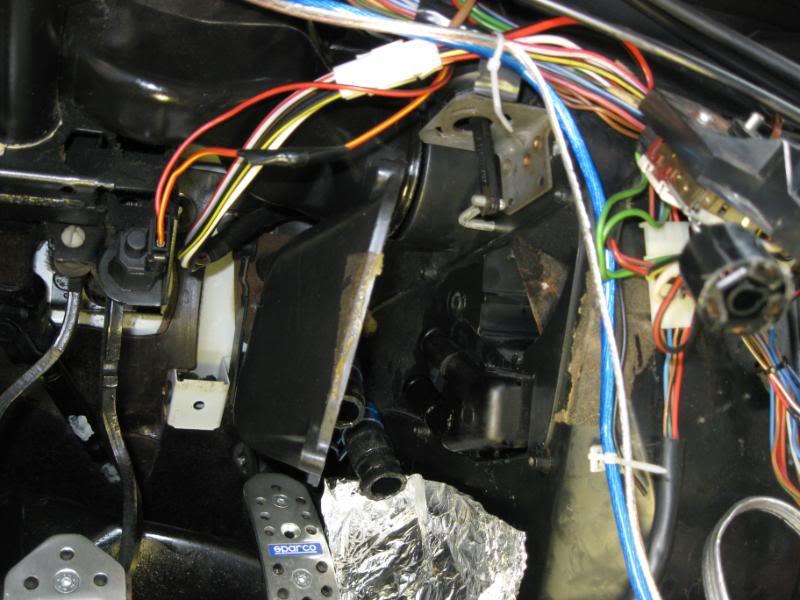
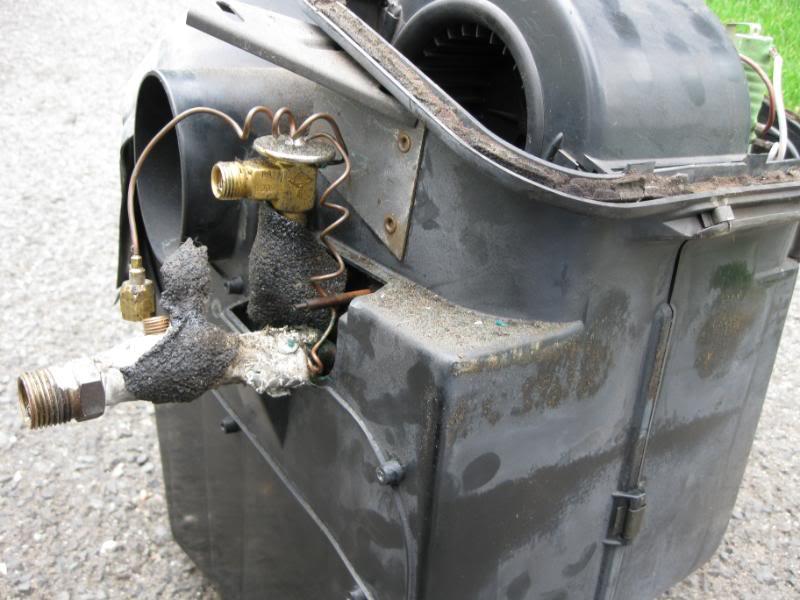
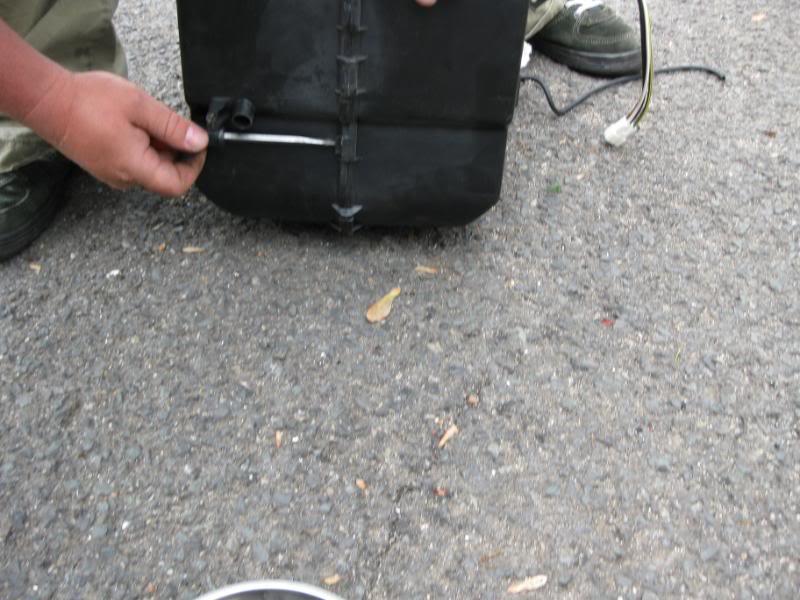
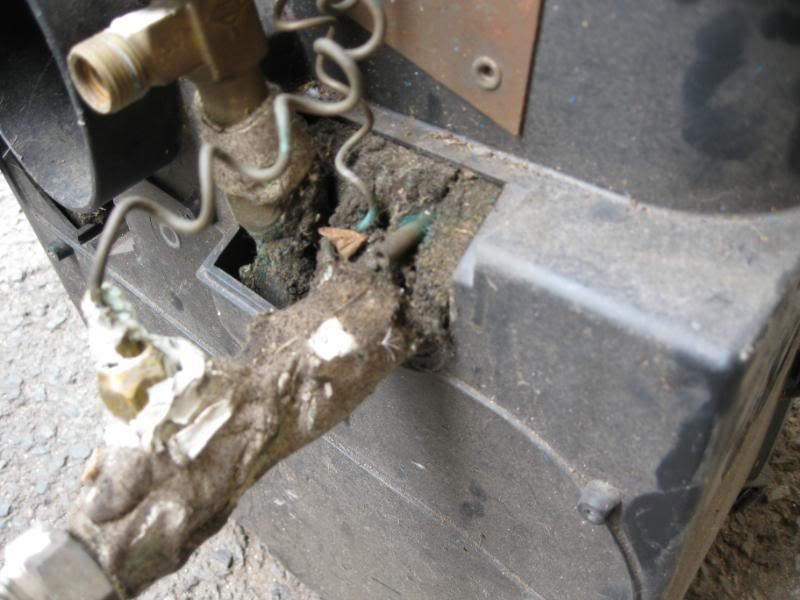
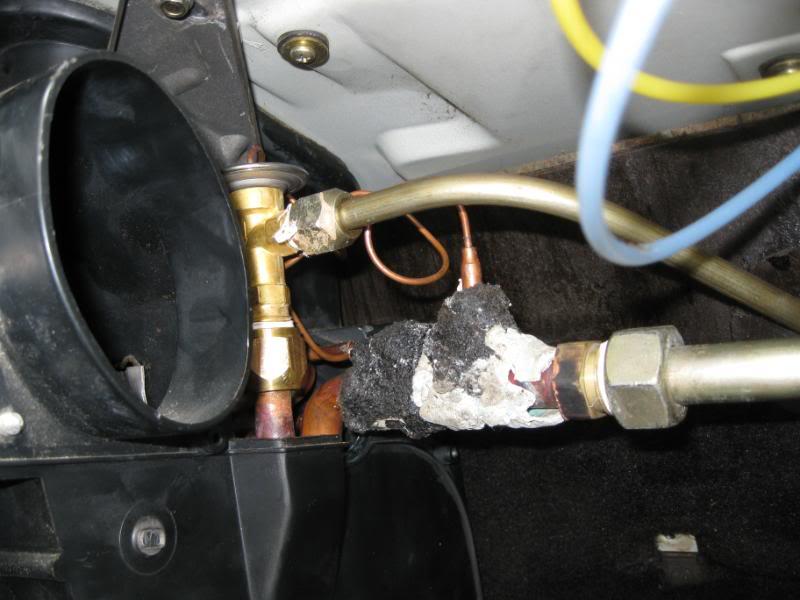
Here you can see the lines that connect the evaporator (inside the heater box) to the A/C system
After getting the glove box out of the way it makes getting at the mounting points on the passenger side much easier.
Lines are now disconnected and the rubber band that seals the heater box to the center vents has been undone.
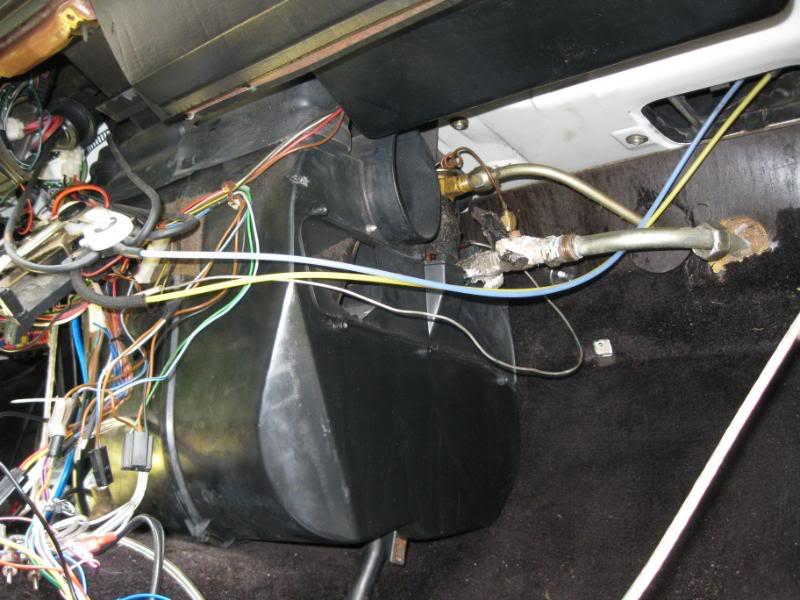
Warning missing pictures! There are two bolts (one on each side) under the dash that need to be removed that hold the heater box to the frame. You need to disconnect the condensation drain and 4 vacuum lines to get the climate control unit out of the way.
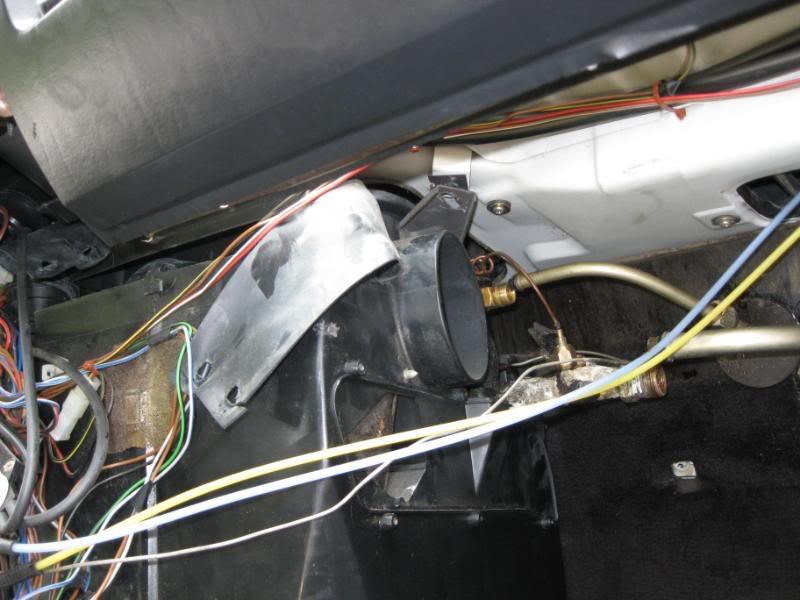
Now the heater box, more specifically the blower cover is tucked up pretty far under the dash, which is why they tell you that you need to remove the dash. We REALLY didn't want to have to go there. So we removed the 4 screws from the outside of the dash (two on each side) that you can see when the doors are opened figuring that maybe we could lift the dash just enough to buy us the room needed to slide that puppy out. We were risking breaking the clips that run along the front of the dash just under the windshield. So while I lifted up the dash, Paul was able wrestled the heater box out!
Success!!!
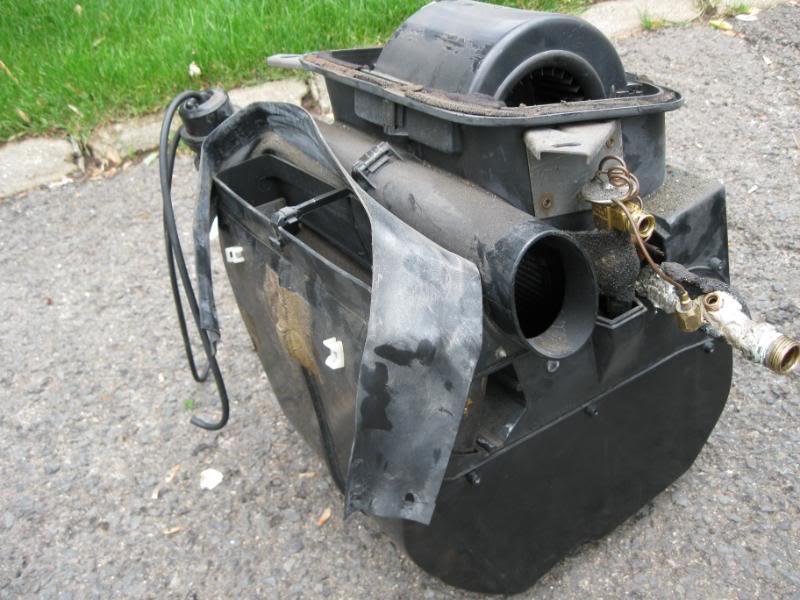
The heater box out of the car.
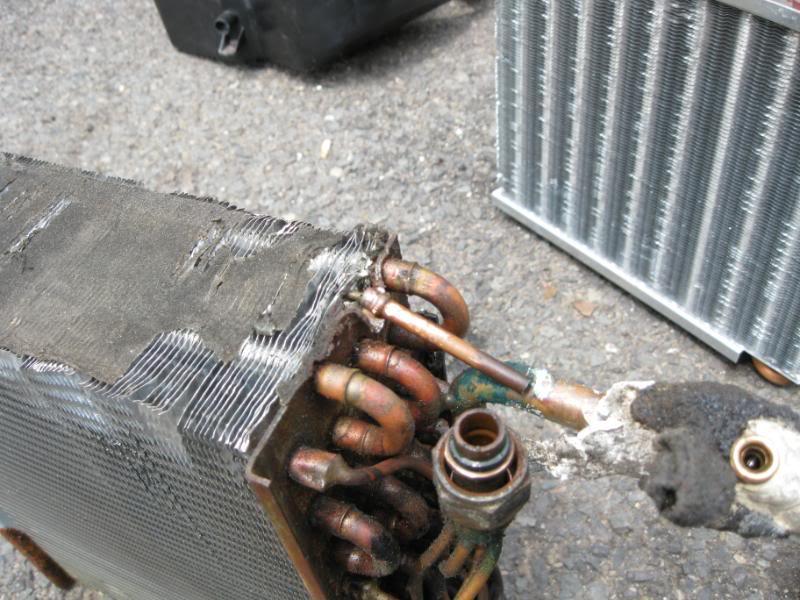
You can see the expansion valve sitting on top of the lines of the evaporator.
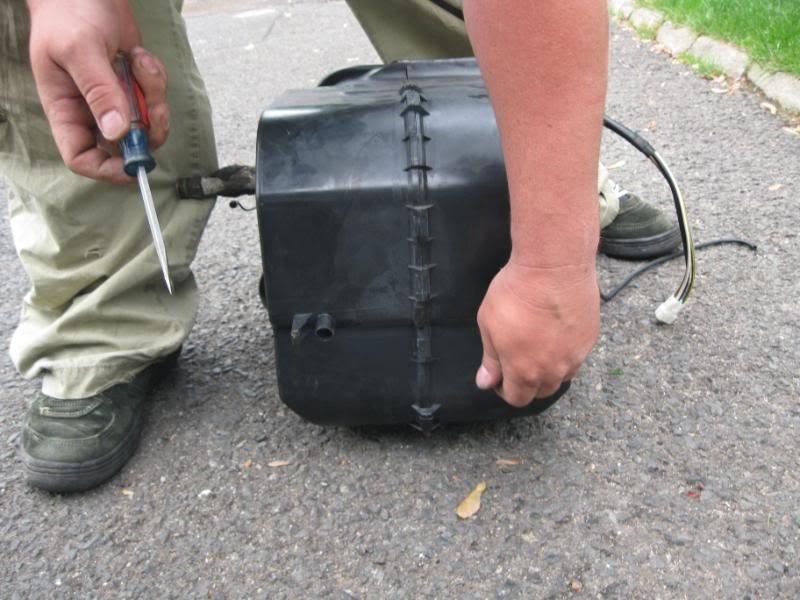
To get at the evaporator there are a series of clips that run all the way around the heater box that need to be removed. You also need to pull the cover off the blower. (not pictured - FAIL)
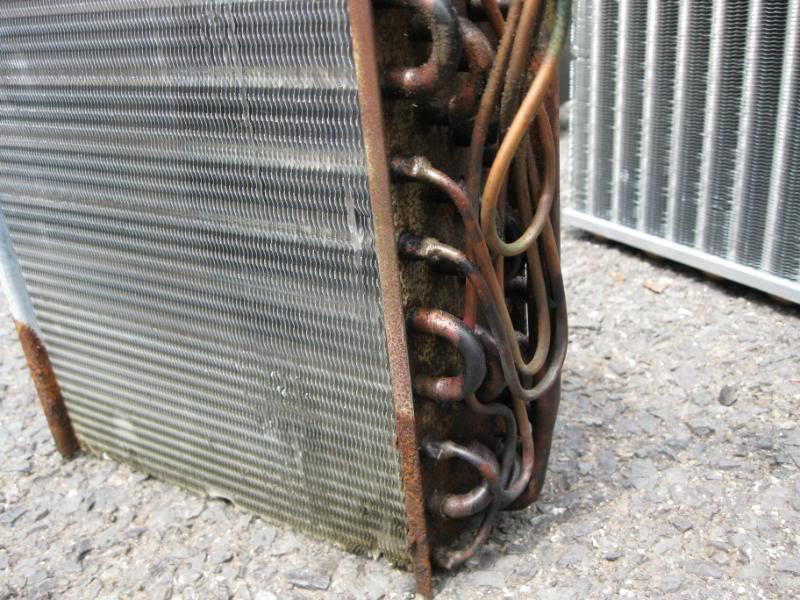
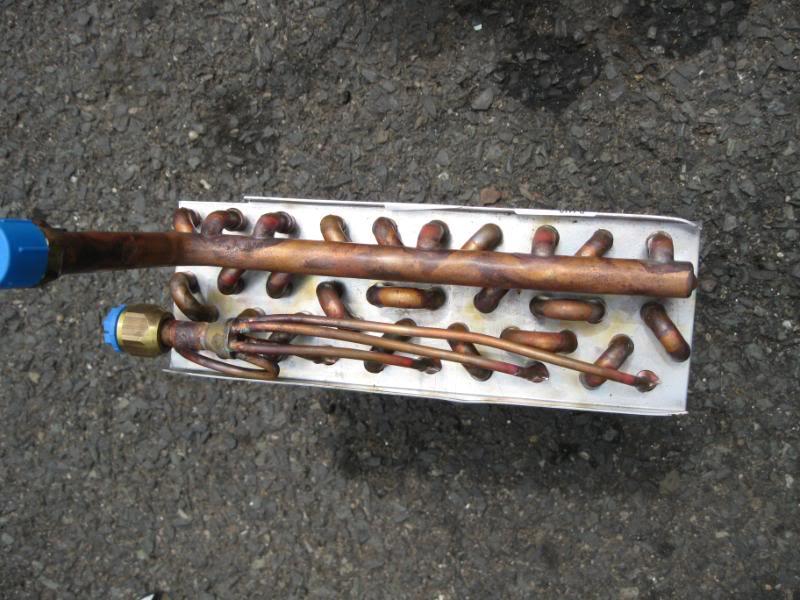
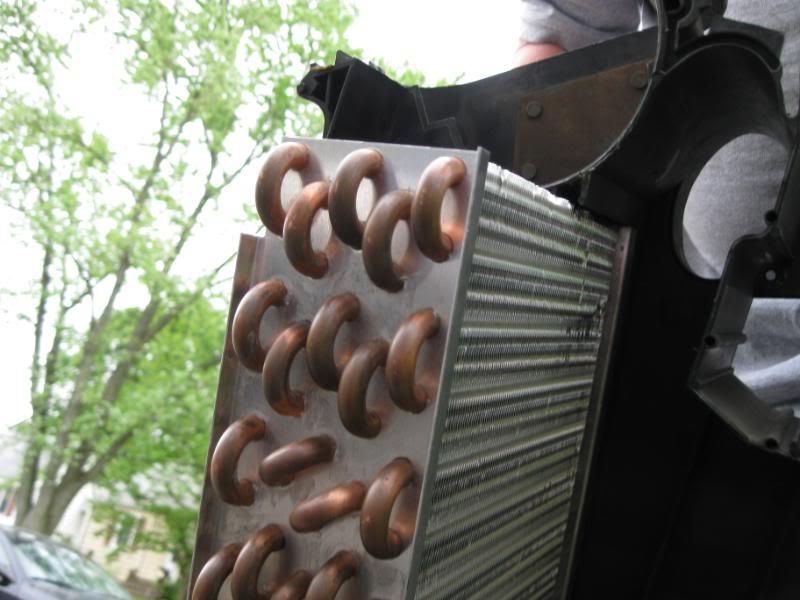
Once the box is apart you remove the evaporator. Here it is. (New one standing nearby, hurling taunts)
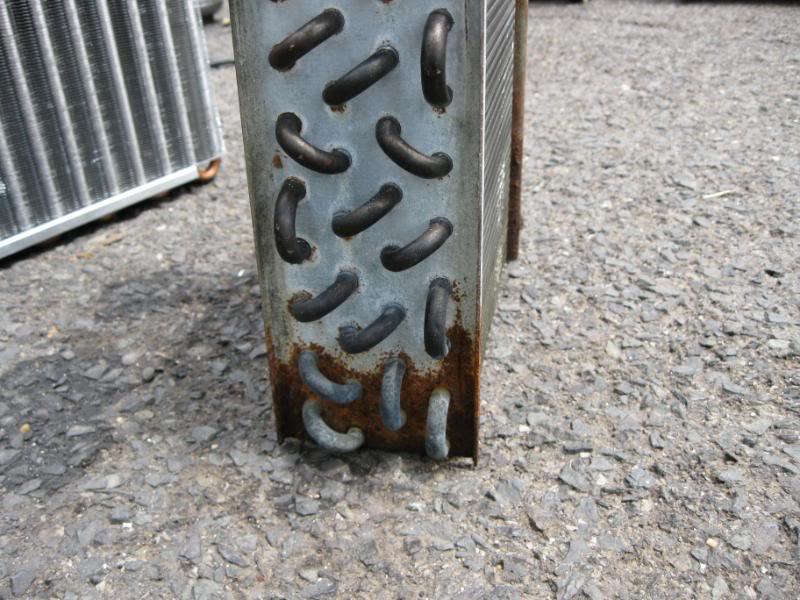
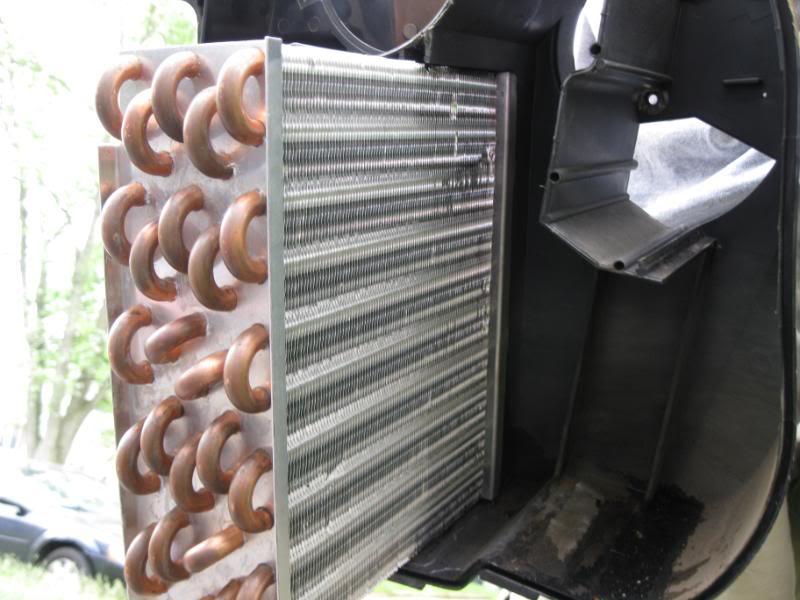
And the shiny new one.
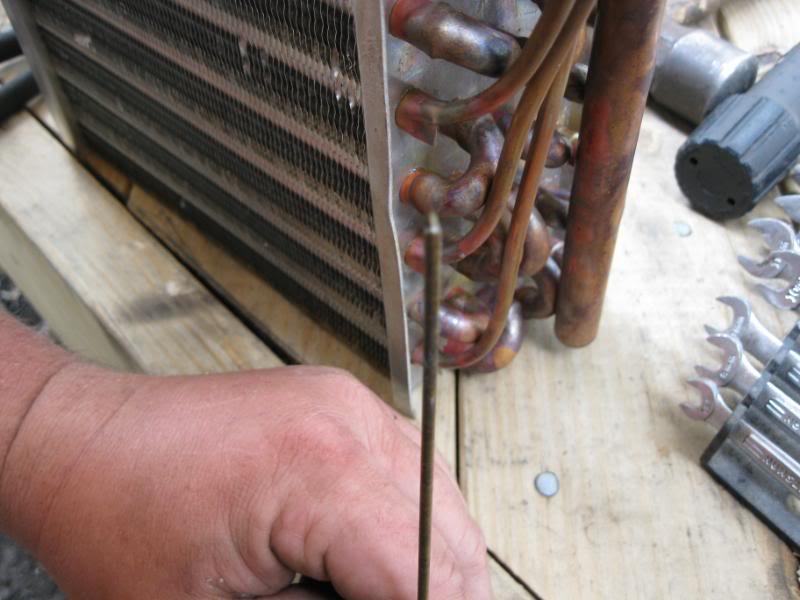
Now we thought we had a problem. The old evaporator had a small tube that ran 3/4 of the way through the fins at the top, right next to the expansion valve.
This tube is where a stiff wire thermostat goes. The new one has no such tube. . I was concerned that there might be two evaporator versions, one with a thermostat and one without. So being that this is a Scirocco and there is help just a phone call away, I called sciroccojim to have him check it out. Nope, there is only one and it does not come with this tube. Now what? Never fear, Paul to the rescue. With a little ingenuity Paul figured he could remove the tube from the old unit, drill a hole in the new one for the outer tube. Worked like a charm.

Next we decided we could push a sharpen wire coat hanger (the out of focus thing) through the fins (they are little more than extra thick foil) to make way for the lead.
With that solved we went about putting it all back together.
EVERY FITTING GETS PLUMBER'S TAPE (where applicable), NEW O-RINGS AND LUBE!!!
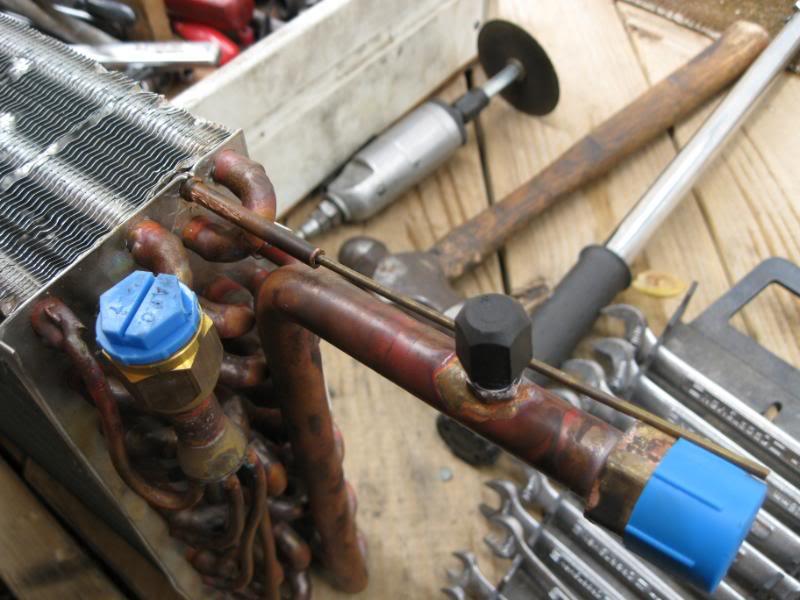
Next came the expansion valve.
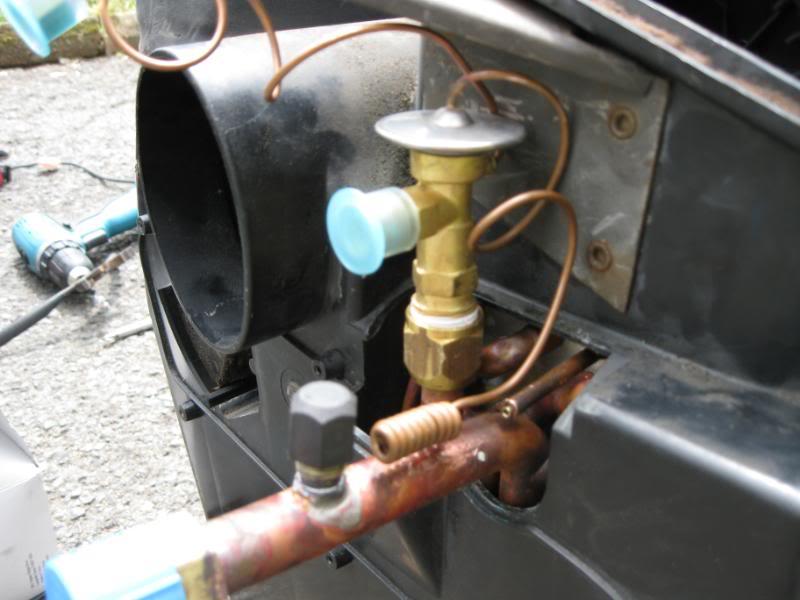
The new evaporator has larger tubing so the clip that hold the sensor for the expansion valve needed some extra help.

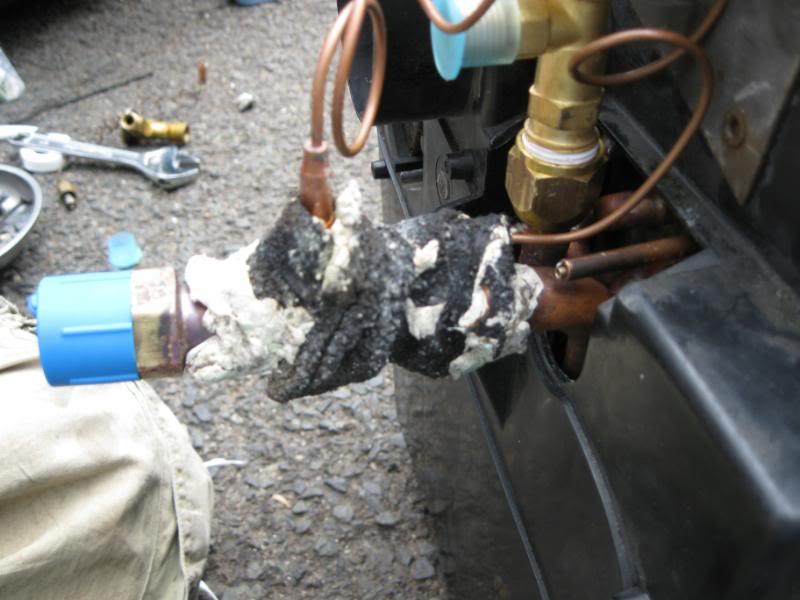
Now we reused the putty from the old unit.
The heater box went back in fairly easy and the connections were handled like the expansion valve - new o-rings, lube and plumber's tape.

We finished reconnecting everything and buttoned it back up. Now in an effort for full disclosure, we did not charge the system. We realized that we did not have any A/C lubricant and even if we did, we didn't know how much to use. Apparently you need a certain amount of lube for each new component to the system. I figure that this will be left for the professional.
The whole job took about 4 hours. While we had things apart we cleaned up the wiring a little and even ran my iPod cable into the glove box. Many thanks to Paul for doing most of the work (again). I should be able to get the car to the A/C shop by the end of the week and hopefully I will report that there is a cold front (and back) in the Unicorn once again.
Thanks for playing.
5-18-2009
The thing is, the car had the R134a conversion done about two years ago so there isn't any R12 (or R134a for that matter) in the system. I will look into the conversion oil to see if it gives me what I need to do it myself.
Oh, I still need to do the drier. We didn't get around to it cause we wanted to grab some grub and drive Raul's 2.0l turbo beast!.
7-30-2010
The A/C blow nice and cold. Worth the effort and Paul's trouble!![]()
7-4-2011
R-134a and I did not charge the system. I took it to a shop that specialized in A/C. I didn't want to mess something up after putting in the effort to replace the parts.