You must be logged in to rate content!
4 minute read

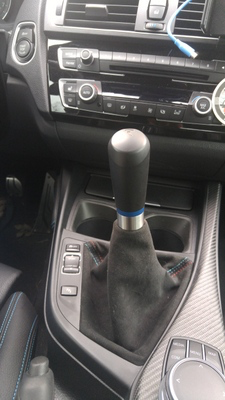
BMW 2-series (F22) and M2 (F87) RedlineGoods Shift Boot Installation
Instructions are for cars with Manual transmission only. No shift boot present on Automatic/DCT equipped cars.
NOTE: Car used in install instructions has aftermarket shift knob installed. The instructions are targeted at those with OEM shift knobs and do not cover the installation of any aftermarket shift knobs.
Materials Needed:
Trim Tool/Flat Head Screwdriver (optional)
Razor Blade or similar
Zip-ties (recommend low profile type)
Contact Cement or other suitable adhesive
Needle nose pliers
Heat gun (optional)
Binder clips or other small clamps
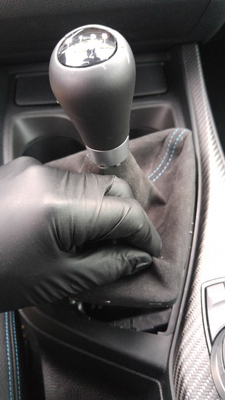
1. Grasp a corner of the shift boot and pull slowly but firmly upward to remove shift boot trim from center console. Alternatively, use plastic trim tool or flat head screwdriver to pry shifter trim up to release clips. Be careful not to damage the center console.
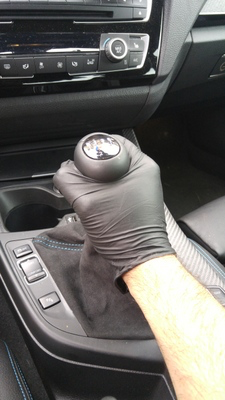
2. Once the shift boot trim is free of the center console, firmly grasp the shift knob and pull upward. It will take a lot of force to pull the shift knob free but it will eventually pull off along with the shift boot and shift boot trim.
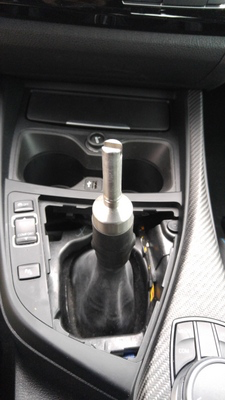
3. You are now left with the bare shifter arm in the center console.
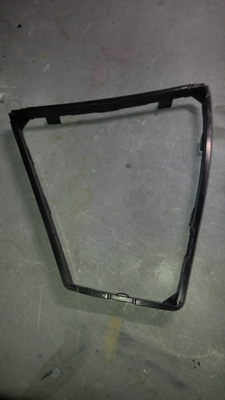
4. Use needle nose pliers or other tool to remove staples that hold OEM shift boot to the shift boot trim. Work carefully and take your time not to damage the trim, it is prone to cracking. After removing the staples carefully pull the shift boot off of the shift boot trim piece. It is held on by some adhesive but will come off relatively easily. A heat gun can make this step a little easier. You will be left with the plain plastic frame when you are done.
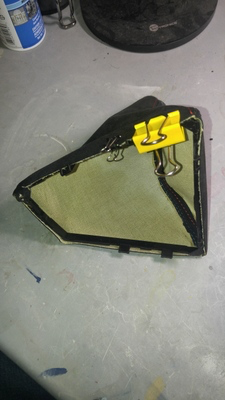
6. Using contact cement or other appropriate adhesive work your way slowly around the shift boot frame and join the frame with the shift boot. The use of binder clips or other small clamps to hold the work pieces together is highly recommended. Some parts of the shift boot may need to be trimmed with a razor blade if they are too long after being glued to the frame. It may also help to cut some relief slits by the plastic frame tabs so that the material can be wrapped around the frame slightly and not interfere with the clip.5. Test fit the new shift boot on the plastic shift boot frame. Look for any areas that may need trimming after attaching the frame to the shift boot.

7. After drying the boot should now be secured the plastic trim piece and is now ready for installation back in the car.
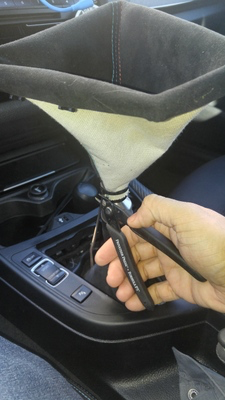
8. Turn the boot inside out and line it up on the shifter arm/shaft. Wrap a zip-tie around the shift boot and shifter shaft directly below where the shift knob will rest. Trim the excess from the zip-tie once positioning and tightening of the zip-tie is complete.
9. Turn the shift boot right side out again and press the shift boot trim into the center console. It should snap securely in place. Adjust the shift boot so that it is sitting the way you would like it.