You must be logged in to rate content!
2 minute(s) of a 219 minute read
6-3-2012
It is official! The 1995 M-Sport will be up for sale on Tues. or Weds. so that I can afford to continue this build in a manner that pleases me!
6-4-2012
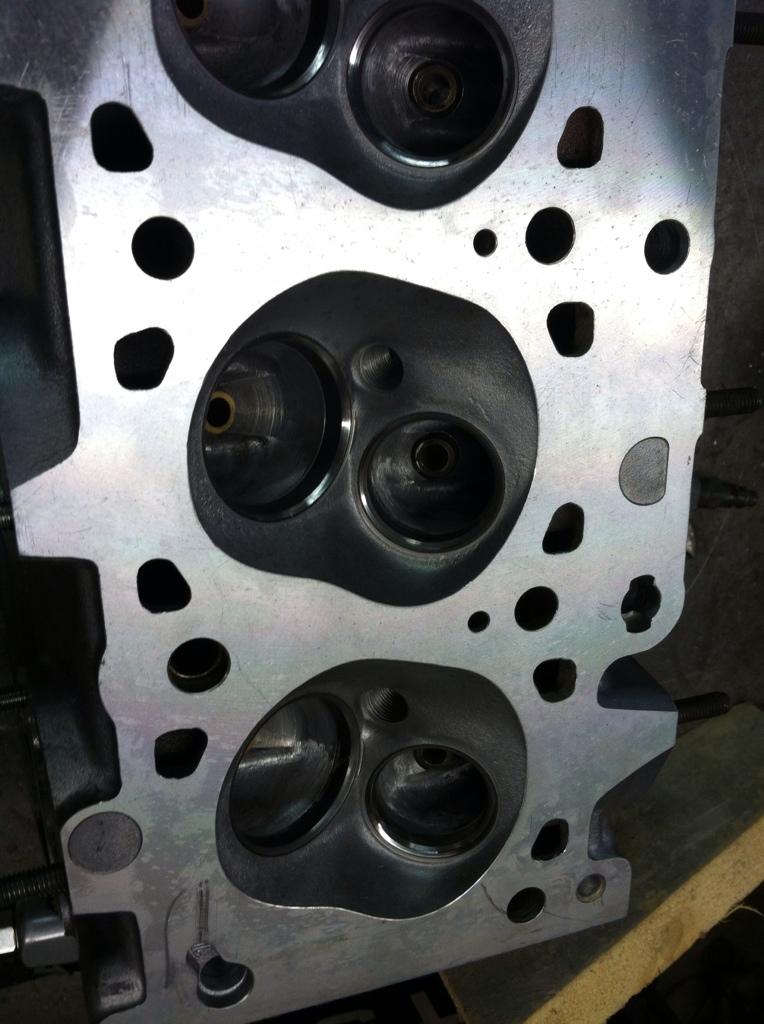
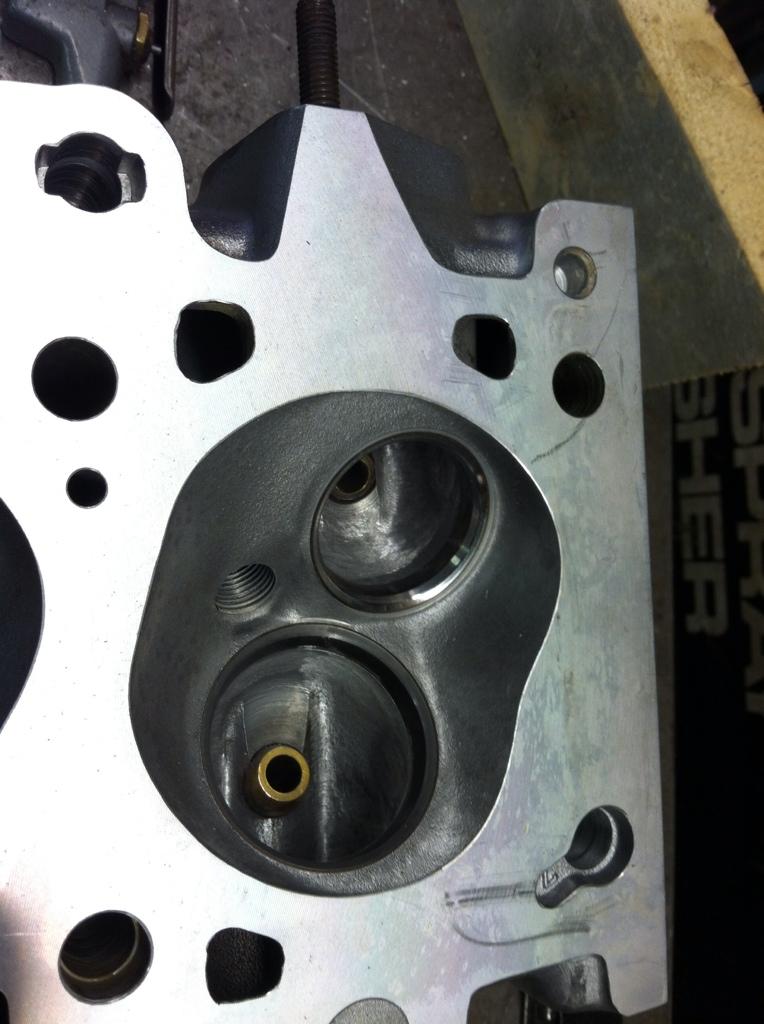
Back to work on the head today.We accomplished the valve job today, 5 angle radial cut. We also smoothed out all the casting imperfections in the intake and exhaust ports of the head. Tomorrow the head will be reassembled and the word "blueprinted" can be applied to the head!! I drop of the crank on Weds to have it turned and once it is done the knife edging and balancing will begin. Also on Weds the block will be preliminarily machined and the correct replacement pistons will be ordered. On to pictures.
Set up

Before Picture
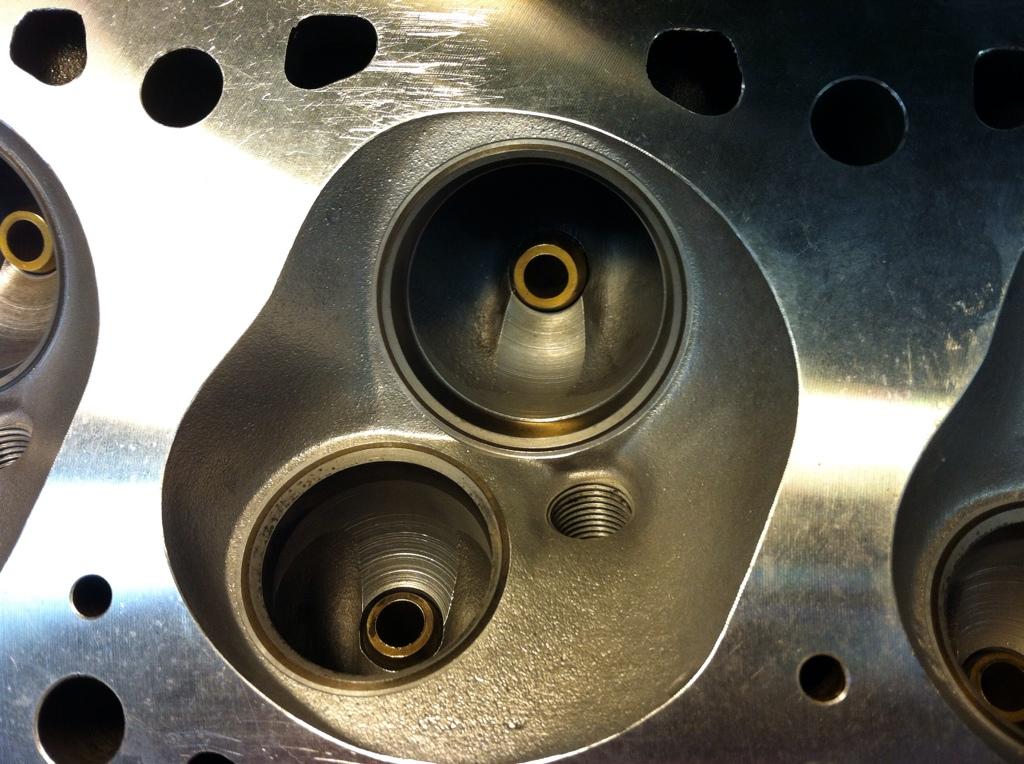
Jewelry
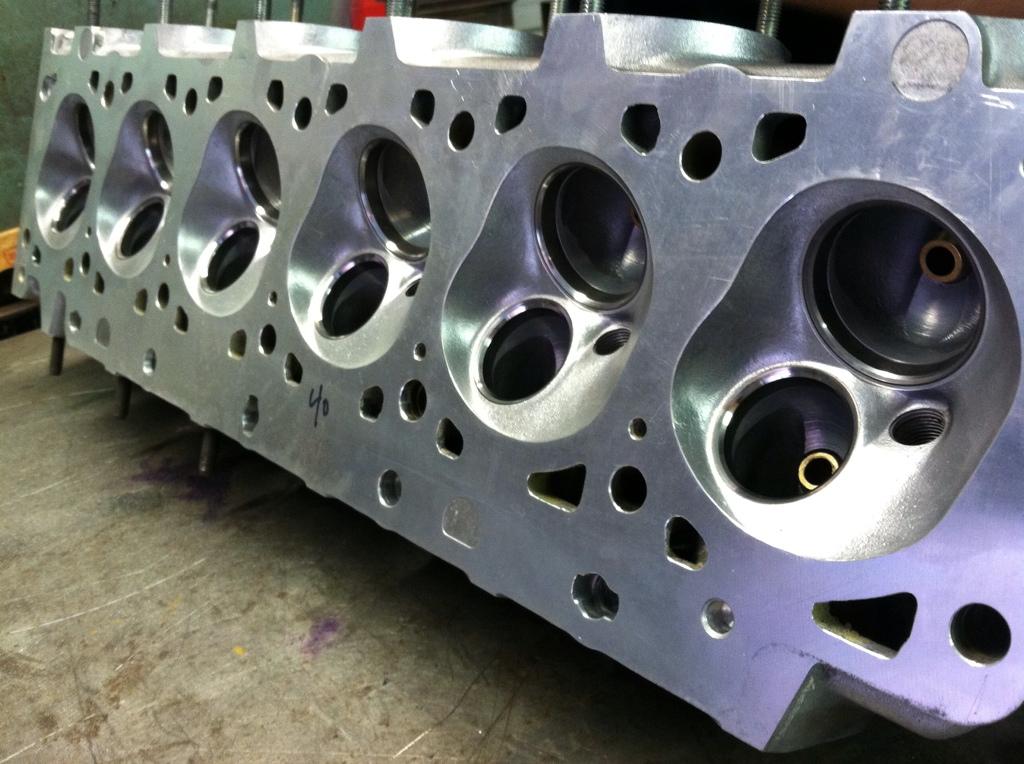
And the smoothing (aka polishing) of the ports

6-6-2012
Thanks! Yeah Turbo = subframe reinforcements!!
And for those of you who haven't seen the Vert that this is going into, here you go.

Nice!
Posted by Diggymart on 5/27/20 @ 3:41:07 PM