You must be logged in to rate content!
7 minute read

DIY: Key Light LED Upgrade
Compliments of JinormusJ @ r3vlimited.com
2-25-2013
So, this is fairly straight forward and an extremely easy upgrade. Most people will be able to figure it out no problem, but I thought just to write up this DIY to relieve anyone's confusion over batteries, what LEDs to use, ETC.
People with the privileged of owning a Lighted BMW key like this one:
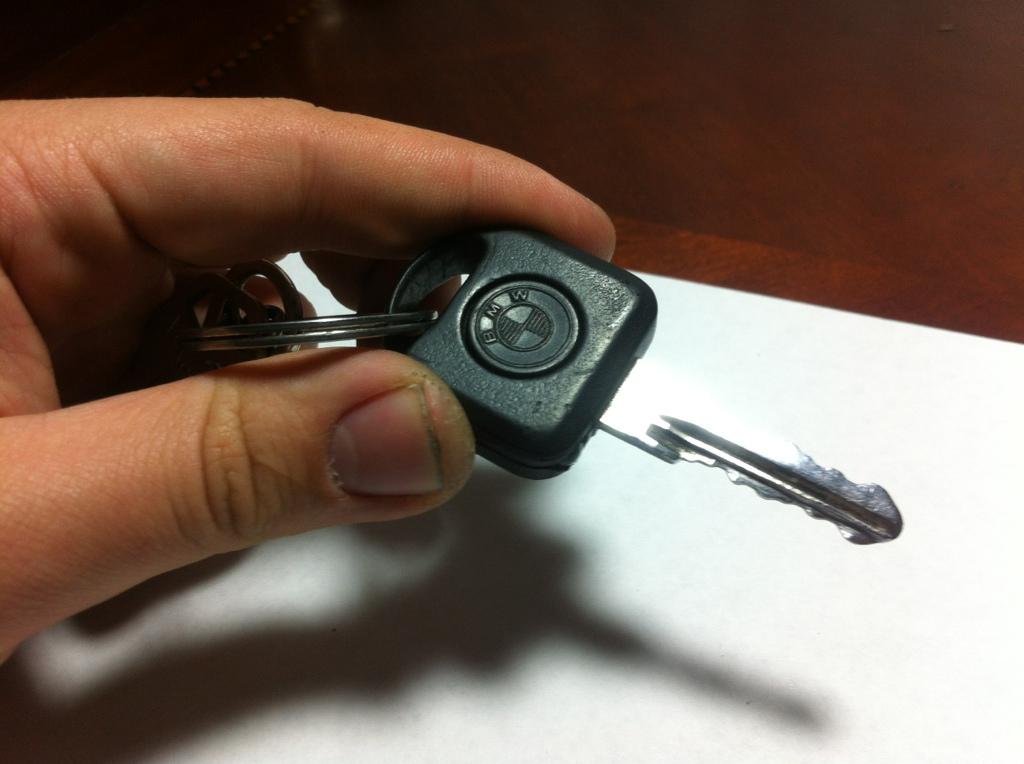
Will quickly find after 25 years, their battery has burnt out or is broken.
Rather than order a new bulb and battery for $20 from BavAuto and wait 3-5 days in shipping, you can easily upgrade the existing system to work on a lighted LED and battery you can easily find for under $10 at your local electronics store (RadioShack, Metro Electric, etc.)
--------------------------------
What you'll need:
--------------------------------
-Shears
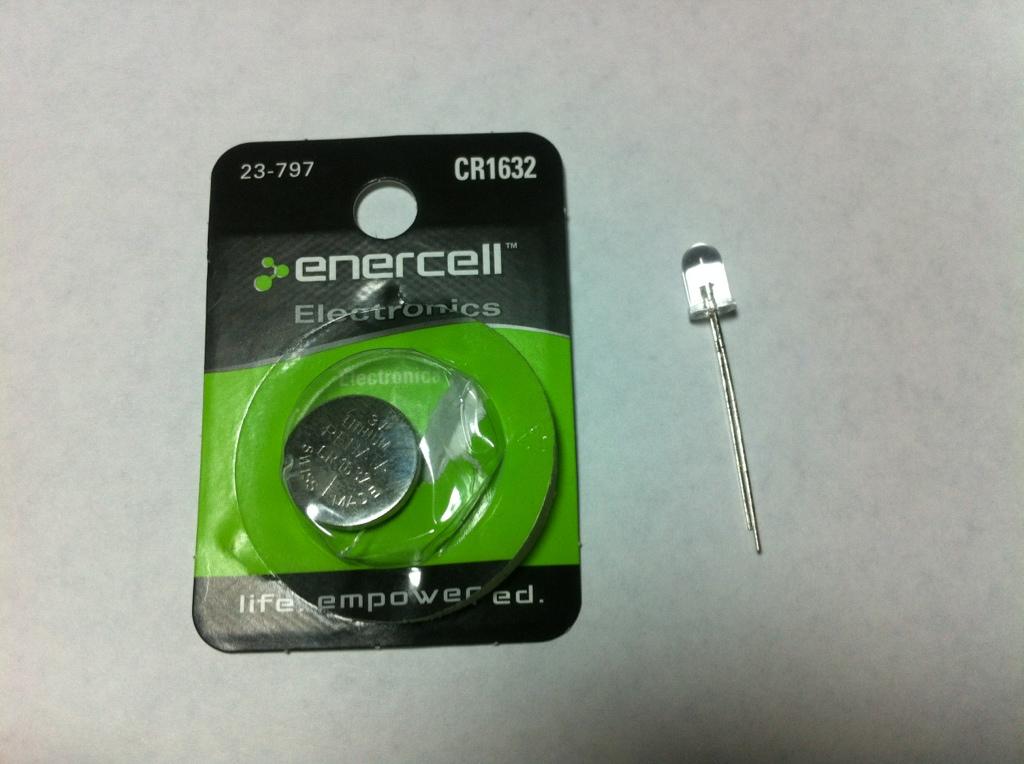
-1 LED Bulb
.. - White, Blue, Green, and Yellow LEDs drop at a higher input (3.2v)
.. - Red LEDs drop at a lower input (1.8v)
-Coin Sized Battery
.. -CR1616 (easier to find; not recommended because of slimmer size)
.. -CR1632 (harder to find; recommended because of larger thickness that matches the OEM battery)
... -These batteries are rated to 3v
-3/64 size Drill bit
-Power Drill
-Fingernails
Let's Get Started:
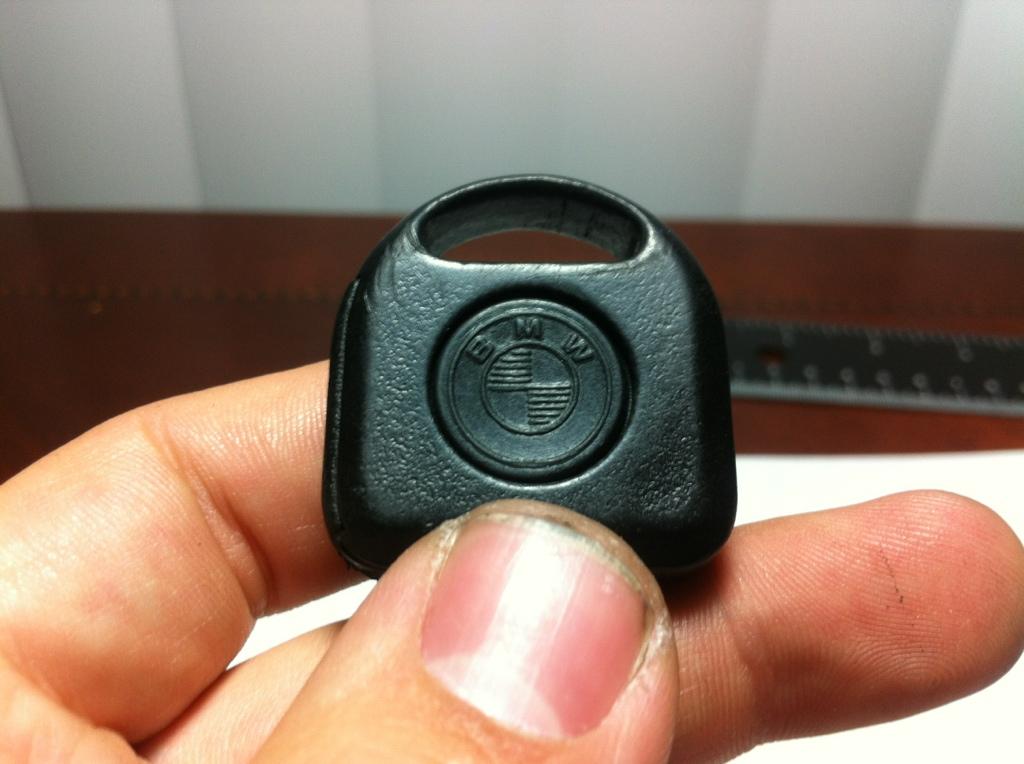
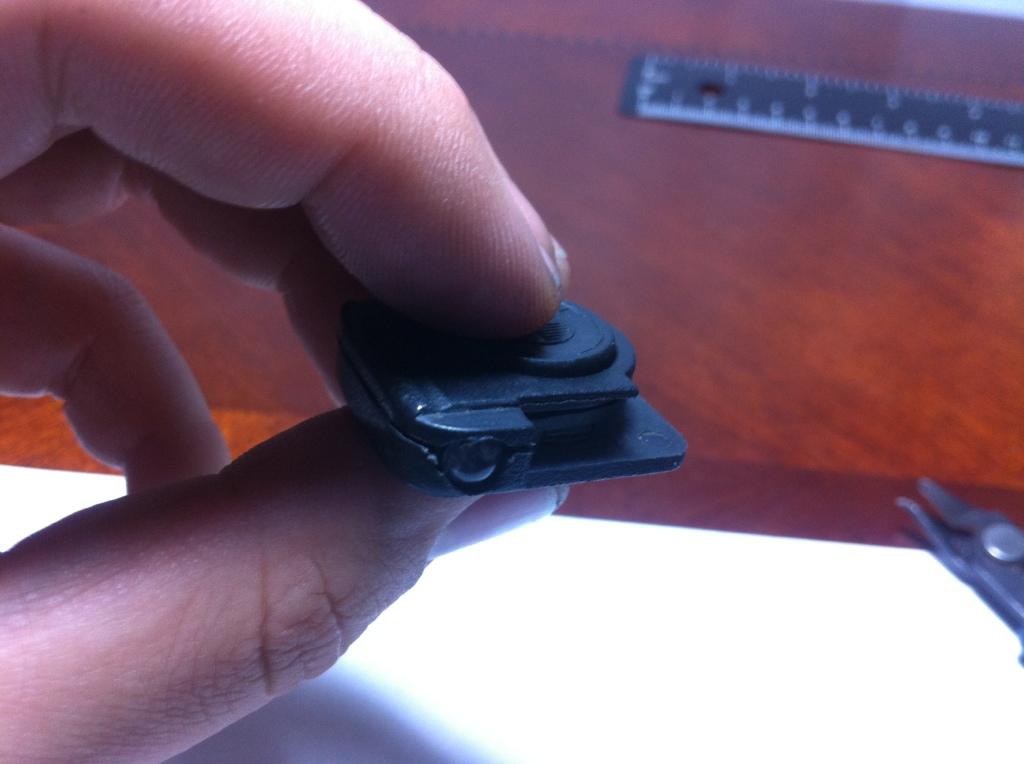
1. Start by opening up the key by pushing the light button roundel in the center and sliding it to the left

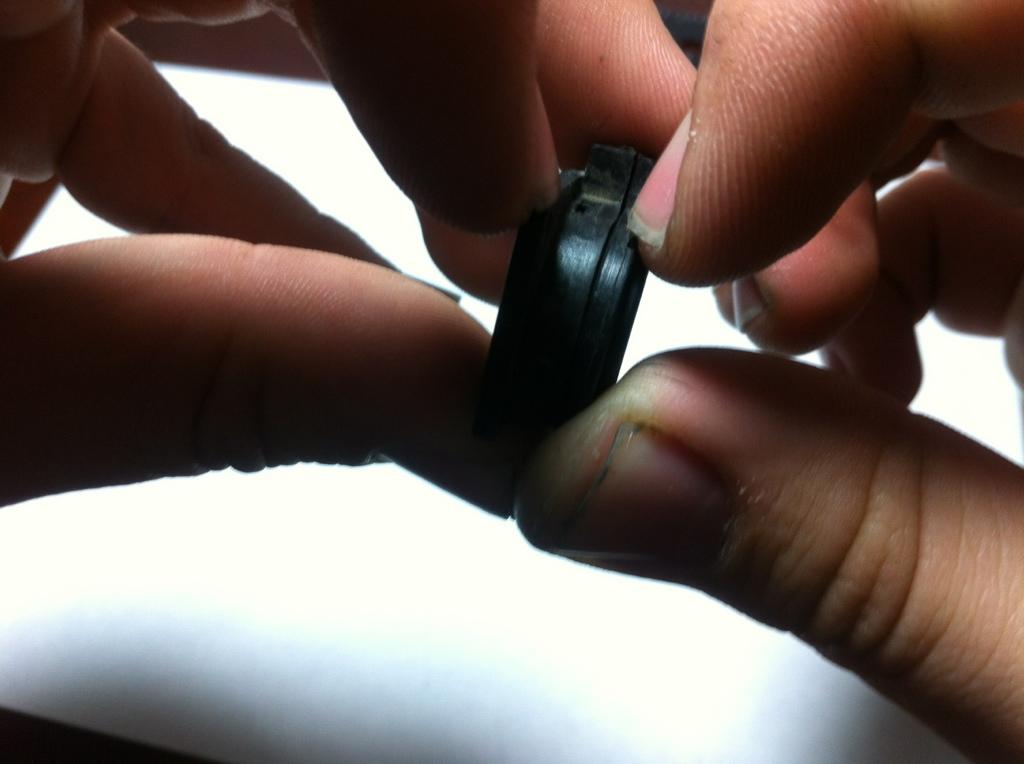
2. Next, you'll want to open up the central unit by gently applying force with your fingernails on the peice
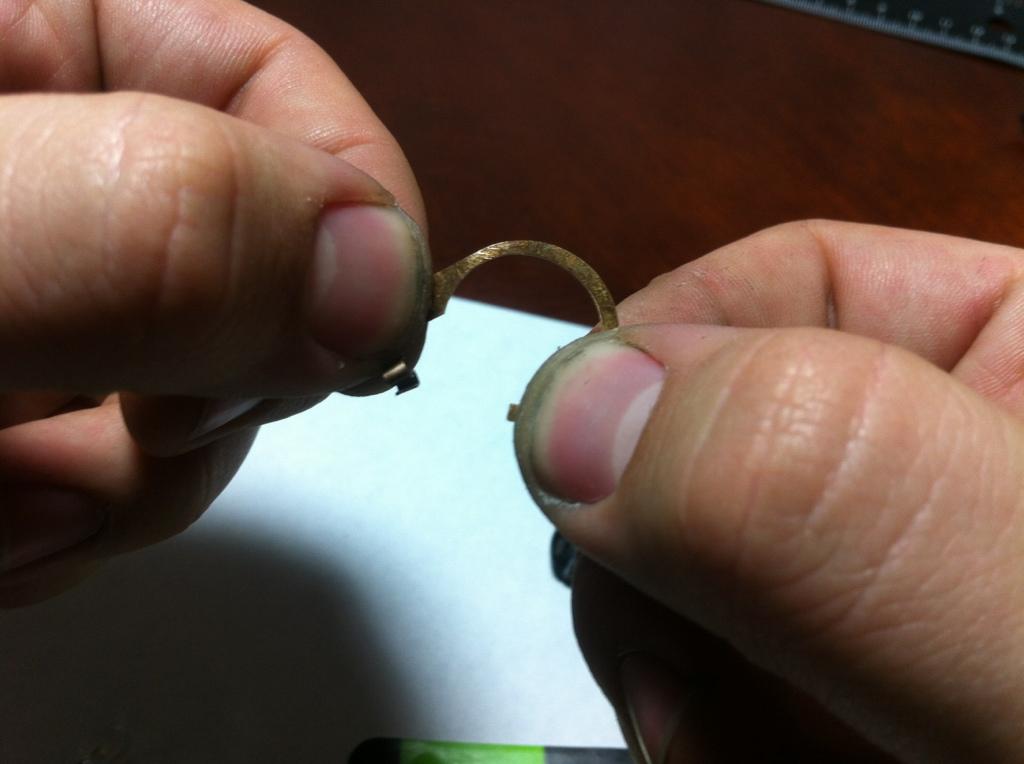
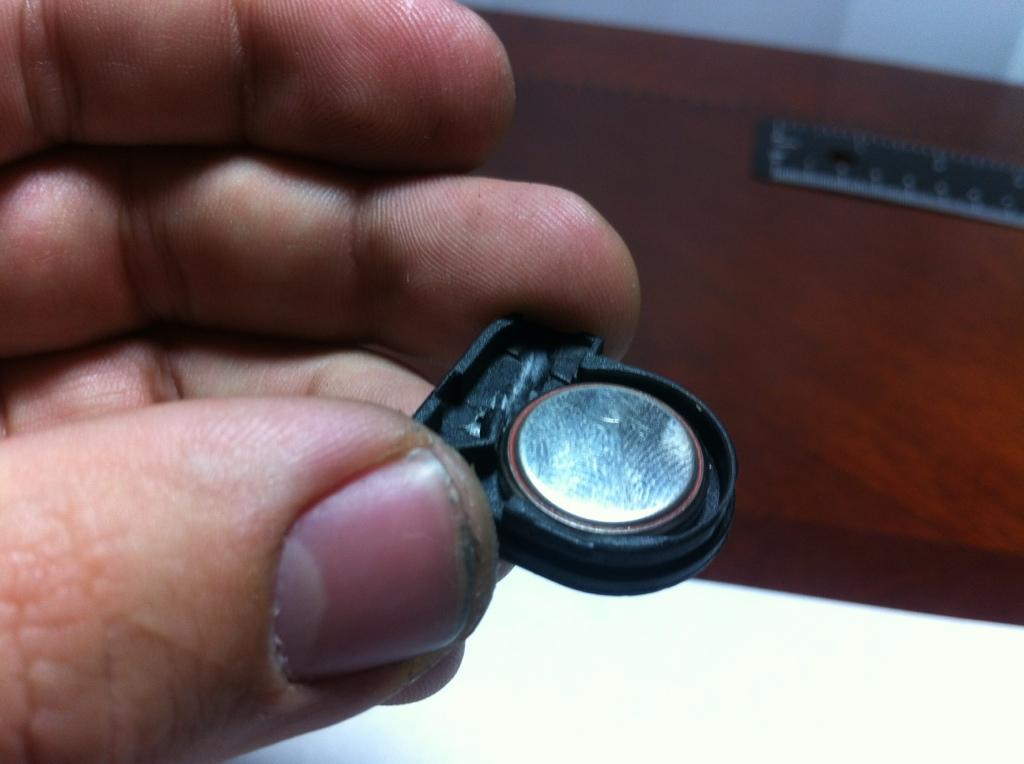
3. Once the unit is opened, the plastic roundel piece that holds the battery will slide out. You can see the spring (-) and the copper filament (+) here in the bottom piece. As observed, my bulb is completely missing.
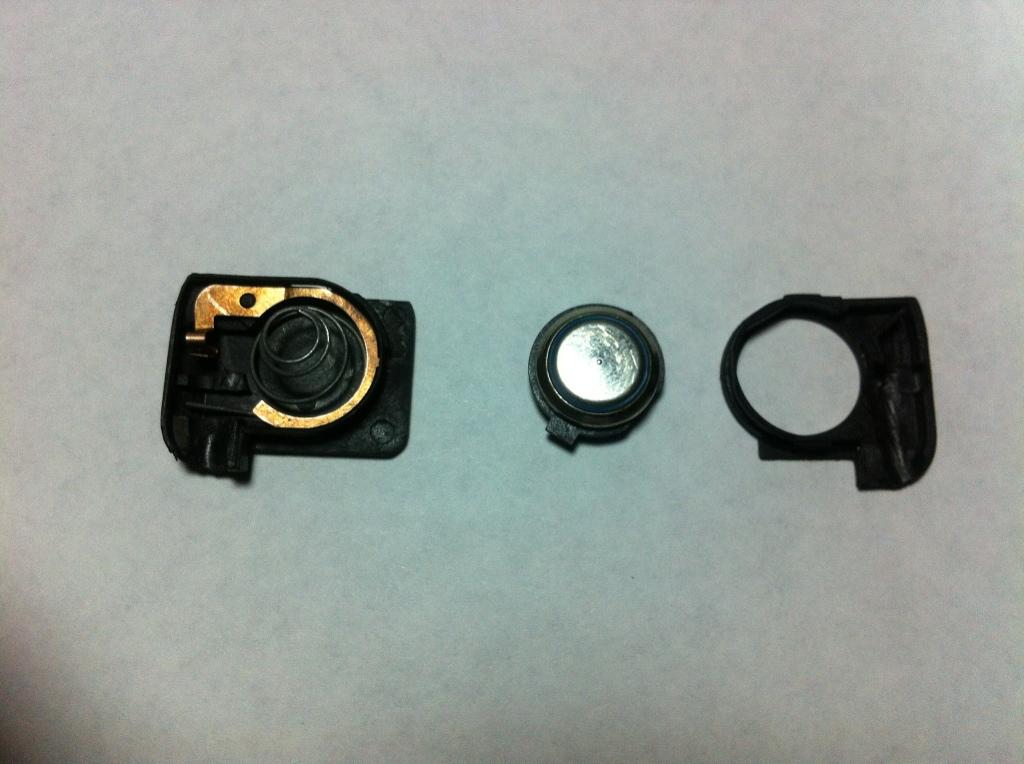
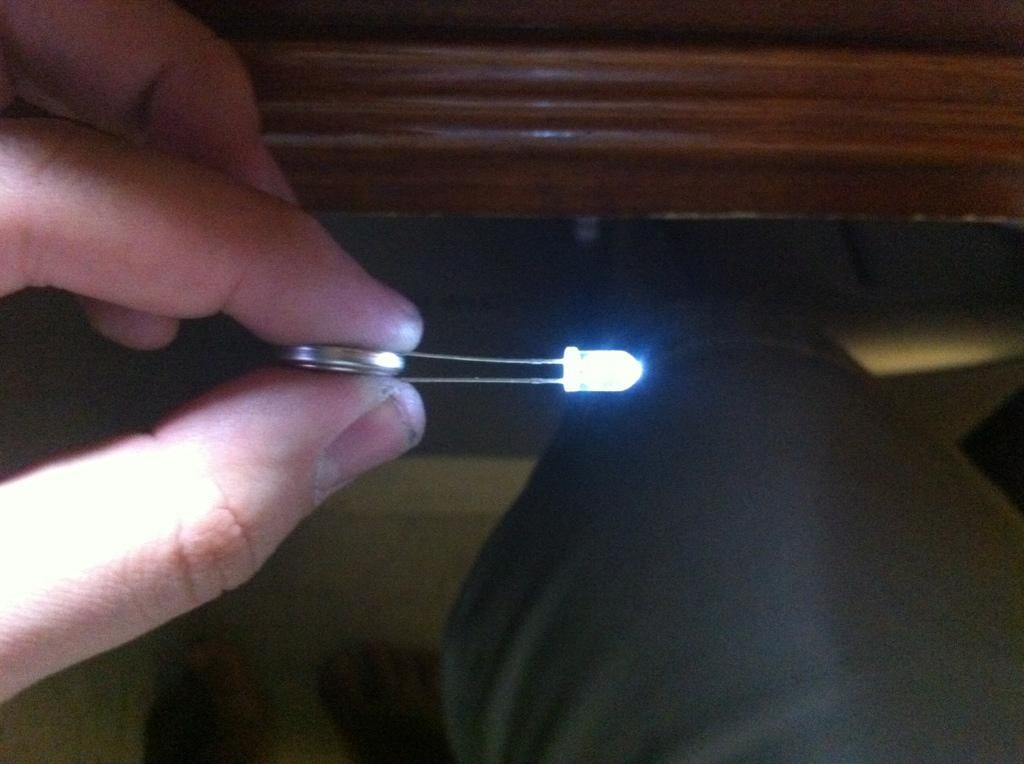
At this point, I removed the battery and tested the LED. I opted for a white LED to match OEM standards; just a quick check that the 3v battery powers up the 3.2v LED well. Remember, the longer leg on the LED is the positive (+) leg.
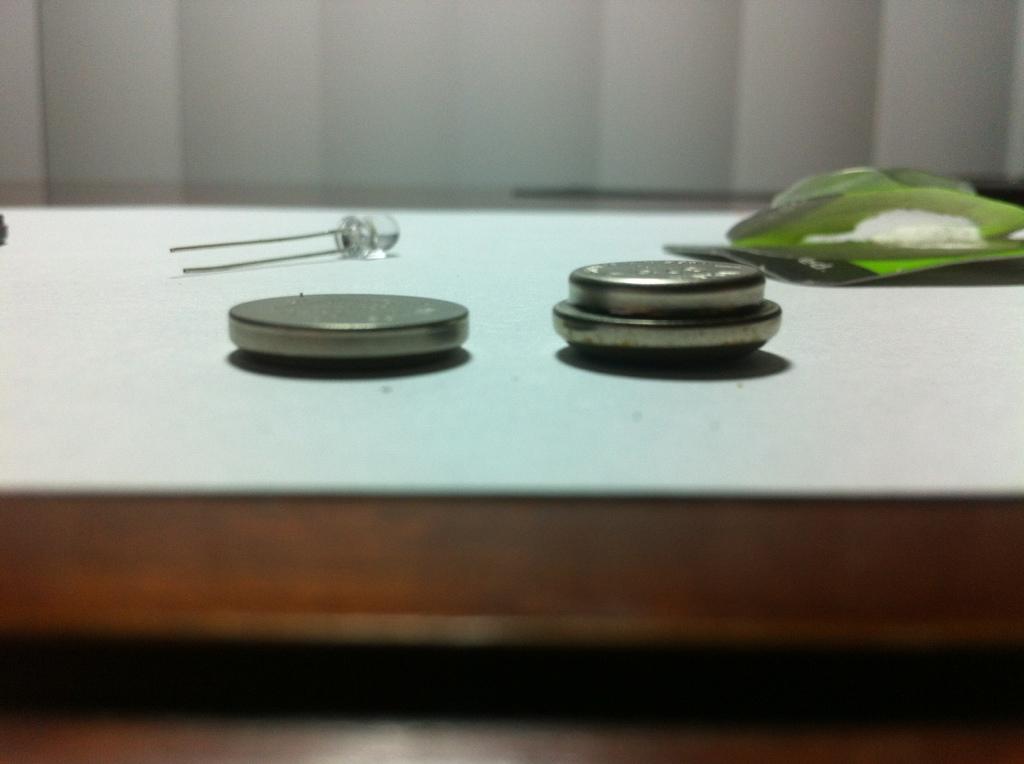
As you can see, the new battery - CR1632 (pictured left) and the old OEM battery - V625U (Pictured right) are the same height up until the point where the OEM battery has the "extra lump" on top that enters into the Roundel. The "extra lump" is a non-important factor in function, but the general edge heights must be the same to feel OEM (the smaller CR1616 battery will work as well, but will require more force to make contact and activate the LED because of a slimmer edge height)
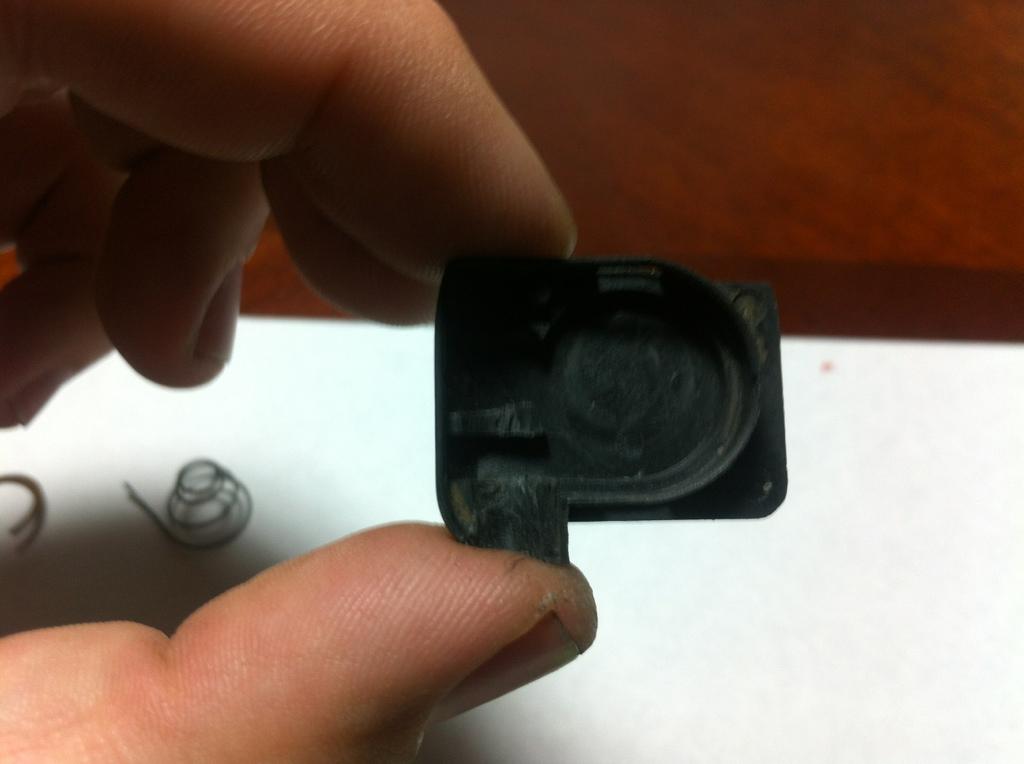
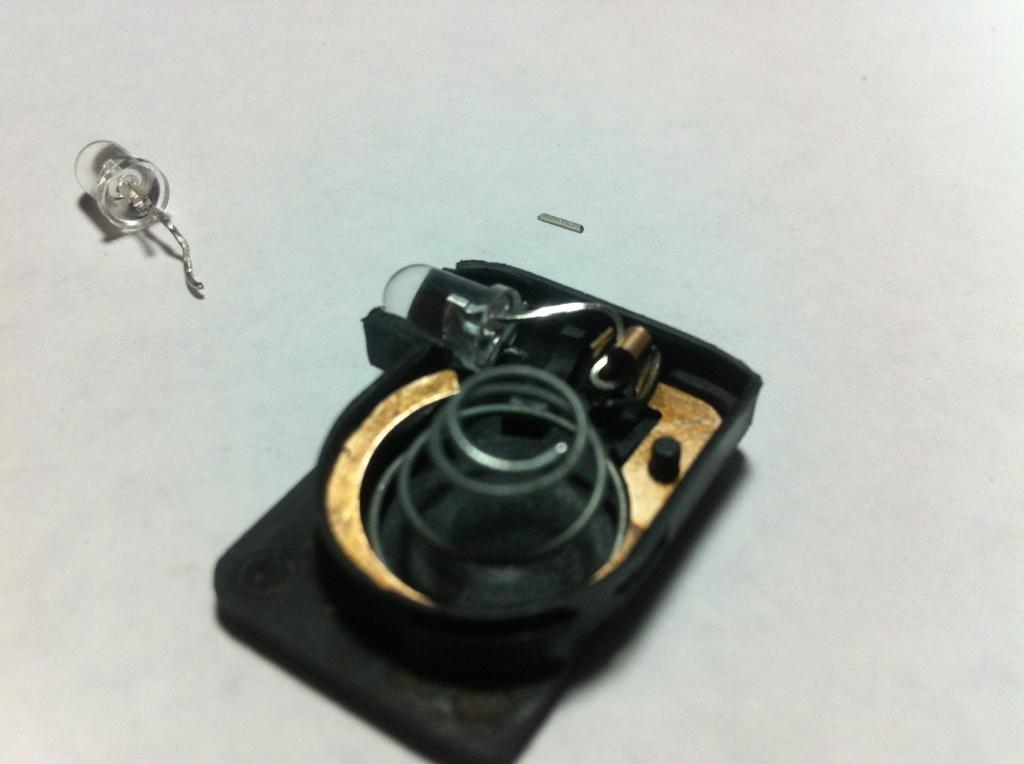
4. Carefully gut the bottom peice and reattach the top peice
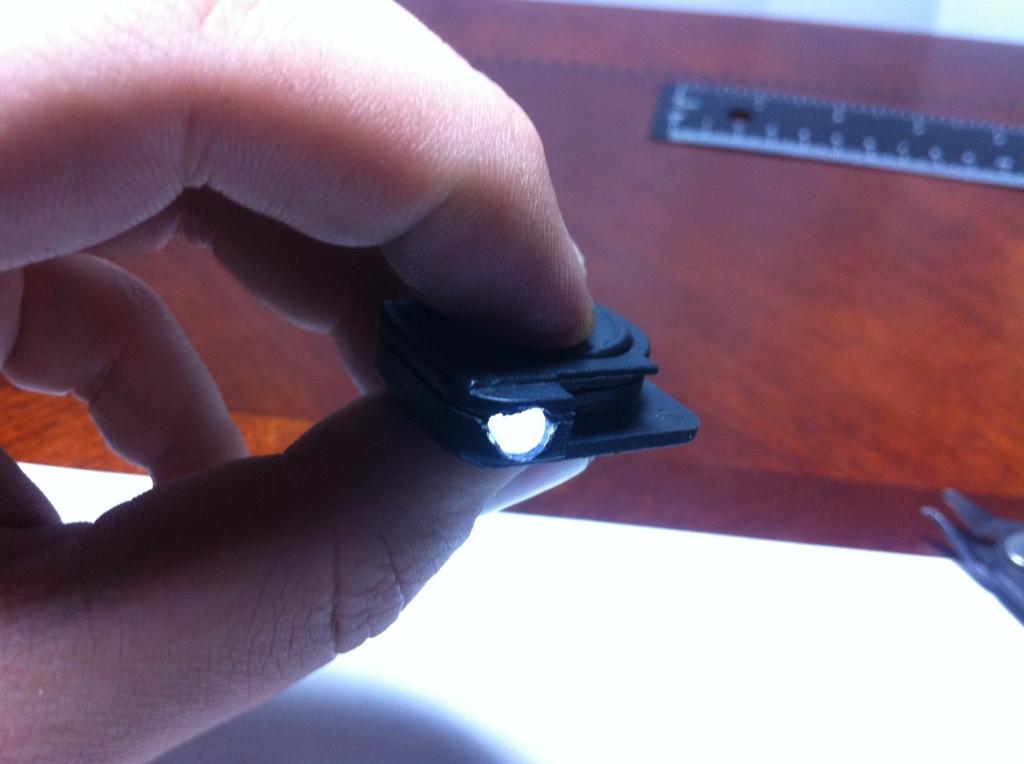
5. Carefully drill out the hole with a 3/64 size drill bit to facilitate the larger LED

6. Afterward, carefully enlarge the circumference of the copper piece by applying force as so. This is done to ensure the new battery has good fitment and does not short on itself when pressed.
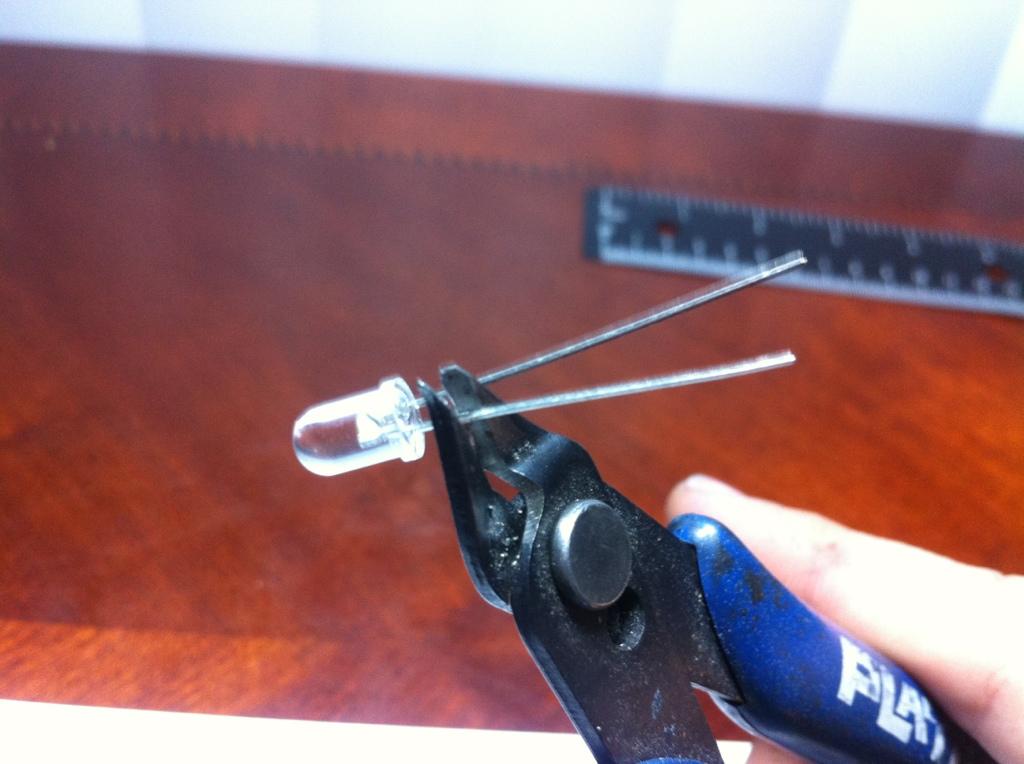
7. Take your shears and shorten the negative (-) terminal on the LED
8. Place the copper filament back into the bottom piece and weave the positive (+) terminal on the LED in between the end of the copper filament (+) as so. Trim the positive (+) terminal as desired.
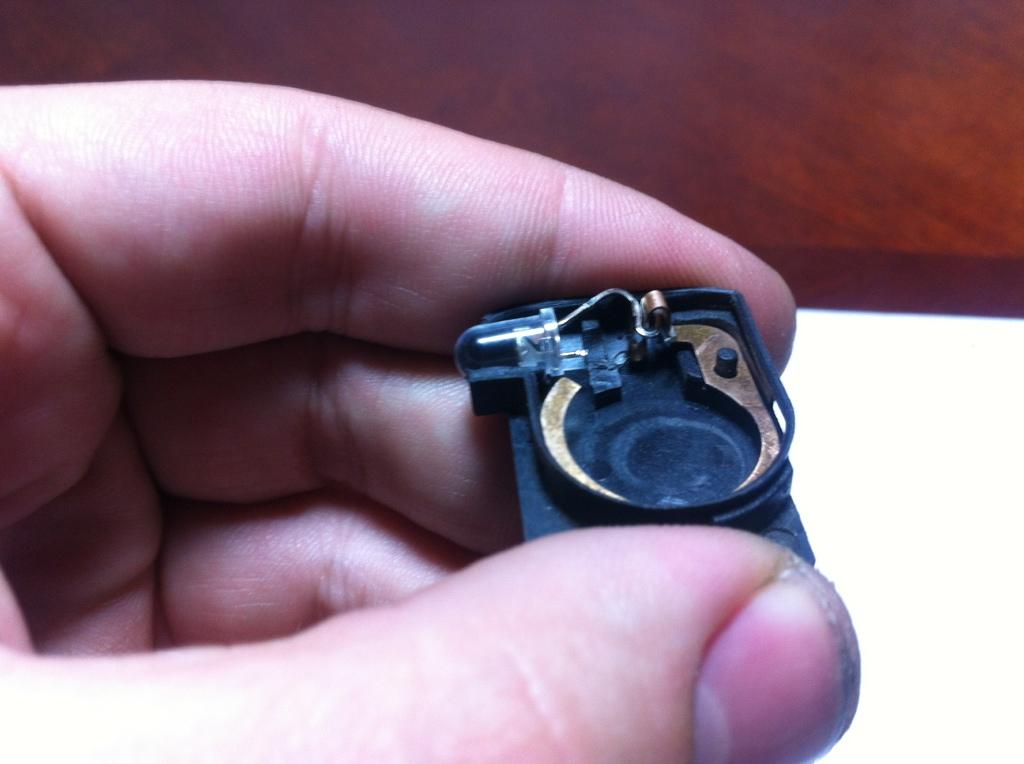
9. Place the spring (-) on to the shortened negative (-) terminal. At this point, you may have to bend the negative (-) terminal down and the positive (+) terminal up so that the spring doesn't short on the positive (+) terminal. At this point, you can opt to solder the LED onto the spring (-) and copper filament (+) if desired. I did not as the assembly pressure is enough to hold the LED into place and would make for easier replacement down the road if something were to happen to the LED.
10. Place the new batter inside the roundel, and then refit the roundel into the top portion of the central unit
11. Reassemble the central unit and test as desired
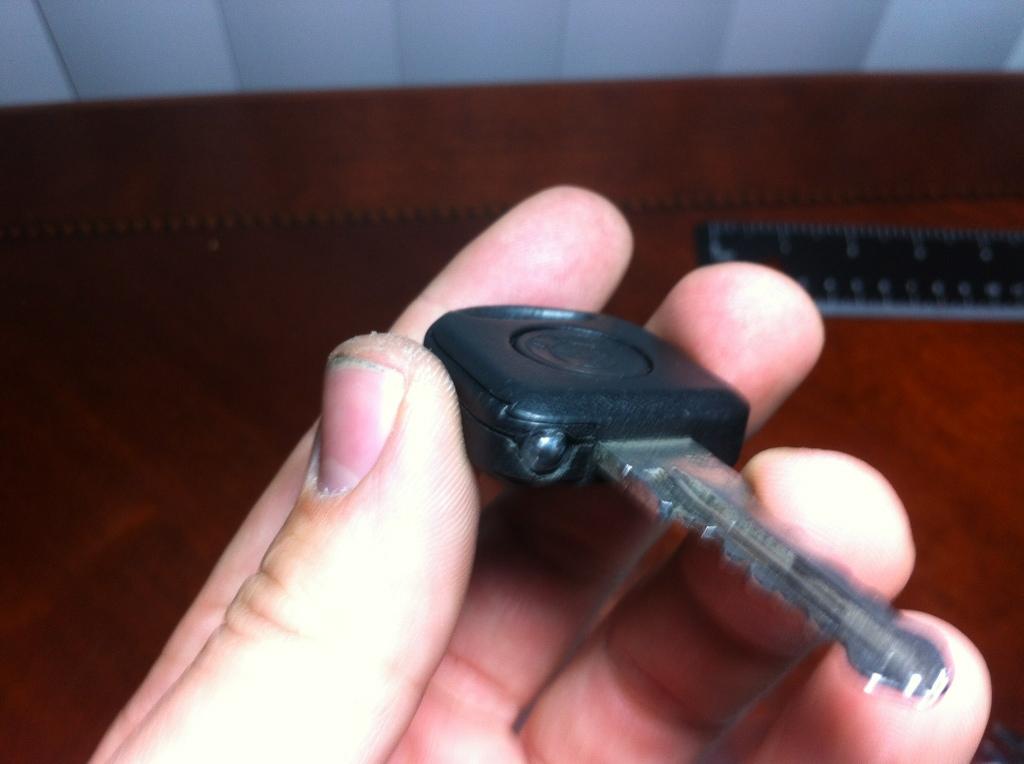
12. Replace central unit into the key by depressing the roundel and sliding it back into place
Notes:
-A Red LED will light up brighter that the white LED because of the lower input drop of the Red LED. Only 1.8v is required to light it and a 3v battery will cause it to burn hotter and have a higher light output. If you don't mind the Red color and want a brighter light, you can opt to change out to a Red LED.
Testing from about a foot away at night.
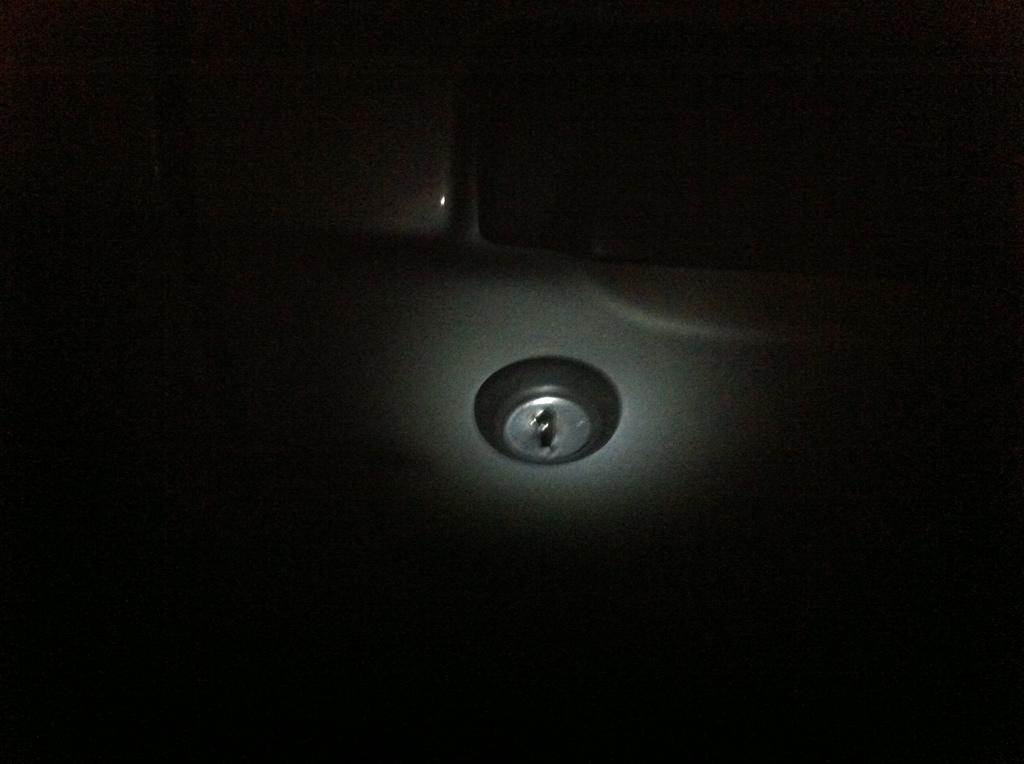
PERFECT!
8-4-2013
The silver spring is negative, the copper filament is positive; the battery touches the copper filament with the positive base and rests on the spring with the negative base
It's essentially the same as the key I modded; just follow the steps, but using your key instead, and you should be fine