You must be logged in to rate content!
8 minute read
Full brake pad and rotor install DIY with pictures Please sticky for future DIY'ers
Compliments of Bigblk4 @ forums.swedespeed.com
6-21-2009
Finished up the brake job in the S40 T5 and thought I would share a write up for all you DIY'ers out there.
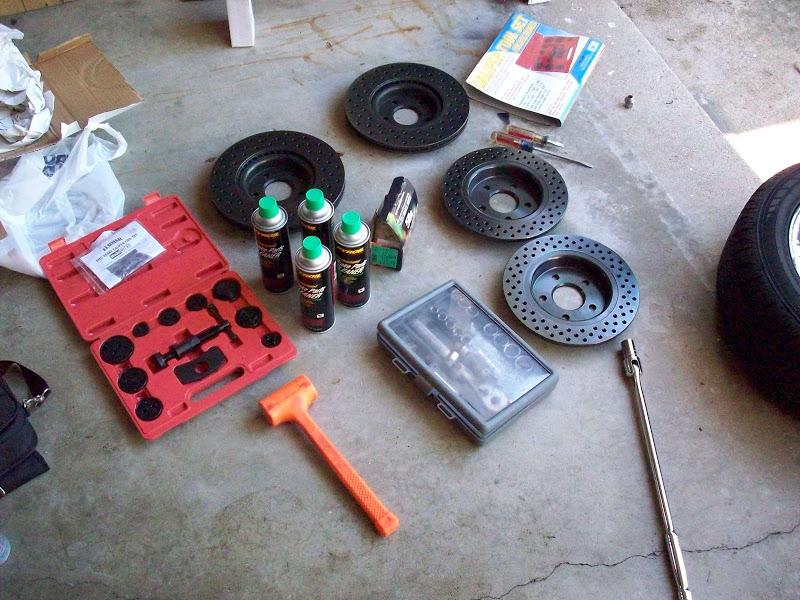
Ok first and foremost thing to do is order your parts and get your tools ready.
Tools needed:
13 and 15 mm open end box wrenches (ratchet style make the job much easier)
Dead blow hammer (used a 3 Pound and worked well)
19 mm socket (for wheel removal if you don't have your lug wrench) and breaker bar
a set of dental picks
1/4" Allen key
2 janky flat screwdrivers (used for prying so use the junky ones)
caliper piston compression tool (rented at most auto stores, I have one already)
2-4 cans of brake cleaner
1 jar of anti-sieze
jack and jack stands
Ok so now we begin,
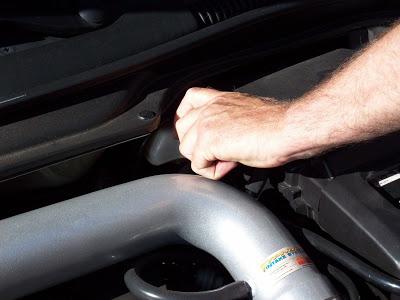
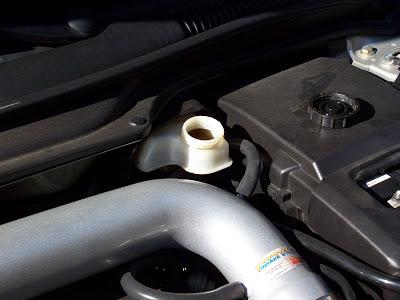
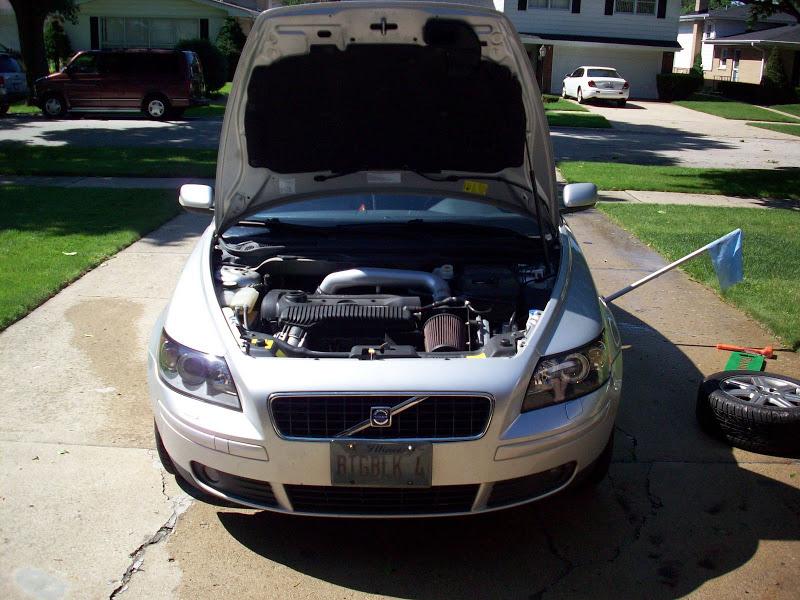
Open the hood and loosen the cap to the brake fluid reservoir.
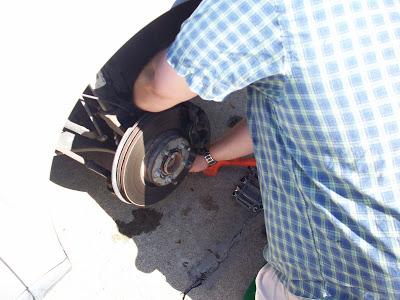
Get your jack under the car, lift it up and remove the wheel.
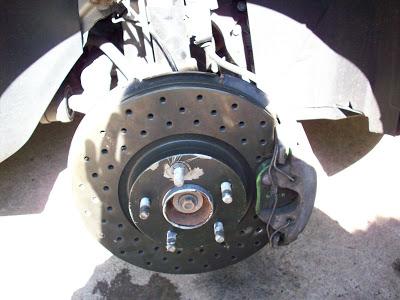
Now you should see this
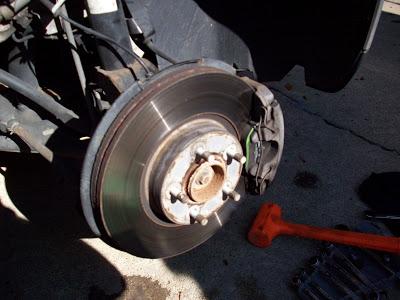
Now take the 15 mm box end wrench and remove the two caliper hanger bolts.
Now that the bolts are free use a screw driver as a wedge to remove the caliper from the rotor.
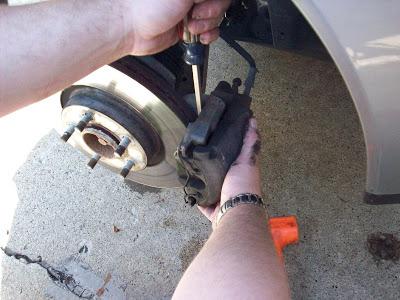
Now that the caliper is free remove the spring retention clip off the front of the brake caliper. slide the front pad out, and then use the screwdriver to help pry out the back pad (it has metal retention clips holding it into the piston) Use the piston compression tool to slide the front piston back in.

Now this is where you will need the dental picks. Use the dental pick to turn the small lock washer on the wheel stud to get it to screw off (you dont want to pry them off as you will reuse them)
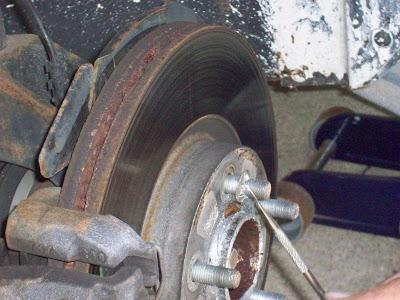
Now smear some anti-seize on the wheel hub being stingy with it (a little goes a long way)
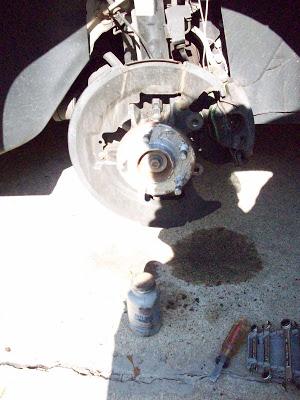
Now put the new rotor on, and screw down the retention washer to hold it in place. also put the front pads in the caliper pushing them in secure, as well as using the supplied silicone grease on the slide carriers. I left the rentention springs off until everything was bolted up secure. Make sure you add anti-sieze to the face of the rotor hat that is near the studs so that wheel removal will be an easy thing in the future. Don't forget the spring retainer clips and put them on before you put the wheel back on!
That concludes the fronts!!!
Now that you did the front brakes and are comfortable with what you did it is time to do the rear brakes. The first time I did the rear brakes I didn't know what I was doing and I ended up wrecking the retention clips. This causes the car to make a metallic rattle sound when going over small bumps as the pads are not secured to the piston. I decided to tackle the job again and with some great advice from Kyle (Force Fed) It was a piece of cake.
So here goes:
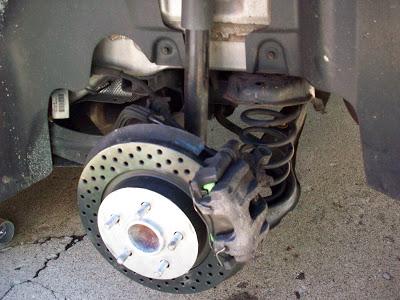
First loosen the lug nuts and jack the car up. Remove the wheel and this is what you will see.
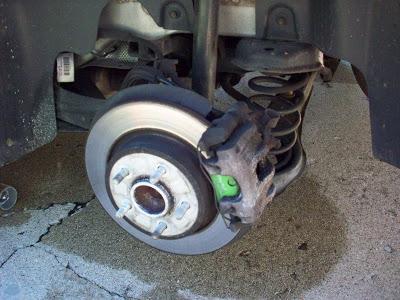
Now remove the caliper bolts using a 13 mm box head wrench. The top bolt is partially hidden by the emergency brake cable and brake line. You really need to remove the bolt partially with the wrench and then finish up with your fingers. At this time you will want to remove the spring retainer clip on the front of the caliper.
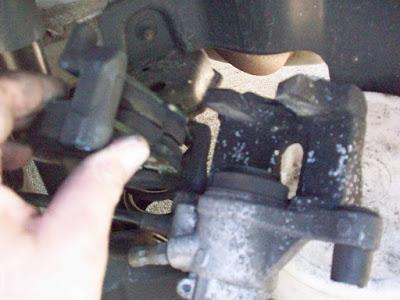
Once the caliper is off you then remove one of the carrier bolts with the 1/4" Allen key. To do this you will remove the dust cover off the back of the rubber boot and at this point you will see the Allen head. Remove this part carefully as I don't think ATE sells this by itself, you screw it up, its a new caliper! Once the bolt is out you can then swing the caliper hanger up and over.
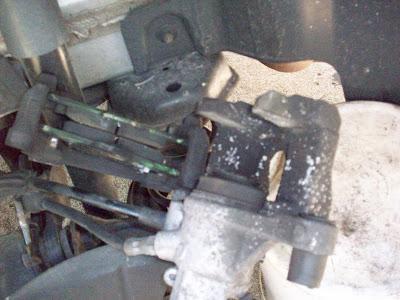
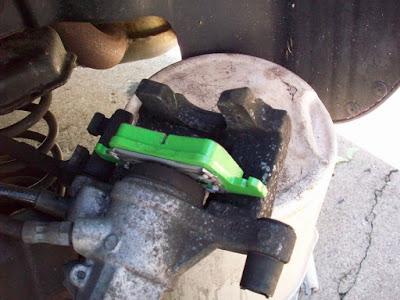
As you can see in these pictures both pad came out when the caliper hanger was swung over. This is because the spring clips on the first set of pads I installed were removed (MY ERROR!!) I will now show you the PROPER way to install the rear pads with retention clips.
Now compress the piston with the piston compression tool. You take the pad and slide it down over the ridge in the piston. you will hear it snap in and it will be hard to move the pad.
You then place the other pad in place and swing the caliper hanger back into place, add silicone grease to the caliper hanger bolts and thread it back into the caliper. Put your new rotor on (mine didn't have any retention clips and was removed easily) and then replace the caliper. Use anti-seize on the face of the rotor hat that will be in contact with your wheel. At this time replace the spring retainer clip on the front of the caliper before you put the wheel back on.
Now that the wheels are back on the car and properly tighten down, go back to the brake fluid reservoir and tighten down the cap and close the hood.
Take it for a slow drive listening to any obvious grinding noises. The rear pads were a bit thick and needed to be sanded down to get them to fit on the rotors. You may or may not need to sand them. Oh and congrats you saved roughly $250-300 in labor costs, which means more money to play with!!! ![]()
If you have any questions at all PM me or email me at todd.danielczyk{at}gmail{dot}com and I will try and answer any questions you might have.
This is a fairly easy job once you figure out how the rear calipers need to come apart, and quite honestly the hardest part is removing stubborn wheels or rotors with the dead blow hammer.
The whole job took a total of 3 hours and I was dragging by stopping to take photos or pose for a shot.
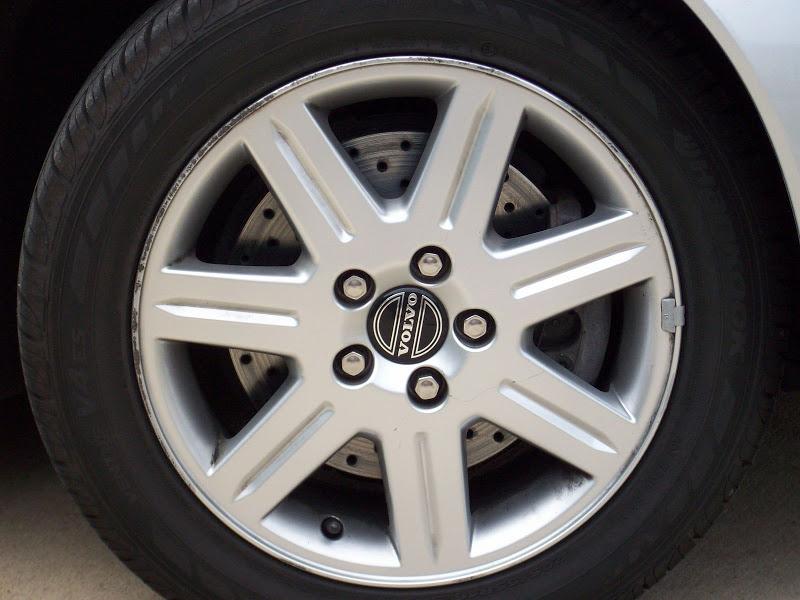
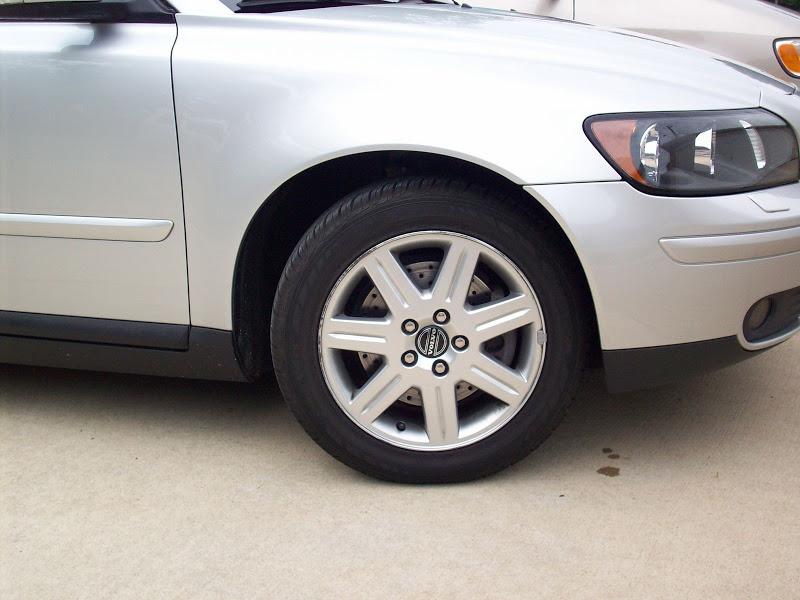
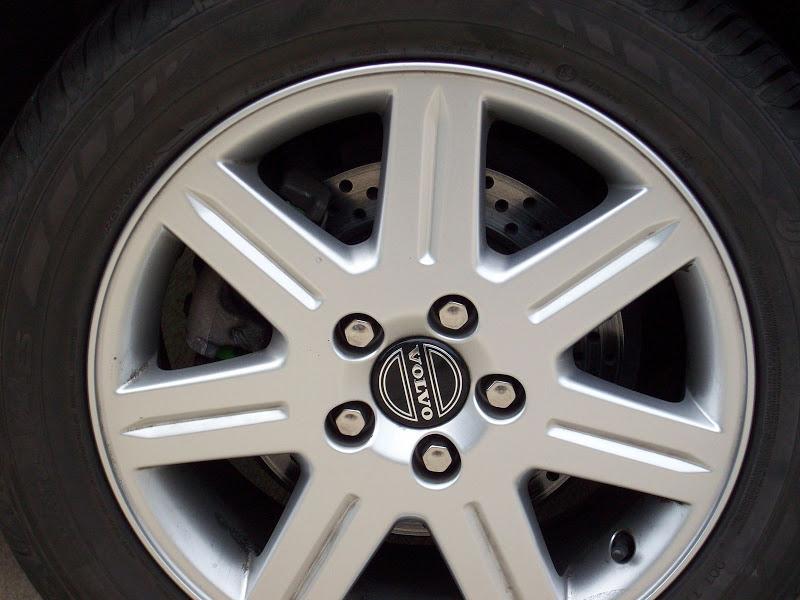
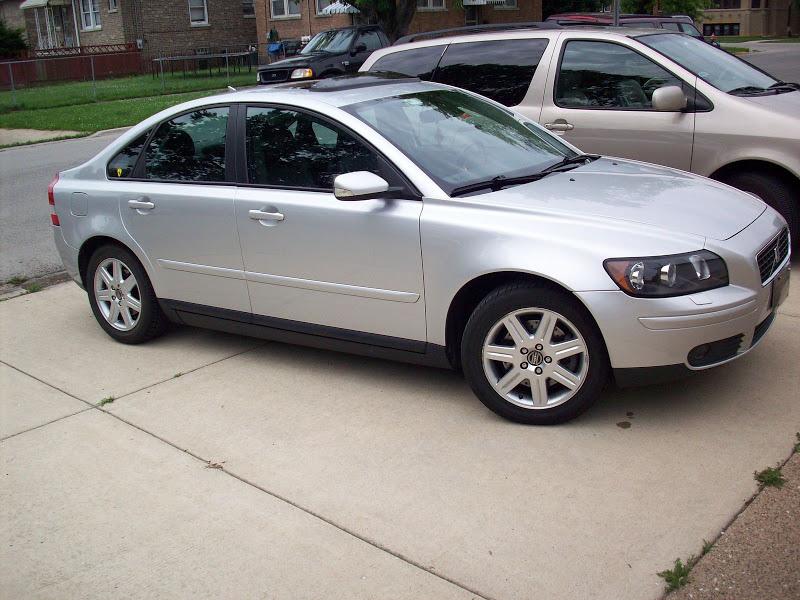
As requested a few shots with the rims on. Again they are a bit dark due to the black zinc coating but it should give you some idea of what they will look like.
Nice DIY
Posted by Diggymart on 4/17/20 @ 6:16:22 PM