You must be logged in to rate content!
3 minute read

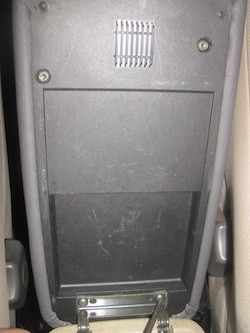
1. First, remove the plastic piece that is under the e brake handle.
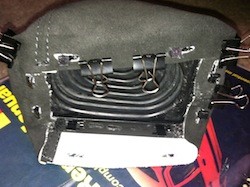
2. Get your finger below the wood console surface through that hole and undo the shift boot clips. They go all the way around the boot. Once you pop the back to clips you can pull the boot loose and off the shift boot retainer.
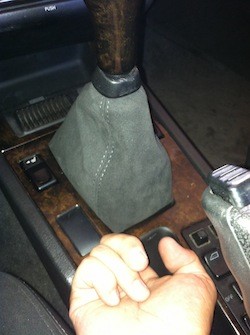
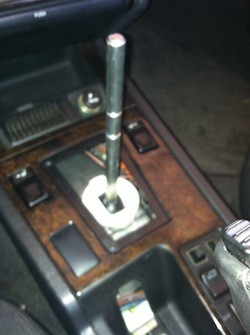
3. Now that the shift boot is un-clipped and free, it is time to remove the shift knob. Make sure the shifter is in neutral and pull straight up hard on the knob. You can also twist and wiggle the knob to help get it loose.
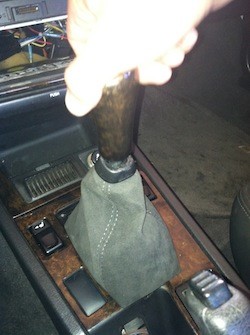
4. Finally, you can pull the shift boot up off the shifter shaft. It sometimes helps to wiggle it from side to side if it get stuck, and there are the two rings on the shifter shaft that it can get stuck on.
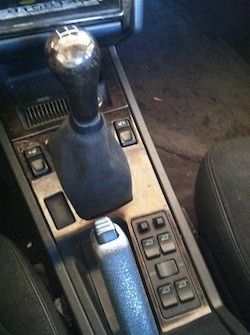
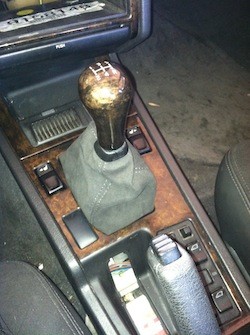
5. The only thing you will need to do is glue the new shift boot to the plastic piece that clips on the console to secure the boot. There are no special recommendations or added steps for the re installation other than the gluing portion. I used 3M spray adhesive to re-glue the new shift boot. I glued and folded the boot fabric one side at a time and clipped it with paper clips till it dried.
6. Reassemble as usual; follow the steps backward to do so.|
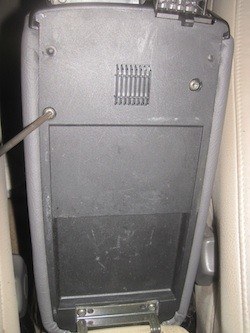
7. To remove the armrest two screws come out to remove it from the car.
8. Then there are 3 more screws to actually separate the cover from the armest. Glue the new cover over the armrest, wait for glue to settle and reinstall.
ENJOY YOUR NEW LEATHER BOOTS!
Useful tip
You have installed a product made out of genuine leather. As you know, to maintain a leather product in good condition, you should take care of it. We suggest occasionally (every 4-6 week for example) applying some leather conditioner/UV protector to keep your leather from drying up in the sun and cracking.
Redline Automotive Accessories Corp. will not be held liable for any labor, incidental or consequential damages of any kind. Proceed at your own risk.