You must be logged in to rate content!
14 minute(s) of a 720 minute read
1-9-2013
I'll post pics of the HU after I get it secured in the lower cubby. I just returned from Automotive Fasteners with some longer screws, as the Kenwood supplied screws were much too short to even start into the HU's mtg holes once placed through the cubby hole's side panel mtg holes.
1-10-2013
I already had a mid to late 1970's OEM Volvo radio faceplate I had cut to fit the previous KW HU.
So.........................
I mounted the KW X-896 HU without using the "slide over unit mtg deal." it comes with.
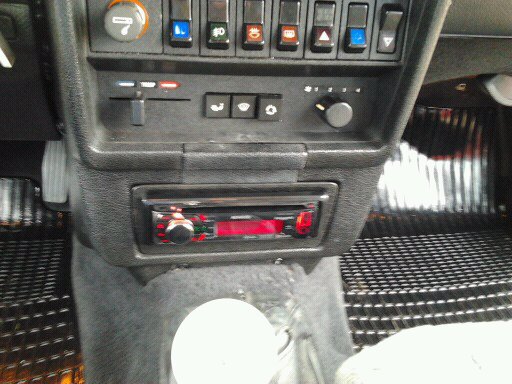
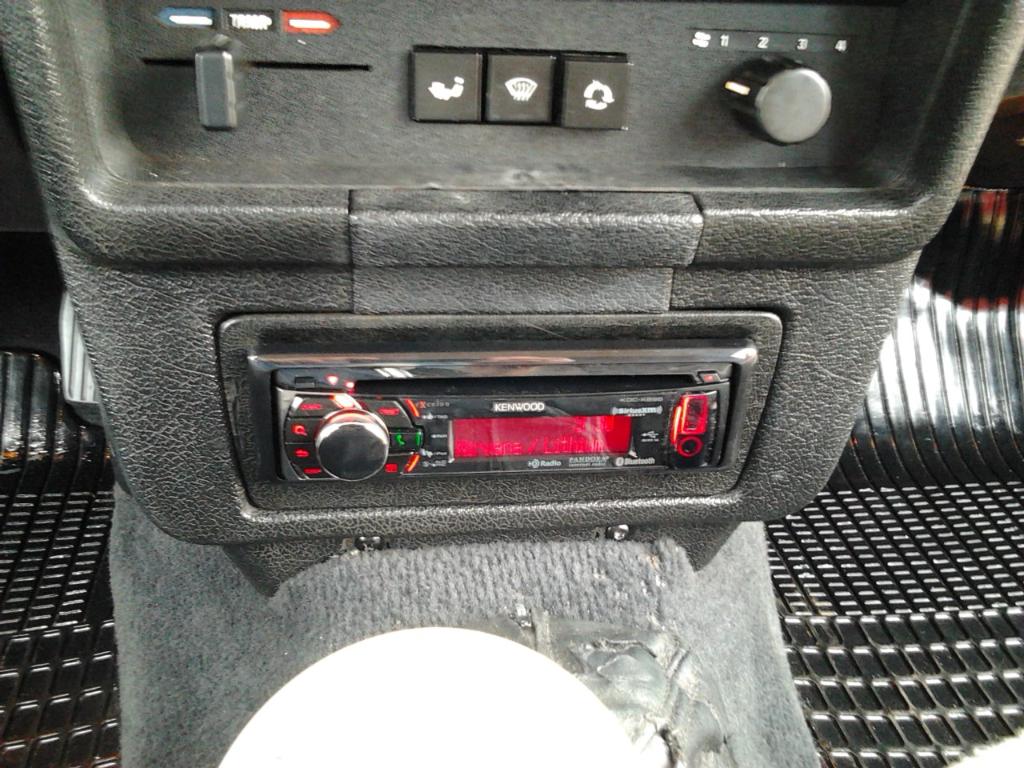
I cut two pieces of wood the width ( < > ) of the cubby hole for the HU to sit on, at the correct height in cubby hole. And cut two pieces of wood to fit in the slots in both sides of cubby hole to center the HU. I glued all four of those in place.
To hold the HU firmly in place ...................
I drilled two holes in the small sides of what was left of the OEM cubby hole/radio mounts, to align with two of the holes in HU closest to holes in cubby hole's side "brackets" for the OEM radio.
Before screwing the screws in, I cut a piece of wood to place between the rearmost hsg of HU and driveshaft tunnel. Then screwed the mtg screws into HU's mtg holes.
This fastened the HU in the cubby hole centered, and at the right height to sit squarely against the Ctr Console's radio opening. Looks like an almost OEM fit .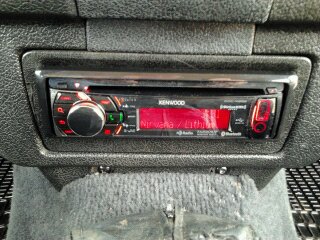
1-12-2013
My, oh my........... CVOCD is such a terrible affliction............. ![]()
Tonight/early this morning, I re-installed the rear seat.
With the grey felt insulation I added to the floorboard and the metal X partition panel under/behind the rear seat halves some time ago.......and with the added bulk of the RCA cables,wiring and 12V amp power cables,under/behind the two sat halves, plus the amp platform mtg bolts protruding into the interior side of X panel, it made for a pretty snug fit. But I got both seat halves in there.
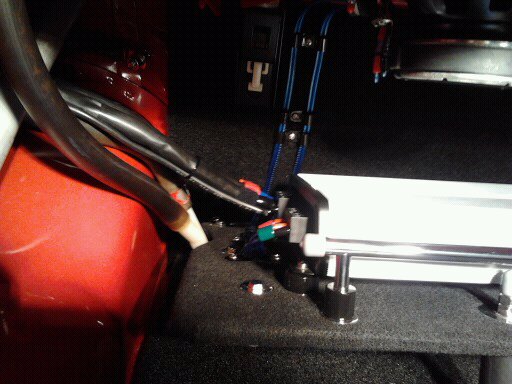
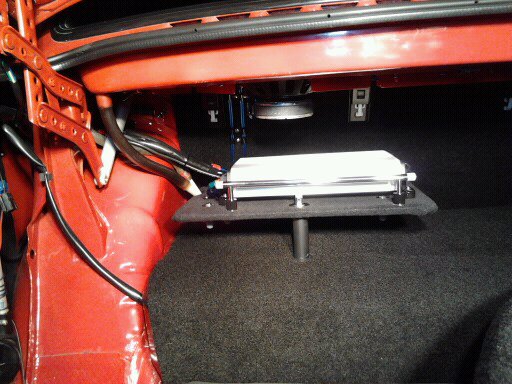
Then I decided to "tidy up" the positive cable, the ground cable and remote turn on wire, where to come through partition , and to the amp.
I added some sheathing to the positve & ground cables, and replaced the remote turn wire's sheathing with some smaller ID sheathing.
I then used some red & black velcro cable straps to mark the positive & ground amp cables, for future reference. And then used a tie wrap to hold the positive cable, ground cable & the remote turn on wire, together, but loosely.
It looks much more professional and has quite a bit more of a "finished look" now IMHO.
Pics........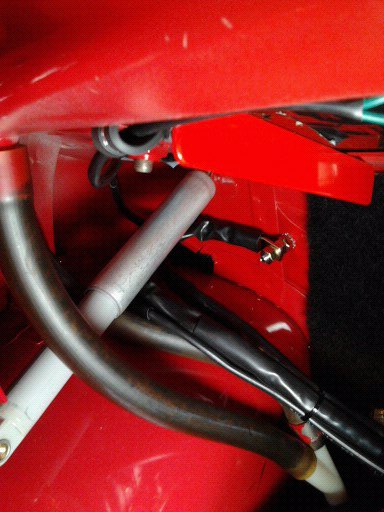
1-13-2013
Seeing as how, I've done everything I can , to make whatever is in the trunk to look as nice as possible (carpeting,etc),.
One thing that I thought really detracted from trunks appearance is the yellow foam rubber that is stuffed into the holes at the L & R top corners in the holes in the the metal X partition panel.
You know, the hole where I ran the 4 gauge positive amp power cable through, and into the trunk from the interior.
What? You didn't know they were there? .  Well I discovered them when looking for a hole to pass the cable through....and there's one on each side..
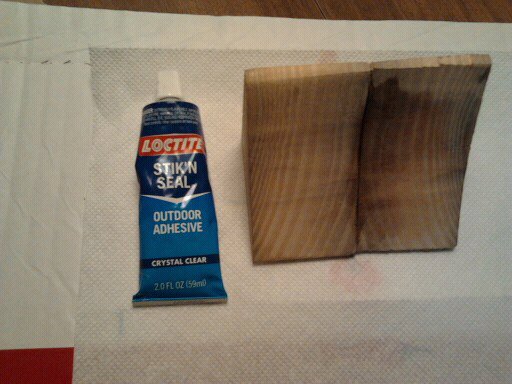
Now I know I'm the *only one* that'll ever notice it, but I decided to try to color these trapezoidally shaped foam rubber blocks to match the red paint on the car, and in the trunk.
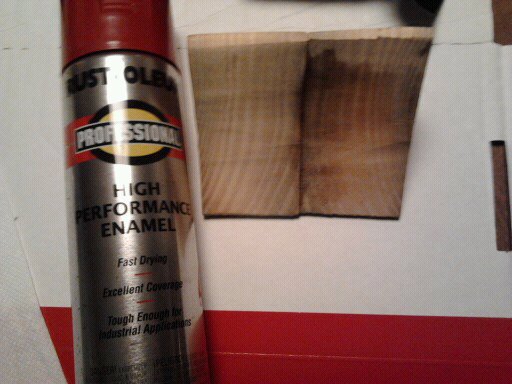
I find Rustoleum Red High Performance Enamel, in a spray can, is pretty close to the same shade of Volvo # 601 red (IIRC, that's the correct paint code number) Close enough for this mod anyway.
BTW, You *have to use enamel paint*. Laquer will dissolve the foam
They'll look better than they did dirty yellow, in any event........but only a detail freak like me would care....LOL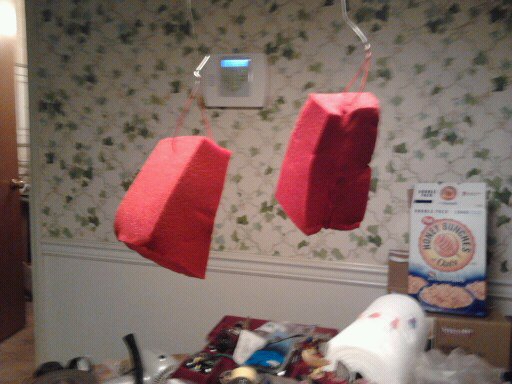
1-15-2012
OK,Old Iron......if you're a detail freak like myself ( I already know rporzio is LOL)...............
Not a bad color match for something out of a readily available Rustoleum spray can, IMHO.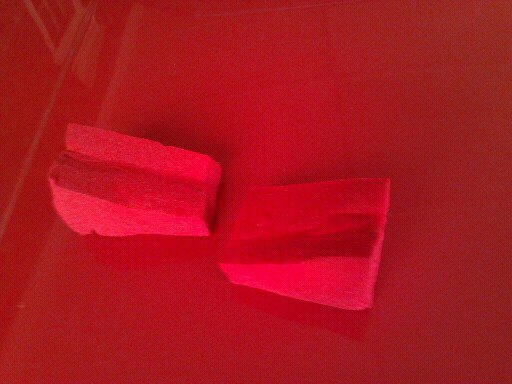
And for those who aren't familiar with where these actually go....
BTW, They're much harder to notice now, aren't they?
Passenger side
Driver's side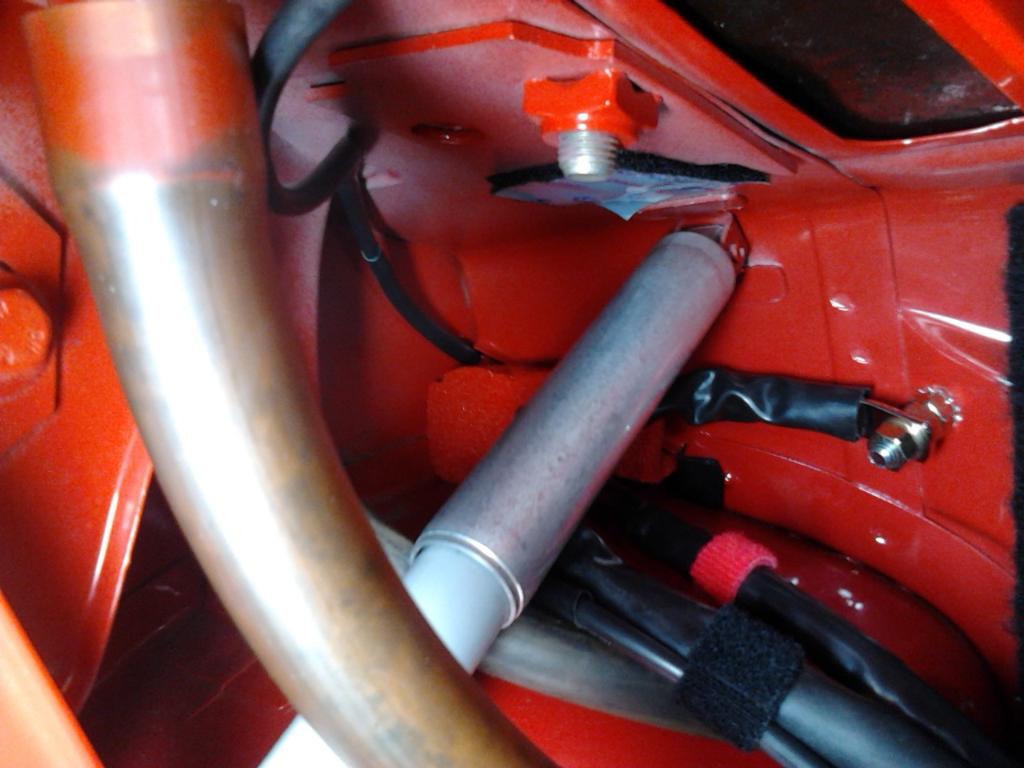
1-16-2013
While I'm gathering parts for the next planned modification......
Here's a mod I did sometime ago, that I mentioned in another thread, but never transferred the details of, to this build thread.
This mod was to enable me to carry a OEM Volvo Virgo 15" x 6" wheel, with a 205/60/15 tire mounted on it in the trunk.
I purchased an Amercan car style spare tire holder/fastener, used a angle grinder, to remove the paint from the trunk floor, to bare metal .
Then JB Welded a strap I fabricated, to the trunk's floor. Popped a hole through the insulation, trunk carpet, and trunk matt.
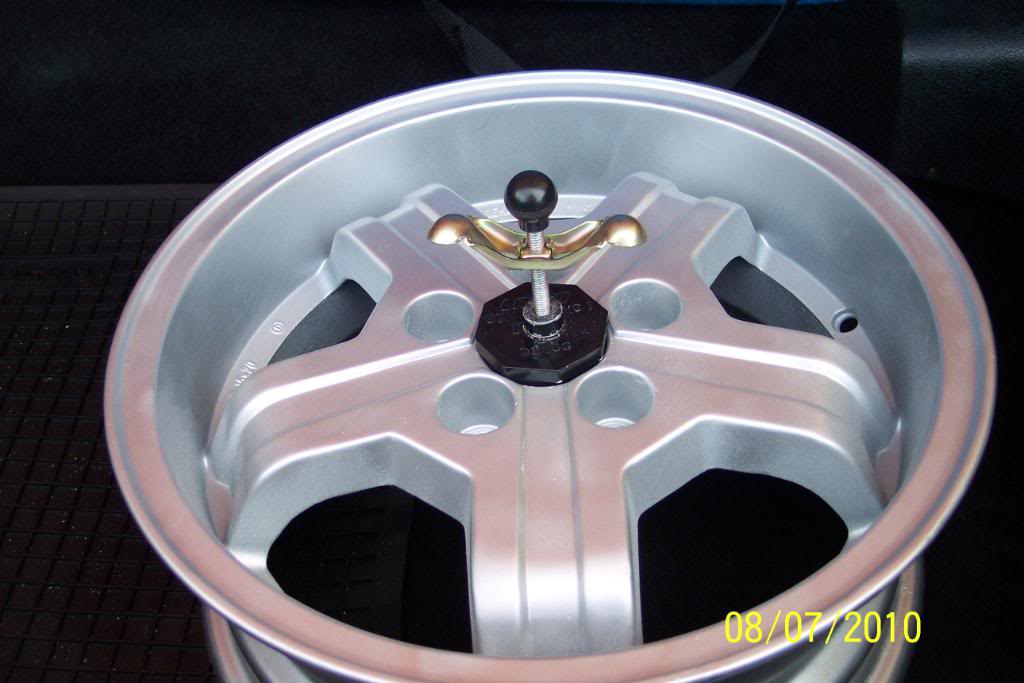
And installed the spare tire holder kit I purchased at Auto Zone. Used a 2" PCV plastic pipe end cap, drilled a 5/16th hole through the end of it.
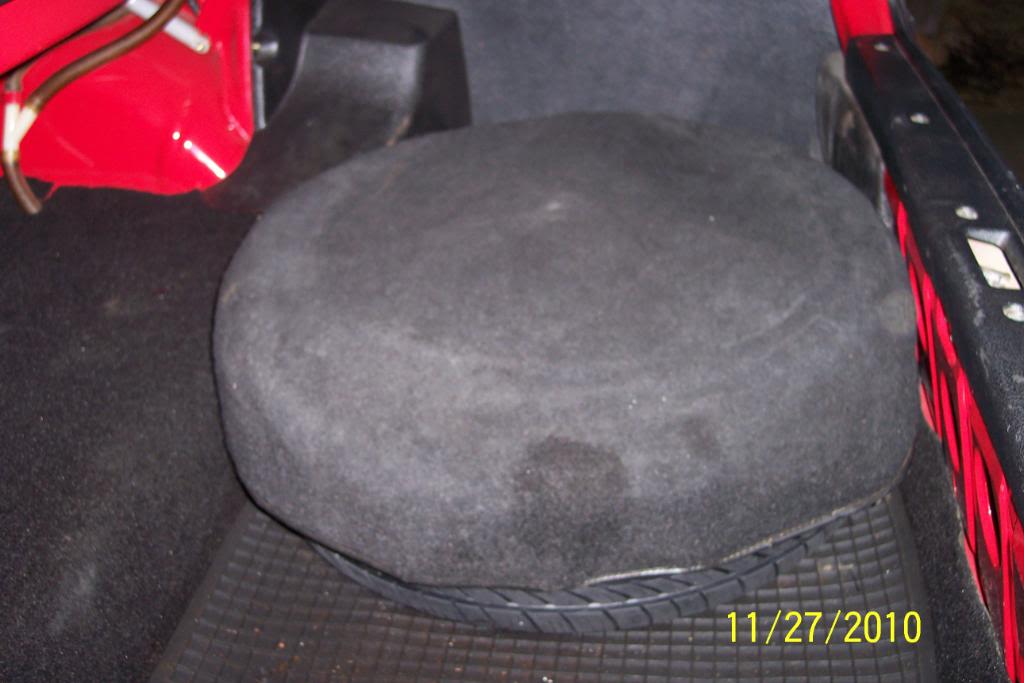
THe carpet tire cover is from a AMC Spirit. AFAIK it came with the car new. It lent itself well, so I used it.
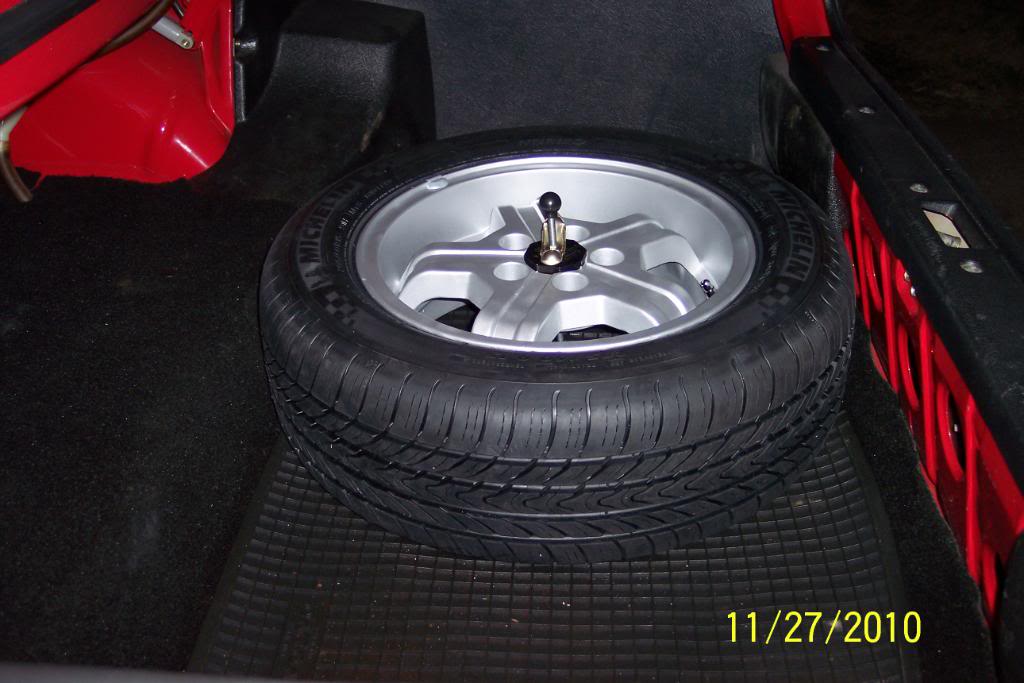
By mounting the spare on the trunk's floor, it keeps the spare tire as Volvo had it located, from cracking the driver's side black plastic tail light cover, that protects the bulb fixtures and printed circuit board. But mainly because a 15" Virgo with a 205/60/15 tire will not fit in the OEM spare tire well
Also, in case of a flat on a high traffic roadway, it will make getting the spare out of the trunk much quicker/easier, than wrestling with the carpeted spare tire cover, elastic strap etc of the stock set up.
So, several "pluses" by mounting the spare in this manner.
Pics...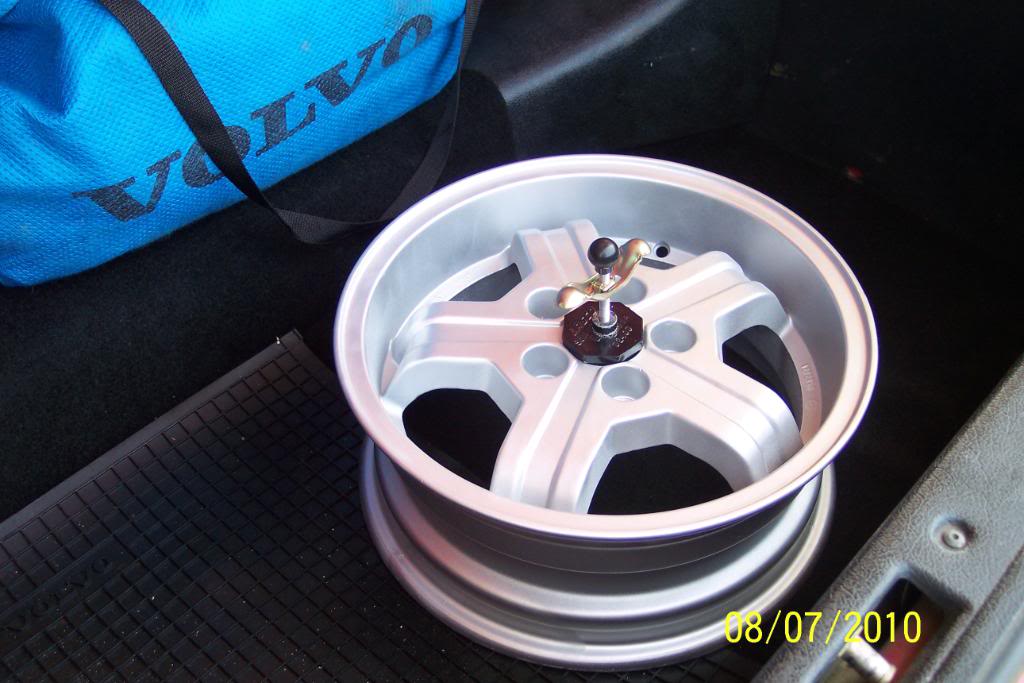
1-17-2013
Got one of those much celebrated Denso 100A Alts today. A little swappin' with clthayer netted this, as well as a door lock actuator.
If Photobucket wasn't a evil conspiracy of a website I could post pics of it correctly
Seems I've been having some screwy registry problems on my computer which made Photobucket not work well, if at all.
I *think* geeksquad has fixed the !@$%^ thing. Only took since 11:30 AM this morning, until a few minutes ago (2:30AM)
I was almost ready to toss the whole flippin' computer out the door today...............
NOW.....
I got one of those (supposedly) much celebrated Denso 100A Alts today. A little swappin' with clthayer netted this, as well as a door lock actuator.
I hope it's not gonna cost a fortune to have it dissassembled, cleaned up & checked out. (CVOCD ya know)
IIRC these aren't as easy to rebuild as the Bosch.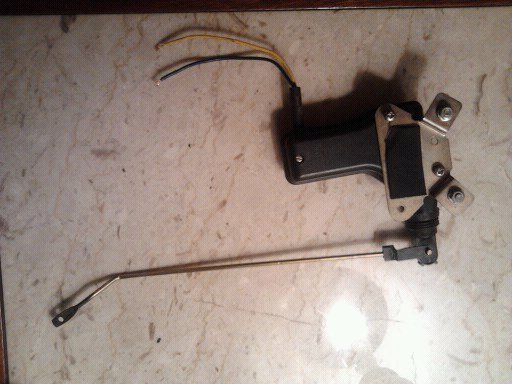
Pics don't lie.............looks to me the Bosch 80A is shorter than a Denso 100A, by @ 1 & 1/4" or so, and if I recall that was my original statement in a certain thread a while back.
So my statement a few posts up in *this thread* was incorrect. I've been fighting a computer *all day & night*, and I'm veeery tired.
FWIW, I think you should re-read that alt thread.
80 Amp Bosch Alt.
Denso 100A Alt
I'll decide which way I go with this after some more conversation with my alternator rebuilder.
But if it don't fit..................
The deal is on an 240 N/A B230F there isn't a lot of room between the current Bosch 80 A Alt, and the oil filter.
Looks to me the Denso 100A alt is going to be quite a close fit (just like the Bosch 100A alt).
But I'll try & mount it just to see how much room it leaves. I would like to use it if possible. I may have to have the Bosch 80 amp modded to a 118 amp though. Unsure yet.
FWIW, I've actually used JB Weld in several places during my build. But only when absolutely needed, or as an only alternative , to welding in a place I didn't really want to weld.
Considering the way the spare tire is positioned on the trunk floor, and the way floor is shaped, it stays put very nicely.
The spare's new location also helps weight distribution, to some extent (not sure just how much), and places a tad more weight on the rear axle's RR wheel.
Considering the driver, battery, and OEM spare were all on the same side I thought it was a good idea.
Plus it helps offset the weight of the new JL Audio amp, and it's 4 ga cables ..........
I'm sure if I had a front end collision at speed,or rolled the car the spare would/may move. But in that case, the spare tire would be the least of my worries. And hopefully those things never happen.....and I would like to weld the U bracket that holds the 5 /16-18 stud, to the trunk floor at some point in time.
FWIW, I've always wanted to try AllumAlloy on a broken or cracked aluminum part myself, but haven't yet.
And thanks for the compliment on appearances. I'm just trying to see how much improvement can be made, while, at the same time, adding the mods I want to do.
I've always agreed with the idea that the smallest details help as much as the larger ones.
And I do happen to have....... a few more tricks up my sleeve.................![]()
On a different note, at least my build thread covers more than just 6 pages, of a set of new taillights and new steel wheels like one of the ones I've read.
Distance of a (my) stock Bosch 80 A alt to oil filter pic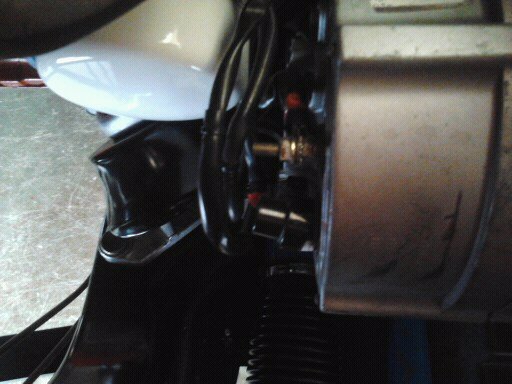
1-19-2013
Have you ever noticed, how on a 240 sedan, the OEM spare tire rests against the driver's side tail light assembly's black plastic cover?
And with as it rocks fore & aft a little , during hard acceleration and braking, and probably while cornering hard too , it often cracks the tail light assembly's plastic protective cover. And a spare tire that's a size or two oversize, only makes matters worse.
Well since, I bought a nice new set of TL covers, and prefer not to crack the driver's side TL cover again...............
I decided I needed to come up with an simple, easy, & inexpensive, modification.
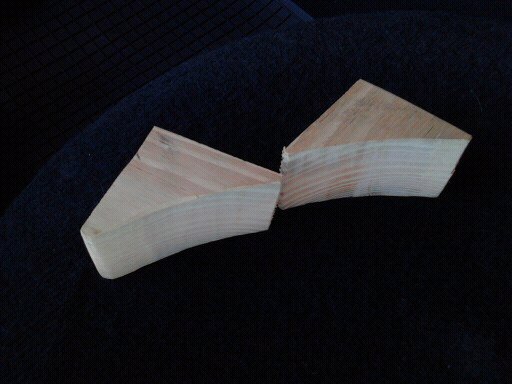
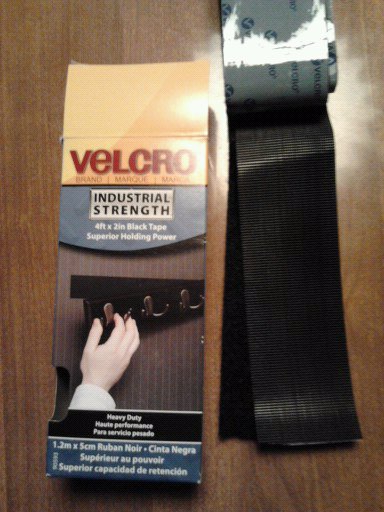
I used the different saws, and sanders in my wood work shop, a couple things I bought a Lowes , and came up with this modification.
I think it'll work out well.
Pics tell the story...........
The problem...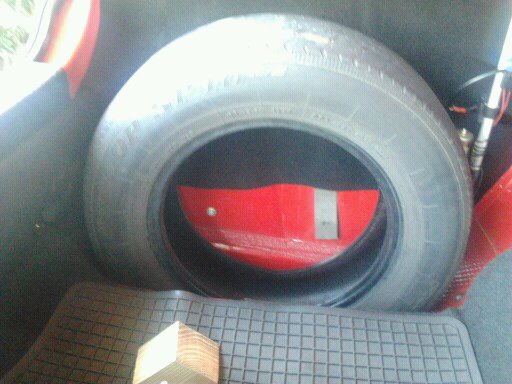
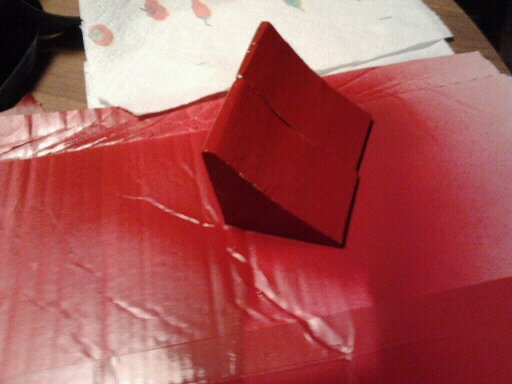
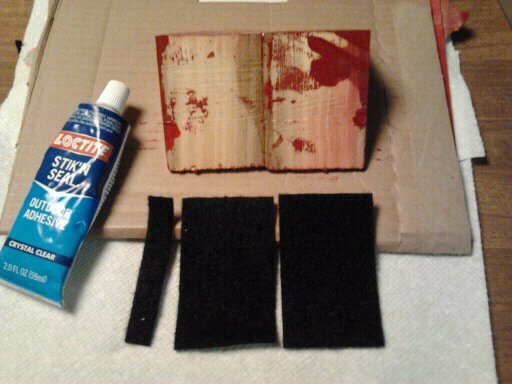

The spacer block is "Velcro-ed and ready to rock & roll".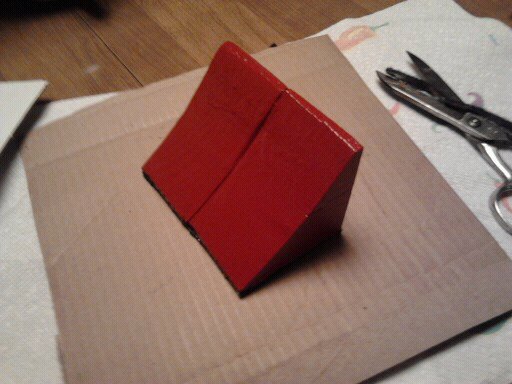
Next step was to prep and clean the trunk's tire well with some "rubbing alcohol" and apply the male half of the velcro......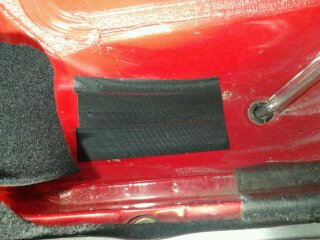
Then install the stop block, and spare tire. FWIW, I'm only using this tire with no wheel to hold the carpeted spare tire cover up.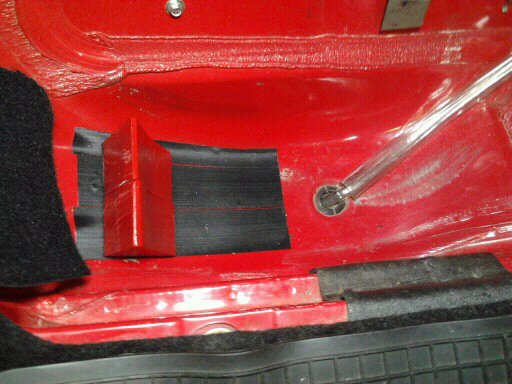
Close up of stop block....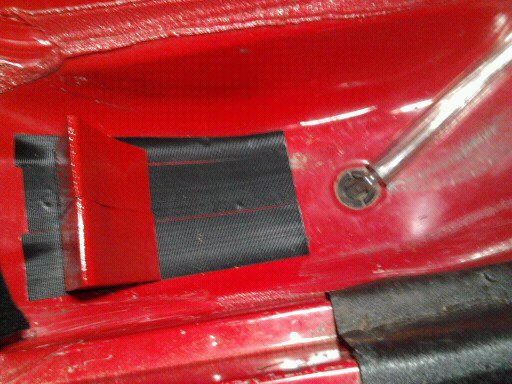
And this is the "fix".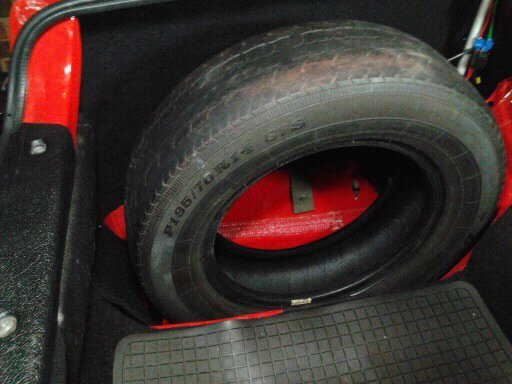

And then I installed the good used black plastic tail light cover I bought on ebay, and then placed the carpeted cover over the spare tire.
Yep, it clears the tail light cover,the trunk lid's hinge/s when closing the trunk lid, and even clears the power antenna too.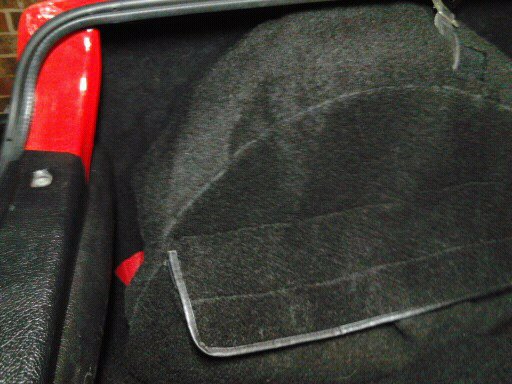

Nice build!
Posted by Diggymart on 3/30/20 @ 2:45:08 PM