You must be logged in to rate content!
9 minute(s) of a 720 minute read
8-29-2013
ot the "new red DS door" bolted on @ 1:30 AM this morning.
"New red DS Fender" goes on later today. After some sleep.
Will post pics of these installed when finished.
Stay tuned........
"It's lookin' better all time.............."
9-1-2013
I finally replaced the two rusted nuts that hold the MEWH clamps to the studs in block that also are the two lower fasteners for the aluminum front engine cover.
CVOCD for sure...............
I removed the driver's front door, from my car, removed the driver's side door glass, window channel rubber/felt, the "window scraper & it's trim piece (had new rubber in it), the uppermost arm rest retaining clip,the strip of foam rubber at the top of the door & it's plastic retainers, & the door lock cylinder, and it's central locking actuator/motor from my "old door"
The central locking device's wires were missing the insulation on the 3 wires right at the end where it attaches to the door lock cylinder. One of mine's wires, crossed the other two on that end, so...
I found one on a friend's parts car (TB Member polarbear) that was a tad better,as it's wires were not 'crossed" anywhere.
Then, I used brush on liquid electrical tape to cover the bare wires, and then used spray on liquid electrical tape for 3 more coats for a thicker insulation. Whatta ya know.... it worked.
I installed the "new door" on the car, got it adjusted where the door/fender gaps looked right, and the door shut & opened properly
I then installed those items removed from old door into the new door. Glass and all. I adjusted the window regulator, and it seems to be working pretty good.
Since I plan to install an aftermarket Keyless Entry/Alarm System on the car in the future............
I used a front passenger door, door lock actuator motor, and reversed the mount on it so as to mount it on driver's door.
I used the wiring CL Thayer supplied with the motor, (THANKS CLTHAYER!) and additional wiring harness from my friend 92 245 parts car.
So it has all Volvo wiring to the Center Console's area. I'll bundle it up under the dash for now.......
After I got the door on my 240, I then removed the front bumper, and let it sit right down, in place, on 5 gallon buckets .
This way, I didn't have to disconnect any of the fog light & driving light wiring harness.
Then I drilled out the two rivets that fasten the fender to the valance panel that runs across, & under the grille .
Then I removed all the other bolts and front fender bracket & removed the driver's side "old fender"..
I applied a little extra undercoating on some areas that were missed on the backside of the "new fender".
I also applied undercoating to the side of the body shell behind the fender (unsure of it's "proper name", so see pics).
Then I bolted on the new fender, adjusted it as needed, and drilled out the old rivet hole to 3/16, and used 3/16 rivets to attach it to the valance.
I re-installed the bumper, front fender brace and stainless steel and rubber trim, under the grille, also the "hockey stick trim" and of course slipped the grille back in.
BTW, while working on my friend's 1992 245 before I started the door and fender removal on my 240..............
I was working under the hood of the 92 245, while my 240 was parked beside it, but my 240 sedan's bumper was about even with the front edge of the 245's front driver's door.
When I attempted to step back , so I could turn around to get a tool, Ozzy (my APBT) had laid down at my feet unbeknownst to me.
So......... I tripped and fell "backwards". Luckily....,Ozzy got up & ran out of the way, just in time.
But.....I fell backwards toward my front bumper. And as I fell, I put out my arm in an attempt to catch myself,
BUT........All I caught on my way down.....was my 240's passenger side Hella Driving Light, which was mounted on top of the front bumper. Couldn't have aimed it better if I had tried.............LOL.
*Was mounted* is correct. Needless to say I broke it's housing's mount right off the bumper. The light & housing was hanging from the wires.
Needless to say I was a little upset about this. But I was thankful that *I didn't* fall on Ozzy and injure him.
BUT, "on the bright side".......now, I have one complete spare Hella 500FF driving light & it's housing, and one spare light and lense assembly (but no housing) the new Hella Driving Light wiring harness, switch and relay.
Plus 2 sets of new light housing wires, along with new mounting brackets and two lense covers. This is probably a "good thing" LOL
FWIW, now I'm trying to figure out a way to mount the extra, left over, used Hella 500FF light/housing . FWIW, I bet it'd make a helluva *Third Reverse Light*....LOL
So about a week before I started the door/fender job.......I ordered a new Hella 500FF Driving Light Kit
Now the door, fender, and Hella 500FF Driving Lights are all on the car..... it's sure nice to have dent free, Volvo #401 Signal Red driver's side front fender & driver's door. FOR SURE ! YAY! It's sure "been a looong tiiime coming". LOL.
Pics Below:
The two new nuts for the MEWH clamps under the front aluminum engine cover"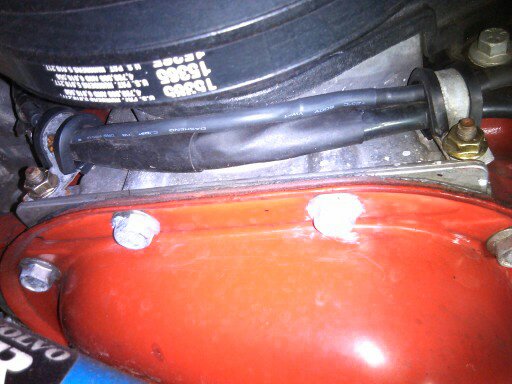
Where the new fender *was not* undercoated....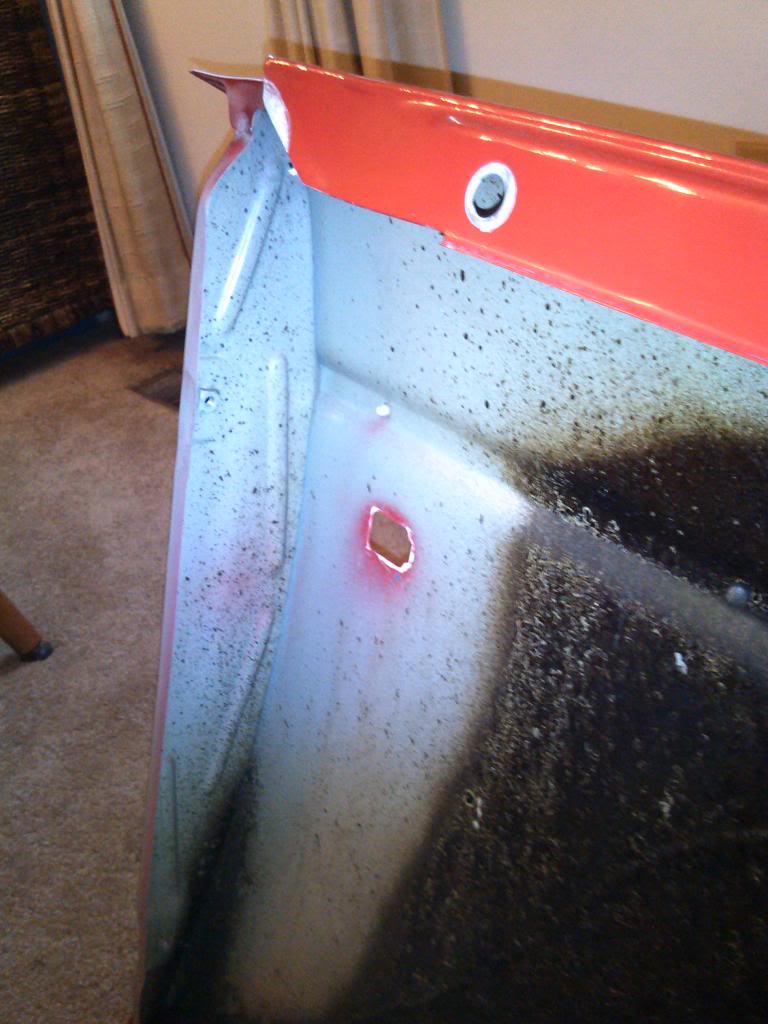
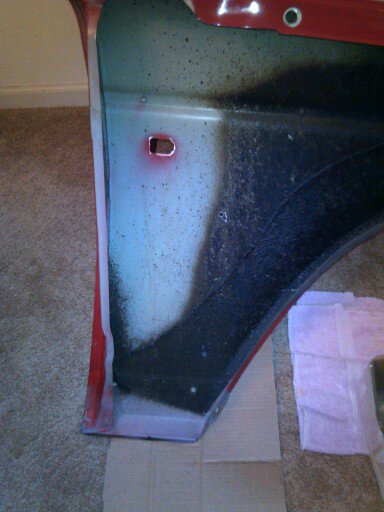
And here it is fully undercoated.. It's being held by TB member polarbear. He also lent a helping hand swapping out the door & fender. Sure made things easier having a helper. He worked hard & worked until early morning hours to help me. A real trooper....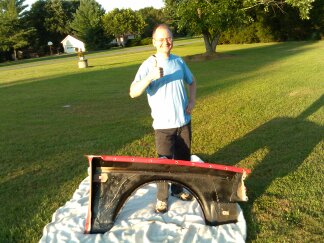
And here is the part of the "cabin footwell" I also undercoated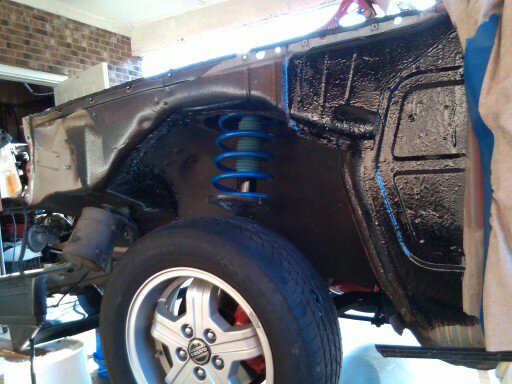
In these two pictures..... you can see the pass door's lock actuator motor installed on the driver's door for the later planned "Keyless Entry /Alarm Kit" . Also you can see the "rear door wire harness clips" used to help hold the actuator motor's harness on the driver's door.
BTW that's an OEM Volvo NIB/NOS rectangular, black plastic door release lever housing. How 'bout that?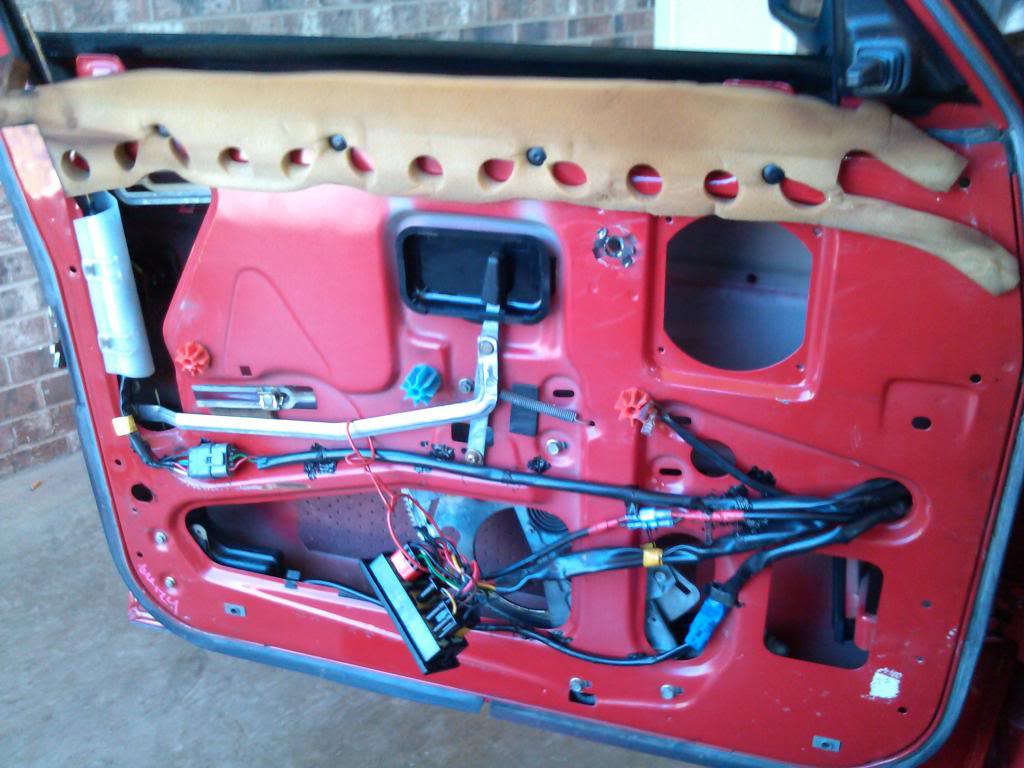
This pic shows the driver's door mounted pass side central locking actuator motor's *wiring* & how I routed it through/in the door, better than the other pic.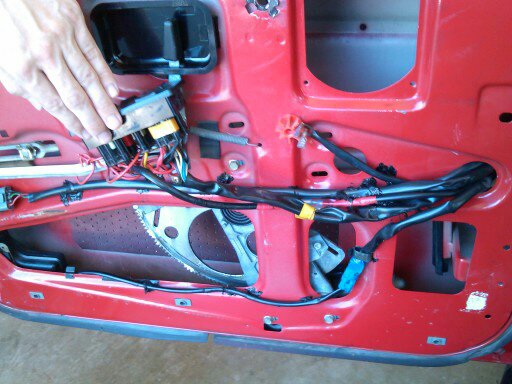
Here's a pic of the finished, complete driver's door installed.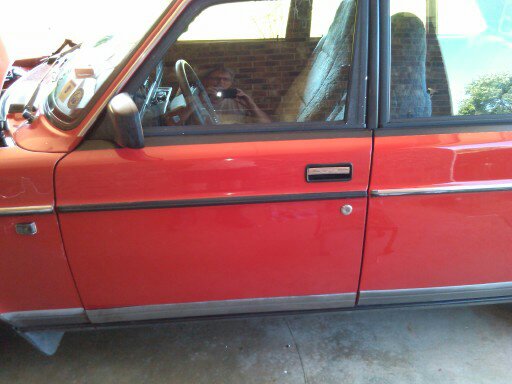
9-2-2013
I still need to order the top two white plastic door card retainers,(one broke & other was MIA) hide the pass door lock actuator's wiring in the cabin/under dash, that I installed in driver's door, fit the knee bolster .........
and find some matching/correct beltline trim. FWIW...I'm hoping to find the beltline trim off a 1988 240 sedan.
I like it's appearance a lot better, as it has no"grain" in the beltline trim's edge guard on it. So it won't catch & hold the car wax when I detail the car.
The beltline trim that is original to the car now is almost white in appearance due to "waxy build up".
I also need to touch up the rally black paint on the window frame of the door, where the paint has started releasing from it. And polish the mirror housing with Ajax & water, with a damp rag.
I'll post a full side on pic soon. I'd like to wash the car, and wax it before I do though. We'll see.......
9-7-2013
Snapped some cell phone camera pics today, .......after washing/waxing the car yesterday/until 4:20 AM today.
The "new door & fender" blend right in very well with rest of the side of the car IMHO. Not bad at all.


Nice build!
Posted by Diggymart on 3/30/20 @ 2:45:08 PM