- Torx Driver T25
- Putty Knife
- Bone Tool (optional)
- Heat gun or Dremel cutting tool
- wire brush (or use a plastic tile and grout brush)
- Couple yards of 0.25 inch foam
- Automotive adhesive
- sharp knife or box cutter.
You must be logged in to rate content!
6 minute read

Step 1 Door Panel Removal
All four doors are removed in same manner, though the rear doors have fewer pieces to disconnect or remove than the front and the front passenger side fewer than the driver’s side door.
See this figure for guidance, description of steps follows below:
1-1 Remove door release trim by squeezing inward on top and lower section while pulling outward.
1-2 The door pull is held to door by T25. Remove screw cover in pull cup and use T25 driver to remove screw.
1-4 For front doors, remove door sail by simply prying off.
1-3 If the door clip posts have come loose due to age, simply pull down and out on door panel to separate it from the door and then upward to lift panel from window slot. If not, you
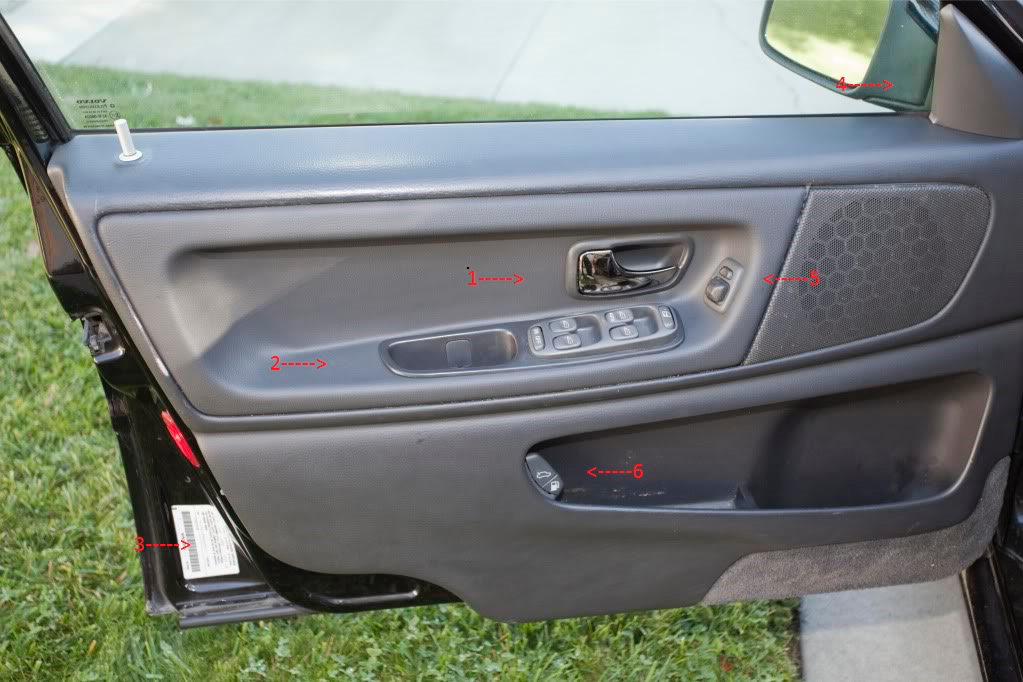
may want to use bone tool or door panel removal tool to help pry off door panel. The rear doors have 7 clips and the front have 6. Once the door panel is separated from the door you need to release wiring harnesses for complete removal.
1-2 Disconnect wiring harness from window switch (window control module for driver’s door).
1-5 and 1-6 The driver’s door additionally has mirror switch and gas/trunk release switch harness that need to be disconnected.
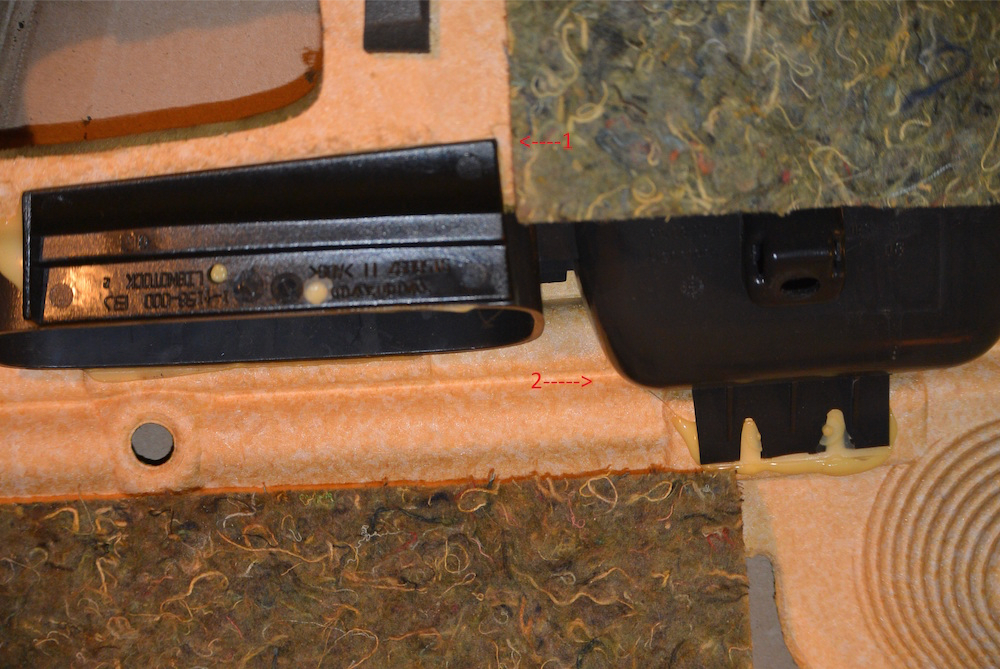
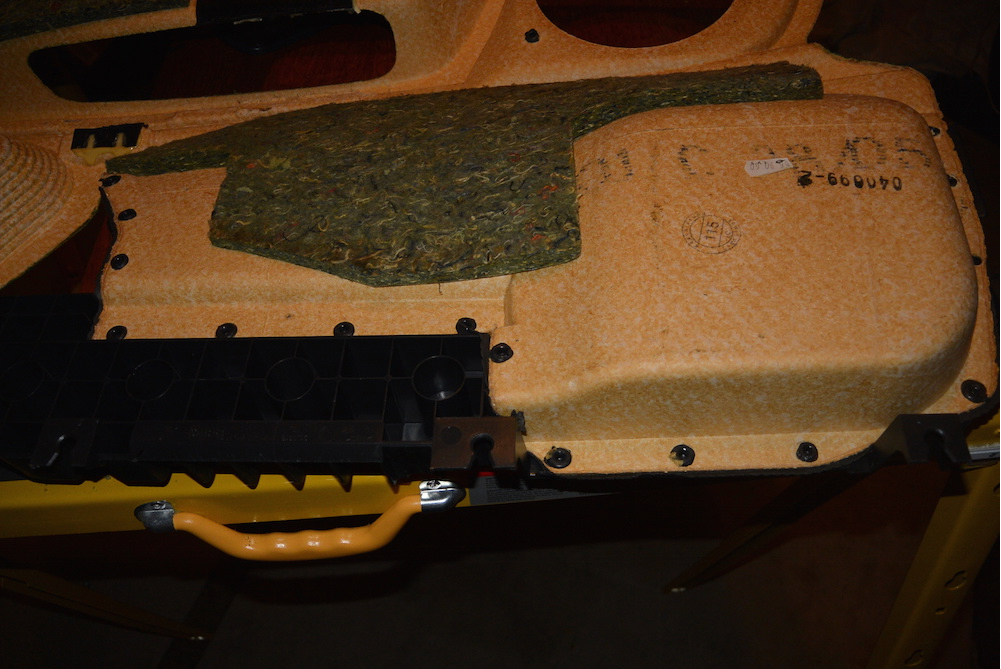
Step 2 Separating Door Panel Insert card from Panel.
The door pulls have wax holding it to panel insert. Use a Dremel tool and simply cut across the pull in two different spots and pry the third. If you have a heat gun handy, the wax will melt pretty easily and you can detach the pulls and remove them from insert.
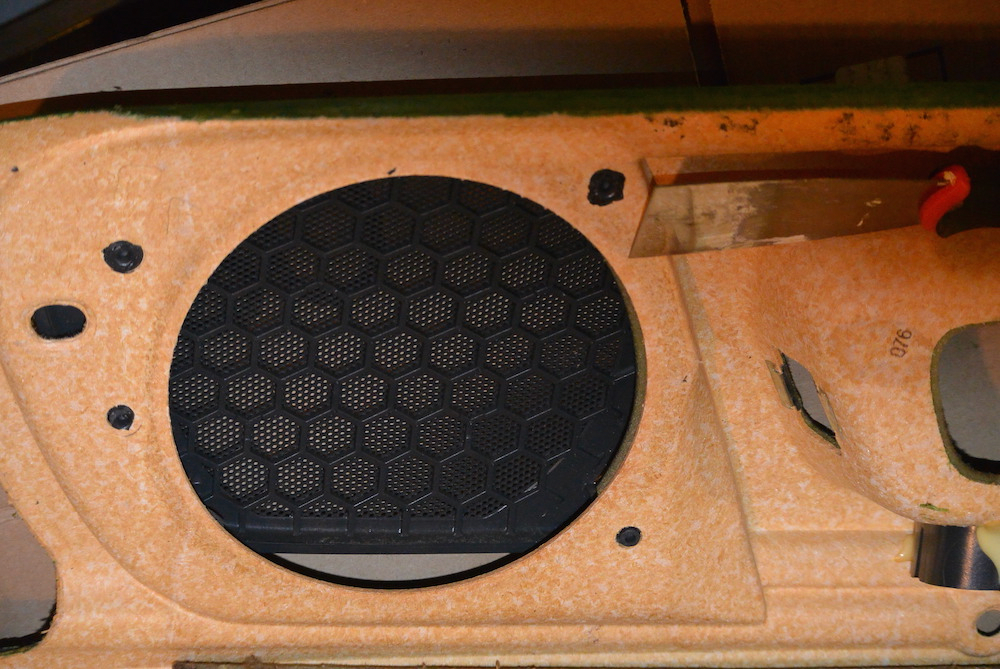
On the front doors, the speaker grills are fastened in place by the melted tips of the speaker grill posts. The fasteners can easily be broken off by prying around with a putty knife or similar tool. Once removed, the speaker grill can easily be removed without any resistance. The speaker grills break very easily, so be careful! Remove remaining switches from doors.
If you’re replacing the lower front door vinyl, you have to remove the large plastic piece from the insert card. There are 14 fasteners holding the piece. Remove those similarly to speaker grill.
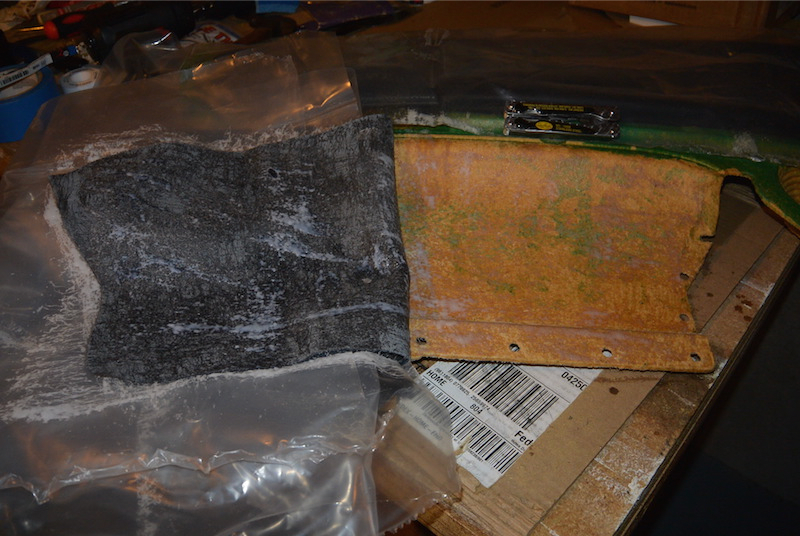
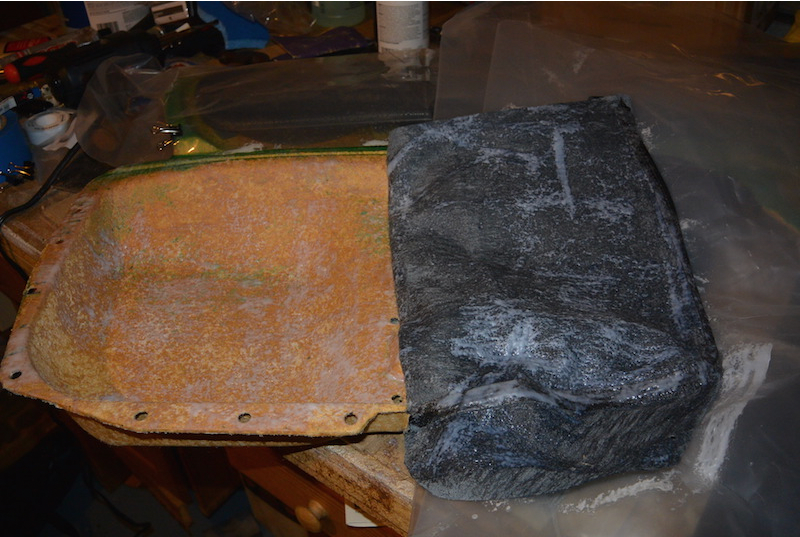
Step 3 Removing vinyl and prepping panel insert surface
The vinyl removes easily from panel insert. The foam does not. Use a tile brush, any hard bristled brush will be fine, scrub the doors. Next use a fine grit sandpaper and simply smooth out the inserts, removing any fine foam pieces left and small clumps of glue. You don’t need to remove the smallest clumps of glue entirely.
The vinyl on the lower portions of the front doors is somewhat more involved. Those panels are glued directly to the card and require some finesse to remove so as not to tear the insert card.
Step 4 Installing your new leather
Make sure you follow your adhesive’s directions for application. Depending on the adhesive, you may have lots, minimal, or no time to reposition once the foam and insert make contact. Be careful with adhesive so that it doesn’t get on surface side of leather. Not a bad idea to use cardboard underneath to control overspray.
Because of the shape of the insert, it’s easier to start in the center and work your way out as you glue in sections. Remember that the backing and the leather need to have good contact to form proper bond.
Step 5 Putting the door card back onto the panel
The leather needs to be cut where there are door handles, pulls, etc. Just use sharp razor blade (x-acto knife) and be careful of the leather!
There is sufficient strength in the panel and door pulls, that reattaching the door pull anchors isn’t necessary. You could just heat up the wax and reattach the door pull anchors. If you want to re-attach the door pulls you cut, please consider using zip ties and soldering the pieces back.
Re-anchor the speaker grills for the front doors.
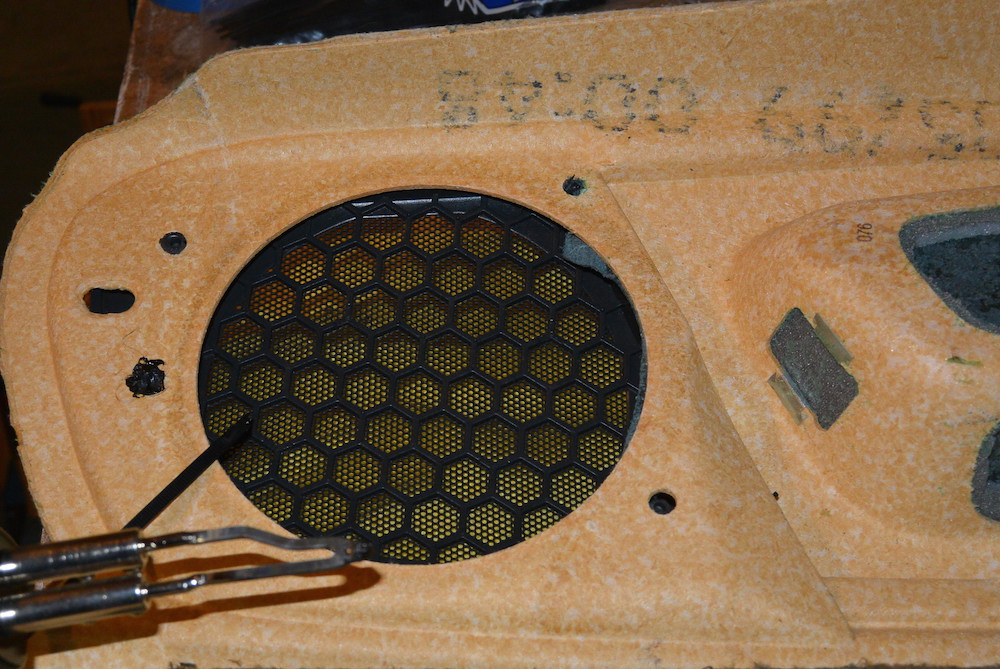
If you use a new speaker grill, simply melt the tips onto panel. If you’re able to recovery old grill, use some zip ties to melt over posts and fasten.
Re-anchor the lower plastic trim piece for the front door in same manner as the speaker grills. Lots of zip ties and lots of good ventilation and fresh air.
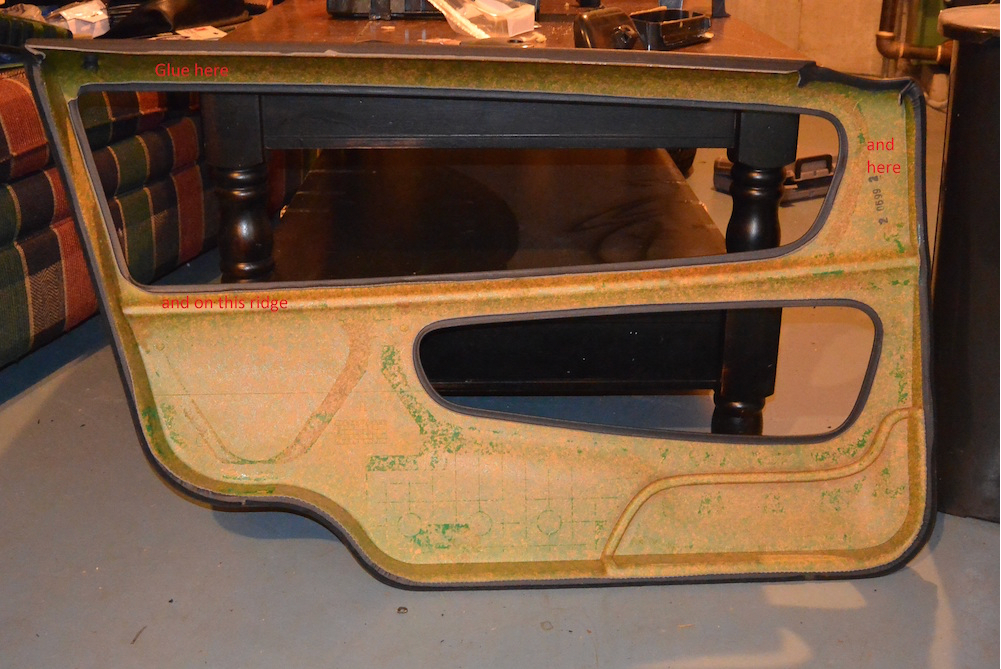
Another reason not to use spray adhesive is because how narrow are the points to be glued on the panel insert to attach to the door panel itself. Brushing glue on gives you a lot more control and reduces the risk of overspray. If you do brush on glue make sure it isn’t thick enough to squeeze out onto leather.
Glue on the points shown below and the corresponding points on the insert card. Press the insert card onto panel. Weight the glue points and let them cure.
Step 6 Re-install the panels
Simply do step 1 in reverse. Reattach the switches, slide onto window slot and press door panel into door via clips. Reattach the door release clip and you’re done!